Grendel
Iron Sharpens Iron
- Joined
- May 19, 2020
- Member Number
- 297
- Messages
- 3,592
- Thread starter
- Moderator
- #391
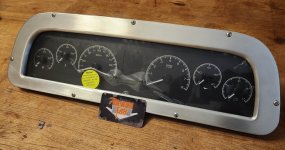
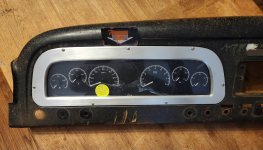
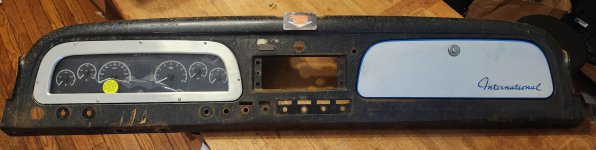
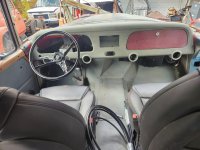
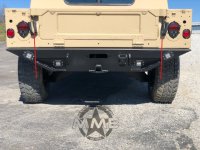
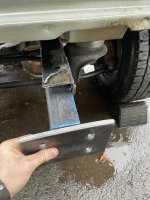
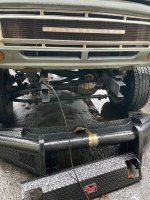
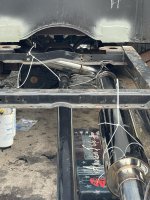
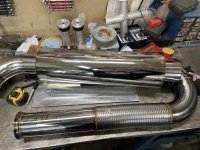
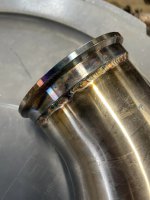
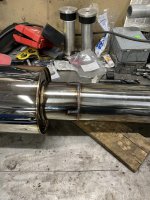
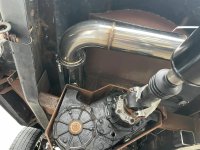
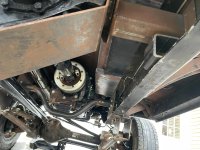
Exhausted
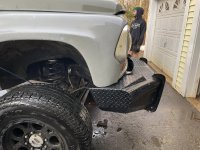
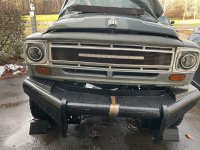
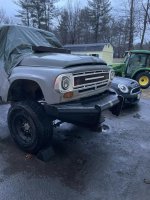
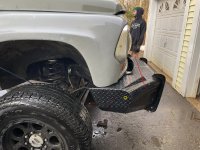
4" T304 stainless, all v-bands, et al.
Would be completely out the back, but I need one more 90.
4" T304 stainless, all v-bands, et al.
Would be completely out the back, but I need one more 90.
Attachments
-
 320726209_574724104467542_9077061037262674419_n.jpg349.3 KB · Views: 184
 -
 320883691_474129348254035_1841371327793295874_n.jpg437.8 KB · Views: 28
 -
 320747021_847781459880239_4636341588396147449_n.jpg262.4 KB · Views: 27
 -
 320728237_1478335855910766_1688370335953151995_n.jpg421.7 KB · Views: 28
 -
 320914575_558610116134807_5067658813296843980_n.jpg333.9 KB · Views: 26
 -
 320749026_1360747394742984_3395340867226164983_n.jpg297.7 KB · Views: 25