shortbus4x4
Junk collector
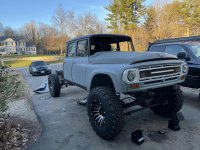
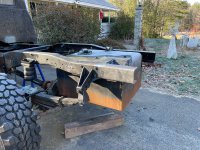
"Spare time"Hauling this home to be able to work on it in my "spare time".

Follow along with the video below to see how to install our site as a web app on your home screen.
Note: This feature may not be available in some browsers.
"Spare time"Hauling this home to be able to work on it in my "spare time".
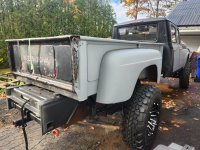
Also, since I decided to not use stacks, I need to cut the rear frame.
IIRC the stacks were going to go between the cab and the bed.What do stacks and the rear of the frame have to do with one another?
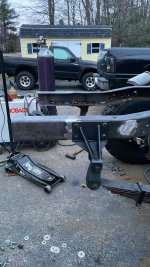
The winch will move to the rear bumper. Hitch will be a part of the rear bumper assembly too.What do stacks and the rear of the frame have to do with one another?
Are you going to move the winch/hitch mount back and under the bed or are you going to remove that part?
Ayup.IIRC the stacks were going to go between the cab and the bed.
Aaron Z
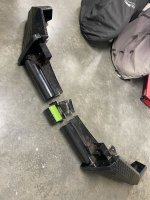
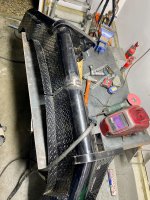
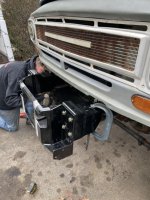
What fuckery is this?
Cutting up a new Fab Fours winch bumper?
Yeah, I had it, no, they'd don't make one for a IH body on a GM frame...

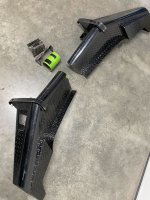
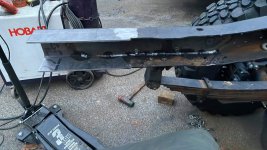
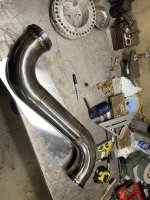
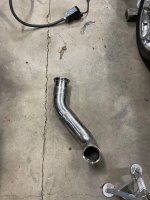
Did you get those extensions bent up at a metal supply place? Or make them yourself? I have a 66 PU to do that too as one of the previous owners cut the bumper off by cutting the frame a few inches back under the bed.Frame extensions done. Even though they won't ever see the suspension weight, I did fish plate them. Those plates go past the rear shackle hanger.
I really disliked having to do a straight but weld, but I didn't want to splice in a suspended frame section.
It's all .25", it won't go anywhere.
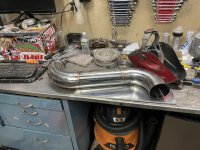
The fuel tank mount is also a reinforcement, plus the hitch, so there are multiple tie ins for that splice.
I will mount the cross member once I cut the extensions to length with the bed on.
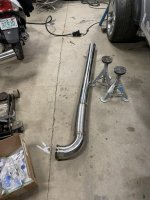
I had them bent them on our brake.Did you get those extensions bent up at a metal supply place? Or make them yourself? I have a 66 PU to do that too as one of the previous owners cut the bumper off by cutting the frame a few inches back under the bed.

sell me this, keep the M715Sure, for the right price.

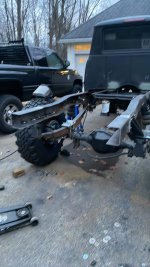
That's two things, overachiever.Trying to do one thing a day on this. Today, I set the rear pinion angle now that the driveshafts are in.
May also finish welding the transfer case mount.
Whoa there buckaroo. Pace yourself, you'll have that thing done this year with that attitude.May do more, grasshopper... while I have the MIG out.
Same, it looks so much "cleaner" to me that way. Love it.I like that look vs the shelf look.
Aaron Z