What's new

88 F-Turd50 IDI Build

Toreadorranger

Atomic Test Lab Rat
Joined
May 21, 2020
Member Number
874
Messages
1,089
Loc
CT
Porting this over here, I figure I can not make progress on this site instead. :flipoff2: It will seem a little choppy since I wont be grabbing all the updates, just the important and current ones.

I originally got part way into a buggy build and realized after getting married and buying a house the funds just weren't there to complete it in any sort of reasonable time. So I decided to back it up some and build a cheap trail truck.


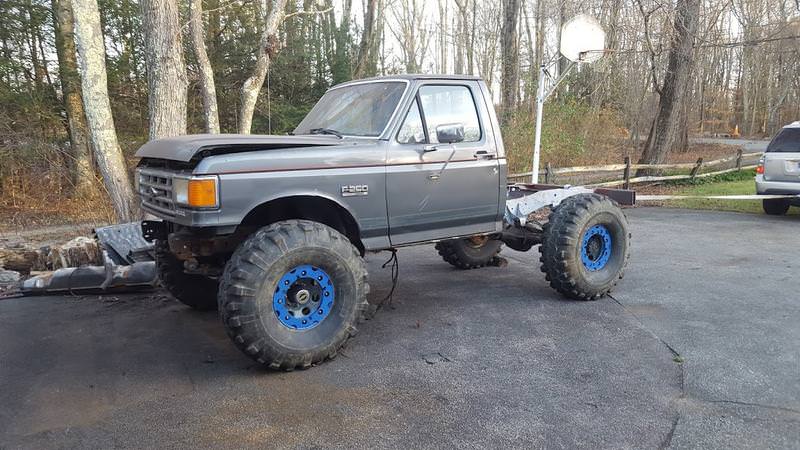
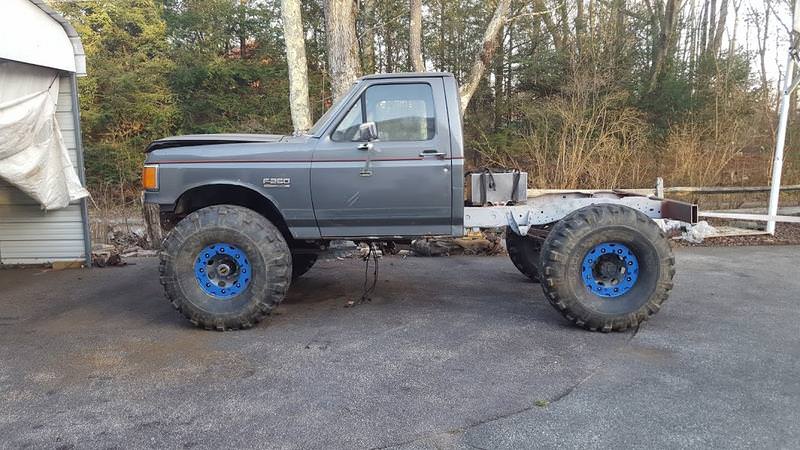
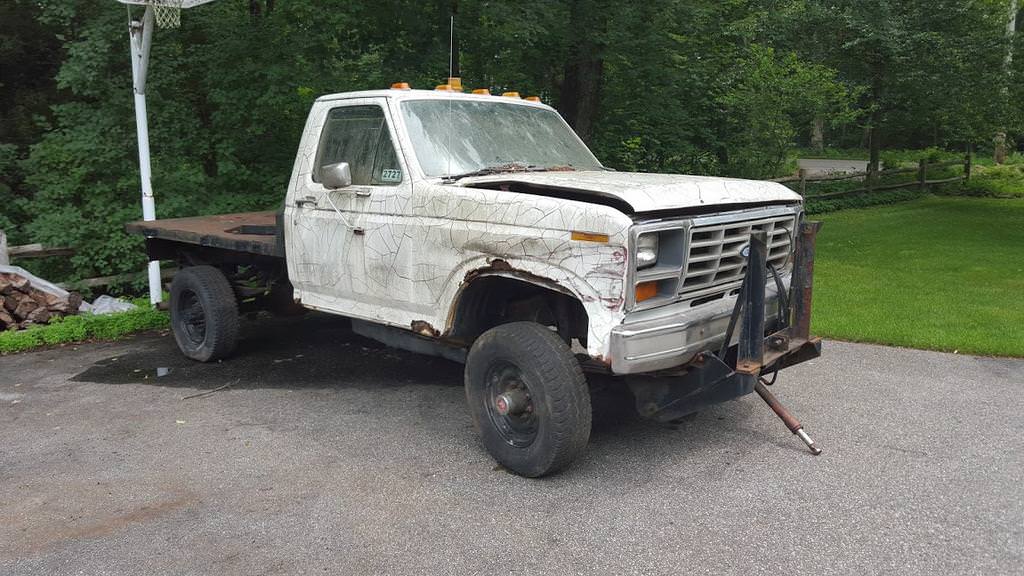
Started by picking up this 1988 F250 7.3L IDI from a guy at work for $1500. *It's a Regular Cab Long bed, *Going to build an internal cage. *Major specs as follows


7.3L IDI non turbo diesel, 5speed ZF, NP203/205 Doubler

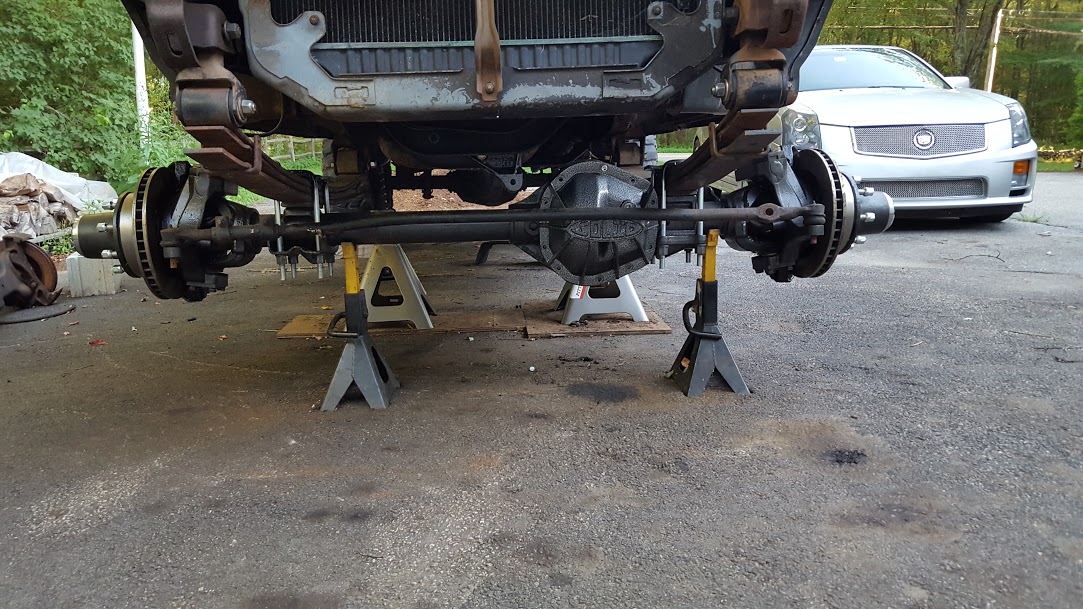
D60, Chromoly 35 spline shafts, Lockrite locker

Sterling 10.25 Welded

42" TSLs on recentered H1's and PVC inserts
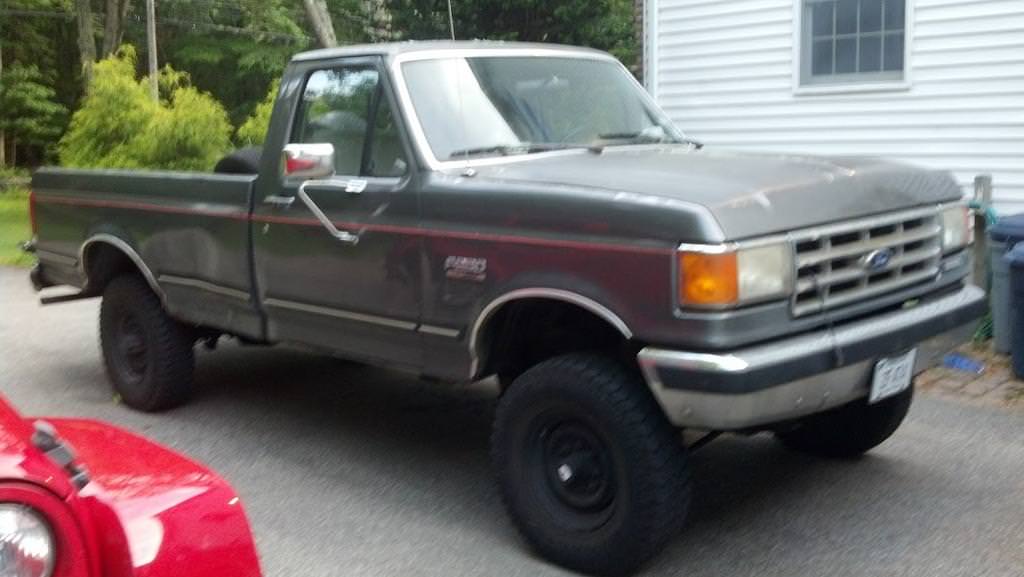


lxvLKu9.jpg


Grabbed a 86 F350 Parts truck for $500, I kept the axles and suspension and sold the rest off so I ended up making $100 on the deal in the end.


bpMgcc8.jpg
 
Last edited:
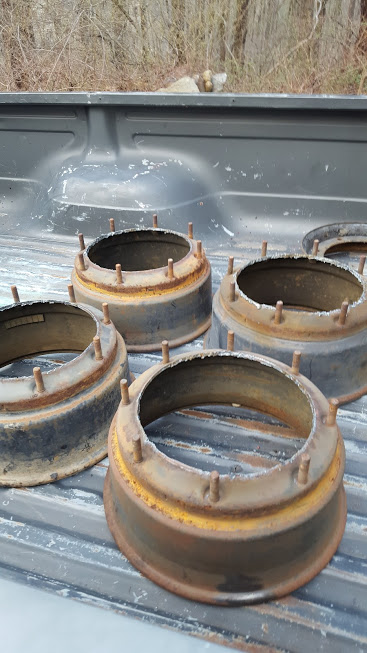
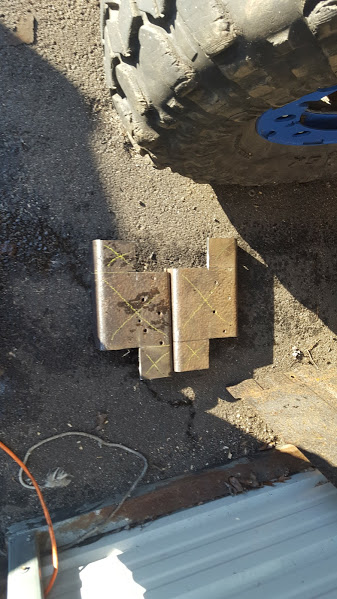
Cutout my H1 centers at a friends shop with the plasma cutter, doing them by hand would have sucked.

1h0pri6.jpg


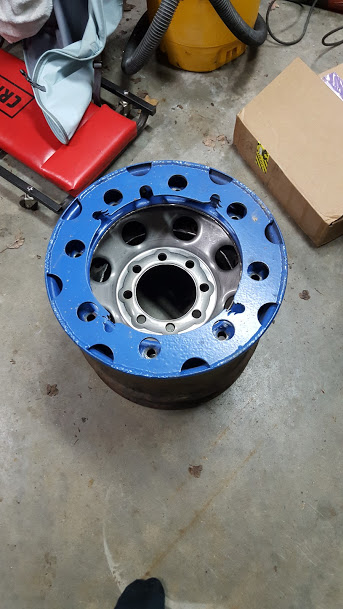
The outer rings I kept from my buggy and they were already ford Blue so it worked out perfectly, I liked the look so much Im going to paint the inners gray and leave the outers blue.

xv20LNZ.jpg
 
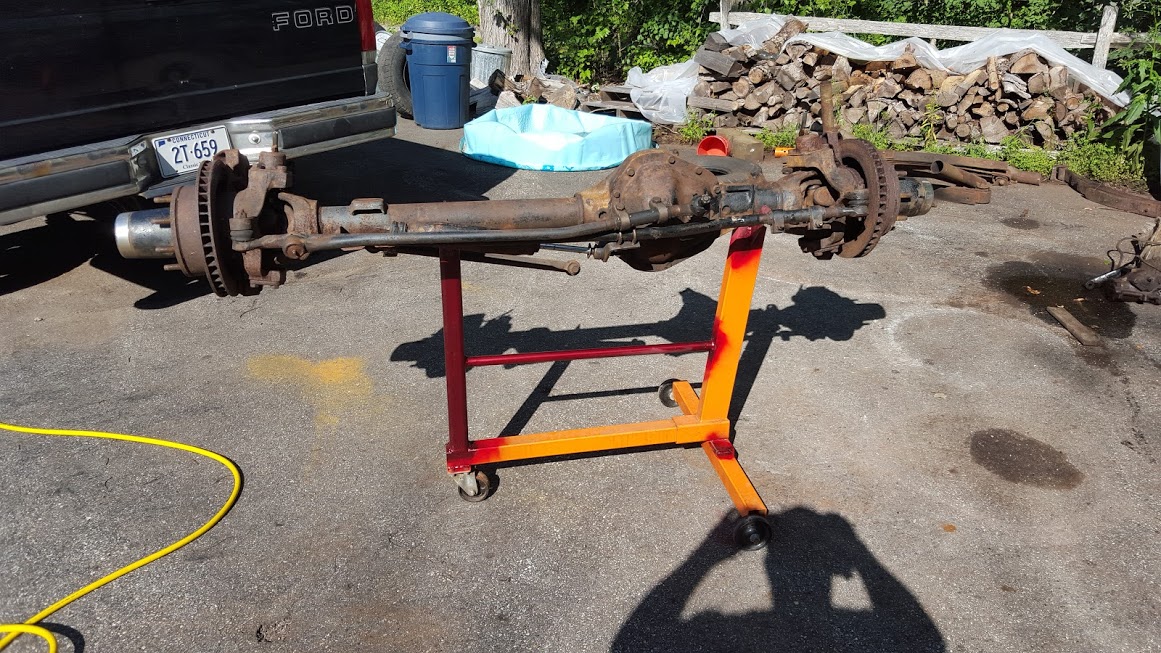
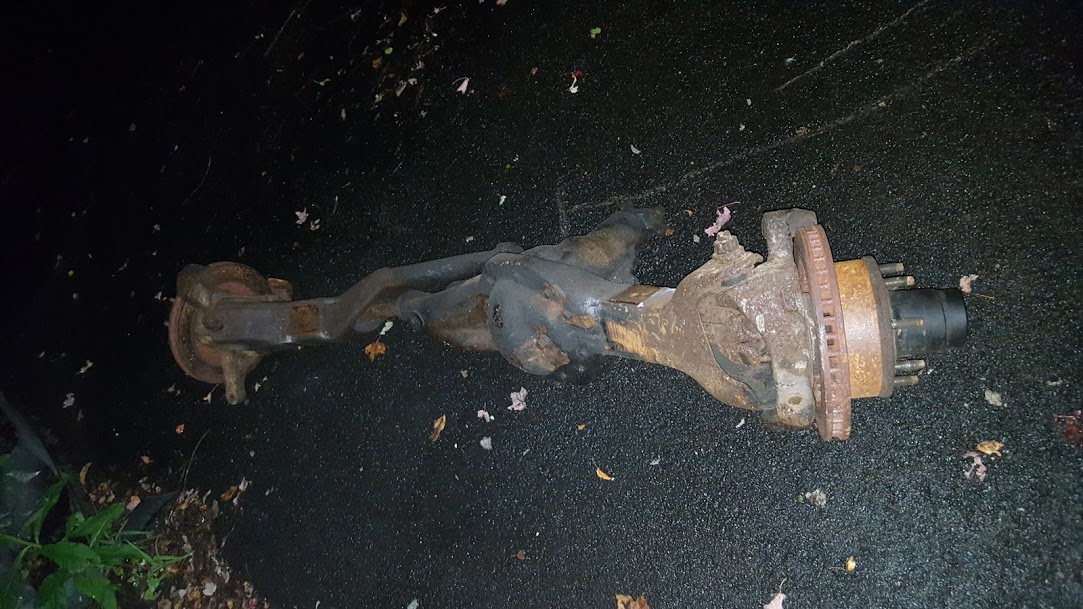
Crusty axle and cheap Harbor freight engine stand I converted to axle stand

79FGHon.jpg


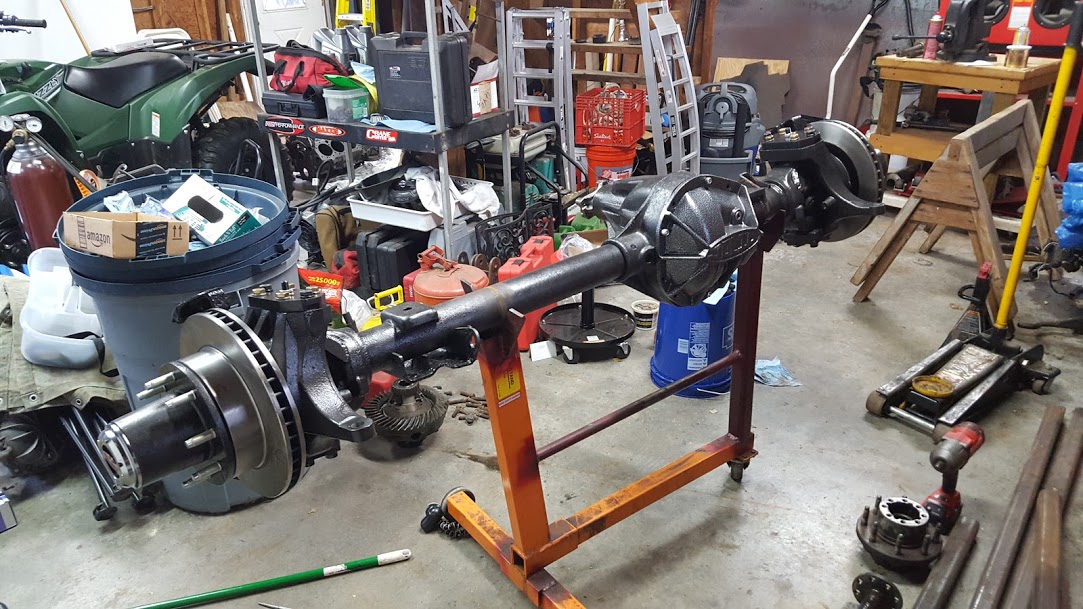
Axle started going together, Traded my stock 3.54 gears and regeared to 4.10, Solid knuckles (got a killer deal on these after selling my stock knuckles) and cover, Lockrite locker, 4340 35 spline stubs and stock inners for now.


Hc8KmEj.jpg
 
Big thanks to FOURWHEELSUPPLY. Ryan is one of the few vendors who offers a reasonably priced highsteer arm for my knuckles. He didn't have any arms ready when I ordered and said it might get out Monday (yesterday) as he had to machine one so I don't know what he did but it shipped friday and arrived yesterday. He also had the joint I needed to complete my setup in stock so I had him send one of those as well.

1.25" thick steel arm, with the 6th bolt and keyway for my knuckle.

j8bo2kg.jpg
 
They would have 2 years ago when the photo was taken before it was scrapped. But yes, the D44HD and D44 outers are interchangeable, just need the whole assembly.
 
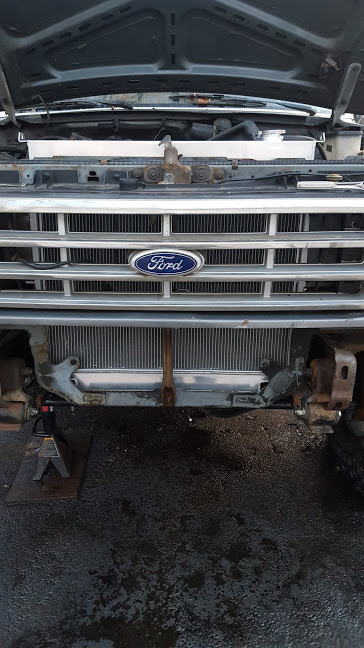
New radiator is in. Overall I'm pretty happy with it. Fitment was good, The fan shroud put up a little fight going back on, but other than that, it is a nice direct fit replacement.


CfVldqY.jpg


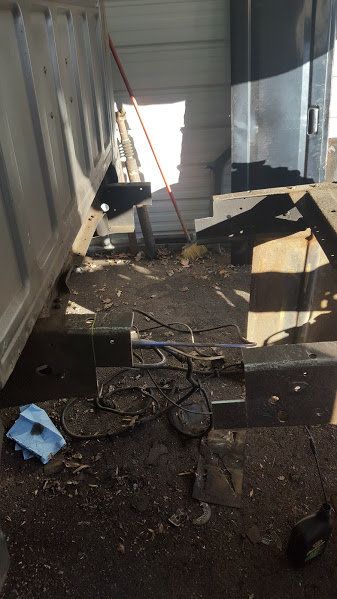
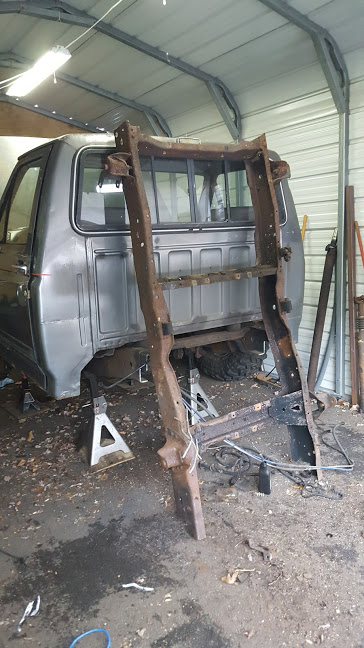
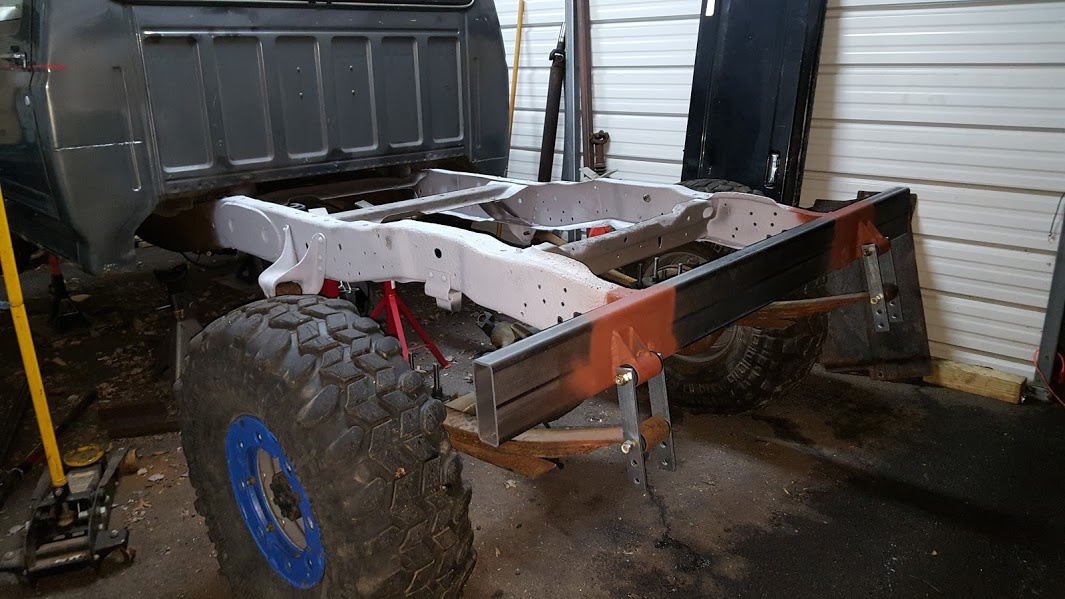
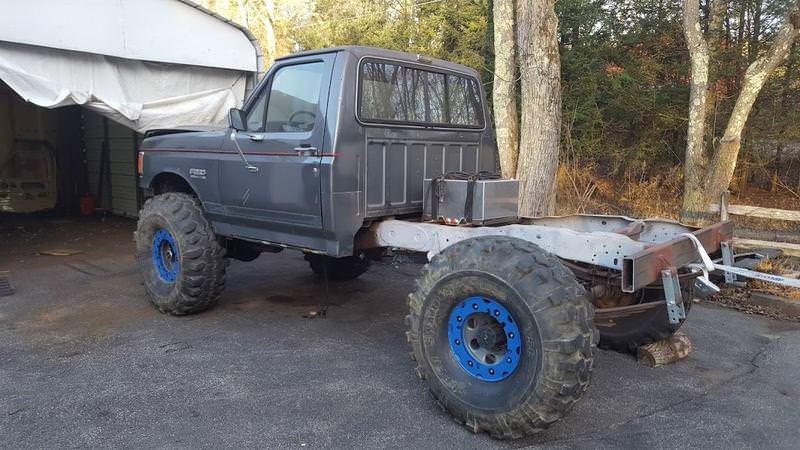
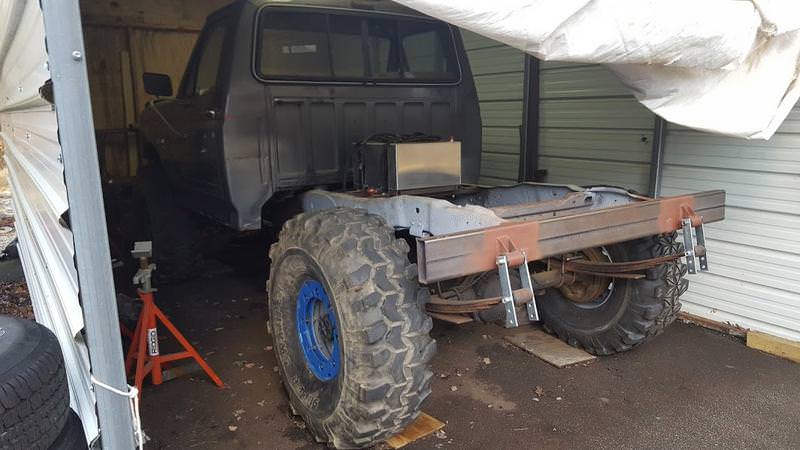
Frame chop, I took 10" out in total. So the new wheelbase will be 123". I'm going to refresh the bushings in the rear leafs and I will be bobbing the rear of the frame and running a bumper mounted shackle setup to gain some lift so I can lose the rear blocks that are in the truck now.


ltjg06N.jpg


yNsr9ux.jpg


JRlbxJe.jpg
 
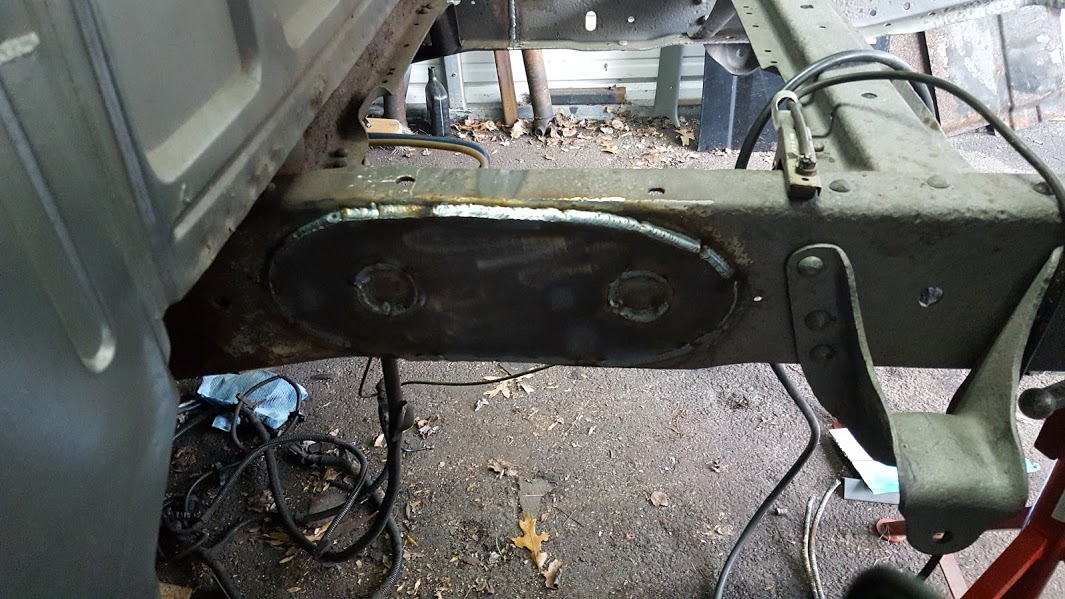
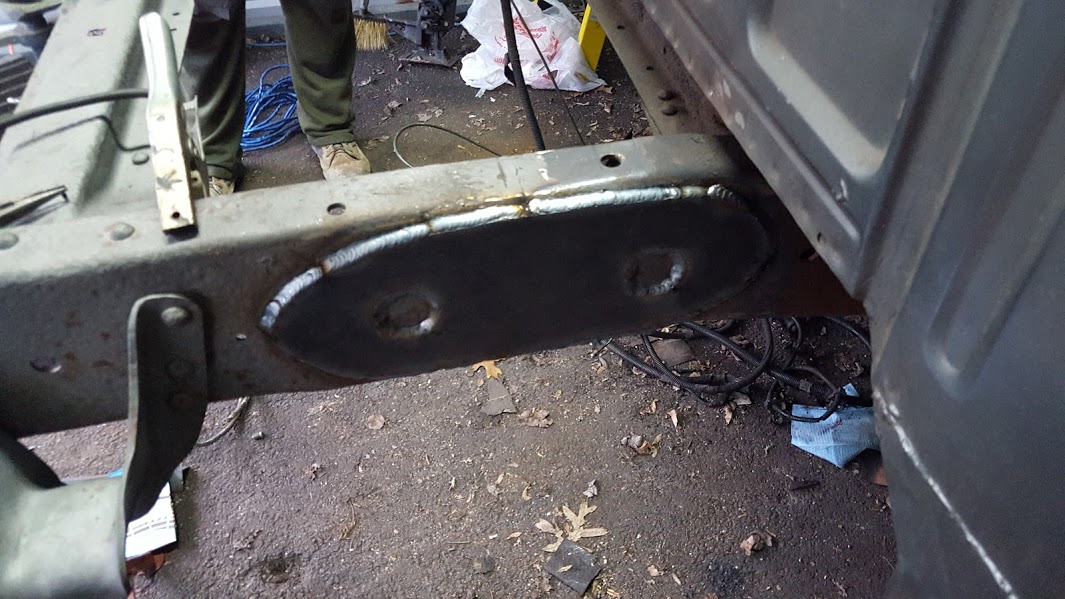
The outer plates are 1/4", going to do 1/8" inner plates as well. *


ZycGCjk.jpg


5WRUmIC.jpg


Got the suspension back together and a set of autozone special temp shackles in place. I still need to trim down the ends of the bumper and sort out shortening the bed to fit.


CWL1CRP.jpg


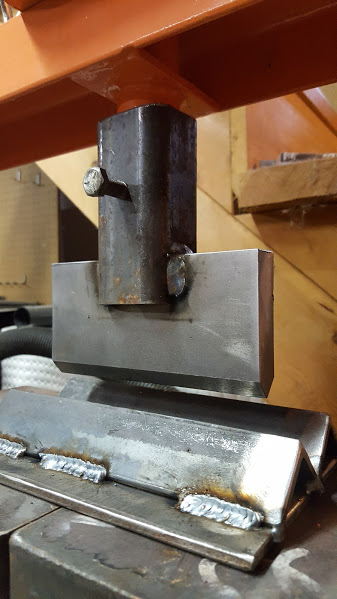
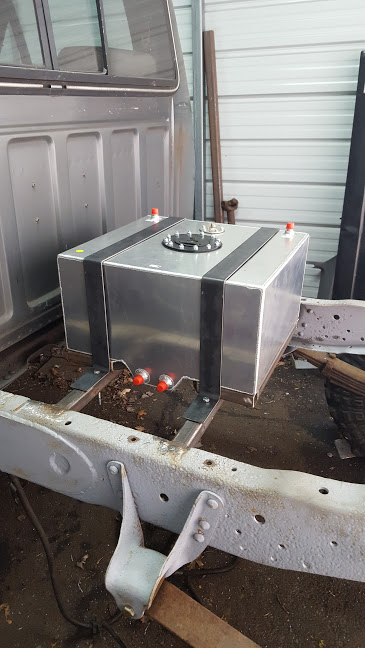
I made myself a real simple press brake to use in my HF 20 ton press. It works awesome for the $20 I have into it. Bought the top arbor off ebay and the rest is just scrap. It made short work of the straps for the cell. I have bent some 1/4" plate as well with it for a test.


bXeWyTB.jpg


pqHZnn0.jpg
 
No shit?

Are those rotors/caliper bigger than the Broncos?

I believe they are, per rockauto the F250 rotor is a 12.5 and your bronco is a 11.7. I know the brake setup off the D44HD was a direct fit for my kingpin D60. Calipers were a straight swap.
 
Loving the build, I have a soft spot for full-size builds especially with an idi! I can give some pointers if you decide to turbo it
 
The only thing I see about super-reinforced frame patches is that that portion now doesn't flex. So it offloads all of the stress onto the radiuses that you've skillyfully created on the 1/4" plate.

Now you're not going for the infamous dmoestic noodle-frame, but still, any patch should theoretically be integrated into the flexibility of the rest of the frame. Ideally a stress vector shouldn't meaningfully see the patch if you drew it out on graph paper.

Awesome build and all well above my skill level, just commenting.

The end plan is the cab cage will connect to a bed cage and extend to the back of the frame. That should take alot of the wet noodle out of the frame.
 
The end plan is the cab cage will connect to a bed cage and extend to the back of the frame. That should take alot of the wet noodle out of the frame.

Yeap, that's right. Forgot about a cage.

That wheelbase is perfect, hit the aesthetics with that tire size and wheelbase.
 
Shifters starting to come together. I picked up a set of shifters from another member of our local club, but they were for a chevy setup, so Im having to modify them here and there. Have to make up the last two shift rods, I think only 1 of them is going to end up needing a bend.

photo6079.jpg


photo6082.jpg
 
Shifters are pretty much finished, a little fine tuning here and there on the lengths of the shift rods. The shifters themselves Im not totally happy with, they are mounted on bushings and I might swap them out for a steel sleeve instead, They have more movement then I would like at the pivot point. Its bad when you start a project and by the end half the parts are rusted.

semi finished.jpg - Click image for larger version  Name:	semi finished.jpg Views:	0 Size:	124.4 KB ID:	44289
semi finished 2.jpg - Click image for larger version  Name:	semi finished 2.jpg Views:	0 Size:	103.9 KB ID:	44290
 
Last edited:
Next thing to tackle is to pull the doubler back off and go through the cases themselves.
 
What kind of support do you have for the doubler? I have seen the ZF break around the flange even with a stock case let alone the doubler weight.
 
What kind of support do you have for the doubler? I have seen the ZF break around the flange even with a stock case let alone the doubler weight.

I am about to blow your mind with my "CAD" drawing. As you can tell this is state of the art and to scale.


Green is the frame, Blue is the crossmembers/"cradle", red are the bushings connecting the trans and doubler to the crossmembers. I will be putting in a new set of motor mounts as they are original from 1988.

doubker setup.png
 
Dang! With "CAD" skills like that, its too bad you missed giveaway day 23!

Oh and, keep it up, I dig it.

:beer:
 
Dragged the truck out of the garage yesterday. I got tired of it raining rust in my hair when I work on it, so I power washed it and scrapped a bunch of rust off the underside of the body and the frame. I also dug out the Shackle Reversal kit I bought and shot it with some primer and Rustoleum Hammered paint, Plan is to put that in the truck today/tomorrow.
 
Dragged the truck out of the garage yesterday. I got tired of it raining rust in my hair when I work on it, so I power washed it and scrapped a bunch of rust off the underside of the body and the frame.

I also dug out the Shackle Reversal kit I bought and shot it with some primer and Rustoleum Hammered paint, Plan is to put that in the truck today/tomorrow.
Thanks for reminding me; I need to do that for mine.

Here's the shackle reversal kit I installed a couple of weeks ago on my '94 Bronco:
Axle swap VIII.jpg

Axle swap IX.jpg
 
Top Back Refresh