Simple'72CJ
Well-known member
- Joined
- Sep 4, 2021
- Member Number
- 4370
- Messages
- 243
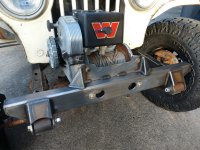
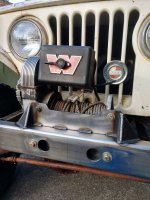
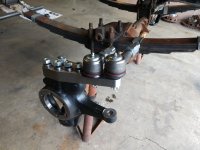
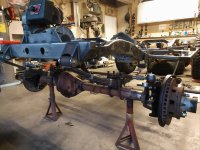
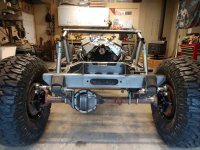
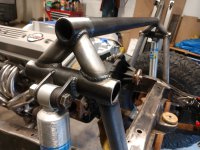
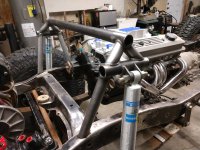
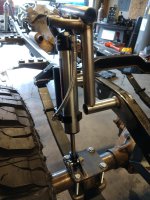
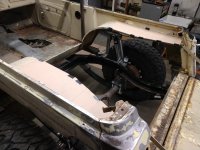
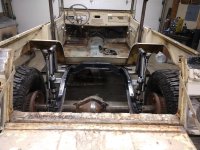
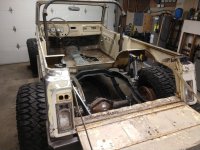
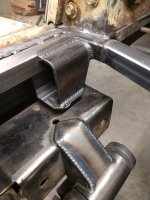
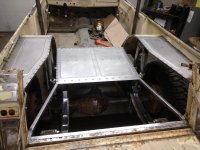
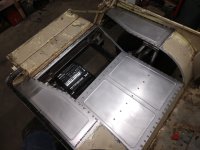
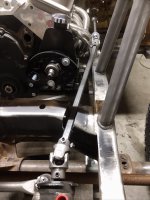
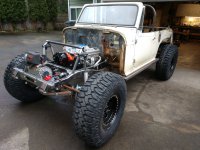
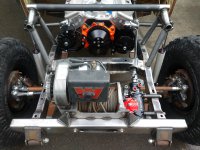
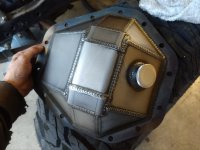
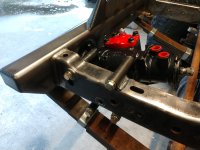
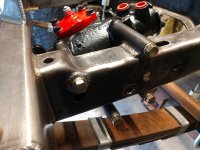
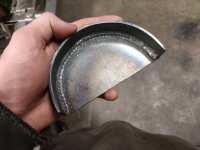
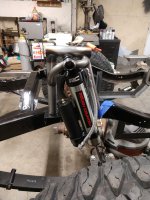
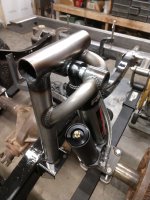
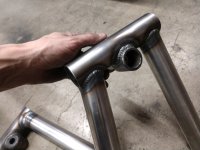
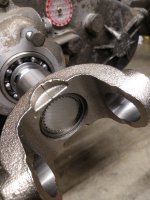
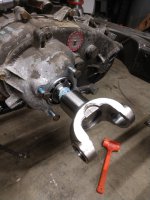
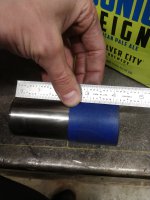
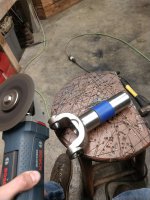
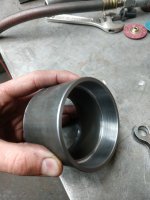
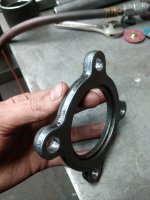
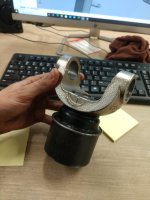
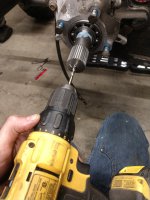
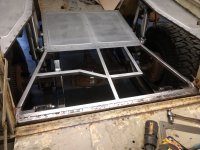
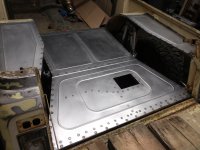
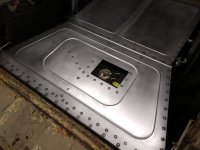
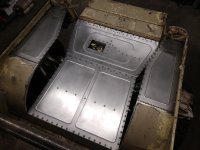
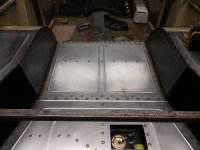
Started finalizing the winch mount, cut the 4" out of the long size tube, and got the new knuckles thrown on to start figuring steering.
Follow along with the video below to see how to install our site as a web app on your home screen.
Note: This feature may not be available in some browsers.
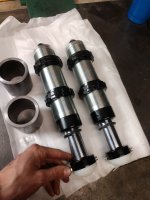
Absolutely. Definitely planning to throw new ones in just for piece of mind lol cheap and easy at this point. Cylinders will be getting some squirts along with a good oil prime making sure nothing gets starved off the get goI'd be nervous about the crank seals on that new engine. That a long time for them to sit dry.
I thought what you used for the frame bulge looked familiar and was going to ask if you still worked for AM, but it sounds like you do.
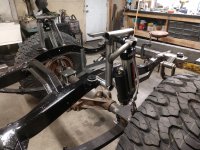
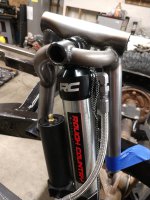
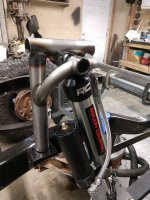
I dig those shock hoops, both ends, defiantly different but really clean. Well done.
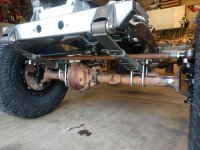
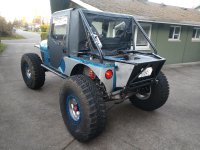
The amount of stability it adds on sidehills is tremendous. When I switched to outboarded sprung under setup on my jeep before I rebuilt it, it was night and day.Mad Skillz!
Why did you outboard the rear springs?
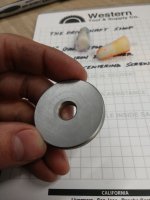


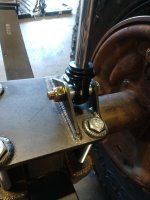
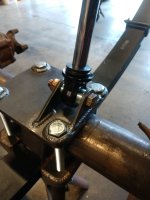
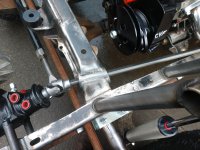
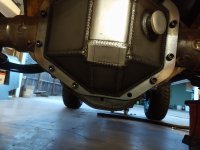
Did you fabricate the washer for the bolt (i.e. the plate you wleded on that holds the bolt in place)?Lower mount ties into spring plates.
Yeah, cut quite a few out at work on the plas table for various head sizesDid you fabricate the washer for the bolt (i.e. the plate you wleded on that holds the bolt in place)?
I have seen these for sale on one of the builder sites like Artec but can't find them now. Was planning on doing the same thing, cutting them on a plasma table. Now that I have seen the dimes you stacked around your's I may not dare, LoL. You're fab skills are awesome!Yeah, cut quite a few out at work on the plas table for various head sizes

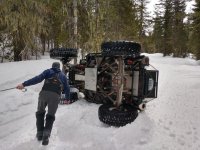
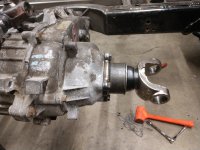
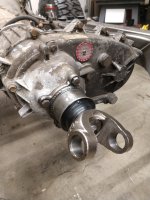
Np241. Had a blast of snow in town and after doing some donuts in a parking lot I noticed I was bleeding. One single link let go and as the chain following its way around, it carved a big crack/hole in the rear half of the case.What transfer case was it that you cracked?
Shoot. That's a bummer. I'm running a 241 in my new build...Hopefully it holds up.Np241. Had a blast of snow in town and after doing some donuts in a parking lot I noticed I was bleeding. One single link let go and as the chain following its way around, it carved a big crack/hole in the rear half of the case.
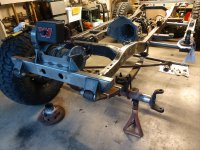
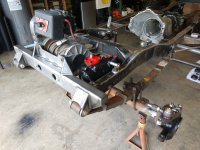
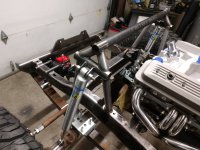
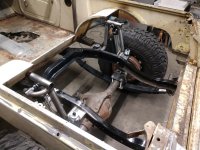
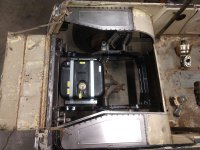
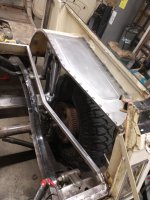
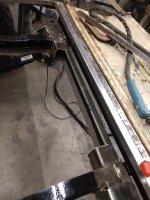
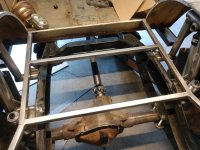
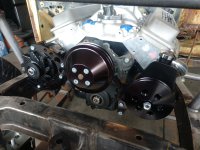
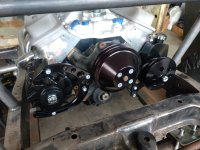
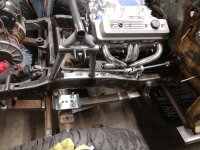
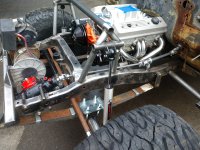
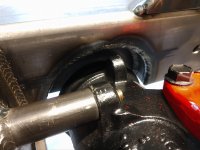
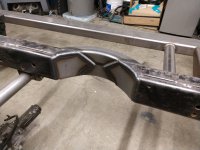
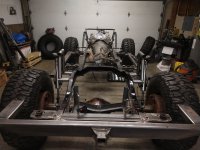
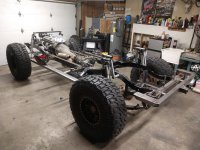
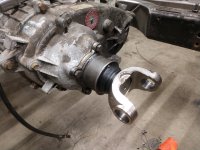
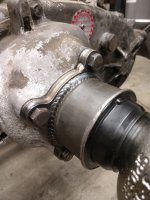
How did you make/where did you get that bent rail? Very cool.Motor, trans, and t-case mocked in location. The factory position of an unclocked 241 is absolutely horrendous as most know so clocking it flat was the only option. Of course the only issue with that is it wasn't even close to fitting haha Ended up making a little clearance in the rail.
I think is was a fluke more than anythingShoot. That's a bummer. I'm running a 241 in my new build...Hopefully it holds up.
At work (Art Morrison Ent.) we mandrel bend both 2x4 and 2x3 in both hard and easy way. You can order pretty much whatever profile you want from us as well as 90 Deg and other smaller stuffHow did you make/where did you get that bent rail? Very cool.