WaterH
Well-known member
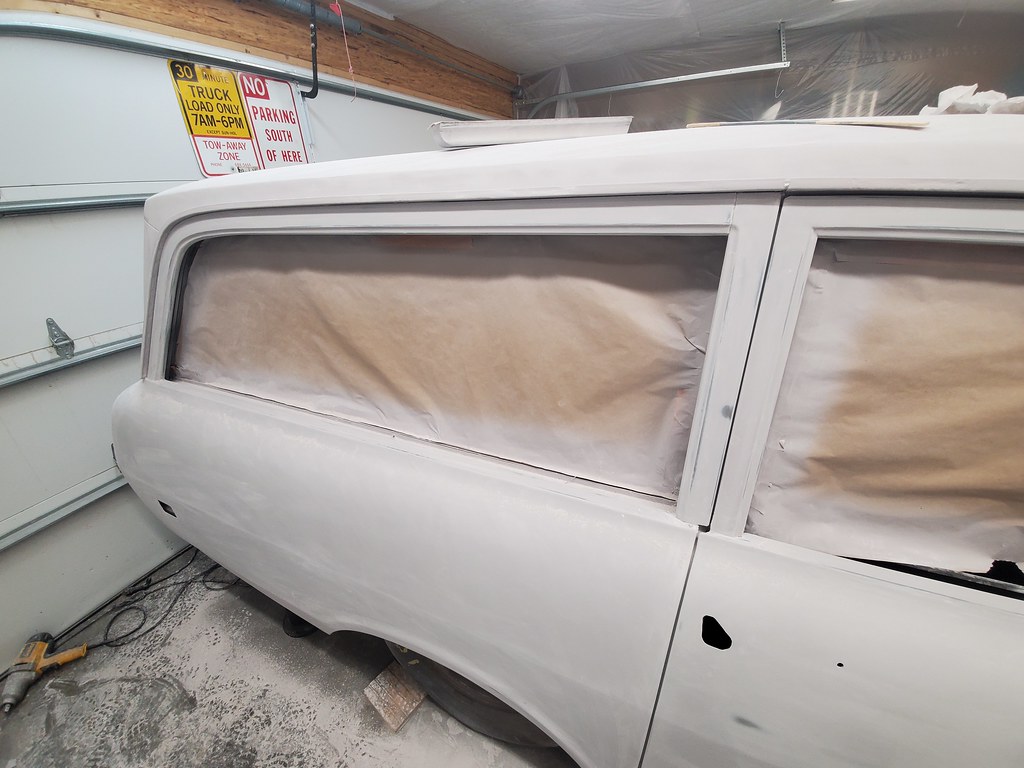
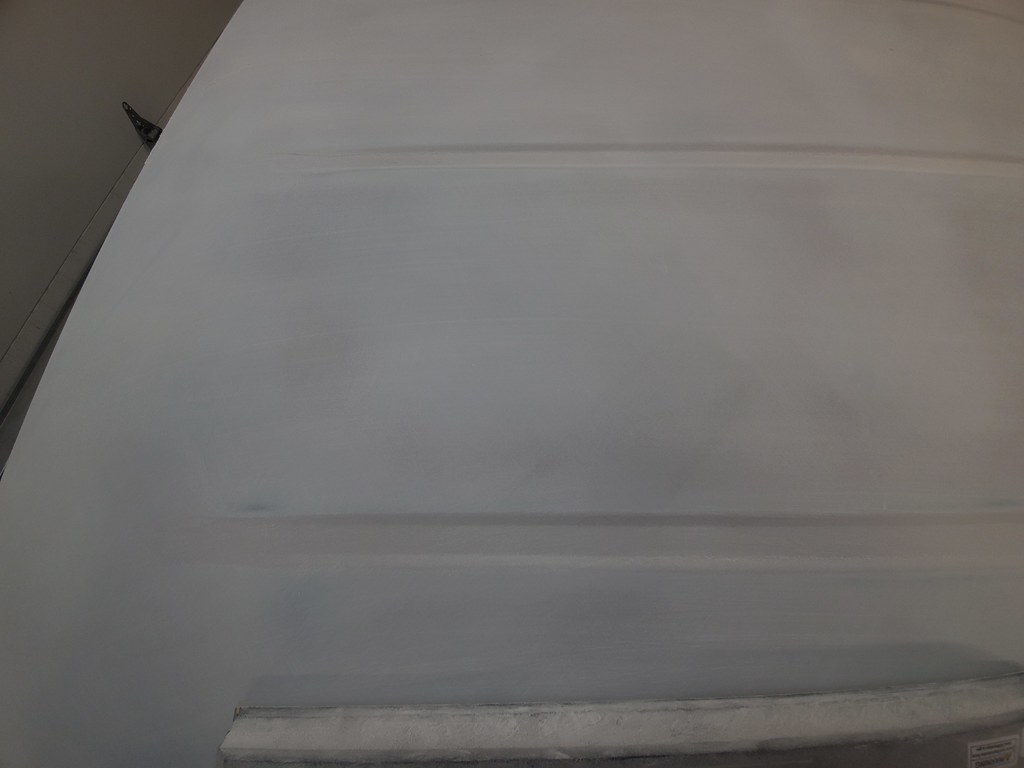
Kind of hard to see in the pics, but looks pretty good.
Follow along with the video below to see how to install our site as a web app on your home screen.
Note: This feature may not be available in some browsers.
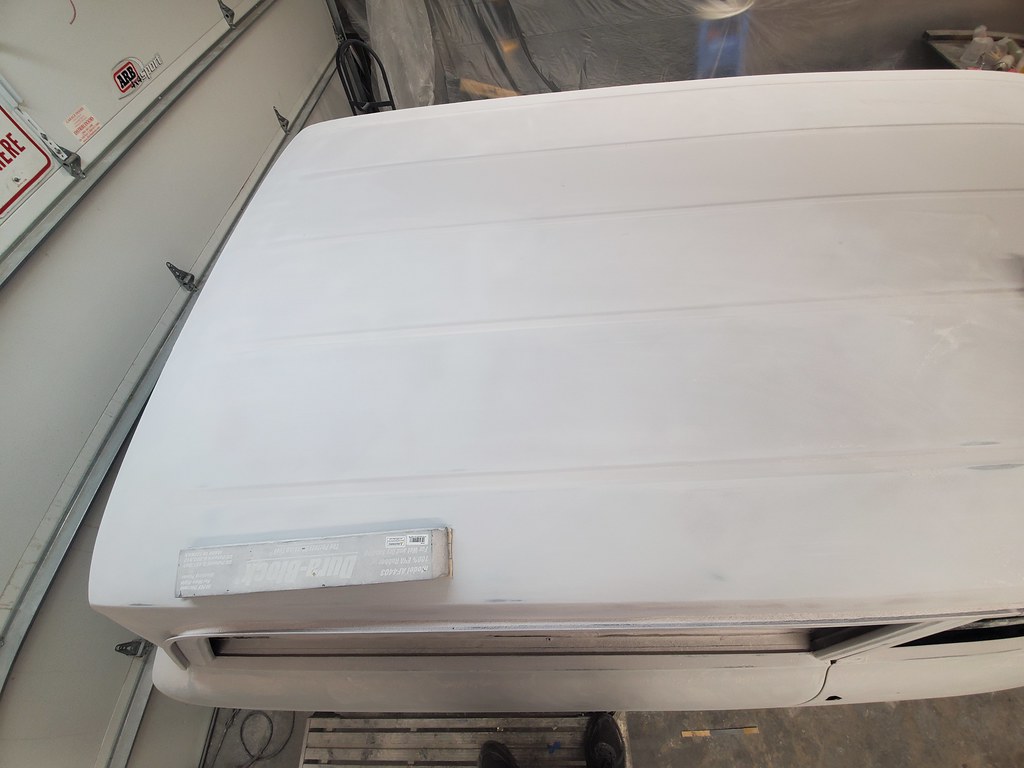

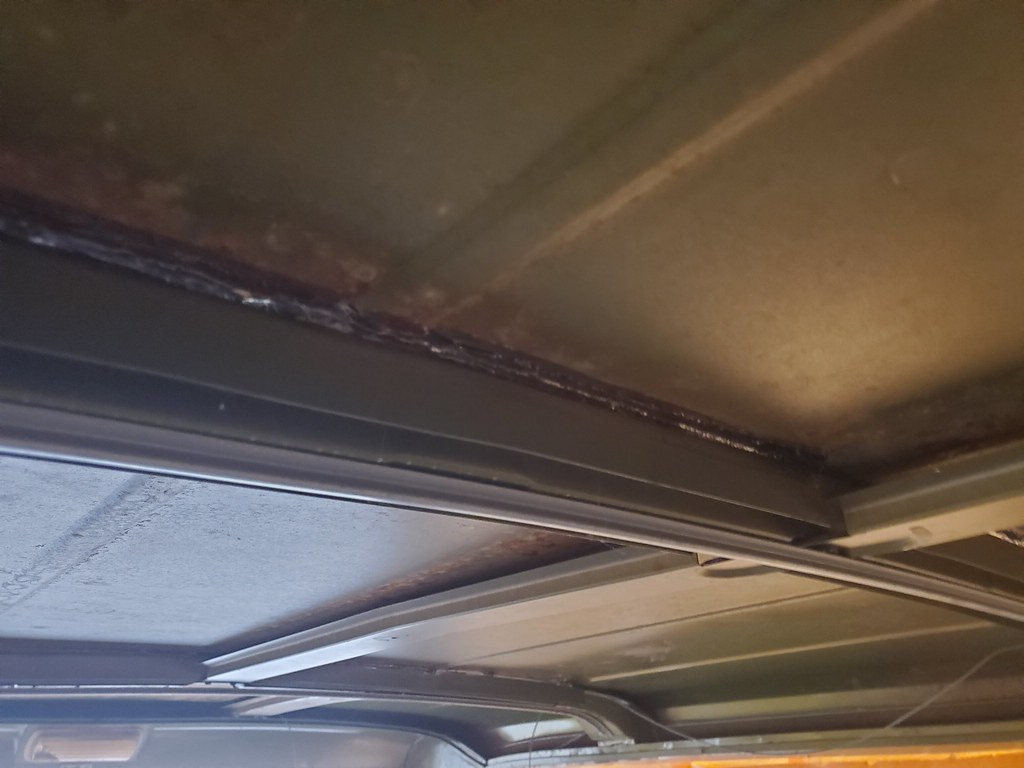
wish i could help on the roof questions, but never been down that road before.
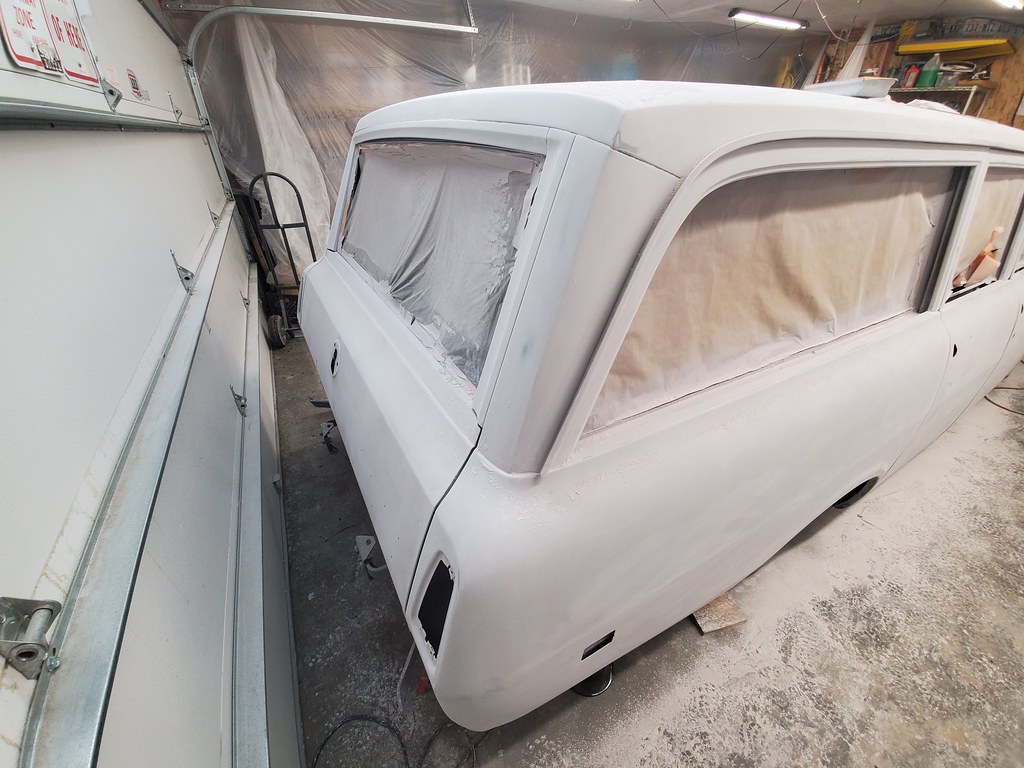
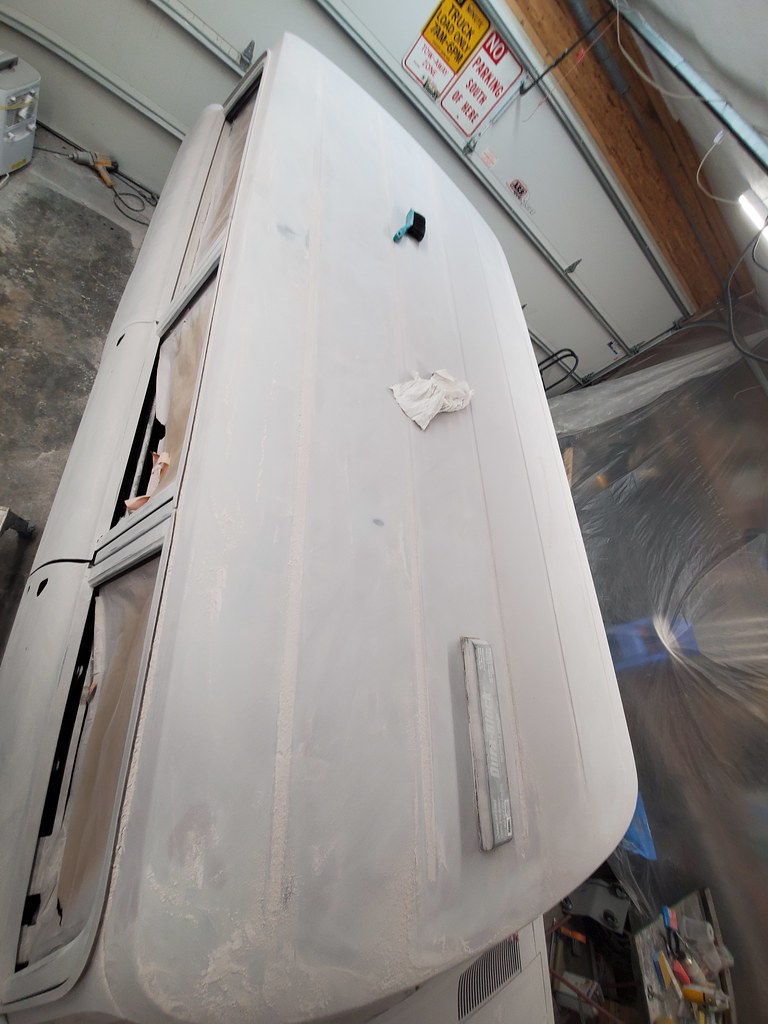
she is lookin goooood
That's a nice project, I've got a 72 1210 travelette so I appreciate that body style.
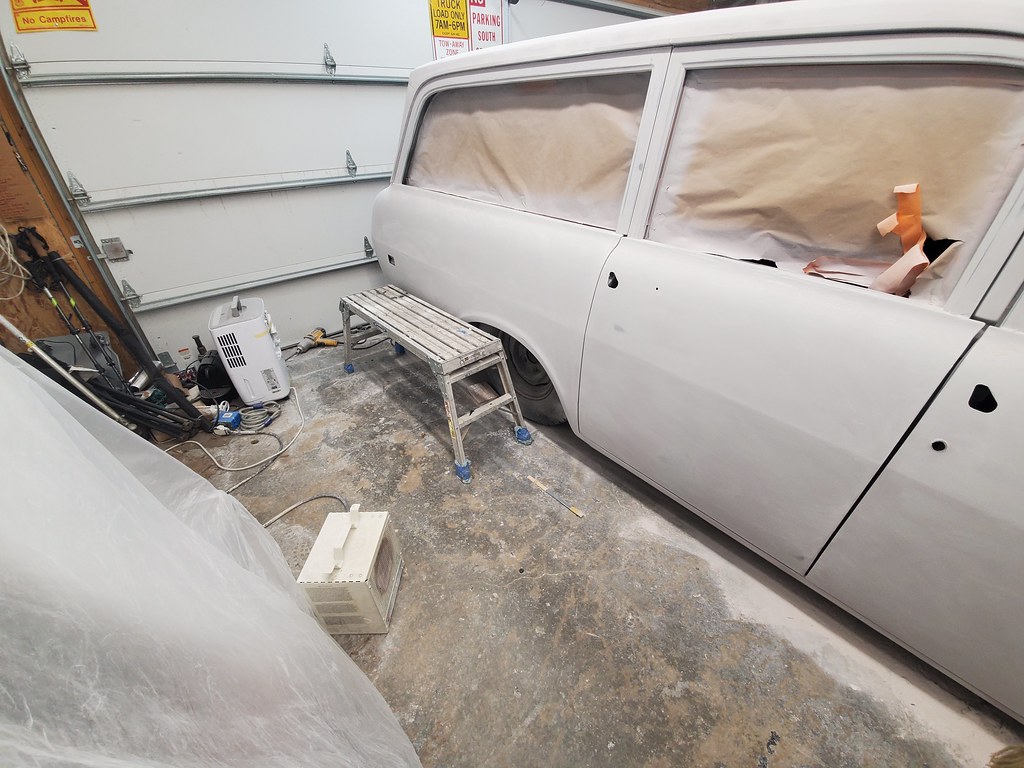
One concern I spotted on the front suspension; it used to be torsion bar on the upper control arm, now it's air bag on the lower control arm. So the loading on the ball joints is flipped, what used to be a just a follower joint is now load bearing. It may be fine, but I think it would be worth looking into before putting much road use on.
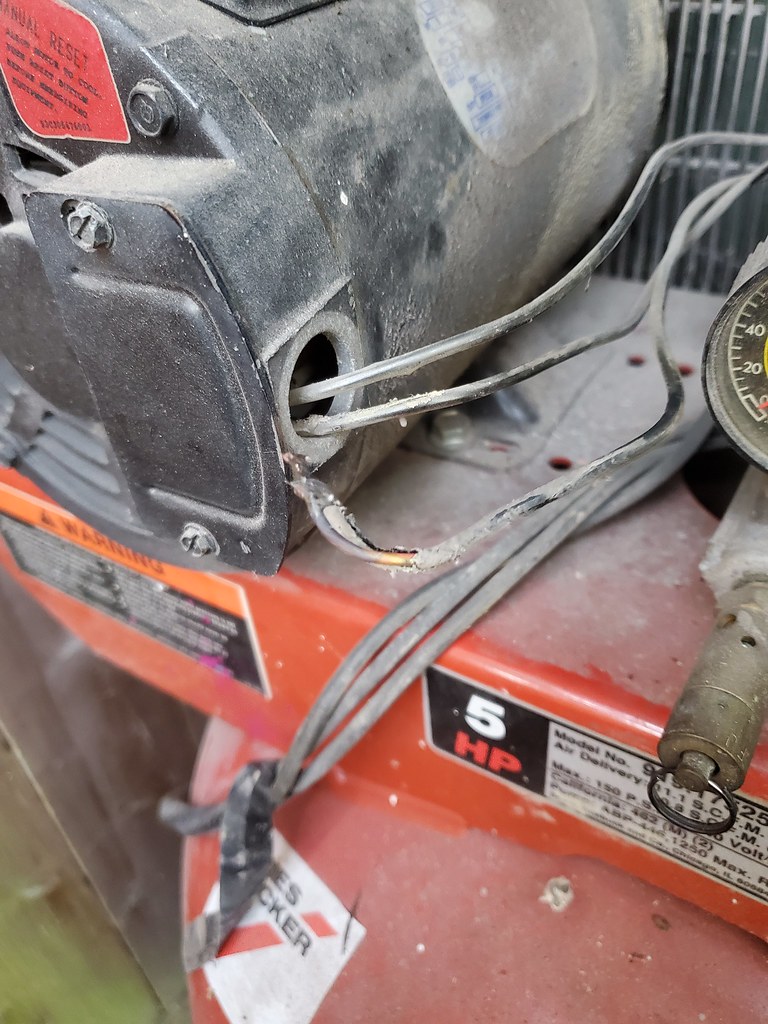
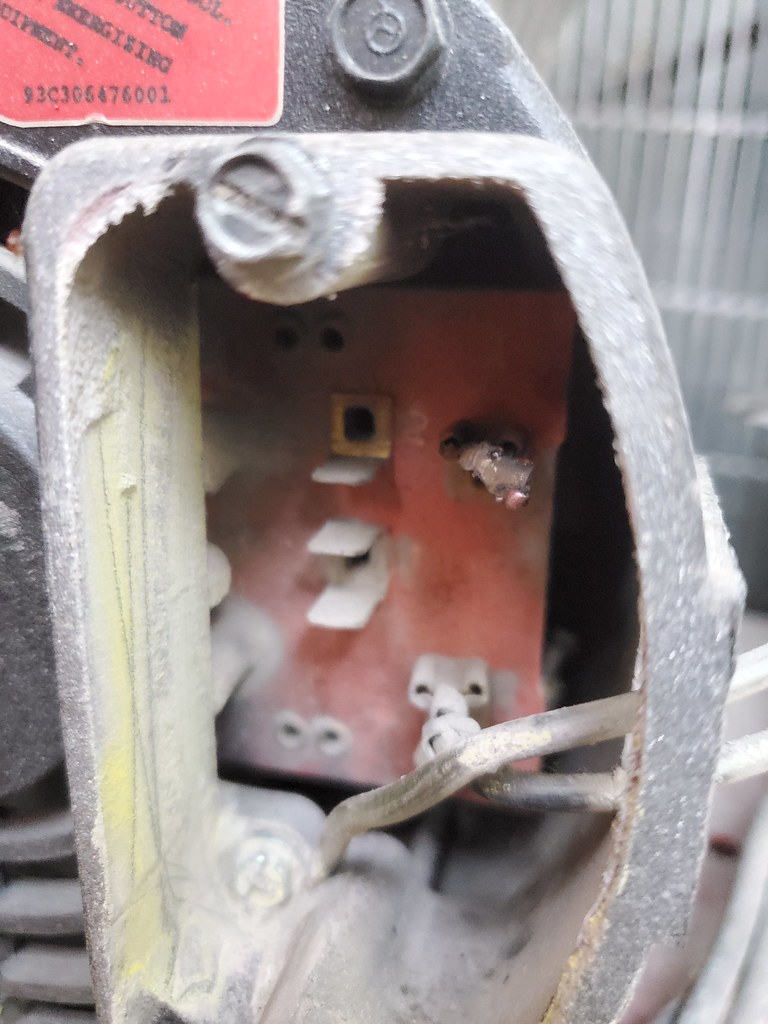

Shouldn't you be using sealtight or conduit to protect those wires (since you arent using rubber cord)?
Aaron Z
Probably in theory. It's in an enclosure....
I would hate to have to redo it because the wires chafed on the lip again, but that's just me....
Aaron Z
Your probably right. And I'm lazy..... It lasted 30 years as it was.....

well you do already have that caulk out...

So much sanding.... And it looks the fucking same..... There so so many edges and little detail shit
I'll trade for the CJ
ShiiiitttWith the boat.
Have had a few IH's , you will be assured a place in heaven.
International Harvester makes tractors..... That's what I've learned from this truck. It was NEVER straight ish
