There's a lot of good info in here, but I don't completely agree with all of it, and it seems a lot of people have lost sight of the "budget" caveat.
Let me start by saying that the BIGGEST issue with the factory TTB setup is the steering geometry which is only exacerbated with lifts, softer springs, and increased travel. Web wheelers all want to blame the camber change in a TTB setup for funky tire wear and handling, but it is really the steering geometry, which is not easy to fix and address. The factory steering linkage causes massive and unequal toe changes, so even if you have a perfect alignment at static ride height, as soon as the suspension moves at all, things immediately go out of whack. This causes the strange jacking behavior and bad tire wear that's commonly associated with TTB. To make matters worse, most drop pitman arms supplied with lift kits do not actually drop the draglink low enough to compensate for a 4" or greater lift. Skyjacker does make a longer drop pitman arm (FA600), but it is stupid expensive and still doesn't fix the shitty factory Y-link steering.
There are several solutions to the steering issue with varying levels of complexity and effectiveness. In rough order of complexity: Modified Y-Link (AKA "Stone Crusher" style), K-Link ("Superunner" style), and Cross-Over/Swing set. The modified Y-link and K-link style steering systems are good enough for the average trail wheeler who wants to be able to run soft springs, while the swing set/cross over setups are what most desert guys want to run since they result in the minimum amount of toe change and bumpsteer. The only commercially available corrective steering linkage I am aware of is the
Superlift Superunner kit, but it still needs to be modified in many cases to make it work as it should with 4" or higher lifts.
Here's a pretty good article 4x4junkie wrote up on the Ranger Station forever ago.
Now for the "Cut and Turn" the pivot vs. modifying the lower ball joint location/"cut and turn" the "C" vs. drop bracket debate, that isn't really cut and dry. There are tradeoffs with all three options. Cutting and turning the pivot on the beam will allow you to keep stock pivot points on the frame and avoid extra leverage creating stress, and give you marginally better ground clearance. This will also give your suspension a higher geometric roll center and make the beams much more prone to jacking in off-camber and hard cornering situations which will make your rig less stable. The higher effective beam angle will also transfer more vertical force into the frame when the suspension compresses. The jacking and force transfer is much like suspension links at steep angles do with a solid axle. Cutting and turning the "C" or relocating the lower ball joint has all the same disadvantages as cutting and turning the pivots, but results in significantly more ground clearance. However, this puts all of the U-joints at an angle at static ride height and the wheels pointed straight which can limit your maximum steering angle and suspension droop due to joint bind. The biggest issues with drop brackets are that you won't gain any ground clearance, and most aftermarket lift kit companies have weak drop bracket designs that won't hold up under heavy trail use. As others have mentioned, Skyjacker is the exception and makes good quality drop brackets, and I personally haven't experienced or heard of issues from people using Skyjacker drop brackets. The big advantage of drop brackets are that they keep the effective angle of the beam much more level which results in minimized jacking and force transfer through the frame during compression. My personal opinion is that if you are going to raise the ride heigh more than an inch or two, drop brackets are the best option for most general trail rigs due to the ease of install/fabrication and the ride quality and stability they provide by keeping the beams at a flatter angle.
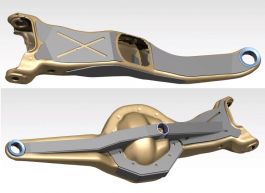
Here is my personal setup which has served me pretty well (Dana 35 in a BII, but the same things can be applied to your F150):


I am running Skyjacker drop brackets, extended radius arms, and their standard drop pitman arm (FA400), but you can easily fabricate long arms out of the stock radius arms which it sounds like was already done on your F150. I am running a 1.5" DOM steering setup with Chevy "1 ton" TREs from Ruffstuff in a modified Y-link configuration (steering pivot moved to the passenger side to line up with the driver beam pivot point) which does a good job of keeping the toe change in check allowing me to run soft springs, but it does have a bit of bumpsteer going down the road. I am running Rubicon Express 4.5" XJ springs (about a 220 Lb/in spring rate by my calculations) and Bilstein 5100 Bronco/f150 TTB application shocks with the stock coil buckets and shock mounts. I did make some custom axle-side coil mounts that utilize Jeep coil isolators. I installed Daystar poly beam pivot bushings and I run pretty basic poly bumpstops. I am running Spicer 5-760X U-joints with full-circle retaining rings and stock axle shafts. I had to open up the window for the axle shaft substantially on the passenger side beam to keep the shaft from making contact with the beam throughout travel. I have not reinforced the beams themselves at all. I run without a swaybar and it is a little loose on the street, but totally manageable in my opinion. I am pulling right around 13" of wheel travel, and could have another inch pretty easily if I dropped down in tire size since I have my compression travel limited because I couldn't cut any more without doing a lot more work moving things around. I am pretty much limited on droop because the slip yoke on the center joint is out of travel. If I want more travel at this point, I need more width and/or custom coil buckets and shock mounts so I can run longer springs and shocks. However, 13-14" of travel at only 73.5" outside tire to outside tire is pretty good. I am pretty happy with my setup, it crawls pretty well and handles high speed running well for just having basic Bilstein 5100s. I think it is pretty good bang for the buck, and in order to make much of an improvement in any aspect is going to cost a whole lot more money.
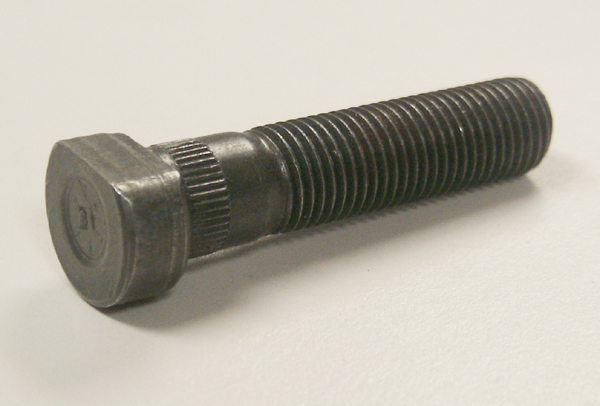
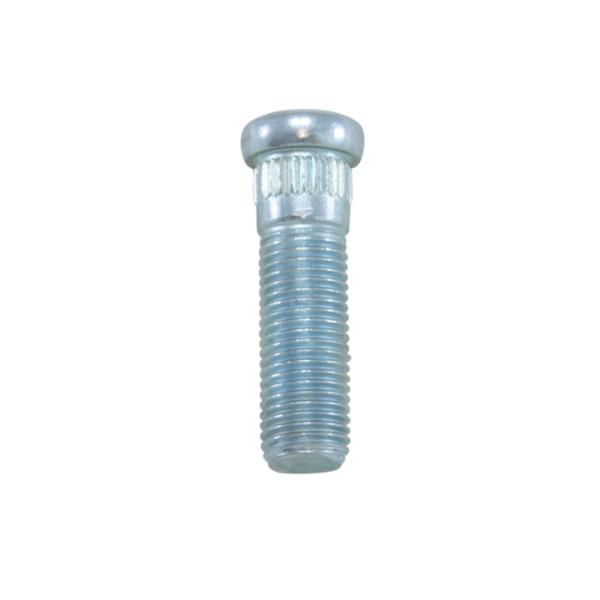
Most TTB application lift springs are way too stiff and short for good offroad performance since they are trying to cover up the deficiencies in the stock steering geometry that are magnified with soft springs and lots of travel. For a full size, I imagine a spring in the 300-350Lb/in range would probably work pretty well. Most TTB application lift springs are around 500Lbs/in. Definitely modify your shafts for full circle retaining rings and run Spicer 5-760X joints. If you plan on beating on it hard, J
eff's Bronco Graveyard has a pretty affordable 4340 replacement axle shaft kit with a lifetime warranty. There's a lot of good info in here, but I don't completely agree with all of it, and it seems a lot of people have lost sight of the "budget" caveat.