What's new

#SteerAndStuff buggy build

I am just curious how much heavier it is than the typical carbon fiber/Garolite flat chassis rail performance "scale" builds.
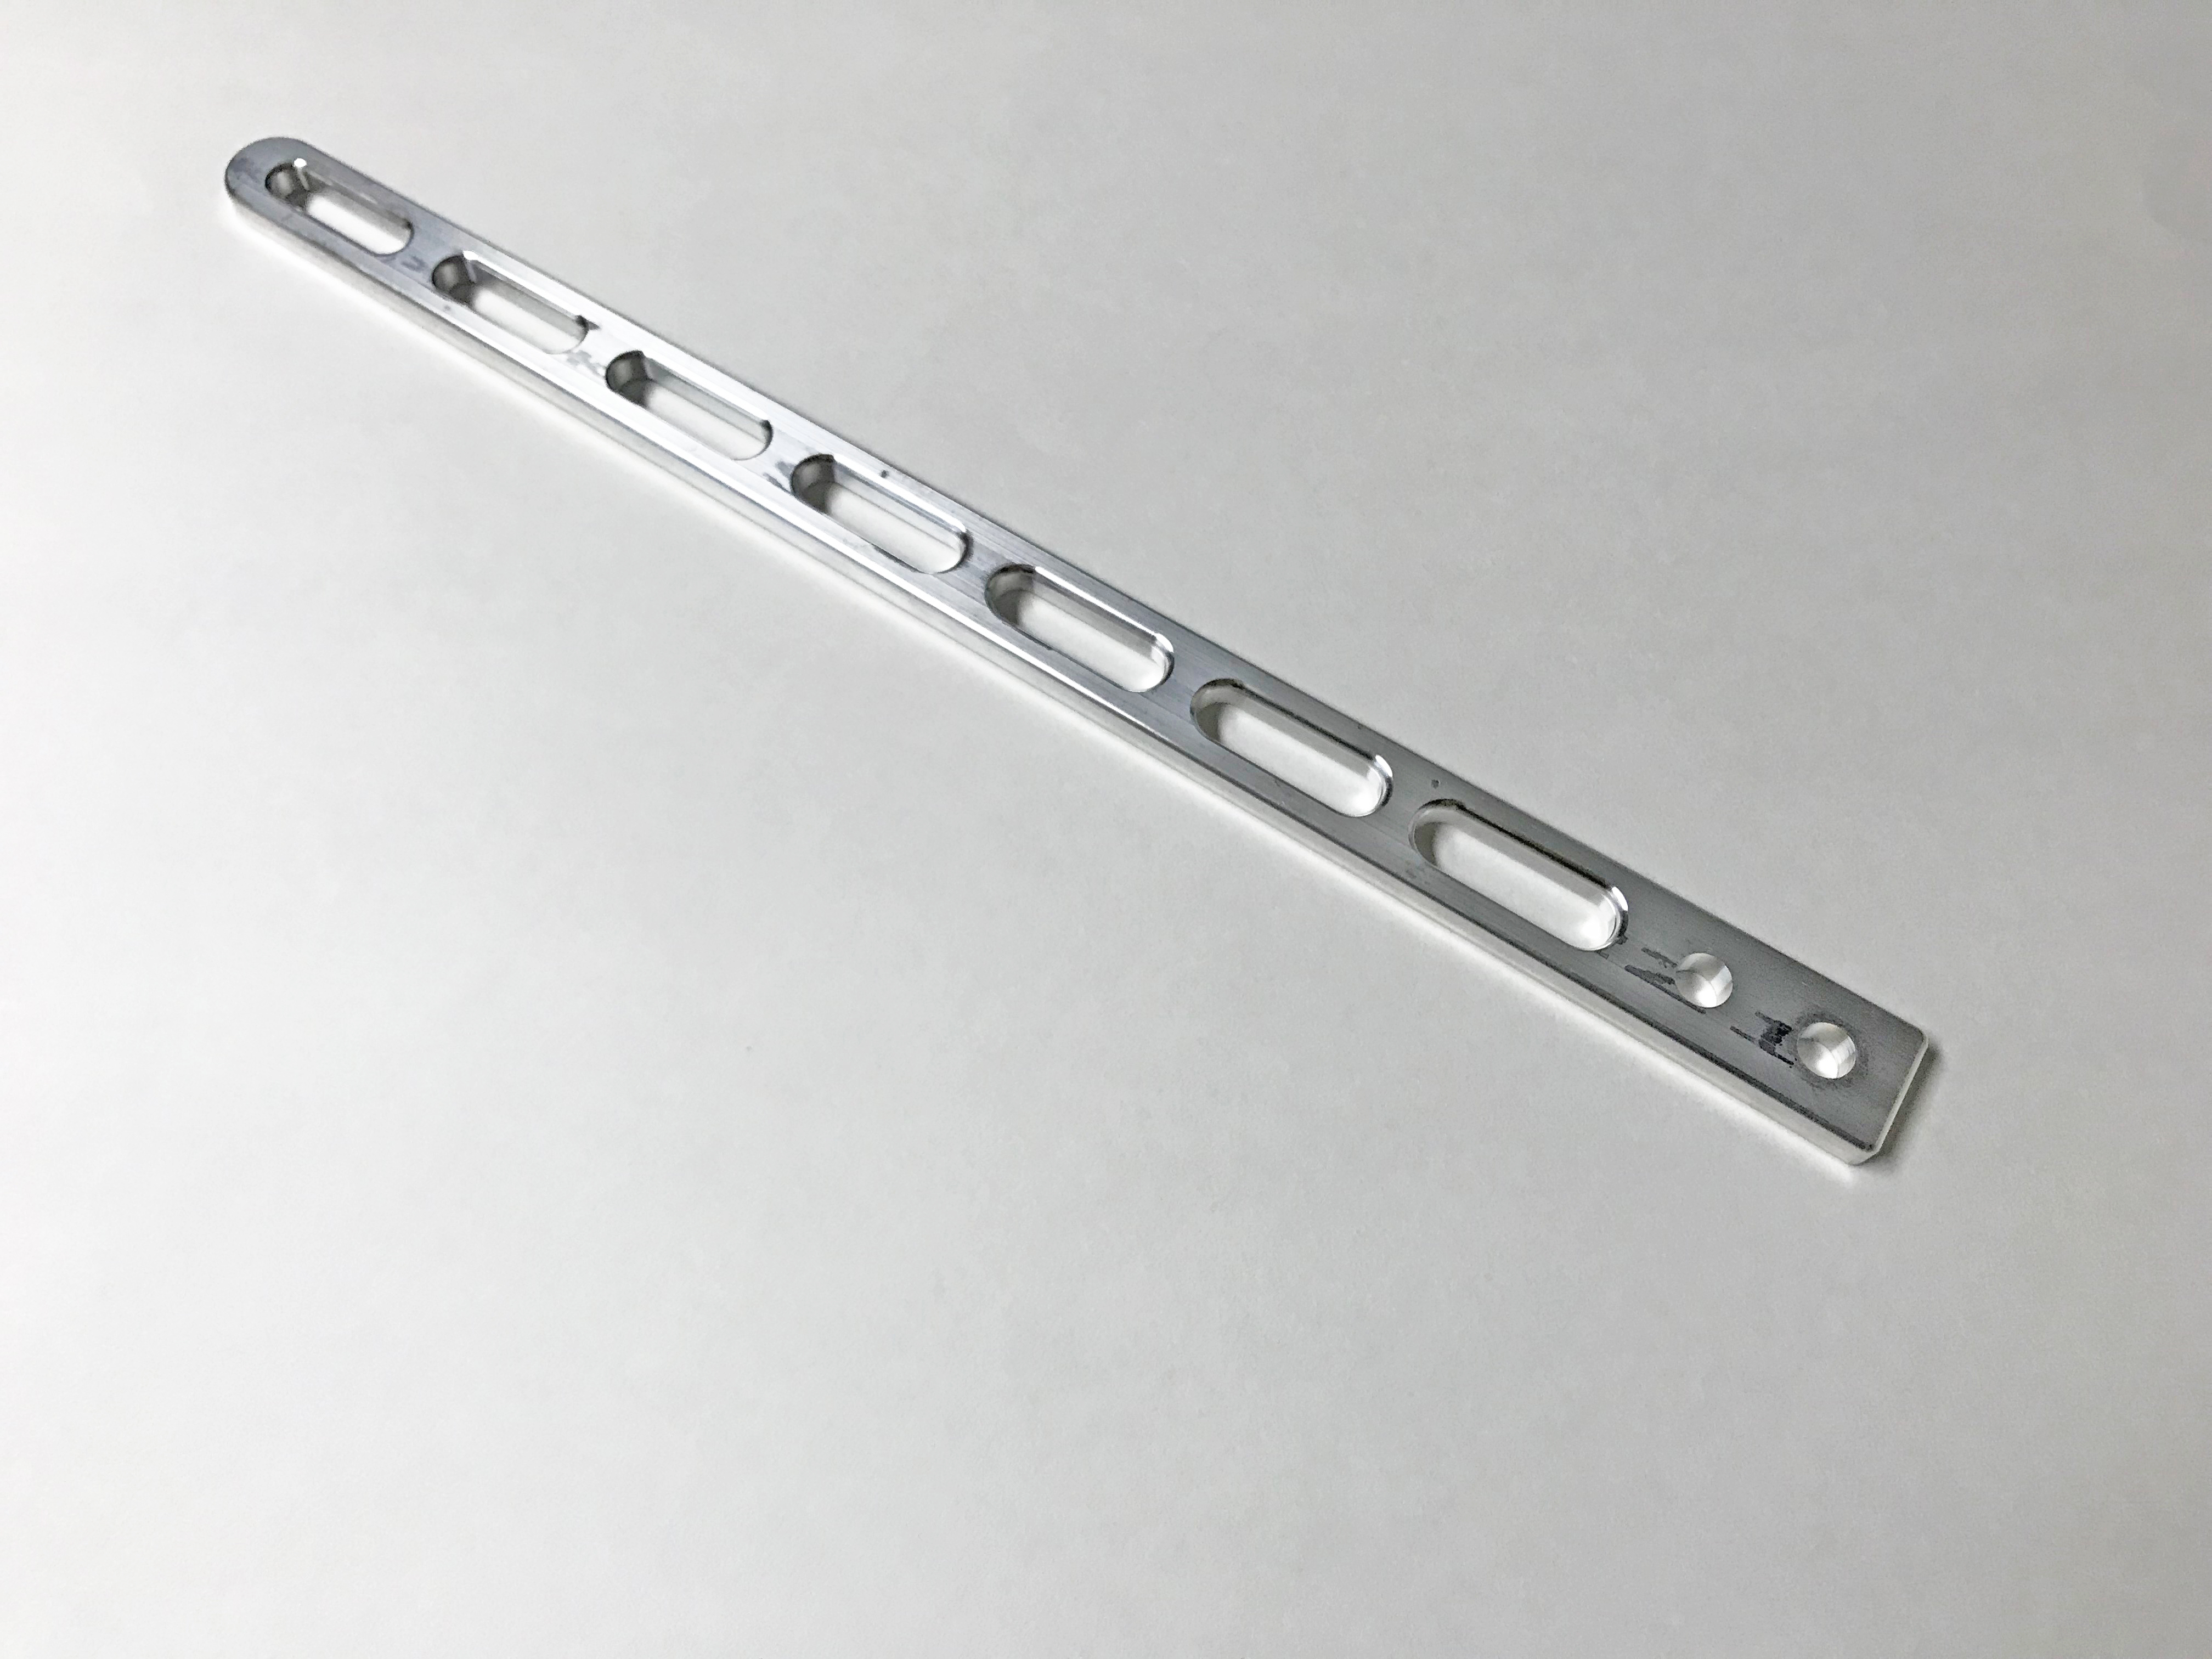
I'll have to post in the RC section. This chassis is advertised at 256g and lighter than plastic capra chassis. This car is a bit on heavy side with the dig trans/servo stuff but I like the scale aspect of dig like in the real buggy. My pro and sporty are for sure a bunch lighter.
 
Did some winterization maintenance and repairs today. The brake cantilever mount started to bend while at Sand Hollow and causing some resistance. Straightened it and slowly bent back either by use or I often push off on it while getting in/out of the buggy. Today I added a double sheer tab to reinforce it.

Had to replace a CV tore CV boot after Sand Hollow as well. Was an original rubber boot, been swapping in the more silicone feeling empi boots and feel they are lasting better.

Swapped back on the Pitbull Rockers for winter wheeling as well.

20231021_145007~2.jpg
 
Finally got around to installing my fire port in the dash. Its designed for an inboard boat and the idea could jam the element extinguisher thru it in case of an engine fire. It is possitions right behind the fuel rail fitting and near my rear steer hydraulic fittings. Also found a spot in the dash for the battery disconnect while I was at it. Never really liked it between the seats.

20231022_112306.jpg
 
Have you seen the campfire video of the element? Has me rethinking mine, now Im carry a 2nd traditional extinguisher.
 
Have you seen the campfire video of the element? Has me rethinking mine, now Im carry a 2nd traditional extinguisher.
I carry a foaming and halguard extinguisher on rig besides the element. My feeling is if had an engine area fire I could strike off the element and stuff down the fire port where it will be concentrated in dog house area and have better chance of doing its job.
 
I carry a foaming and halguard extinguisher on rig besides the element. My feeling is if had an engine area fire I could strike off the element and stuff down the fire port where it will be concentrated in dog house area and have better chance of doing its job.

Even if it just buys you 15 seconds to get out and grab something else, it's worth it.
 
how are you liking the JHF spec'd air shocks?
They are a great improvement over my previous 2.5 normal air shocks with extra oil. Still running roughly 3-4" up travel. Old buggy with ORIs and 6" up was definitely more cush but apples to oranges. I would buy them again for sure.
 
I did have a hiccup a while back where I lost all power. I run a small 4 fuse panel off my battery switch to power up my brake light, vhf, dome light, and switch pro "ignition" turn on switch. I feel it was a poor connection to the switch pro ignition circuit and has been working fine ever since messing with that. I do want to either label the indication lights or buy the newer bezel with labels so I can remember what each light represents.
 
Finally got around to installing my fire port in the dash. Its designed for an inboard boat and the idea could jam the element extinguisher thru it in case of an engine fire. It is possitions right behind the fuel rail fitting and near my rear steer hydraulic fittings. Also found a spot in the dash for the battery disconnect while I was at it. Never really liked it between the seats.

20231022_112306.jpg

What parts did you use for that Switch Pro’s mount. I have one on the shelf to do-do all my wiring at some point this winter. I like that mount a little better than just flat mounting it to my center console.
 
What parts did you use for that Switch Pro’s mount. I have one on the shelf to do-do all my wiring at some point this winter. I like that mount a little better than just flat mounting it to my center console.
The switch pro mount is from 67 Designs. Gets it so easy reach from shifter and steering valve and while fully secured in seat.
 
Few little changes. Had to do some transmission work so while I was at it I moved the cooler to under the fuel tank and changed to a larger 40 row vs the old 25 row. This opened up more visibility to the rear passenger tire from between the seats.

20241109_080723.jpg


Also changed the throttle pedal setup. My original donor car throttle was plastic so did the remote cable operated pedal to adjust pedal ratio. Found later the metal pedal option for other applications with a 3900 so used that and extended the pedal 3.5" to get more throw for more analog input. Also added a Pedal Commander and run it in Eco-1 which changes the throttle curve so more low pedal control then ramps up near full throttle.

20241109_080812.jpg

20241109_080748.jpg


Also picked up a passenger seat tray from Maker Offroad for those days wheeling solo. Had to modify the mounts a fair for my application to get to clear the dash and B pillar. Also modded to slip fit into my front seat mounts and pin into the rear for tool less install.

20241109_080822.jpg
 
Also while wheeling in Sand Hollow the day after I loaned my spare fuel pump to a friend my buggy started running weird and felt like a fuel issue. Wheeled a few days in Colorado as well and by the last day it was running worse consistently and I was getting a rich fuel odor and consuming fuel worse. I noted my fuel trims were very low and ecu was pulling a lot of fuel. Got home and found it running at 84psi fuel pressure at idle. Pulled fuel pump module and found a few things. First the regulator inlet screen was completely plugged with little thread looking fibers that I assume are from the hydramat. I ended up just leaving the screen off for now as I feel those little fibers would flow through the regulator instead of plugging up that fine screen. Also found the insulators for the butt connectors had swollen and slid down. Need to order some better fuel rated connectors and stagger the connections. For now zip tied the insulation back on and tied the ground to the pump frame to give separation to test. Now engine seems to run good and have 62 psi pressure and fuel trims are happy for the short test I ran.

Looking at ordering a handful of these unless anyone else has a good fuel safe wire connector suggestion?


20241025_104821.jpg

20241025_105444.jpg
 
One of my favorite buggies!

Where did you get that top hat with the built in filler? I could use exactly something like this with my limited space.

Also, I'd be careful with pulling that screen. All that stuff will pass through the regulator but WILL most likely end up stuck in your injector nozzles and you'll be pulling them next to replace or clean which isn't all that fun.

Love this build and envy your wheeling time, you seem to wheel the whole country like it's your job. :lmao: :flipoff2:
Thank you

Are you referring to the fuel pump module? It's the Holley Sniper 19-375 in tank pump with regulator. It's nice since I don't need external regulator so just one hose from tank to fuel rail and has filler cap so just one large hole in tank and done. I did take the capped return fitting out and installed a tip-over bulkhead fitting in its place for my tank vent.

The screen is on the regulator so whatever pass thru it just returns back into the tank.

Haven't gotten to wheel much this last year with crazy work on-call schedule but will be better next year but still got a few trips to CO and UT this year plus the good stuff we have close to home.
 
Thanks for that information. I'll definitely be picking one up, I only have room for one hole in my cell so this will be perfect. What pump do you normally run with it?

Didn't consider the return to tank after regulator. I'll assume you're not going to let the build up get too much worse. Plans if the build up gets worse or continues, just replace mat with new or try something different?

Keep doing you and keep us updated with wheeling pics and rig updates!
It's the pump (19-341) that came with the pump module. Am looking to change to a different hydramat (16-102) that would fit this tank a little better, just need to figure out how to adapt the mat's 3/8 npt to the press on connector with locating pin on this pump. Or a different pump possibly.
 
Also picked up a passenger seat tray from Maker Offroad for those days wheeling solo. Had to modify the mounts a fair for my application to get to clear the dash and B pillar. Also modded to slip fit into my front seat mounts and pin into the rear for tool less install.
Well an idea just clicked for mine. Run an extra set of mounts in the back for times with the passenger seat is in, but want the cargo more than the visibility.
 
i would suggest doing your best to get the splices out of the tank. i looks like you have enough wire to pull them through
That's probably the best idea. I'm going to order some connectors in case they don't fit through and if nothing else have the in case have to install a spare pump that needs in tank connections.
 
I also tweaked the Midnight Metalwork shifter while had the transmission out. Rear low always felt like it was just barely engaged but at least never popped out. From reading others comments it sounds like there is some clearance/dimension problem internally on these housings. I did some quick measuring and split the difference on the rear shift rail engagement and flipped rail and drilled new countersunk hole for the shift fork .100" back so now rear low engaged deeper and rear high still feels good. Also polished up the rails where they go thru the case bushings and made shifting feel a lot smoother.

5e76ac09-79a8-4c93-8c6f-a06187534046.jpg
 
whats the pedal part number? i plan to try the plastic one but that tempting too.

and what application of pedal commander?
 
Looking at ordering a handful of these unless anyone else has a good fuel safe wire connector suggestion?
A splice in a fuel submerged wire isn't a great idea. I'd rather build another harness with tefzel wire.
But if you must, you need to buy uninsulated splices and use TFE250 shrink.

SteerAndStuff edit below:

That crimp job is absolutely horrendous :

1731419138920.png


Please buy a set of half decent crimpers and use the proper indent :


1731419700185.png
 
Last edited:
whats the pedal part number? i plan to try the plastic one but that tempting too.

and what application of pedal commander?
Dorman 699-104 is the aftermarket throttle pedal or eBay for the 06-11ish Impala, g6, LaCrosse or anything with the 3900 and find a metal OEM take out.

The pedal commander is the PC64 which was for my 2009 Impala application.
 
Top Back Refresh