What's new

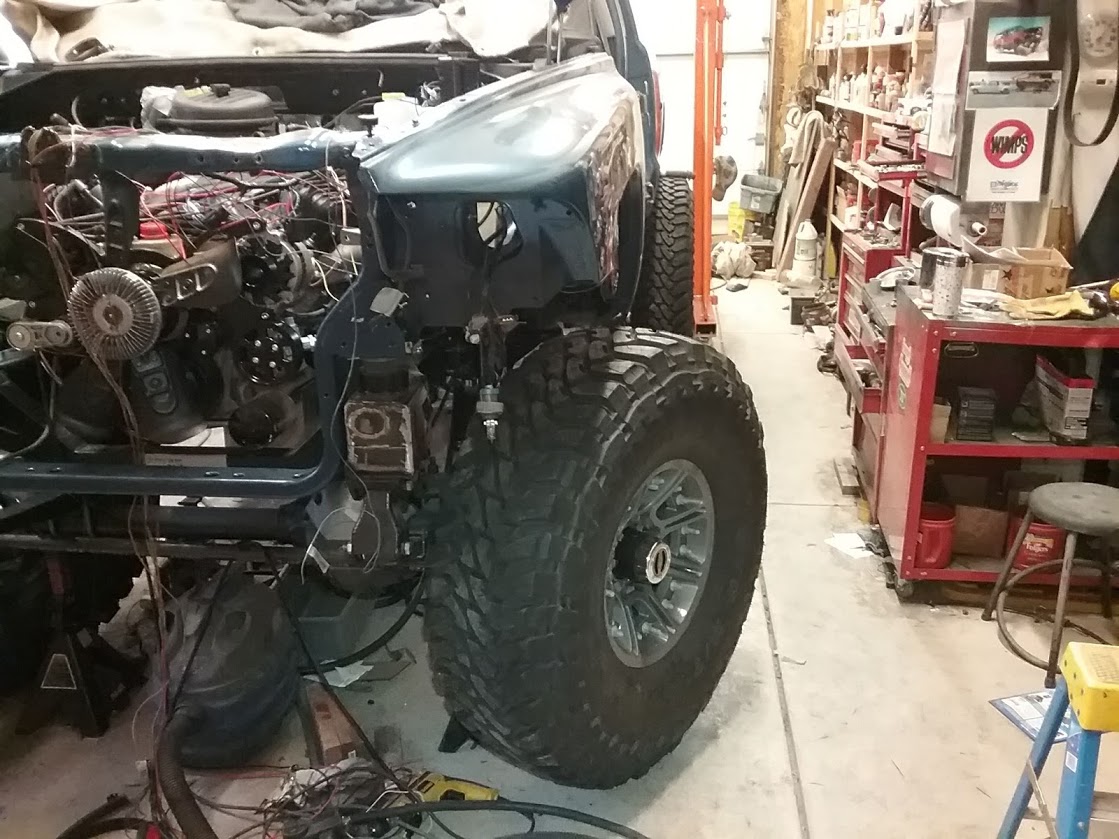
02 Dakota QuadCab 4x360x40s

GxTcdVv.jpg

What size/type/brand wheel spacers are those?
 
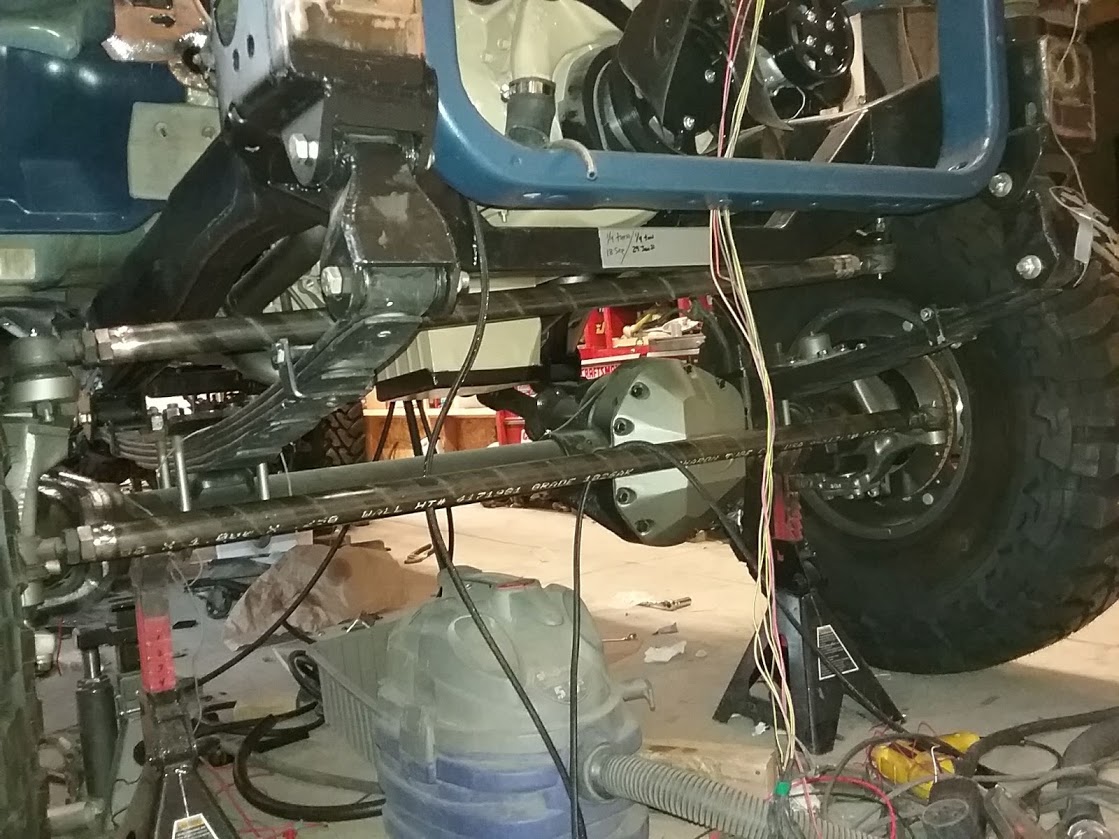
bought them via ebay from Premier Auto ACC - they're 1" adapters/spacers, 8-lug, with the matching GM 14x1.5 thread. They were $49.95 for the pair - not sure why they're listed for $999.99 - I guess contact them to confirm prices. Nice stuff - perfect for what I needed (I'm OCD about matching front/rear track widths and needed an inch per side in the rear to match the front)

https://www.ebay.com/itm/2-1-INCH-25...72.m2749.l2649
 
Last edited:
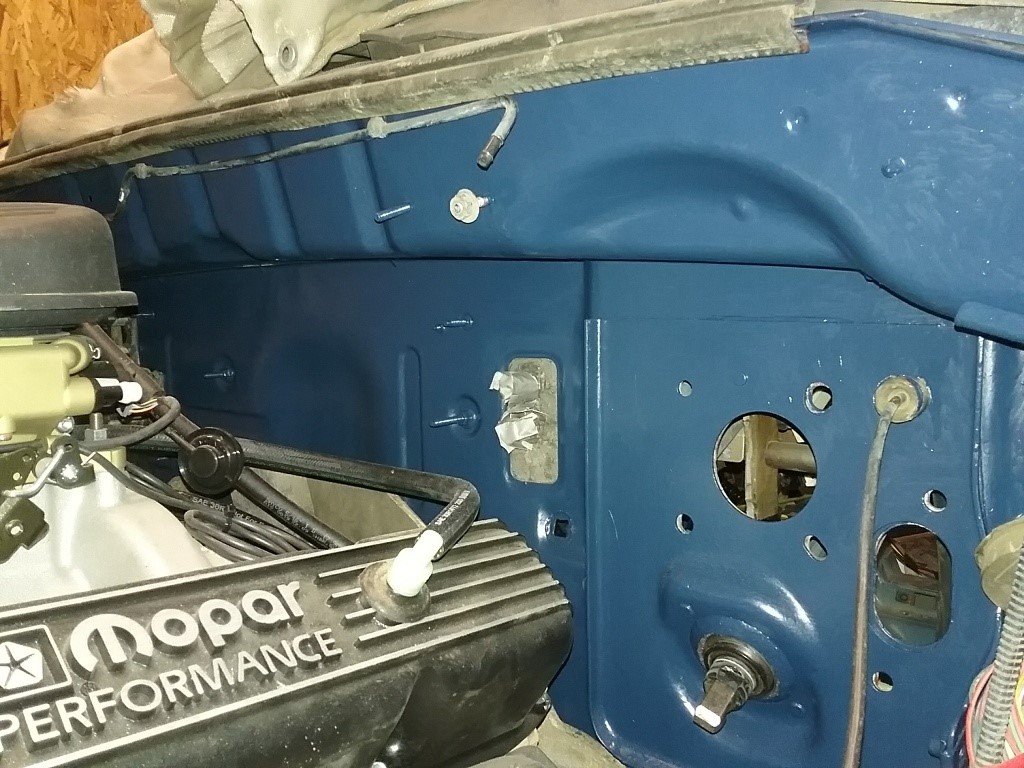
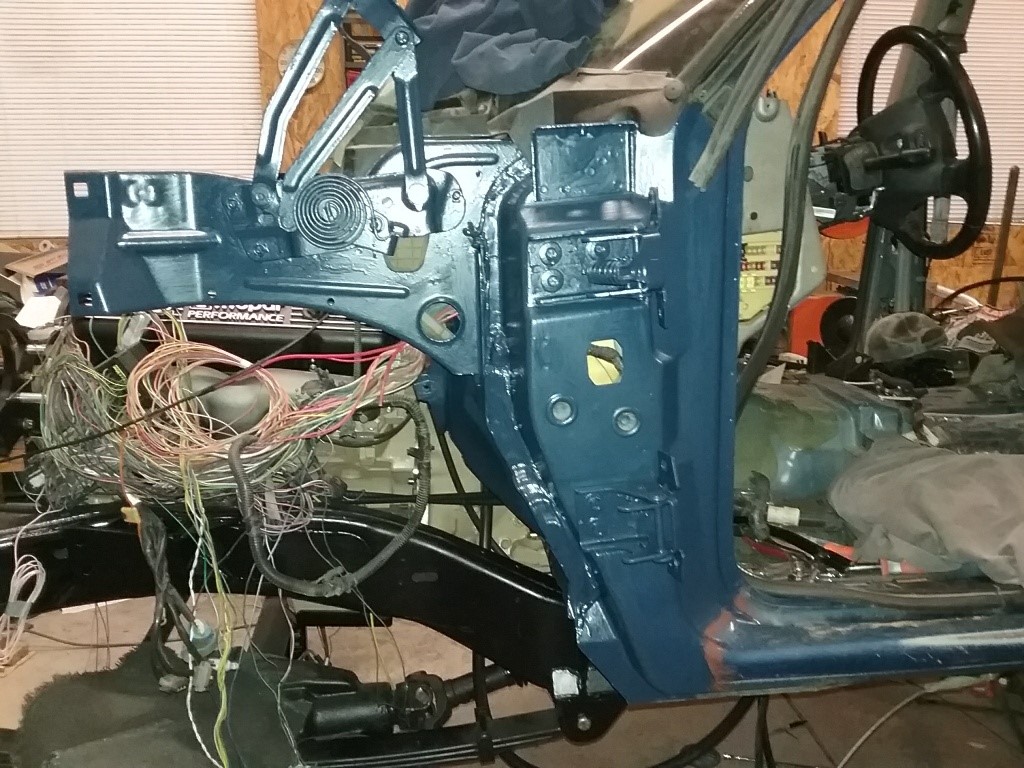
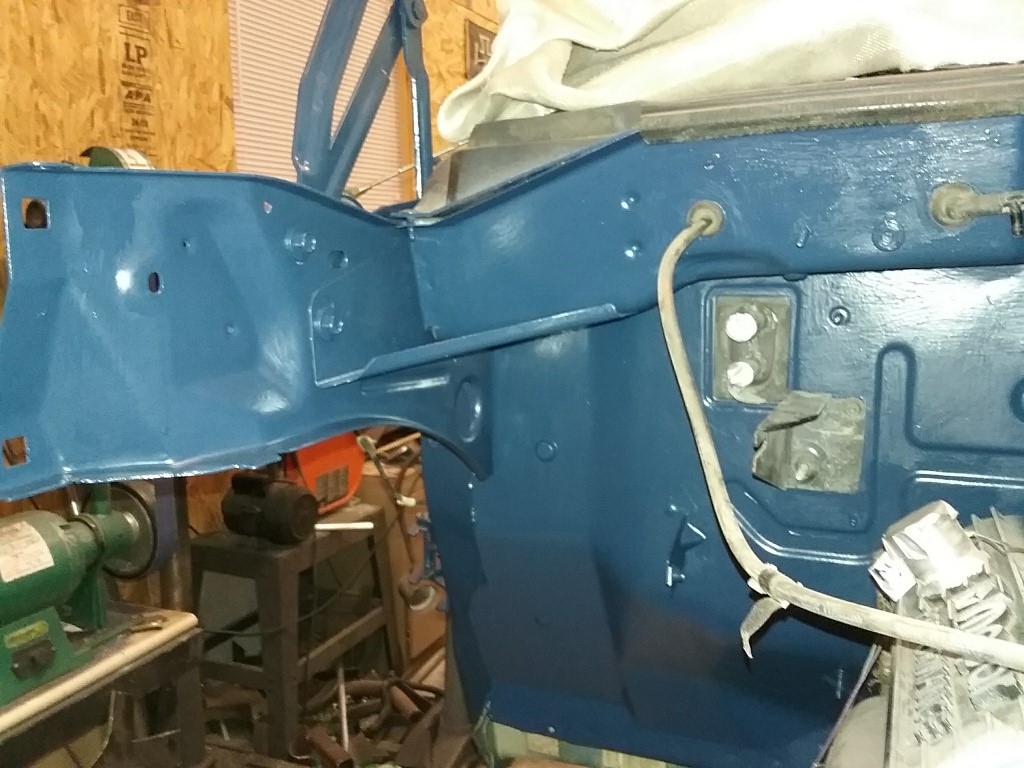
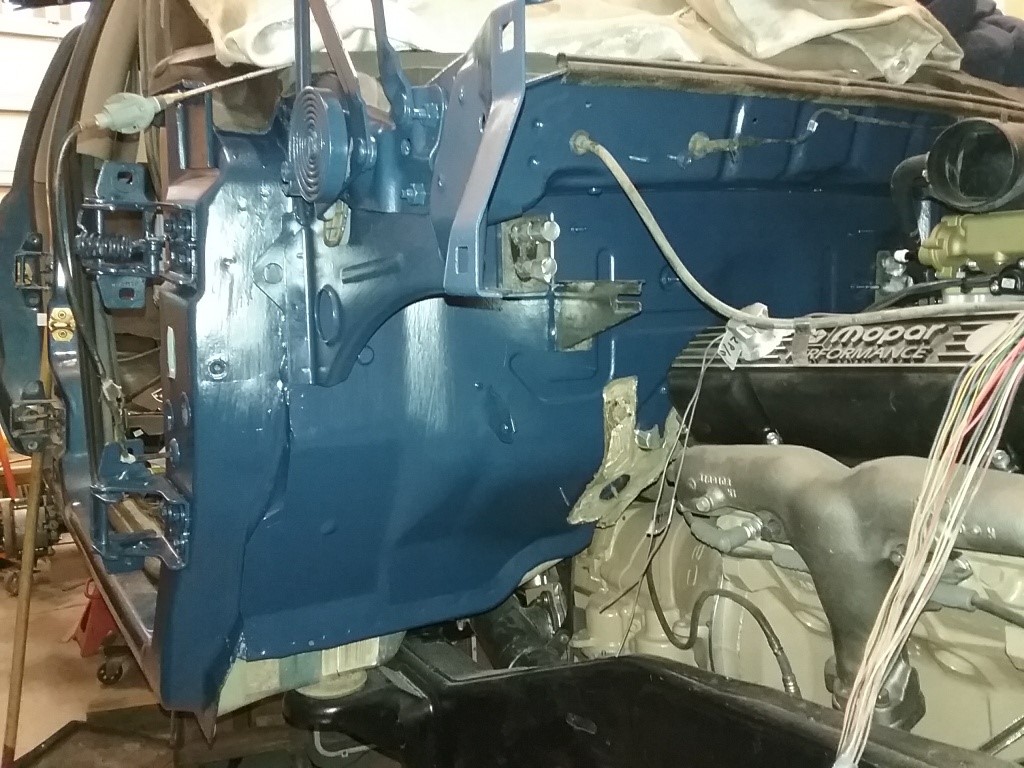
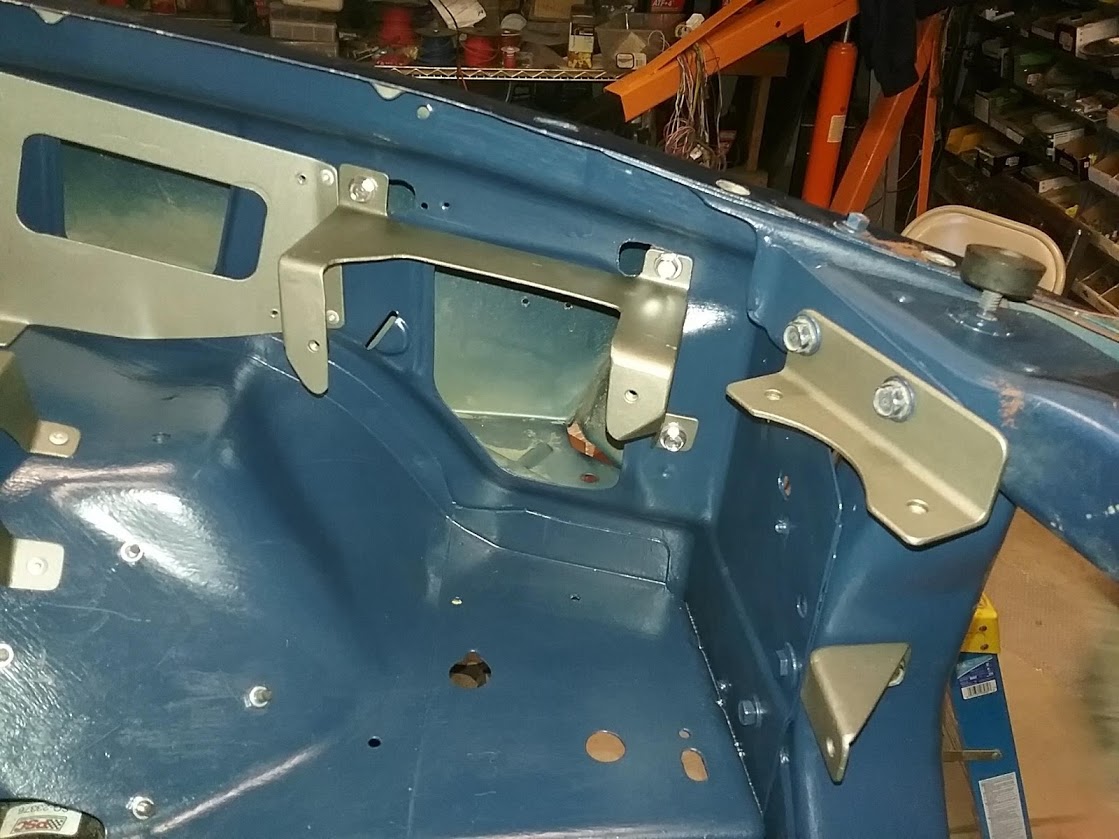
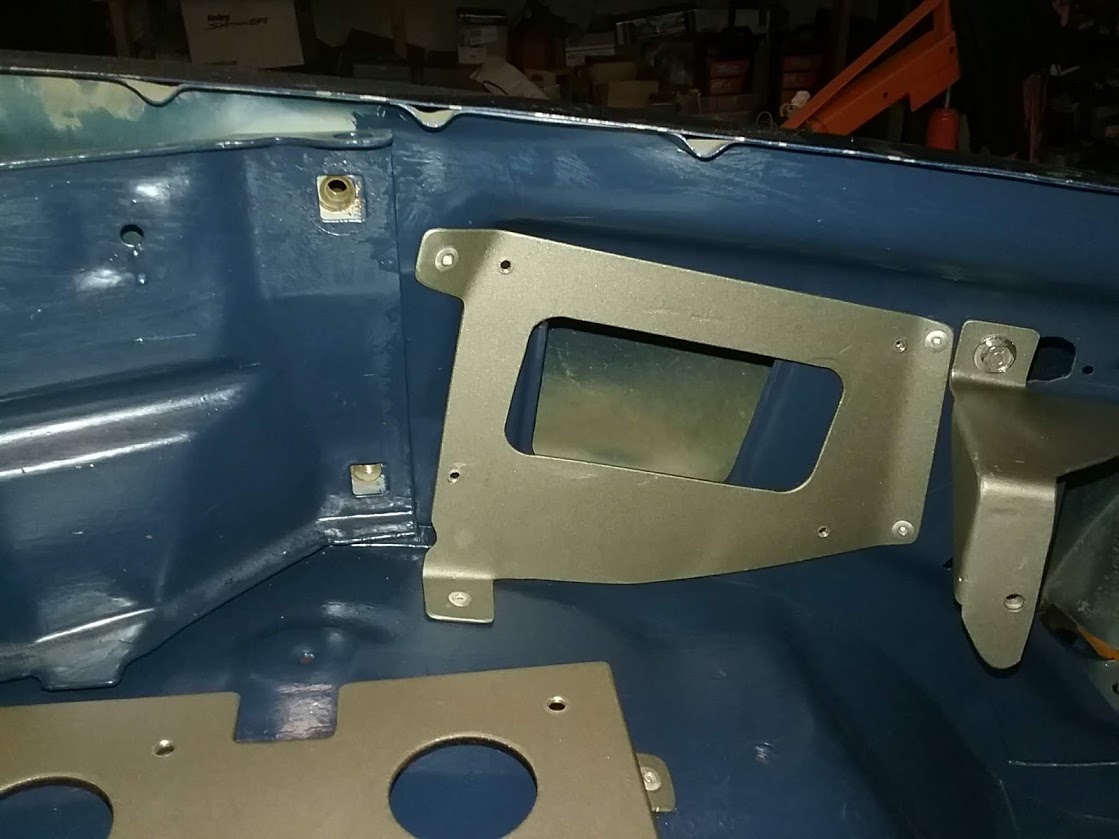
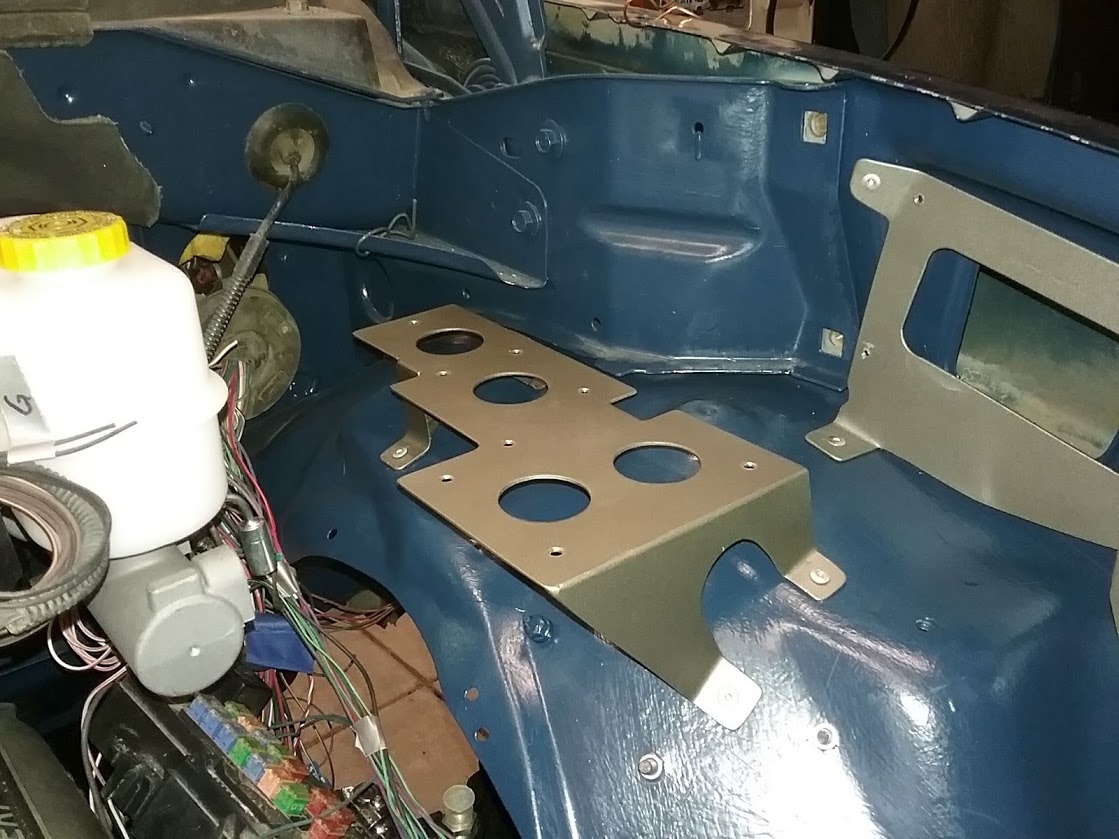
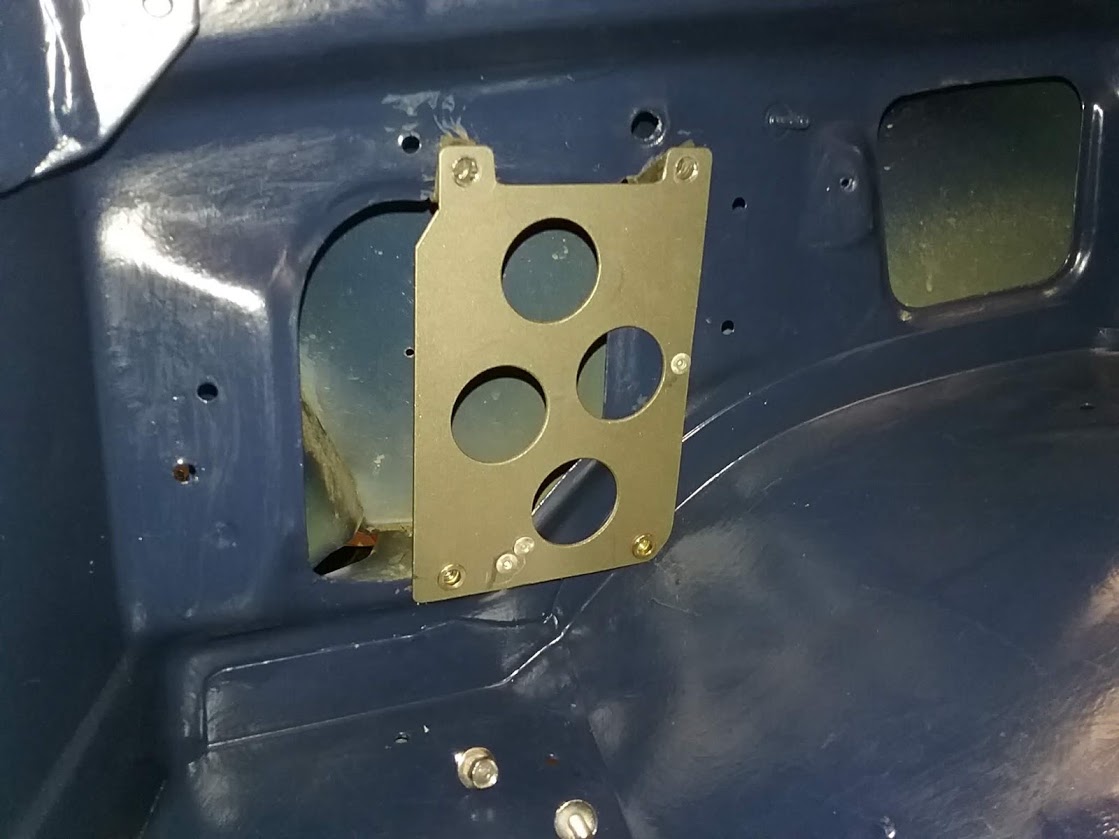
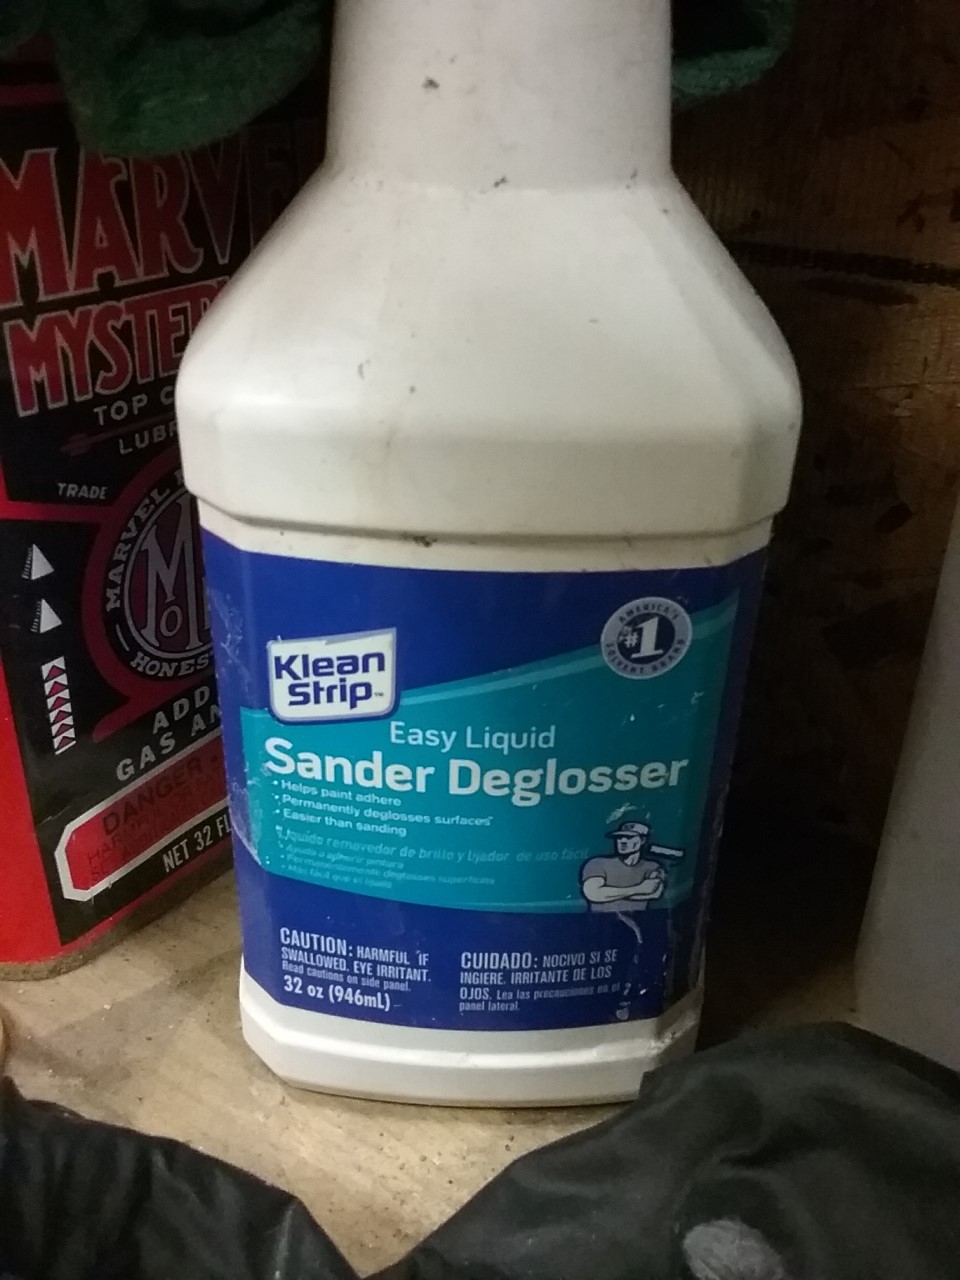
...since I'm getting ready to bolt stuff to the firewall I figured now was the time to prep, prime and paint it. First I used sander deglosser ("liquid sandpaper") to give the old but good paint tome 'tooth', then a coat of good ole Rustoleum rusty metal primer, and then two coats of 'my' color, USAF "Strata" Blue. Meanwhile, getting ready to fab up the frame for the center console so the shifter will have something solid to bolt to, locate the t-case shifters, and I'm hitting my hose shop today to get the fittings for the hydrobooster and gearbox...

UlKrr2b.jpg


M0vHv9x.jpg


O8Nbi6e.jpg


c4PFoVC.jpg


sOvq7Or.jpg
 
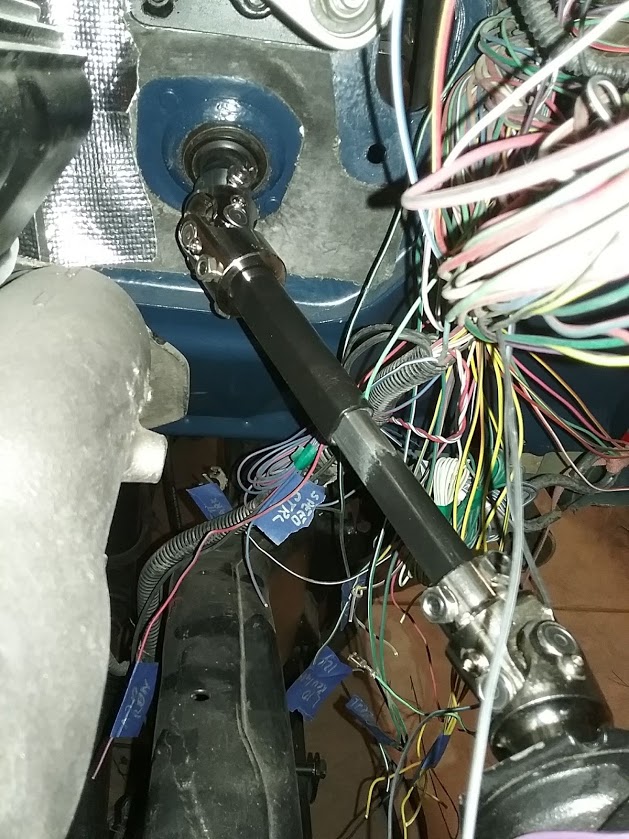
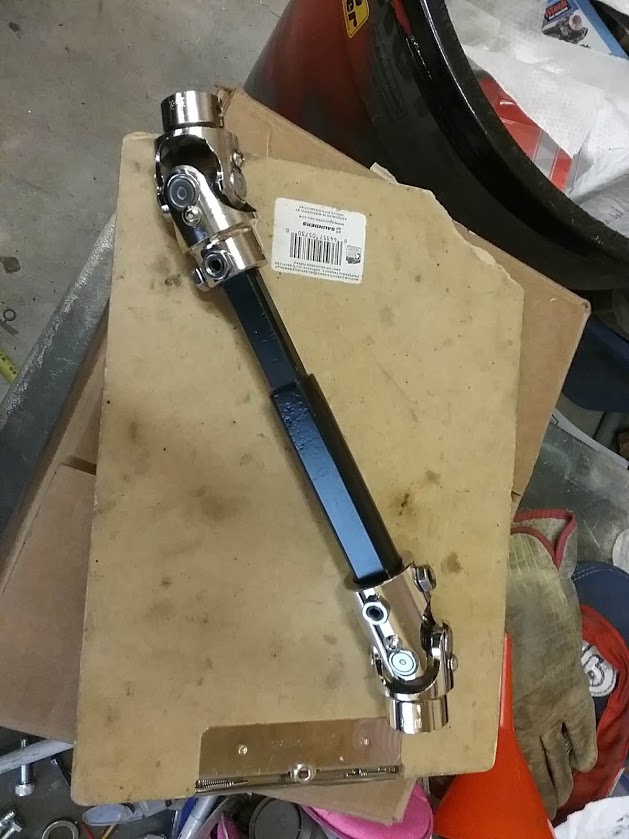
...fabbed up a mount for the Scout II gearbox, shortened the column by two inches (for additional exhaust manifold clearance), and made two holes in the floor - the forward one for the trio of t-case shifters, and the rearward one for access to linkage. etc. The gearbox had to be mounted 'outward' because the two ram-assist ports unfortunately aim straight towards the engine, so I'm mounting the gearbox far enough away so as not to be affected by engine heat, plus it being further out means less bump steer angle so bonus. Nothing's in the way of the tire - in fact there was tone of room so I used it.

Lots of finish work to do, but the t-case shifters and Winters Sidewinder transmission shifter should be in place in a couple weeks. Also, most of my steering/hydrobooster plumbing is in from PSC so I'll be fabbing all the hydraulic lines soon.

Progress 👍

this thing is gonna get a lot of unending stress placed against it so I made it 'big'; main face is 1/2" plate, gusseted by 1/4" -

Pv4i4wb.jpg


hxnTlXb.jpg


OzOTIPA.jpg


TmALl9s.jpg


can't really tell by looking at it...but this section of the column is now 2 inches shorter than it was...

ZN7Uvi7.jpg


both holes button up nicely - the front via a boss t-case shifter plate I made, and the rear with just regular plate to seal the floor under the custom center console, which is 'on deck'.

Kgw5NtS.jpg
 
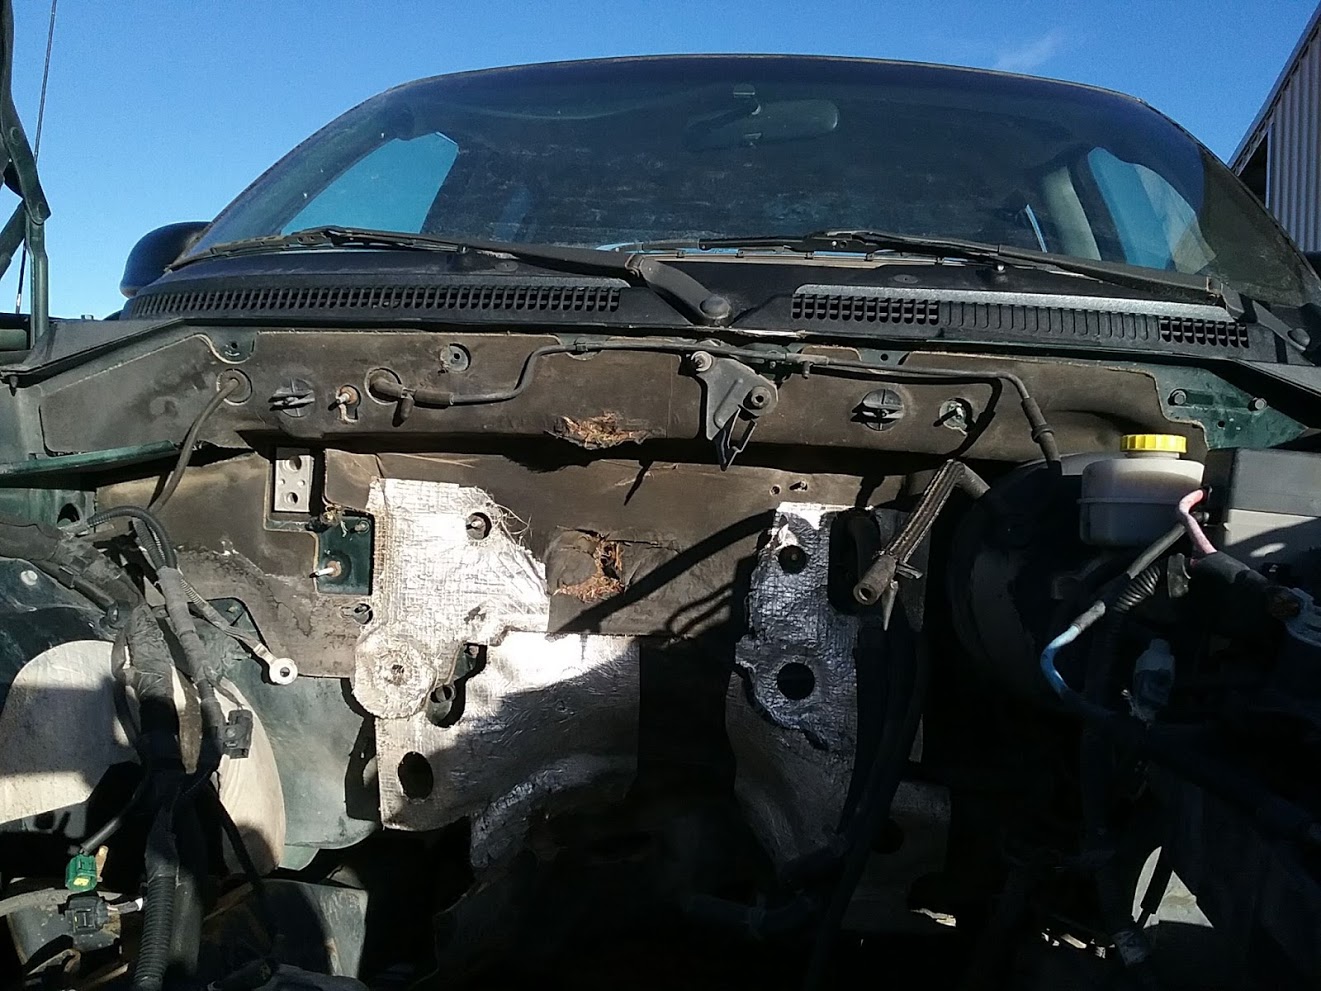
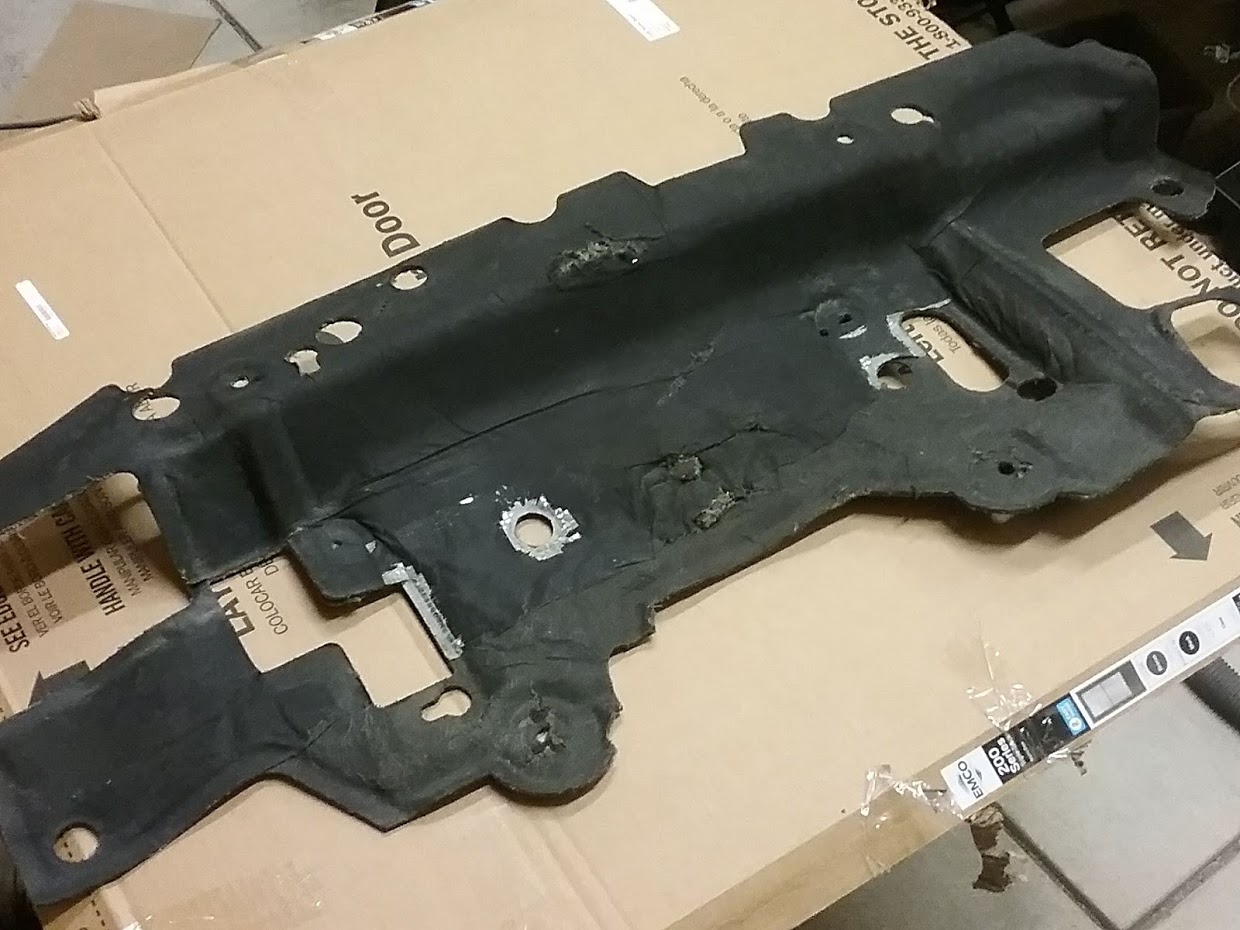
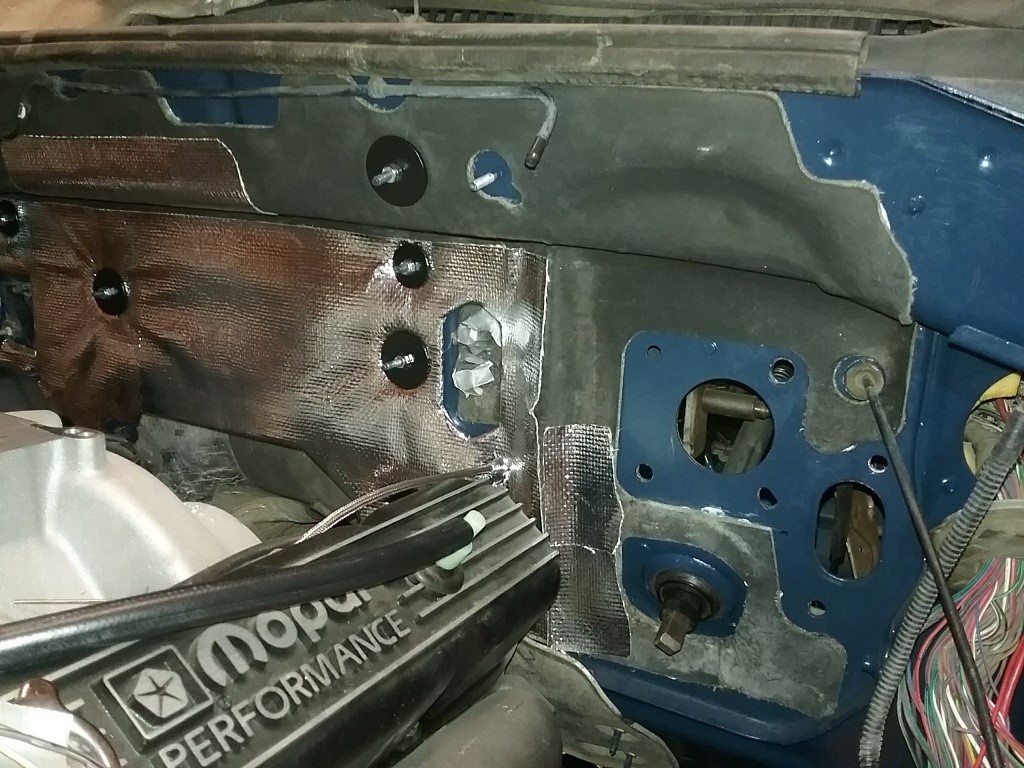
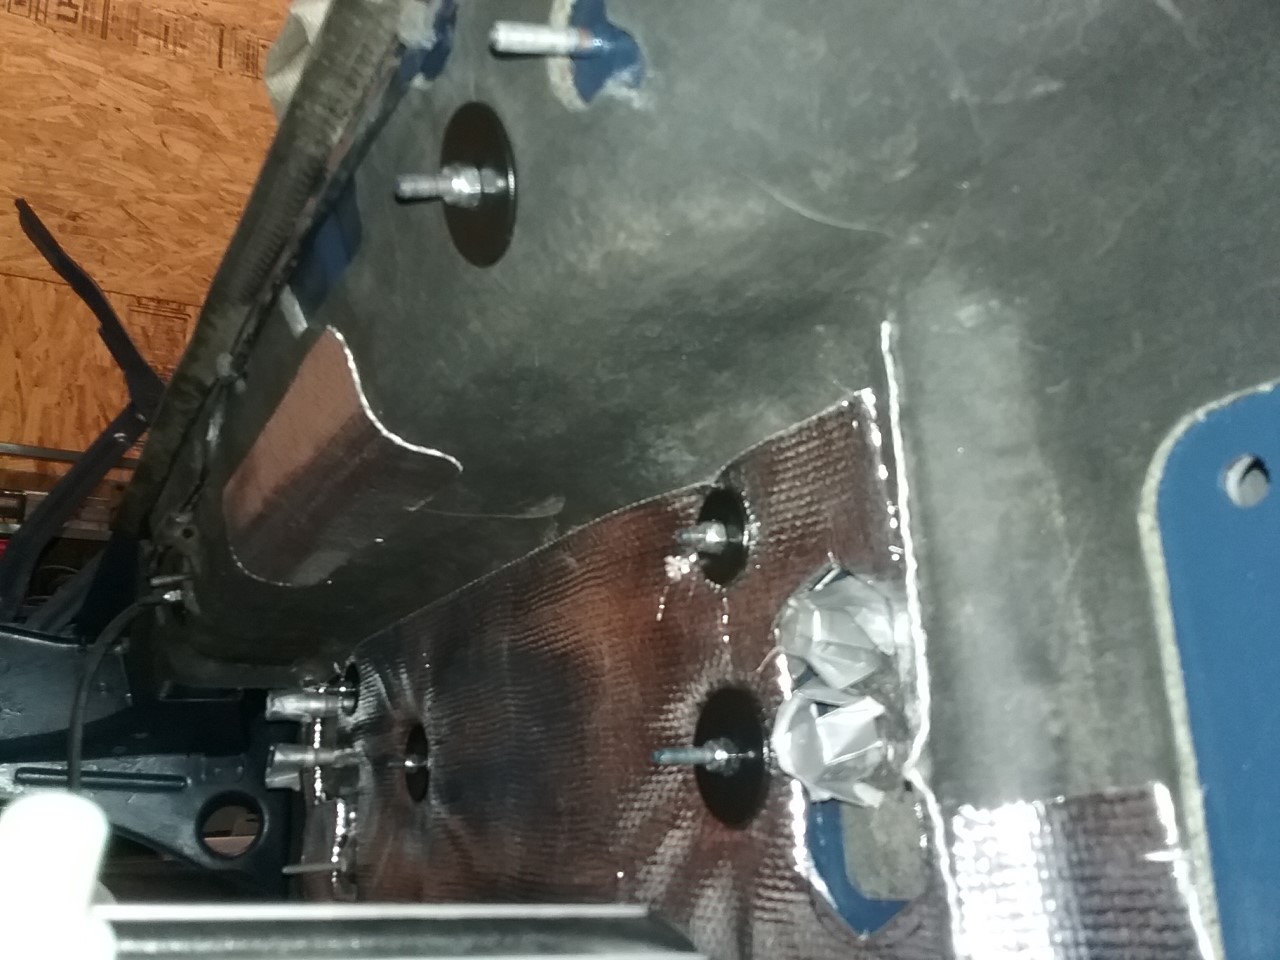
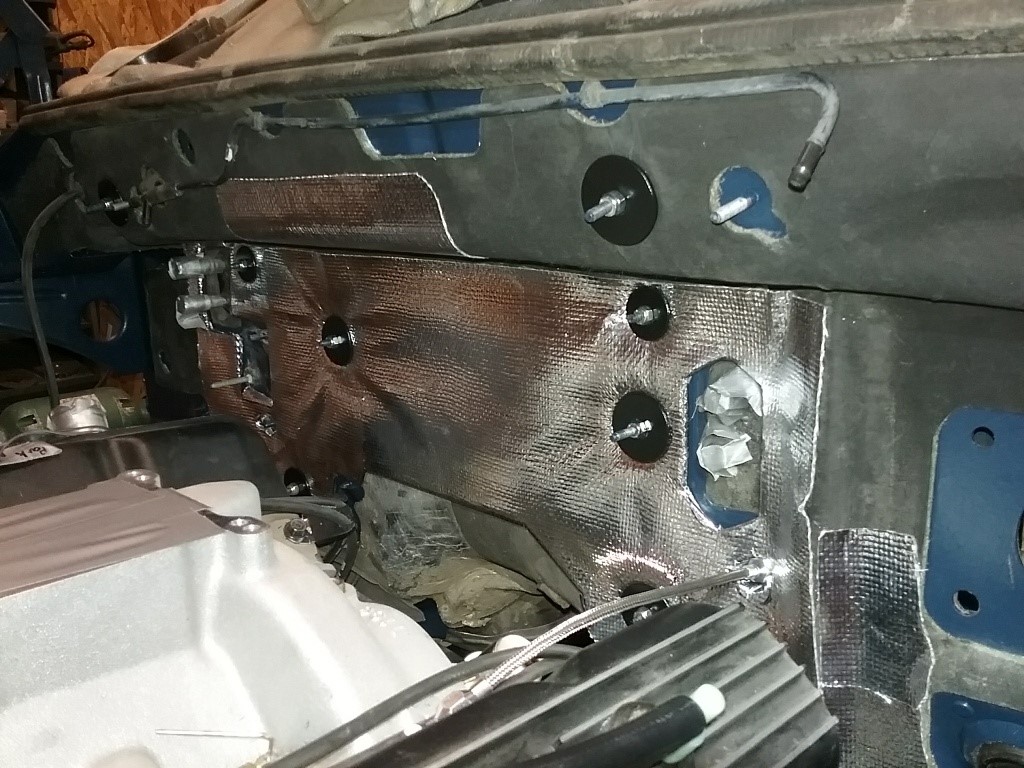
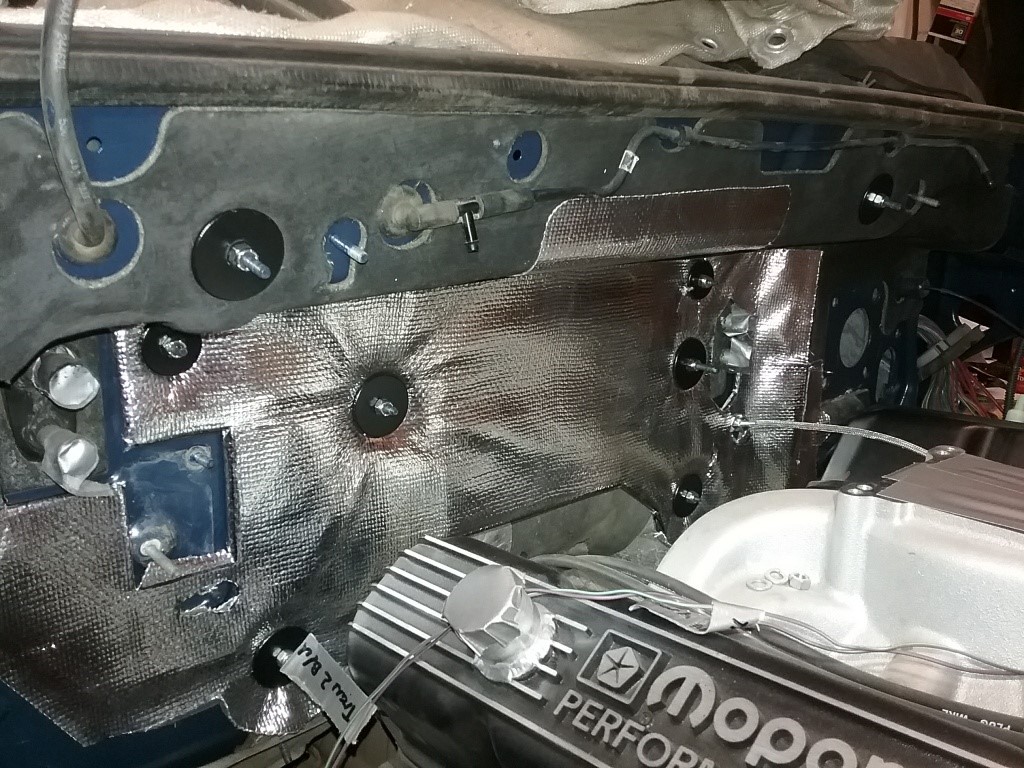
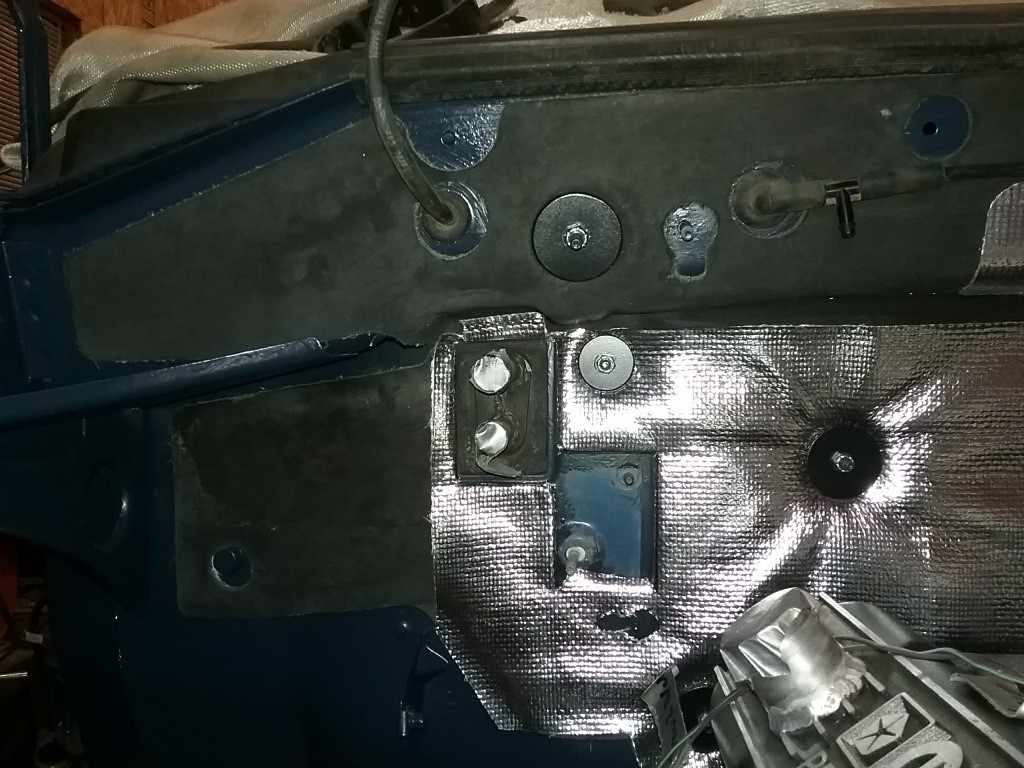
I've been jammin' away on a few small but critical items and finally got them 'done' enough to take some pics. First off, in the spirit of keeping things as 'peaceful' as possible in the cab I've been trying to re-use all of the factory insulation I can. Fortunately, my spare Dakota parts truck had a useful but somewhat damaged firewall insulation pad, and I was able to clean it, repair/restore it, and install it.

Look close - you can see the derelict pad in place just before I removed it -

sUFx6vW.jpg


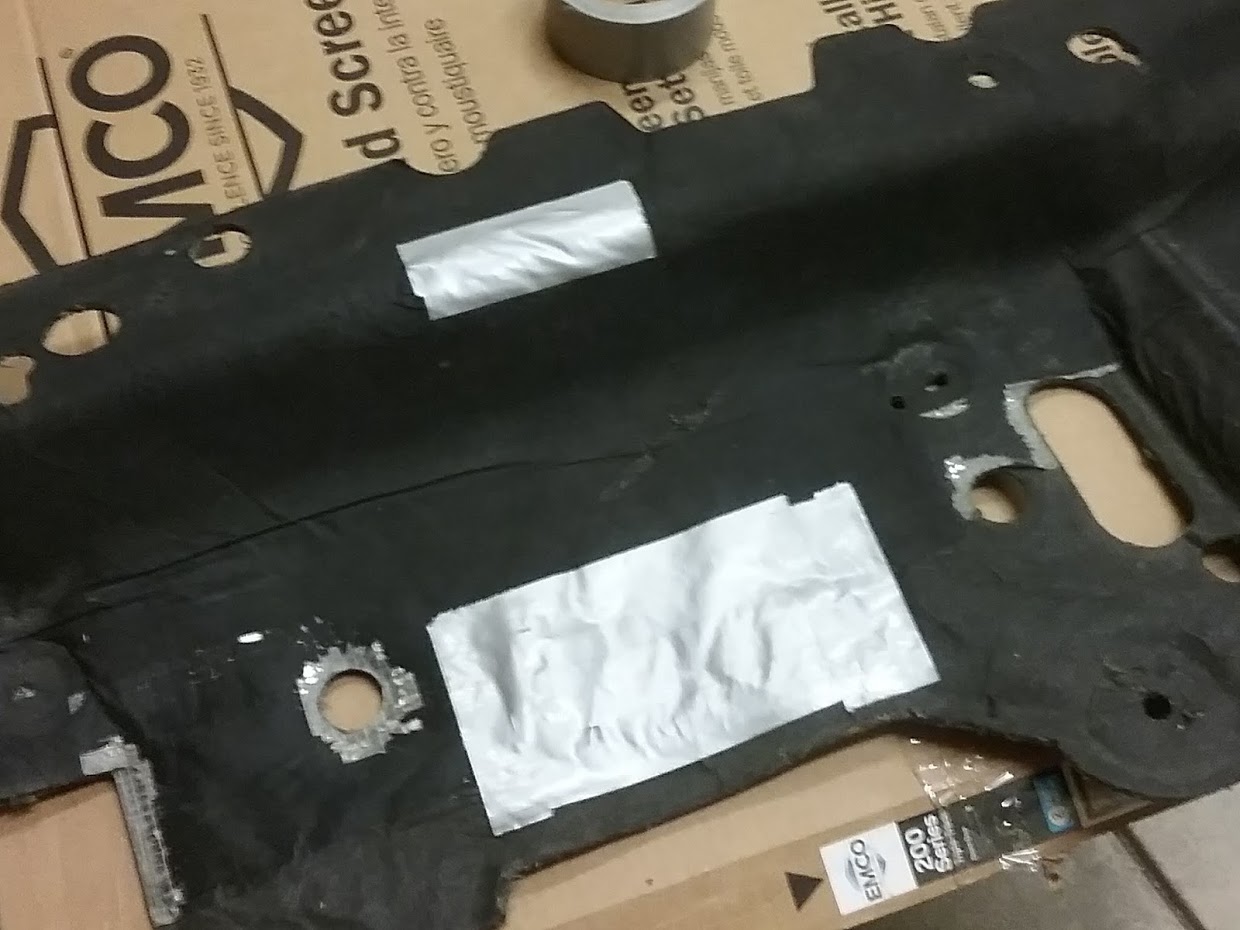
after a very thorough scrubbin' with simple green and the garden hose, the residual heat-reflective foil was almost all the way gone so I peeled off as much of the remnants as I could and repaired two tears/holes with duct tape -

Q9QPzEs.jpg


N1cetkH.jpg


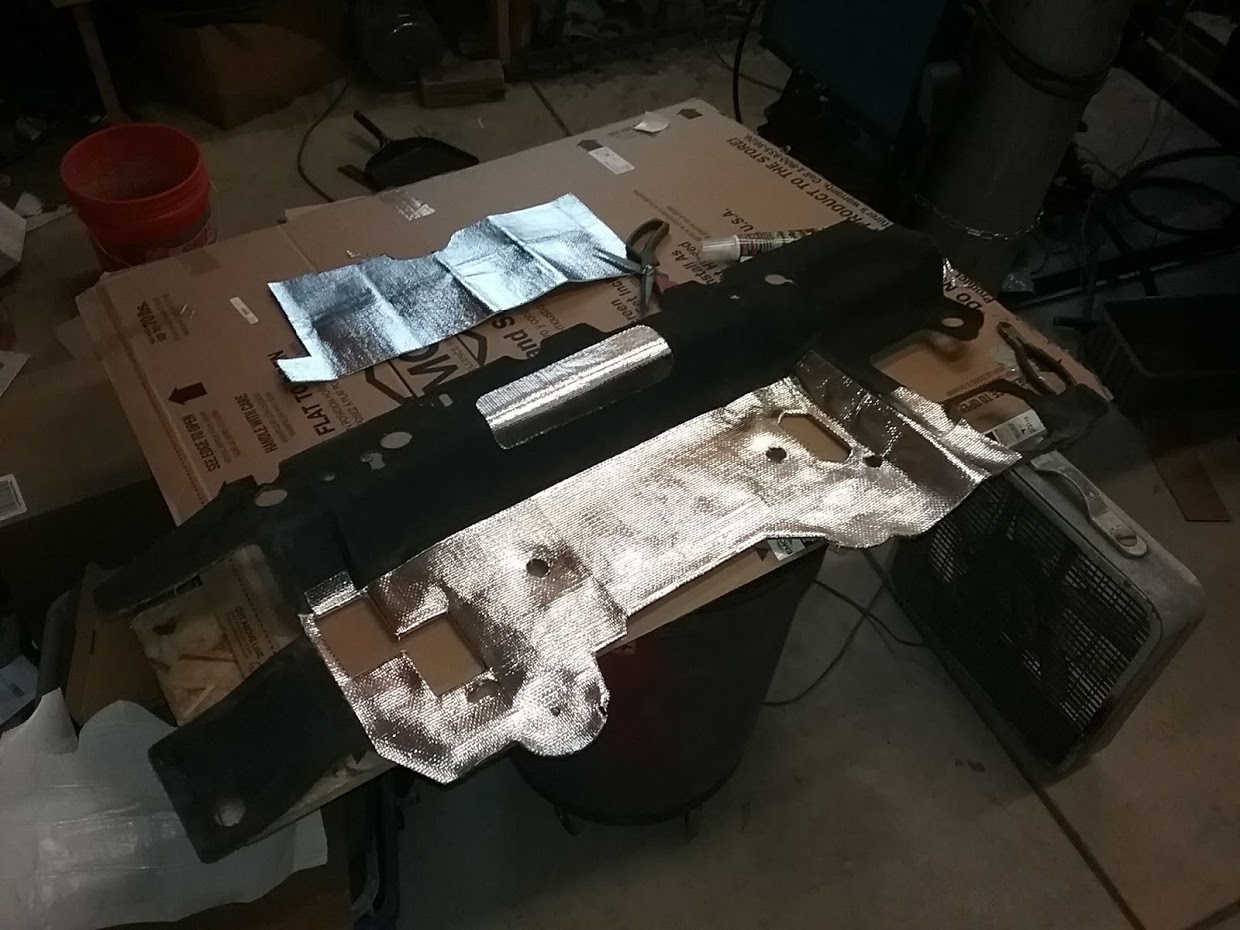
then I (re)covered the whole center area with a sheet of thin DEI peel-n-stick heat insulation -

bq7uPZs.jpg


Ya know when you use a big hole saw...there's decent sized discs that get cut away and fall out the bottom?, well I always keep those in case I want to use them as large washers, and in this case I cleaned up several of the aluminum pieces and used them as retention discs to affix the pad to the firewall. I cleaned the edges, painted them satin black, baked them at 200* for 20 minutes in my toaster oven (my 'poor-man's powder coating system'), and used 1/4 fine thread nuts to bolt it all up clean and secure. Plus I used Flex Glue to secure the outer edges so they wouldn't 'flap around', and used big magnets to 'press' the edges to the firewall - worked great, and now a large part of the firewall and cowl have that much more heat and sound insulation 👍

tLfFRVR.jpg


GUAs5ND.jpg


wCCKUPG.jpg


4dfarwW.jpg


5fp99Lk.jpg


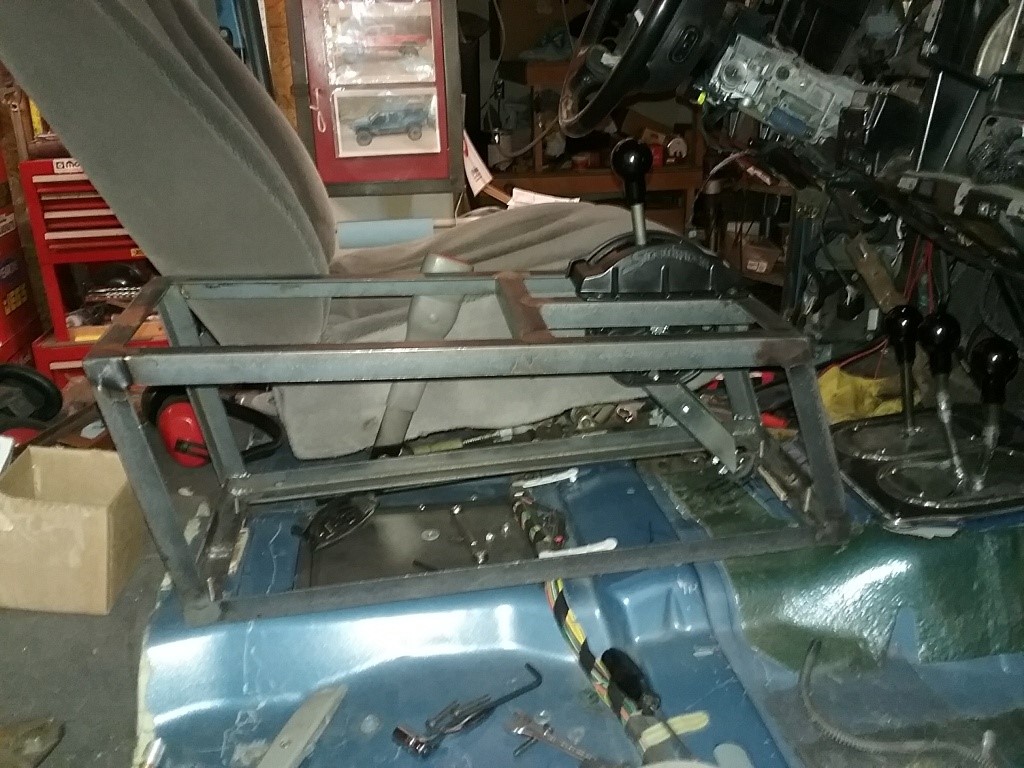
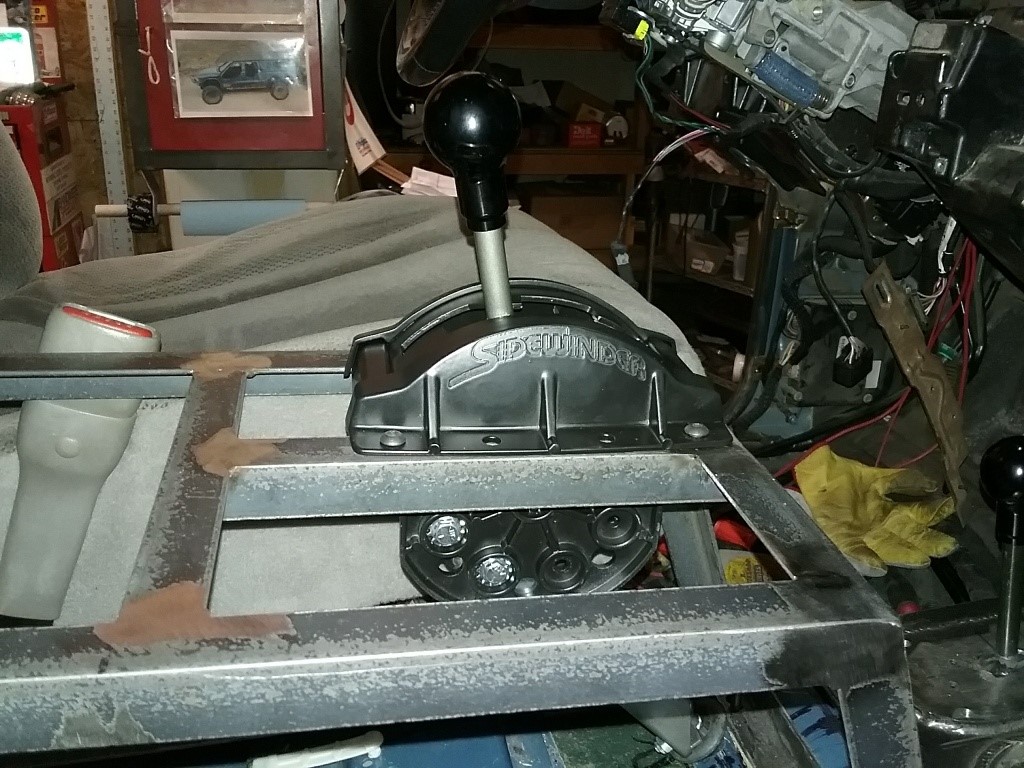
Next, I borrowed an idea from the 'Book of Nacho' and fabbed up the basic frame for the center console, and after a bunch of small mods/upgrades I got a Winters Performance shifter bolted up.

7yNVKPC.jpg


ohc2eMZ.jpg


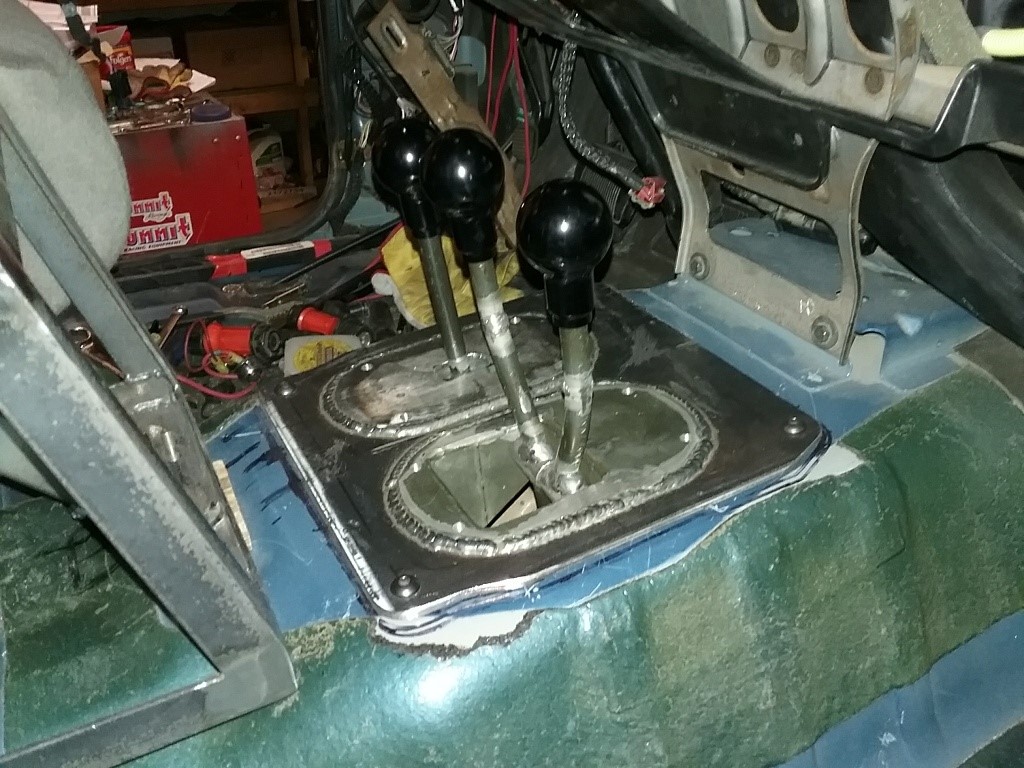
...after 'merging' (welding) the two separate Atlas t-case shifter bases together and a bunch of small mods I got the triple-stick in place, complete with a trio of matching Winters shift knobs -

A05cv1Y.jpg


...and now that the firewall is 'done', next up is mounting the hydrobooster and steering gearbox

...progress
 
Last edited:
...well crap - turns out with the big engine crammed in there the high-steer tie rod is just too close to the oil pan for my comfort...so...I'm going back to regular crossover and the high-steer kit is for sale, in case anyone wants -

https://irate4x4.com/classifieds/axe...er-kit-for-d60
 
Last edited:
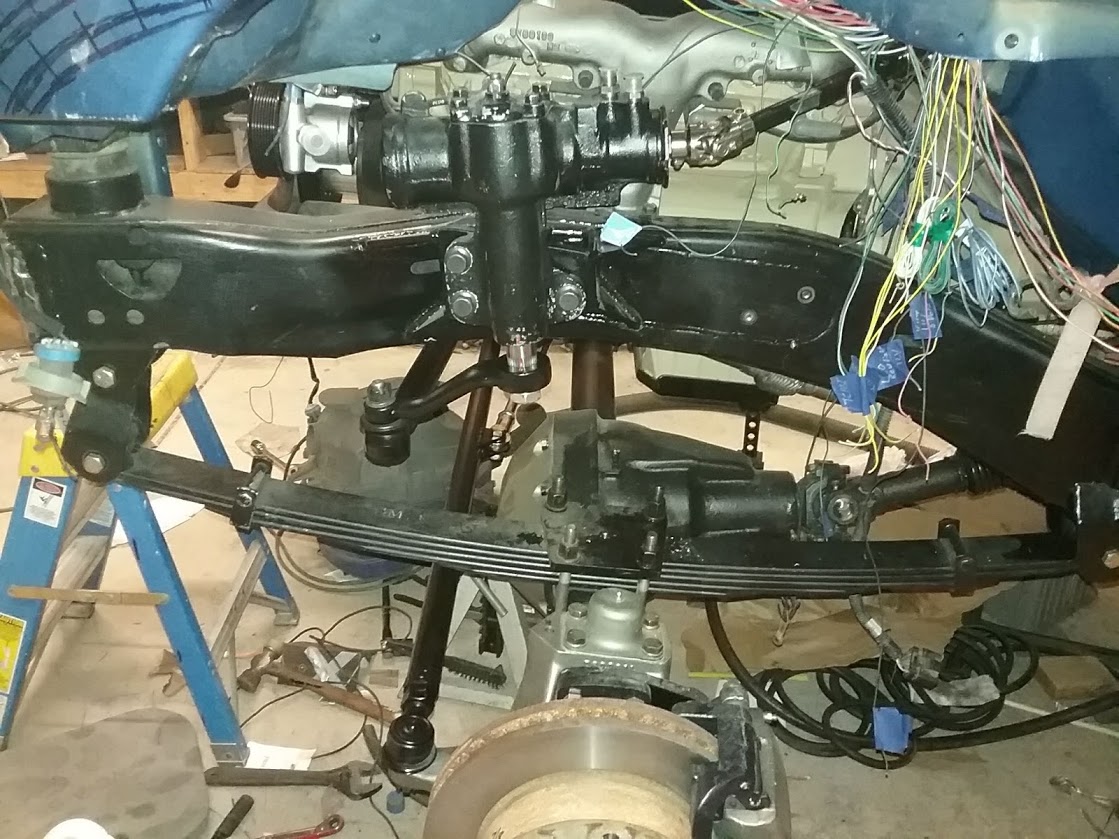
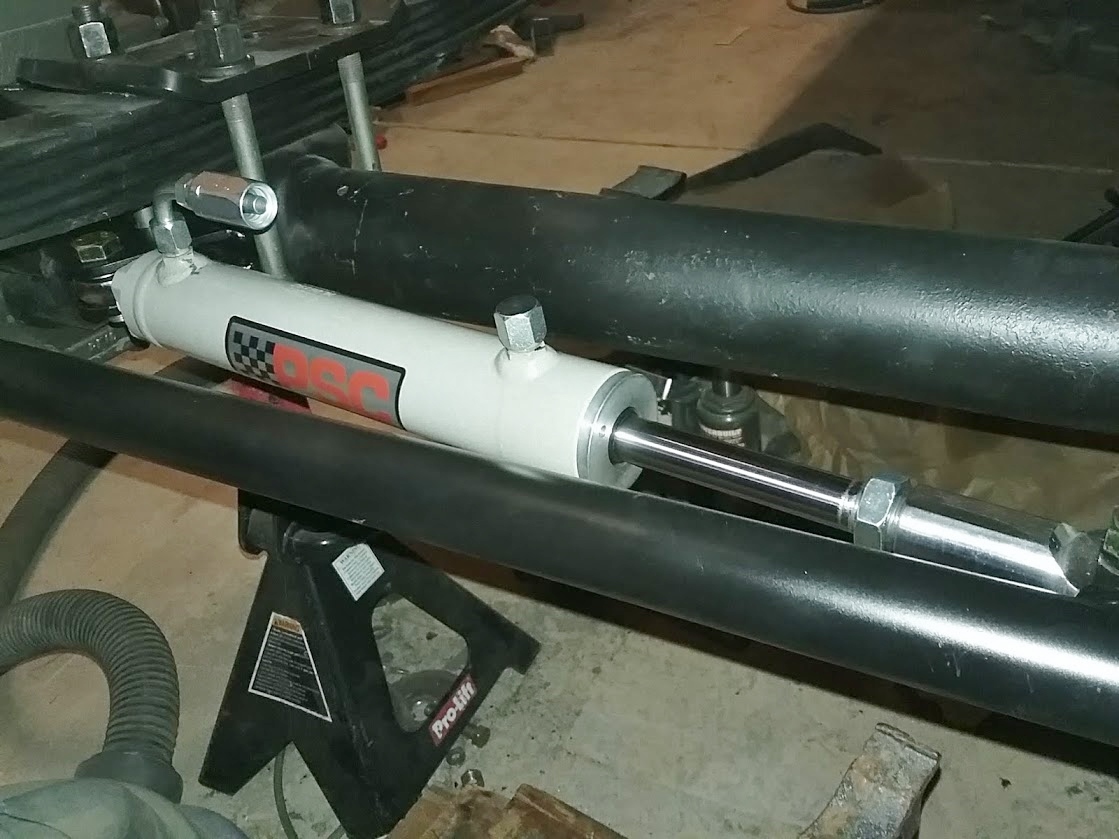
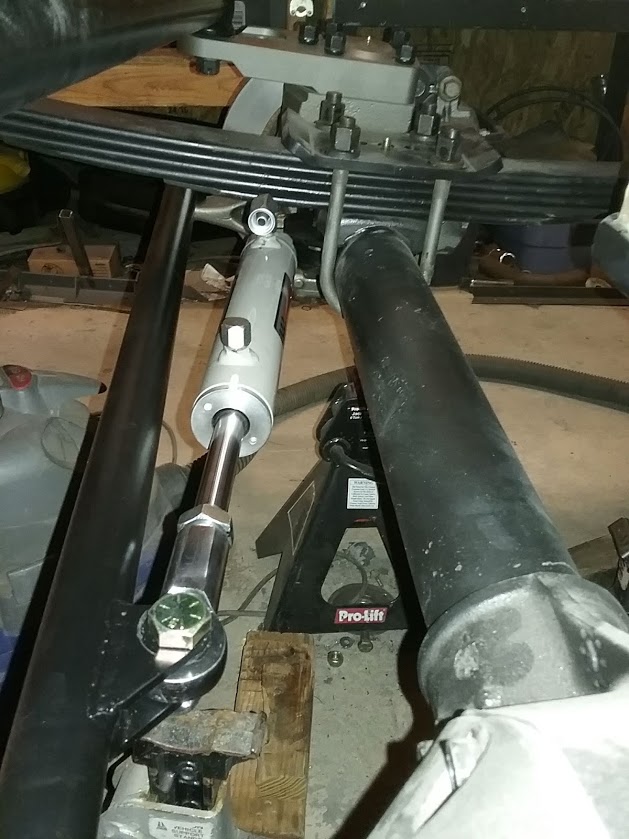
hydrobooster and steering gearbox bolted up hopefully for the final time; core support/fenders/radiator are coming soon, then fitting the rest of the stuff in the engine bay and hi/lo pressure lines. Progress

HRVesch.jpg


80fjU18.jpg


lTJLu3E.jpg


pXzRKXm.jpg


PcBYjOk.jpg
 
meh - it's just wires - they all have a beginning and an end - just gotta make sure I don't burn down the truck or inadvertently juice myself :shocked: . I'm deleting all of the unnecessary wires now that the PCM is 'not appearing in this build' so we cut it open to delete what was just going to take up space. When it's all back together it'll look nice n normal again 👍
 
Last edited:
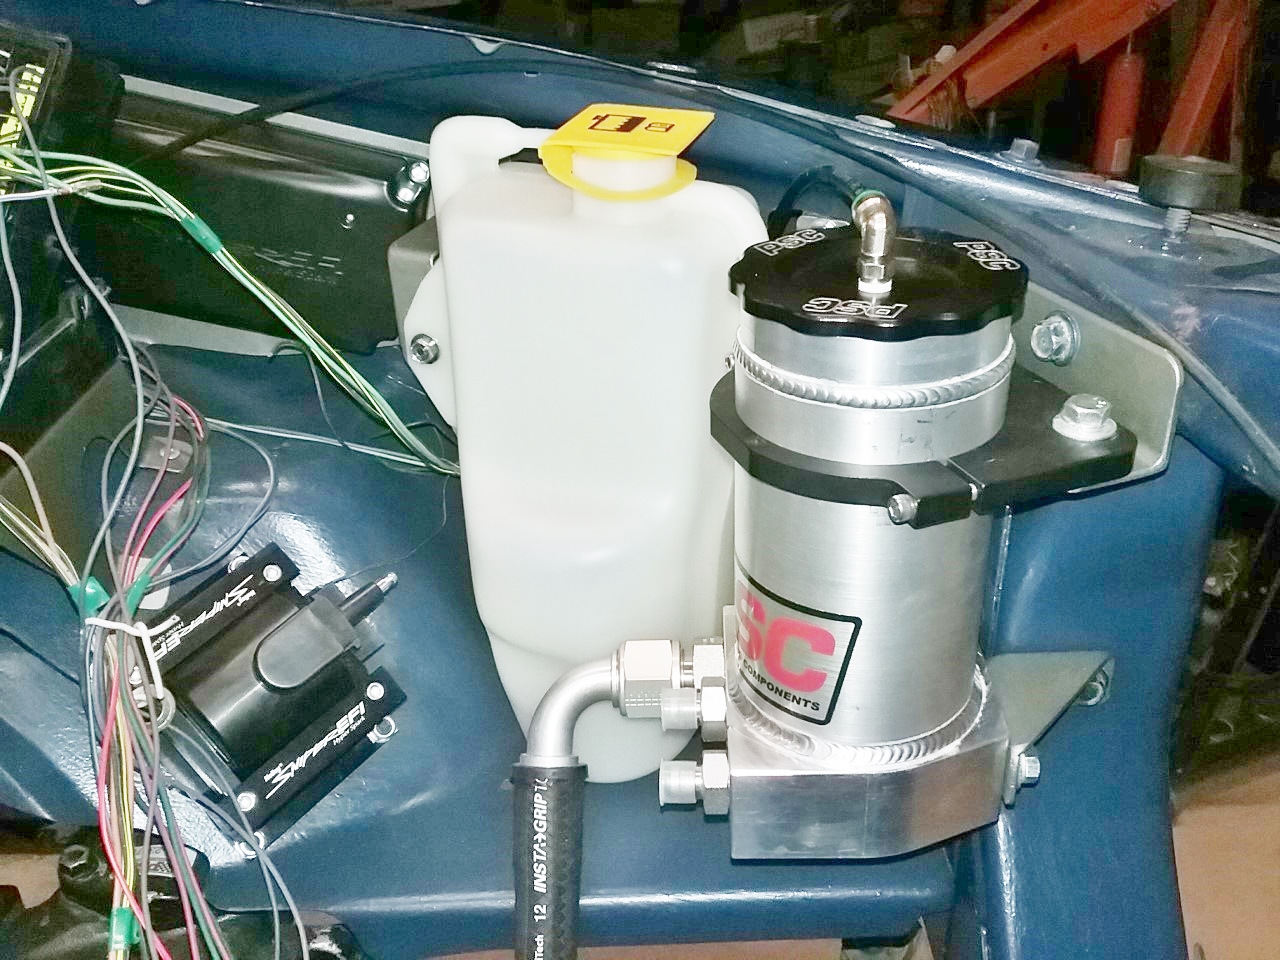
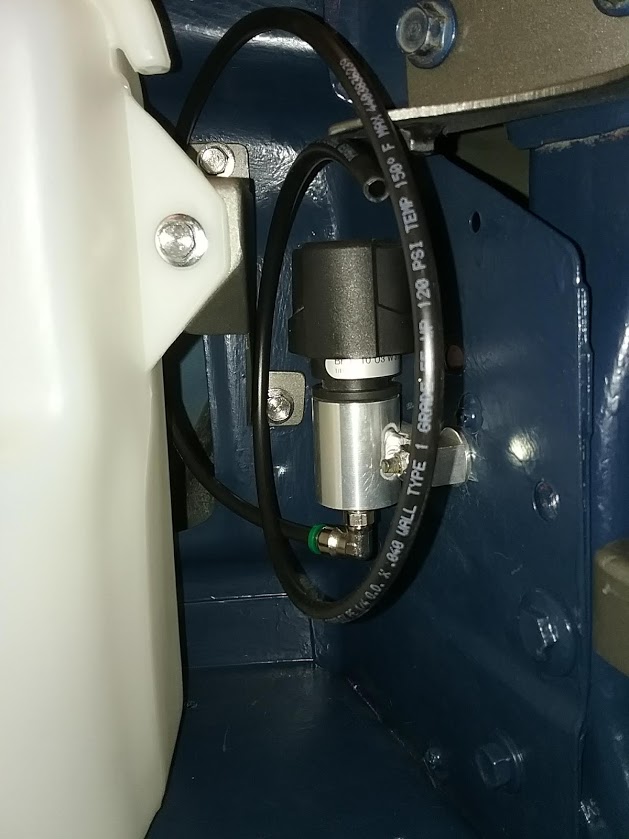
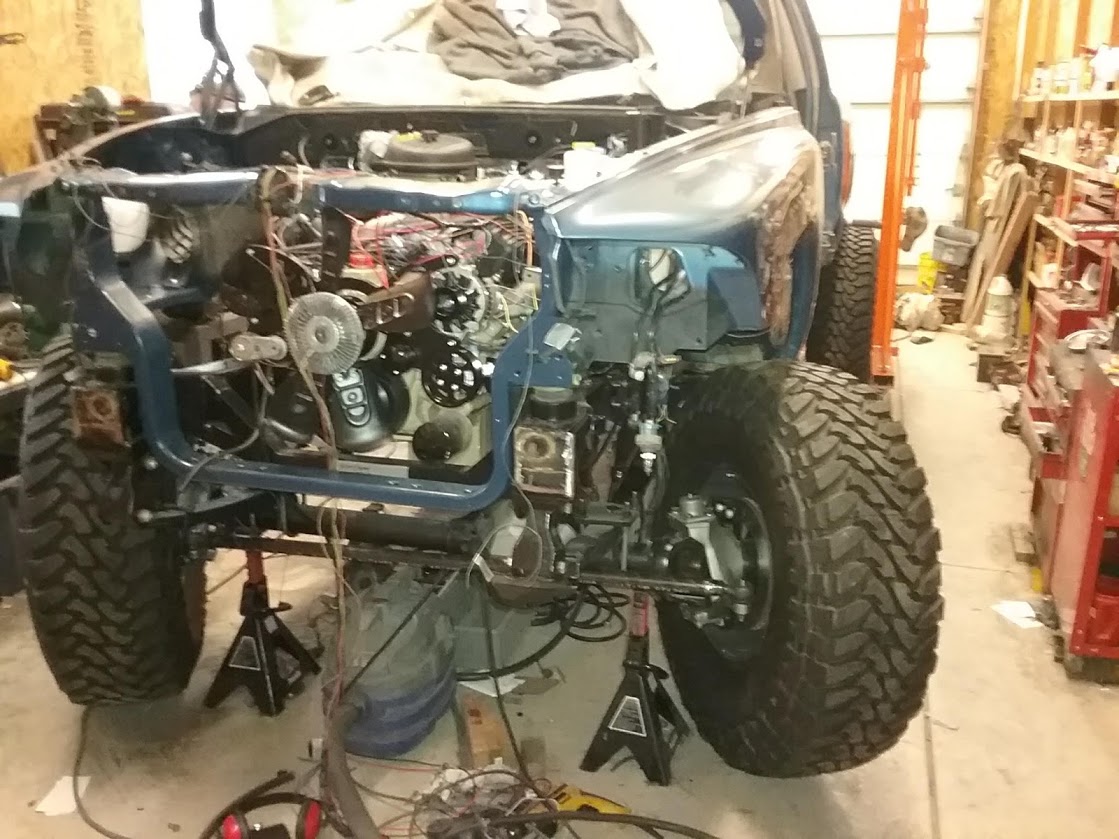
...been about a month and time for some updates. Been jammin' hard on all of the 'small stuff', to include making lots of brackets for the engine bay components (PSC reservoir and vent, coolant reservoir, washer reservoir, fuse box/panel, air box, heater hoses), and the steering wheel is now connected to the tires and the ram is mounted.

First - prepped/primed/painted the inner fenders Air Force Blue. Got the steering lines, brake lines, trans cooler lines, radiator coolant hoses and fan shroud 'figured out', and am now in the process of finalizing those and connecting all of those in place.

Should have the engine 'wet' right after that...and then I'll know if there's any coolant leaks anywhere

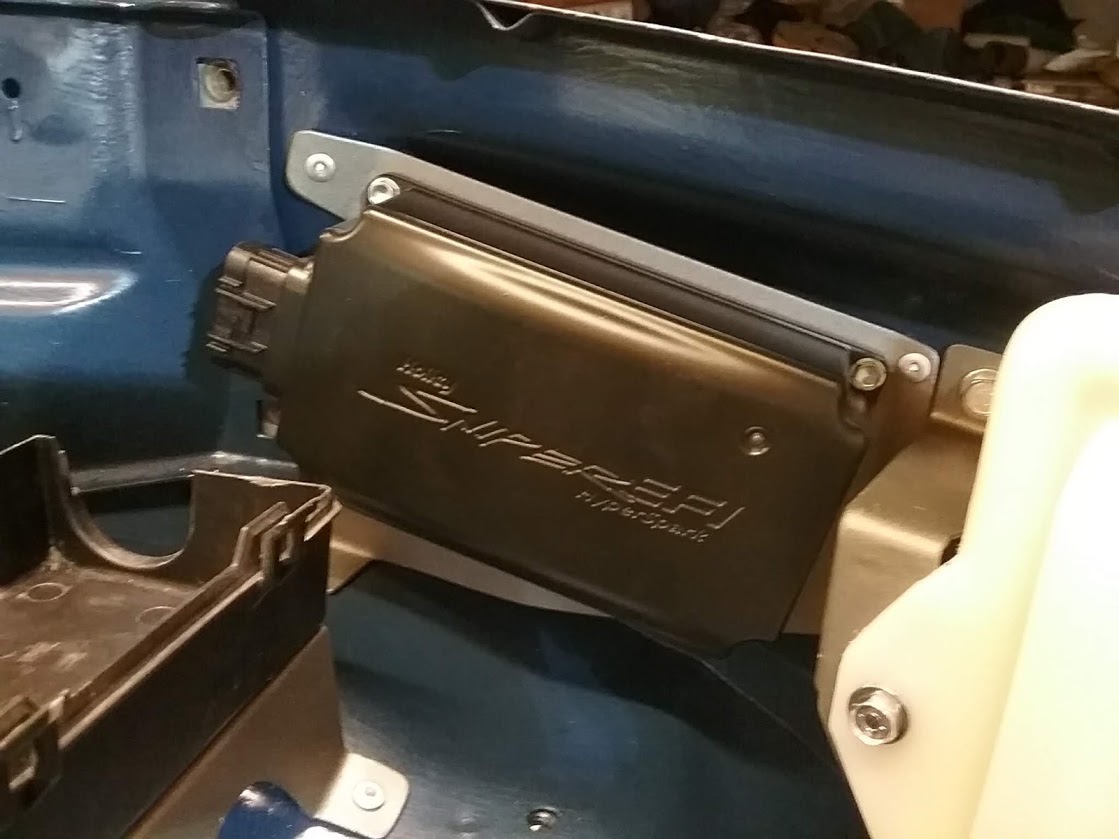
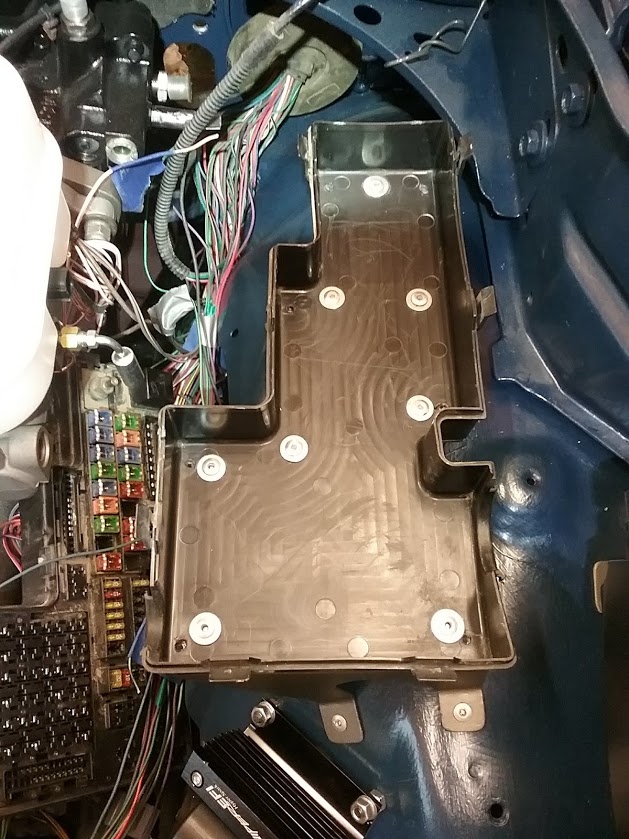
Fabbed up all of these little brackets to have something to bolt the accessories 'to' (battery(s) are going in the bed) - some use nutzerts, and some use good 'ole pop-rivets

PSC reservoir and coolant reservoir brackets -

mAxViIP.jpg


Holley Sniper EFI brain box bracket -

g78iV9z.jpg


Fuse box -

03V5lOU.jpg


Washer reservoir (generic/Amazon)-

BWIiKoD.jpg


PSC reservoir and vent, engine coolant reservoir (new off-the-shelf/Jeep Cherokee), and the Sniper coil -

oq2gF92.jpg


PSC vent -

hDe1srU.jpg


Sniper EFI brain box -

bLAixBy.jpg


OE fuse box -

K21EvcJ.jpg


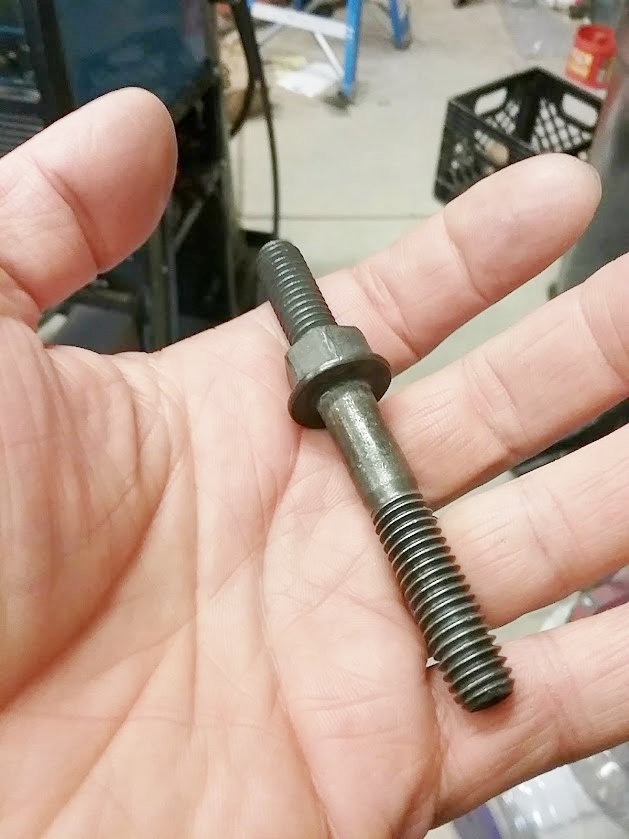
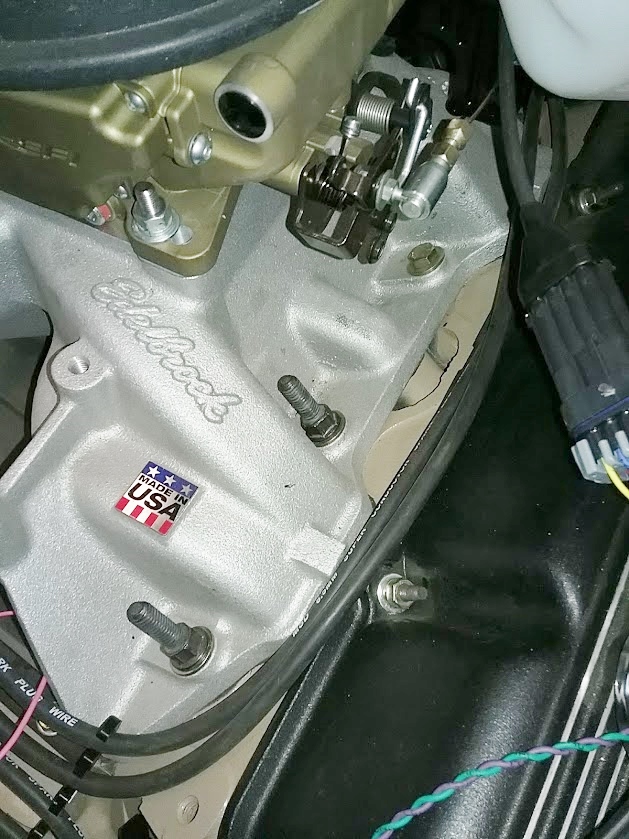
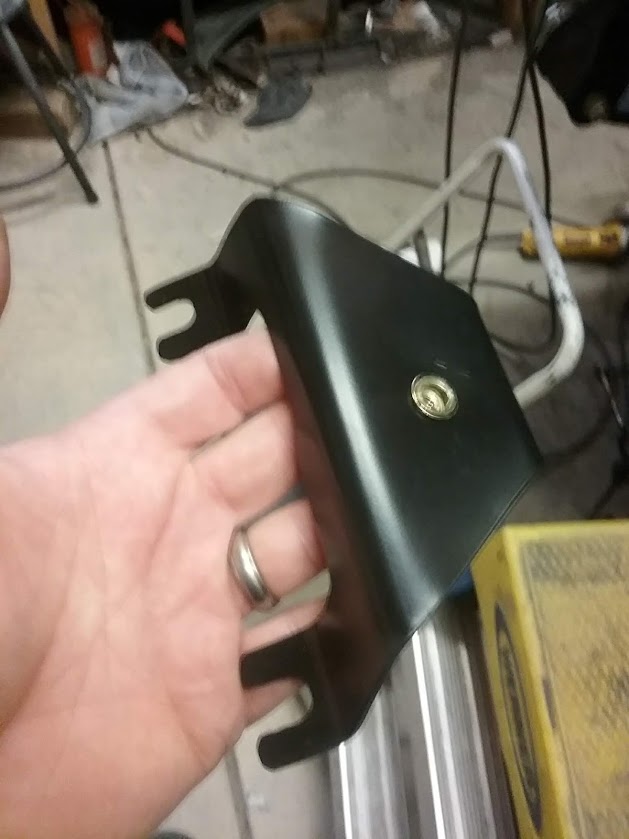
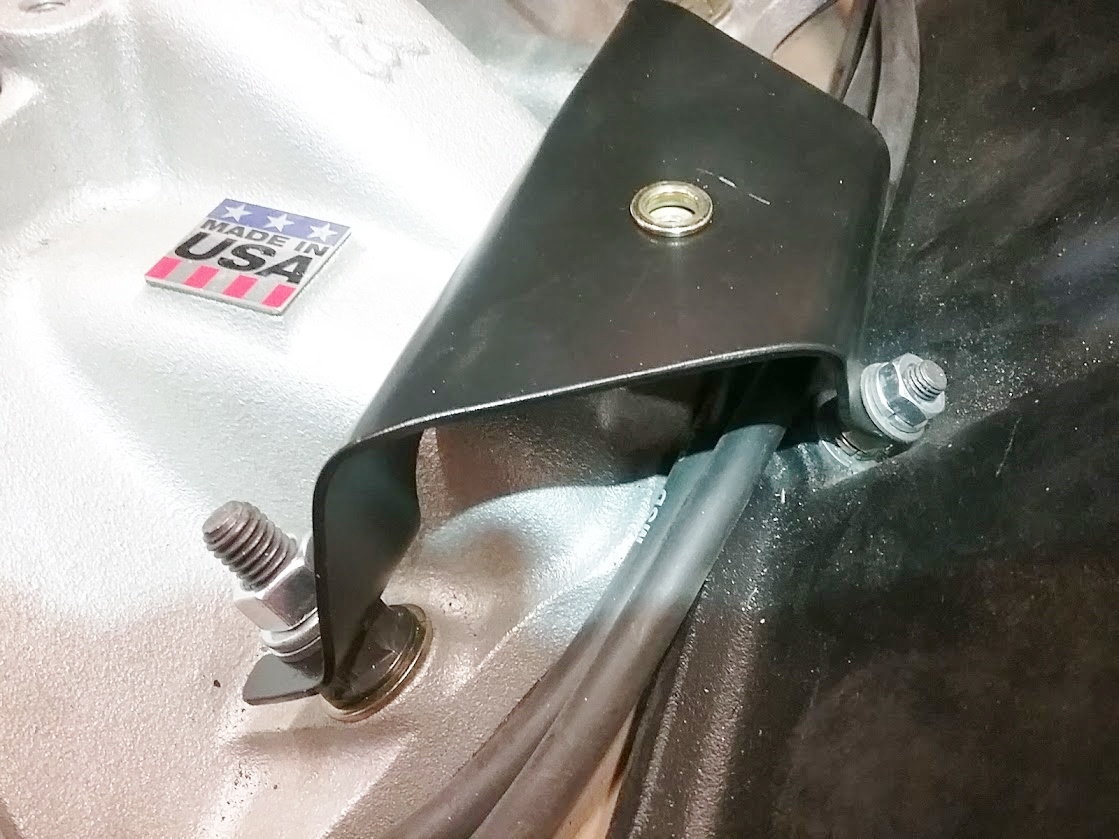
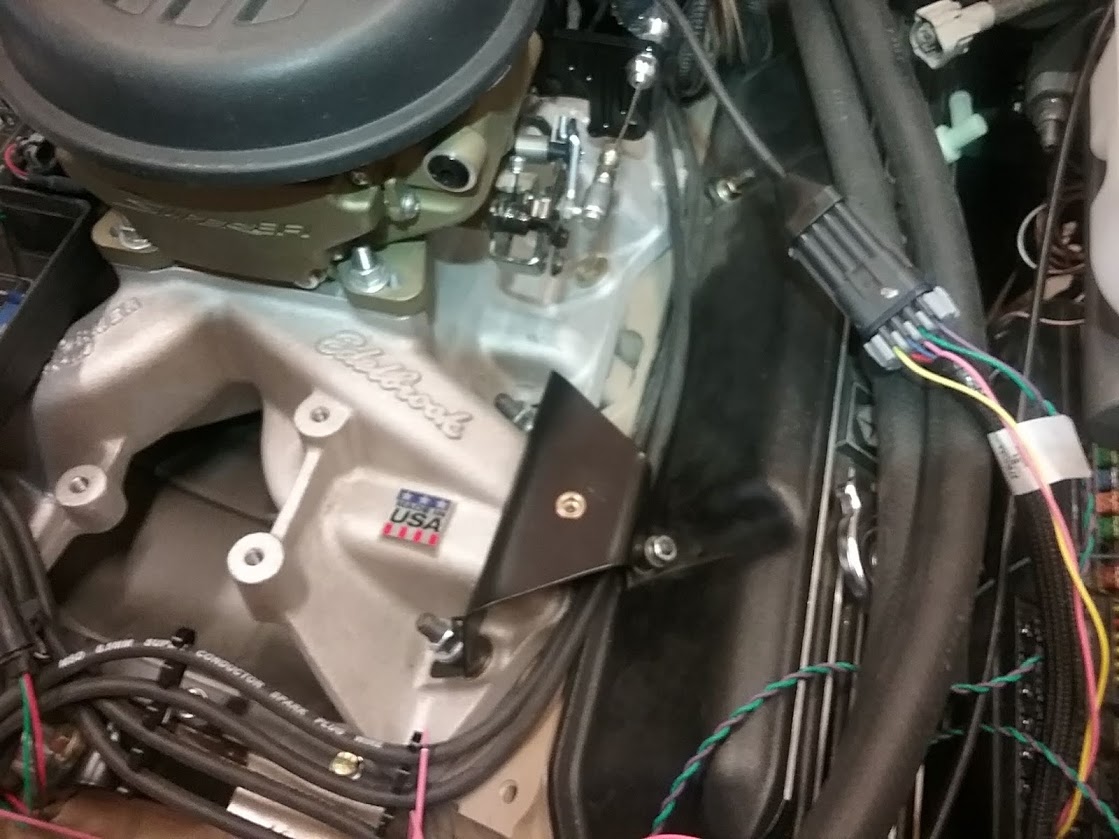
this was cool - I needed a way to attach a bracket 'to' the intake manifold to keep the heater hoses from flopping around on top of the intake, and I found these double-ended 'studs' (GM 12550726) that are 3/8-16 'course' thread, same as what a big block Mopar used for the intake manifold bolts, replaced two of 'em towards the front, torqued 'em to 50 lbs, and between them and one of the valve cover studs had a perfect mounting solution for a nice little bracket -

lpuaLwF.jpg


APf4SIF.jpg


k5bwh0k.jpg


yhFusYD.jpg


t8Ckr9S.jpg


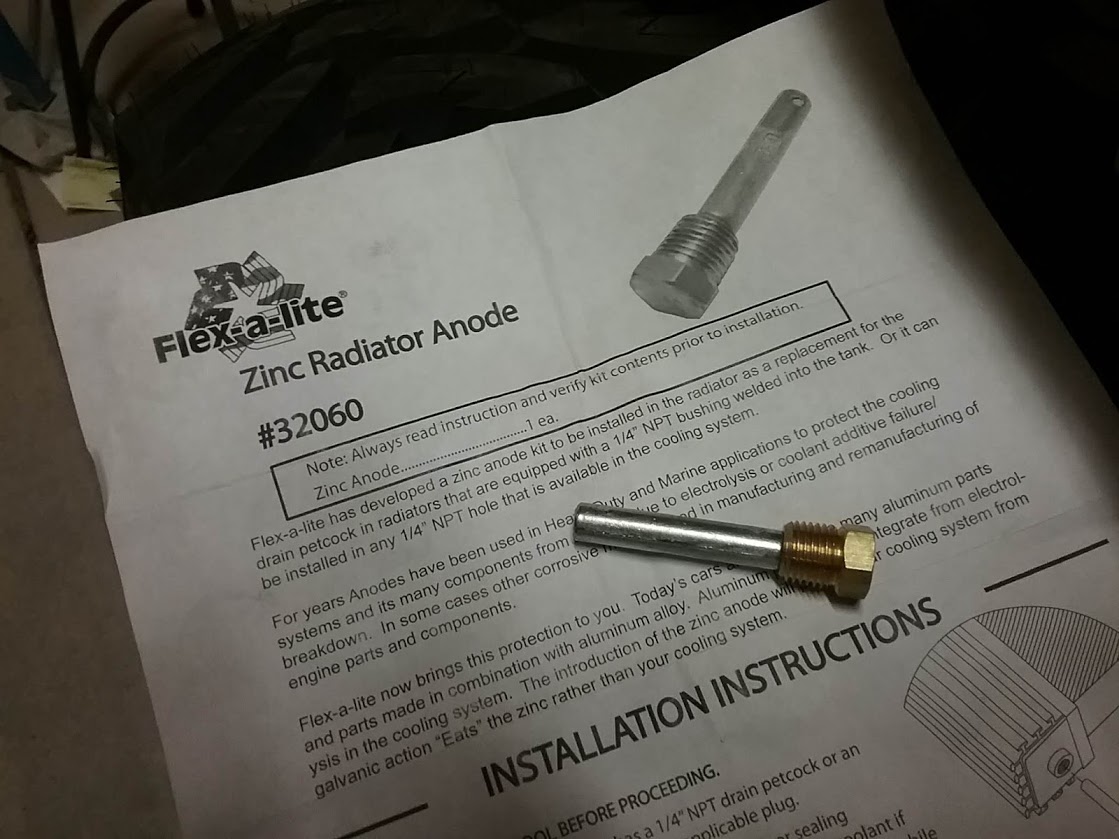
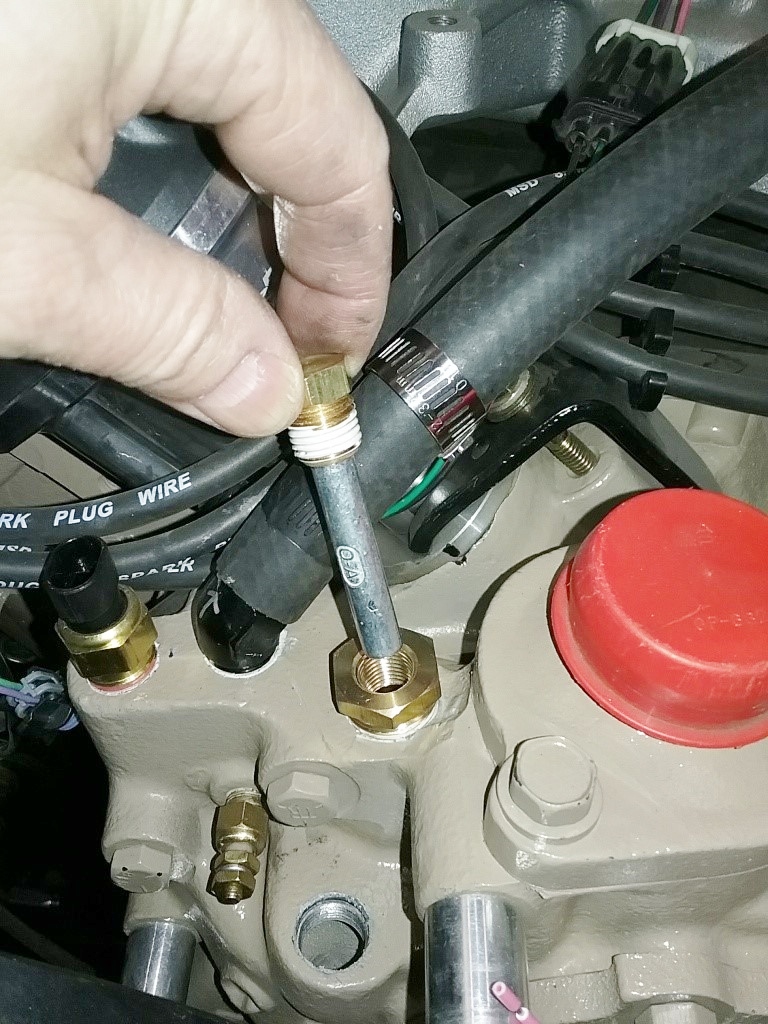
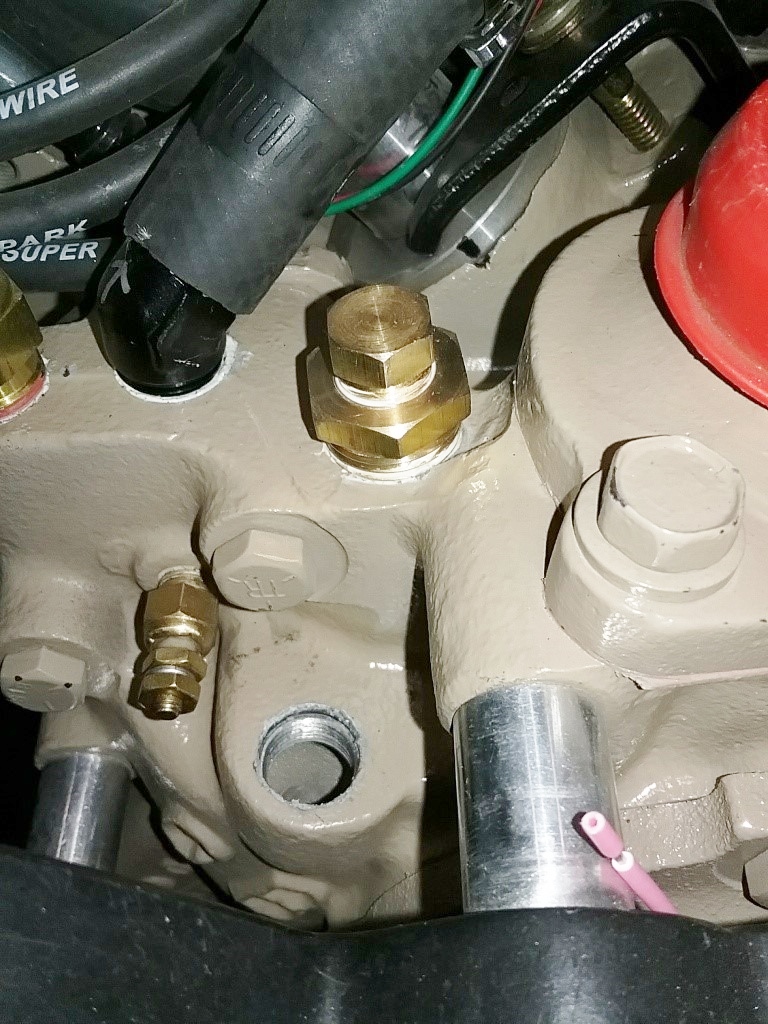
for a little extra cooling system protection I installed a zinc anode in the water pump (only available location) -

z4Td3v3.jpg


vsdhRjW.jpg


NtyniPk.jpg


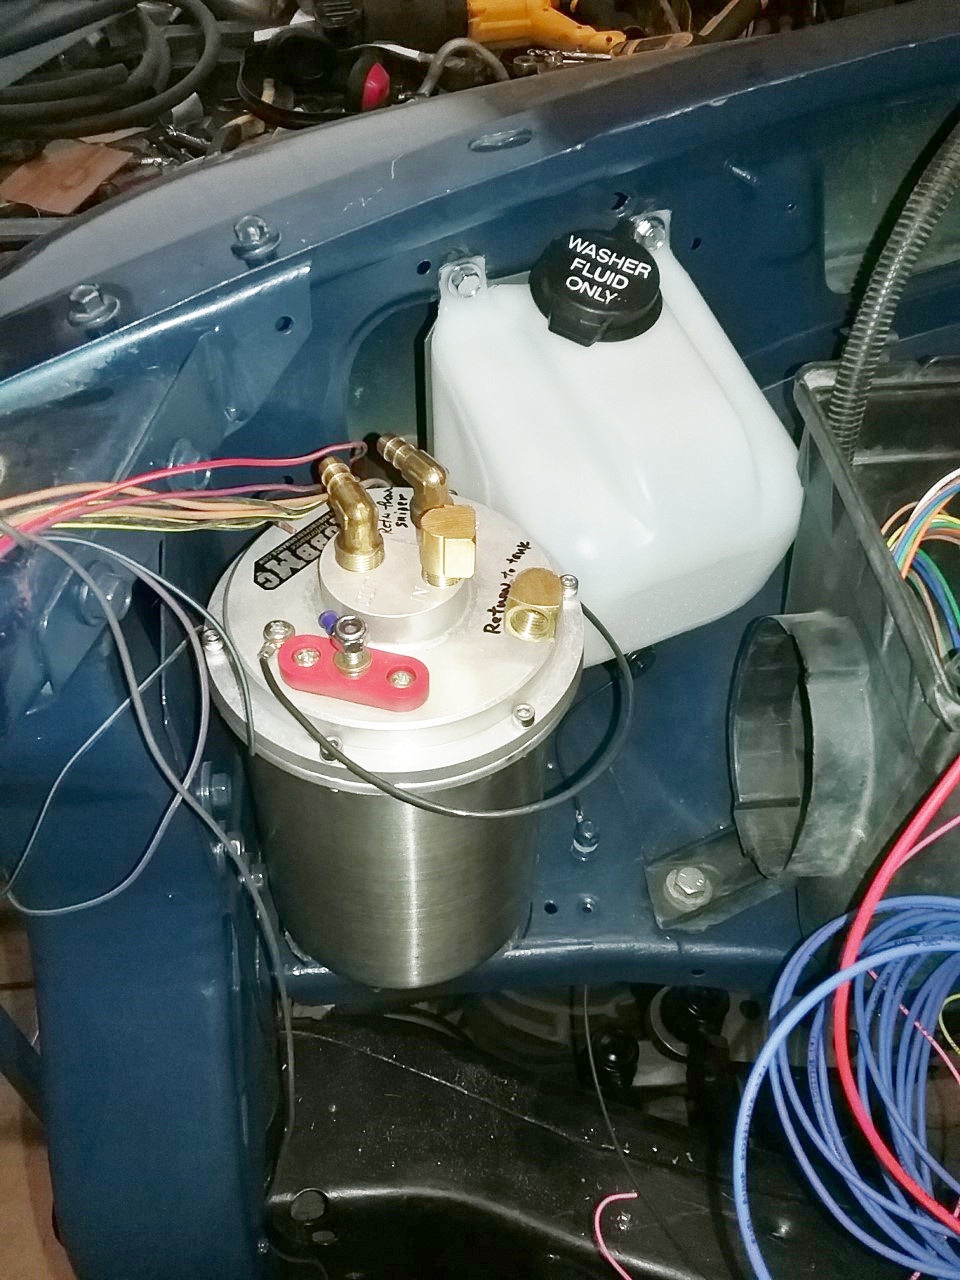
RobbMC EFI fuel tank and washer reservoir; this EFI tank is 'fed' low-pressure fuel from the OE gas tank, and inside is a standard Warblo (sp) EFI fuel pump, and that is what the EFI/engine will actually 'run' on -

WwfNAjj.jpg


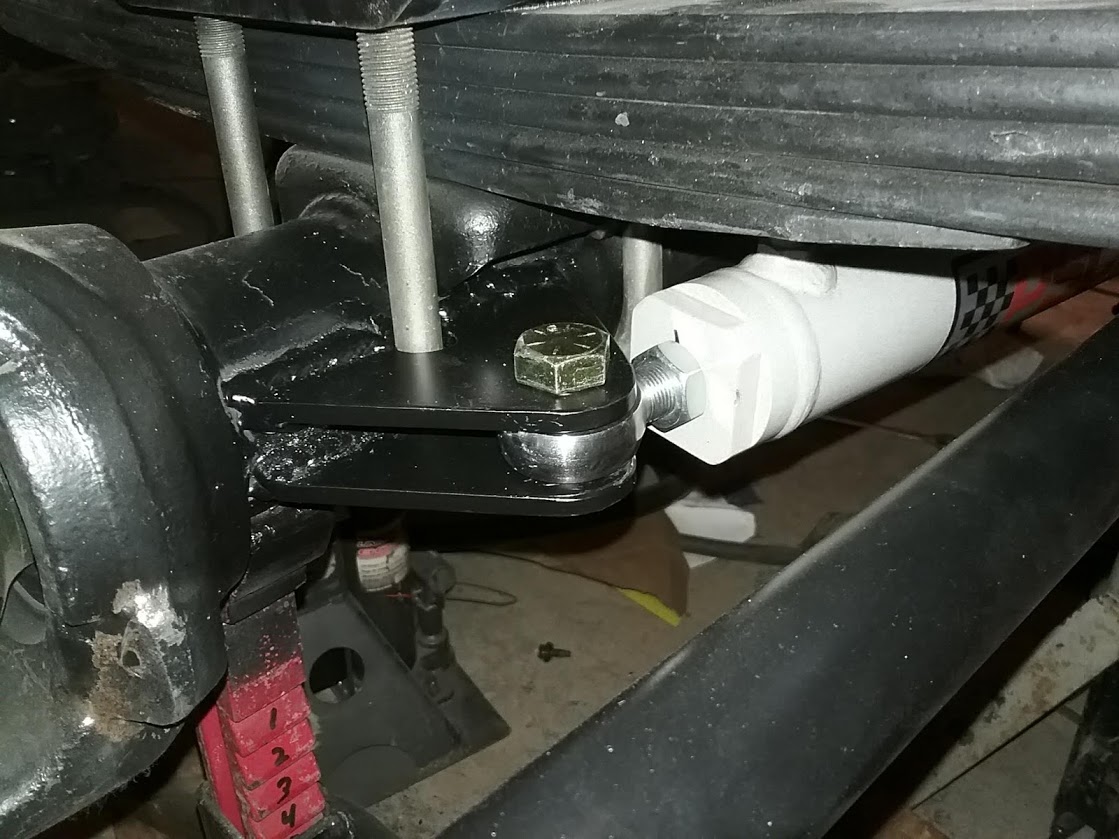
Meanwhile...back to standard crossover steering - ended up with a nice 4 inches of compression on both sides -

Tn8rHdO.jpg


SZGpAFH.jpg


with the ram-bottomed out each way I ended up with about 33* of steering - well below the 42* threshold of the RCV axle shafts, and ended up with about an inch of clearance before the tires rub the leafs -

FaTiuc1.jpg


K6rCIc5.jpg


N0LdTvT.jpg


2LVs6Tt.jpg


KeVUVjC.jpg


cjDo0e9.jpg


BFT0nHf.jpg


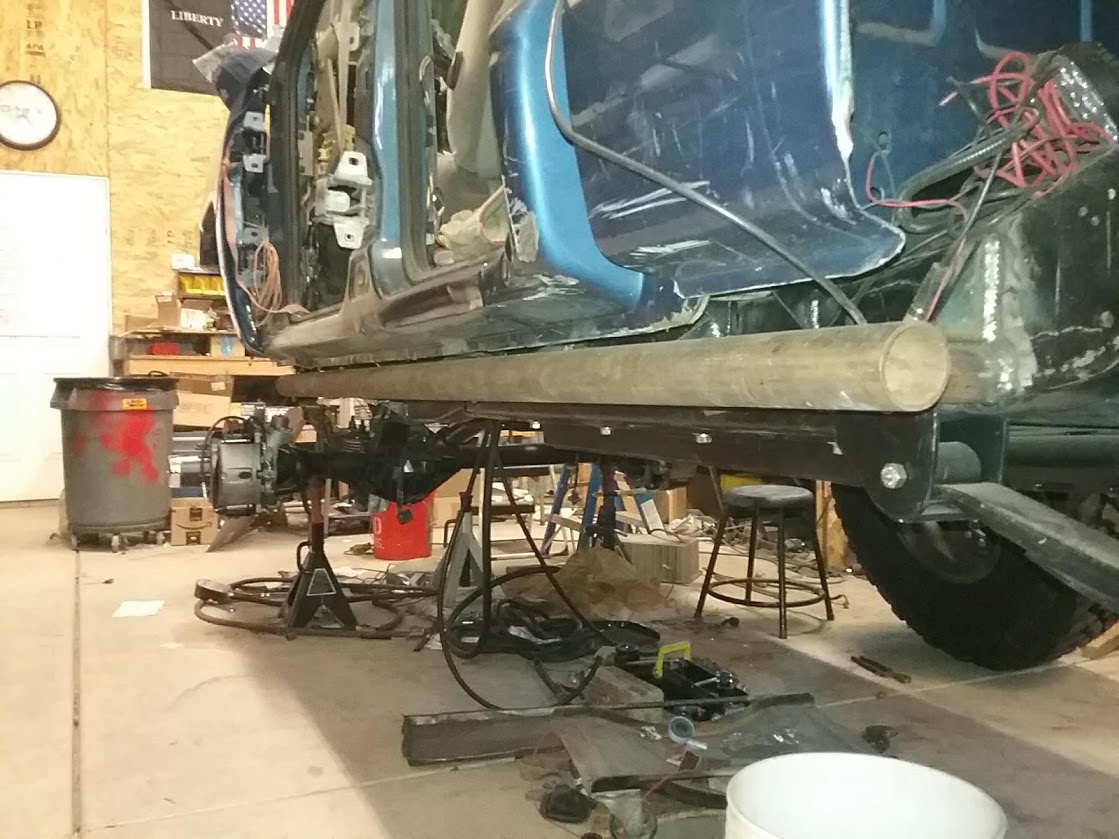
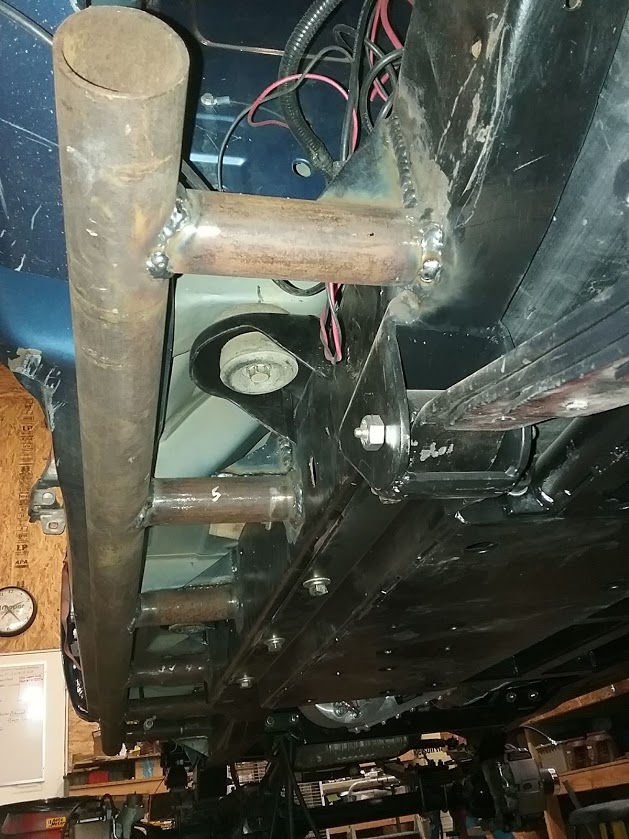
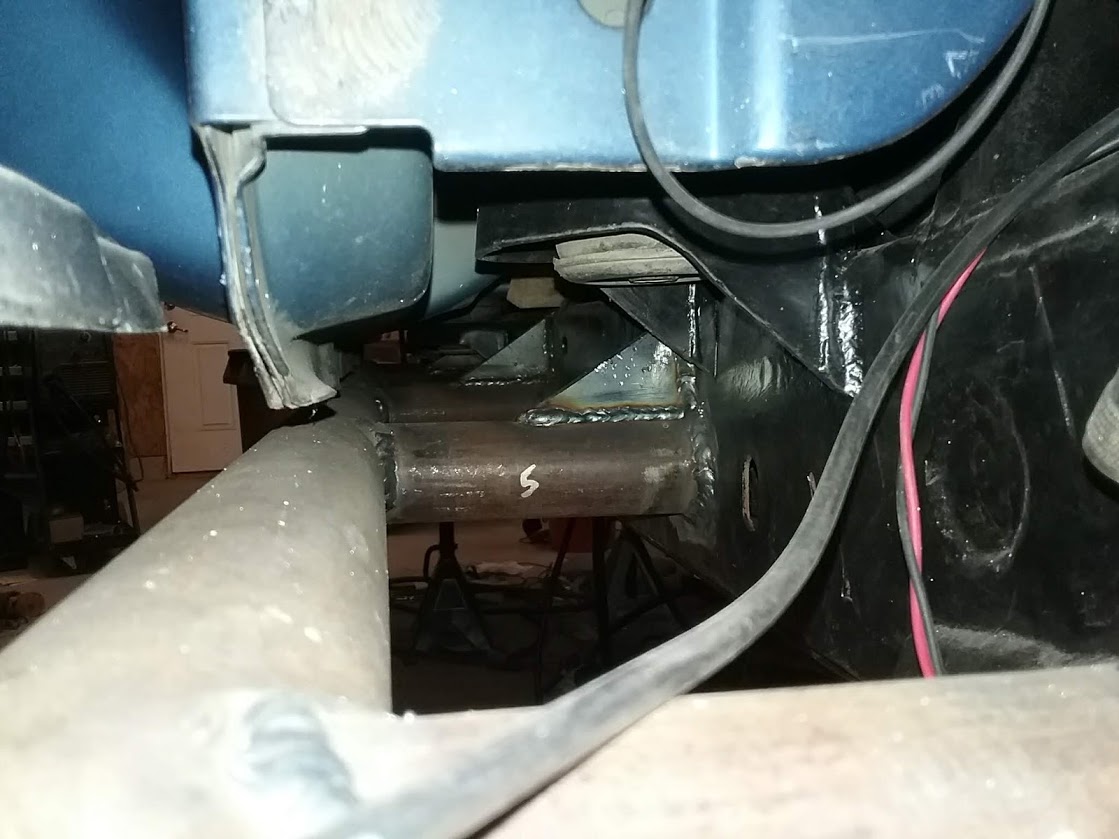
...also got the core of the rock sliders in place - used 2.5" x 3/16 wall round tubing for the mains, welded to the frame via 6 laterals, each gusseted with 1/4" plate triangles to help the frame from deflecting - should work good. The running boards/rock rails will extend out from these -
ykBHnwv.jpg


EnN7CKF.jpg


I'll have the fan shroud, radiator, rad hoses, and brakes all buttoned up soon.
 
Last edited:
thanks man - yep time-consuming for sure...

...needed a fan shroud, and go figure - nothing was available in the aftermarket for a 440-powered 02 Dakota using an OE 19" fan (WTF! :shaking: :grinpimp: ), so out game the 16g sheet metal, a section of a water tank cylinder, some air flaps, some high-temp peel-n-stick foam seals, Rustoleum primer and Textured Black top coat paint...and viola - instant (not) home-brew fan shroud 🤙

91n3soQ.jpg


jGn4DIZ.jpg


cv1s0Zo.jpg


ZlfXZYq.jpg


26wDMIN.jpg


D8okfZ8.jpg


8iRZkro.jpg


...also included the mounts for a 12" dual-pass in/out power steering cooler -

GV3hpnr.jpg


W3jNYnc.jpg
 
Last edited:
This is one of my favorite builds on the site. Love your attention to detail.
 
hmmmm - define 'done' :flipoff2: - hoping to fire it within the next couple weeks - then it'll be 'finishing' everything...which'll take months...and realistically I'm hoping it'll be 'fully functional' (fully highway and trail worthy, all armor, and accessories, painted) to start the 2022 season.

After a year of successful 'testing n tuning', I'm wanting to bring it to FSI 23 in Moab, and I'd love to bring it to Ultimate Adventure.
 
Last edited:
...Brake lines - done. Fuel lines - done. Transmission cooler lines - done. Radiator and heater hoses - done. Steering lines - 90% (waiting on two fittings). Engine and radiator are filled with 3.5 leak-free gallons of Zerex G05 50/50 coolant. Battery cables are 80% - getting close to powering things up.

Needed a very custom lower rad hose/tube - ordered the raw tubing, cut to fit, and Wayne glued it together, including a nice 1/8 npt drain plug -

i0hvyiz.jpg


FjuNa7i.jpg


5/16 steel fuel lines run the majority of the length of the truck, with rubber finishing the ends both at the tank and under the hood to the RobbMC EFI tank -

QUja2RR.jpg


c5uiDjI.jpg


Vibrant Performance 22mm clamps keep the heater hoses from causing a fight with each other -

9LzsPdU.jpg


fTu9N3I.jpg


3/8 JIC(AN) x 5/8-18 bump tube/o-ring fittings and 6an x 3/8 hose barb ends for the OE trans cooler make fabbing flexible trans cooler lines a breeze, and I fabbed two brackets that attach to the oil pan and starter bolt with 1/2" double clamps to secure it all -

aIn6rUp.jpg


NUZz1PF.jpg


3yDR3im.jpg


gNT1QzT.jpg


gH4dnQx.jpg


Y7XjnEQ.jpg


d8OhcOM.jpg


and a birds-eye of the engine bay right now -

soaMEod.jpg
 
Dang dude this things coming out sweet. impressed with the level of detail. Always the hardest part of any build is to not short cut!
 
...this update is all about the one thing I'll be staring at a lot...the dash. I like analog gauges, and I was able to squeeze in 9 of my favorite Autometer Z-series gauges in the factory Dakota panel area.

The main panel is 16g steel - it took three attempts to get it 'just' right, and it the only thing so far in this build that I've had professionally powdercoated. Here it is, complete with an assortment of indicator LEDs for the various purposes, to include left/right turn, high beams, low oil pressure, alternator no-charge, aux battery engage, and aux fuel transfer -

2EeCm2K.jpg

and installed in the dash frame -
ECWWesN.jpg

back side -
2Y5Jftf.jpg

you may notice the speedo is cable-driven, which was a main source of lots of voodoo. See...the OE setup was all 'electric' - no cable...nor was there a way to route a cable to drive the speedo...and in order to get both a reasonable 120 mph top speed and trip odometer I really wanted...well mechanical was the only option...which meant...well I needed to get a speedo cable up to it. So...I ahhhh...modified a hole saw so it was a 'deep-well' style...aaaand yeah - drilled a hole clean through the whole steering column dash frame...and...the heater duct...and I even got it aimed pretty close to the previously unused firewall clutch panel. THIS...was fun :)

deep-well hole saw -
rh6R8YJ.jpg

...never bored a tunnel through a dash frame before - it was pretty fun...but the drill was smoking by the time I got all the way through...
KG4TByE.jpg

...cleaned up the jagged edges that I could reach, and then had fun playing with my new Harbor Freight plastic welding kit (pretty neat by the way) fabbing up a plastic liner, and shoved it in the hole to keep the cable happy -
G9G9NK6.jpg

wm6pEOo.jpg

cjiGw9S.jpg


IhvT1Xh.jpg

...but...another small item that needed to be addressed...was the drivers side upper heater duct - yah it was right in the way so I hogged it out too, made another sleeve, and welded it back together -
tEUGhte.jpg


7KsyXHi.jpg

back side -
ZbtCDpH.jpg

then with everything in place the speedo cable comes right out behind the speedo...and it connects up just like it was built for it 😎
S50dyjr.jpg

modified the clutch cover to accept a boot for all of the new wiring, and a tube for the speedo cable - all sealed up nicely -
diIZ33r.jpg

So...now that the gauges are wired and in place, we are potentially within days of firing the engine. We're going to slowly and precisely wake up the newly re-wired main fuse panel, check all circuits one by one, then we'll shove in the key and check switched power, make sure it holds for at least a half hour, and when that's all good and nothing catches fire...well we'll be ready to prime the engine and fire that bitch up 👍

Progress!
- Sam
 
Wow nice job on the hurdles and workarounds needed to get the gauges how you want. Panel looks professional not garage made.
I see one wiring connector for panel. did you use OEM wiring or start over?

I went other way with speedo, no cable.

What could go wrong?

Good luck on fire up. Assume you have a hyd flat tappet cam that needs to be broken in? I used sniper for break-in, should be ok.
 
yup hydraulic flat tappet cam, and hoping the Sniper does what it's supposed to do as well as the reviews have indicated.

Big day yesterday - it's been almost 2-1/2 years since I tore it all apart, and yesterday we powered up the electrical system 👍 . We took small methodical steps plugging in more and more fuses and relays, and so far so good - only a very few minor glitches that were easily remedied. The Sniper powered up good, and today I poured 10 gallons of go-go juice in the main tank so we can test the pumps. Gettin' danger close 👍
 
shit man, na unbelievable amount of work. well done.

how are you bending the small brackets?
 
thanks man - I'm sure hoping it all functions as well as it's gone together...

I've been using a modified Harbor Freight sheet metal brake - I strengthened the swivel/folding edge - works real good for the long/thin or short thick stuff
 
I see one wiring connector for panel. did you use OEM wiring or start over?
yah we repurposed one of the 24-pin M/F connectors to be the single dash panel unit - bit of splicing but the result worked great
 
Last edited:
main fuel tank pump, EFI pump and the Sniper all woke up and tested out great.

Started oil priming the engine for fire-up and so far so good. I wanted to ensure the oil passages up to the rockers were clear and aligned correctly, but because I have the baffles under the oil-fill and breather openings I had to pull the valve covers to get visual confirmation. Then I pulled the dizzy, dumped in 8 quarts of Lucas SAE 30 break-in oil, and we spun r' up - got good pressure, but after a minute or so wasn't getting oil up to the rockers. Possible reasons: cam wasn't in the right orientation (most likely), after sitting for almost 3 years the break in grease/lube had gelled a bit and wasn't allowing oil through the small passageways (contributing factor), or the cam bearing was installed incorrectly (least likely).

So, pulled the rockers to confirm I had the oiling holes aligned correctly and to loosen up the assembly grease - they were good, but yah the grease was a bit 'thick' and rocking them a few times got them all happy again, and reinstalled the rockers. We decided to just spin up the engine and get everything moving, so reinstalled the dizzy, pulled the plugs, we sorted out a few starter and dash electrical gremlins, and hit the key! The engine spun up smooth and easy - cool seeing the big phat serpentine doin' its thing...and eureka - oil started flowing to the p-side rockers. Didn't want it to flood over and soak the manifolds so reinstalled the p-side v-cover, and today we'll spin it again to confirm the d-side.

So far so good 👍


E8kuU6C.jpg


ZQSkmGy.jpg


c6cRlet.jpg
 

Attachments

  • E8kuU6C.jpg
    E8kuU6C.jpg
    86.3 KB · Views: 41
  • ZQSkmGy.jpg
    ZQSkmGy.jpg
    224 KB · Views: 38
  • c6cRlet.jpg
    c6cRlet.jpg
    225.9 KB · Views: 36
Last edited:
Almost there.
I read some stuff on Holley's site about cam break in, zeroing out fuel enrichment. I would not do that again. Just leave it as-is and fire it. It's OK to shut down or do cam break-in in pieces. If anything I suggest to keep a bottle of whiskey handy during break in. Mine ran leaner than I wanted but no load and all was OK. Stressful after a lot of work, hence the whiskey.
 
(vroom vvVROOOOOOOMMMmmmm) - IT'S ALIIIIVE!! 😃😎

...after about 5 hours of final checks (including realizing I had the dizzy 180* out 🤪), reading and re-reading the EFI instructions and trying to understand all of the small steps, and with 4 good friends over to provide several sets of extra eyes and wrenches, we fired up the 440; it lit up with authority and ran a full 20 minutes without even a hint of stalling, and nothing caught fire (y) .

The engine seems to run nice and smooth, and it idles just like I wanted - zero lope - slow and smooth - sounds like a locomotive. I was hoping to be able to have it hover at/near 2000 rpm for a full 20 minutes for the cam break-in, and it did just that. I took a lot of time to to try to ensure all of the other components would also last the 20 minutes, and everything cooperated nicely - not a drip of anything anywhere. Thermostat opened right at 180*, and the big fan pulls hard through the radiator, and despite not moving and revving at 2k for 20 minutes the temp only got to about 215*...maybe 220 - not bad. Power steering temp came up to about 140, forgot to hook up the trans temp until after but I think it was just a little higher.

About the only thing that needs attention is the exhaust - things did get a little toasty, and I will need to address some areas...and depending on how it turns out I may have to eliminate the second gas tank to provide more clearance, which in the big scheme isn't the worst thing that could happen because I wouldn't mind it being quieter, and I'd have plenty of room for more effective mufflers. We'll see - I have a couple options, including sending the middle sections of the exhaust to JetHot, which will help for sure, and layer in more heat reflective insulation under the cab - the floor was too hot to the touch...and that's pretty hot. The section that routes up and over the driveshaft got the shaft u-joint pretty hot - not sure that's gonna work out.

Granted...2000 rpm for 20 minutes with no movement will get things pretty toasty, so we'll see hot it all does once it's rolling, which might be a while from now as there's several family events coming up and friends coming in for a visit, but like I've been I'll be chopping away at it when I can...but knowing it runs is a huge relief (y)

Huge thanks to my long-time friend Ben for all of his hard work, particularly with helping me decode the FSM and 'de-computerize' a majority of the truck's under-hood harness and re-purposing the under hood fuse panel to now power the new systems. Also thanks to Trevor and Matt for coming over to help last night and keep eyes on 'everything' and to Mike for getting the whole 20 minutes on video, which I'll post up soon as I can edit it. And for sure, huge thanks to my wife and best friend Tracy and the kiddo's for all of your support and help throughout...yet again...another crazy adventure!

Ok - need more coffee...or maybe more whiskey 😄
- Sam
 
Top Back Refresh