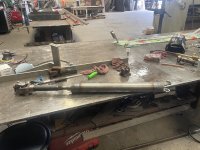
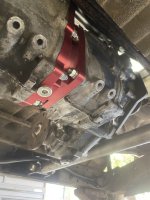
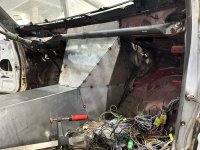
I thought about that when I was building it, but I didn’t have any good ideas to spread it out without making it look kind of crappy. I figured I would just wing it. If it breaks the breaks, we have a couple trail welders in the group will burn it in keep going. Then redesign it when I get home. I haven’t heard of the triangle method before, but my buddy that was there when I was building that was trying to convince me to set the bushings up at the same width as the motor mount bushings so that the bushings are seeing the same amount of force. But I have another Toyota currently that has these 4XInovations motor mounts and this front range off-road crossmember, but in its full form where it goes all the way to the frame rails (just like the one I mocked up) the bushings on that set up are at the same width and I haven’t had any problems in that truck with transfer case or motor mount setup. This is my fourth Toyota and at this point I’ve had just about every motor mount transfer case mount combination. The only concern I have with the set up is the amount of weld surface on that tube, you might be right but I’m gonna send it and see what happens. I’m not too worried about chassis flex, my other Toyota has an exo on it with pretty much zero triangulation, the chassis not flexing as for as I can tell and the body is hard mounted so if it was I think it would be showing signs. This truck should be pretty stout when it’s done it’s going to have a pretty good amount of triangulation. I’ll report back when it breaks so you can tell me I told you soThis will not last long.
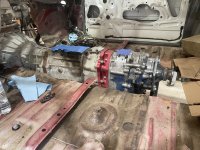
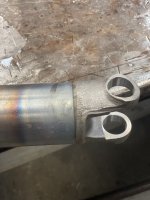
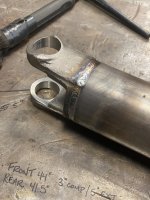
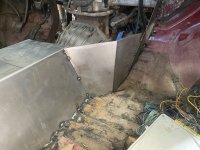
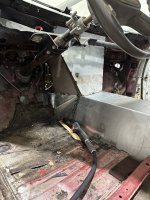
You need to spread the load out along that tube further. It will rip off that tube, bend it, or both.
Also, you should have the tcase crossmember bushings closer together. The "triangle" method is what seems to work best. The way it is now, when your chassis flexes, it's trying to twist your drivetrain.
I had a similar set up in my samurai with toyota cases and cracked the tcase housing. My current rig has the bushings closer together, right near the tcase which has been nicer to the tcase, but the tubing has broken twice.
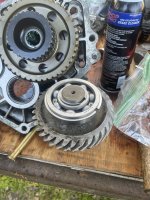
These little motors may not put down much power, but multiply it by 42 before it get to the driveshaft and they will tear stuff up.