Shaving 14 Bolts…Well here’s a good story

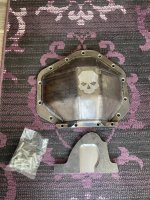
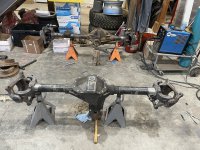
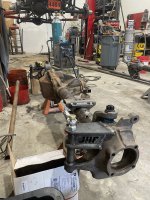
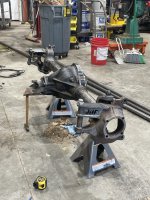
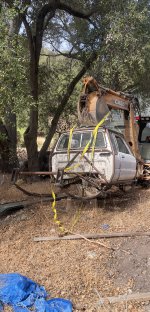
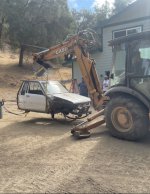
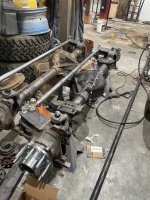
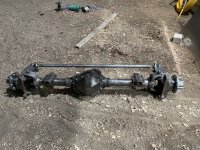
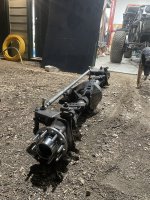
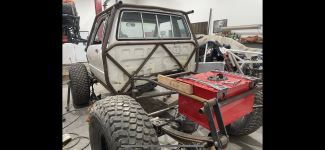
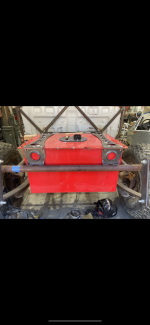
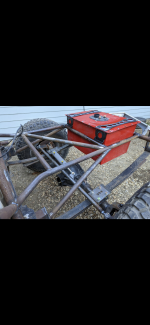
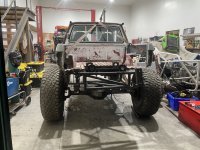
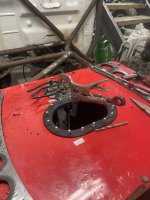
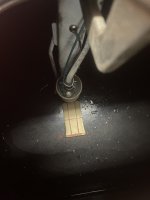
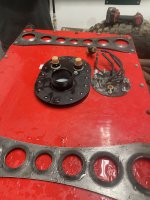
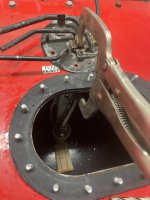
So The “front” 14 Bolt already had a shave, 5.38’s and was welded so I just left it alone. It doesn’t have the shaved ring gear but I’m not worried about that much clearance to redo it. The “rear” is the one I shaved and also needed to machine the ring gear. Btw carbide sawzall blades are awesome! So I marked the cut by putting the diff cover on and then according to the instructions, you have to cut a few degrees off the face to taper it off. I used a digital angle cube to set the degrees and just went for it with the carbide blade hoping I wouldn’t have to grind much. I actually cut off too much, we had to make a filler plate out of ar400 plate on the plasma table. Then my buddy went to machine the ring gear on the lathe and that didn’t go well either. As I turns out, gears are pretty hard, he burned up a bunch of cutting heads trying to take it down and gave up. In the instructions, they specify a certain cutting head that you need to use, so I looked them up, and it turns out they’re quite pricey. That kind of put me in a dilemma. I couldn’t return the gears that I already started to machine to then just buy machined gears from Ballistic, the cutting heads were kind of expensive and I didn’t have the time to send my gears to Ballistic to have them machined because I wanted to make it to KOH 2023 with the rig. So, my buddy hit me up one night and goes what do you think about grinding your gear down with an angle grinder? And I was like no, I can do some janky shit but I don’t think I can do that. He sends me a YouTube video of someone doing it and it looks pretty easy! One problem, I already shaved my housing…The video shows them spinning it in the housing. So my buddy was like well you have another 14 Bolt you know what you need to do. So I pulled the front apart then I spent 12-14 hours grinding that ring gear… I started out really optimistic and I was like hey this seems like it’s going really well to, F*** this thing. I would never do this again, please do not follow in my path, just have your gear machined or purchase it machined…