LINE-X
Well-known member
- Joined
- Jan 21, 2022
- Member Number
- 4726
- Messages
- 76
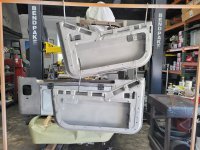
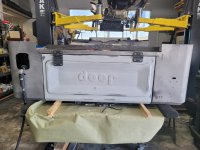
More images:
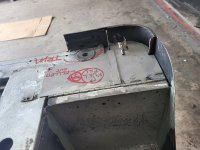
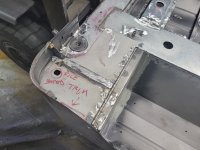
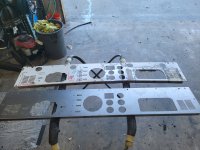
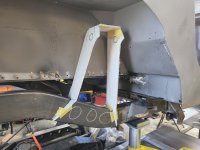
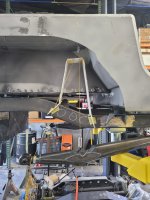
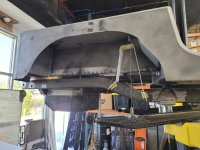
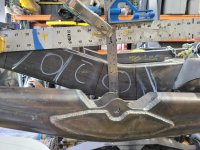
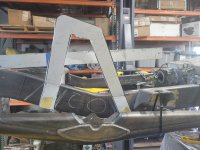
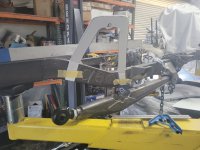
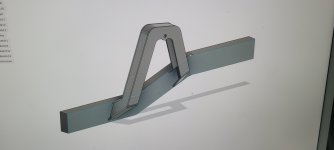
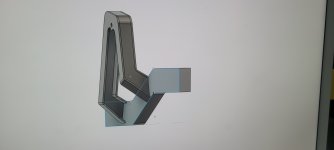
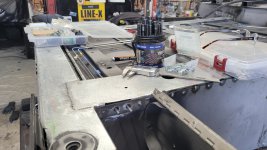
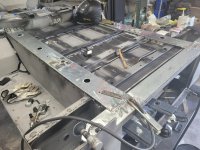
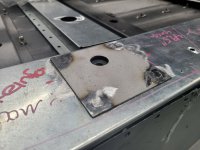
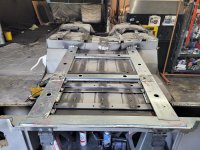
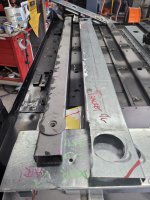
Of note, the first image below is the cross brace we welded in due to cutting the main cross brace under the front seats in order to give the ATLAS II and NV4500 more space.
Of note, the first image below is the cross brace we welded in due to cutting the main cross brace under the front seats in order to give the ATLAS II and NV4500 more space.
Attachments
-
 20220415_092954.jpg3.8 MB · Views: 8
 -
 20220512_095021.jpg3 MB · Views: 8
 -
 20220511_115635.jpg2.9 MB · Views: 7
 -
 20220502_123058.jpg2.8 MB · Views: 8
 -
 20220429_162607.jpg3.2 MB · Views: 9
 -
 20220415_181302.jpg3 MB · Views: 8
 -
 20220415_173947.jpg4 MB · Views: 7
 -
 20220415_153215.jpg3.5 MB · Views: 6
 -
 20220415_130318.jpg3.1 MB · Views: 6
 -
 20220415_094609.jpg1.8 MB · Views: 8