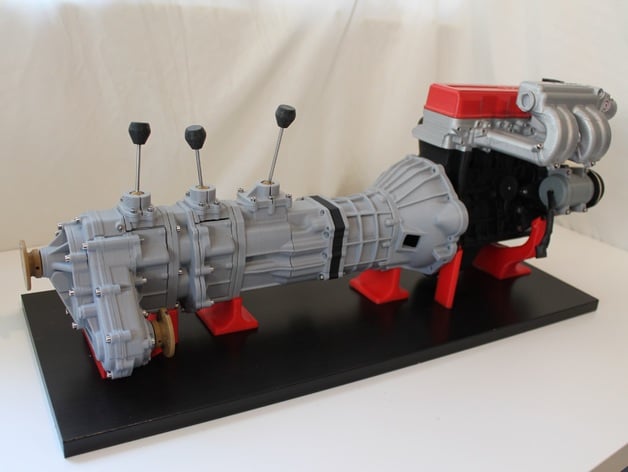
I'm thread jacking a little bit, but I have about 2/3 of this transmission printed. It's a damn good model and will be really cool for my kid to learn with. Ultimately I'll print the entire 22re, W56, and dual cases.
Part files
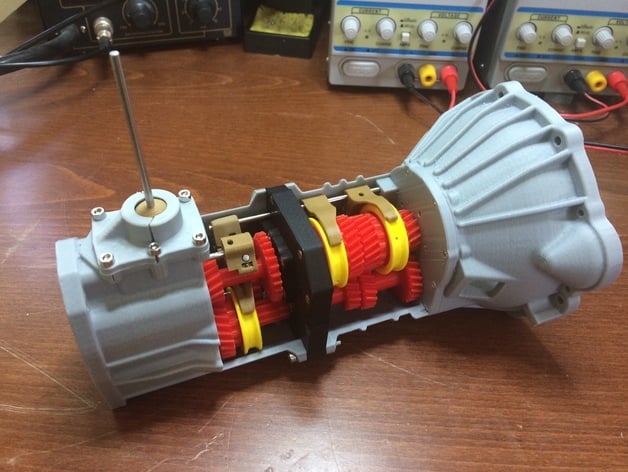
All my models are printed on a Prusa i3 kit. You can find the one I use by clicking the link below. You can get 15% off by using code "GBTE"Tronxy Prusa I3This is the 5 speed transmission that comes bolted to the back of a 22RE. This is the 4WD version of the transmission so it has a mounting...

www.thingiverse.com
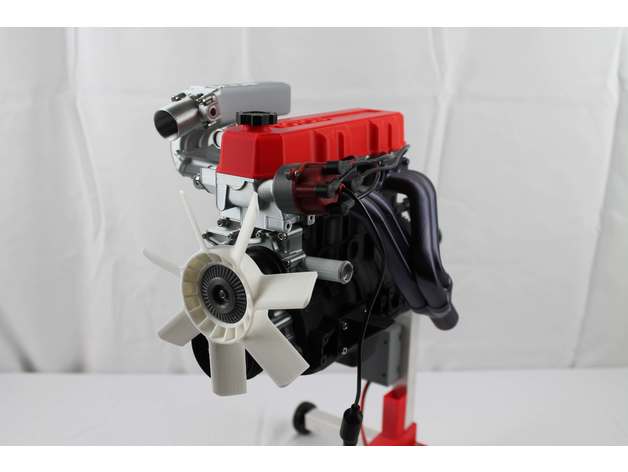
Complete hardware kits that include all the non-printed parts can be found over at MakerRxComplete hardware kitsCompletely reverse engineered Toyota 22RE 4 cylinder engine. Can completely print a fully rotating model. Working crank, pistons, and valve train. The valves open and close!!!. It...
www.thingiverse.com
All my models are printed on a Prusa i3 kit. You can find the one I use by clicking the link below. You can get 15% off by using code "GBTE"Tronxy Prusa I3The last piece for the 22RE and W56 transmission. 4WD gear driven transfer case model. Printed on a Kossel mini. Everything in PLA with 30%...
www.thingiverse.com