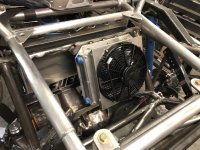
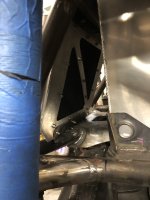
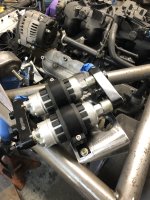
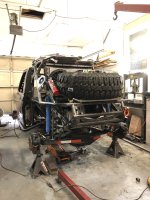
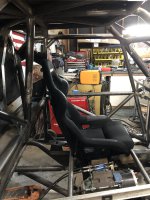
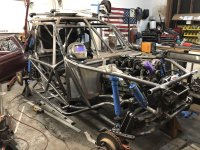
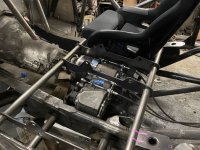
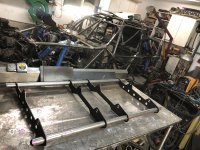
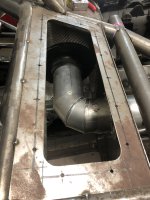
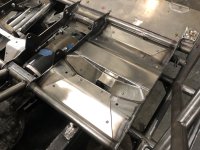
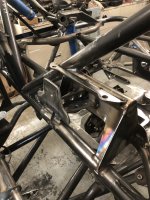
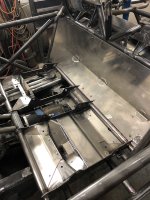
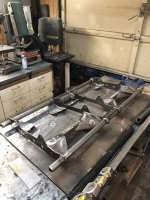
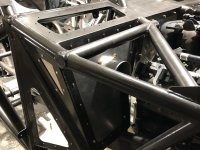
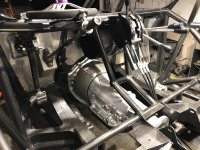
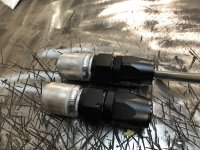
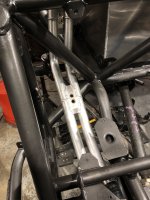
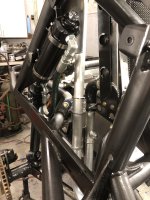
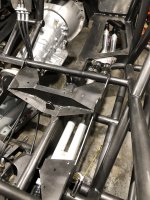
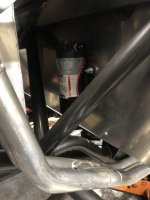
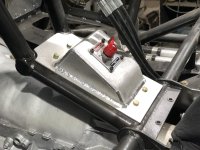
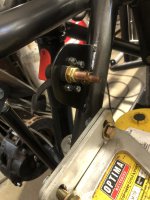
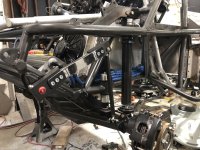
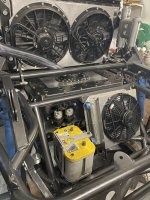
Mounted the trans cooler, battery and fuel pumps. Started to plan for spare parts and fluids but we got a long ways to go before that needs to be established.


You are using an out of date browser. It may not display this or other websites correctly.
You should upgrade or use an alternative browser.
You should upgrade or use an alternative browser.
Finished up the door bars and now I am making up the new seats! This chassis has always gave me trouble with seat mounting and seat belt locations. Now that it is has to be sealed and have a complete floor board I will have to be a lot smarter with tube locations and plan ahead to make floor pans as simple as possible!
These side mounted poly seats should definitely help!

These side mounted poly seats should definitely help!
Attachments
Got the seats mounted! Side mount seats are super convenient to mount! 
Made some templates and my buddy cut them out on his plasma table. Then made the bottom plates to attach the base of the seat to and eventually will be what the aluminum floor is attached to.

Now I am realizing I need to get the back of the car stripped down to continue on from the b pillar forward. So I will build a few more things for the back before I continue on with seat and harness mounts.


Made some templates and my buddy cut them out on his plasma table. Then made the bottom plates to attach the base of the seat to and eventually will be what the aluminum floor is attached to.
Now I am realizing I need to get the back of the car stripped down to continue on from the b pillar forward. So I will build a few more things for the back before I continue on with seat and harness mounts.
Attachments
Thank you! I definitely enjoy building rigs!No idea why I didn't see this build before but damn that's killer !
The fab work and attention to details is amazing ! Good job !

Built a coolant expansion tank and coolant catch can out of some tubing. The expansion tank has -6 an for the supply and -10 for the drain back into the return coolant tube.
Thinking about welding another -6 an on the tank routing the ls steam tubes all the way back. Seems like a long ways to go though.
The expansion tank has a -4 an welded to a 3/8 tube that runs to the bottom of the tank.
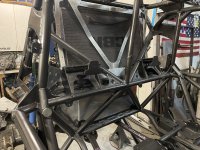
All I have left behind the b pillar is to weld fittings in the rad and coolant tubes. Then the back is complete minus plumbing!
Attachments
I figured this site would do a better job showing the steps to building it!been watching on IG and FB but always nice to see here as well
Built a intake while I was waiting on parts. Now that I am looking past on this I should have flipped the intake around and run my throttle body against the firewall. But this will work just fine and keep things rolling.

Attachments
Finished up the seat mounts, double shear seat belt mounts and floorboards under the seats.
Attachments
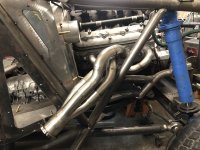
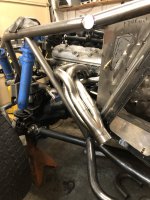
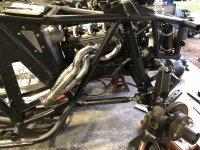
Finally got a round to building headers! Used 1.75 primaries into 2.5 exhaust. I am going to just run side pipes and not do a cross over pipe. I got the idea to run the exhaust like this from trophy trucks. Still have to build a tail pipe to dump out the bedsides.

Attachments
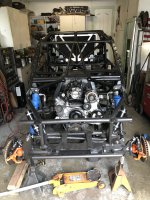
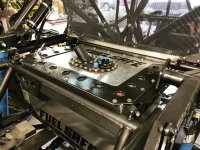
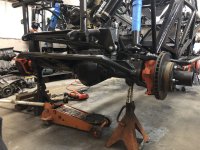
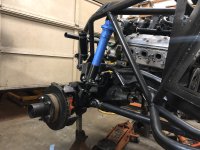
Back together it goes. Got the chassis welded out. Everything painted and axles all assembled!

Attachments
-
 A5C128D3-2F68-487D-8F69-91325B96ADD1.jpeg562 KB · Views: 20
 -
 633FEE51-C15F-4CA5-B534-F13CA6A36719.jpeg1.9 MB · Views: 20
 -
 68F70E26-12F5-42C9-A1AF-3820FAC8BD18.jpeg3.5 MB · Views: 21
 -
 299F4AA6-E1F6-456E-8F1B-30B5799AF6E1.jpeg3.3 MB · Views: 18
 -
 30A12DF3-7AA5-460D-986B-490B1AF59C6C.jpeg3 MB · Views: 19
Pretty cool seeing it coming together after this last year of building and purchasing parts!

Attachments
Look'n really sharp! 

Wow, nice work!
Thanks guys! Hoping to be racing in 42 days! Then start prepping for big sky Montana! 

rattle_snake
Fuckwits
Sexy!


McBastard79
Badical
- Joined
- May 20, 2020
- Member Number
- 681
- Messages
- 259
Badass!
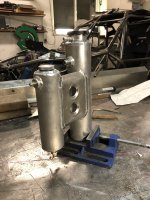
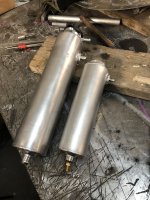
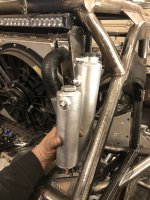
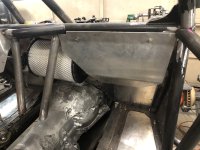
Got a few more things setup. Nwf suggested a cooler/ pump system fit the black box In my rig. The concern is the lack of fluid in the box at only .75 of a quart. I don’t think I would have ran a black box if I knew that when I bought it. But just another bridge that I have to cross.
I was thinking about running a tank below the box to get my fluid capacity that would pump to a heat sink cooler. I ended up modifying two psc coolers to make a home brew dual pass cooler. Should get me right at 2quarts with the black box filled past half way.
Going to run a catch can with a roll over valve.
Not sure on what I am going to do for a filter yet. Thinking just post pump.
Attachments
arse_sidewards
Red Skull Member
- Joined
- May 19, 2020
- Member Number
- 71
- Messages
- 8,562
Using coolers to get the extra capacity seems like a way better solution than an external tank.
Since your only source of glitter is going to be the case itself it probably makes the most sense to have the pump run straight into the filter.
Since your only source of glitter is going to be the case itself it probably makes the most sense to have the pump run straight into the filter.
That is my thought. And if the pump eats it self it won’t push it guts into the black box. A pre pump filter seems overkill.Using coolers to get the extra capacity seems like a way better solution than an external tank.
Since your only source of glitter is going to be the case itself it probably makes the most sense to have the pump run straight into the filter.
cagcig
Well-known member
How about a little more tech on how and what type of system this is as I have a black box also. ThanksThat is my thought. And if the pump eats it self it won’t push it guts into the black box. A pre pump filter seems overkill.
Last edited:
I was thinking a
I was thinking a tech write up might be beneficial to some. Part numbers. Fittings and what not. Here is the jist of it fir the time being.
It is a relatively simple system but I have already done the homework.
Pump suction off the bottom of the box. Return to the side of the box. Vent on top to catch can with a rollover.
All the fittings are 3/8npt on the black box.
Pump is also 3/8npt that I purchased -8an fittings for.
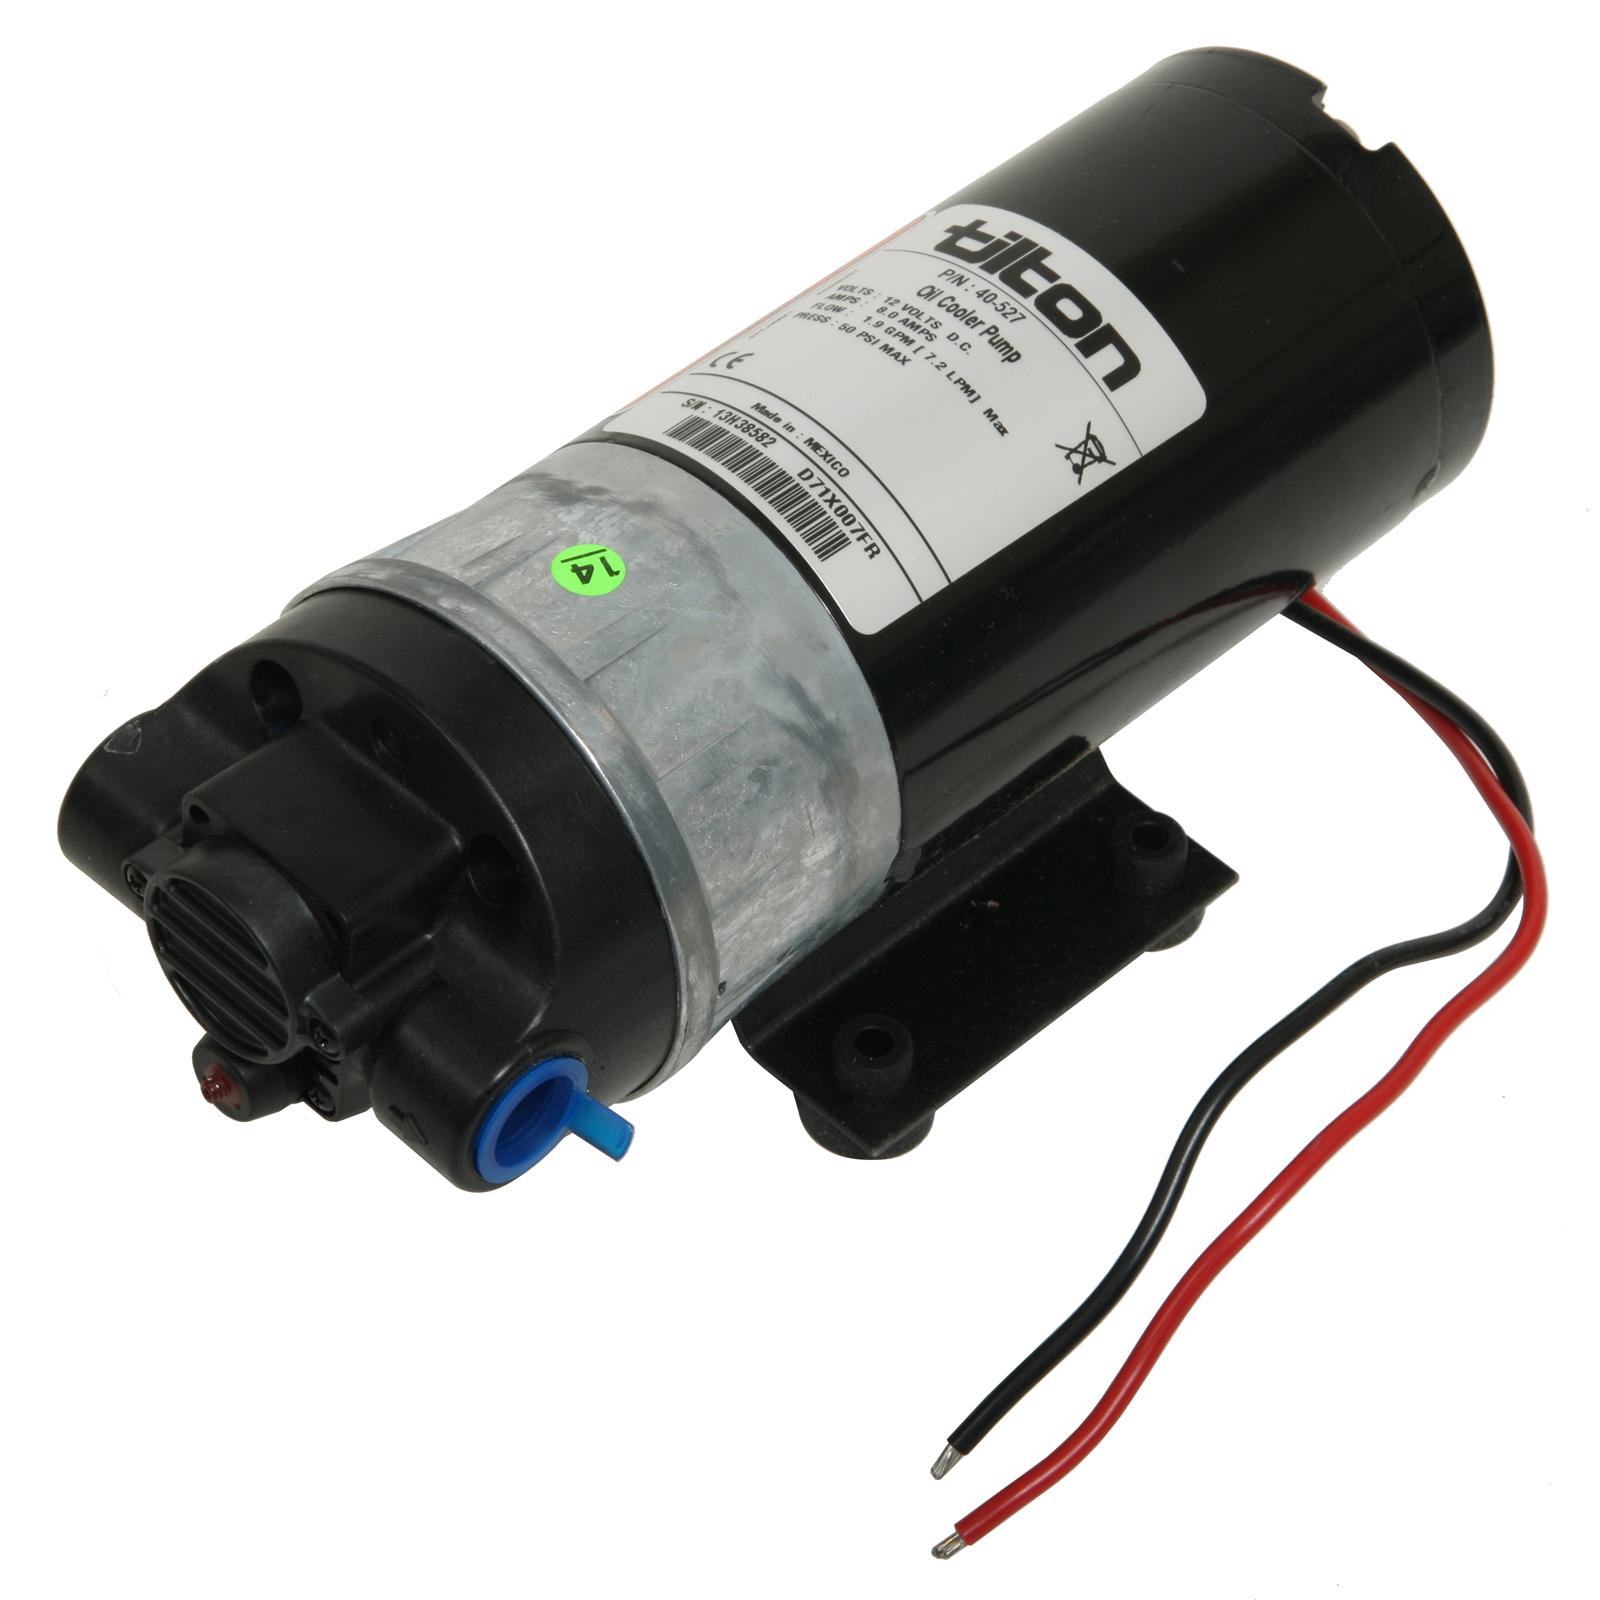
 www.summitracing.com
Going to run Russell twist lock on all the hoses that are good for oil and 250psi.
Pump has a one way valve in it.
Catch can will be significantly higher then the box so what ever back fills into the box when the rig is off it won’t billow out the vent filter.
According to nwf the box can be full 100% durn use as long as the vent is large enough and the pump is on when key is on.
The Pump per tilton can be up to 8’ away from the box on the suction side.
Plan is to run a stainless mesh inline filter post of the pump.
Two psc oil cooler heat sinks are on the back and should get me up to 2 quarts of fluid in the system.
How about a little more tech on how and what type of system this is as I have a black box also.
I was thinking a tech write up might be beneficial to some. Part numbers. Fittings and what not. Here is the jist of it fir the time being.
It is a relatively simple system but I have already done the homework.
Pump suction off the bottom of the box. Return to the side of the box. Vent on top to catch can with a rollover.
All the fittings are 3/8npt on the black box.
Pump is also 3/8npt that I purchased -8an fittings for.

Tilton Engineering 40-527 Tilton Transmission and/or Differential Oil Cooler Pumps | Summit Racing
Free Shipping - Tilton Transmission and/or Differential Oil Cooler Pumps with qualifying orders of $109. Shop Fluid Transfer Pumps at Summit Racing.
Going to run Russell twist lock on all the hoses that are good for oil and 250psi.
Pump has a one way valve in it.
Catch can will be significantly higher then the box so what ever back fills into the box when the rig is off it won’t billow out the vent filter.
According to nwf the box can be full 100% durn use as long as the vent is large enough and the pump is on when key is on.
The Pump per tilton can be up to 8’ away from the box on the suction side.
Plan is to run a stainless mesh inline filter post of the pump.
Two psc oil cooler heat sinks are on the back and should get me up to 2 quarts of fluid in the system.
Last edited:
cagcig
Well-known member
What will you use for a filter? Some sort of a spin on remote style? If you have glitter from the box isn't that going to hurt the pump?
CDA 455 II
ANFAQUE2
Man; this thread reminds me of the old place 15 years ago where everyone was building truggies.

Awesome build, BTW!


Awesome build, BTW!

I talked with my buddy that works with hydraulics and plumbing things like this way more often then myself. He suggested a ss mesh inline screen before the pump and nothing else.What will you use for a filter? Some sort of a spin on remote style? If you have glitter from the box isn't that going to hurt the pump?
His thoughts are that since we have -8an on the entire system and a breather on the case we don’t want any restrictions after the pump. Restrictions build pressure and heat in the pump so backwards of what we are trying to do here.
He thought I was being silly putting filters on both sides so hopefully I don’t regret this decision and cause a chain reaction.
Attachments
Wheelin66bronco
Pure Blood
Not gonna make Powell, but I'll be at Broadview. I'll stop by.Thanks guys! Hoping to be racing in 42 days! Then start prepping for big sky Montana!
