RunningProblem
Well-known member
- Joined
- Sep 12, 2020
- Member Number
- 2860
- Messages
- 2,456
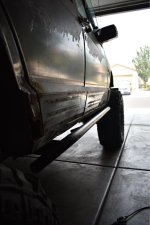
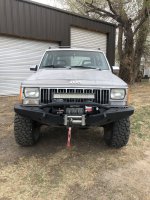
Bought this April 20, 2019 for $2,500. It had a nice 4.5 inch lift from Rough Country on it, 33s, and smittybuilt built bumpers and winch.
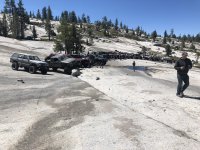
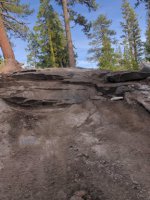
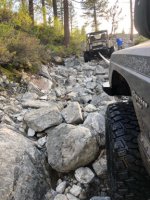
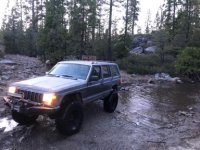
Upgraded to a SYE with a flange and a lock rite. Took it to Rubicon as my first trip three months after buying it. Had a blast and made it to Soup Bowl before heading out and going home.
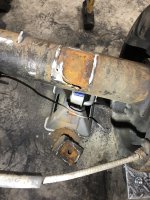
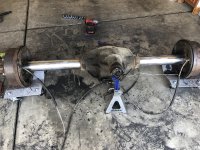
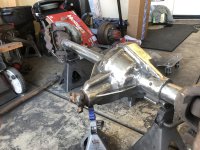
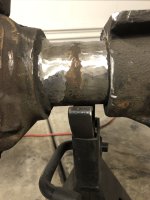
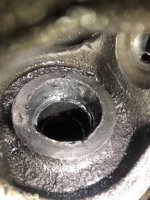
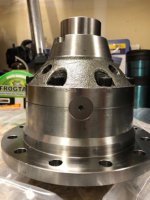
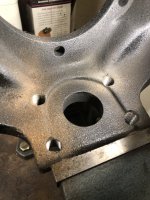
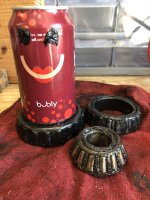
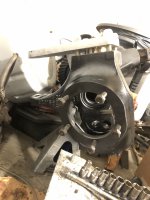
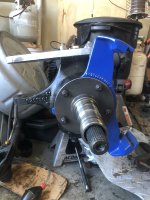
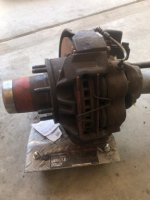
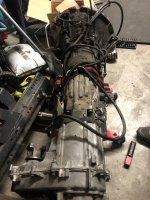
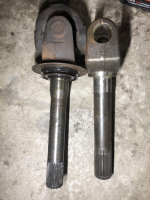
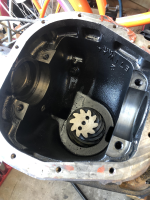
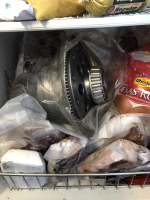
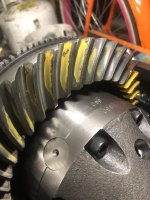
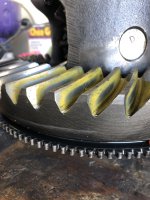
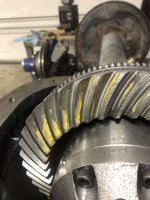
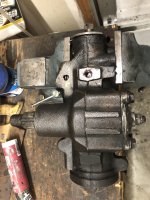
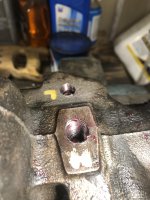
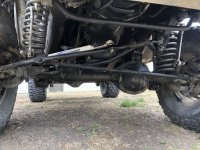
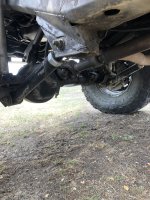
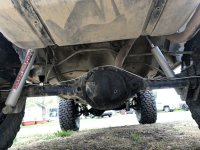
Bought two Ford 9inch reads with plans to make a 609 axle. A 609 axle is CRAZY expensive. I landed a pair of 1 tons out of a 1989 F350 on February 20, 2020 for $1200. High pinion Dana 60 with king pinions, and a Sterling 10.25 rear. I bought them after only seeing them in a text message. I have absolutely no clue what to look for with a used axle. All I knew was it was a kingpin 60, and those were the greatest thing ever. I didn't really know the difference between Ford and Chevy other than driver/passenger drop and I'd have a high pinion so it would keep the driveshaft out of the rocks. I paid for them through paypal and Add delivered them to my house shortly after. I didn't fully comprehend how heavy they'd be until we unloaded the front axle out of his truck onto some harbor freight vehicle dollies.
Both axles sat here for a while because I didn't know what I didn't know and what I didn't know was "this is expensive." What I DID understand was most people with a Cherokee swap in a Ford 8.8 for the rear, and build a Dana 30 as much as possible until they want to upgrade it. It's all the same work, but tons are just WAY bigger.
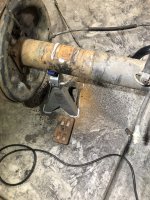
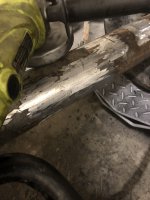
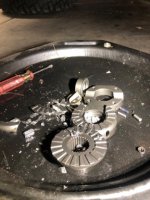
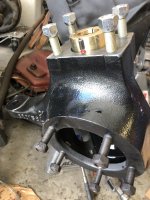
I replaced the blown lock rite for free thanks to Summit Racing, went to Fordyce, ALMOST made it to Winch Hill 1 on Memorial Day Weekend 2020 (mud pit at the bottom of the hill before WH0.5) and blew the locker up in a stupid spot. Got out and started working on the 60, and the Cherokee in general, for real.
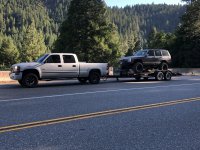
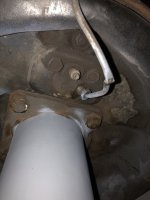
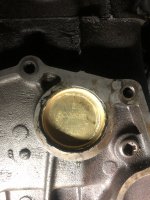
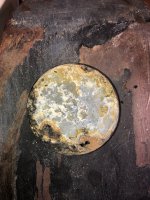
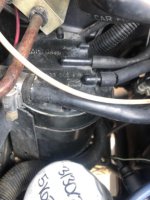
Photos from the day I bought it. I thought I’d drive it home, and was told to trailer it. THANK GOD I did. It had maybe 1/2 a quart of ATF, it was really low on oil, the radiator bottle was cracked (closed Renix system) and just not maintained as well as the seller convinced me.
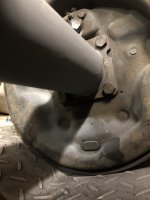
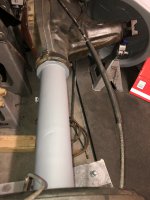
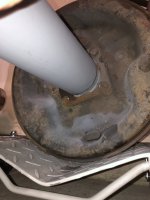
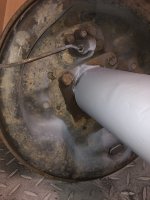
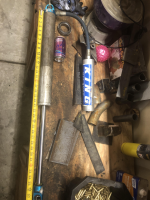
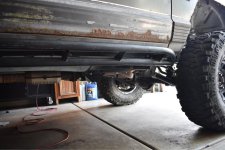
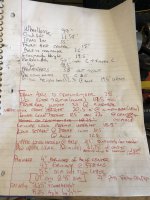
Edit: added a photo with a bunch of measurements I took in August 2020. Also a bunch of random measurements I thought would help me. These were taken with the Dana 30 under it.
Edit: December 10
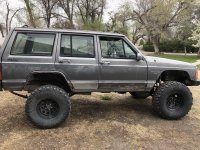
77” to the roof
23” to the crossmember
12 3/4” to the bottom of the front diff
~12” to the bottom of the rear diff
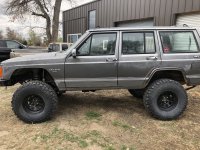
A little under 85” wide.
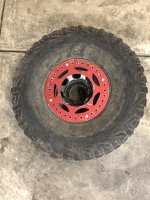
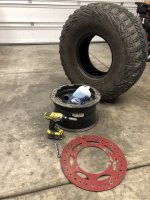
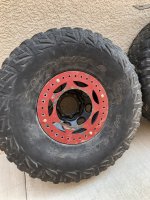
Tires are worn 40x13.5x17 Toyos at 34 PSI.
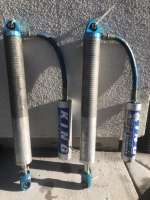
King 2.5 14” coilover a up front with 2” king bump stops
Rough country 4 1/2” leads our back
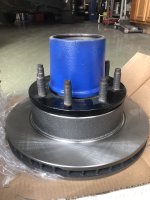
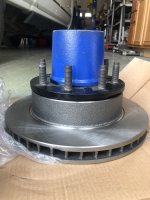
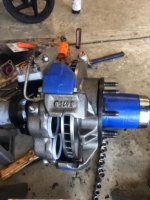
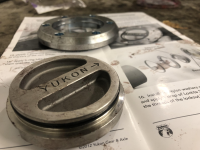
35 spline chromo outers up fromt with Yukon hubs and Stage 8 lock nuts
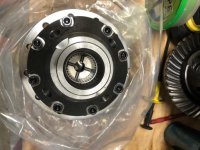
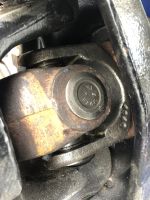
Grizzly lockers front and rear
Ram 2500 master
Jeep 94 brake booster
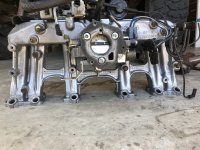
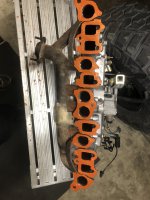
Home made intake
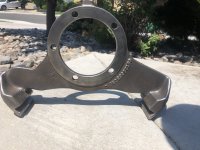
Ruffstuff shock towers heavily modified
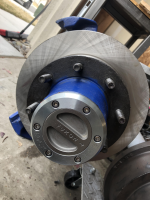
DIY 32 bolt beadlocks (20-22 ft lbs) I bought used.
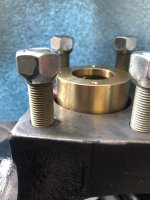
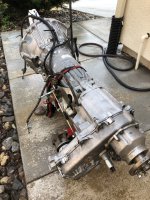
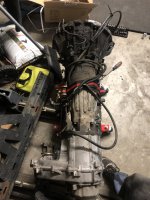
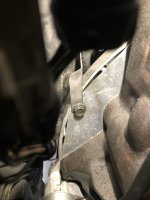
Stock NP231 with SYE (Atlas flange) and a Wide chain and Adams Driveshaft 1350 front output yoke.
1350 rear yoke.
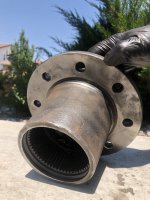
1330 big cap (stock Ford) front yoke
Grizzly lockers front and rear.

Upgraded to a SYE with a flange and a lock rite. Took it to Rubicon as my first trip three months after buying it. Had a blast and made it to Soup Bowl before heading out and going home.
Bought two Ford 9inch reads with plans to make a 609 axle. A 609 axle is CRAZY expensive. I landed a pair of 1 tons out of a 1989 F350 on February 20, 2020 for $1200. High pinion Dana 60 with king pinions, and a Sterling 10.25 rear. I bought them after only seeing them in a text message. I have absolutely no clue what to look for with a used axle. All I knew was it was a kingpin 60, and those were the greatest thing ever. I didn't really know the difference between Ford and Chevy other than driver/passenger drop and I'd have a high pinion so it would keep the driveshaft out of the rocks. I paid for them through paypal and Add delivered them to my house shortly after. I didn't fully comprehend how heavy they'd be until we unloaded the front axle out of his truck onto some harbor freight vehicle dollies.
Both axles sat here for a while because I didn't know what I didn't know and what I didn't know was "this is expensive." What I DID understand was most people with a Cherokee swap in a Ford 8.8 for the rear, and build a Dana 30 as much as possible until they want to upgrade it. It's all the same work, but tons are just WAY bigger.
I replaced the blown lock rite for free thanks to Summit Racing, went to Fordyce, ALMOST made it to Winch Hill 1 on Memorial Day Weekend 2020 (mud pit at the bottom of the hill before WH0.5) and blew the locker up in a stupid spot. Got out and started working on the 60, and the Cherokee in general, for real.
Photos from the day I bought it. I thought I’d drive it home, and was told to trailer it. THANK GOD I did. It had maybe 1/2 a quart of ATF, it was really low on oil, the radiator bottle was cracked (closed Renix system) and just not maintained as well as the seller convinced me.
Edit: added a photo with a bunch of measurements I took in August 2020. Also a bunch of random measurements I thought would help me. These were taken with the Dana 30 under it.
Edit: December 10
77” to the roof
23” to the crossmember
12 3/4” to the bottom of the front diff
~12” to the bottom of the rear diff
A little under 85” wide.
Tires are worn 40x13.5x17 Toyos at 34 PSI.
King 2.5 14” coilover a up front with 2” king bump stops
Rough country 4 1/2” leads our back
35 spline chromo outers up fromt with Yukon hubs and Stage 8 lock nuts
Grizzly lockers front and rear
Ram 2500 master
Jeep 94 brake booster
Home made intake
Ruffstuff shock towers heavily modified
DIY 32 bolt beadlocks (20-22 ft lbs) I bought used.
Stock NP231 with SYE (Atlas flange) and a Wide chain and Adams Driveshaft 1350 front output yoke.
1350 rear yoke.
1330 big cap (stock Ford) front yoke
Grizzly lockers front and rear.
Attachments
-
 D4041719-4521-4F5E-A610-76B0B0666B03.jpeg2.8 MB · Views: 351
 -
 8C80B370-1287-4A76-A269-B173418F53B6.jpeg2.3 MB · Views: 51
 -
 0FD10A41-826E-483D-A0DA-F687D074794B.jpeg2.6 MB · Views: 60
 -
 D227F660-4F16-40C7-9686-F5B81C011D5D.jpeg1.9 MB · Views: 66
 -
 66E3991B-233D-41B8-9196-5866B9CDBD28.jpeg2.4 MB · Views: 70
 -
 11D56CD3-9335-4561-AD86-70FE78BEA994.jpeg1.5 MB · Views: 66
 -
 16F0714C-3C75-442A-AF05-EE72A694CB37.jpeg1.5 MB · Views: 55
Last edited: