houstoniancj
Red Skull Member
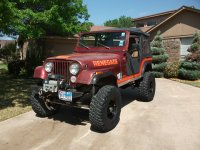
Well, I’m finally at the point of the start of a build. I bought this Jeep a little before our daughter was born with the intention to do a quick fix up, drive it a little, and sell it. My favorite thing to do, but none of that happened.
It had a set of Dana 44’s and an SOA with YJ springs when I trailered it home sitting on 35's. It also had a spool in the rear so not really fun to drive on the street. I had intended to do a full resto and update it to be a little more road friendly so I rebuilt the 4.2, the t176, and the Dana 300.
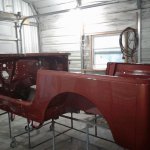
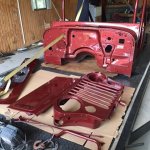
During the tear down i noticed the rear 44 was leaking from the plug welds, it had probably spun a tube so out it went. I built a Ford super 8.8 and then we decided to move houses. Everything went to storage as a completely torn down Jeep. I took advantage of the ripped up jeep and I had a shop paint it and put the metalcloak full wrap armor and fenders on the tubi bought during a black Friday sale.
Then we moved again not 2 years later so the Jeep remained in storage.
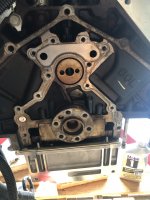
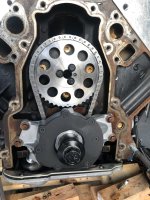
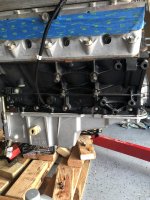
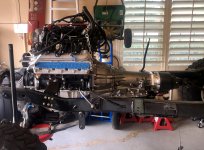
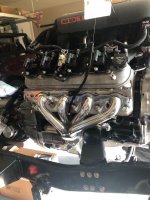
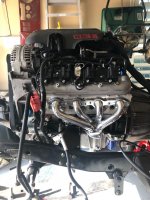
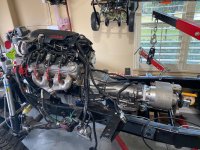
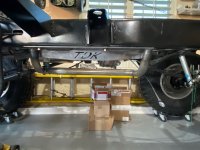
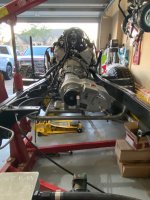
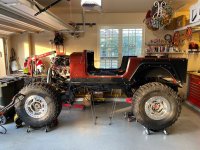
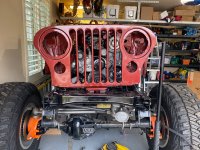
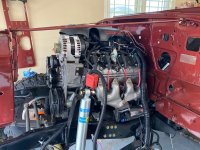
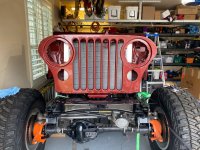
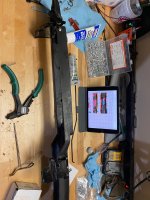
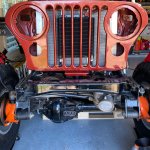
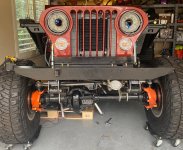
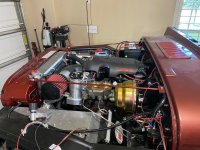
Today marks the first time in 7 years this has been a rolling chassis. I found a Vortec 6.0 from bdturnkey and they were great to work with. Realizing I had an actual V8 that dynoed at more than 3.5x what the 4.2 did after BD was done with it, the Dana 44 and 8.8 went for sale.
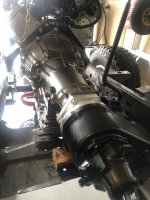
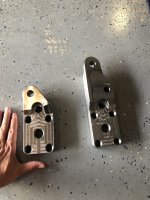
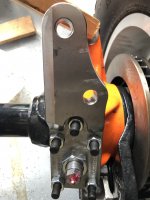
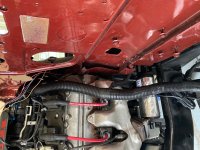
I found a builder who had a great price on some Dana 60’s from a 1 ton Chevy. We buit them with 35 spline Chromolys front (both inner and outers) and rears, ARB's, 5.13 gears, and Reid knuckles. All in anticipation for the 37's i had picked up.
My plans (and means to afford those plans) have changed over the years so here is where those plans are at now:
Sitting on 37's, moving larger in the future
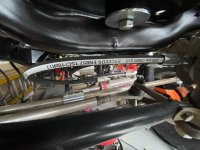
SOA with RE 1445 springs
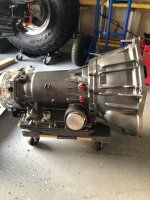
LQ4
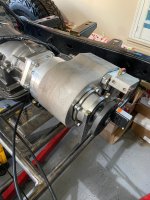
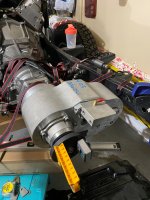
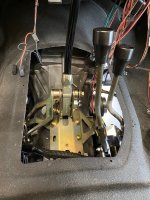
4l60e
Built Dana 60's
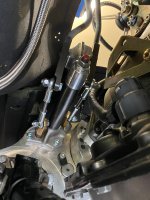
Hydroboost
PSC Ram assist
This thread will be my way of cataloging the rebuild and holding myself accountable to make sure I turn my pile of jeep parts back into a working Jeep.
It had a set of Dana 44’s and an SOA with YJ springs when I trailered it home sitting on 35's. It also had a spool in the rear so not really fun to drive on the street. I had intended to do a full resto and update it to be a little more road friendly so I rebuilt the 4.2, the t176, and the Dana 300.
During the tear down i noticed the rear 44 was leaking from the plug welds, it had probably spun a tube so out it went. I built a Ford super 8.8 and then we decided to move houses. Everything went to storage as a completely torn down Jeep. I took advantage of the ripped up jeep and I had a shop paint it and put the metalcloak full wrap armor and fenders on the tubi bought during a black Friday sale.
Then we moved again not 2 years later so the Jeep remained in storage.
Today marks the first time in 7 years this has been a rolling chassis. I found a Vortec 6.0 from bdturnkey and they were great to work with. Realizing I had an actual V8 that dynoed at more than 3.5x what the 4.2 did after BD was done with it, the Dana 44 and 8.8 went for sale.
I found a builder who had a great price on some Dana 60’s from a 1 ton Chevy. We buit them with 35 spline Chromolys front (both inner and outers) and rears, ARB's, 5.13 gears, and Reid knuckles. All in anticipation for the 37's i had picked up.
My plans (and means to afford those plans) have changed over the years so here is where those plans are at now:
Sitting on 37's, moving larger in the future
SOA with RE 1445 springs
LQ4
4l60e
Built Dana 60's
Hydroboost
PSC Ram assist
This thread will be my way of cataloging the rebuild and holding myself accountable to make sure I turn my pile of jeep parts back into a working Jeep.


 That's awesome.