Well, you lucky hair lips get to lay witness to my abomination of a Toyoda. 
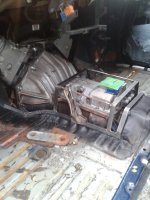
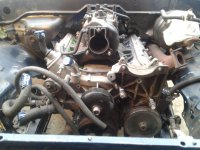
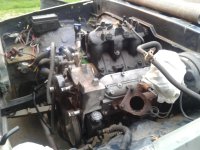
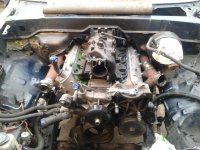
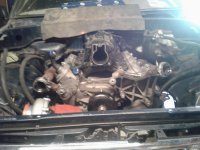
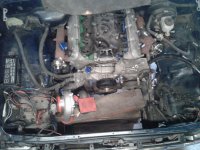
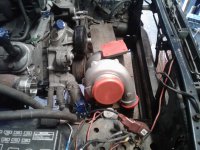
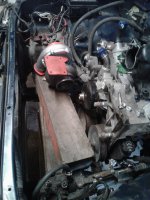
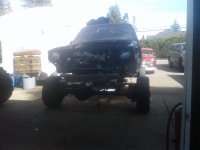
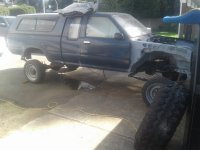
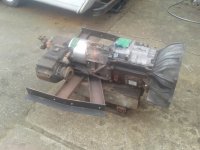
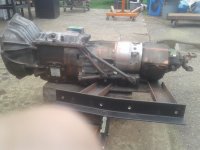
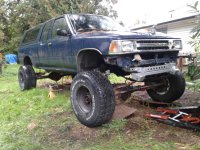
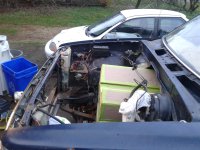
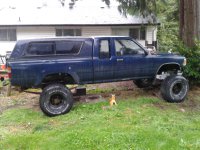
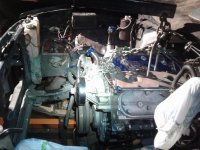
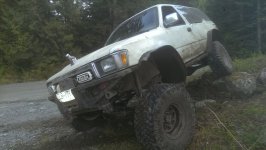
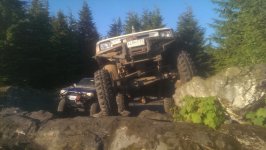
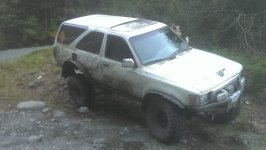
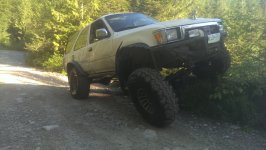
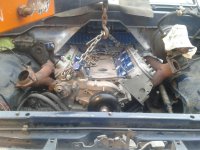
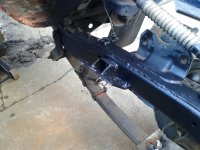
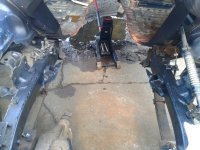
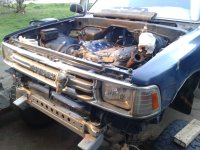
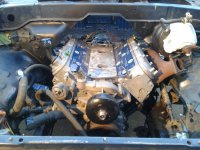
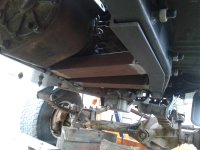
1990 2wd, LM7, Holley Terminator X, gt45, NV4500, NWF 205 Ecobox, A.A. billet FW and centerforce clutch, rears up front, F150s out back, 128-9" Wheelbase. D60/70U, 8274. And more to come. This thread will be a spank bank of pics as I progress. Thank you and Enjoy
1990 2wd, LM7, Holley Terminator X, gt45, NV4500, NWF 205 Ecobox, A.A. billet FW and centerforce clutch, rears up front, F150s out back, 128-9" Wheelbase. D60/70U, 8274. And more to come. This thread will be a spank bank of pics as I progress. Thank you and Enjoy
Attachments
-
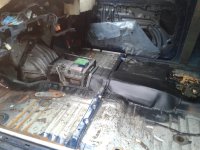
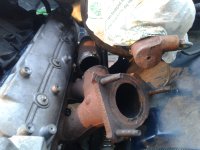
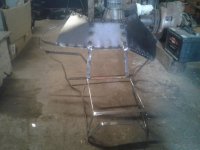
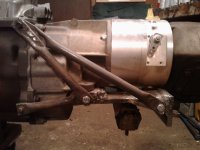
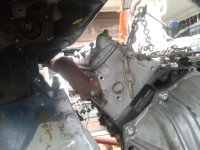
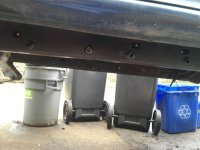
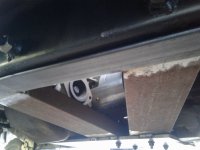
 20211009_163435.jpg829.8 KB · Views: 168
 -
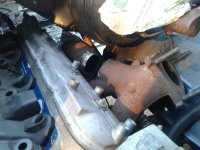
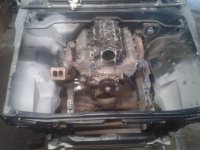
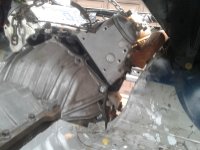
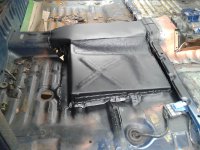
 20211126_220508.jpg474.1 KB · Views: 81
 -
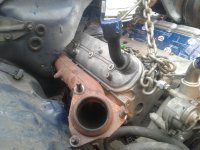
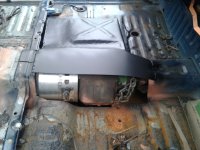
 20211126_220500.jpg449 KB · Views: 78
 -
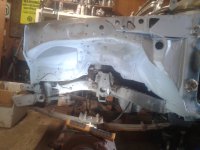
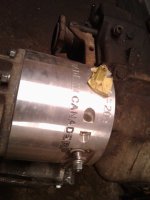
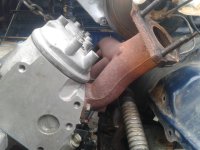
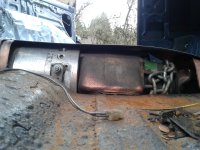
 20211126_220425.jpg395.2 KB · Views: 74
 -
 20211126_220405.jpg520.4 KB · Views: 86
 -
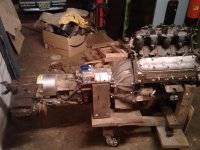
 20211126_215903.jpg534 KB · Views: 100
 -
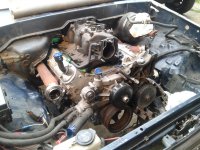
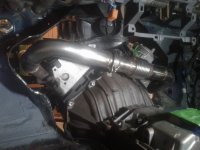
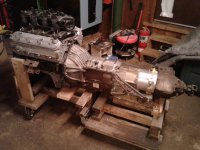
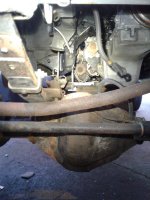
 20211121_155951.jpg480.2 KB · Views: 105
 -
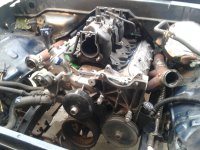
 20211121_155931.jpg597.6 KB · Views: 101
 -
 20211121_155923.jpg577.9 KB · Views: 88
 -
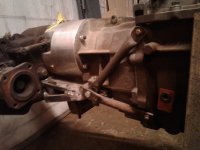
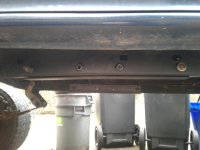
 20211009_163416.jpg722.1 KB · Views: 88
Last edited:
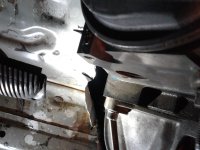


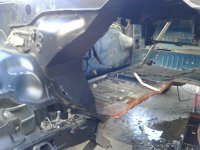
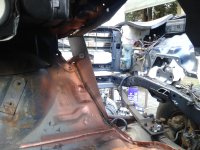
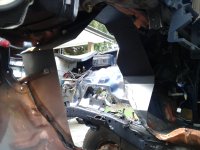

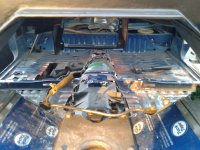

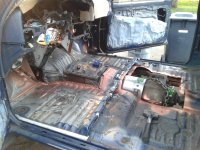

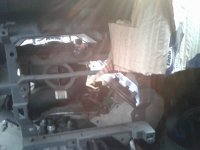
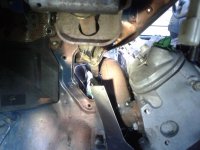
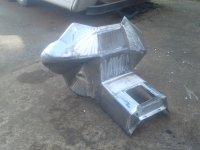
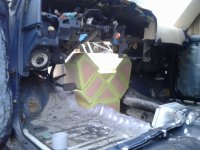
 and usually leaves me with tight clearances and modified parts. The wiper transmission for instance, will need to be modified because of the changes made to the cowel