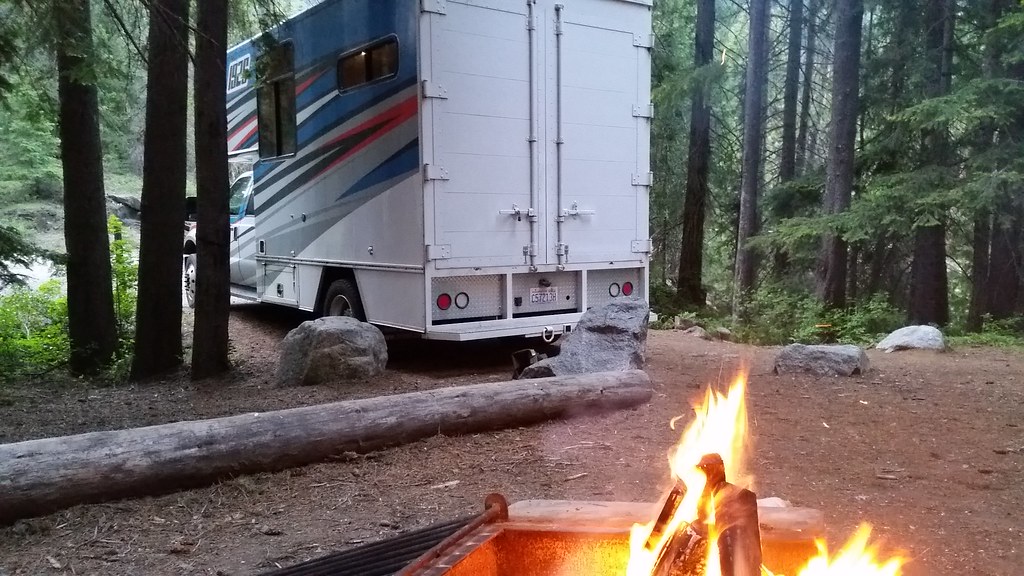
OK Here goes. Hold onto your panties....
Feb 10 2017
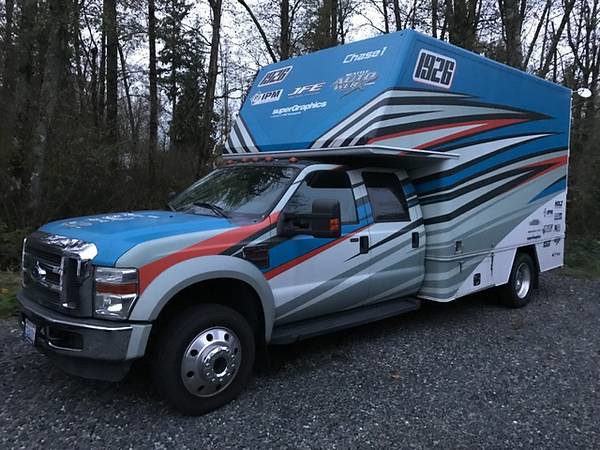
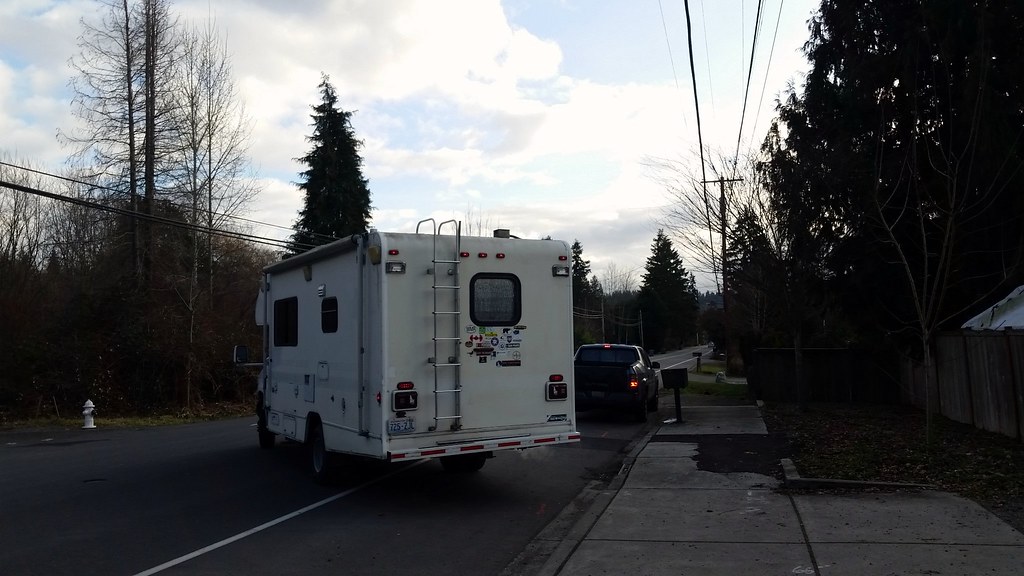
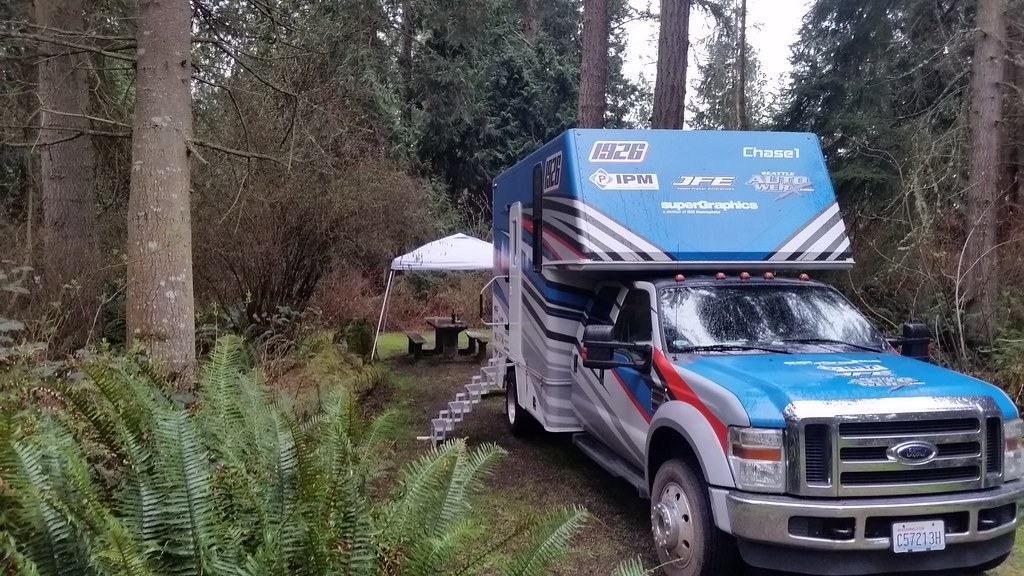
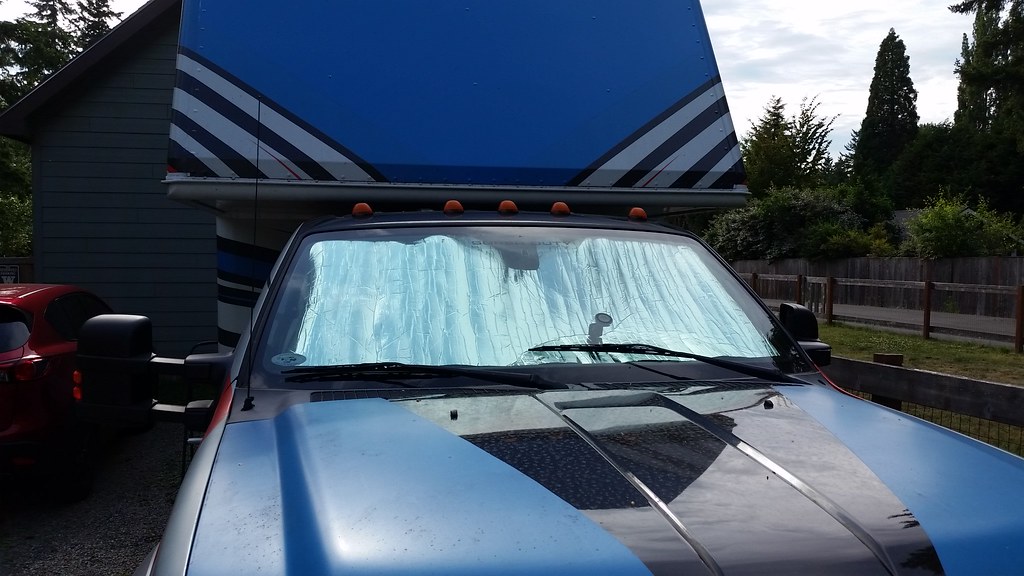
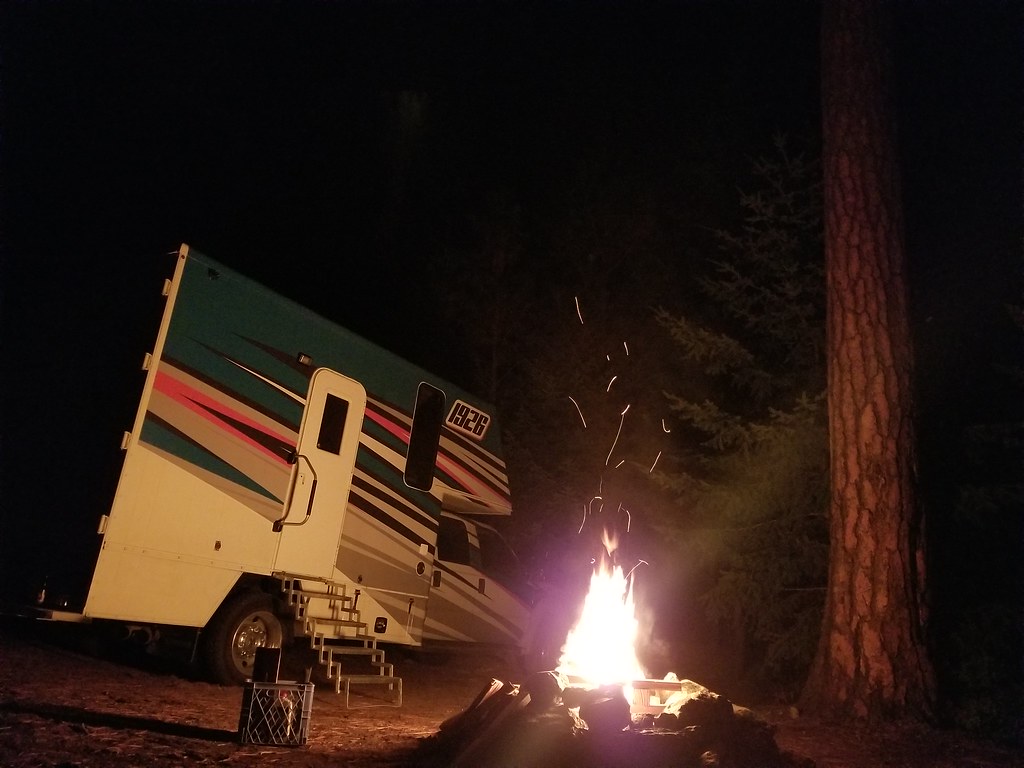
I have been half searching for a replacement for our Ski Bum truck (and E350 4x4 winnebago), I love the truck, but the long overhang and fiberglass construction limit me a bit. I had gotten a quote from Tri Van for an all aluminum body for an F450/550, and was keeping an eye out for cab chassis to com up cheap on CL.
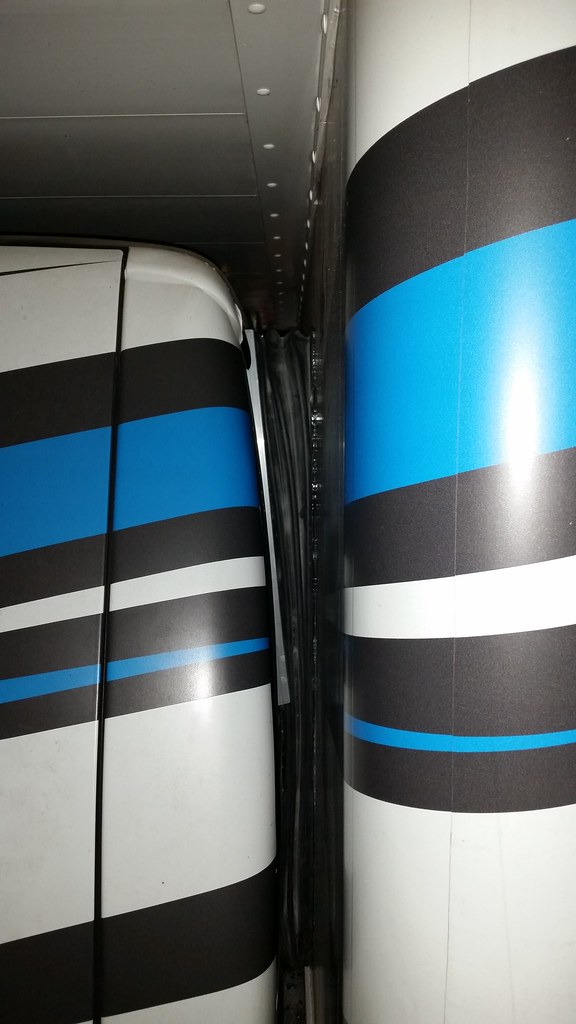
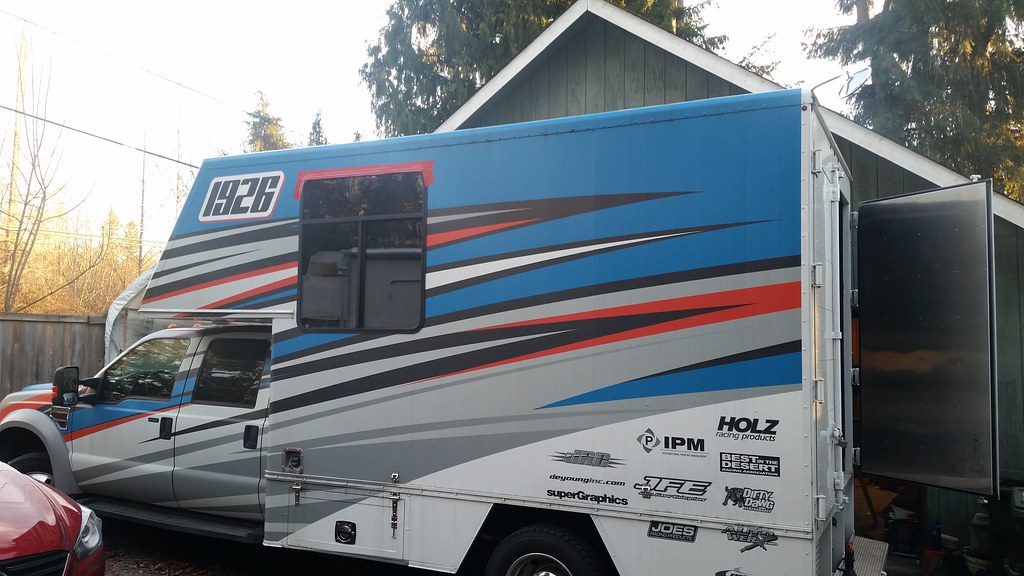
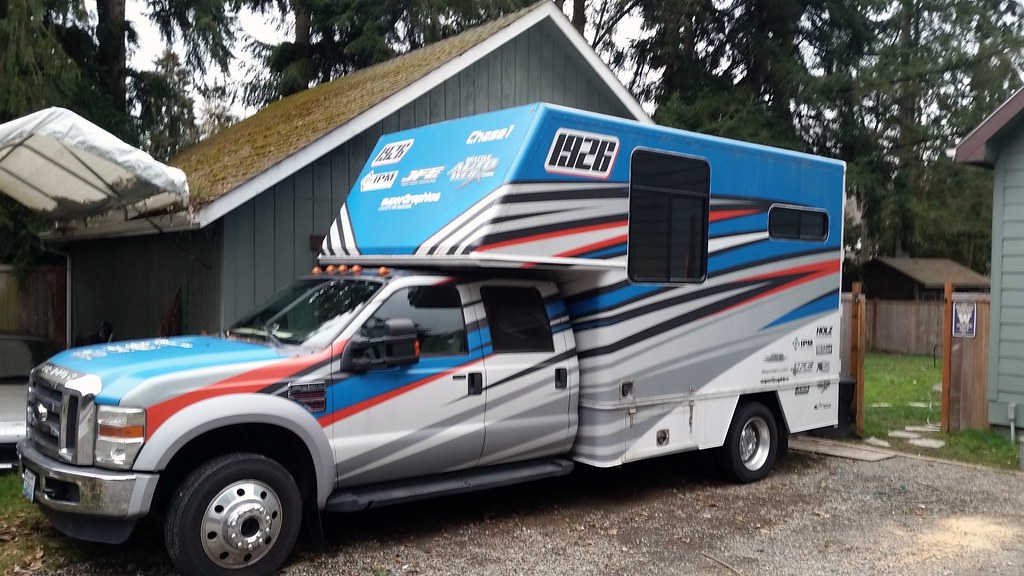
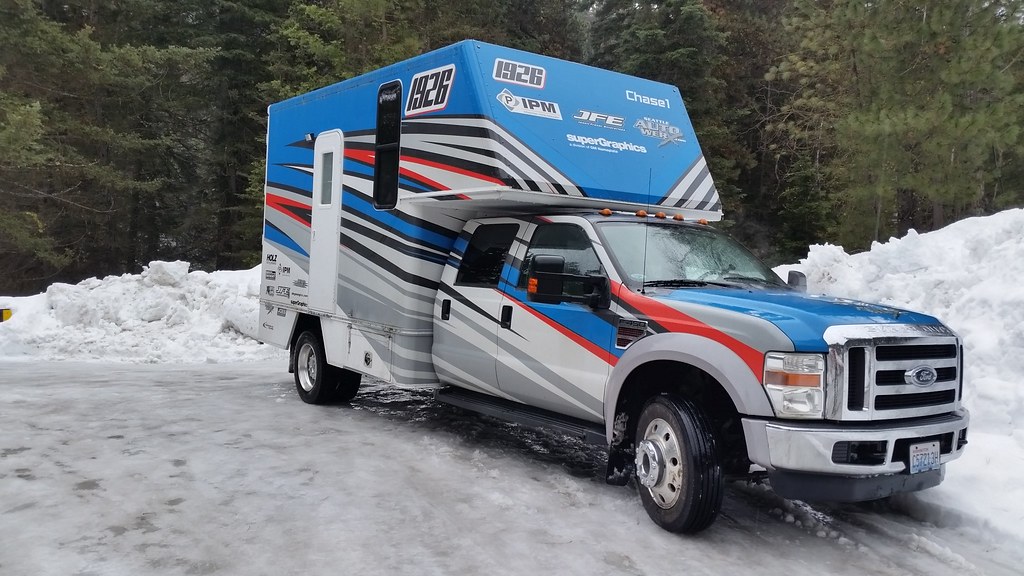
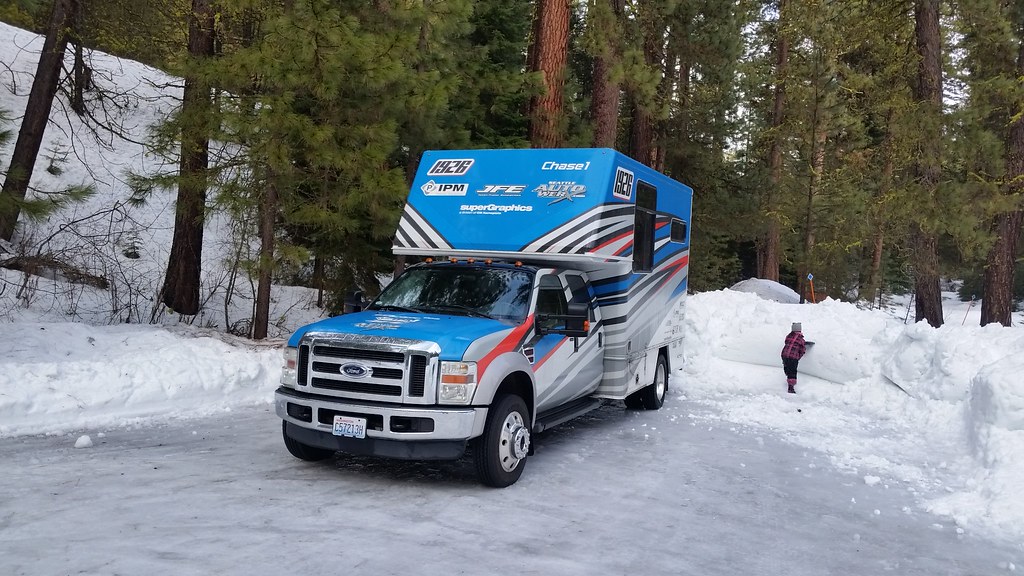
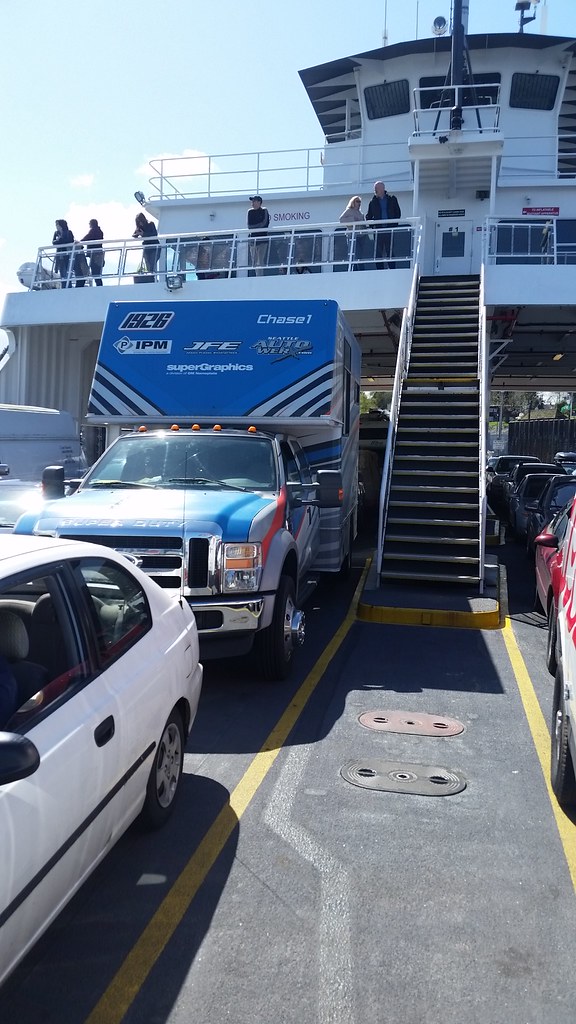
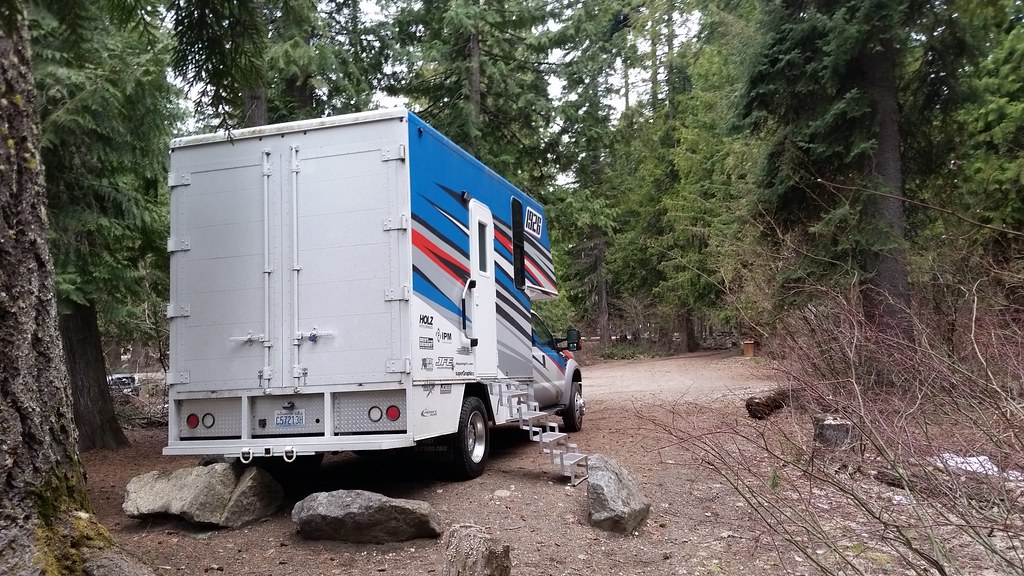
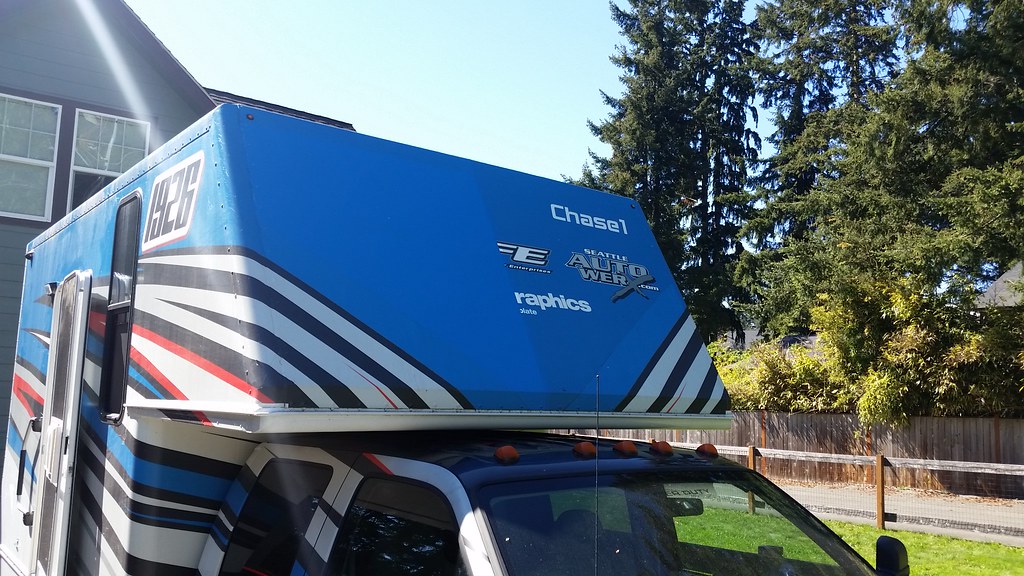
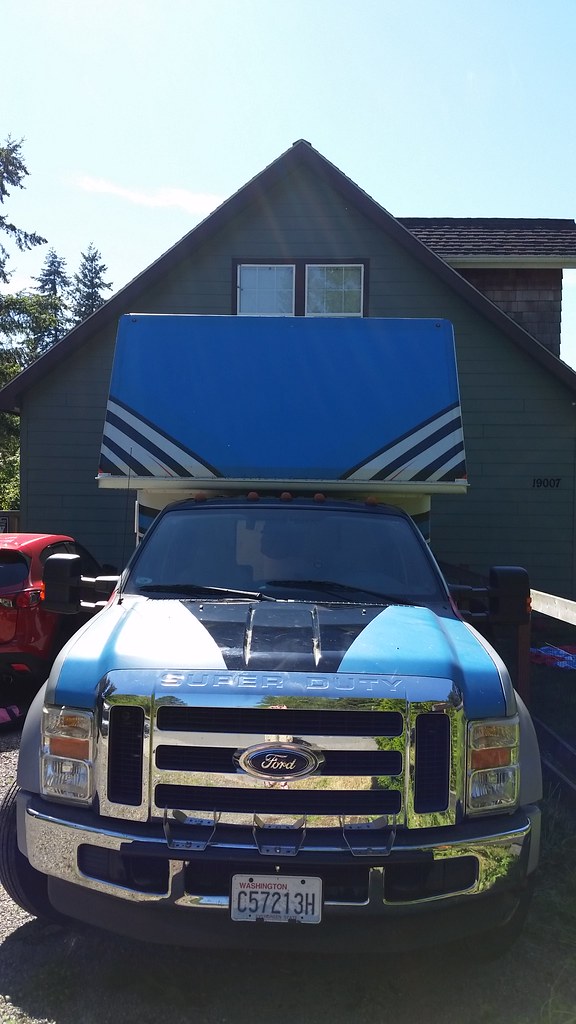
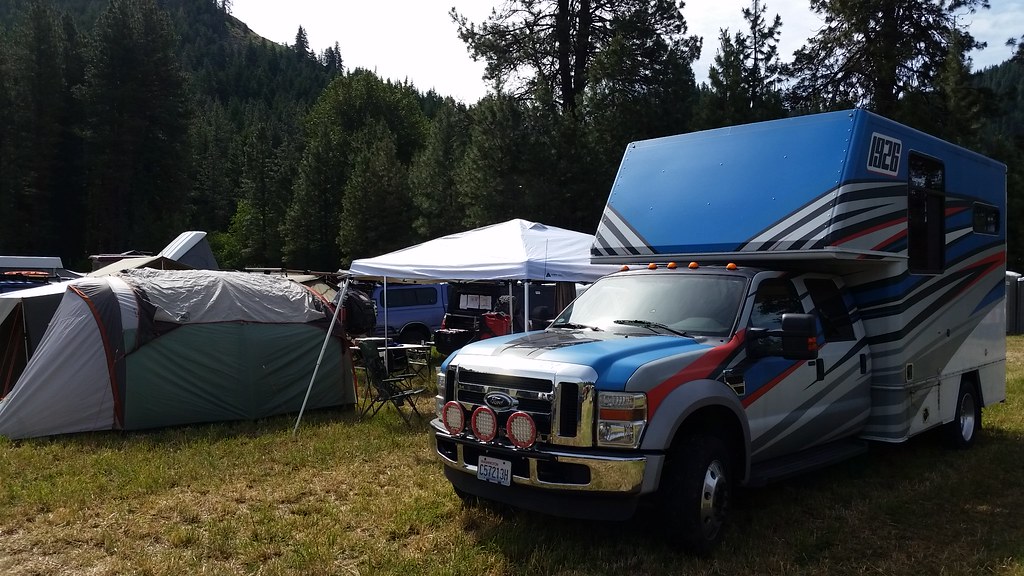
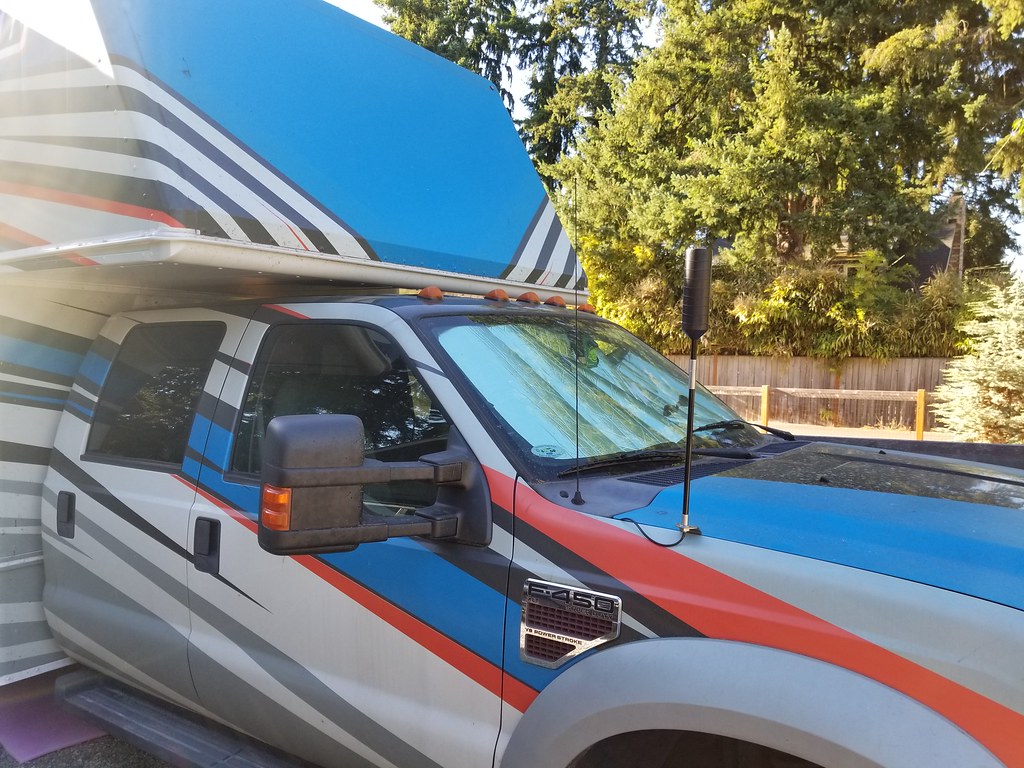
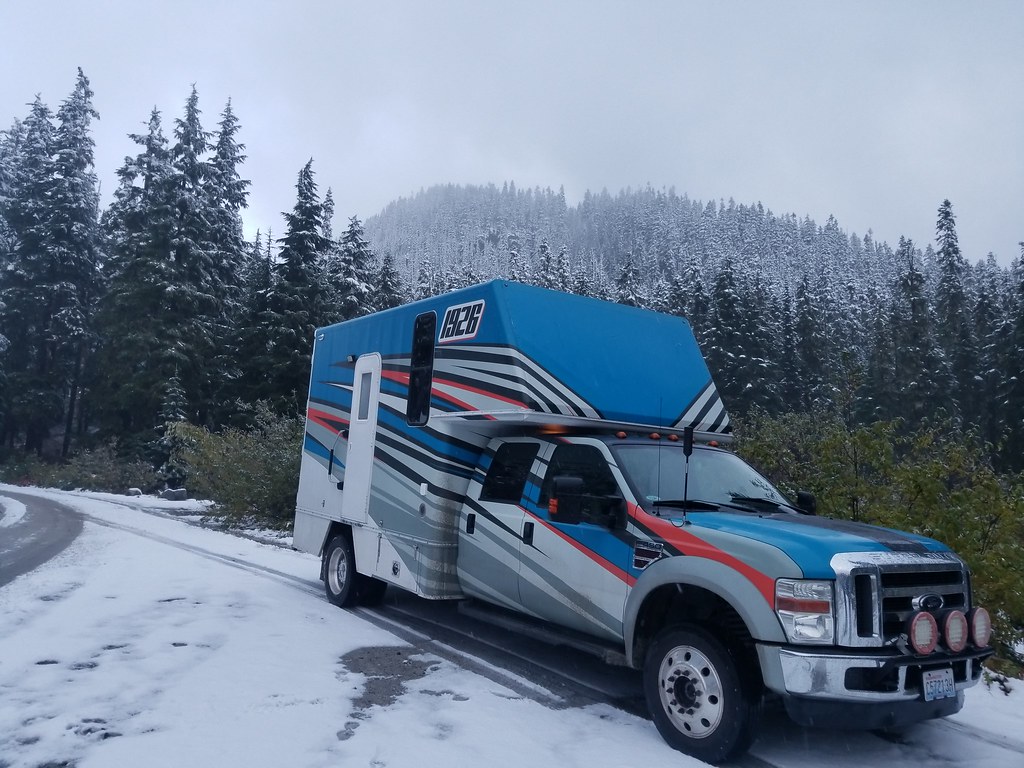
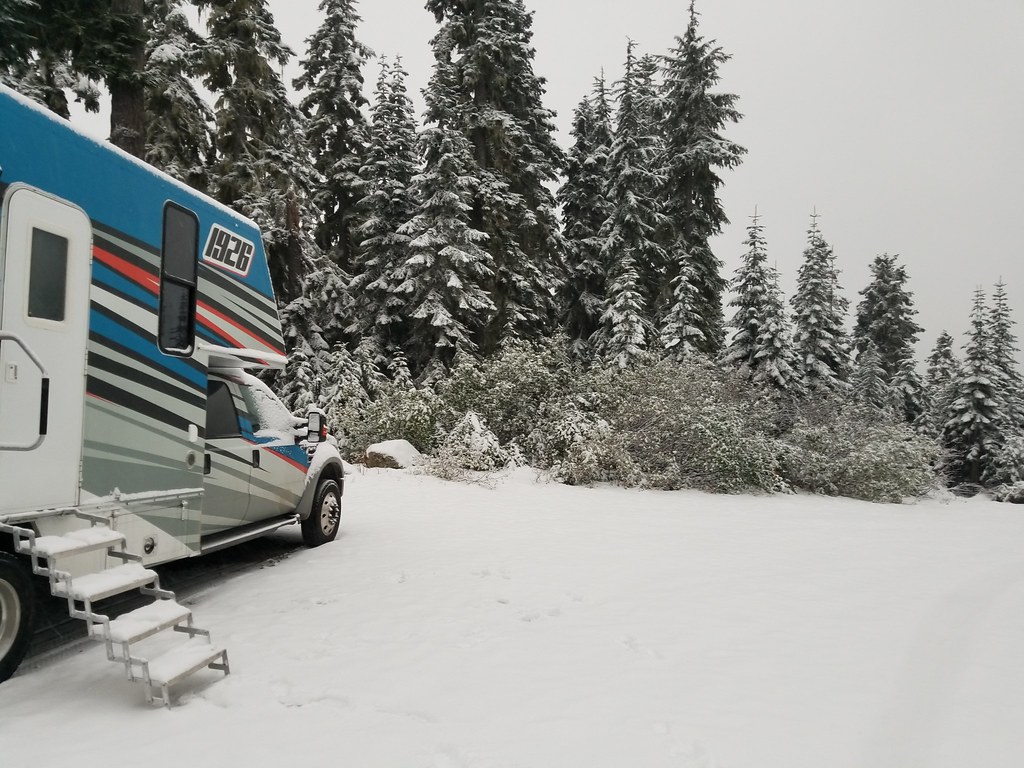
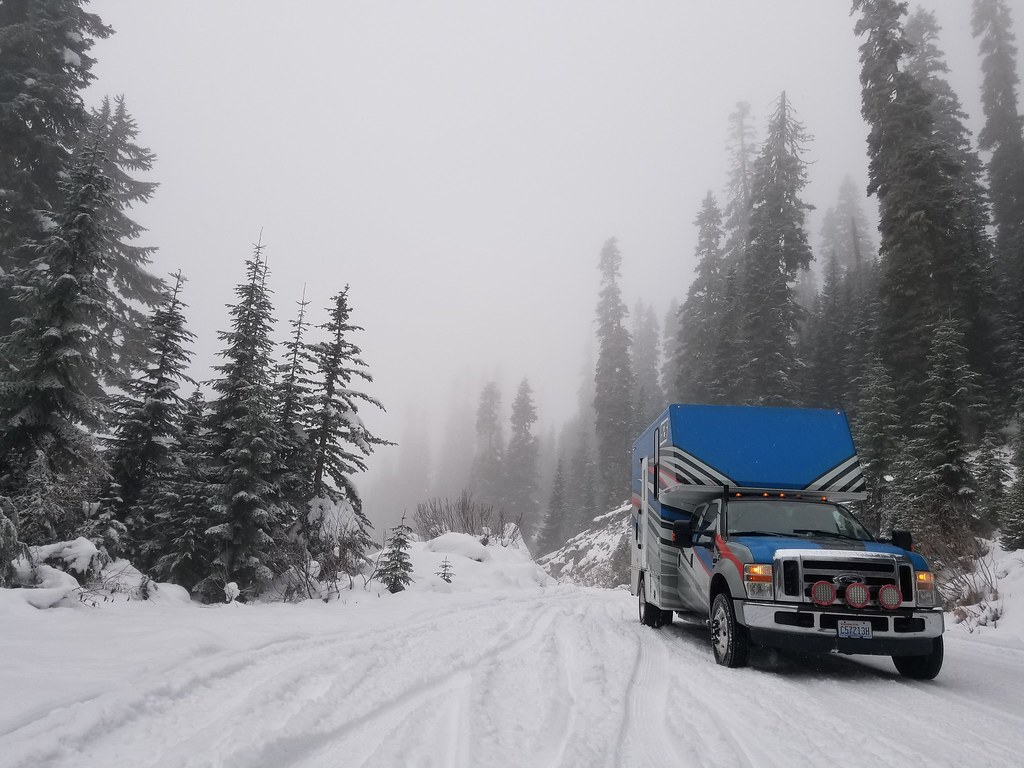
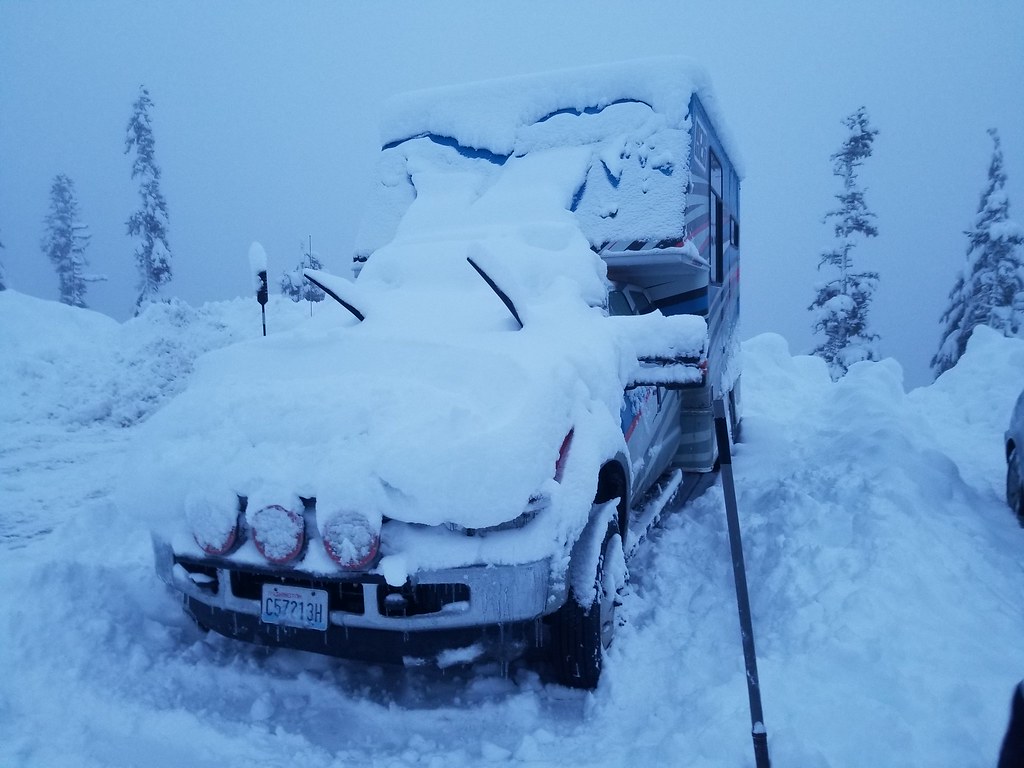
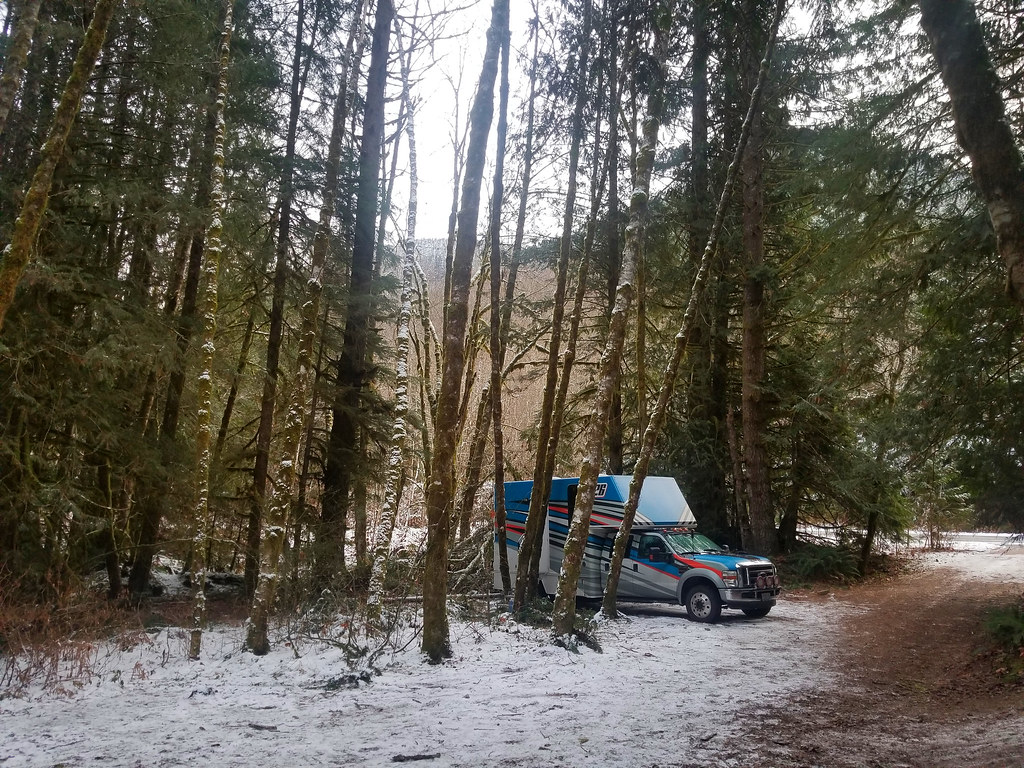
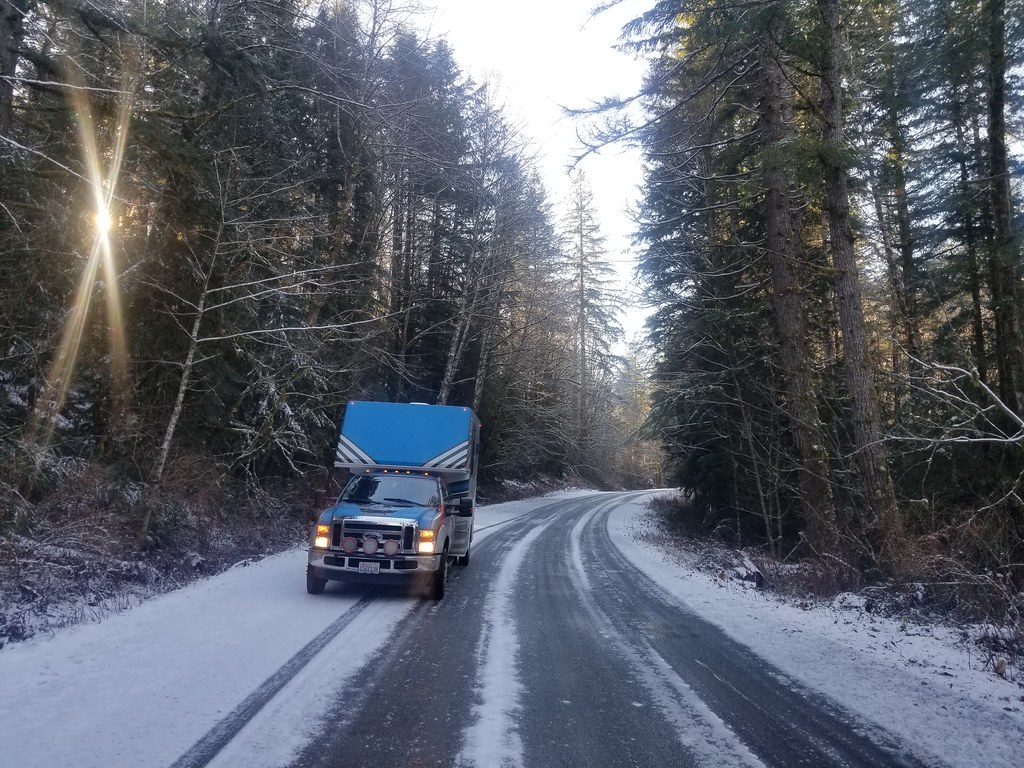
Then I found this truck, Nearly the same body I had a quote for, on a 2008 F450 4x4 frame, which had been stretched 36" to allow for nearly no overhang. It was built as a chase truck for a UTV racing team. I wasn't really ready to pull the trigger for a new truck, but this was too good to pass up. Deal was struck and the truck headed to my driveway.
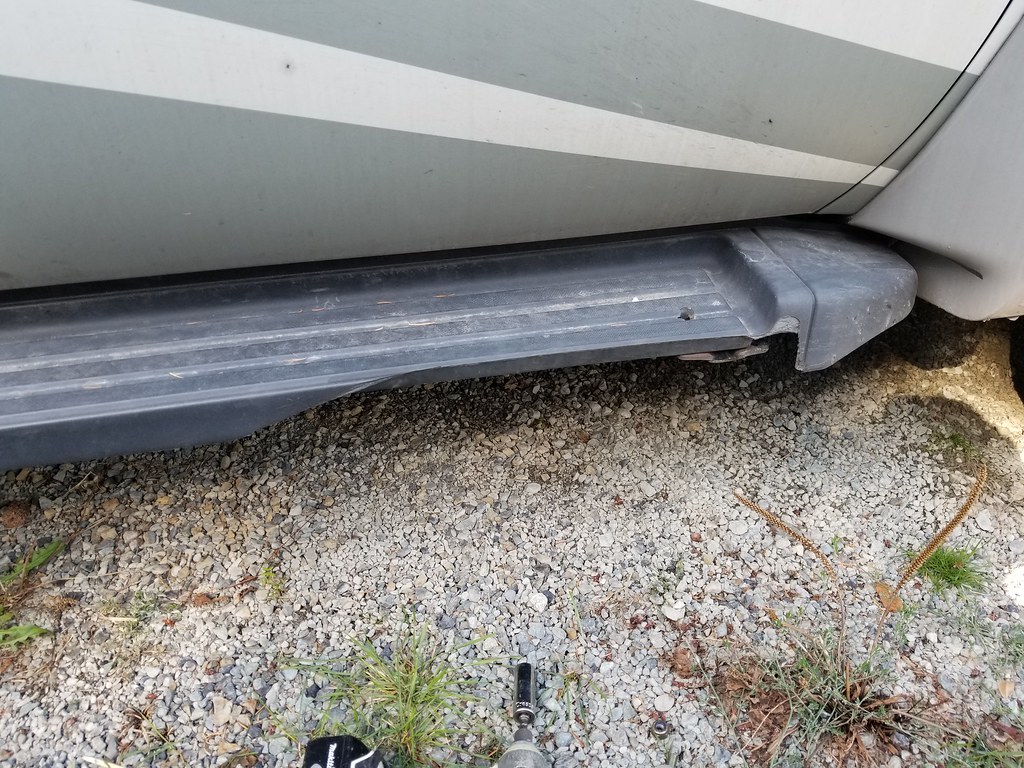
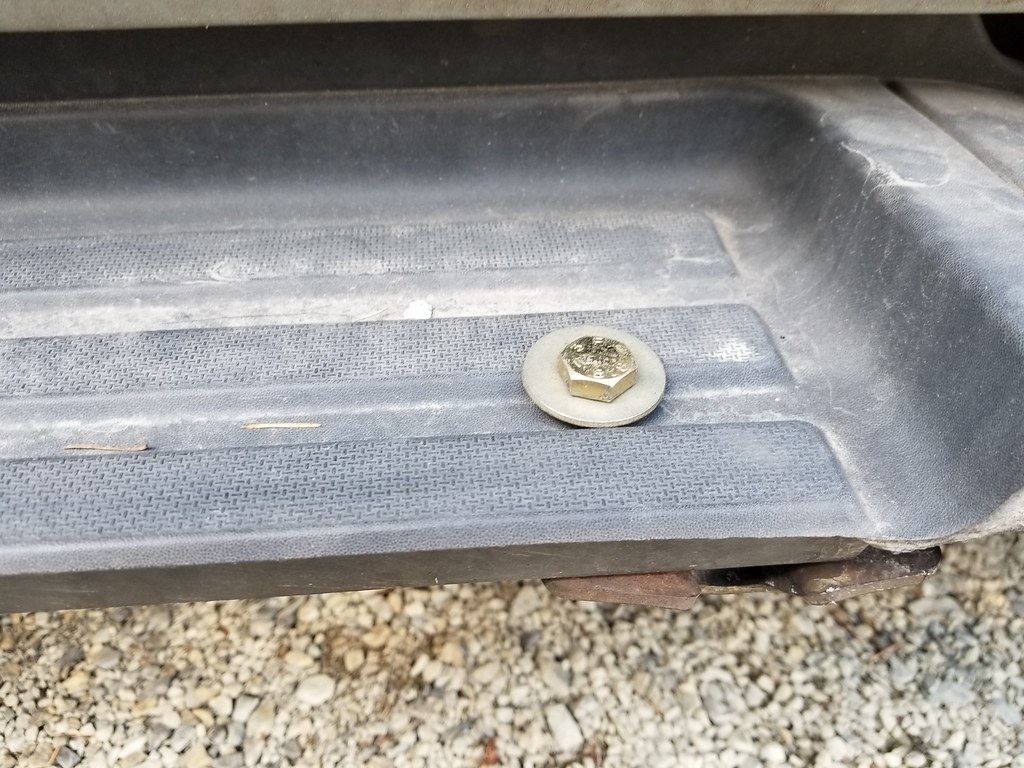
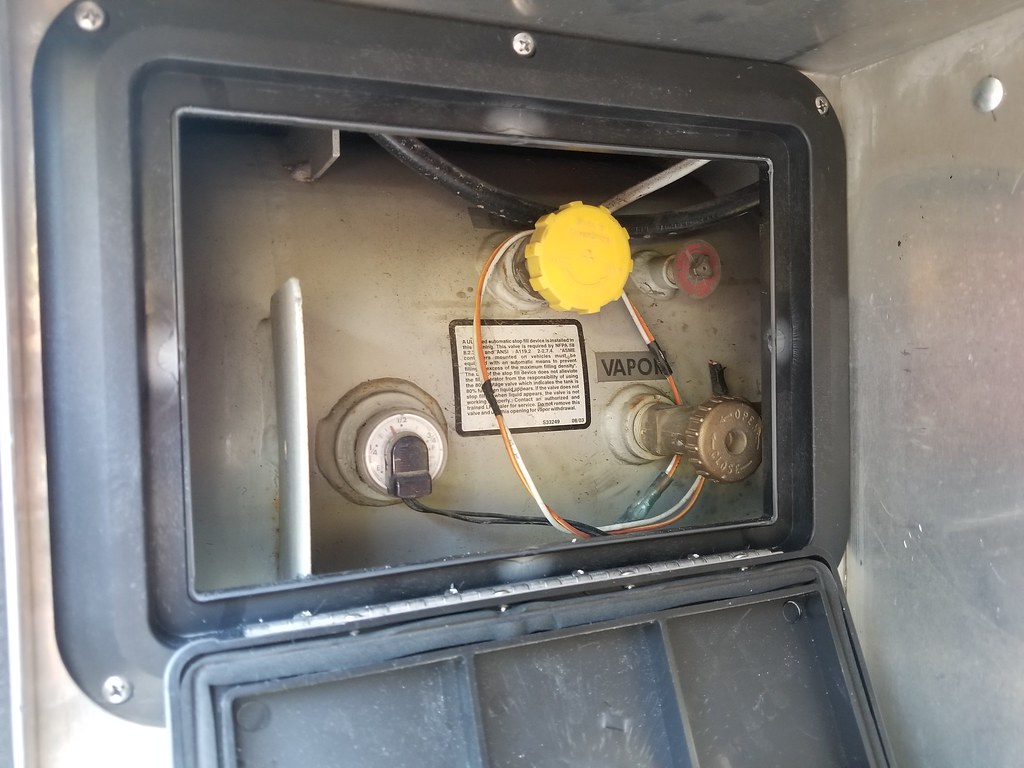
About the truck, Its on its second motor, the first owner towed horses with it, she attempted to drive it home after the CEL came on, #8 injector had failed, rod ventilated block. PO bought it, had a local shop drop a long block in and used it to go to Vegas for races a couple times. Then it sat, this is good and bad, it has ~4k miles on the new engine, but it leaks. A fair bit. Oil pan, valve covers and #6 glow plug harness connection. And the dreaded flex joints in the up pipe. Not the end of the world, but a lot of stuff to remove to get to the problem areas. It seems most procedures on these new trucks is cab off or trans out. Fun.
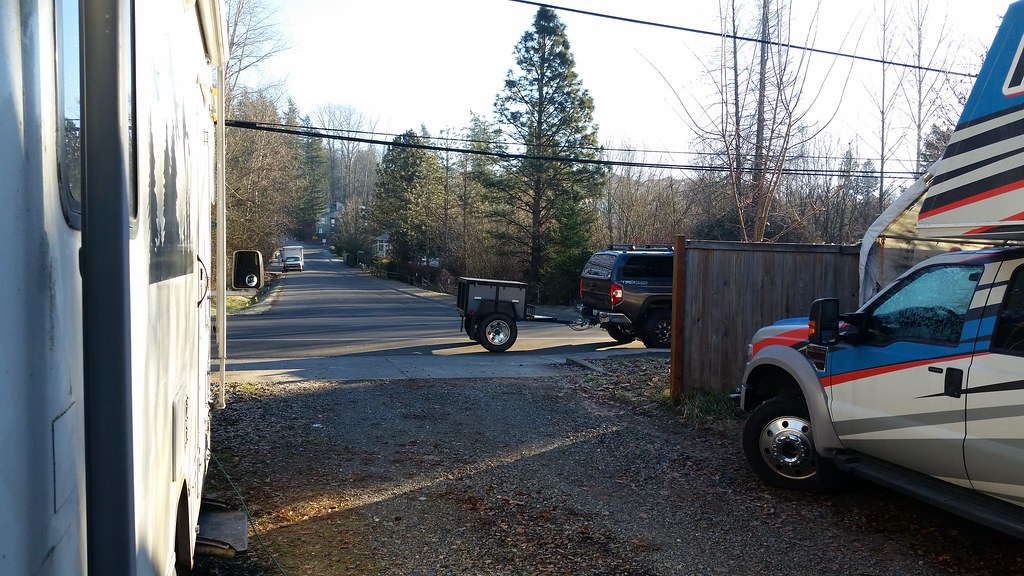
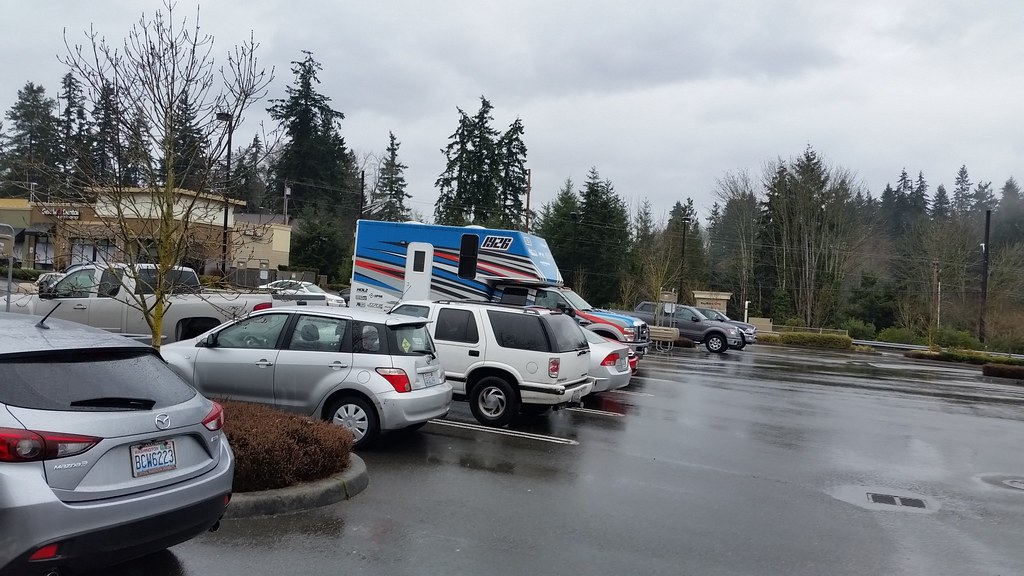
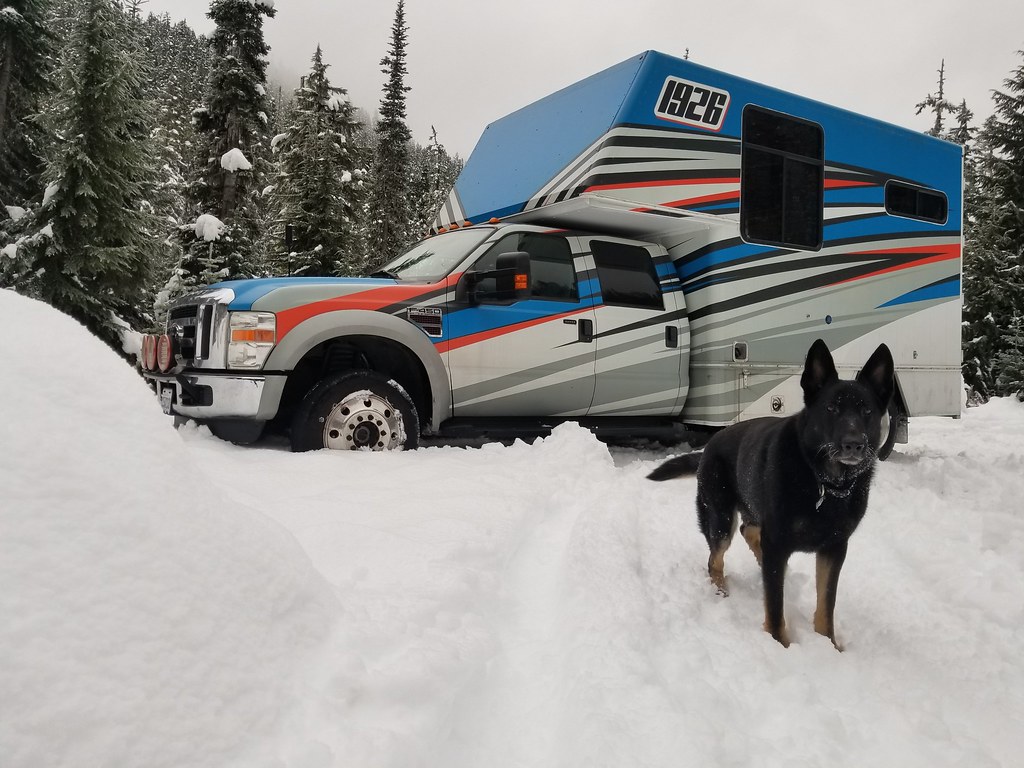
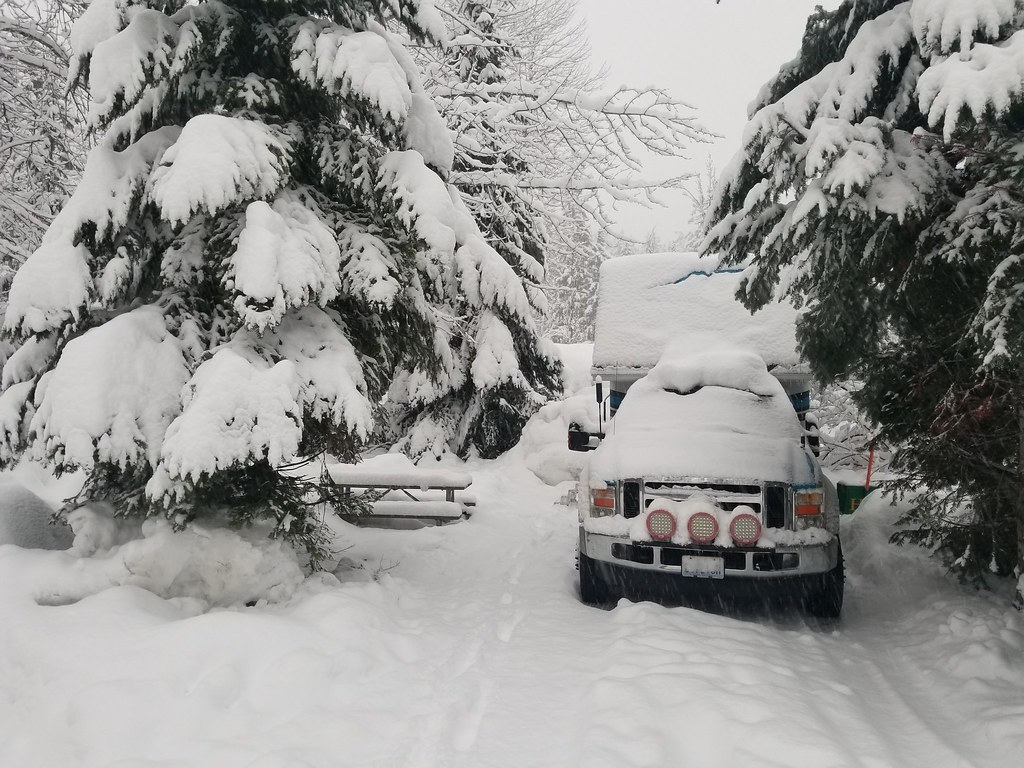
Everyone home in the driveway, I need a bigger driveway for this many large trucks...
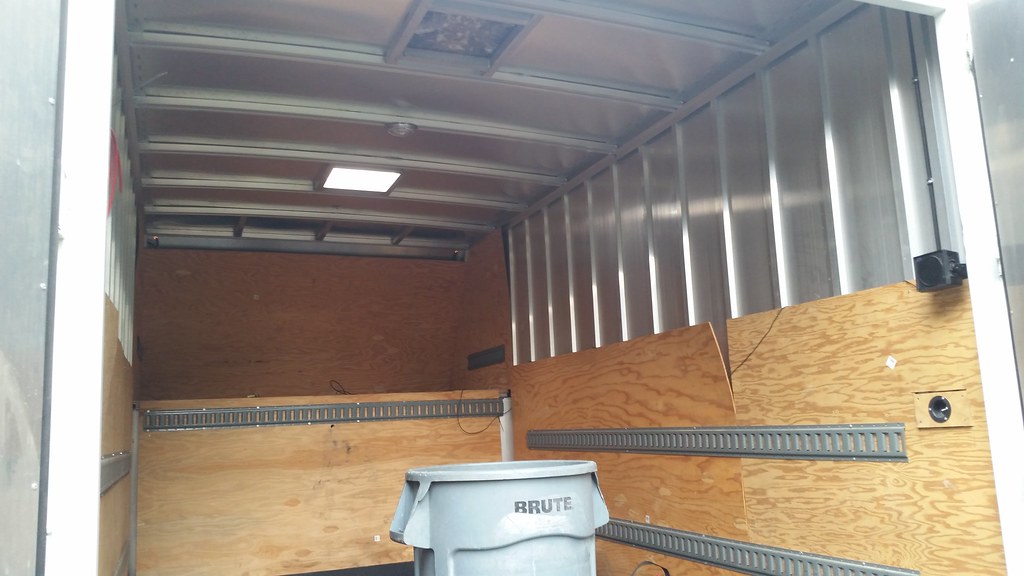
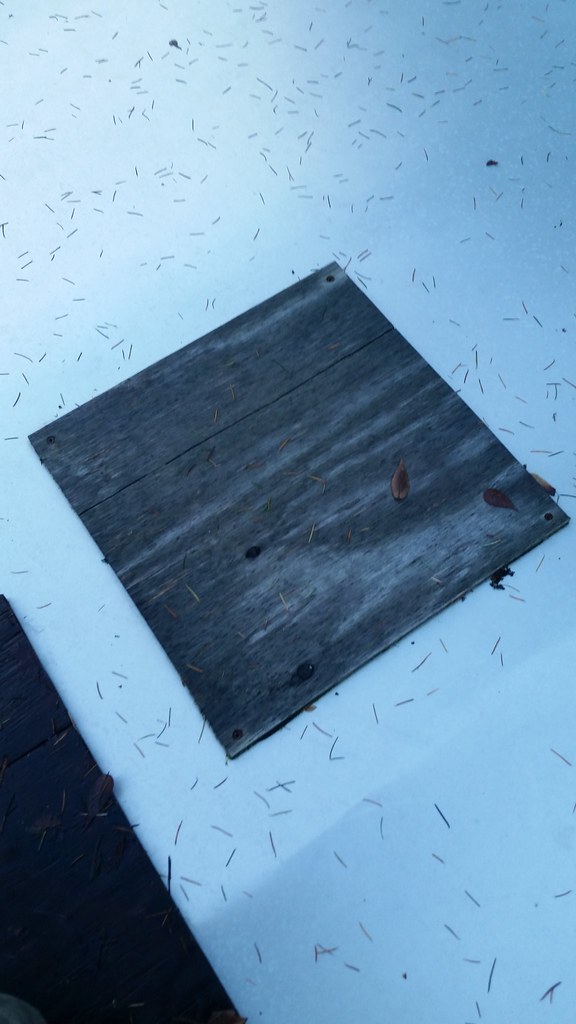
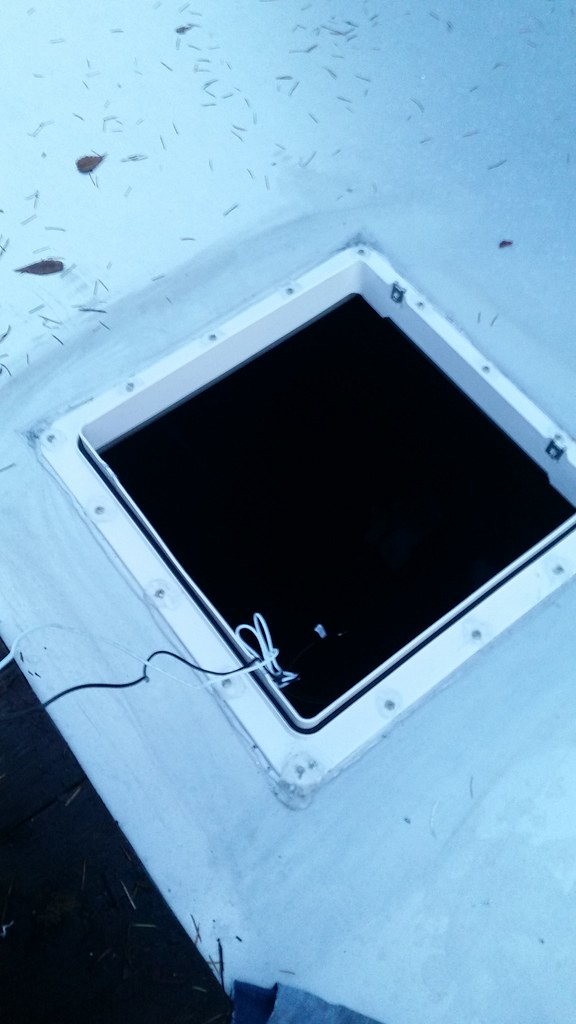
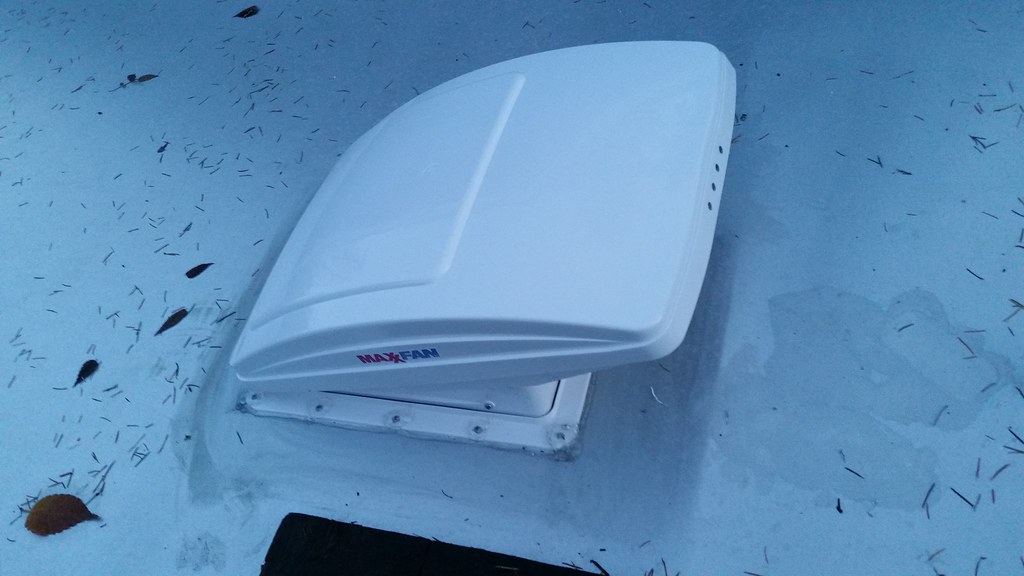
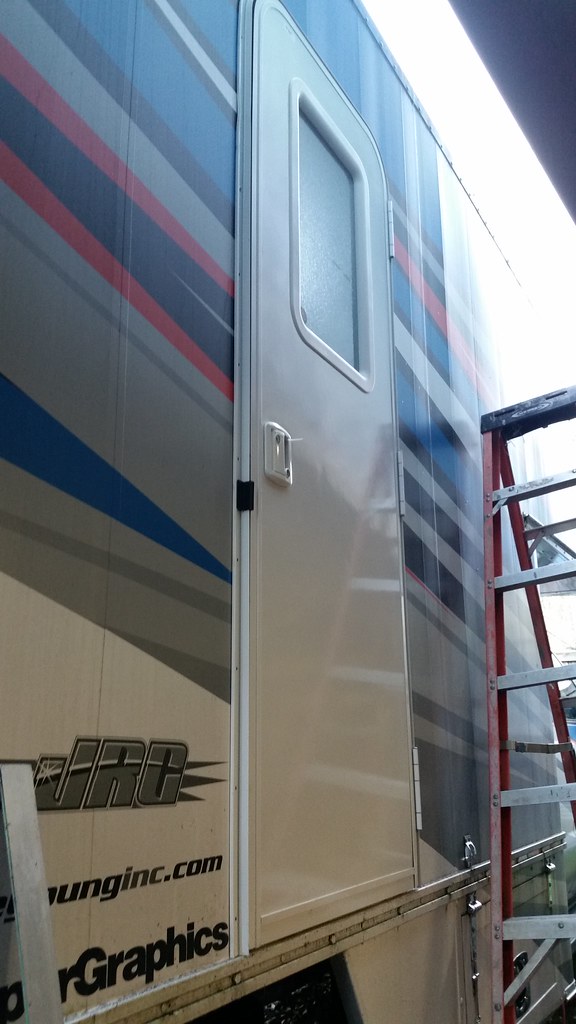
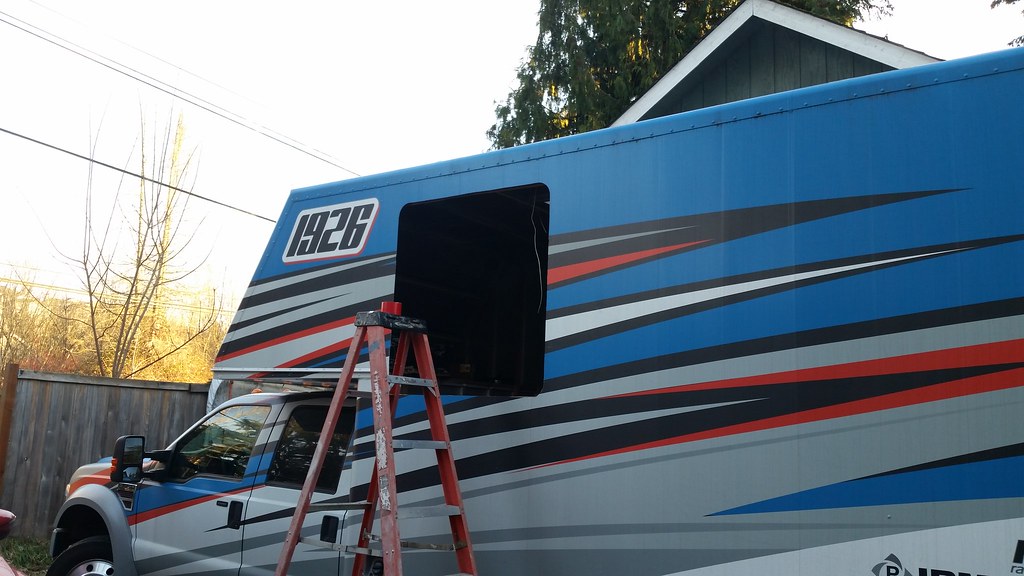
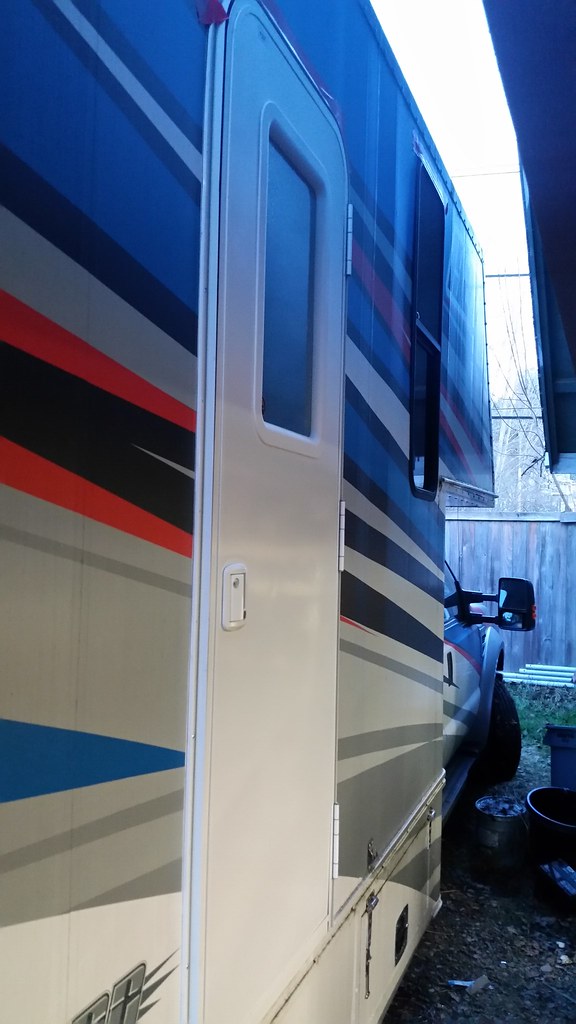
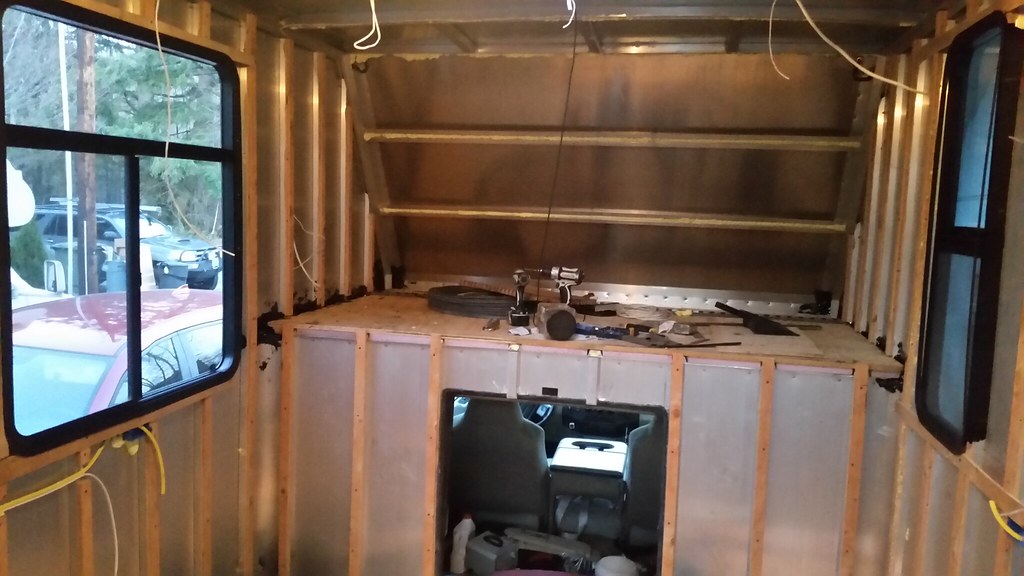
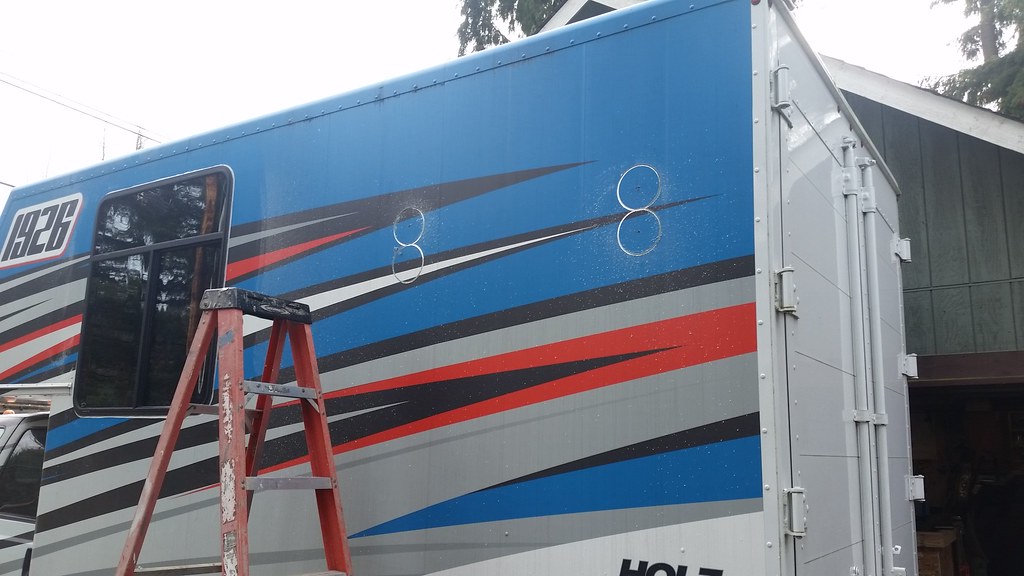
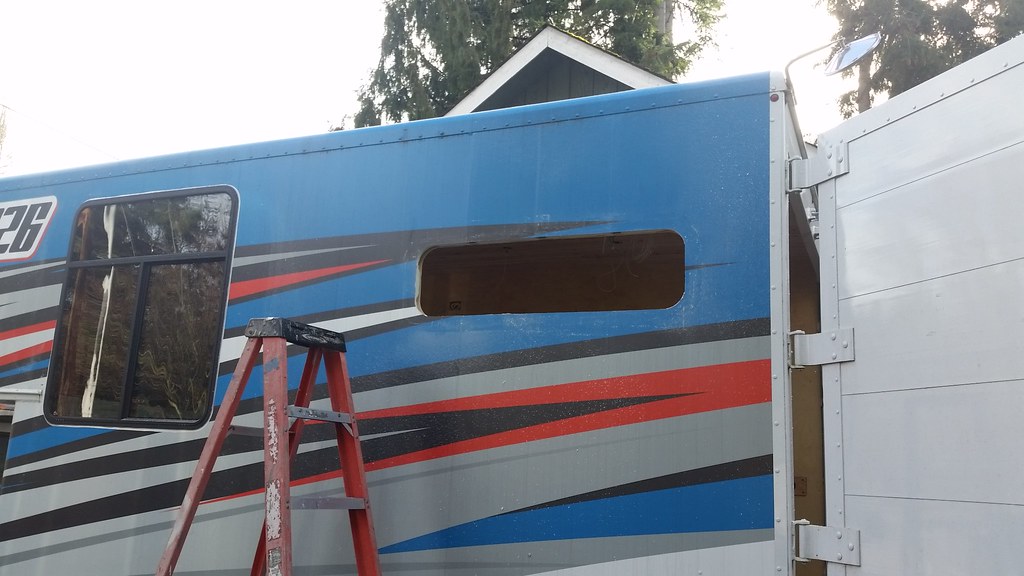
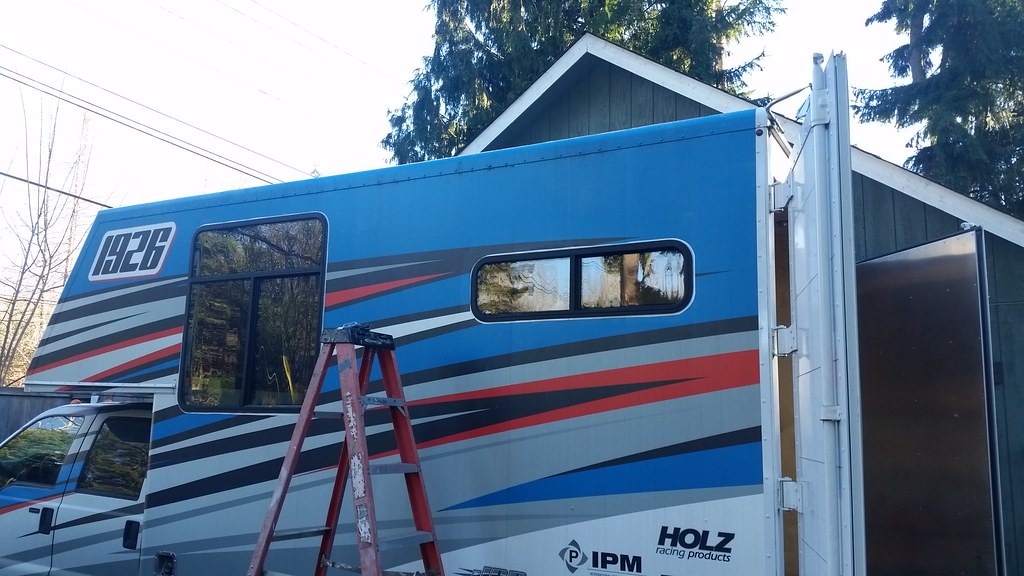
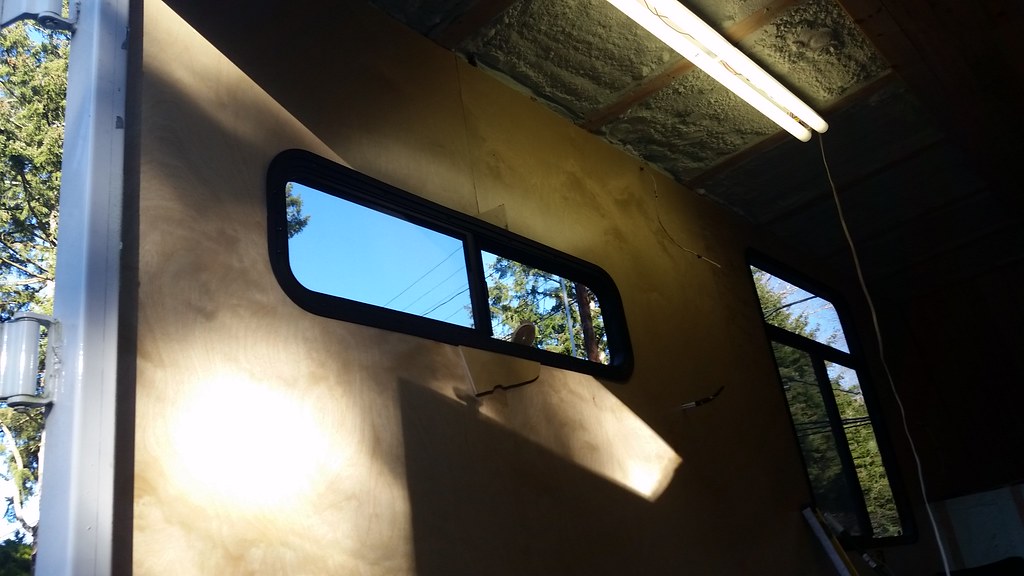
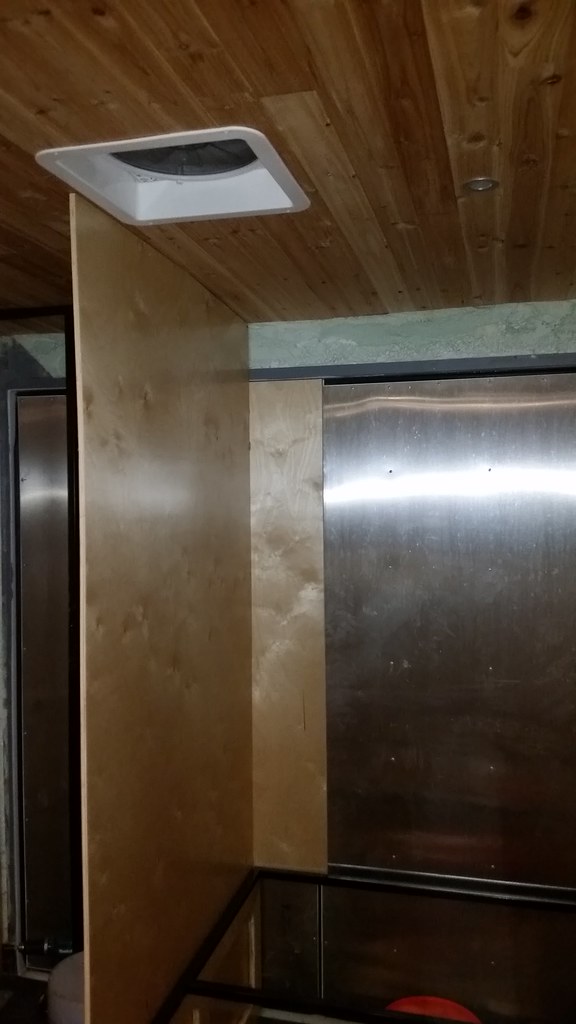
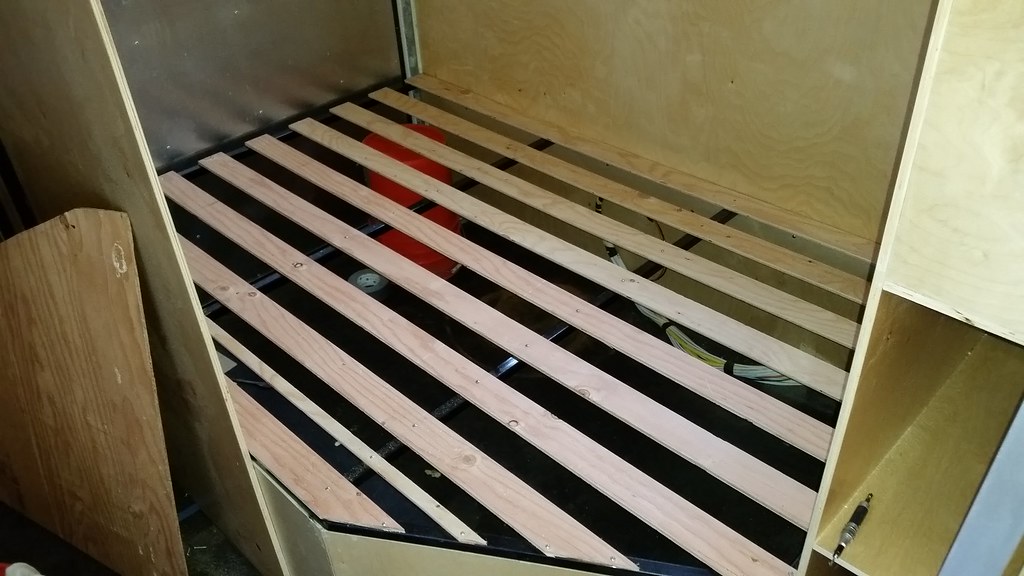
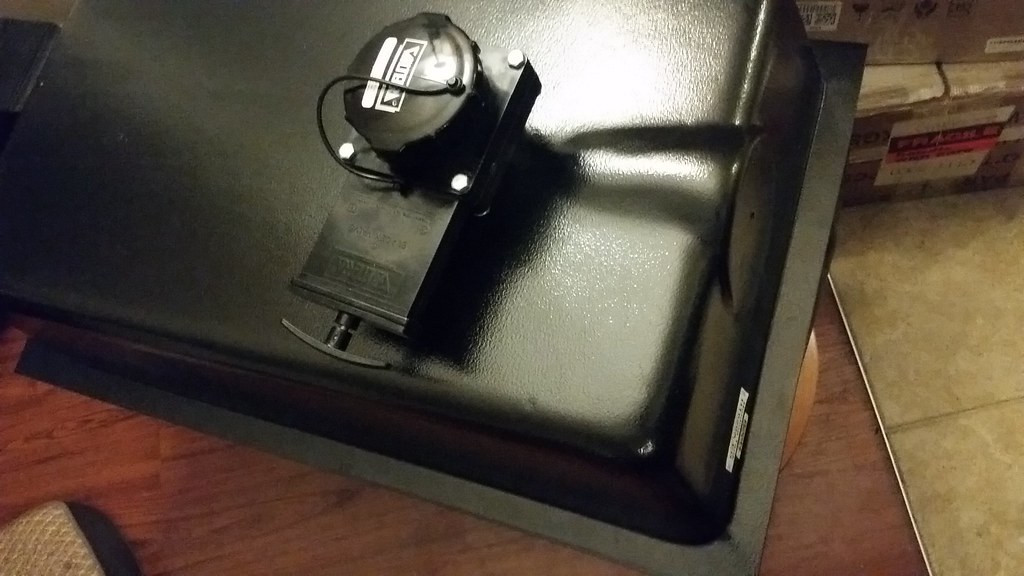
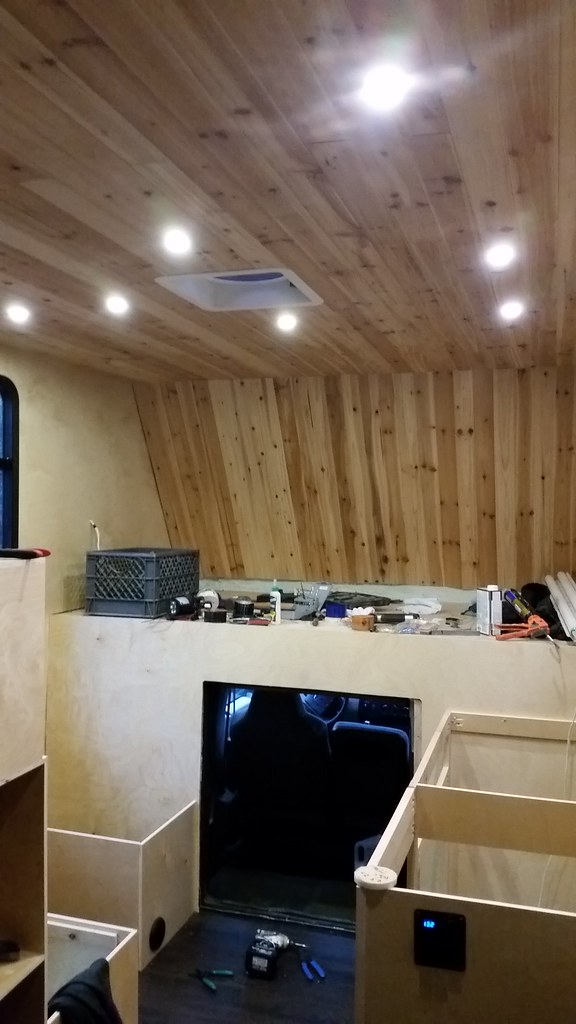
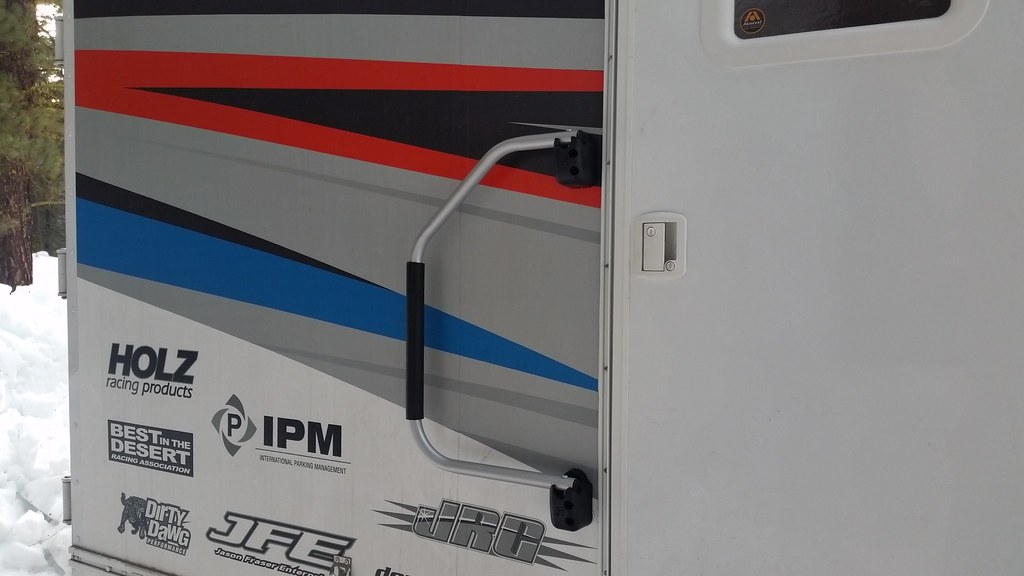
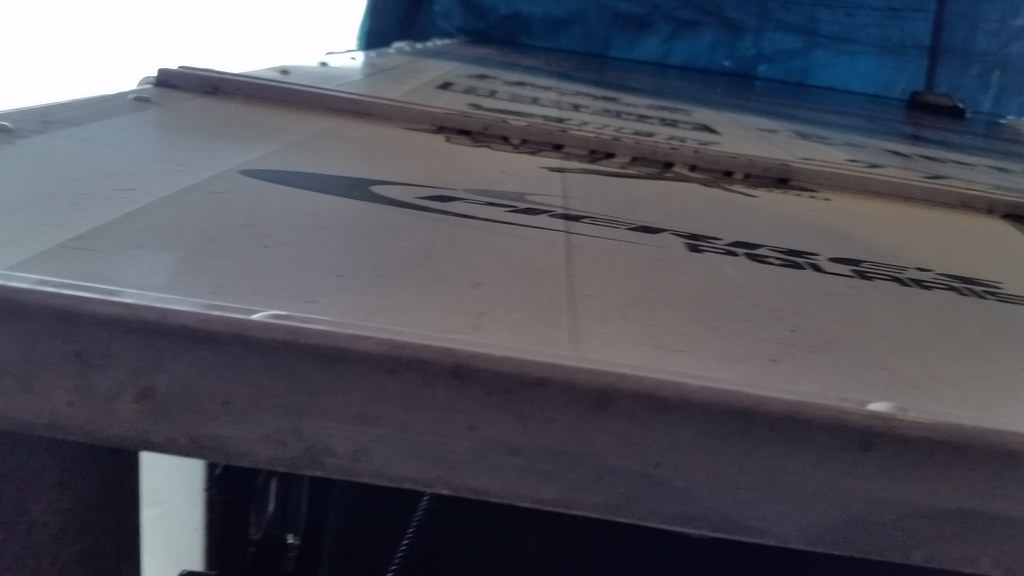
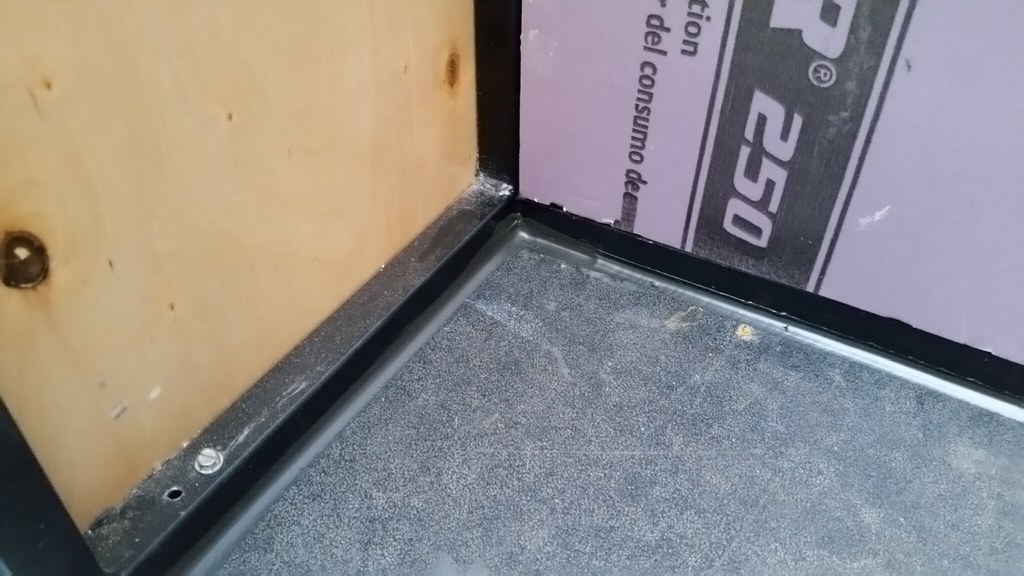
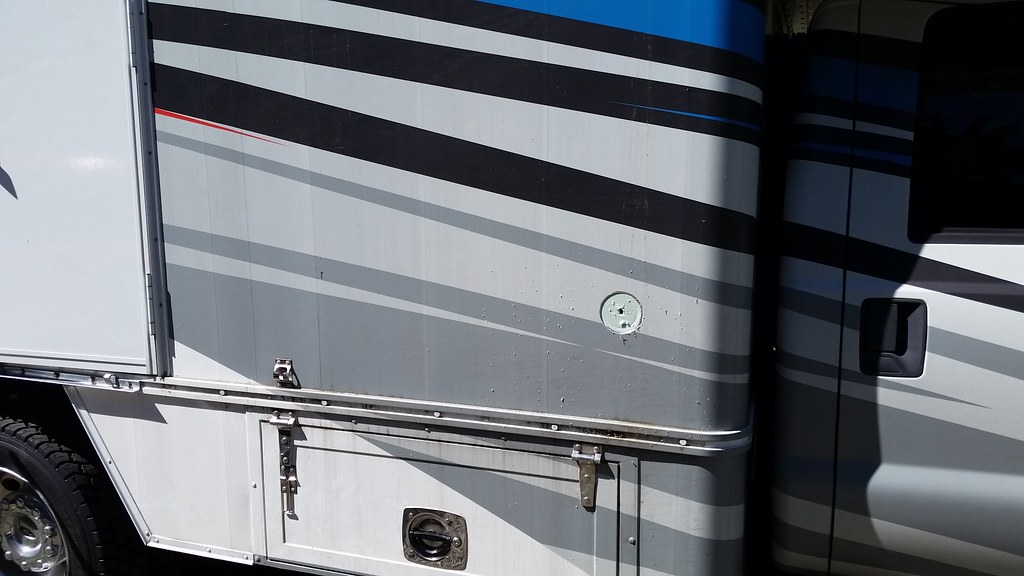
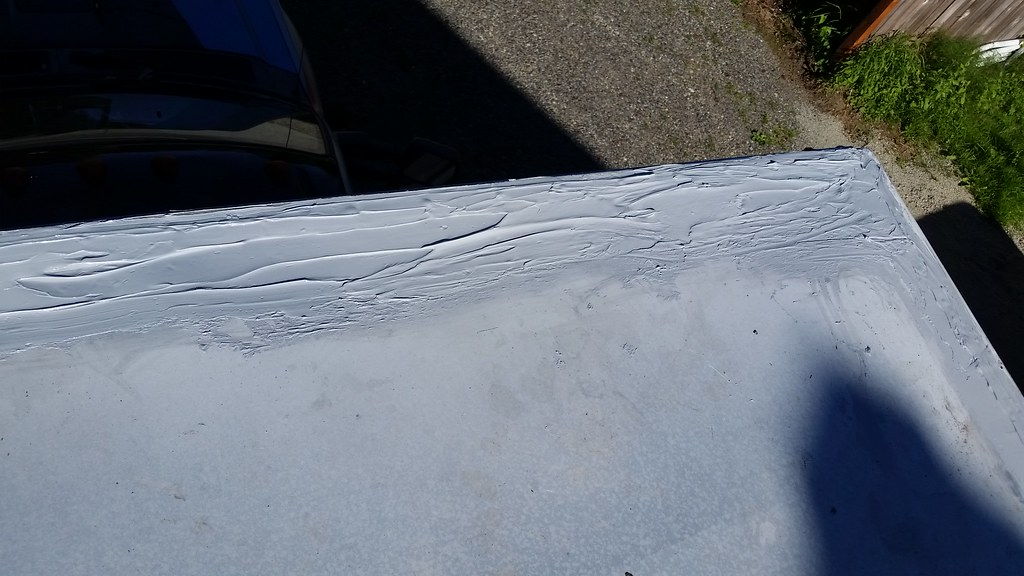
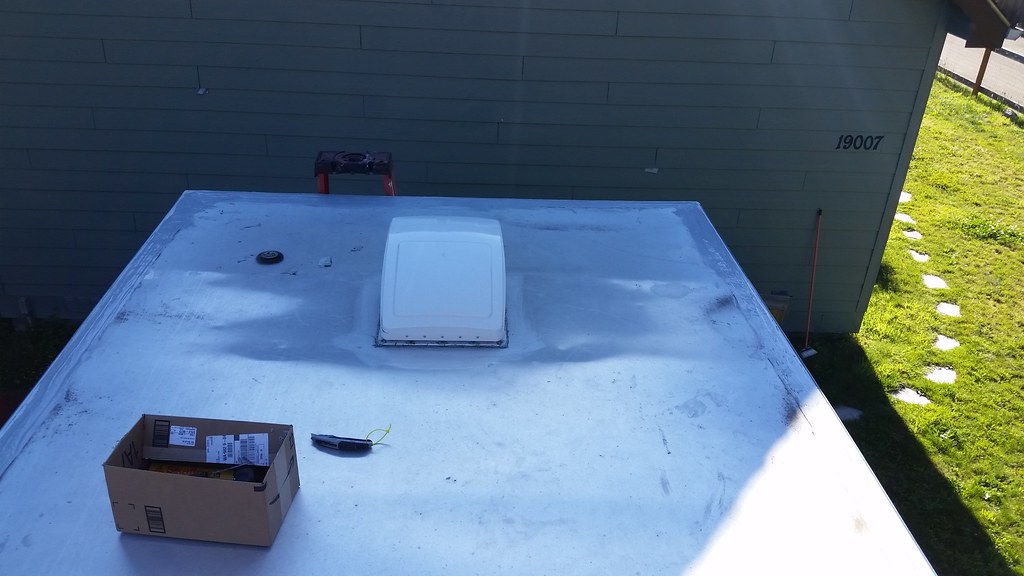
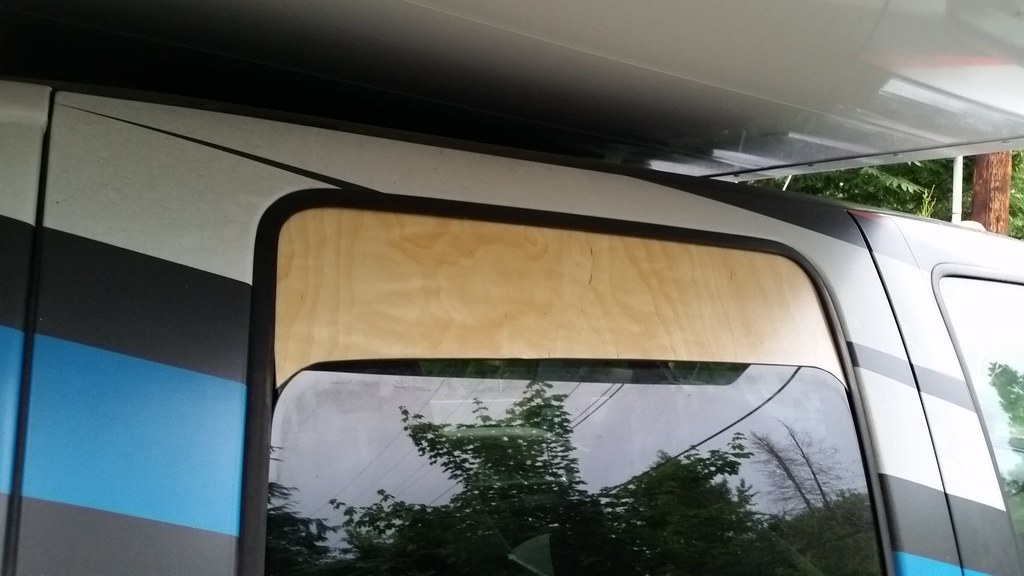
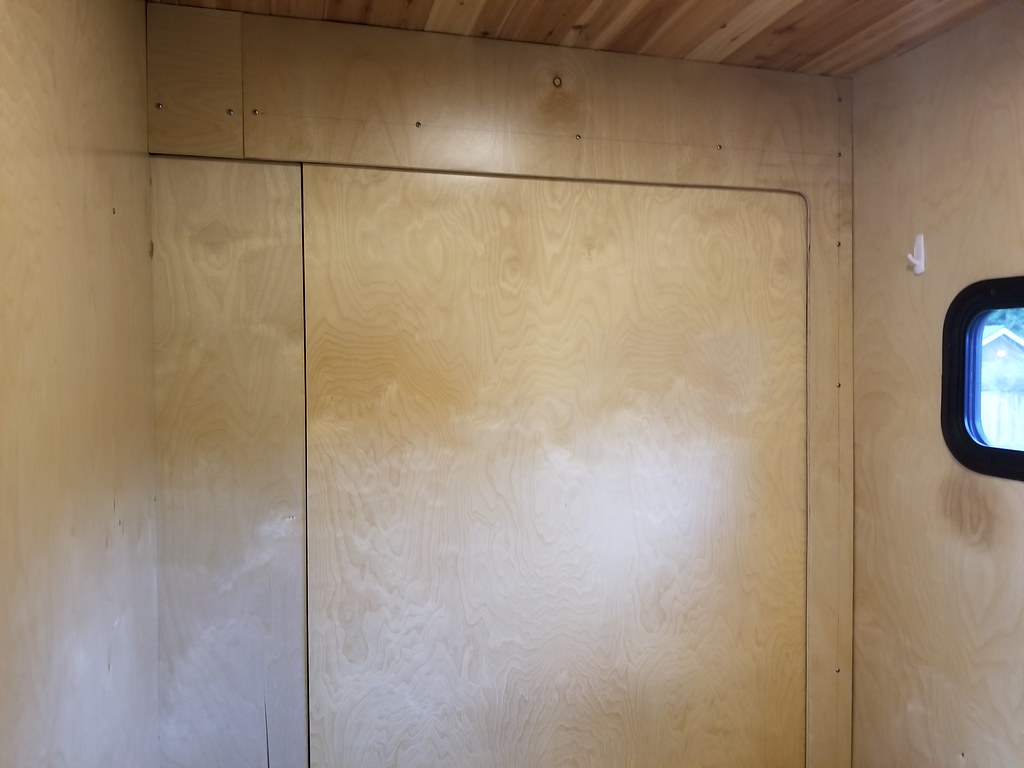
The box is a bare shell.The cabover is 4' tall. Very high interior roof. First order of business is the roof, two vents were framed in, and covered over with plywood and Plexiglas. They leak. So two Maxxfans were ordered and have arrived!
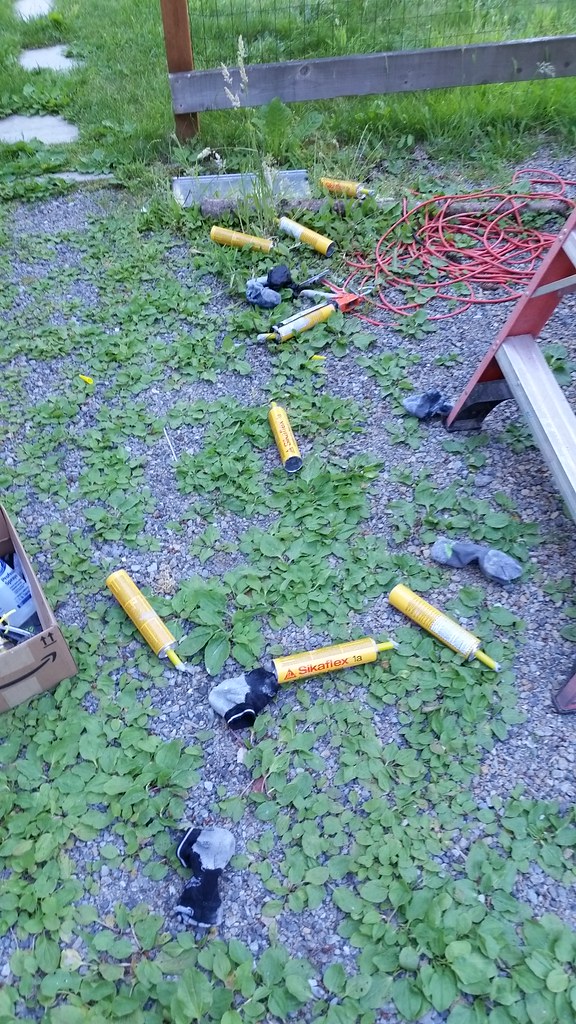
Maxxfans and sealant, first of many parts deliveries.
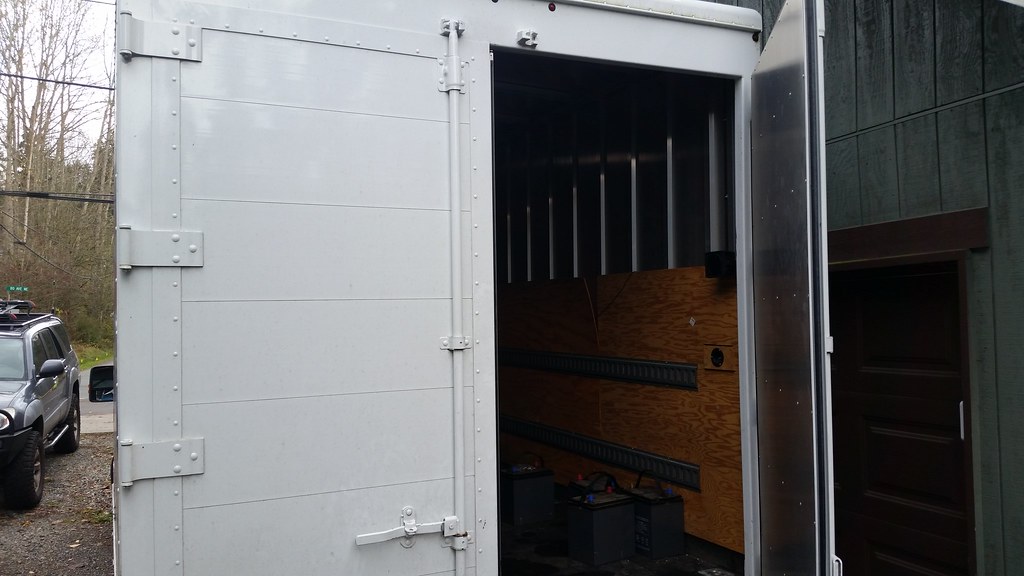
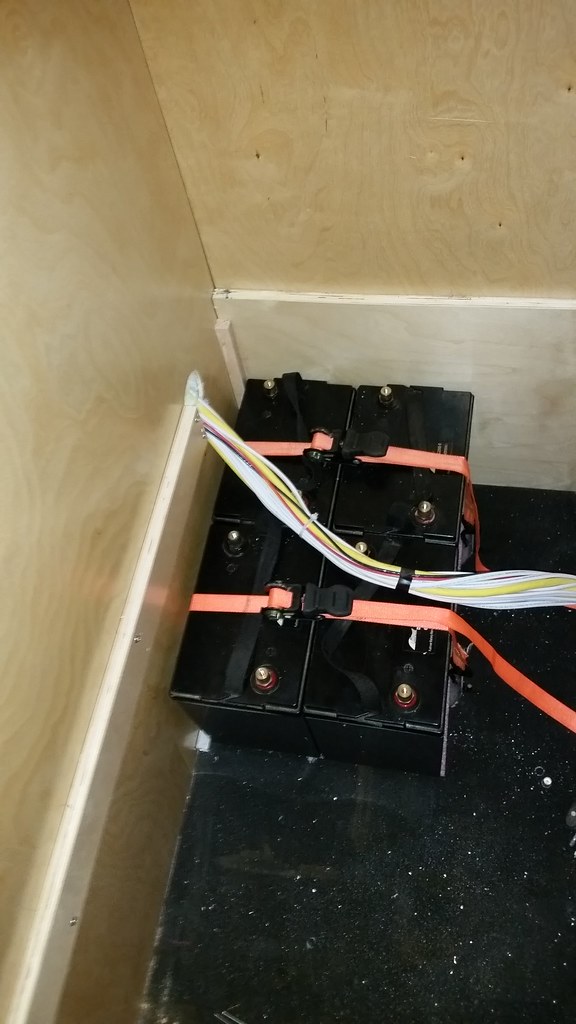
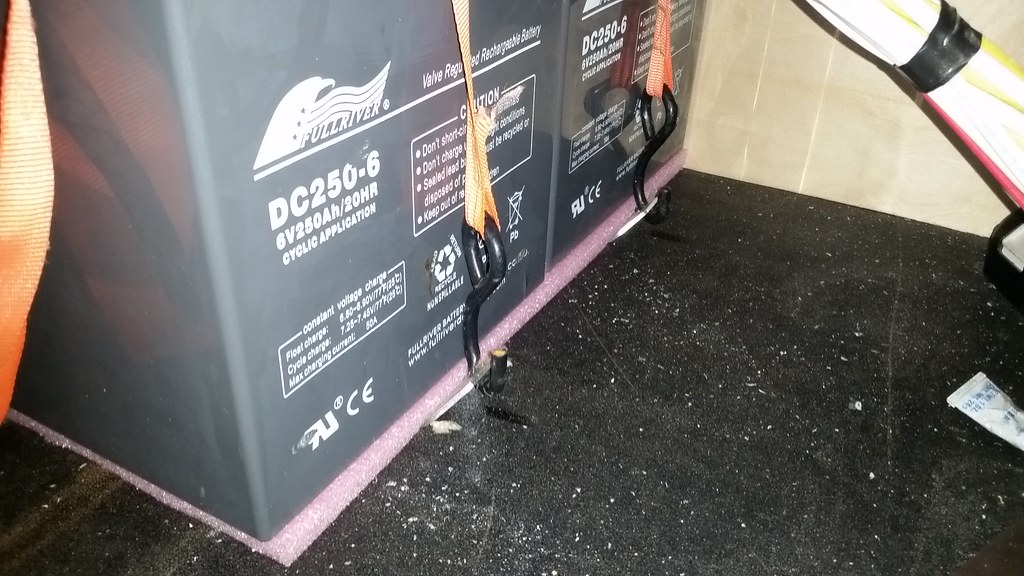
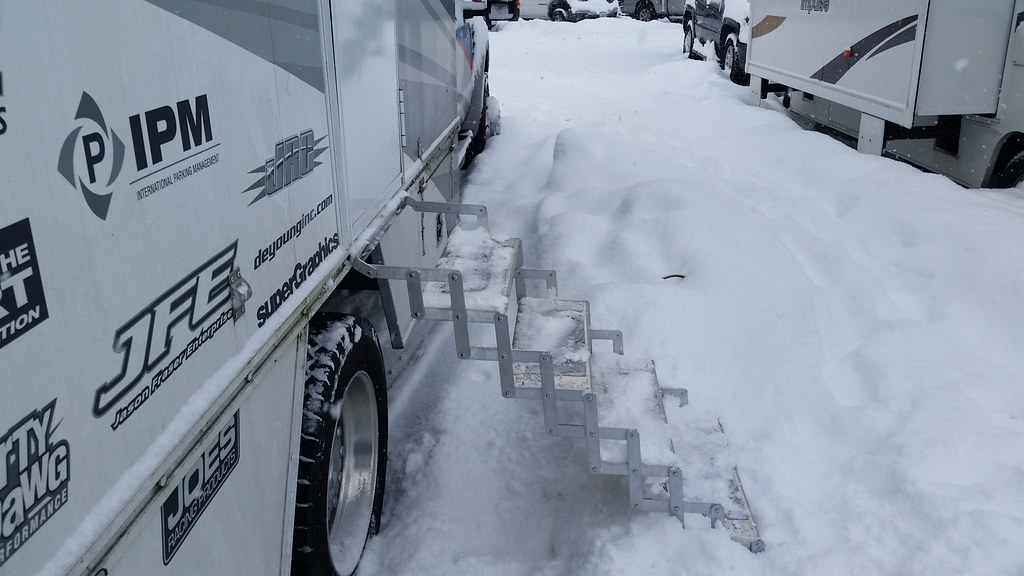
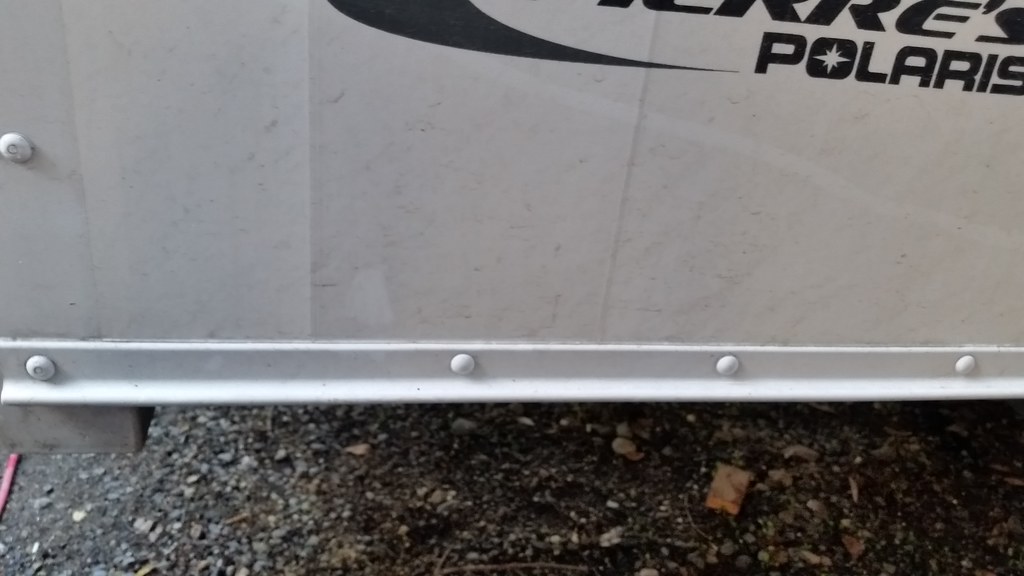
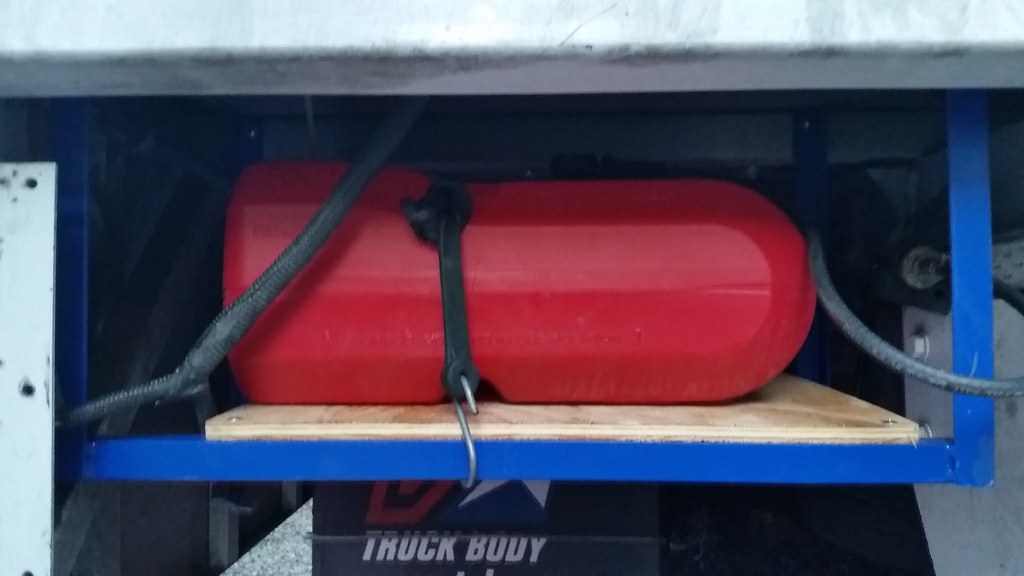
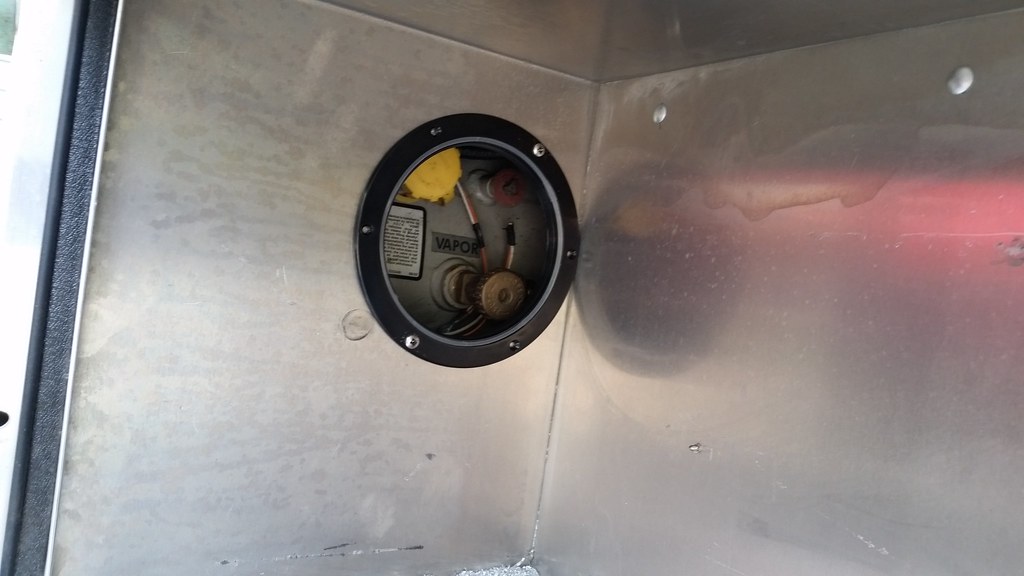
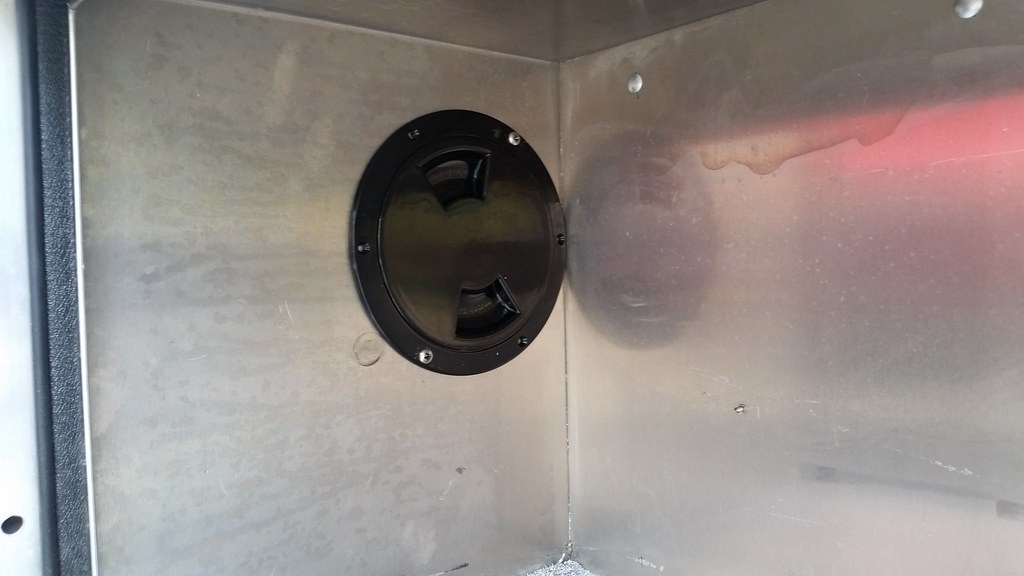
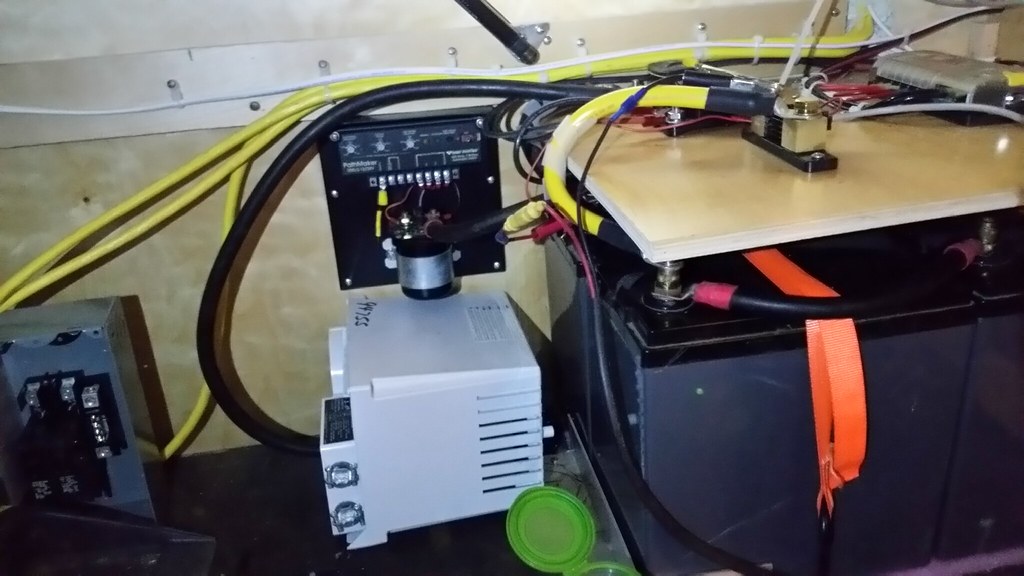
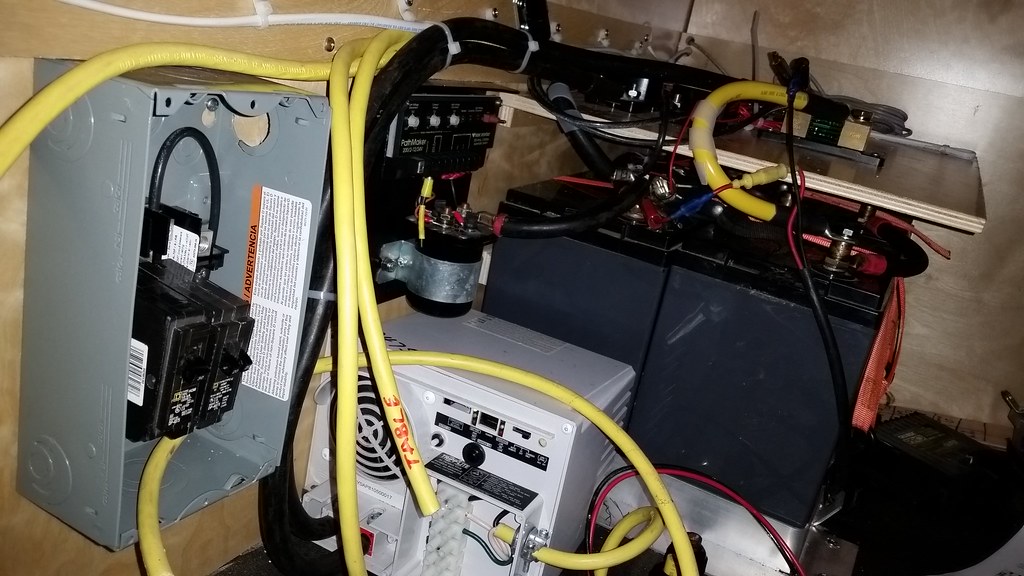
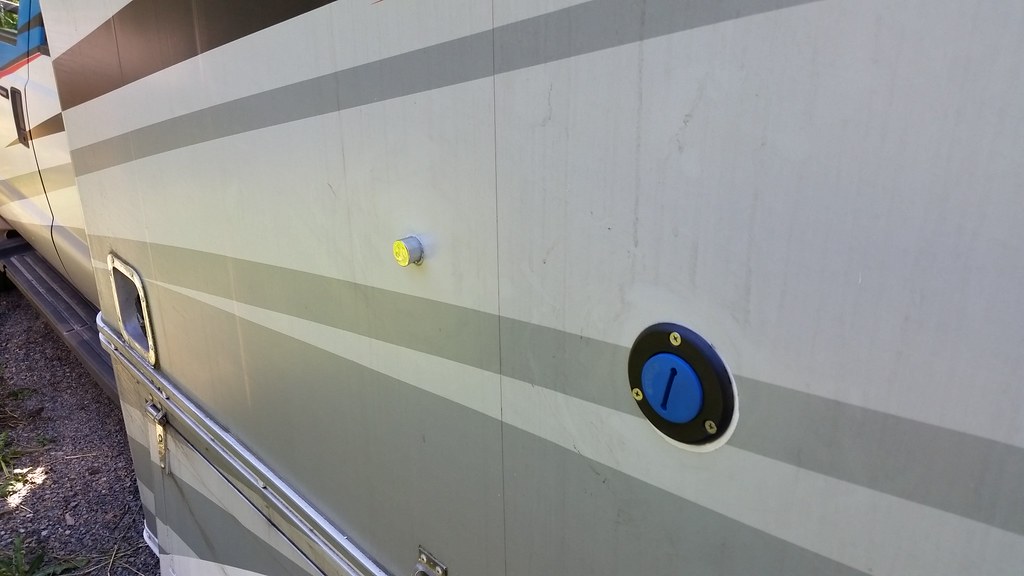
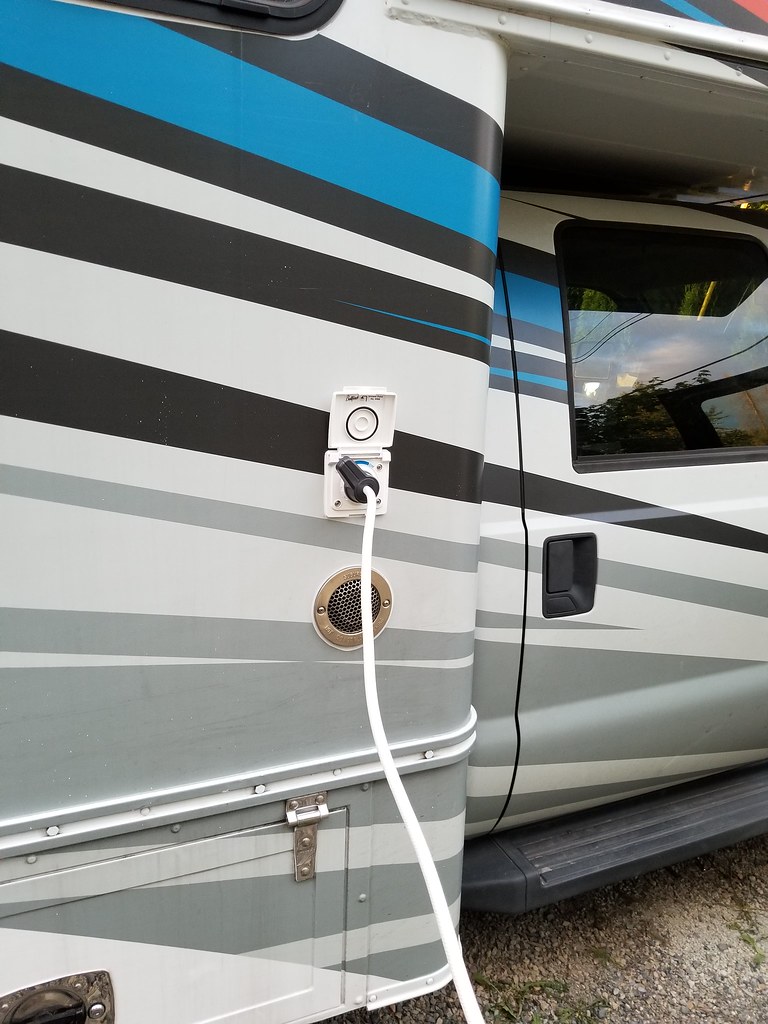
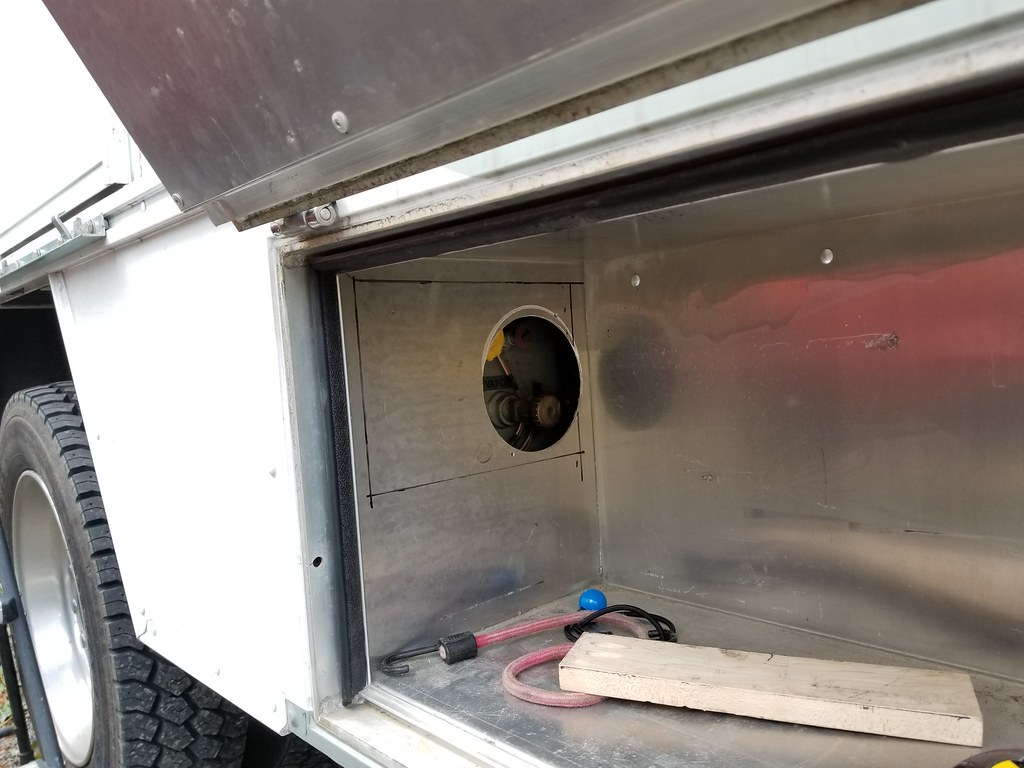
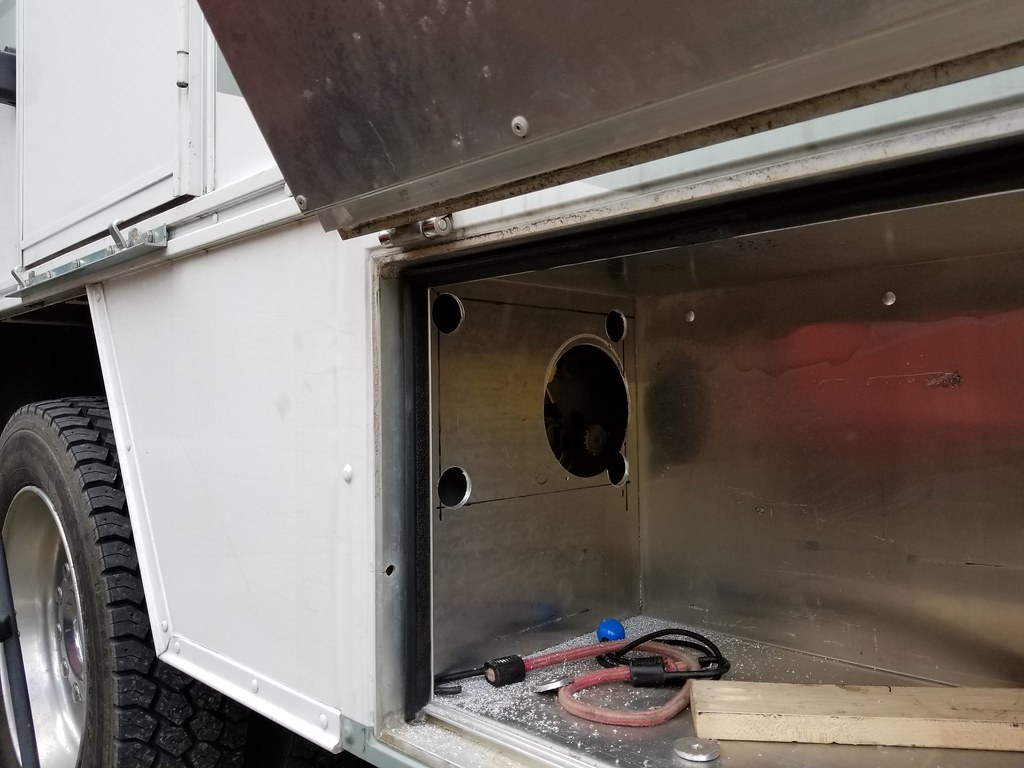
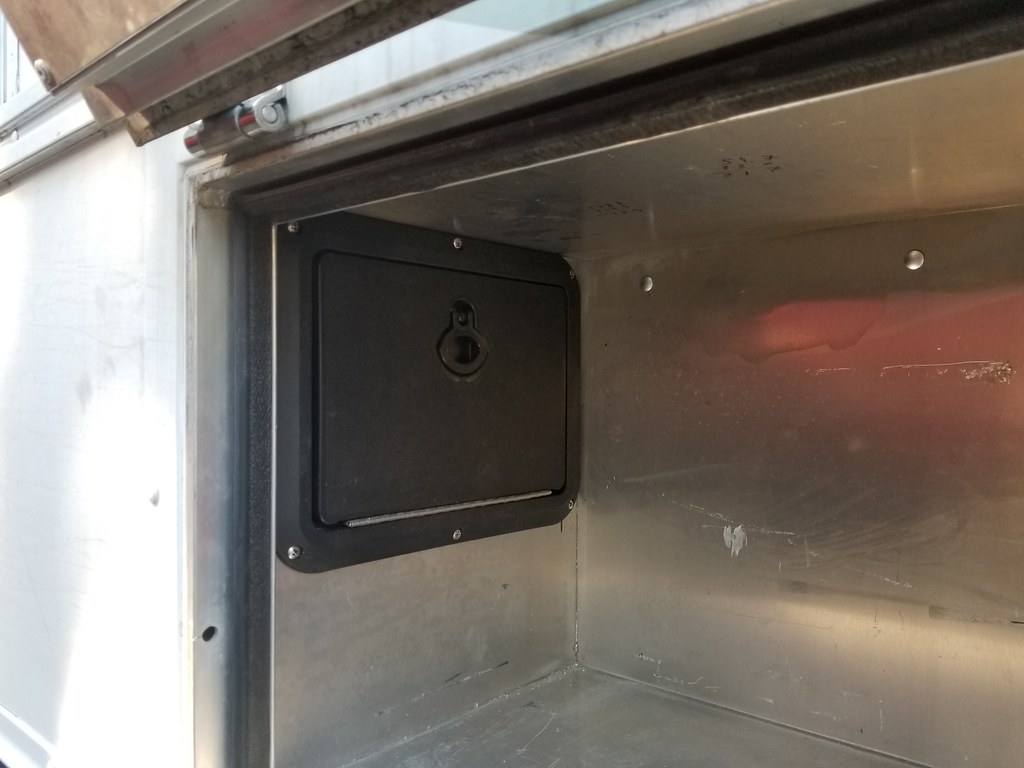
The back is insulated barn doors. They will be staying. One will be for exterior storage, the other can be opened to the end of the bed if its used in summer. Four 6V 250Ah AGM batteries can be seen here too.
Design
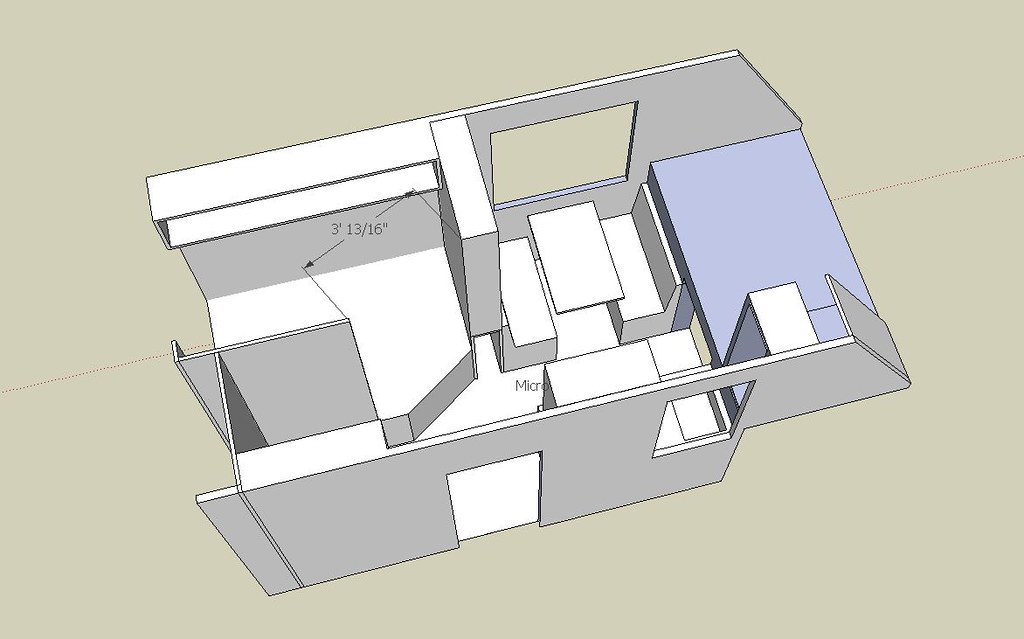
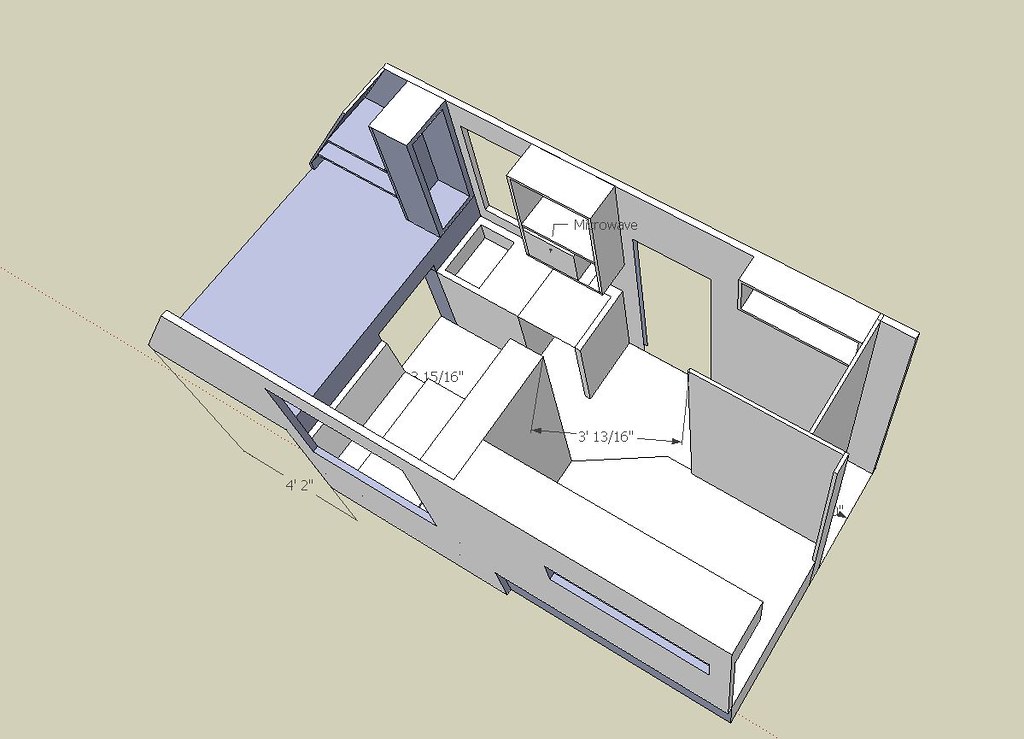
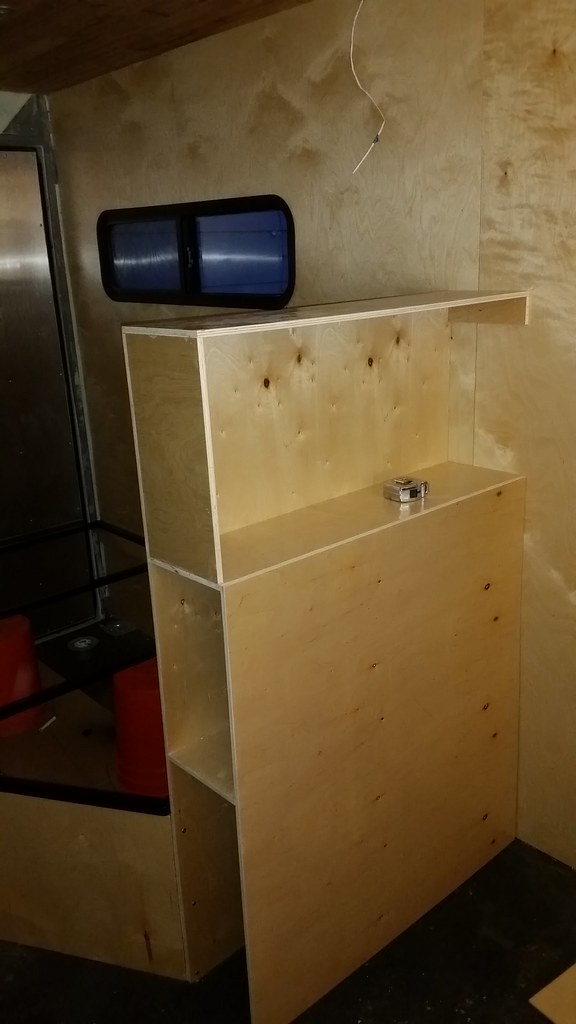
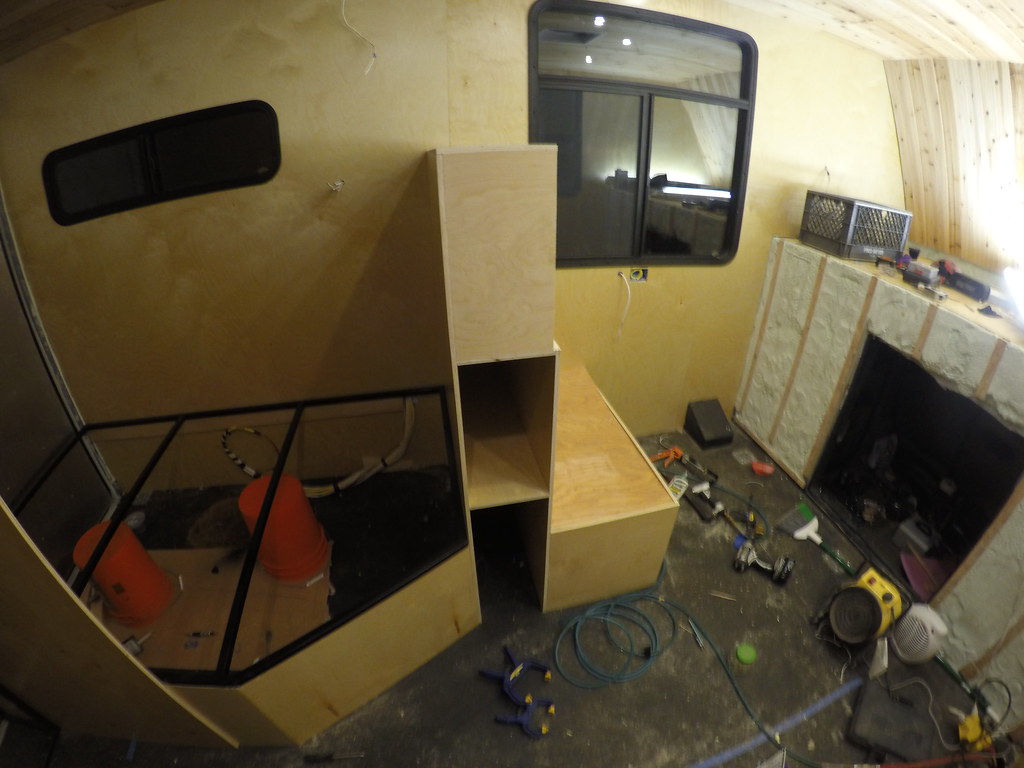
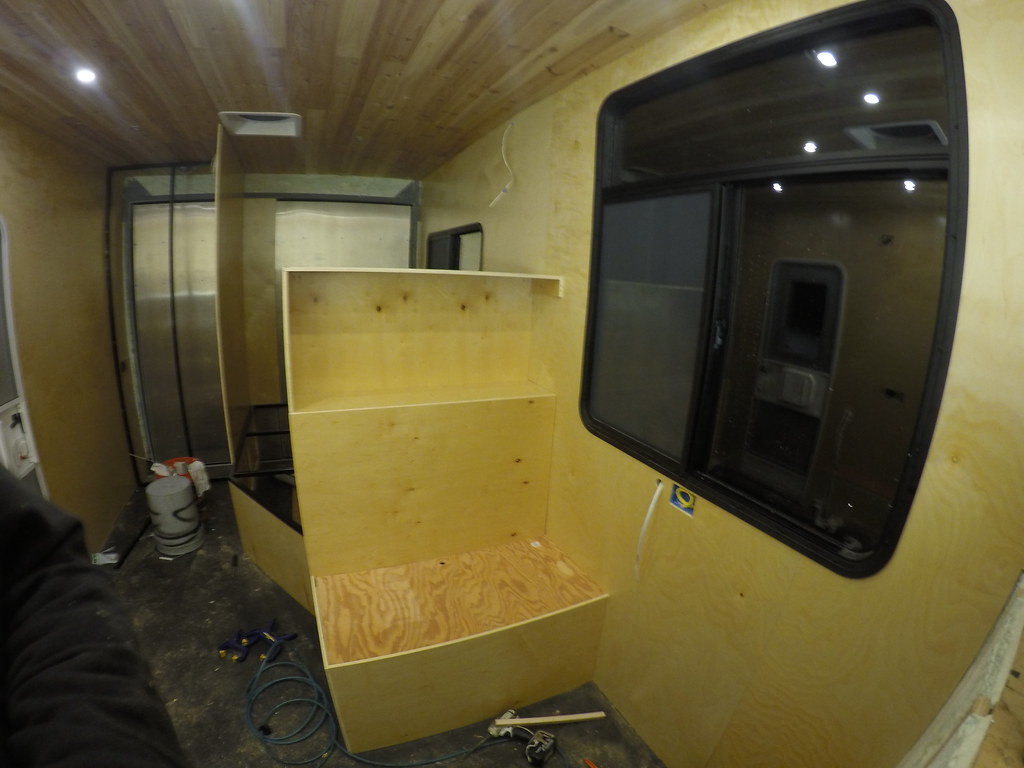
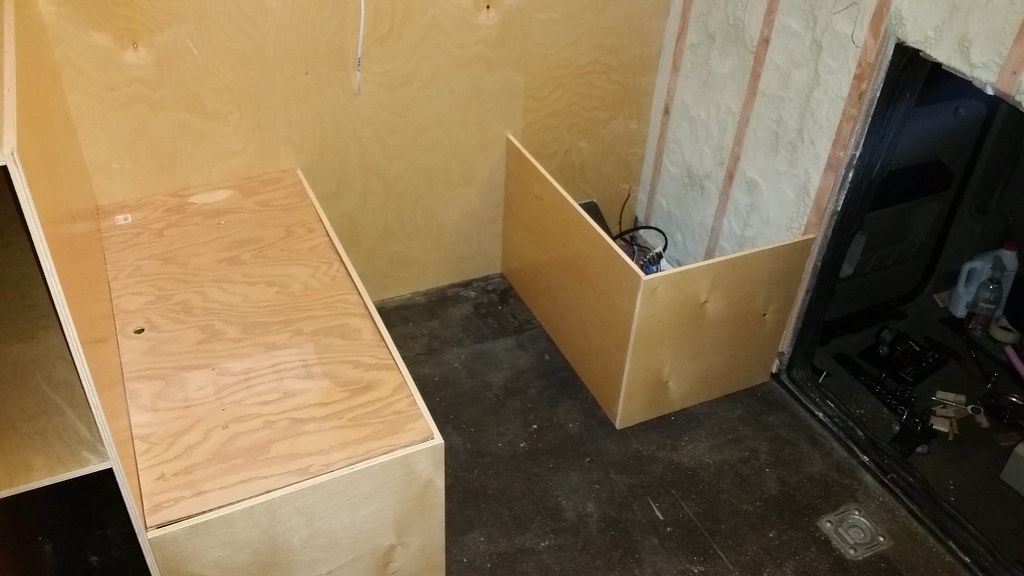
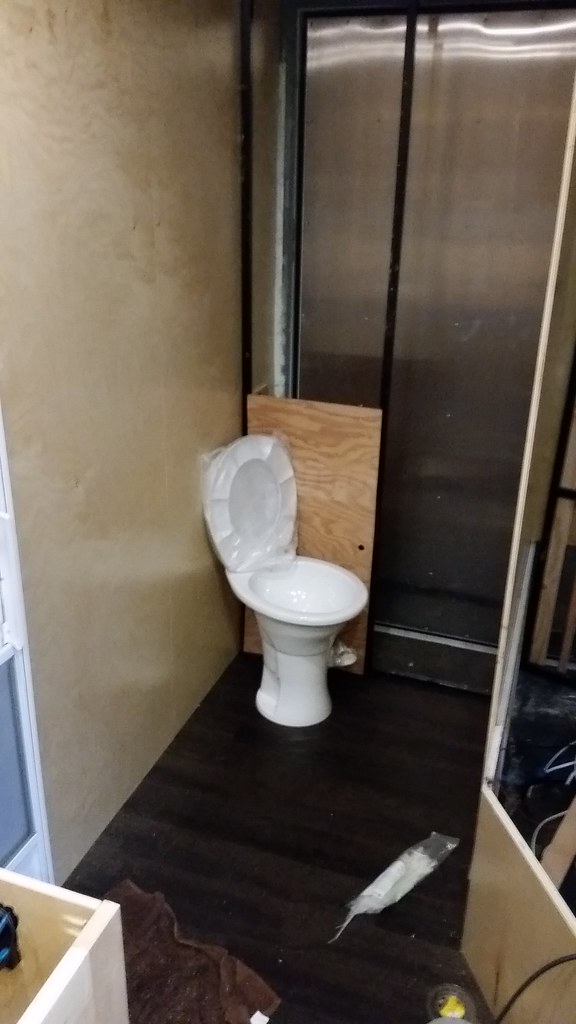
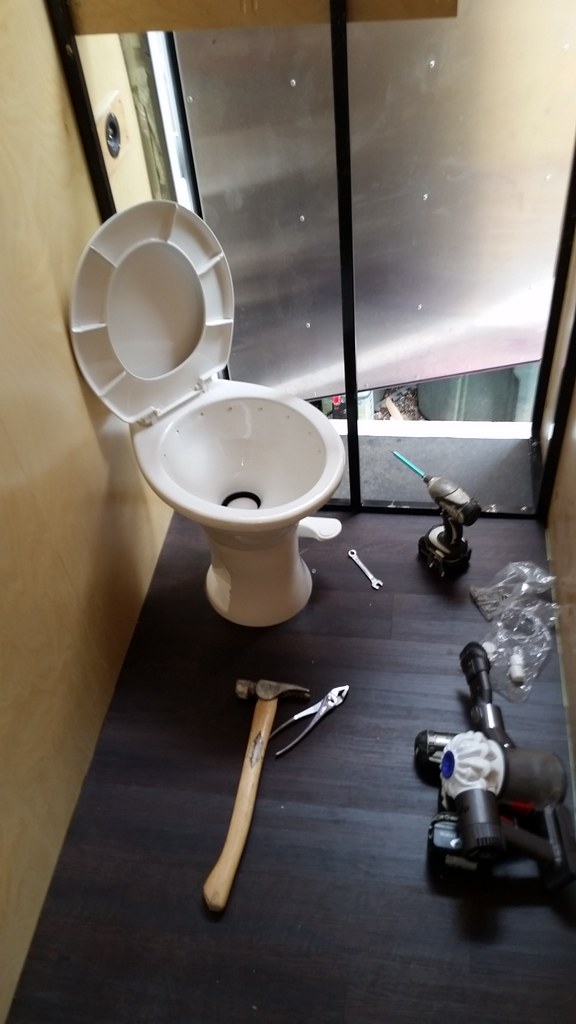
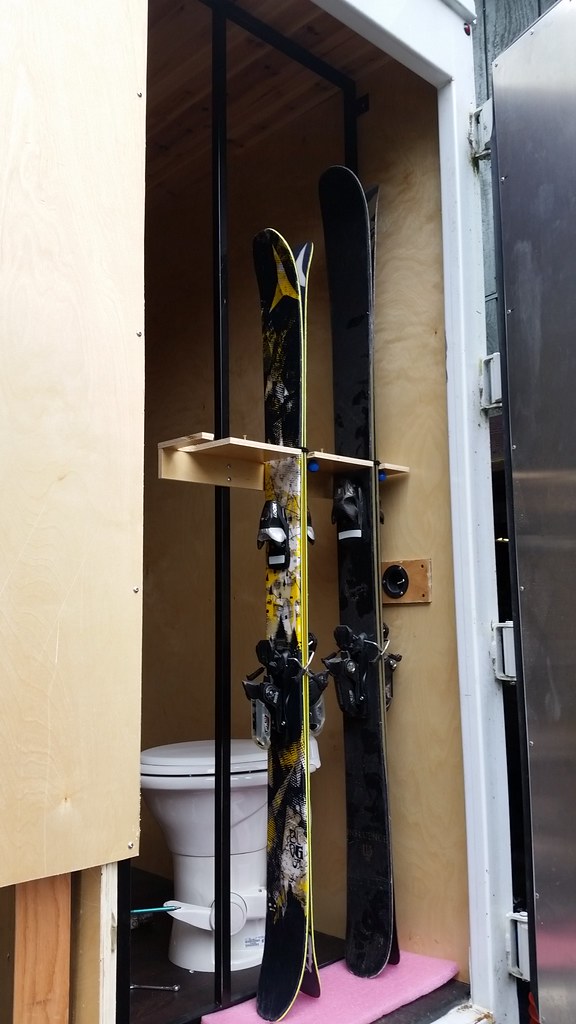
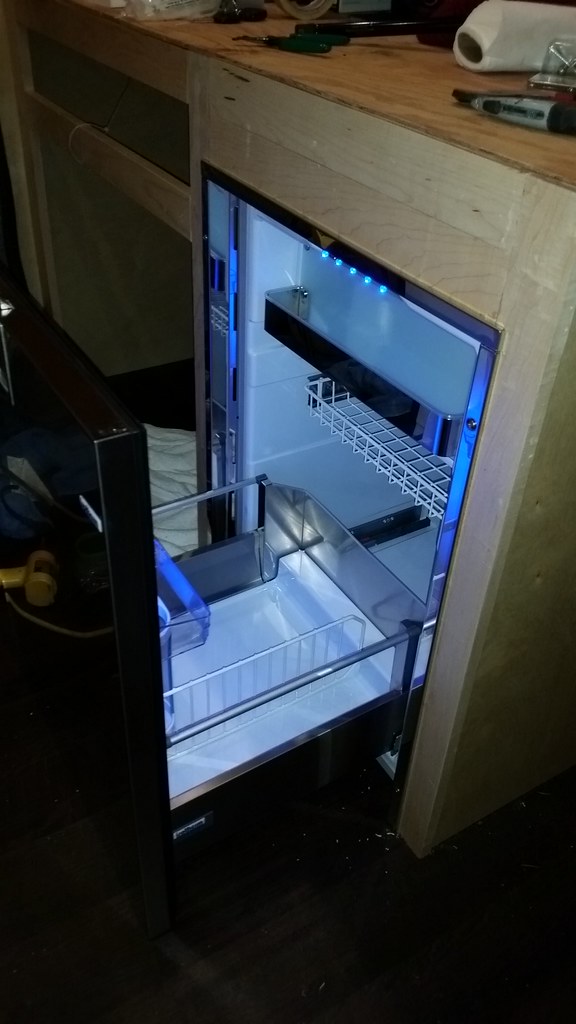
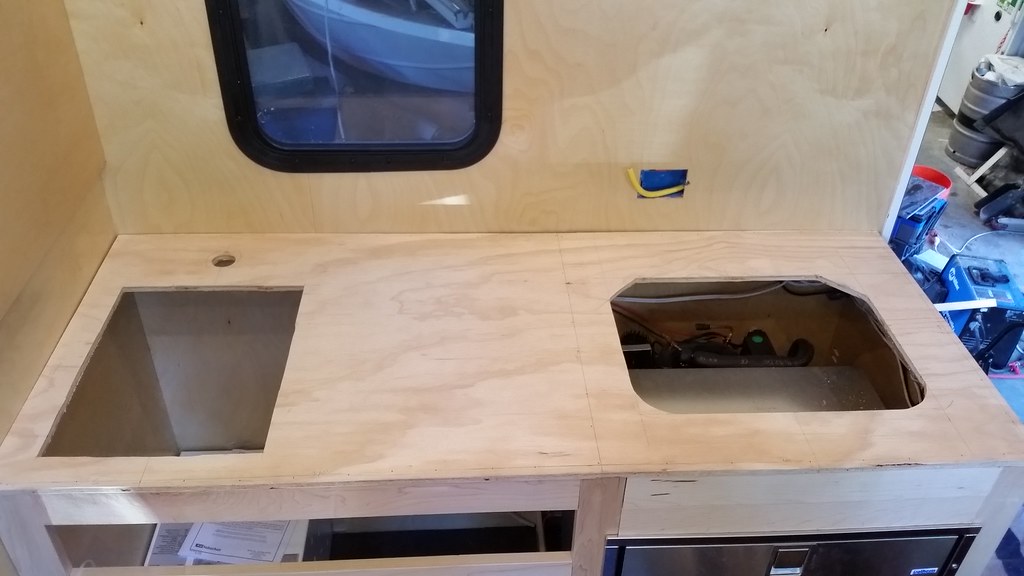
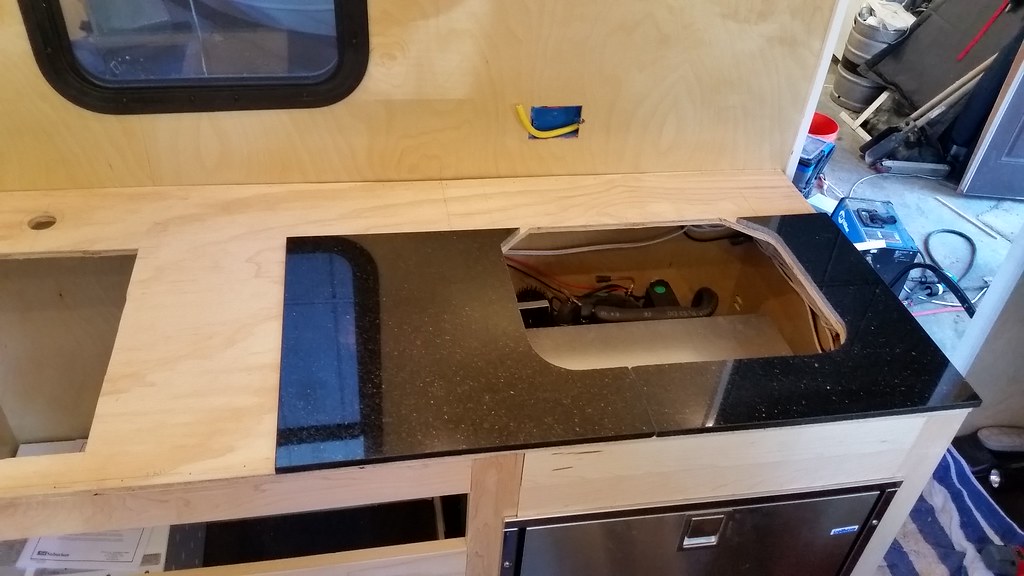
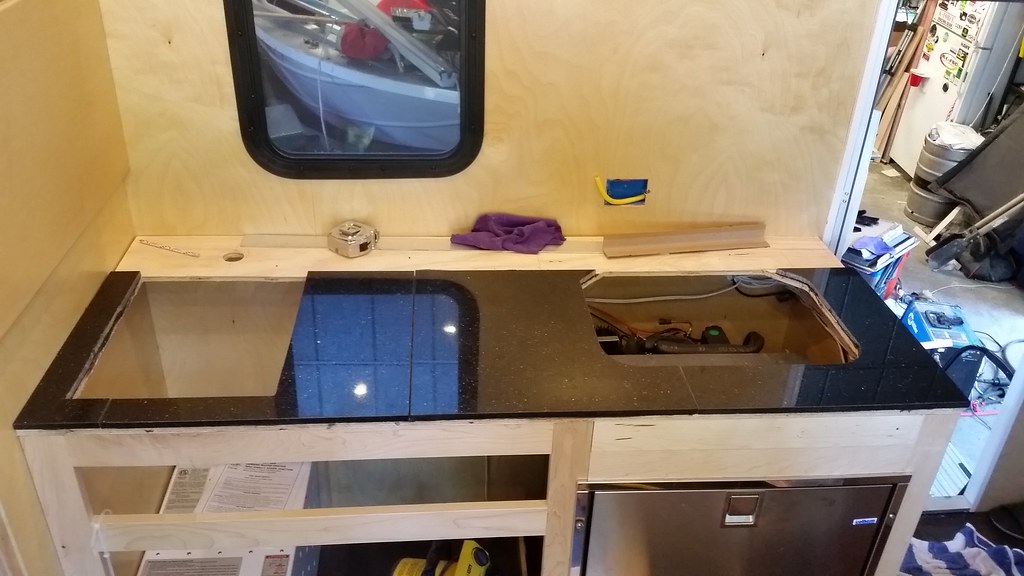
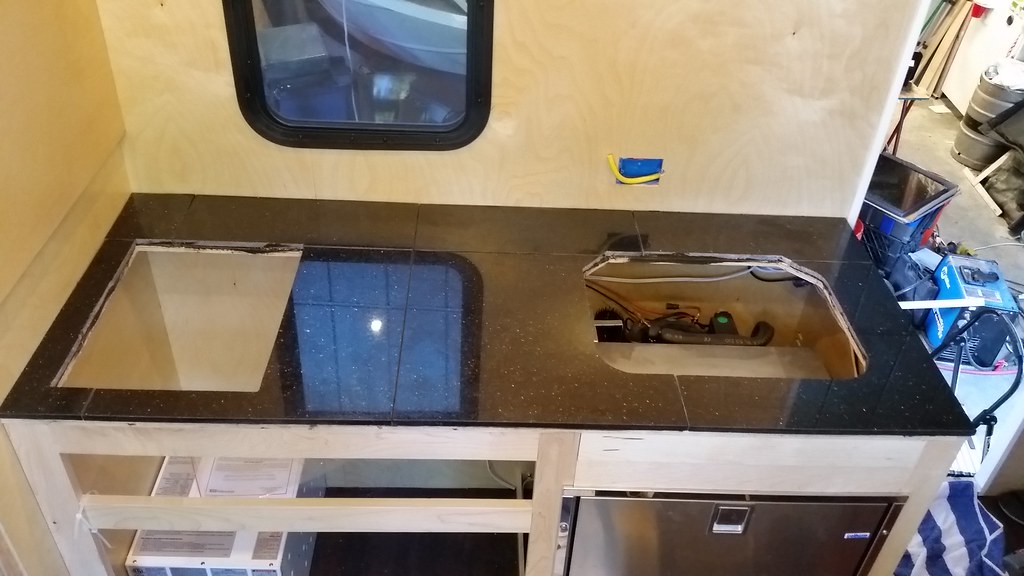
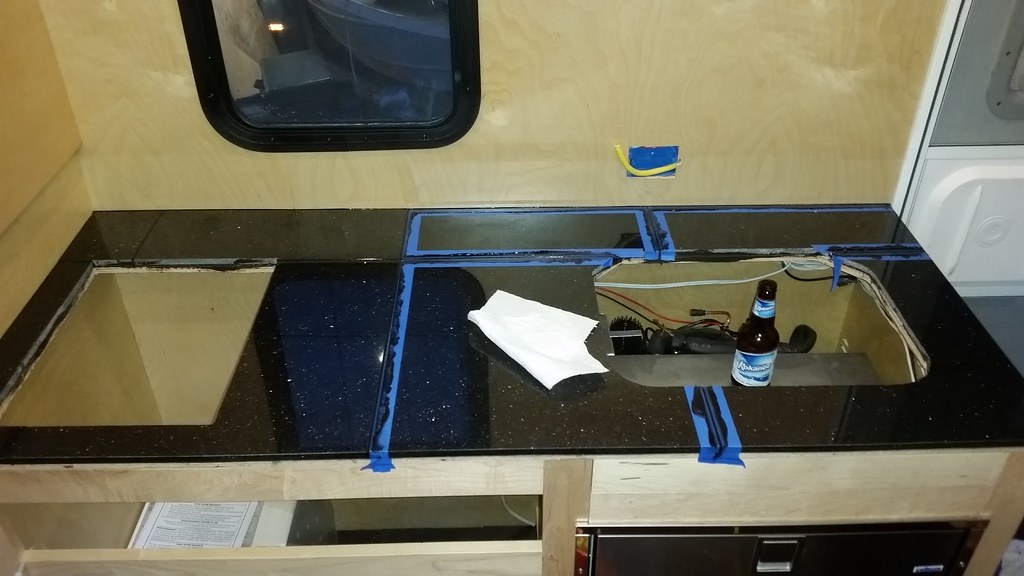
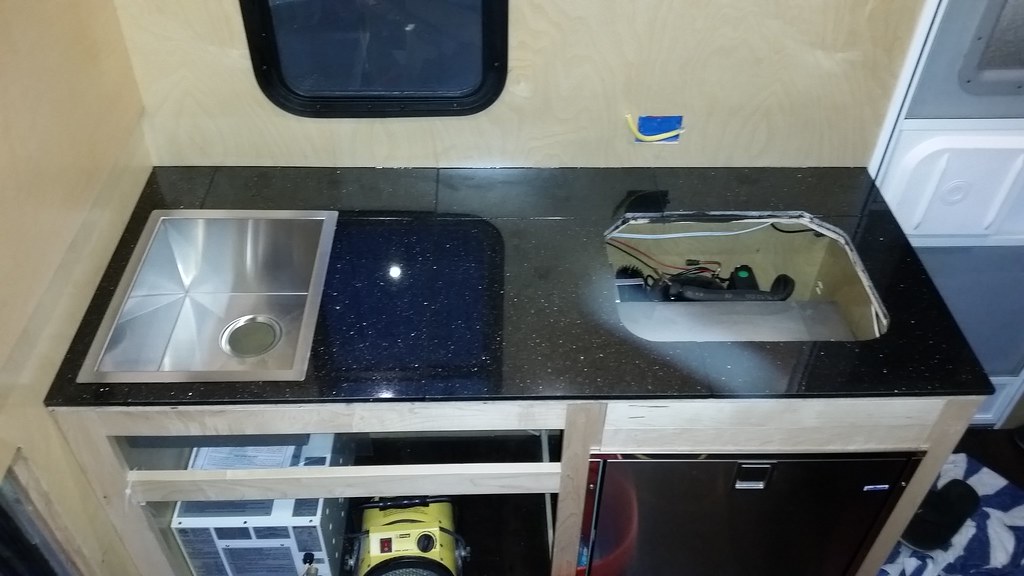
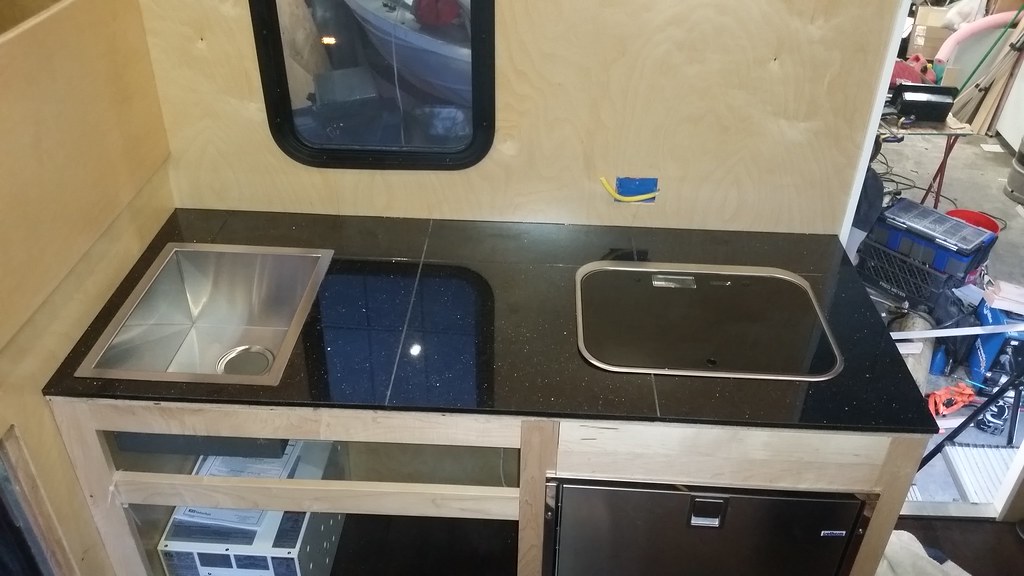
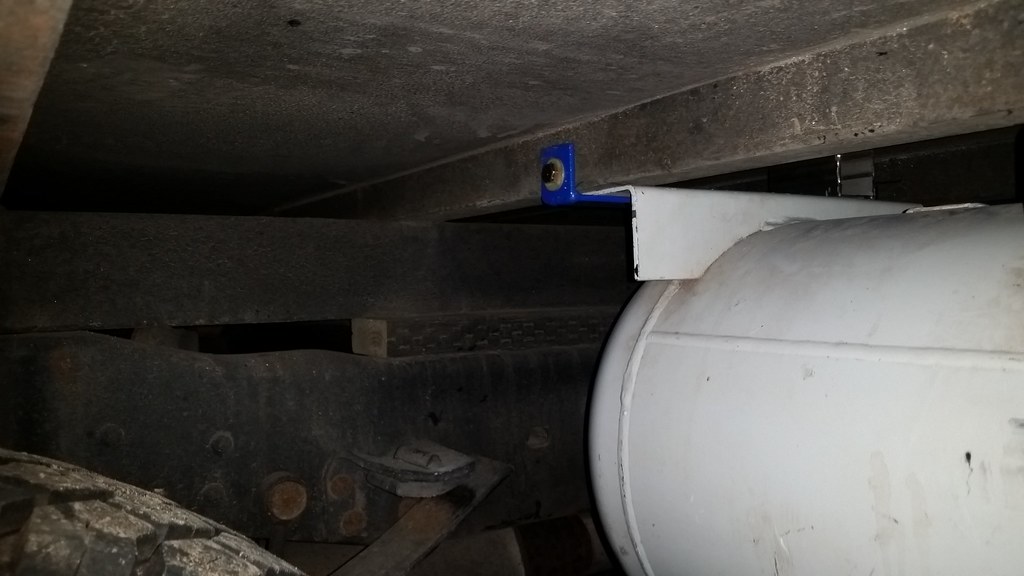
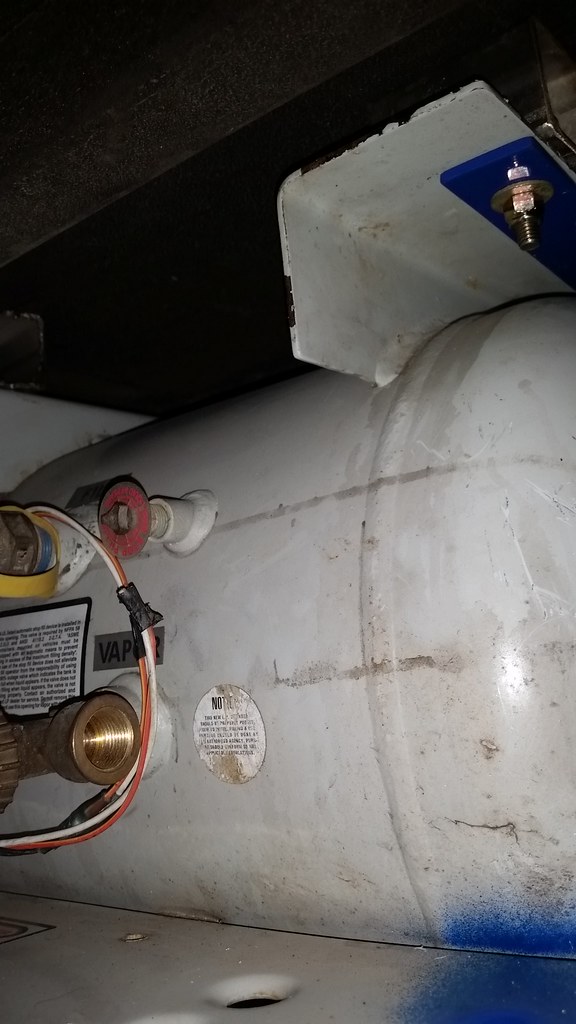
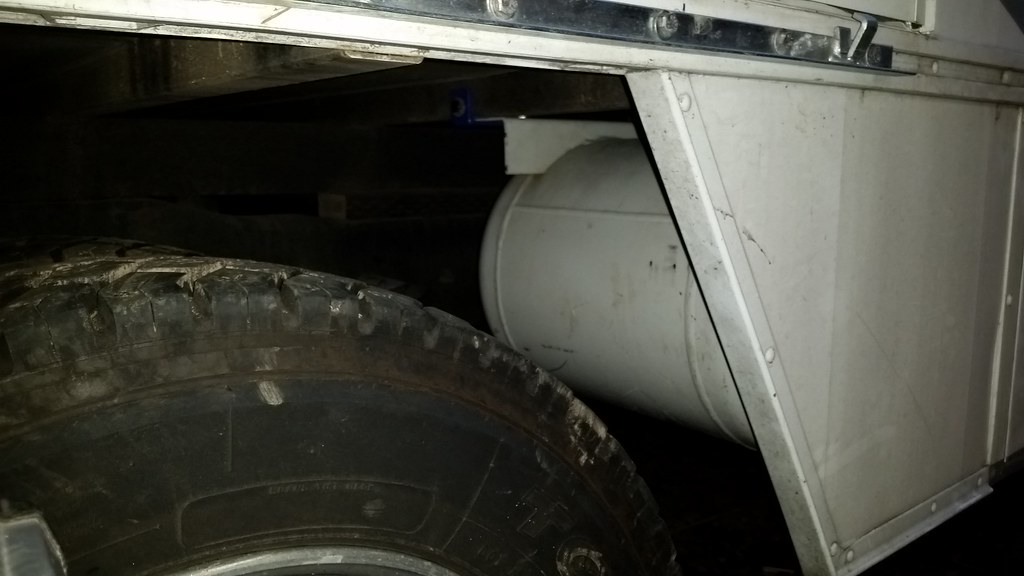
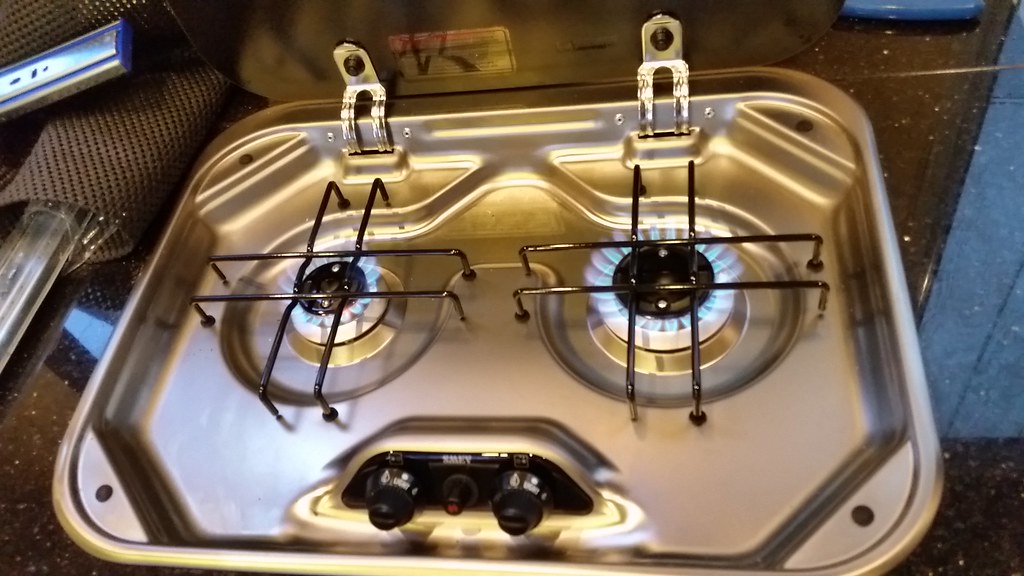
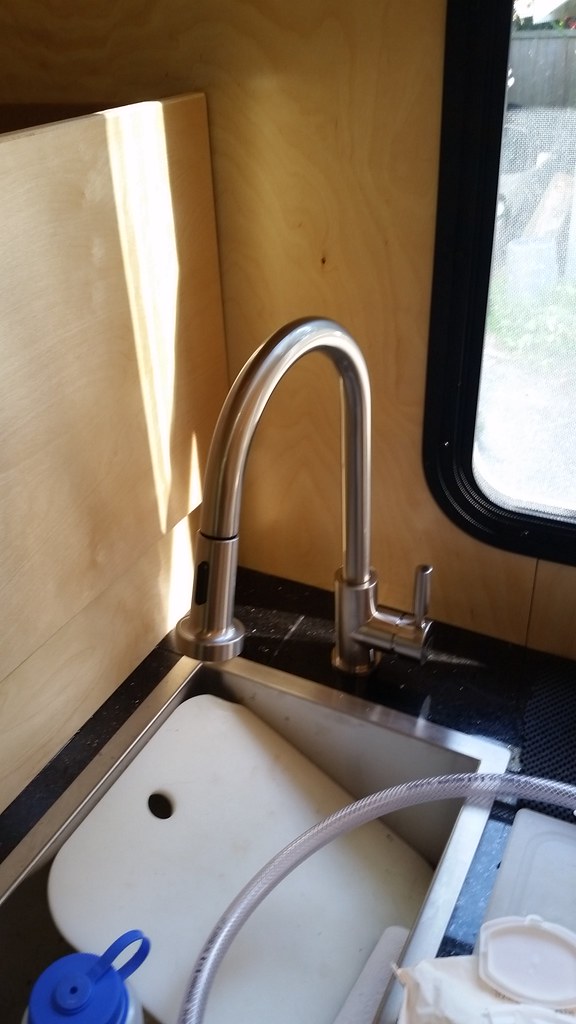
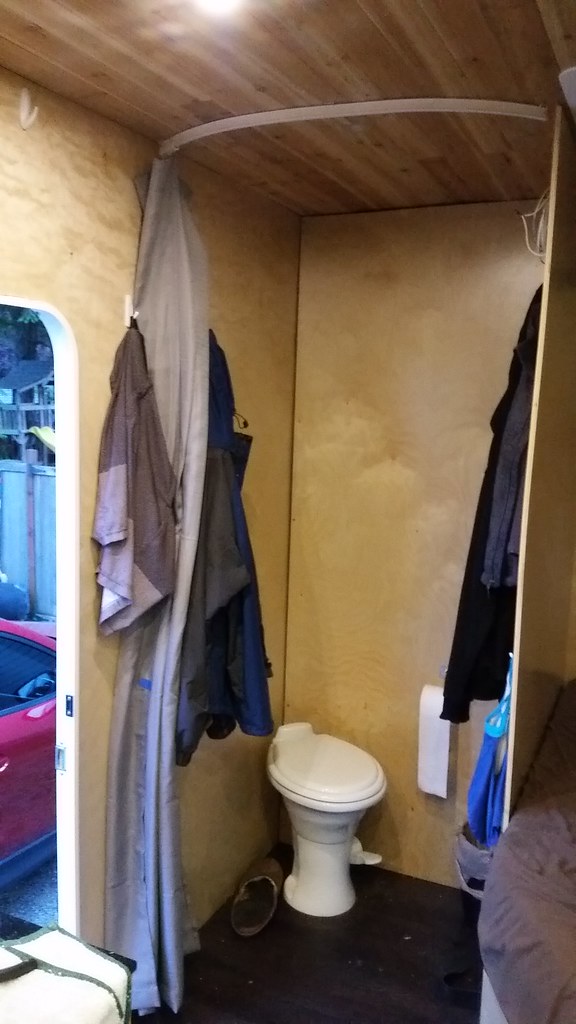
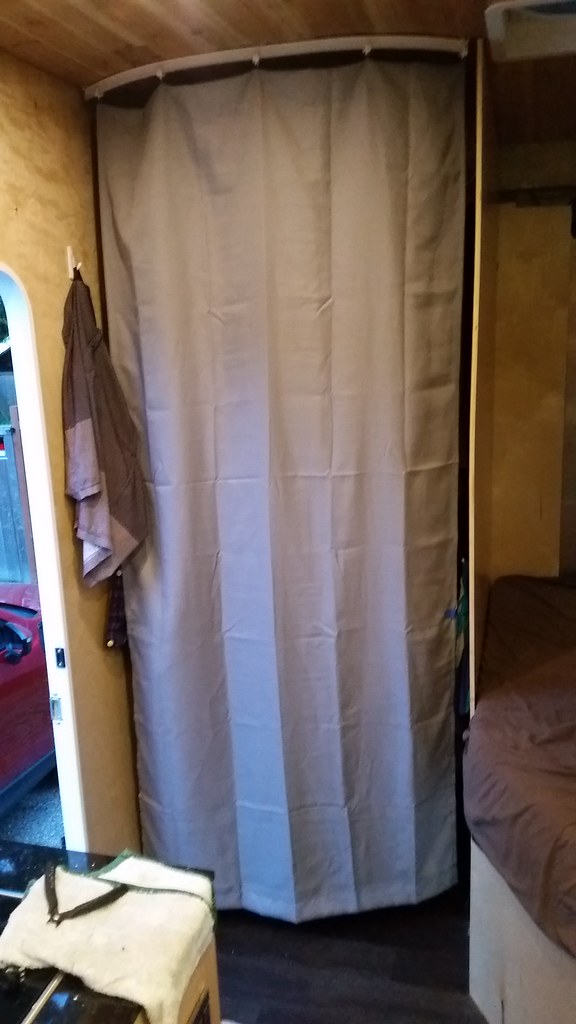
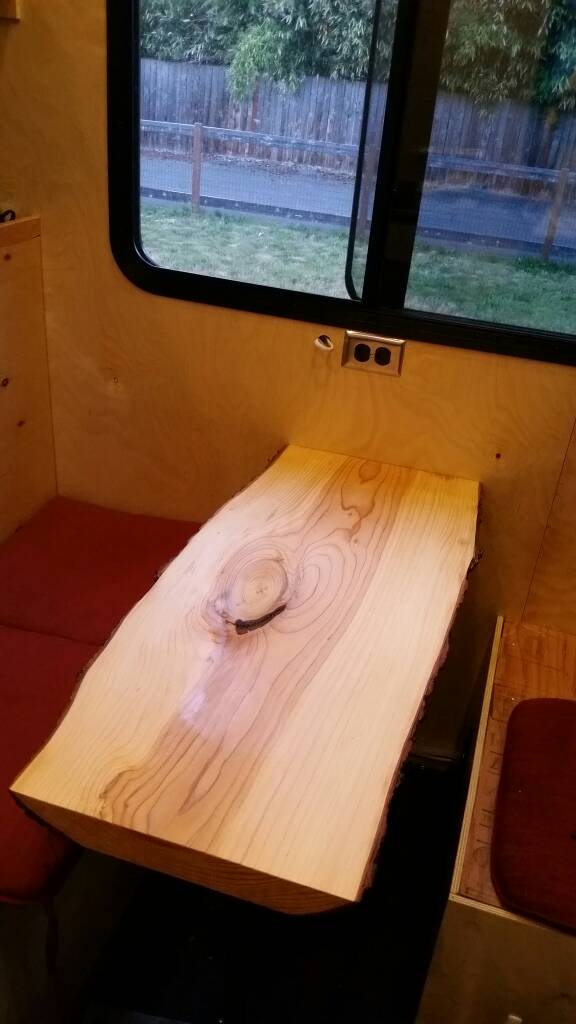
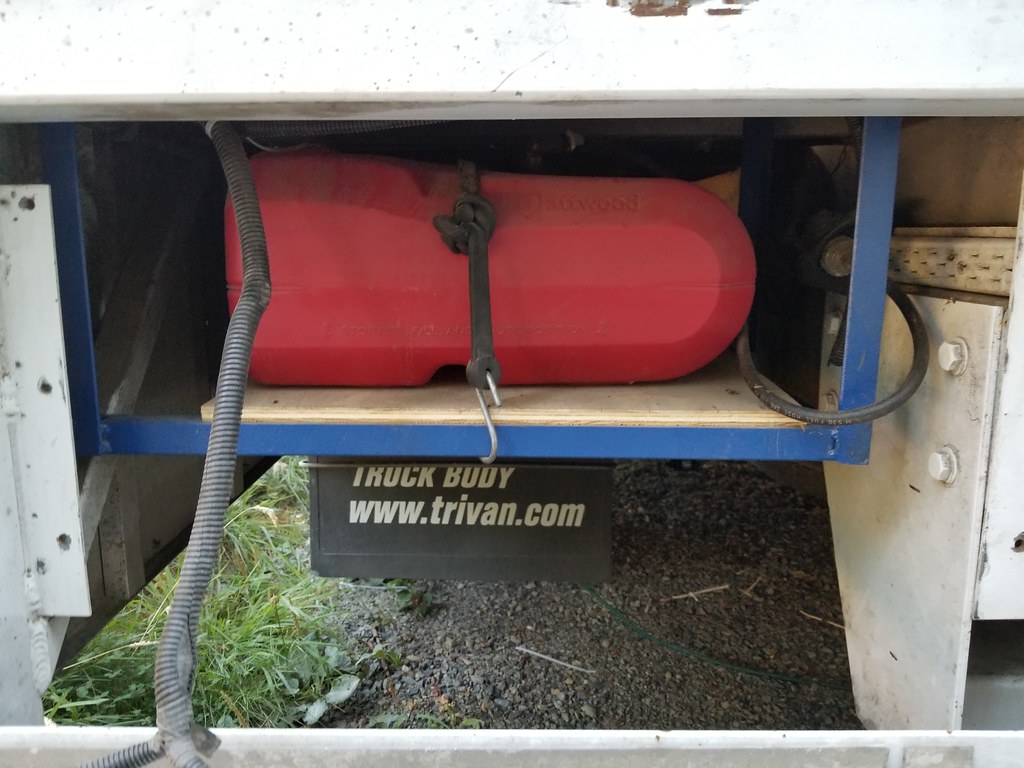
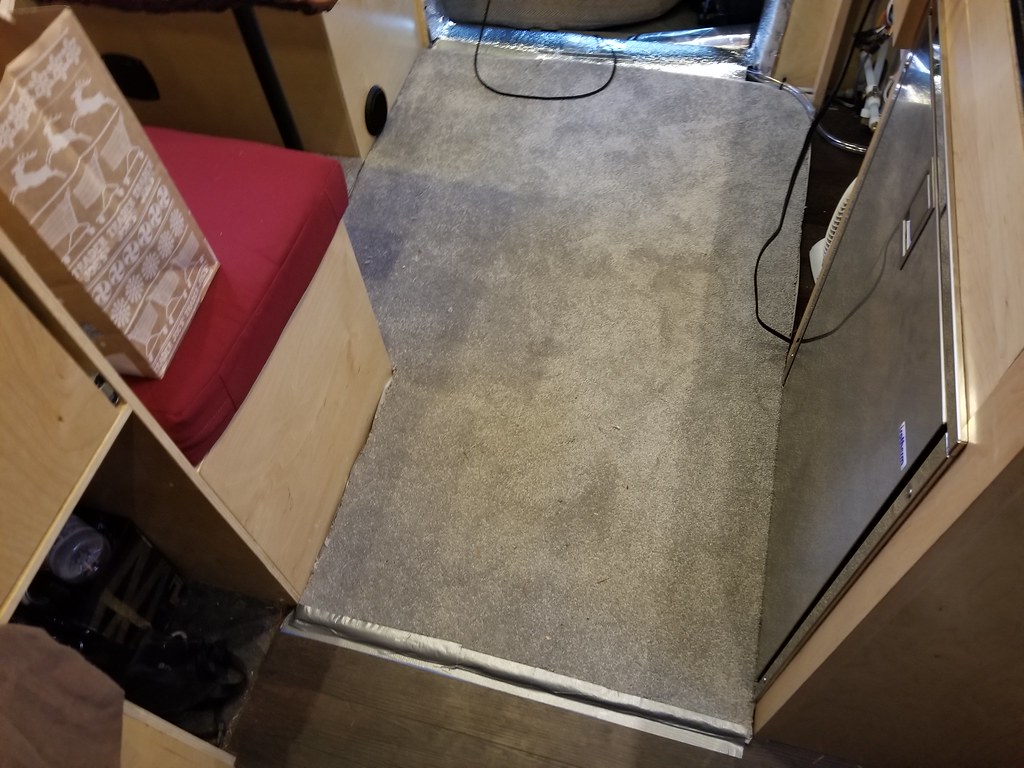
Condensed version of our current layout. I think it works pretty well. Toilet will just have a curtain, leave a bit more space at the door. Cabover bed for the kiddo, back bed for us, fixed dinette. Counter space is limited, but will have a fold out over the crawl through, and is across from the dinette table that can be used as well. Small bar sink, three burner RV cooktop, and the space below used for a marine fridge. Exterior storage for skis, other tall stuff at the back. Still debating on propane tank placement, I am thinking two BBQ style tanks on a swing out on the drivers rear.
Plans
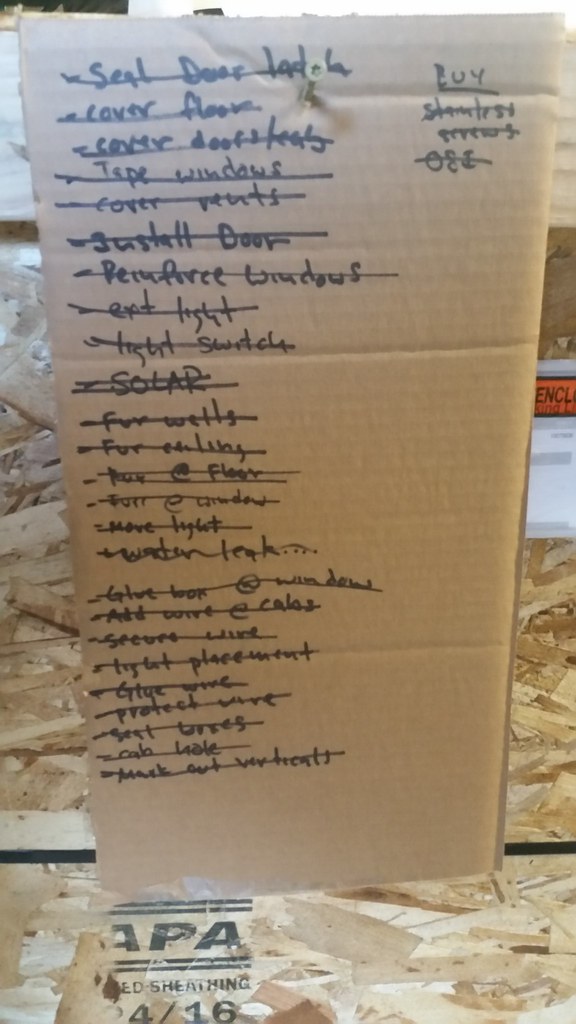
First order of business is getting the crawl through, windows and doors framed and cut. The crawl through is going to be a challenge, I have some thinking and blue taping to do still, but it should be doable. Accordion seal will be used there. If anyone has done this I am all ears.
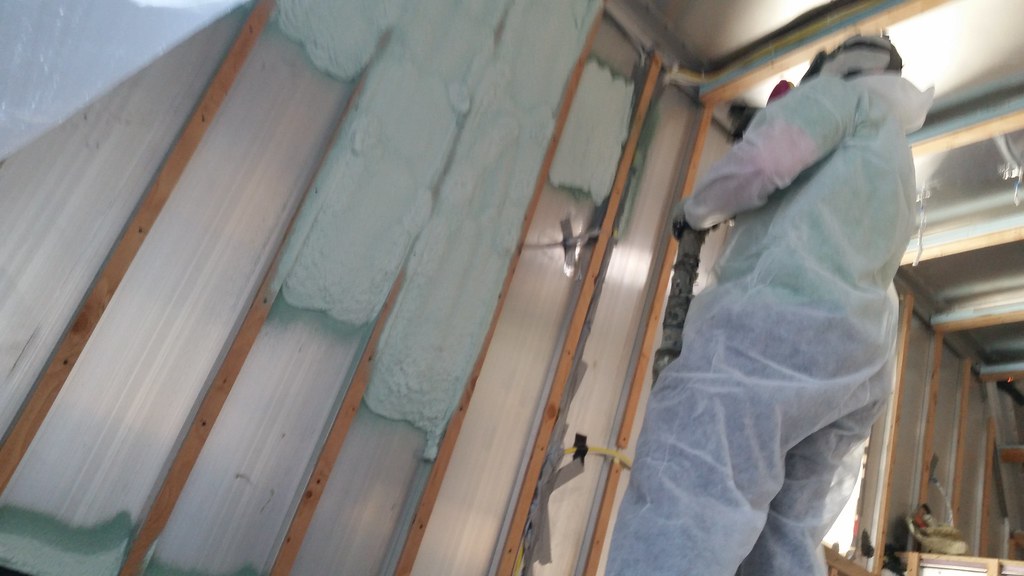
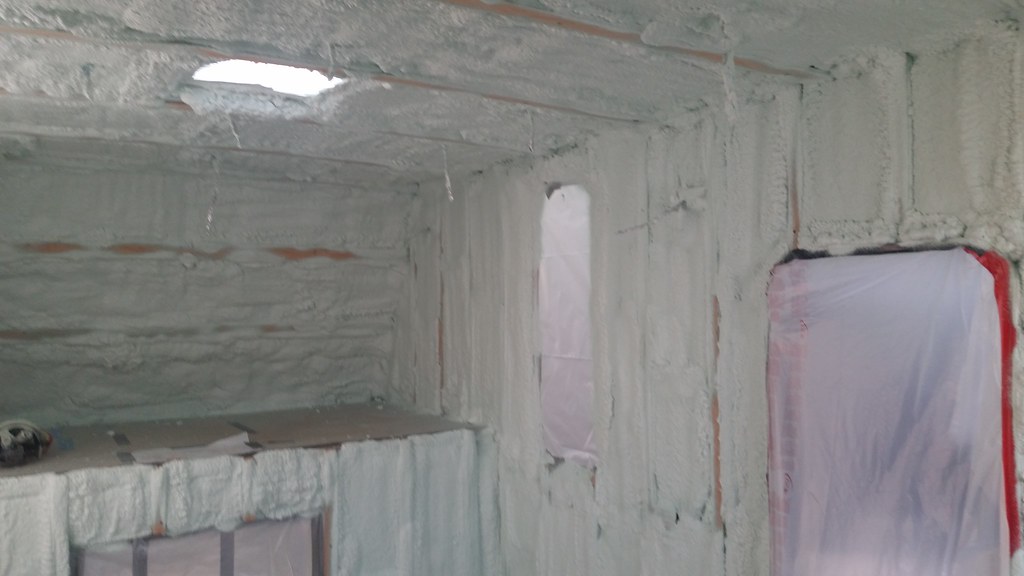
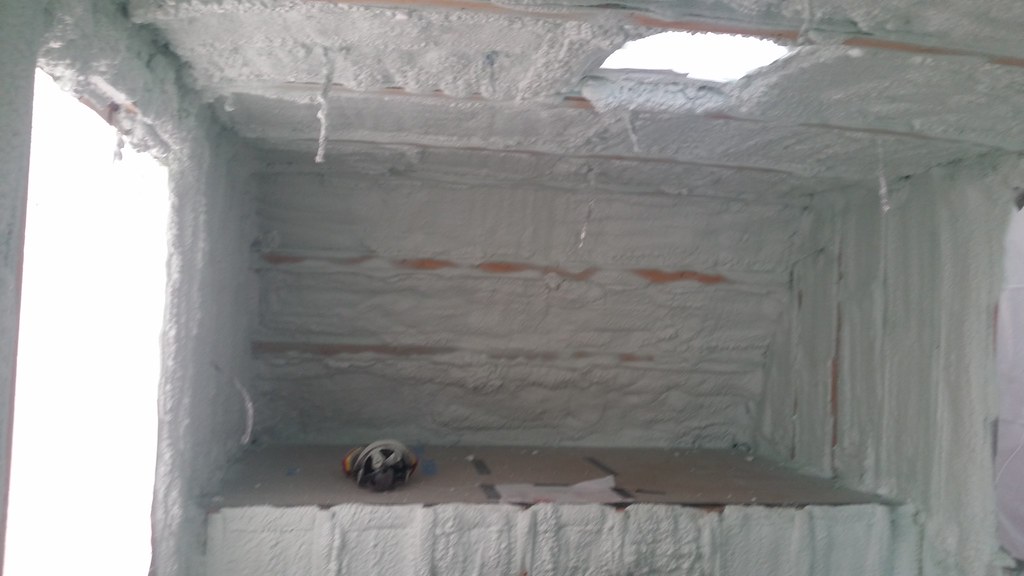
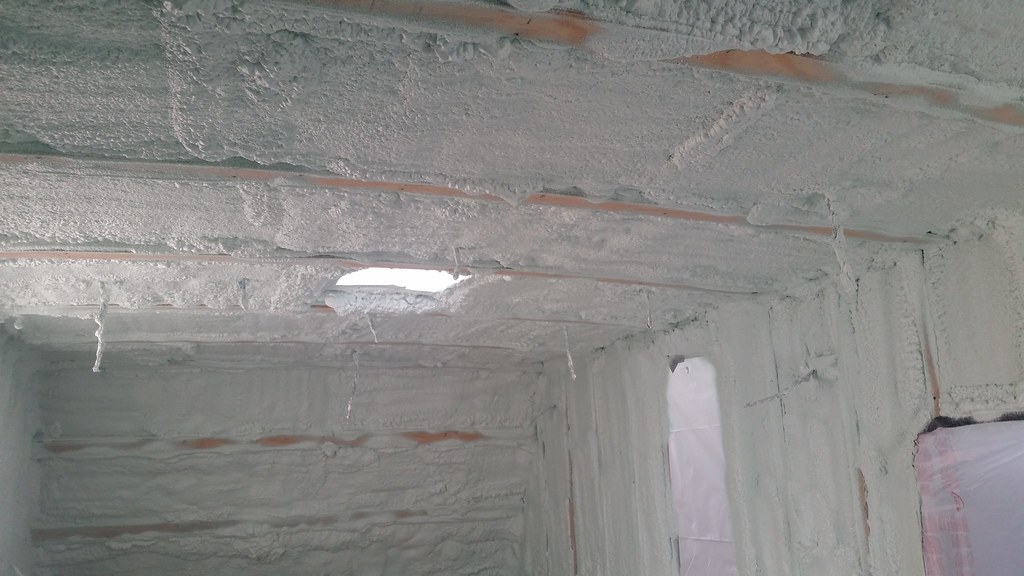
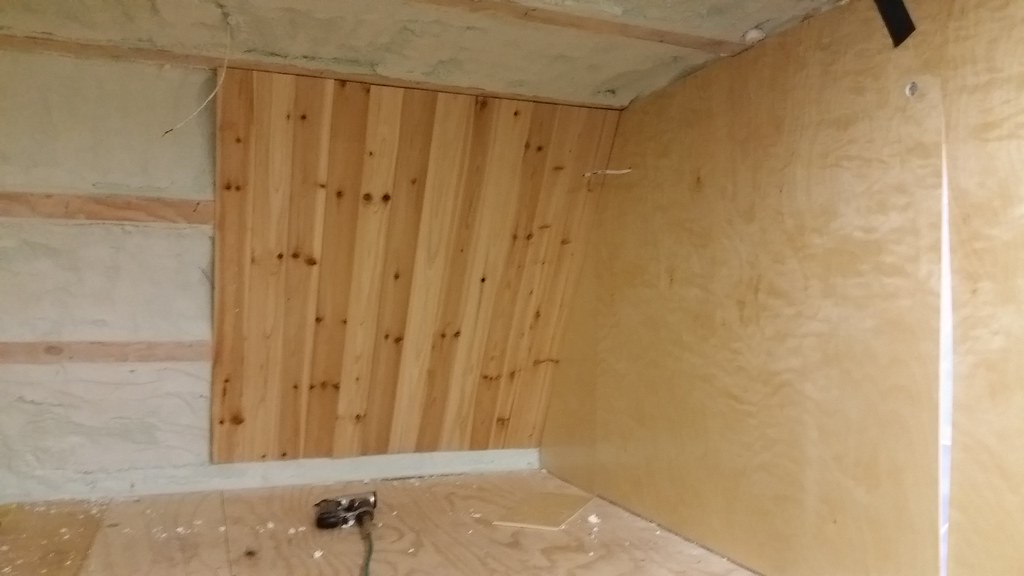
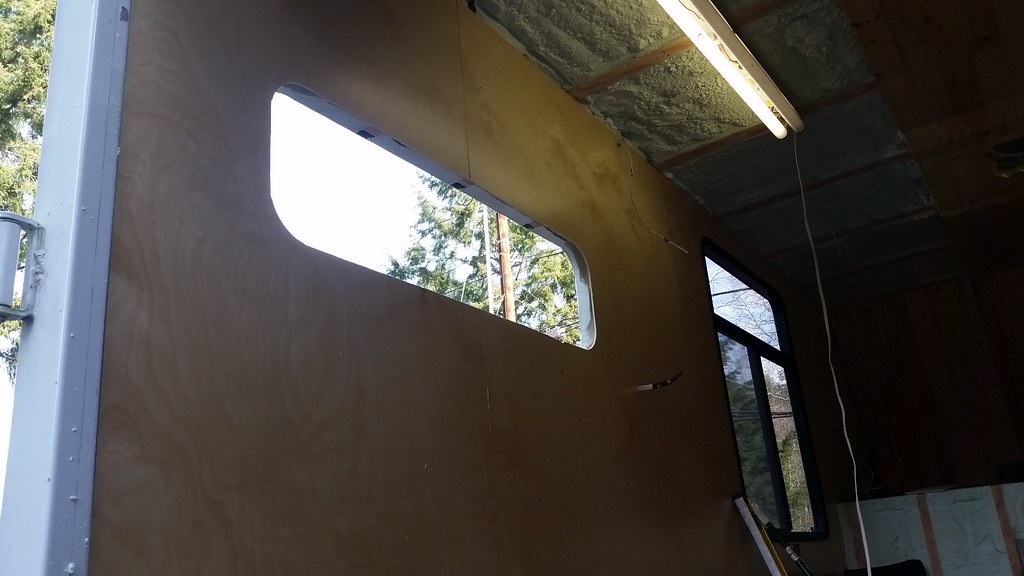
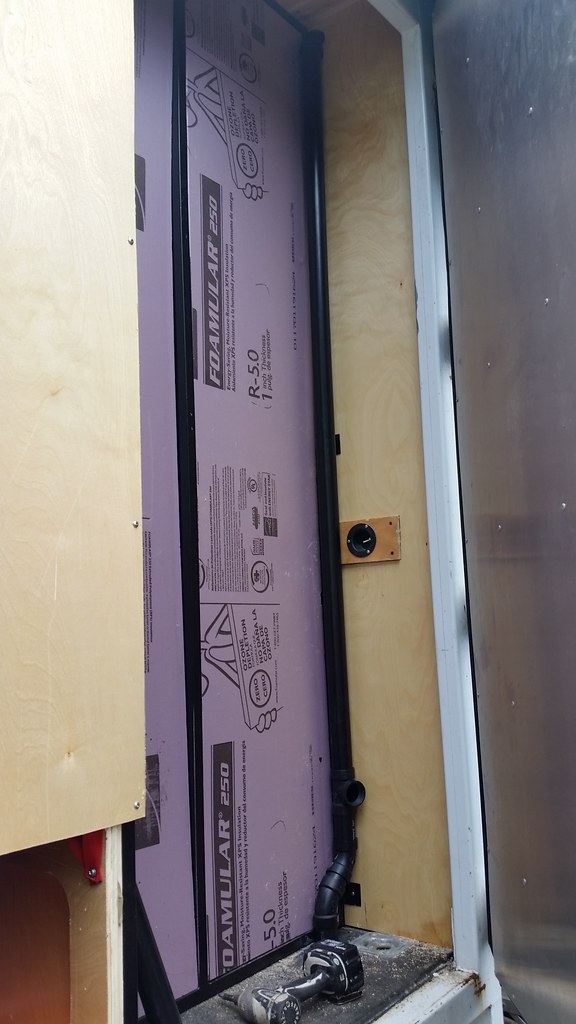
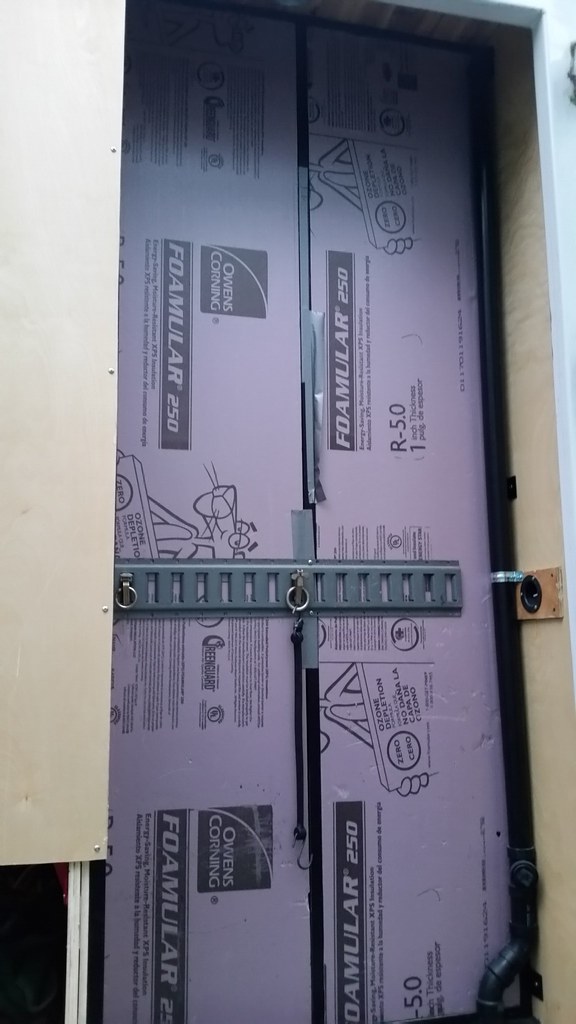
Once the framing is done I will have the entire thing spray foamed. I am still debating on ceiling thickness if anyone has input. Walls will be 1 3/4" foam with 1/4" plywood interior skin. Spray foam will be a big $$ item, but I fell it will be worth it in the long run.
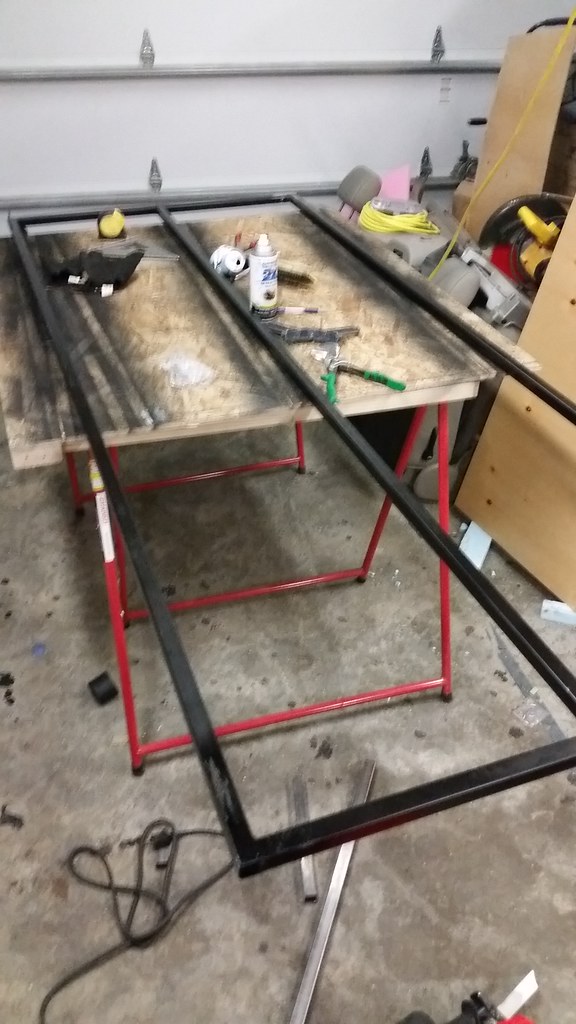
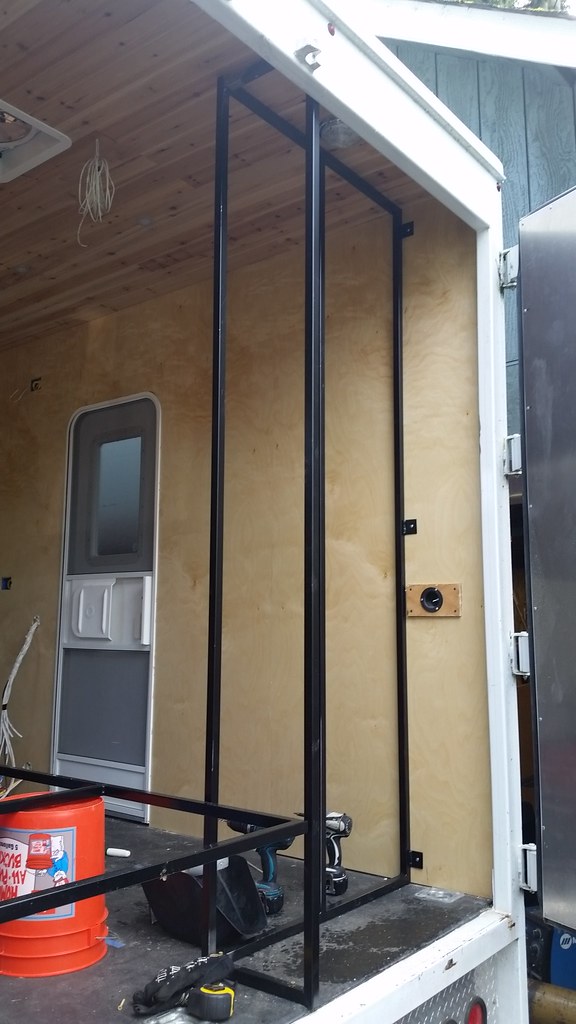
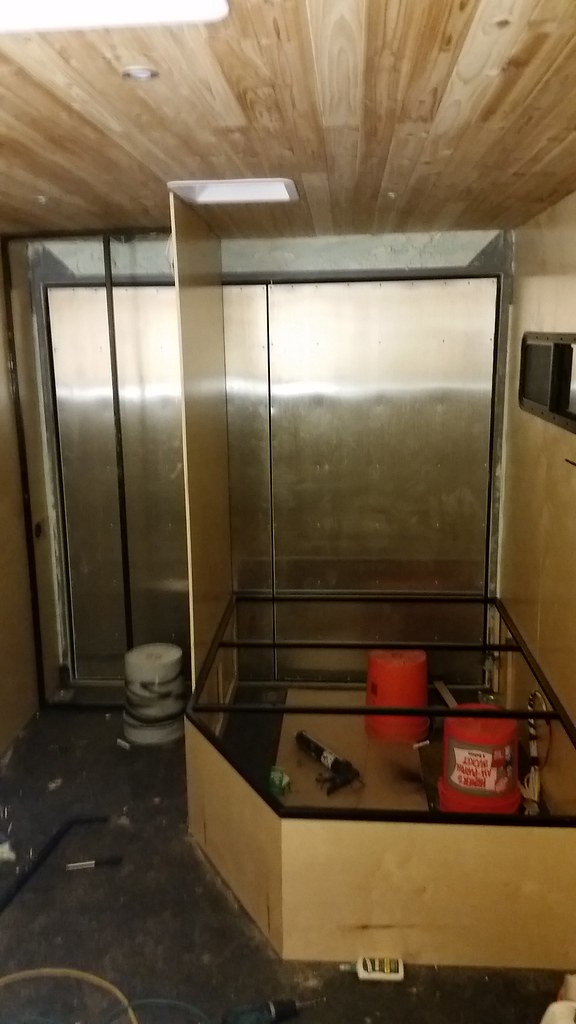
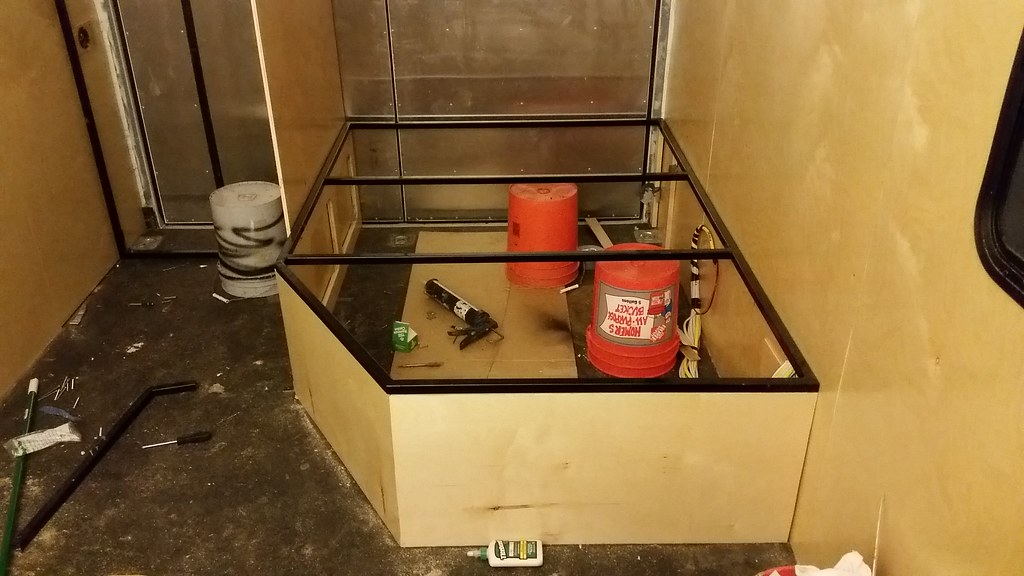
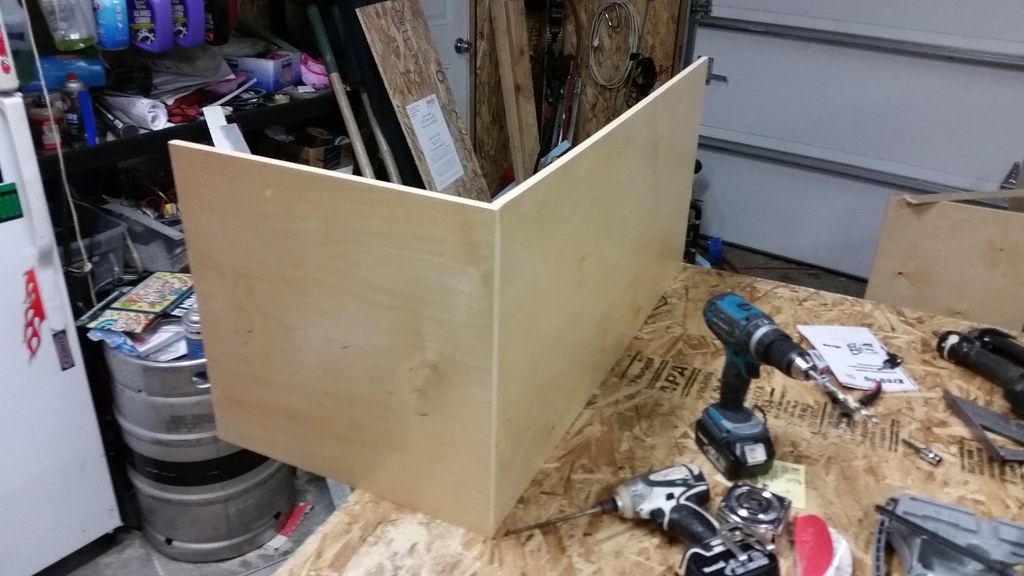
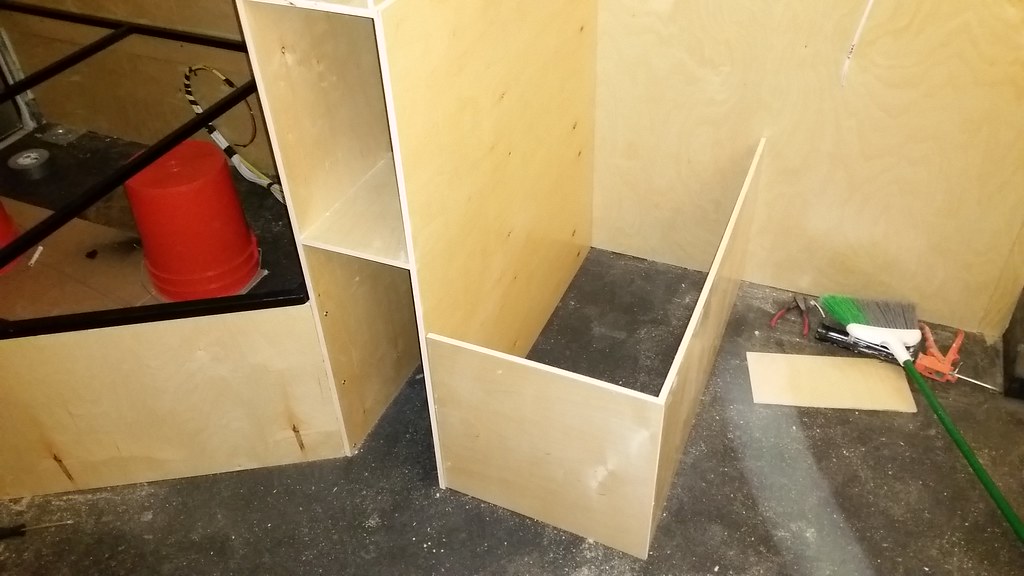
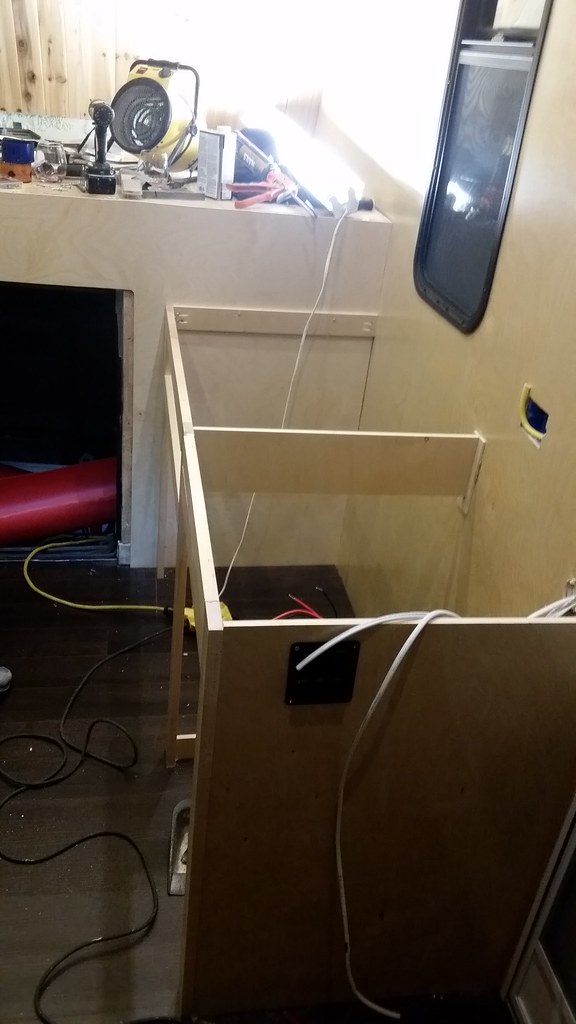
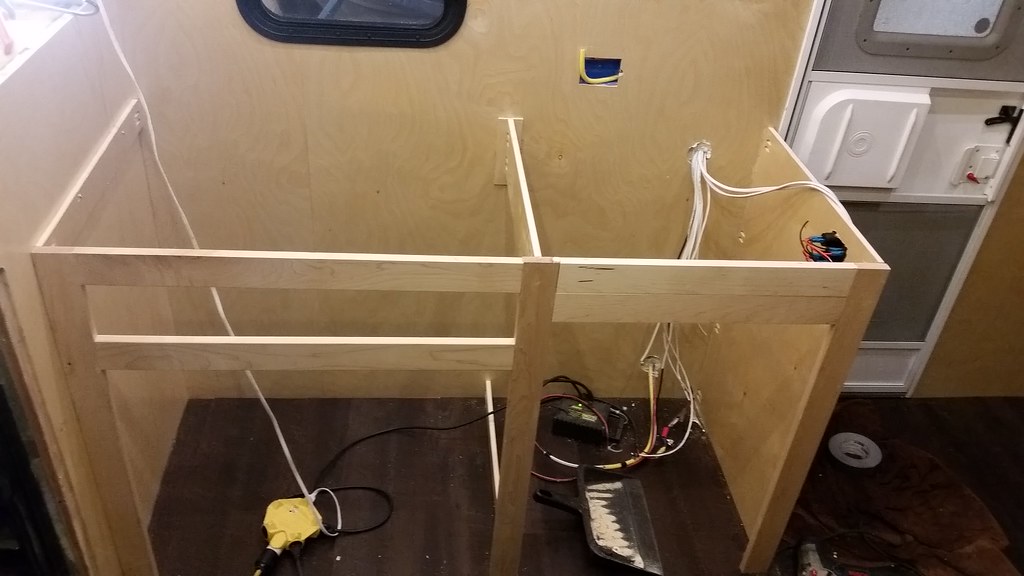
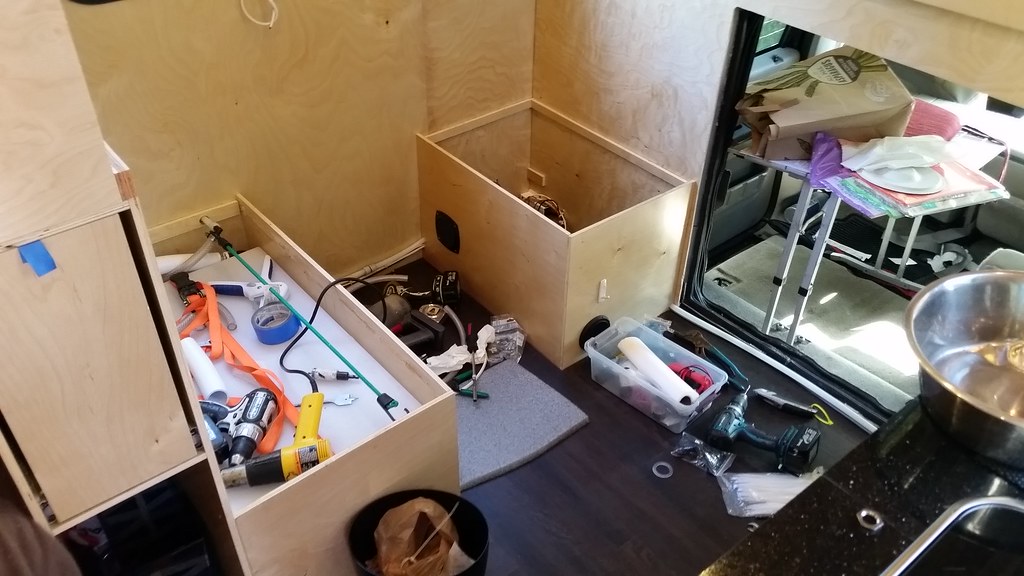
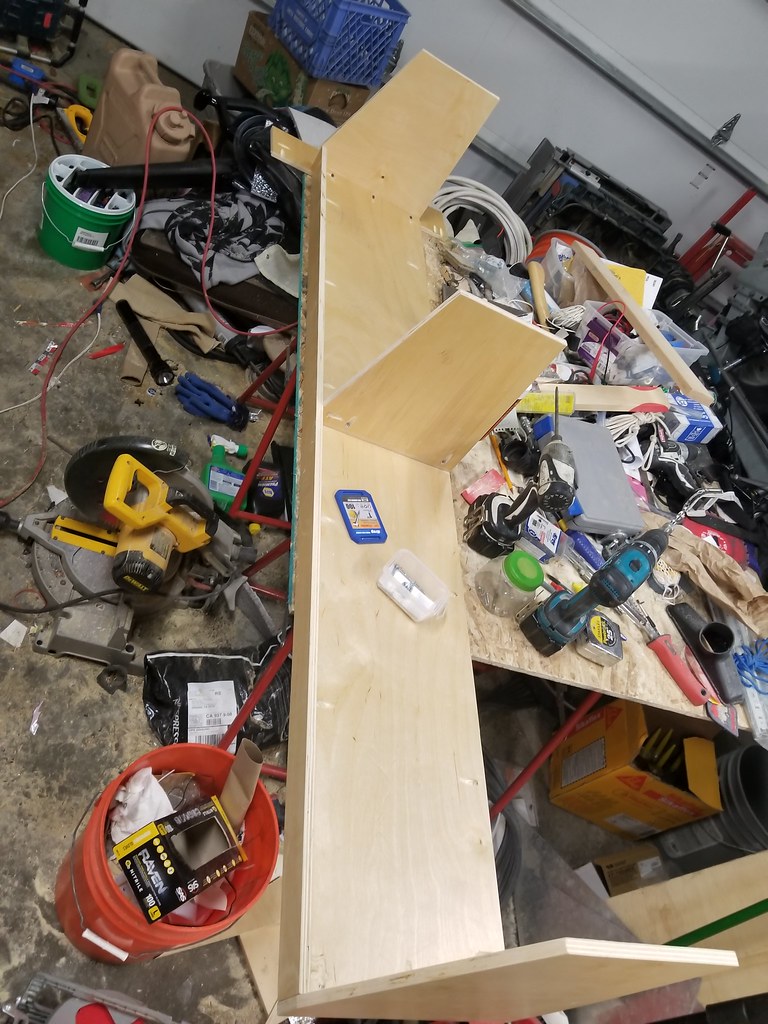
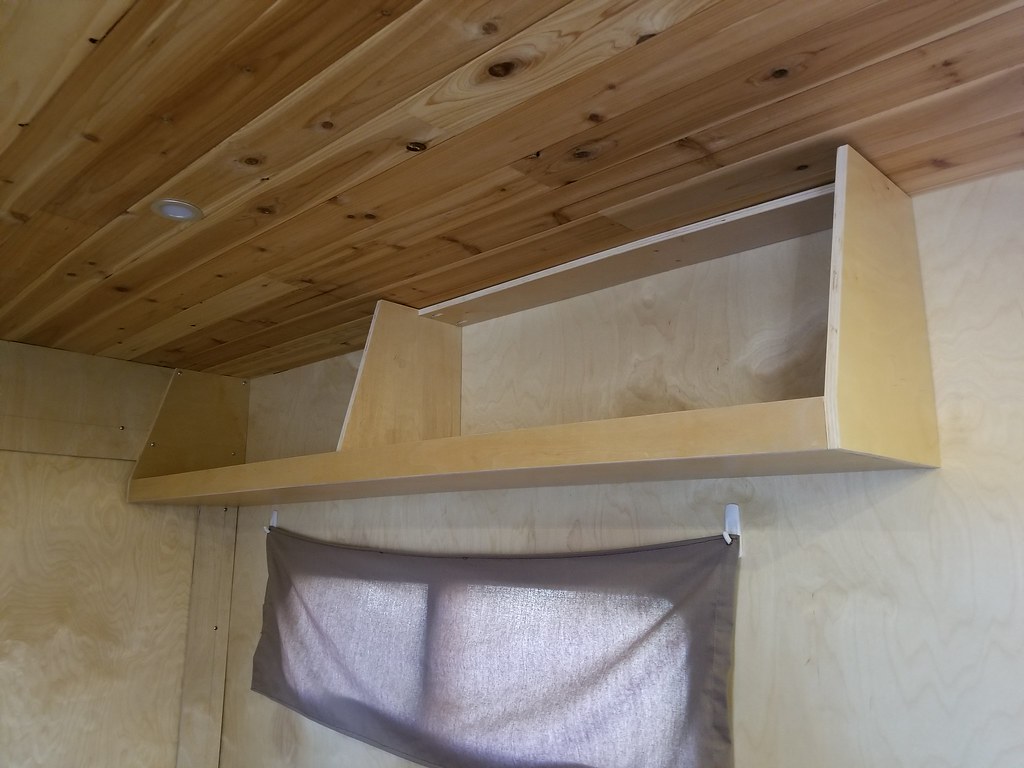
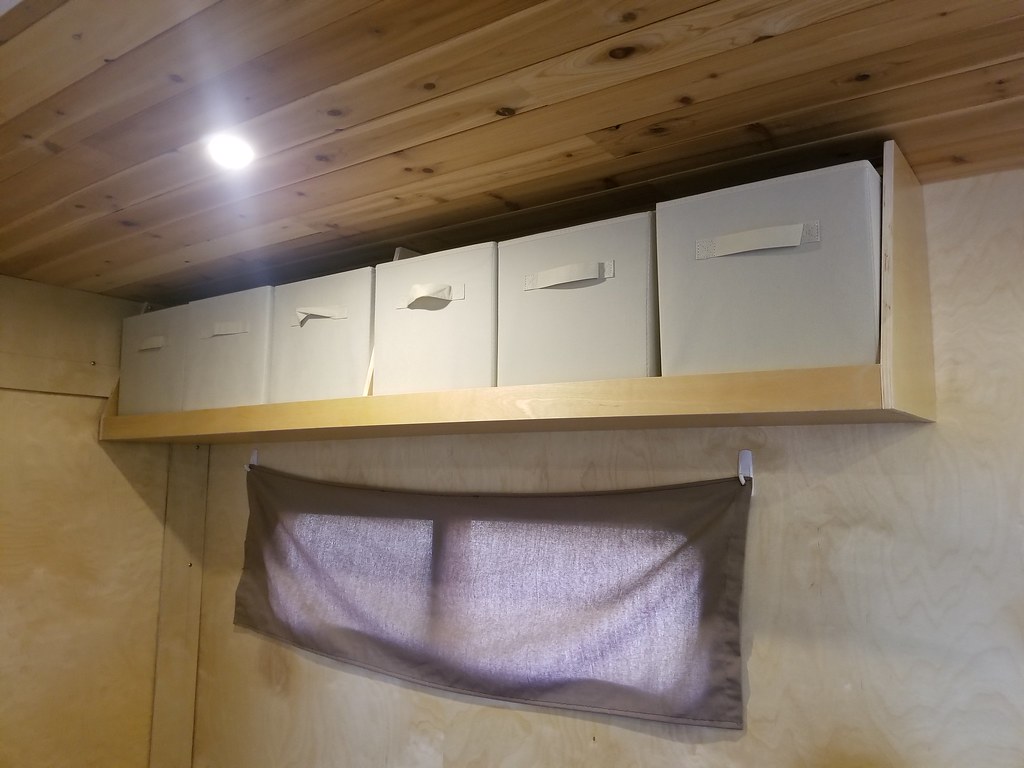
Then its on to interior finishes. Dinette and vertical walls I am thinking will be small steel tubing with a thin plywood skin. Maximizes interior spaces of the compartments that way.
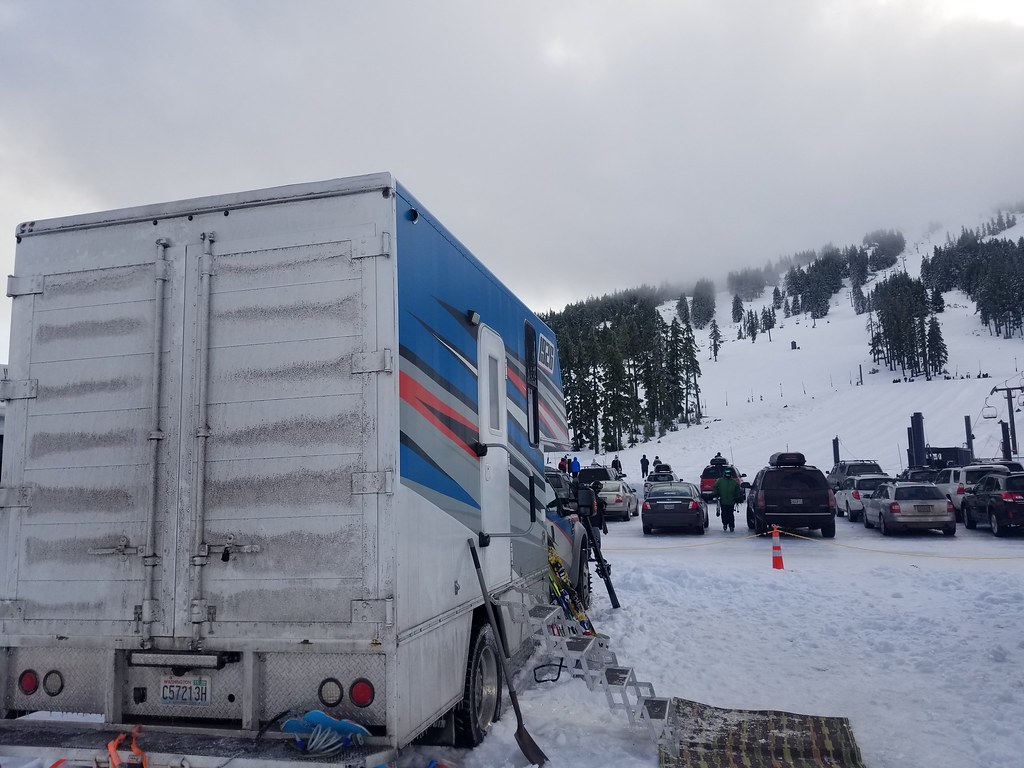
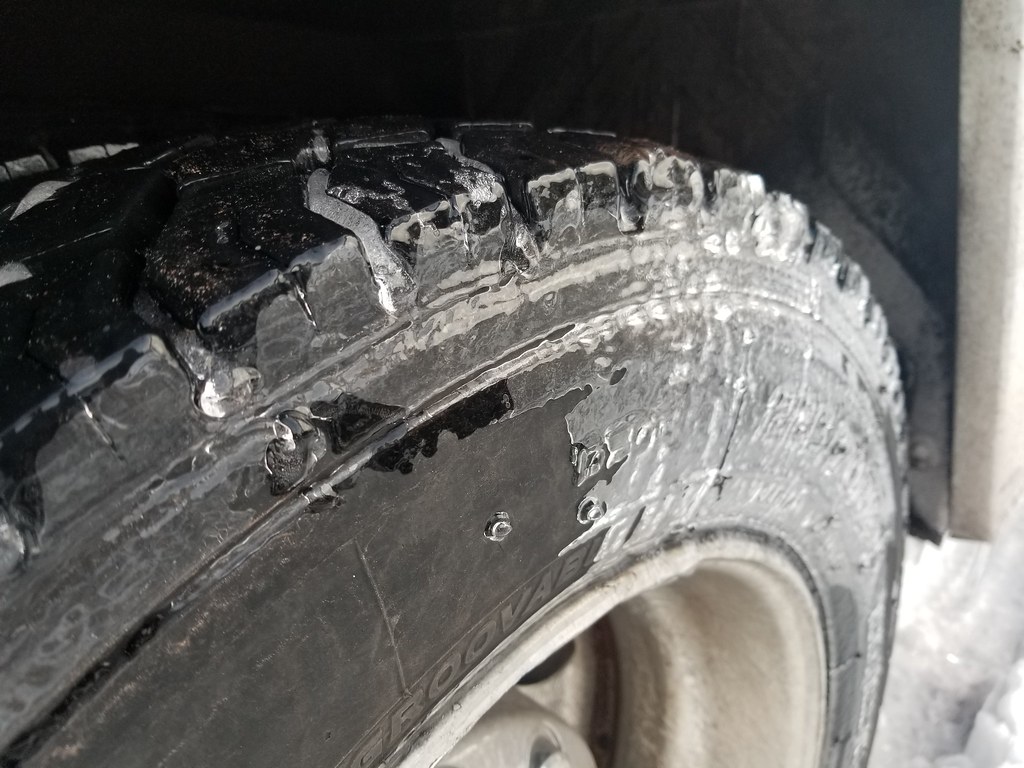
I am leaning towards doing EGR and DPF delete stuff to the engine while I am in there, but it adds a good budget hit. It may be a couple years down the road. Lift is a ways off too, but for most of what we do it should be ok for awhile. FS roads and snow/ice covered roads to ski areas. It has brand new tires that I wouldn't mind using up either.
This will be a very slow build. I am very budget limited, so it will be plugging away a bit at a time as budget allows. I will need to sell the RV come spring, and would like to have this one done shortly after, but I think that may be a lofty goal.
Feb 10 17 pt2
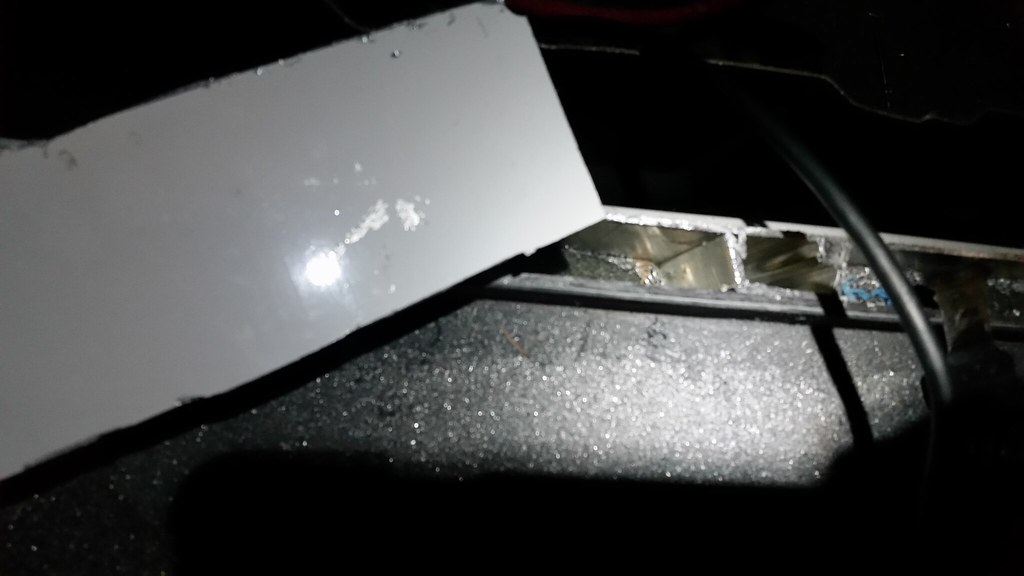
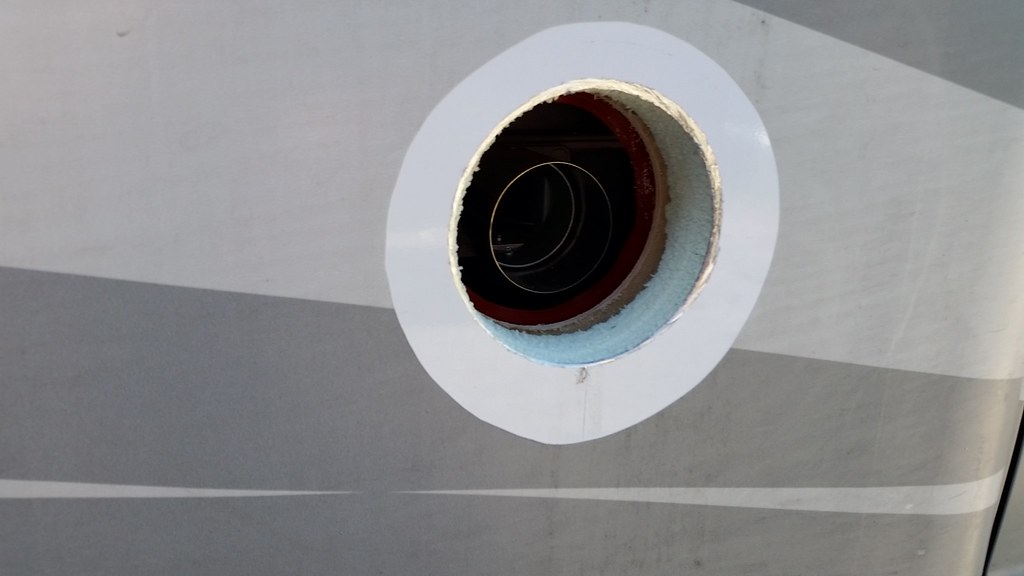
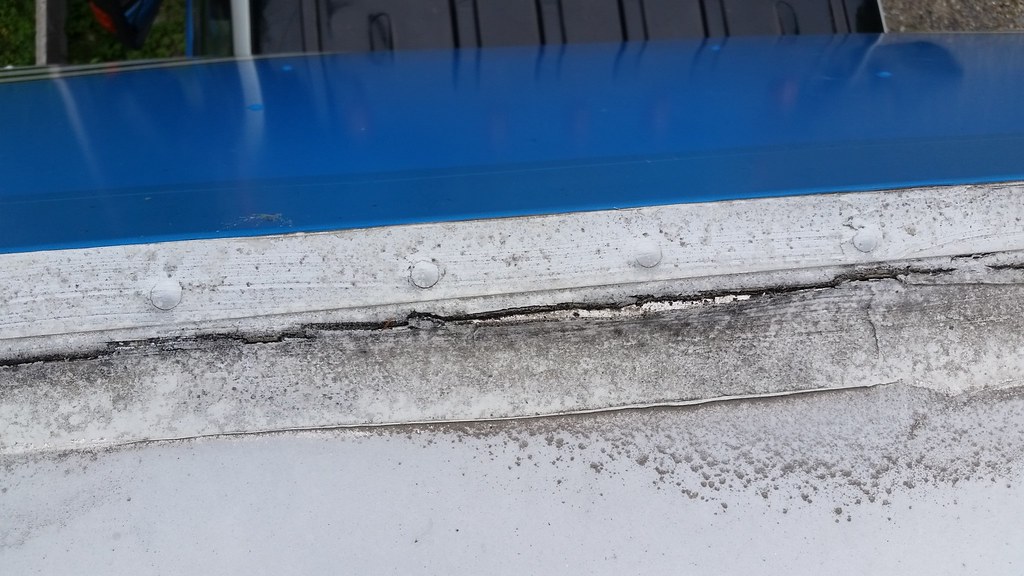
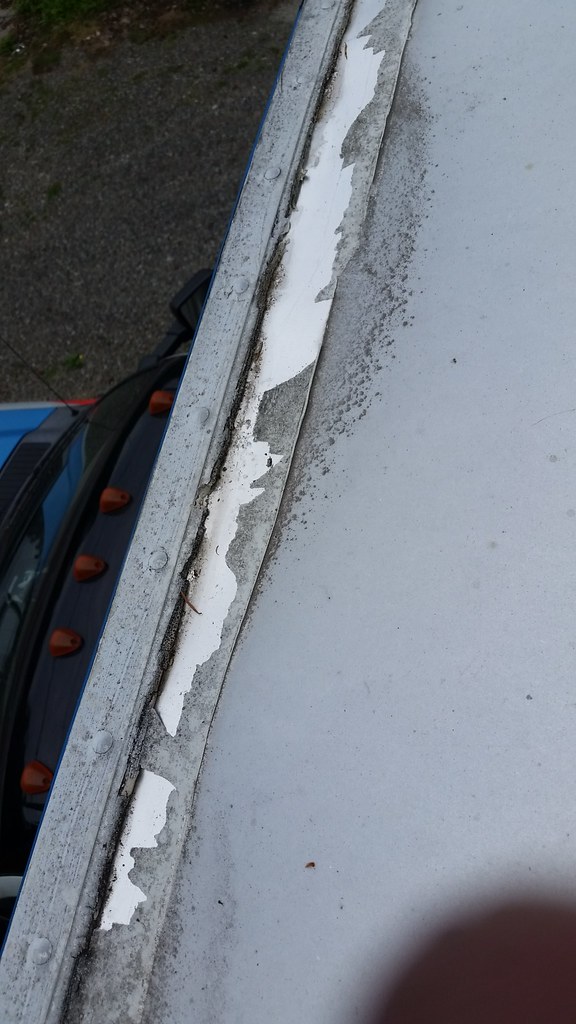
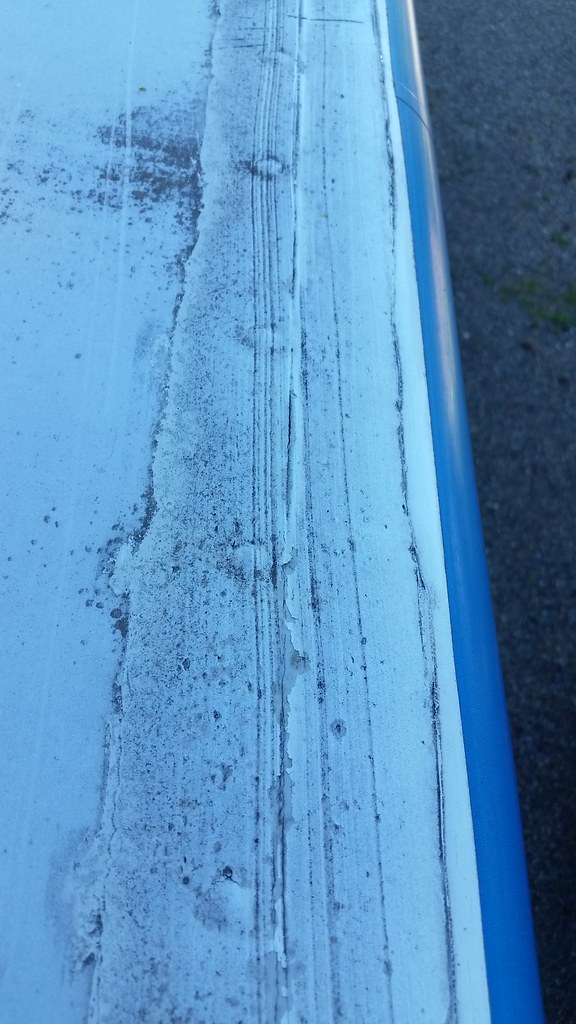
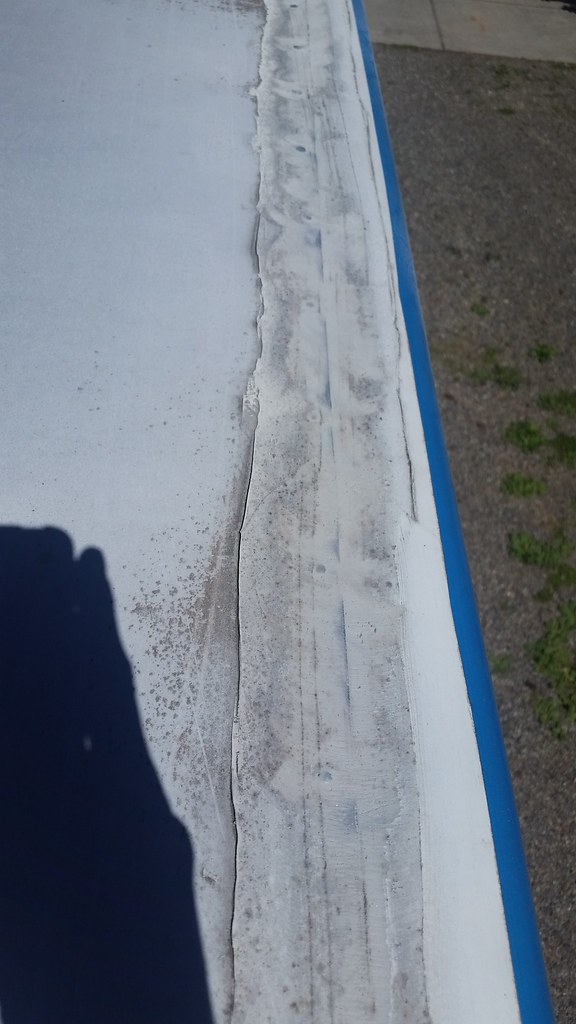
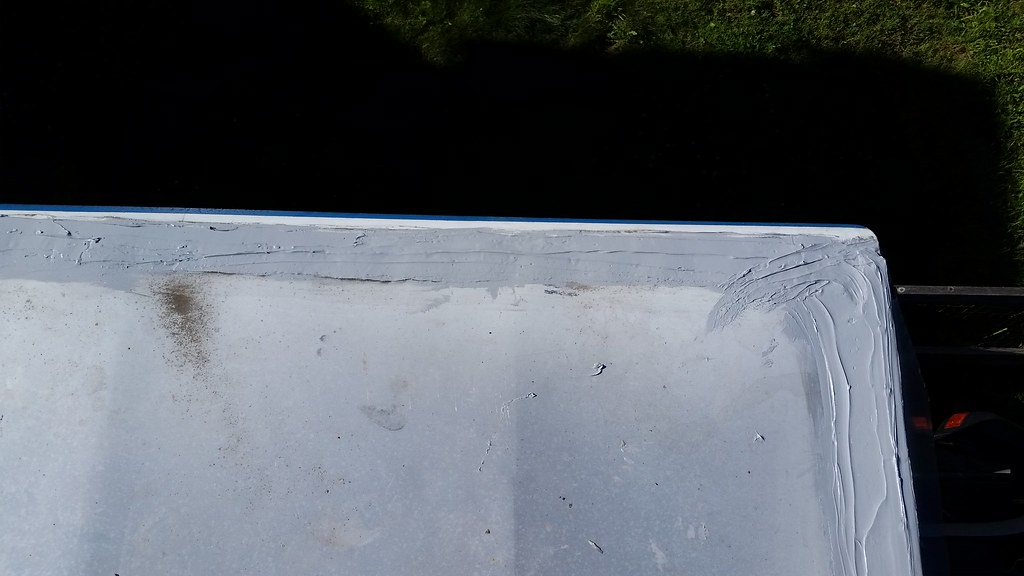
hmmmm leaking roof "vent"
Pull off plywood, scrub with MEK
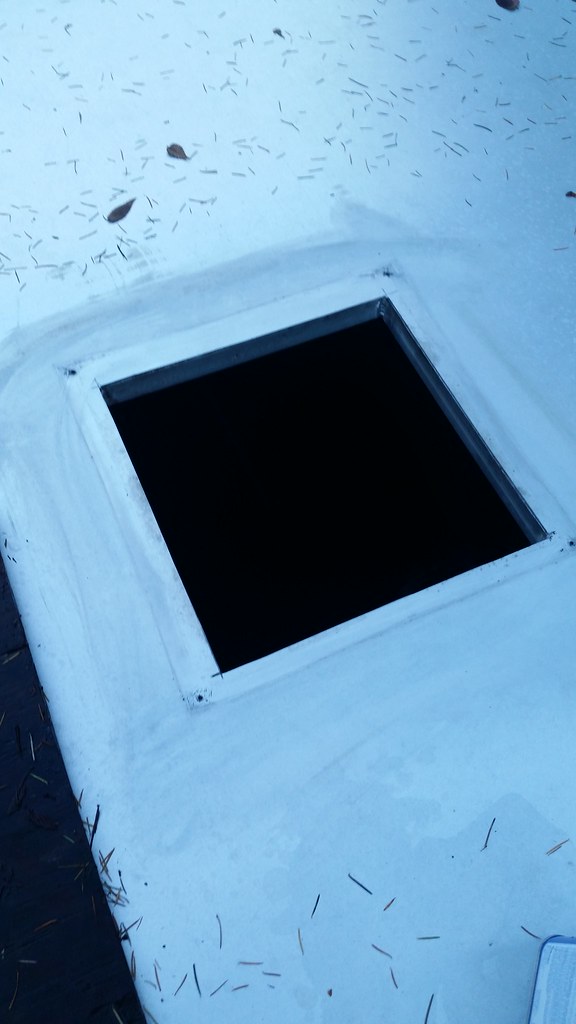
MaxxFan shroud, covered in sticky stuff.
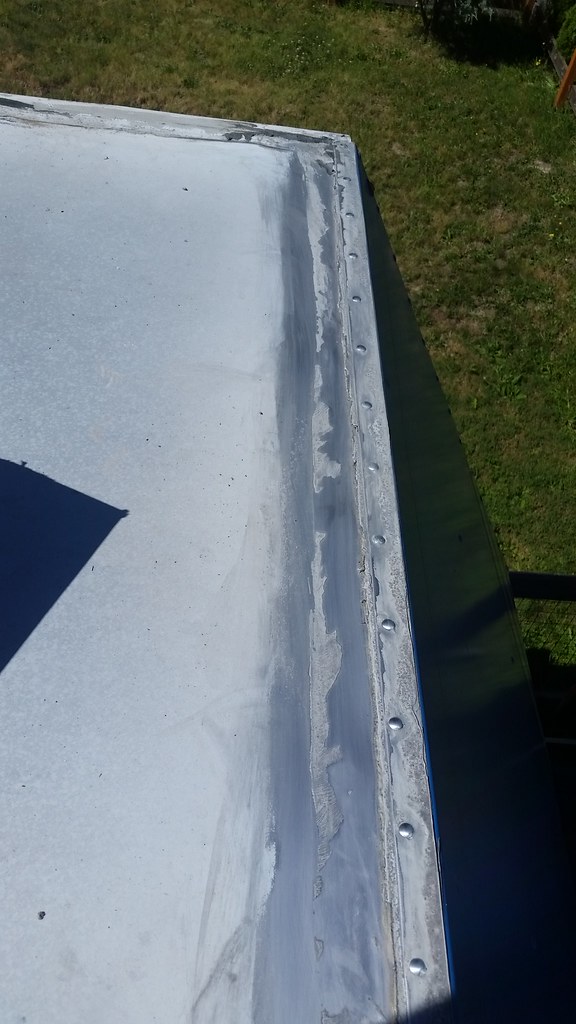
Roof hole #1 done! Only broke one screw off. Stupid stainless.
pt3
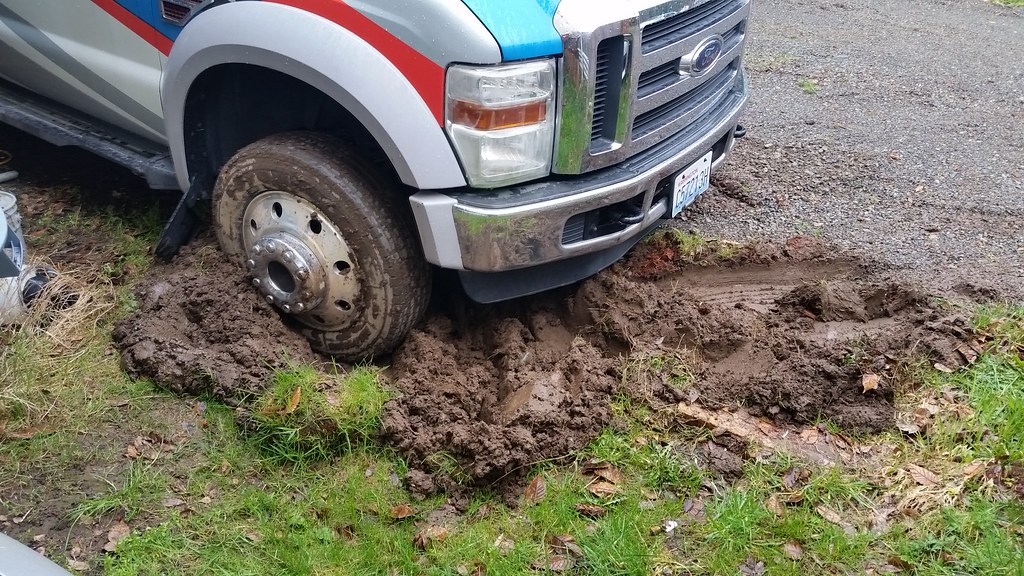
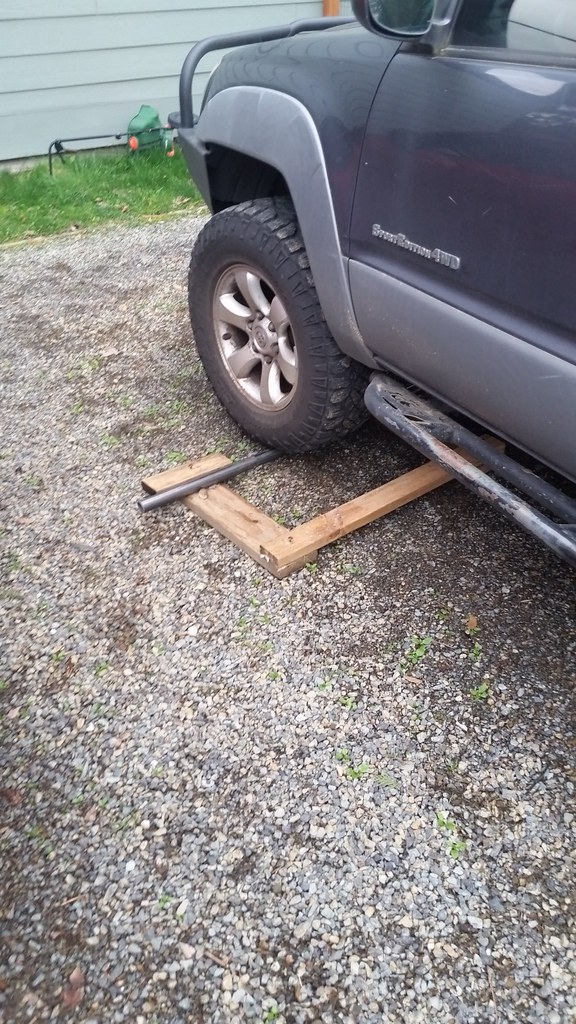
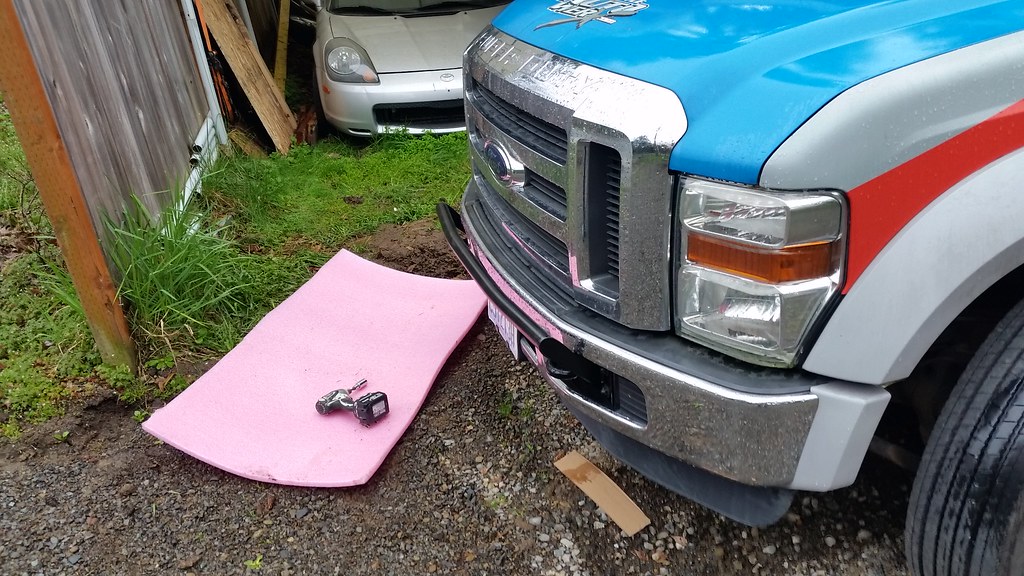
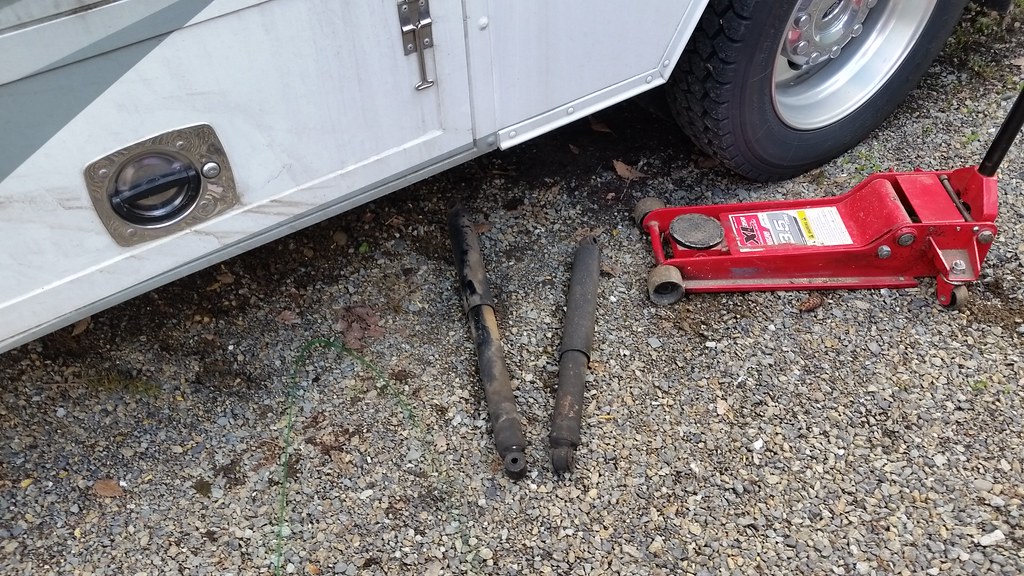
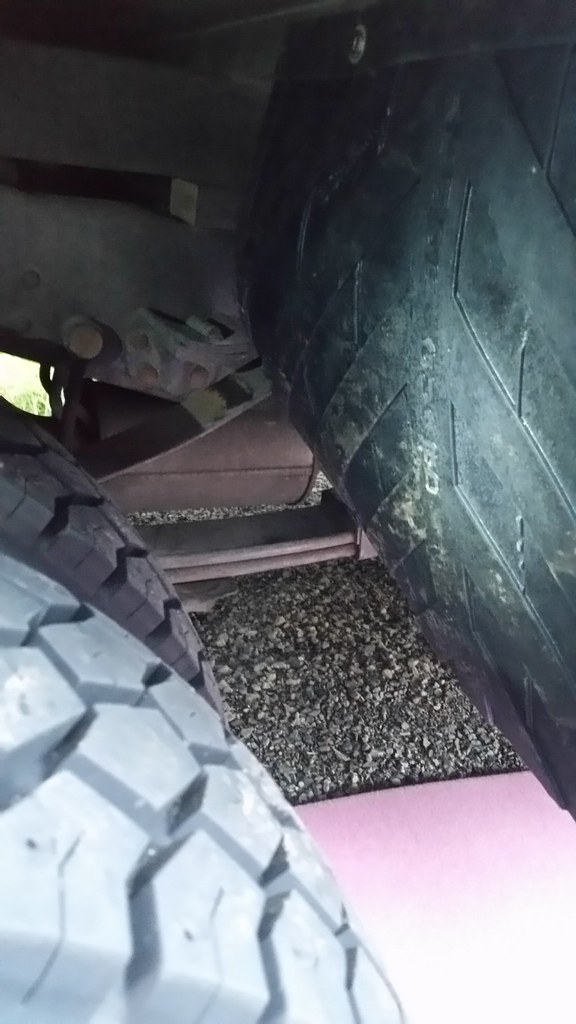
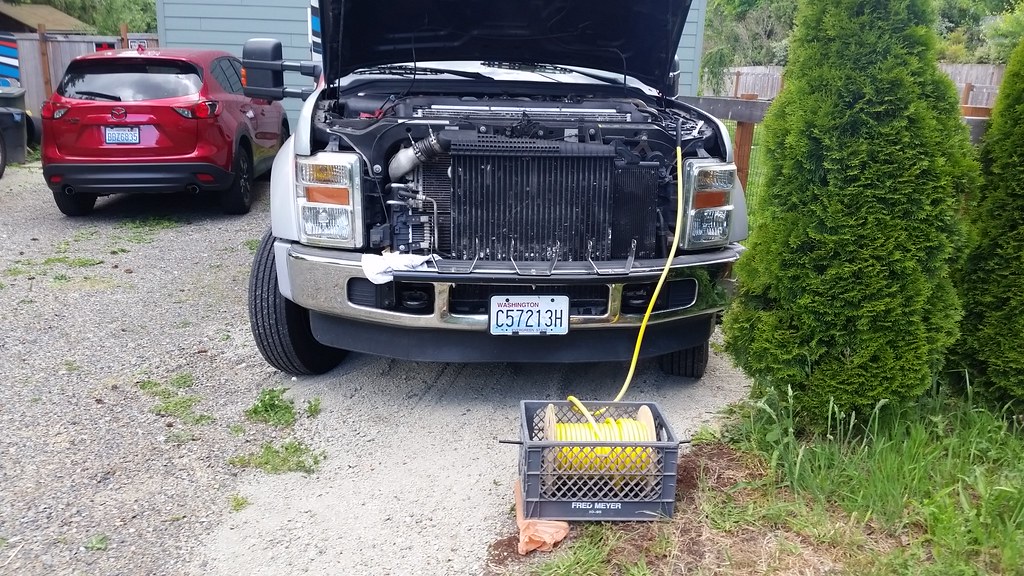
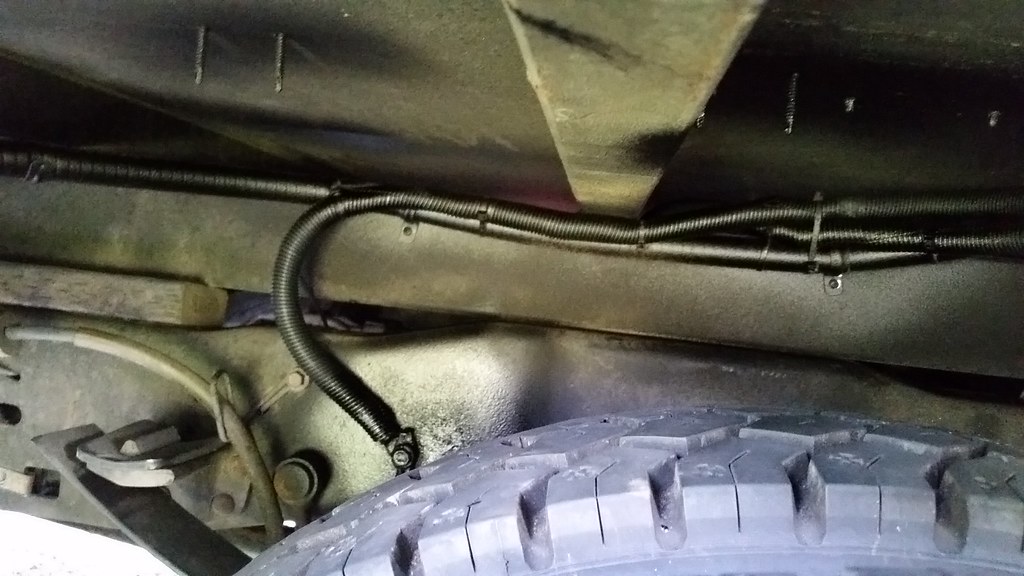
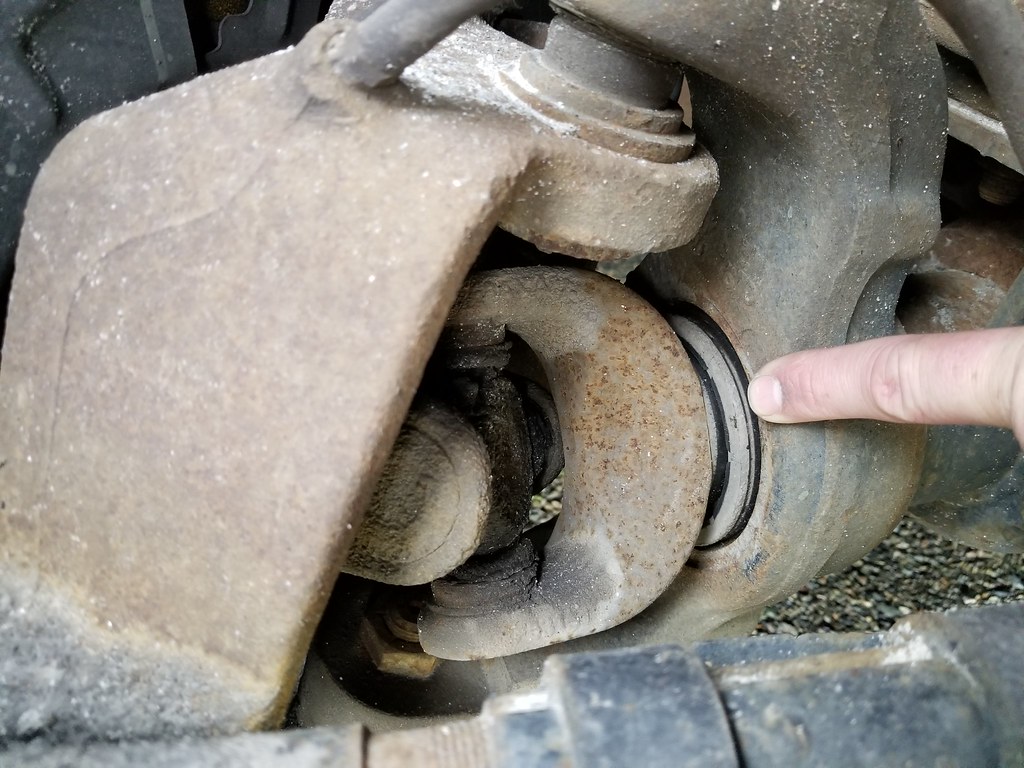
More small progress. Climbed under, with tarp this time (i managed to park on the non gravel, ie mud section of my driveway), to investigate oil leaks. Headlamp, UV light and torque wrench in hand.
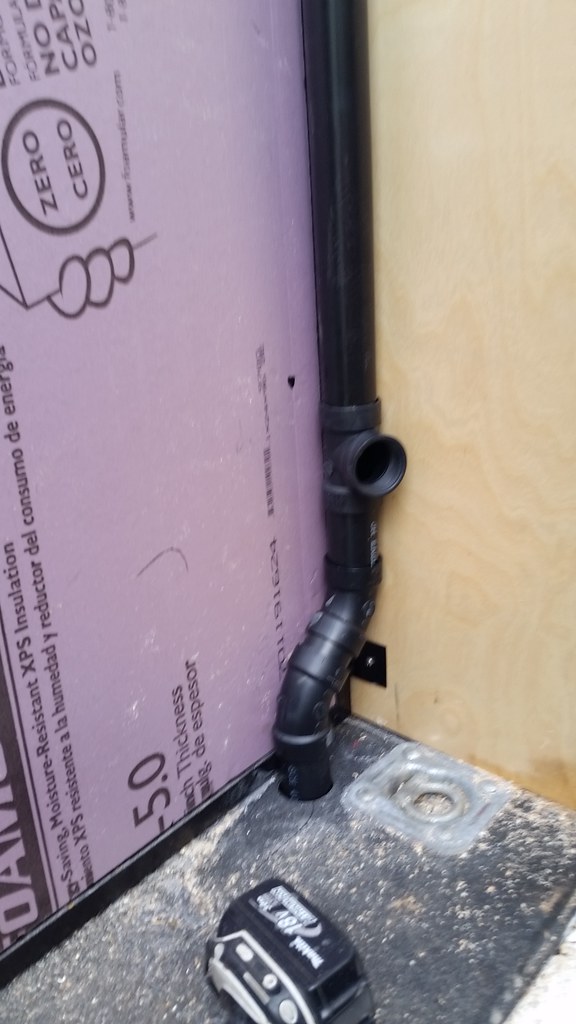
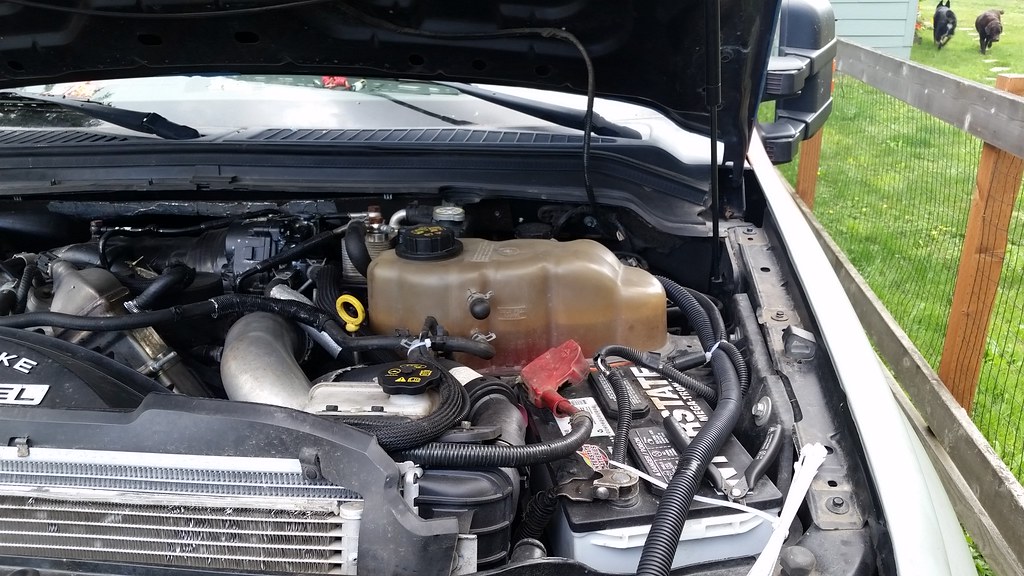
Oil pan bolts are to torque spec (9.5 ft lbs, really?!) but are dripping from the heads around the back of the pan, front looks dry, that makes me thing its seeping past the bolts/threads, but could be running down from above. I just don't see it getting to the heads of the bolts.
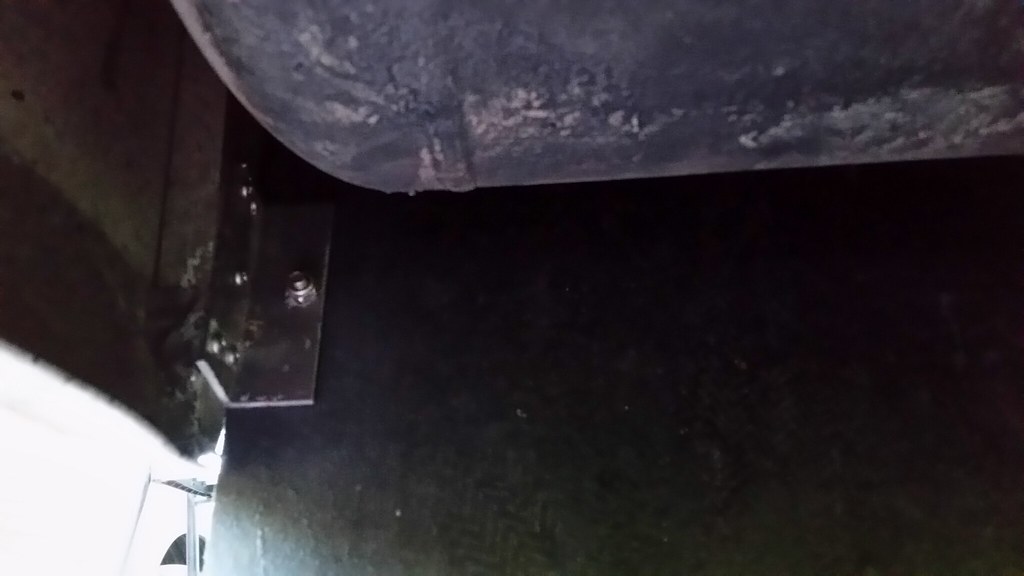
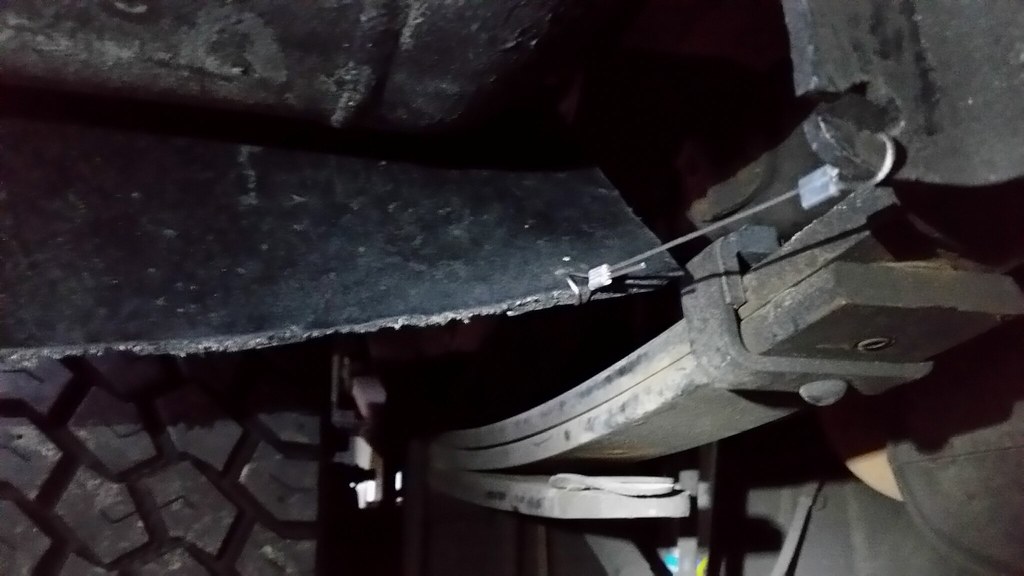
Valve cover area on passenger side is wet and running down the block, may be valve cover gaskets, may just be the glow plug harness on that side (DUMB design). Likely both though. Still determining if I want to tackle those or farm it out.
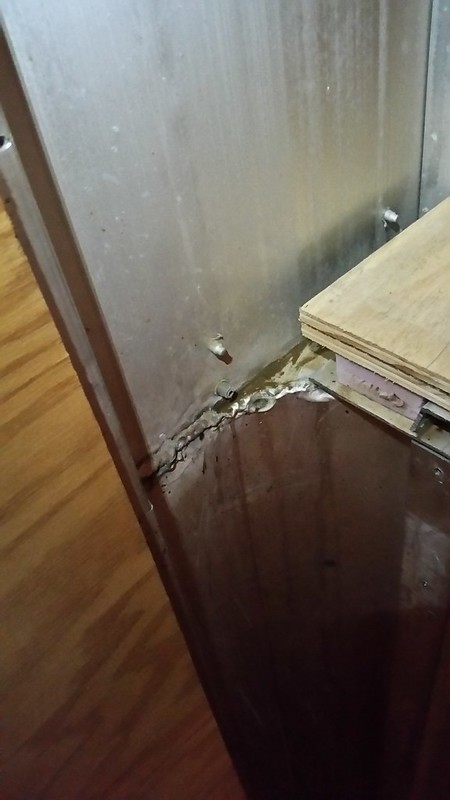
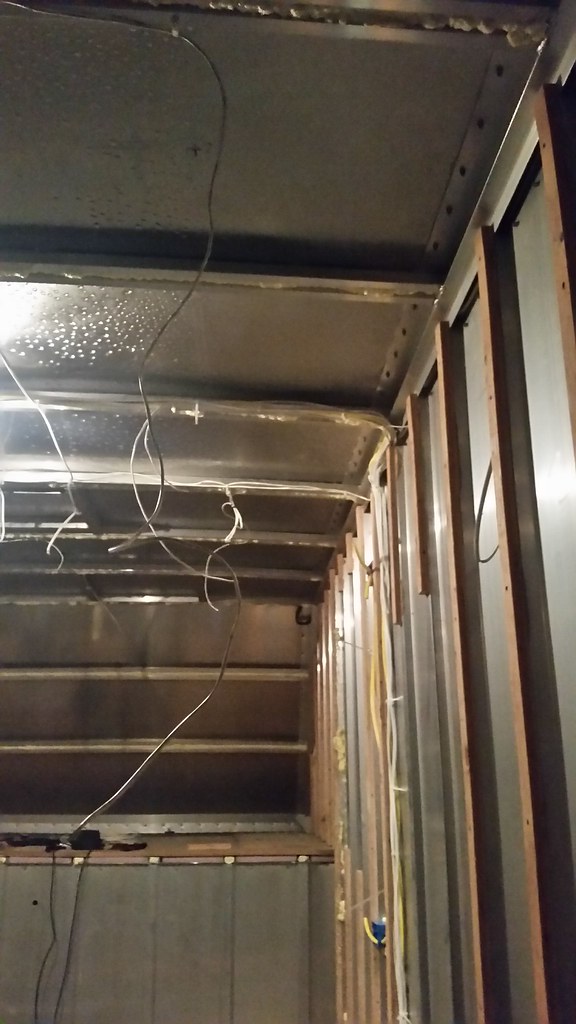
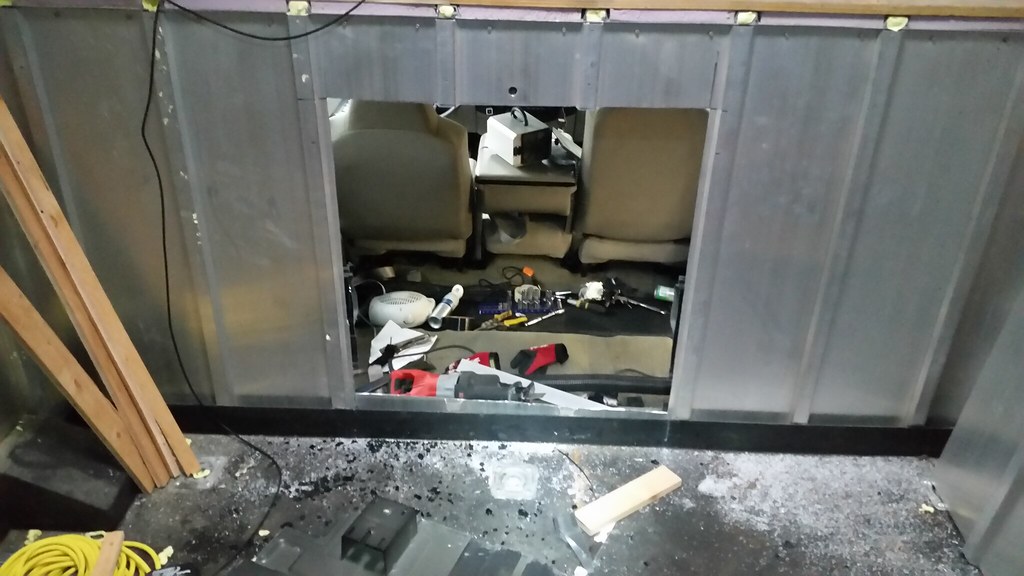
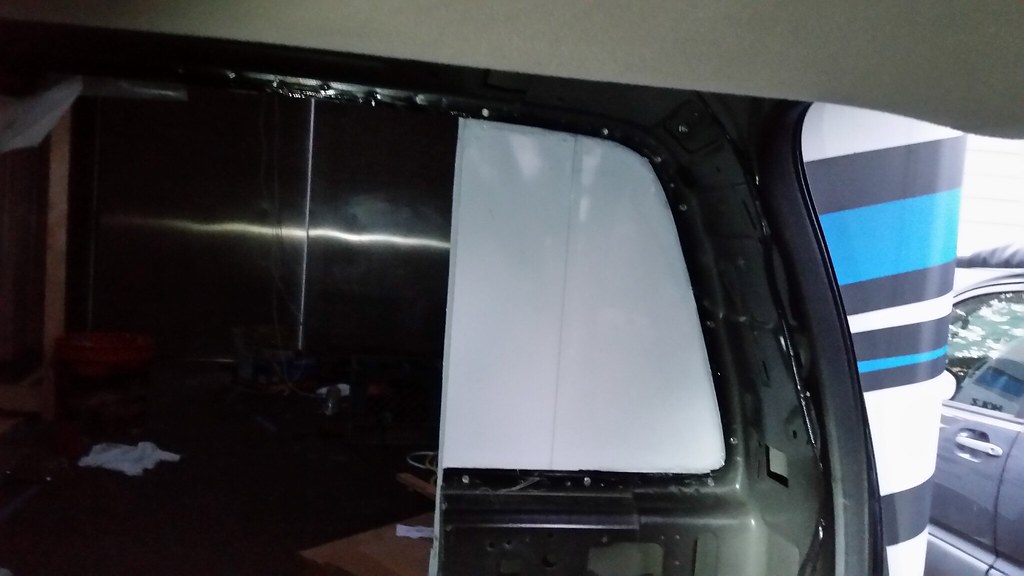
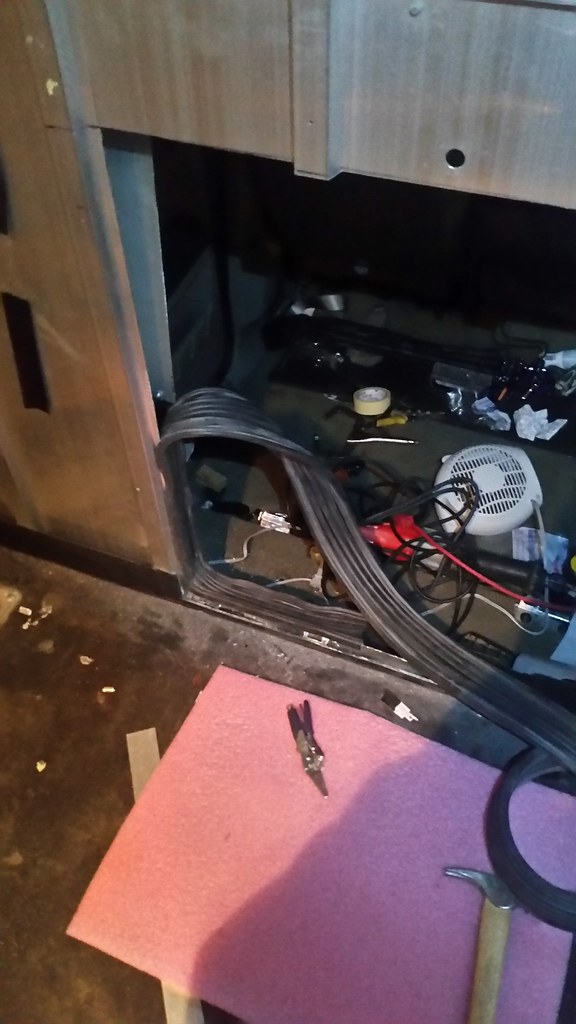
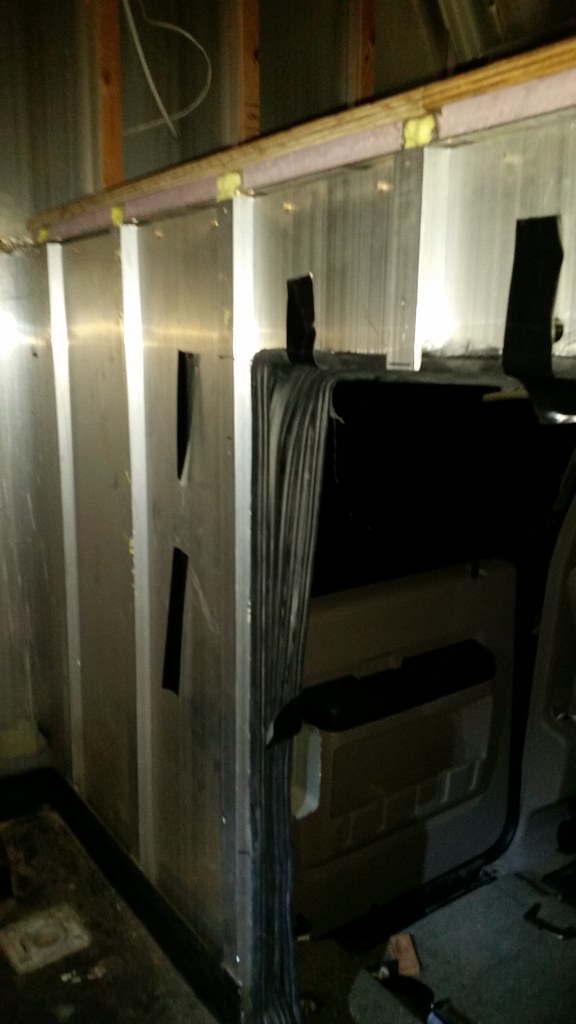
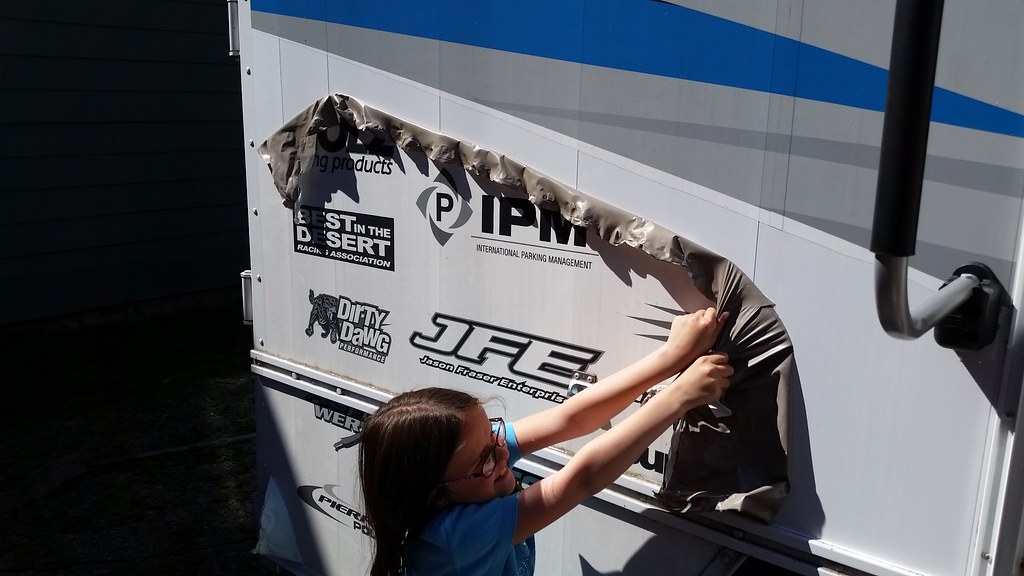
Stripped the interior down. I was getting a bit of water at the back edge of the cabover, need to find it. I had a suspect in mind.
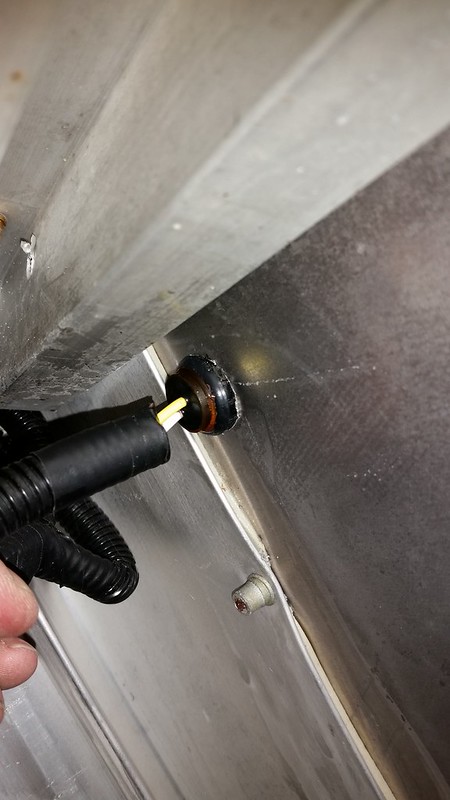
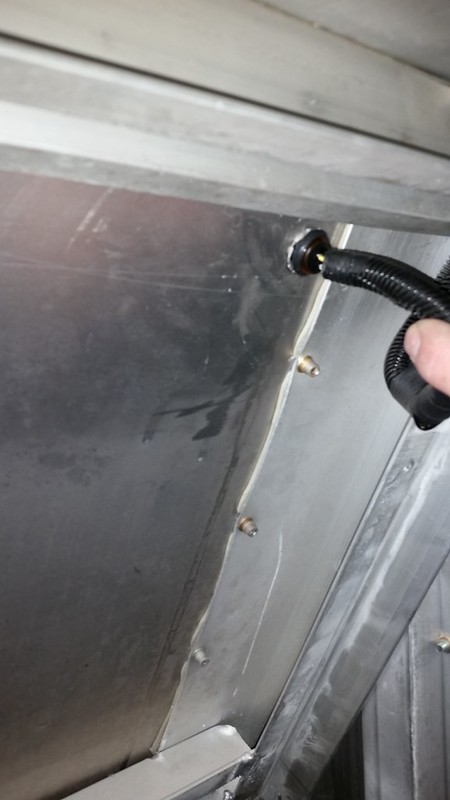
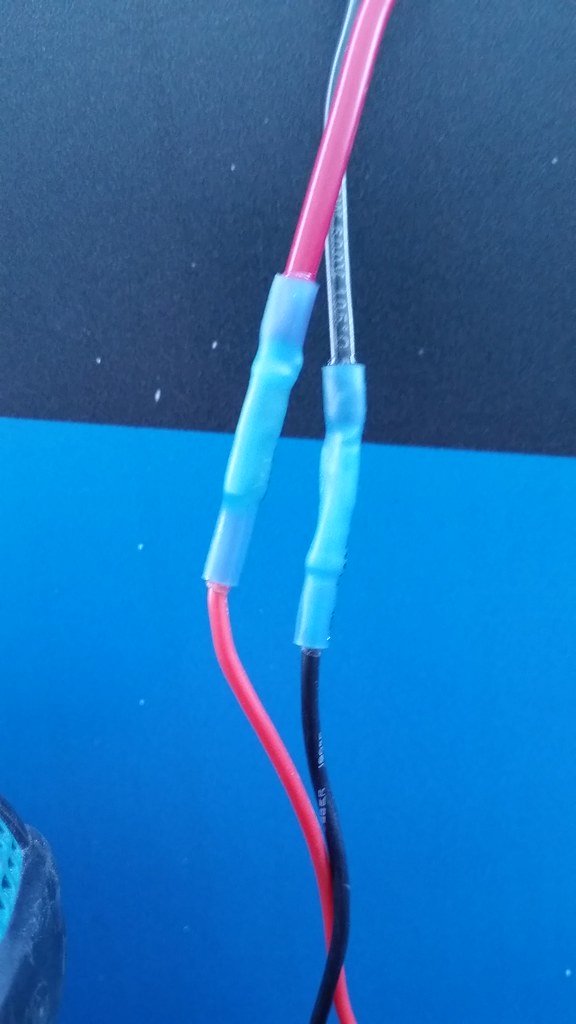
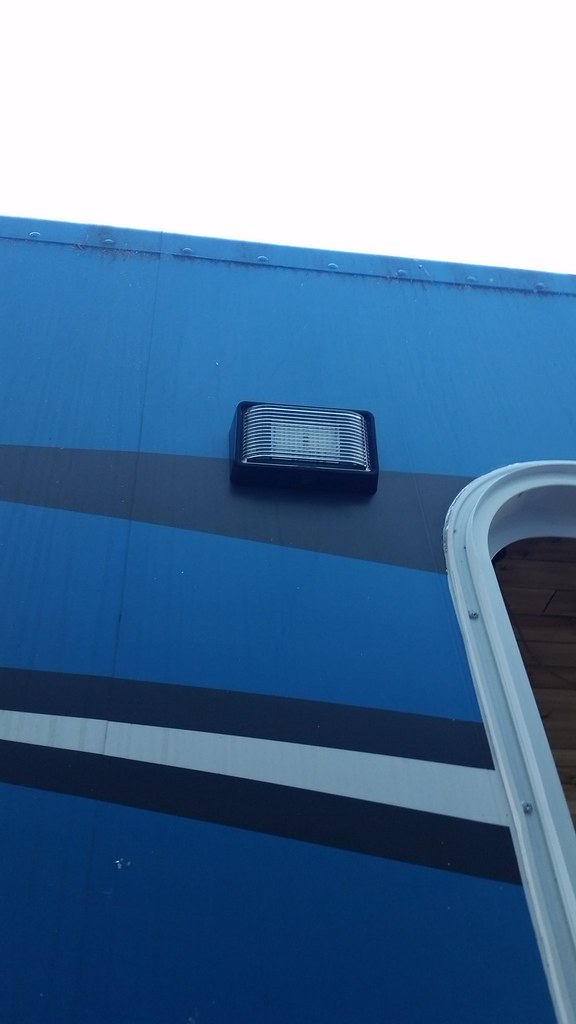
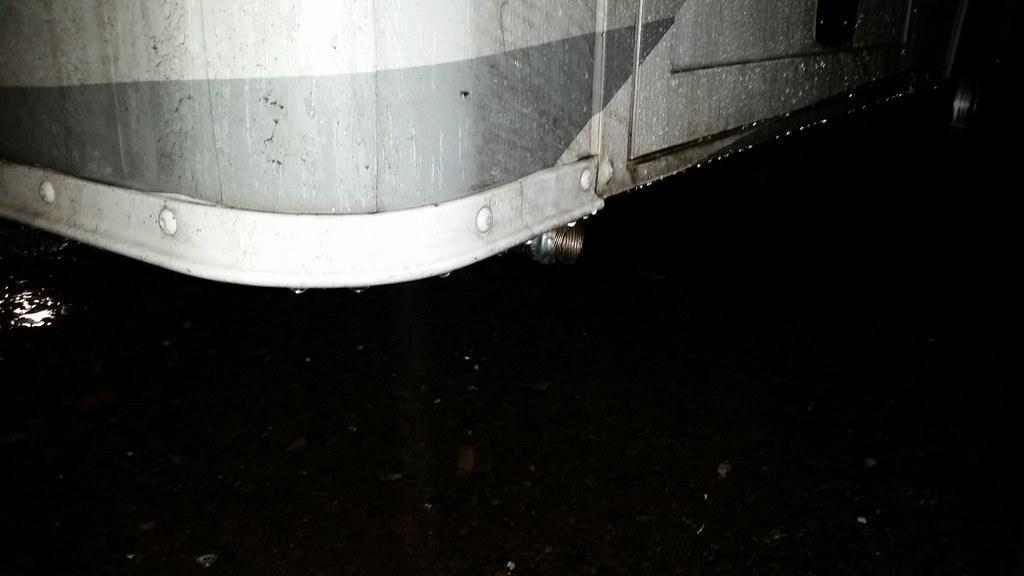
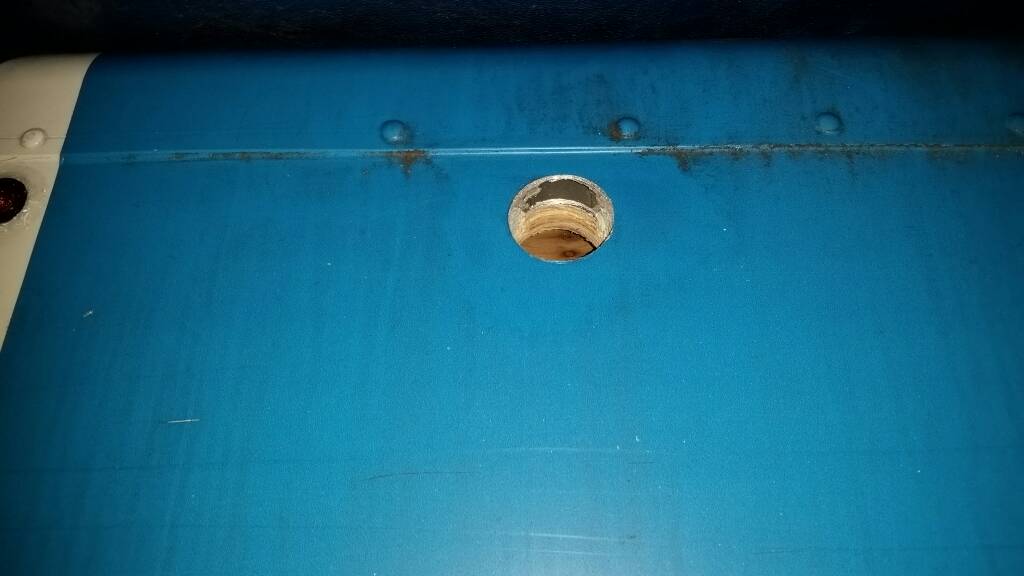
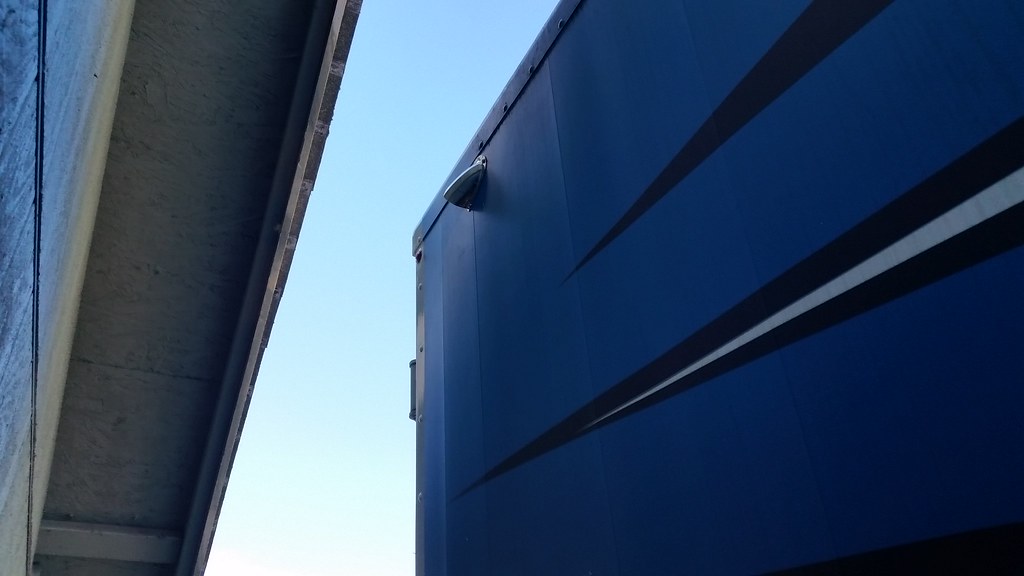
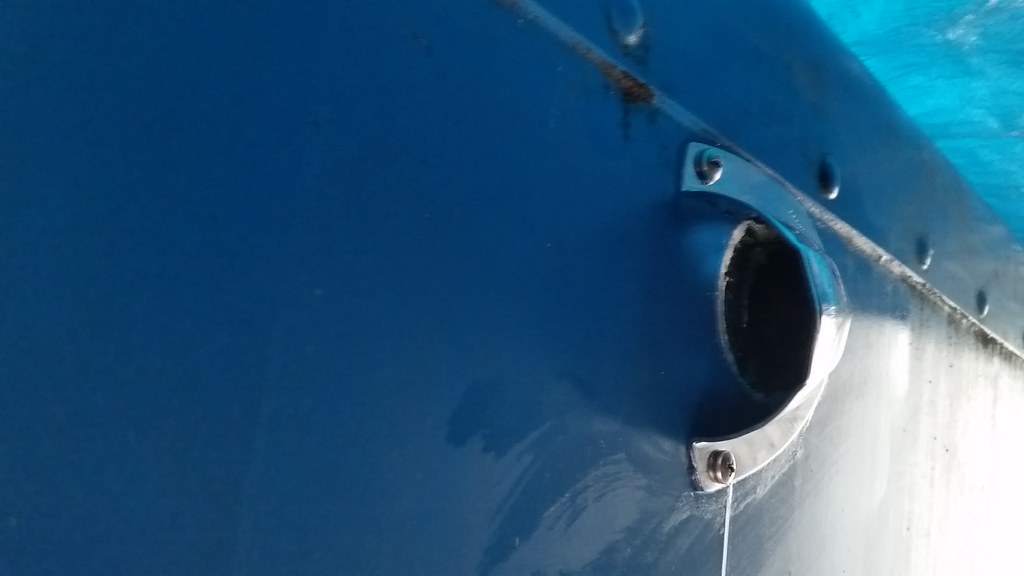
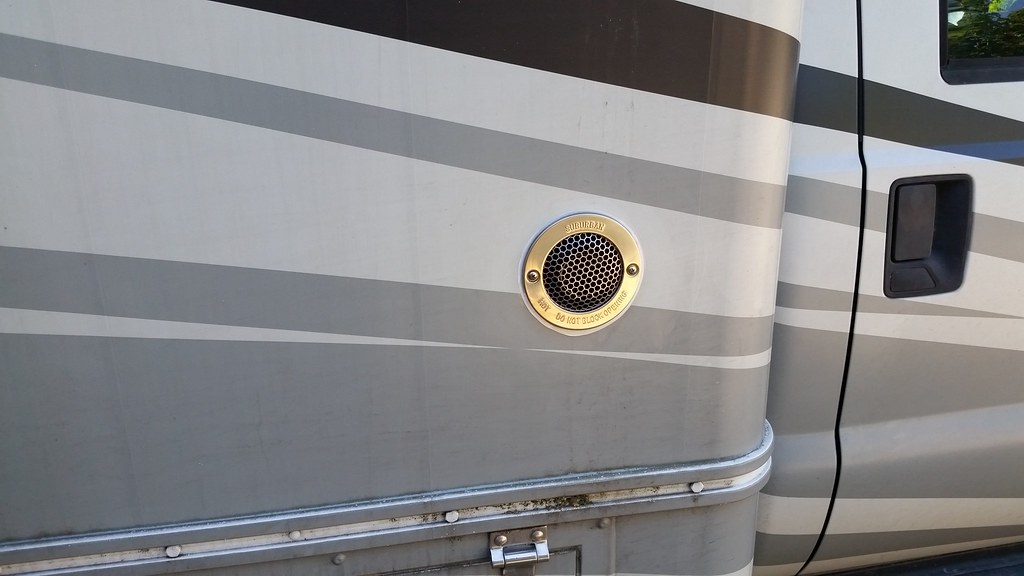
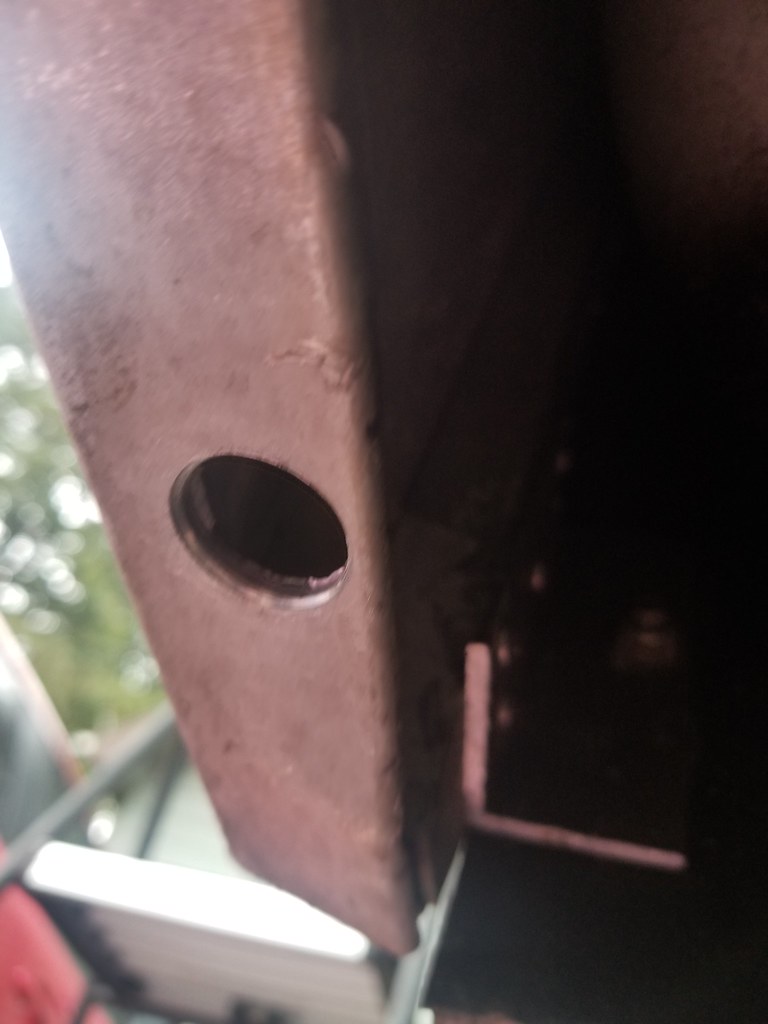
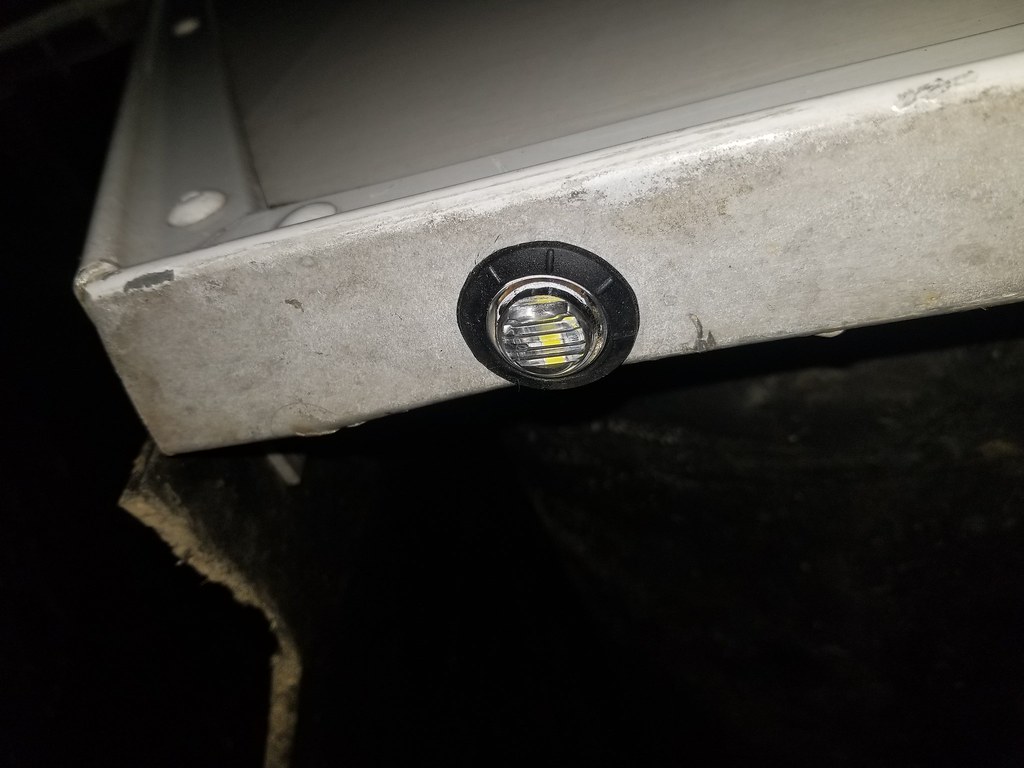
Marker lights were the suspect, and sure enough, you can see the tel tale dribble line coming out the bottom. (there may still be a little coming in from the gutter-body joint, but that is TBD)
Passenger side is better, but still a little drip.
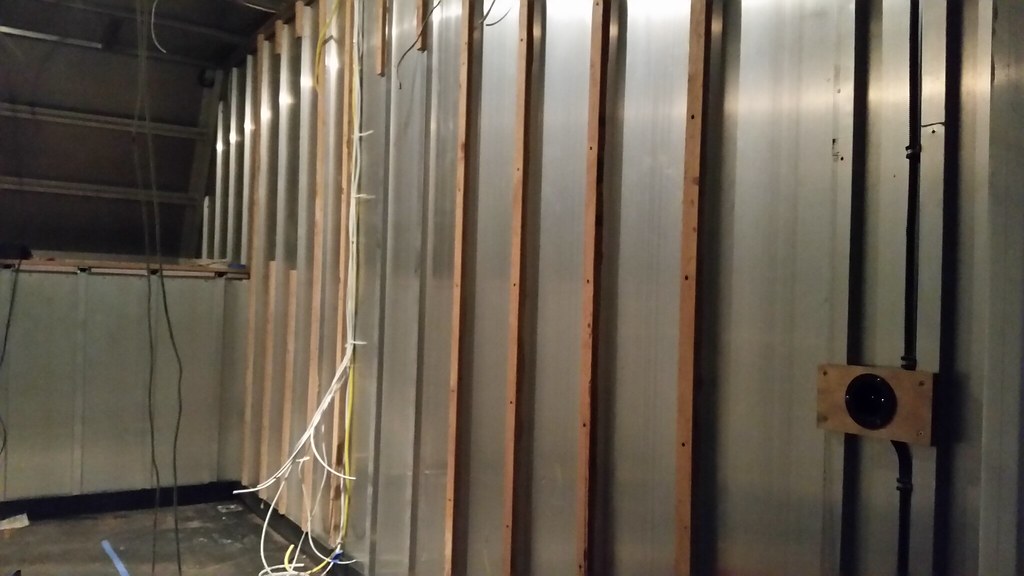
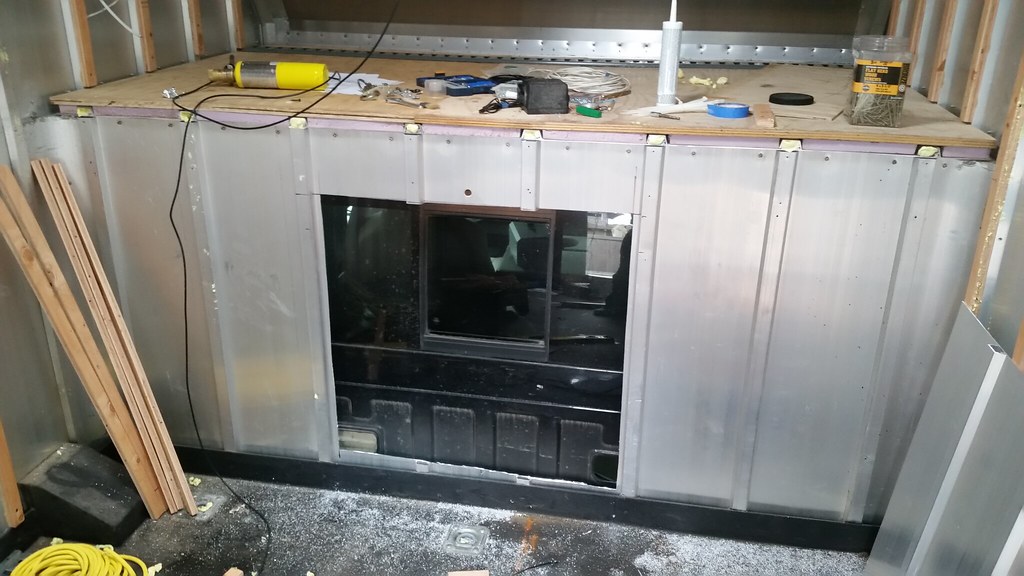
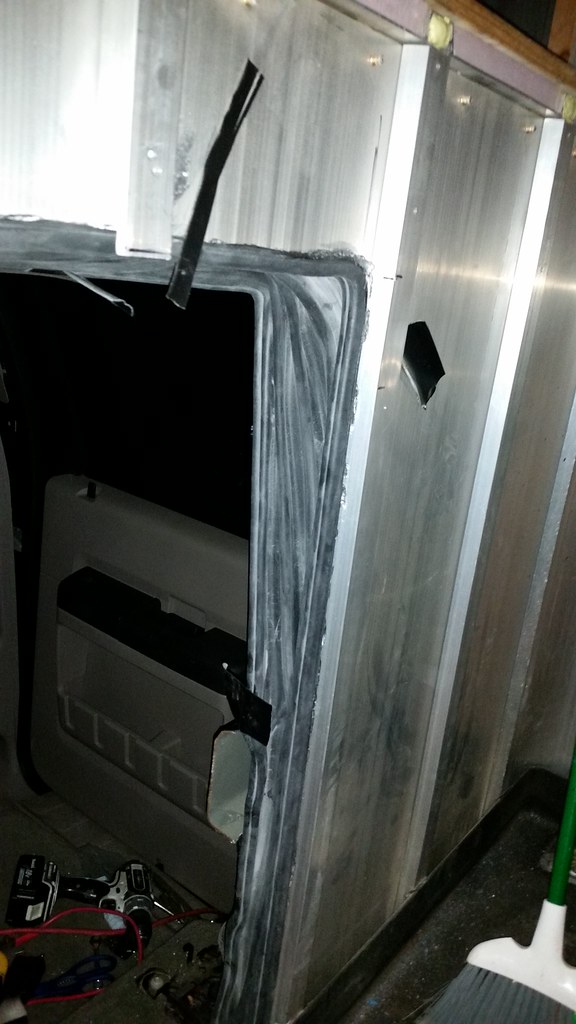
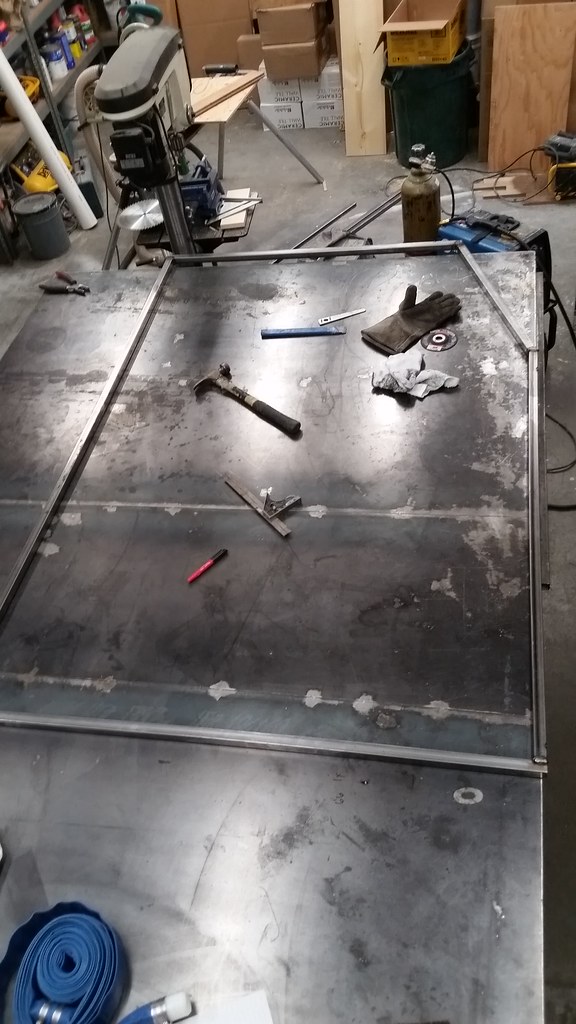
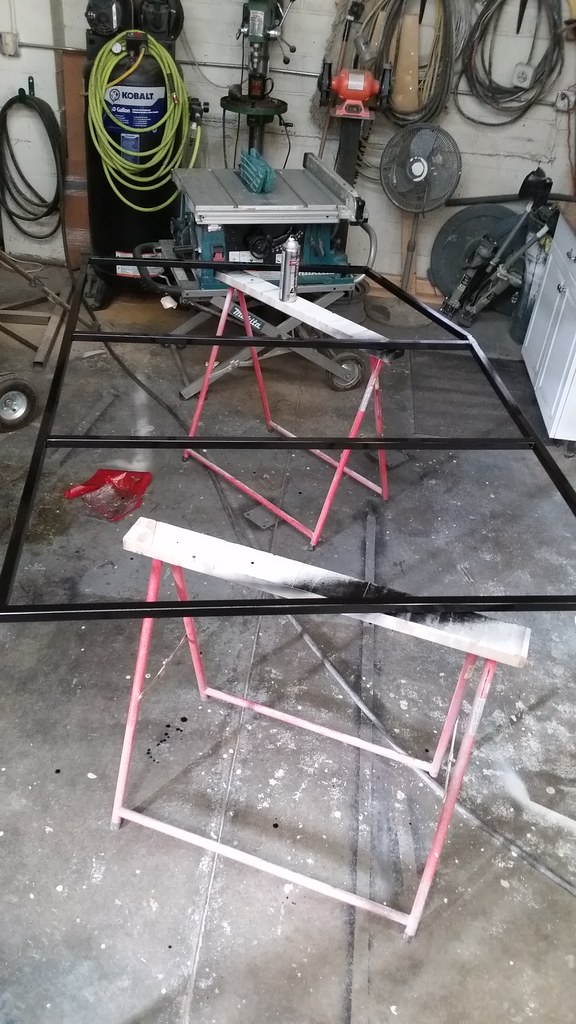
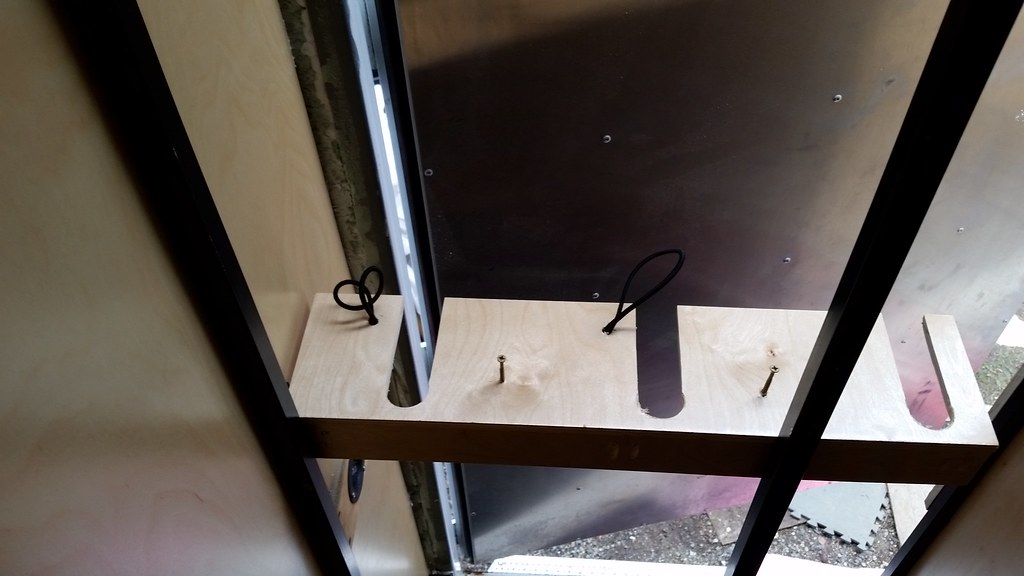
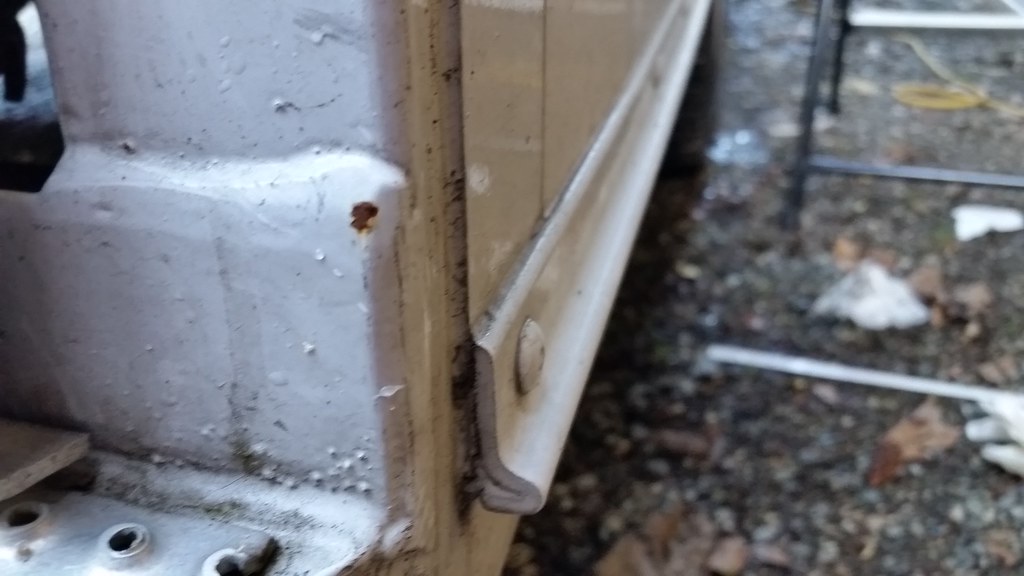
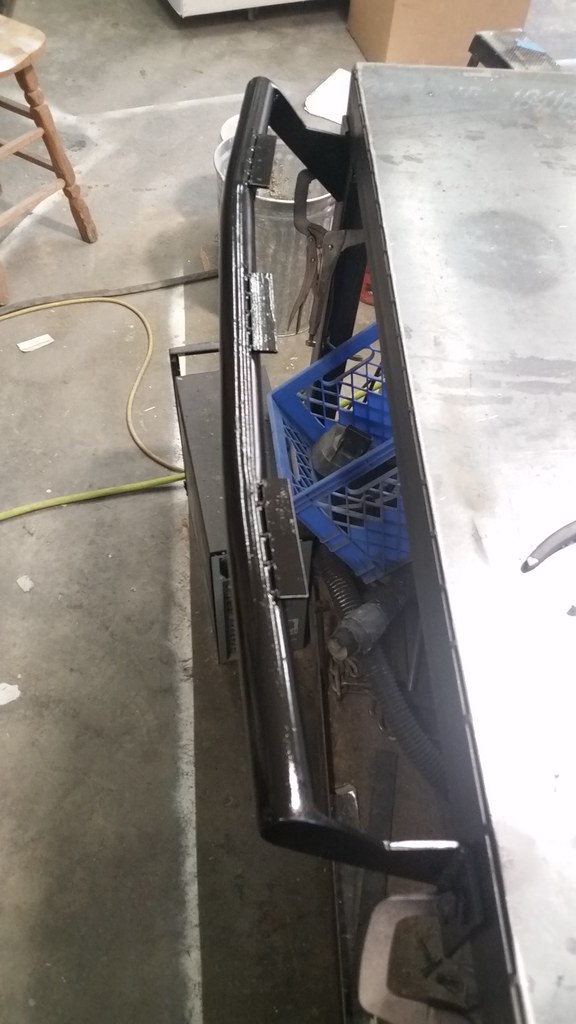
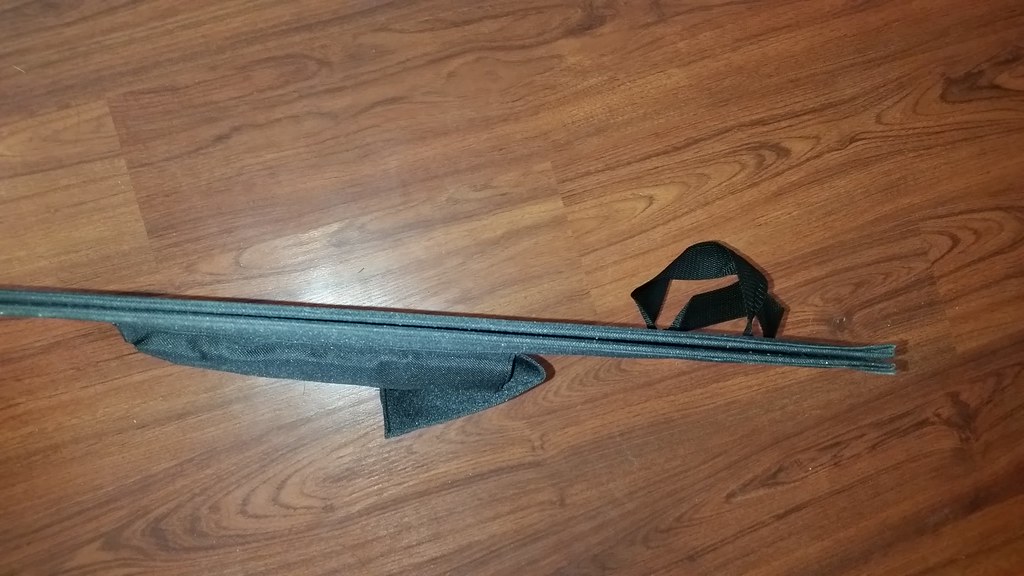
In case anyone is interested, here is how the panels clip together and form the ribs.
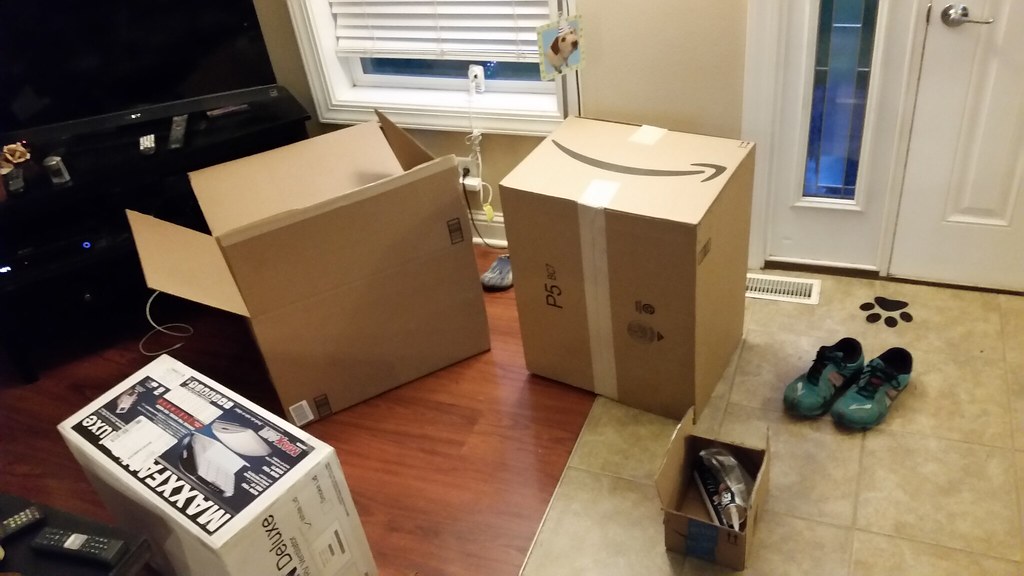
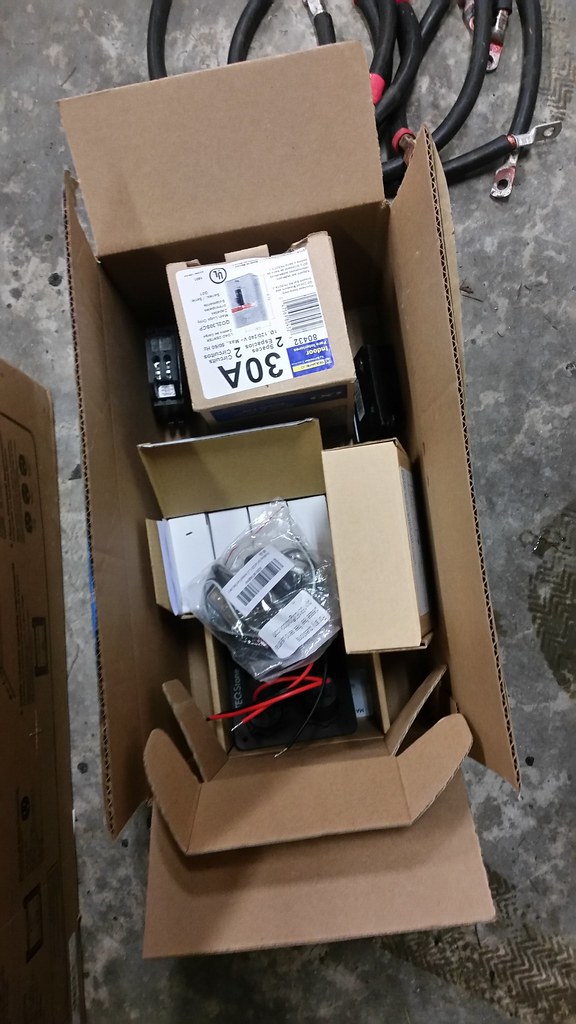
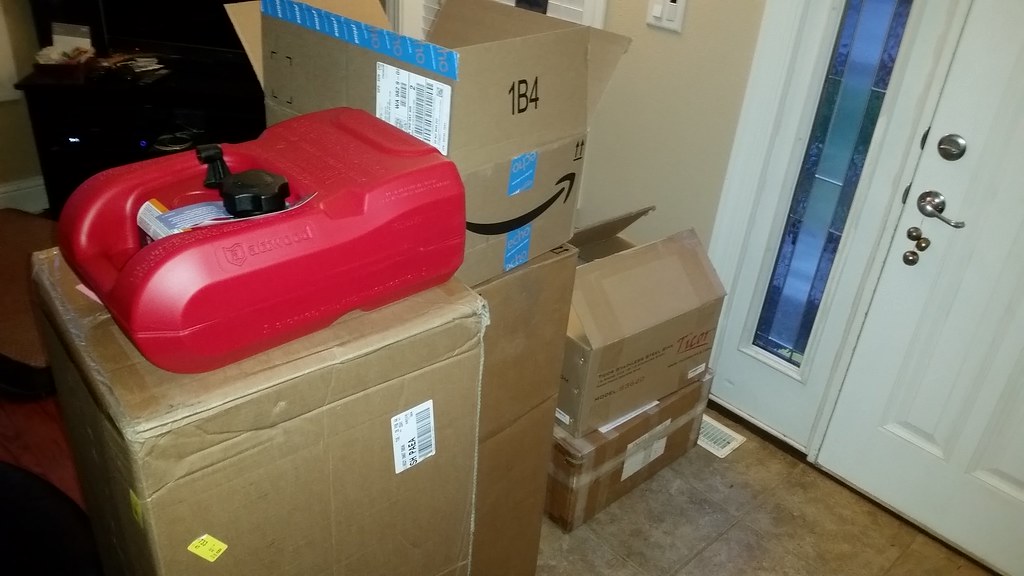
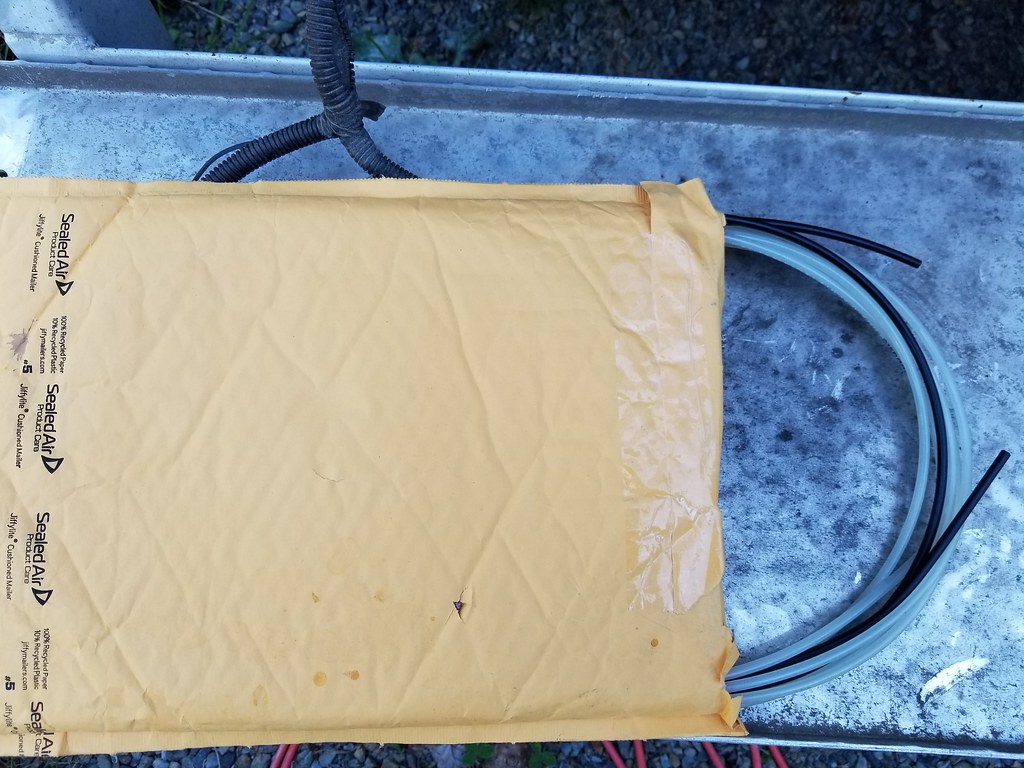
Brown Santa has been leaving me lots of goodies.
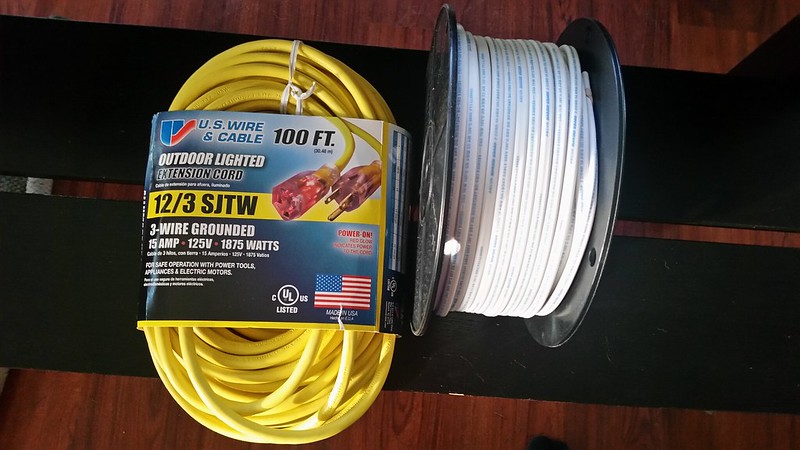
12/3 SJTW for the 12V circuits. I could buy 100' extension cord cheaper than the wire, go figure. Made in the USA too.
14/2 Anchor Marine Tinned cooper wire for the 12V circuits, 250' roll, also Made in the USA.
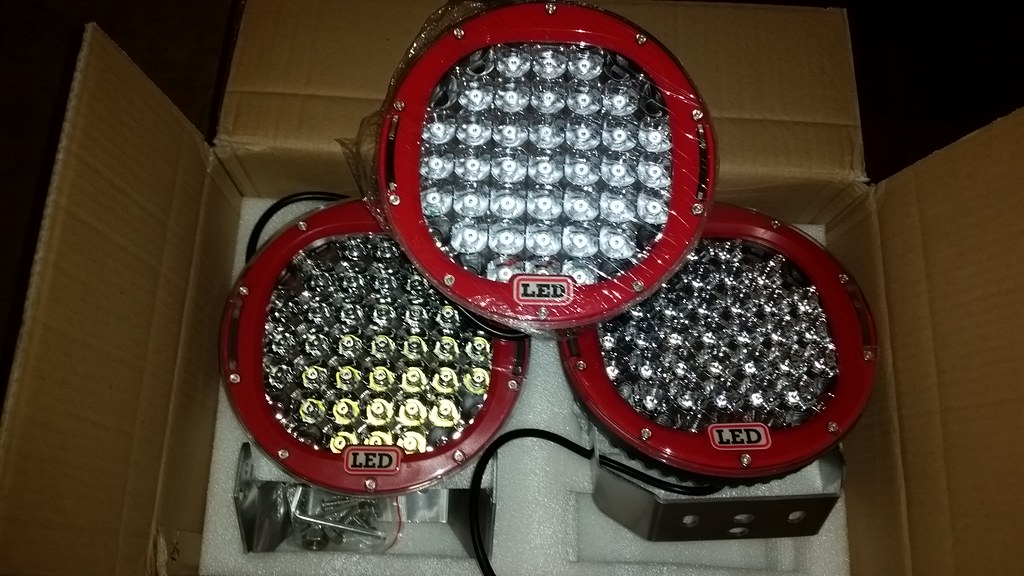
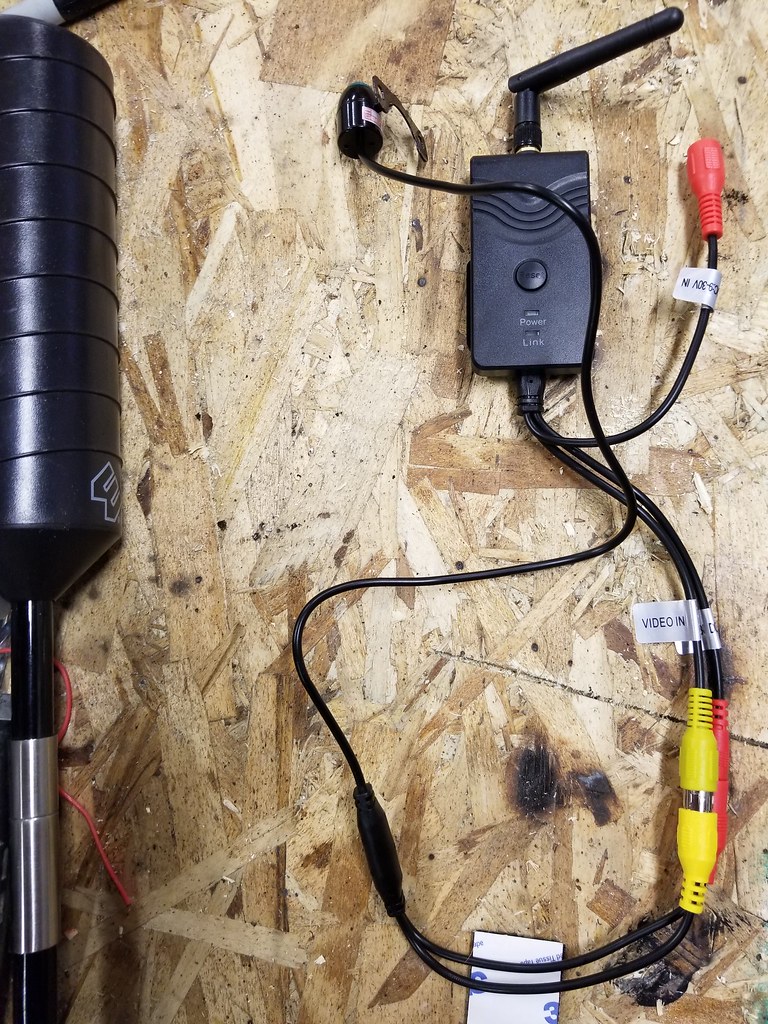
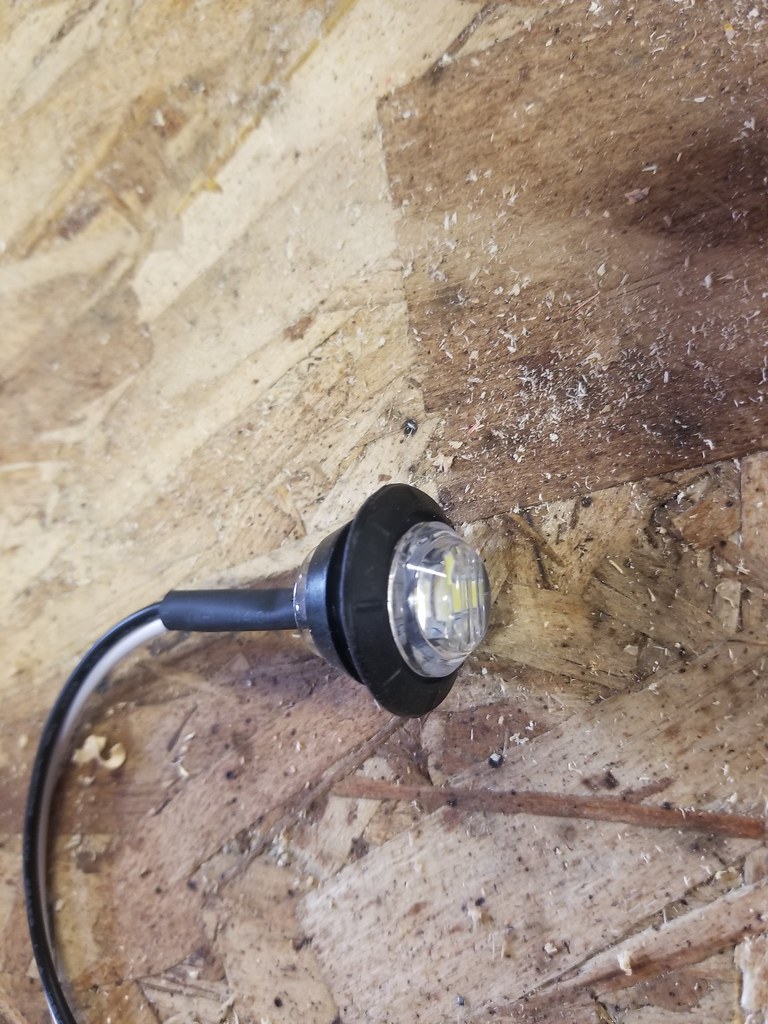
Also got a switch panel and the interior lights I will be using.
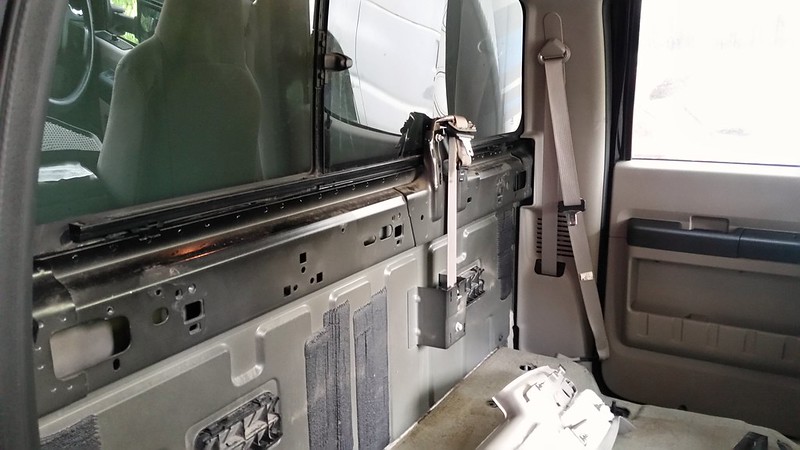
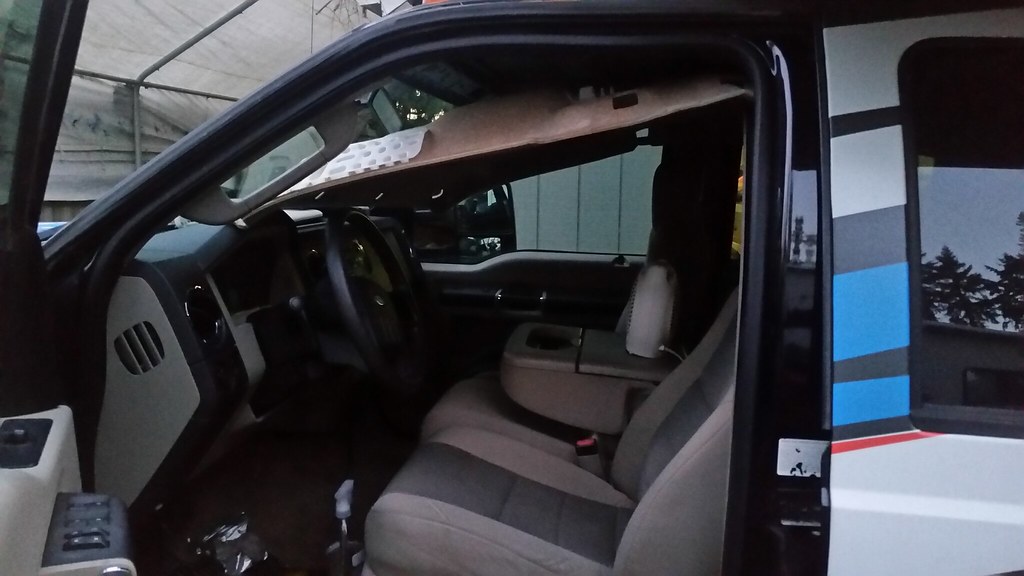
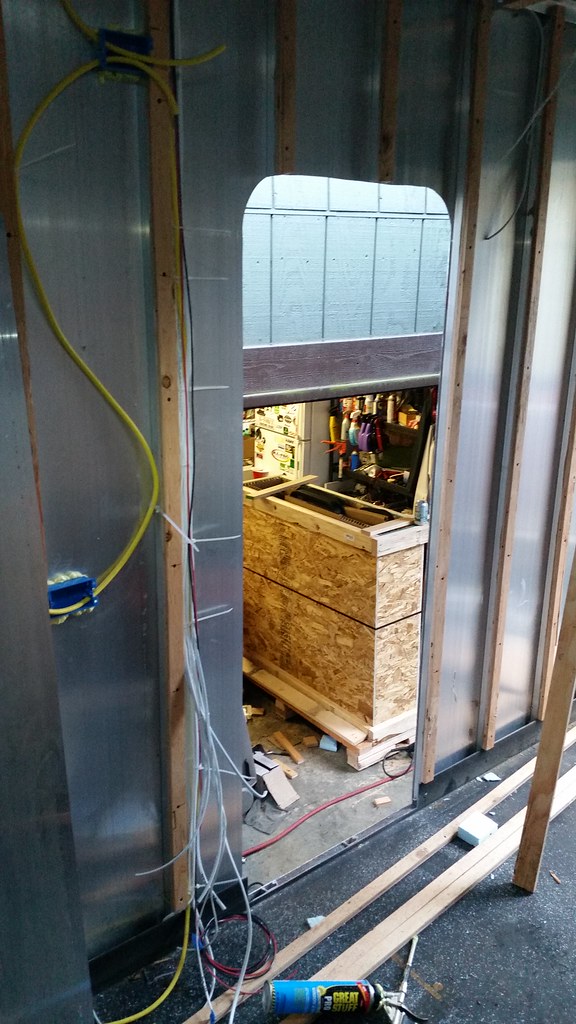
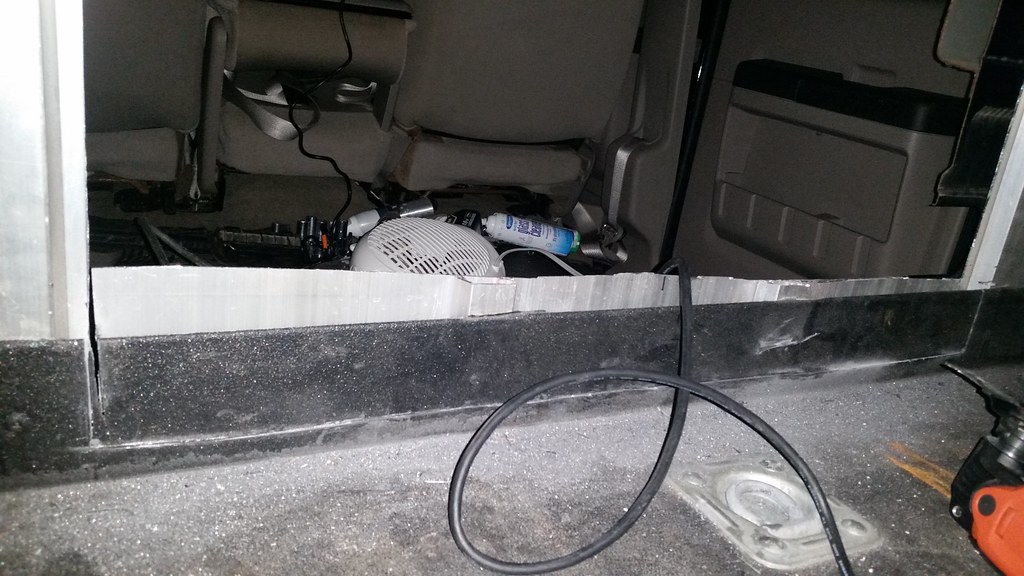
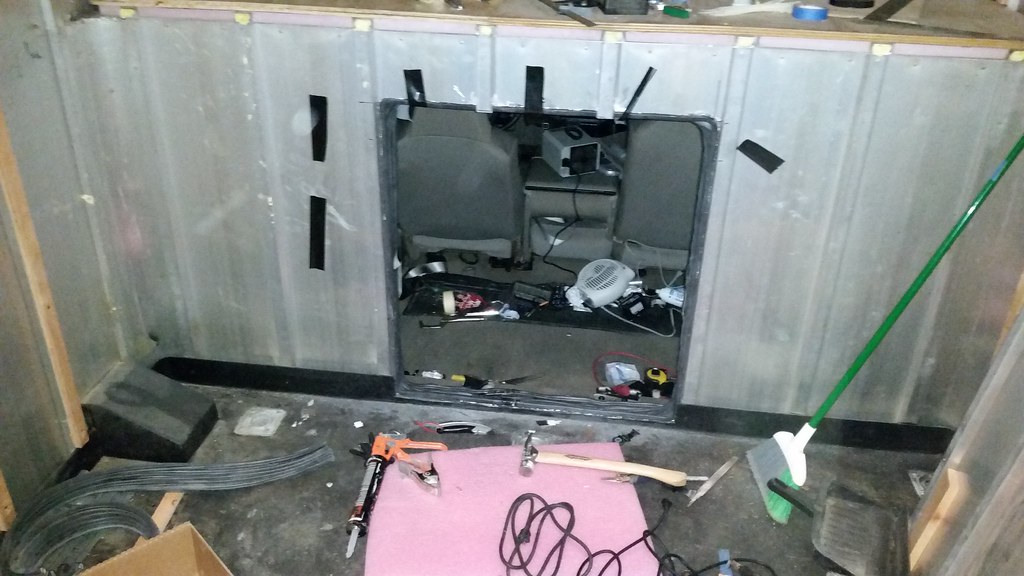
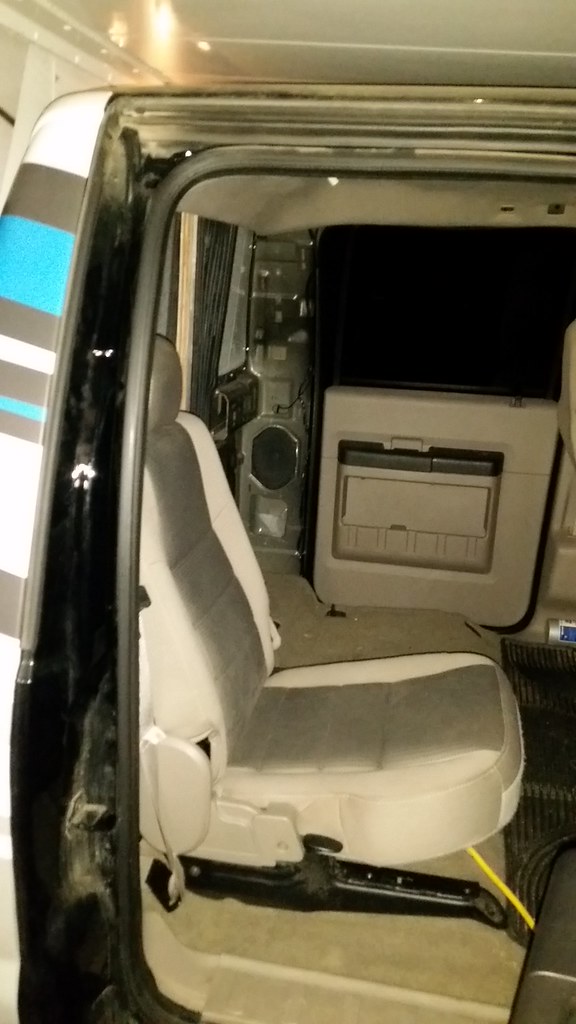
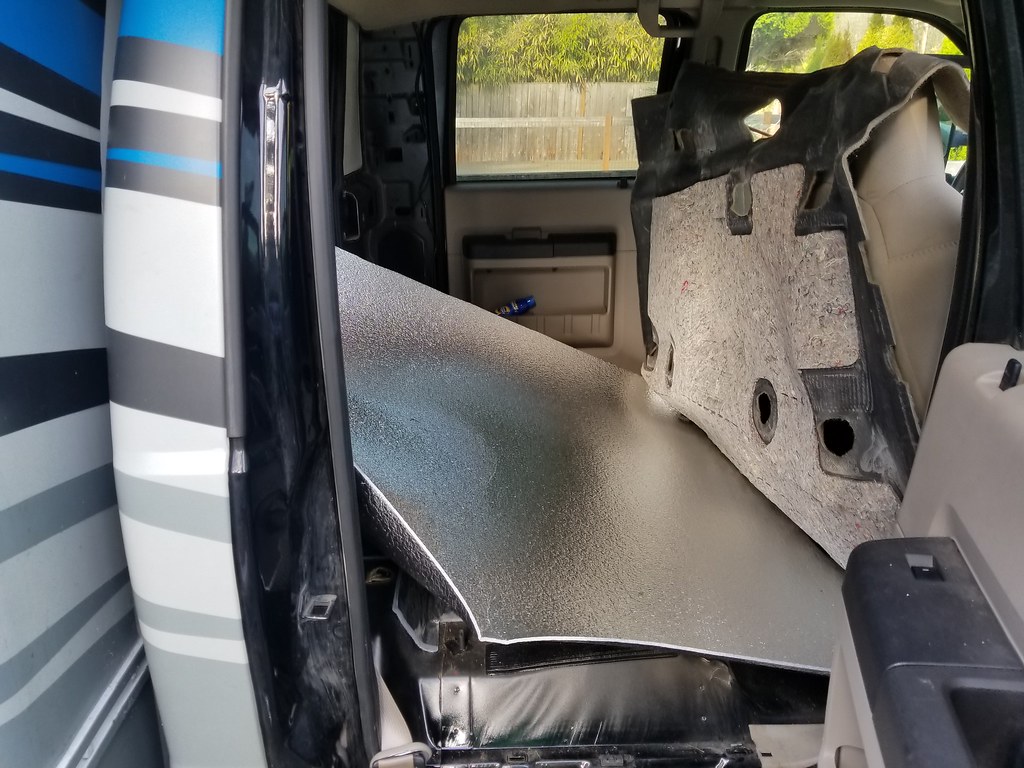
I only had an hour or so, but I started on the cab.
Stripped the back wall.
I knew there were some mice at some point as I found some turds under the back seat.... But they made a home in the middle seat belt housing. No fresh, but stinky mouse pee. Somehow they seemed to have made it above the headliner too... I really didn't want to pull that.
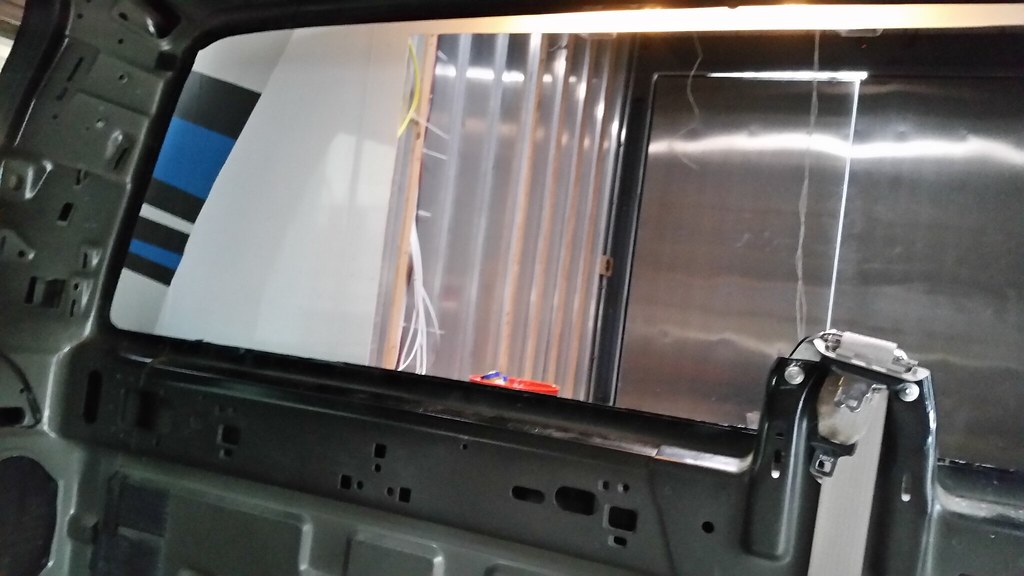
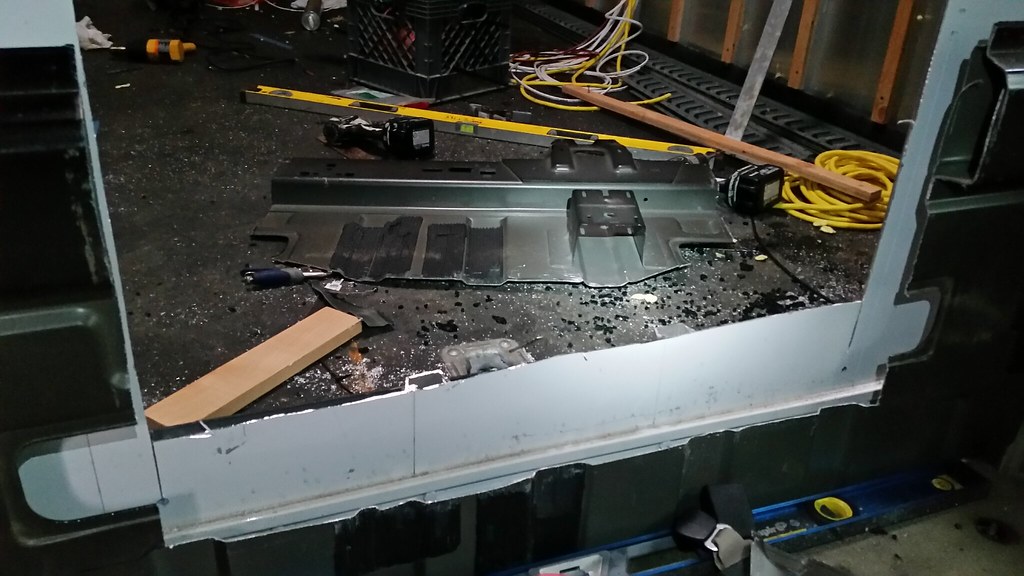
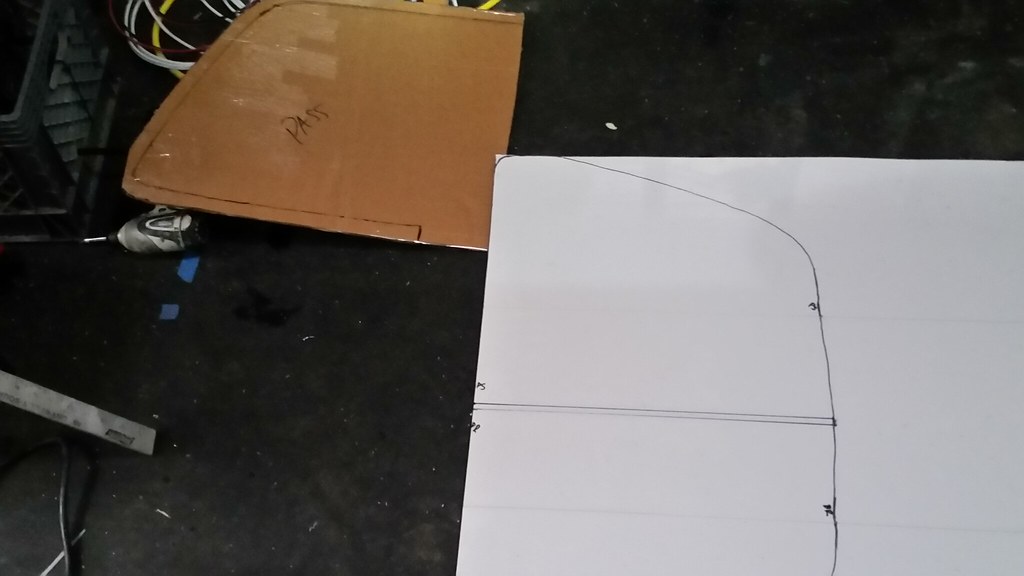
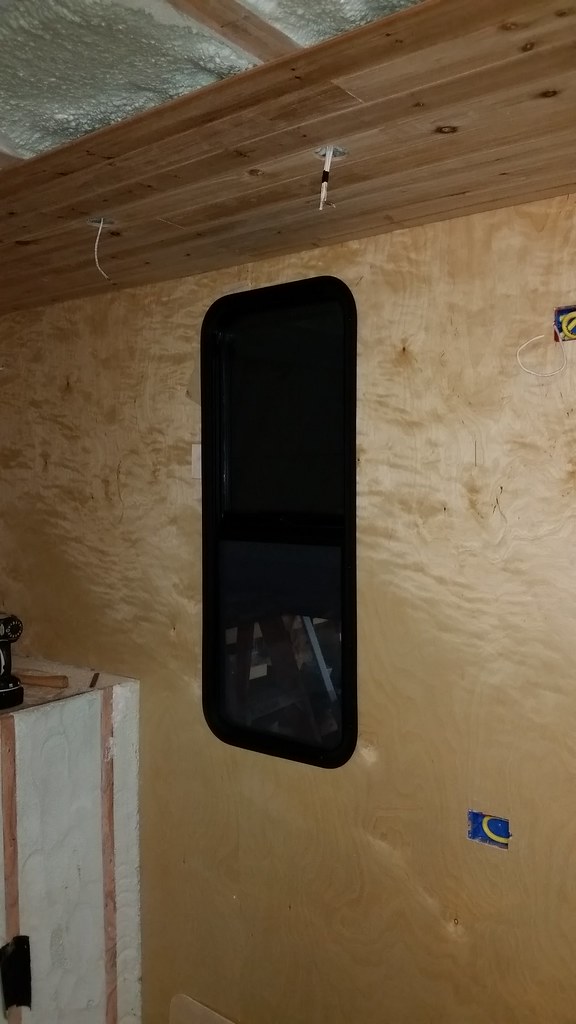
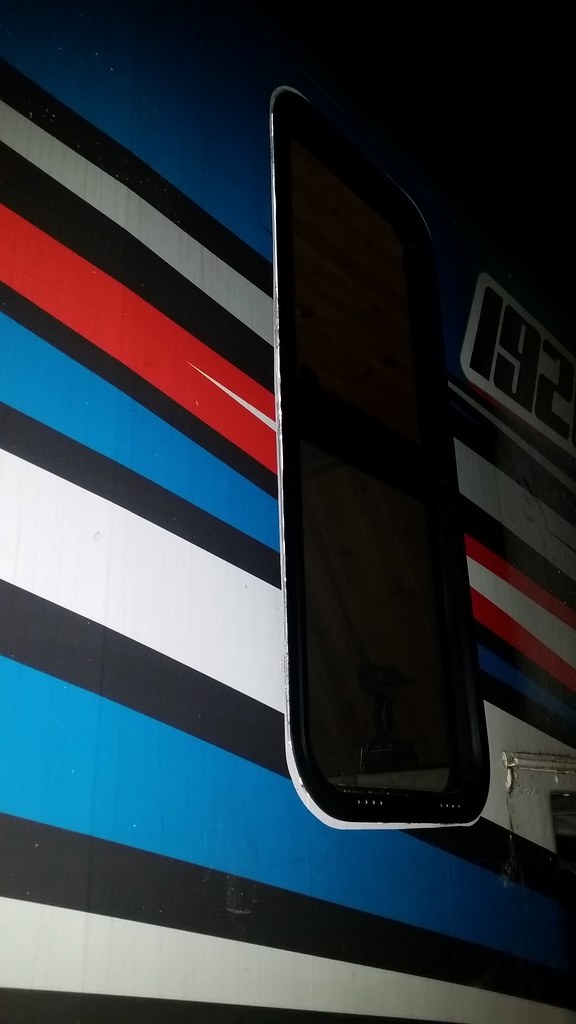
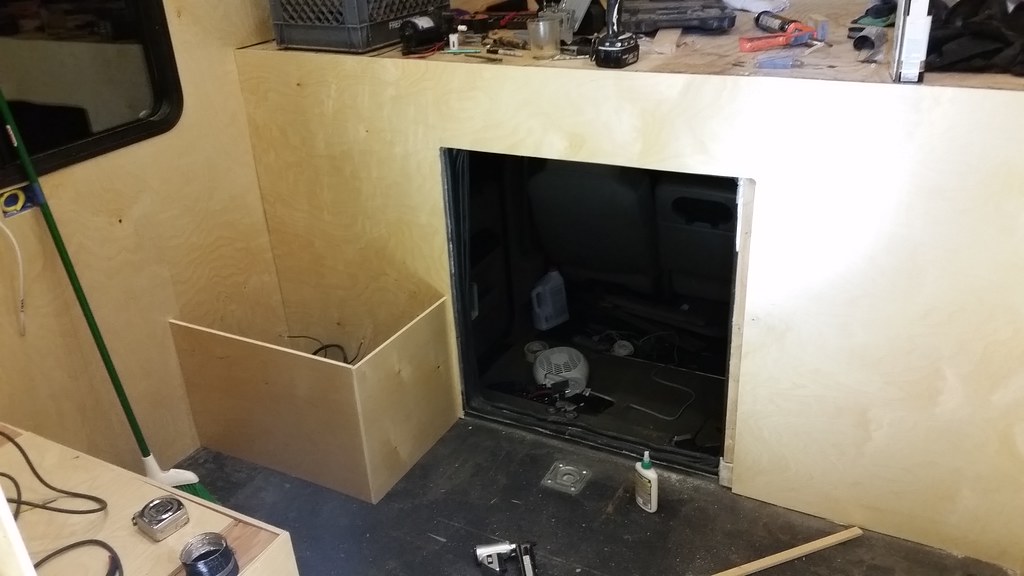
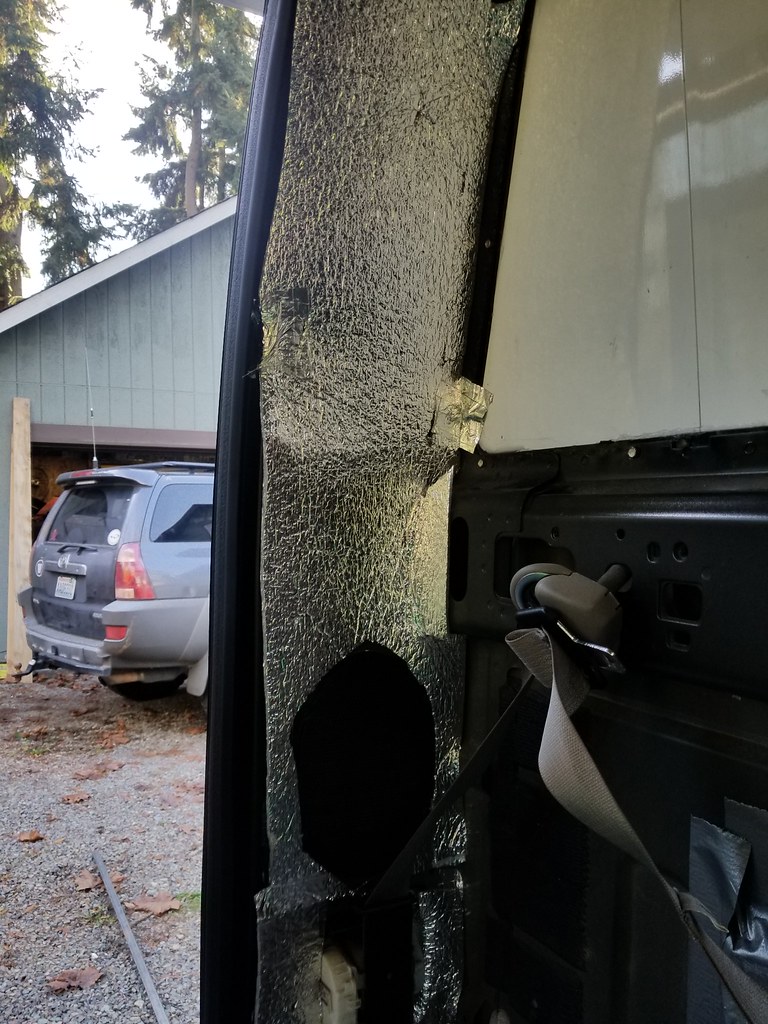
Planning for the pass through, it looks like I can unbolt and slide the box back about 6" I hope thats enough! And of course this is a glued in back window.
Feb 11 2017
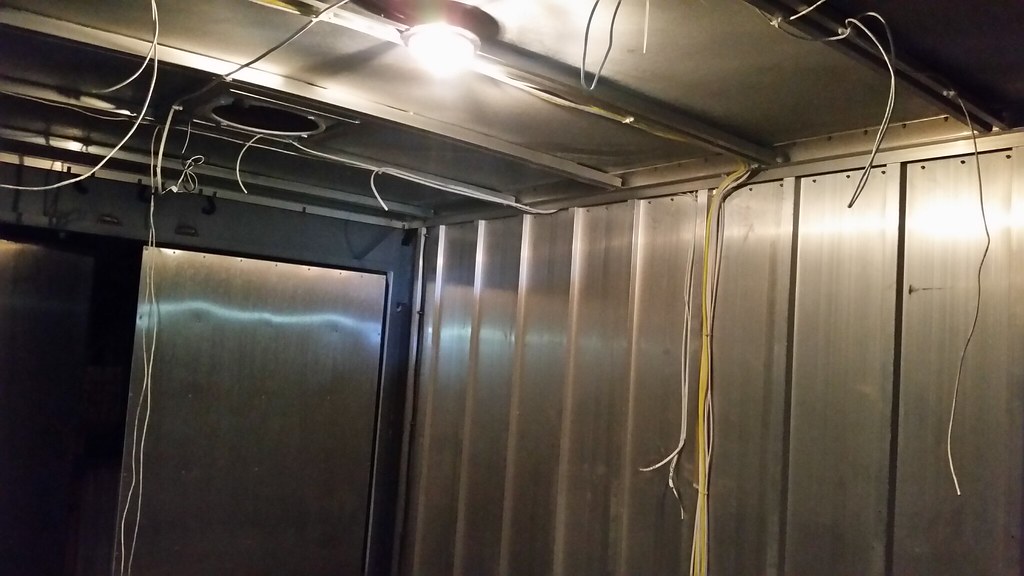
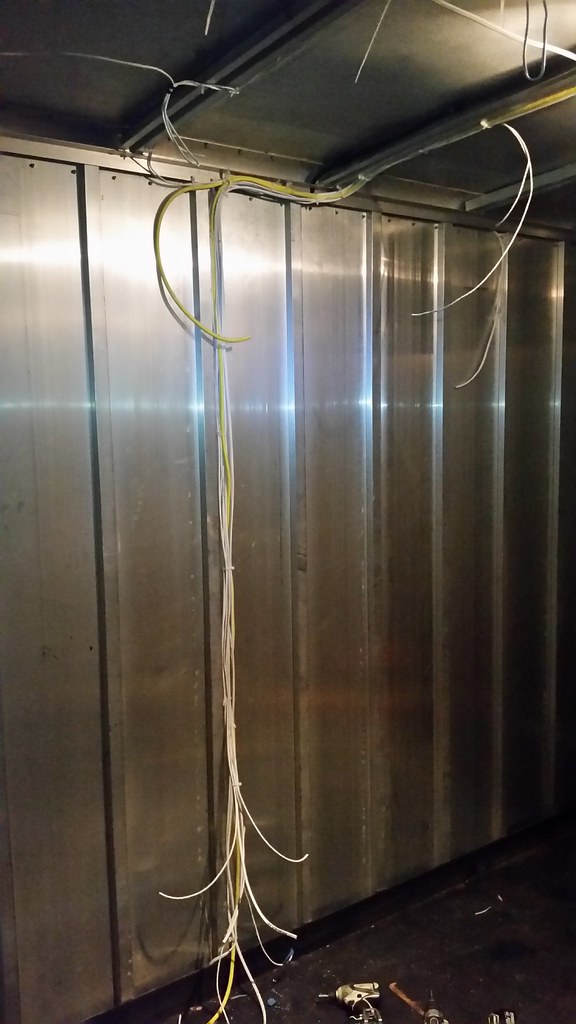
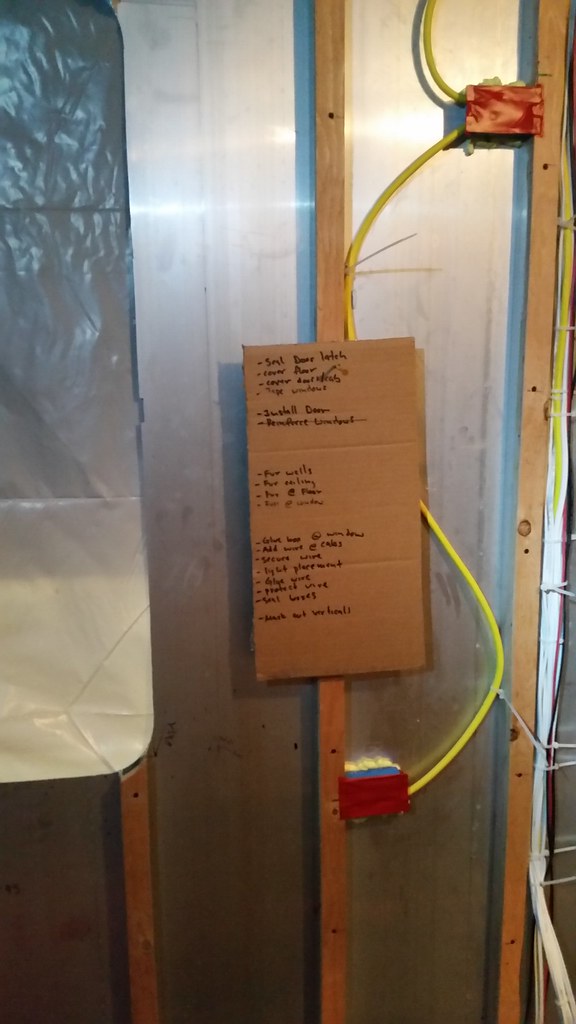
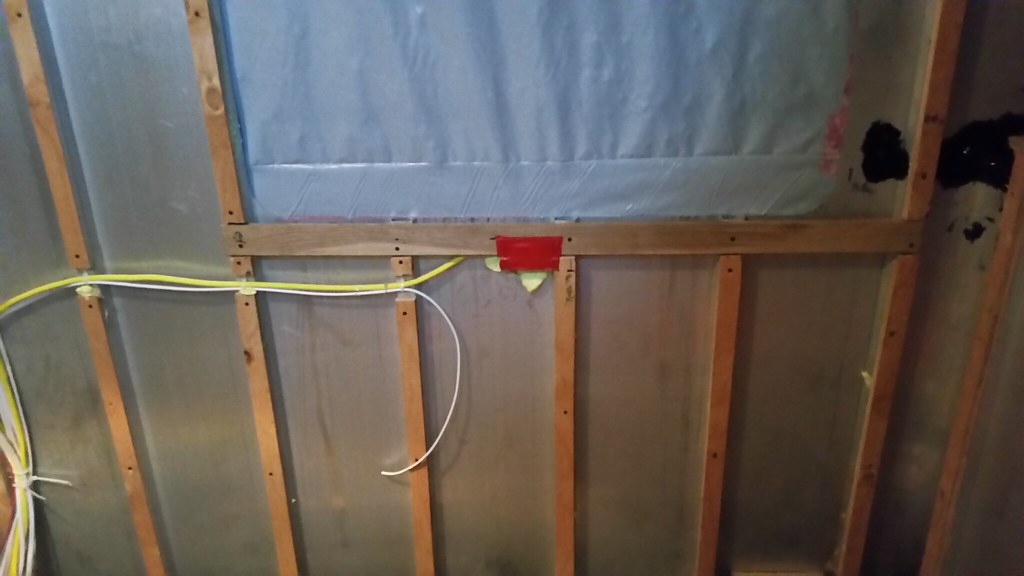
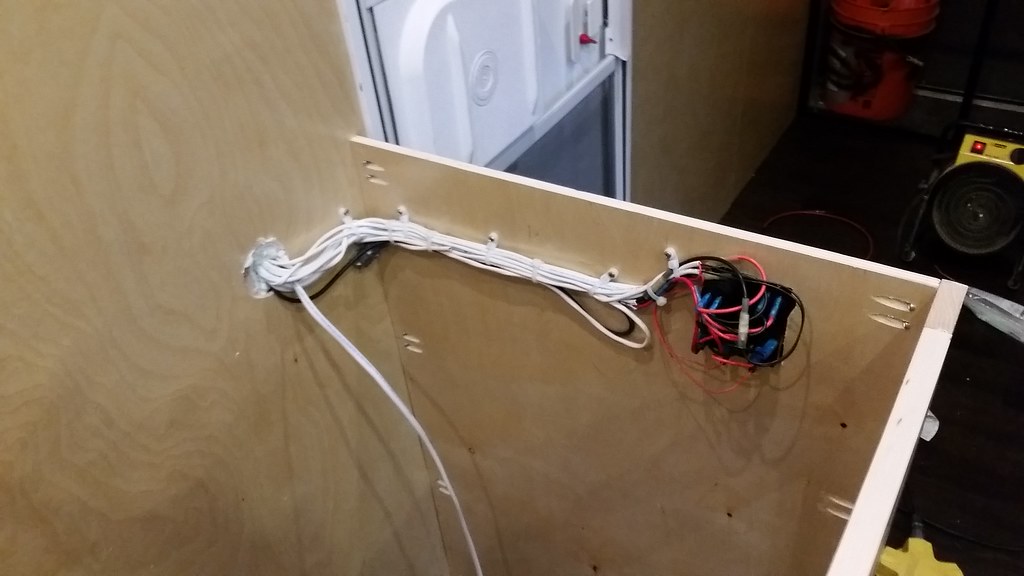
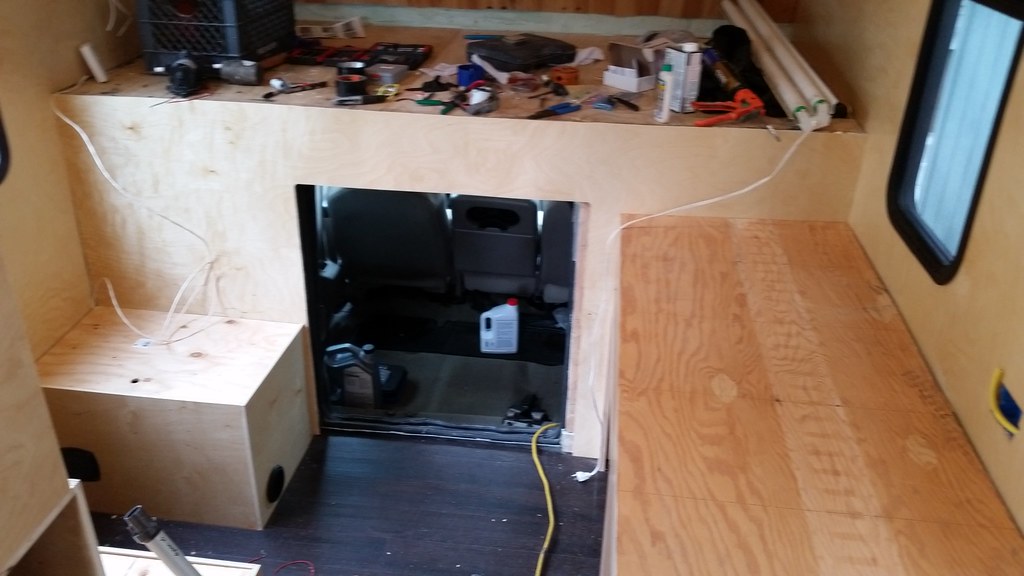
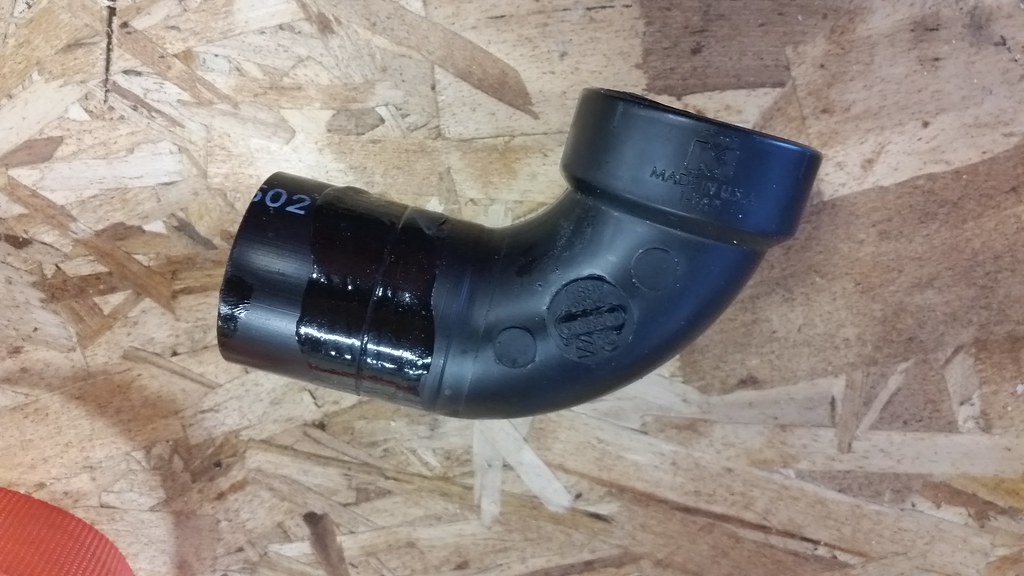
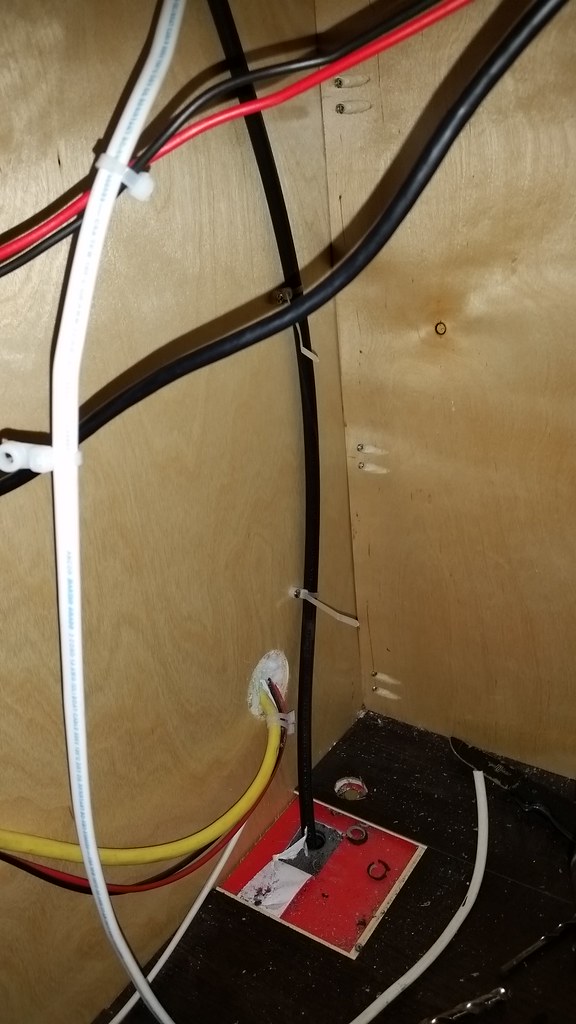
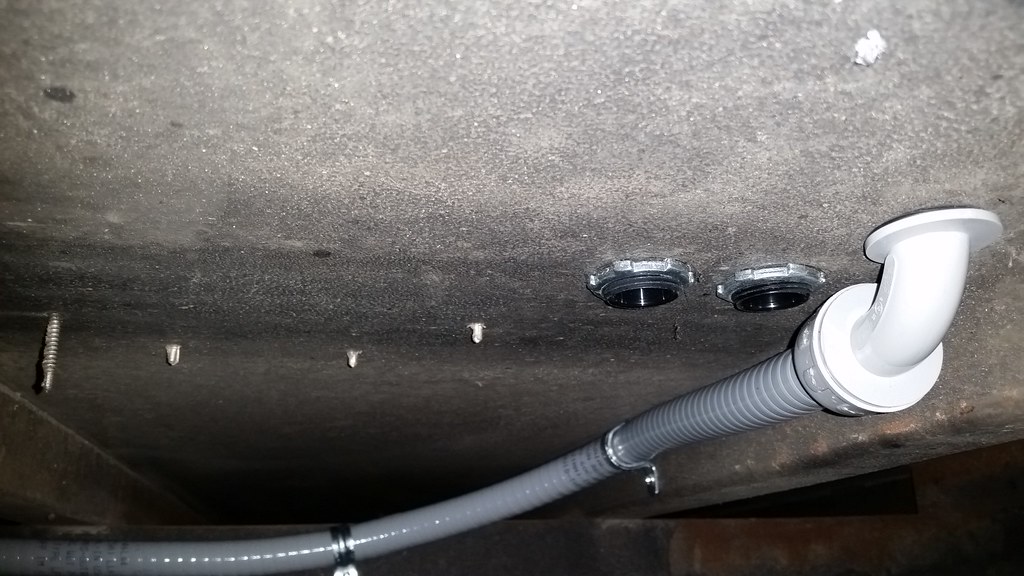
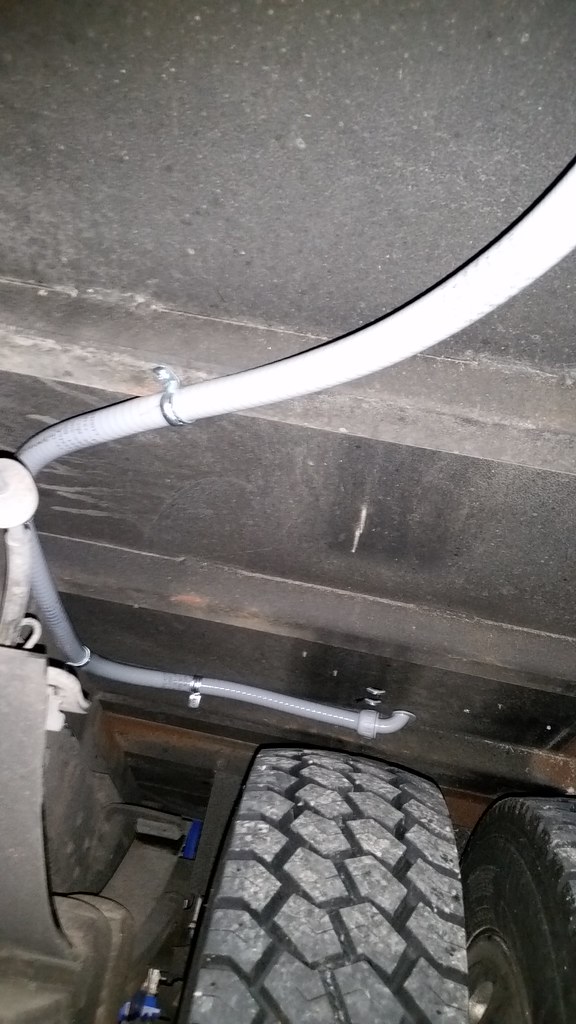
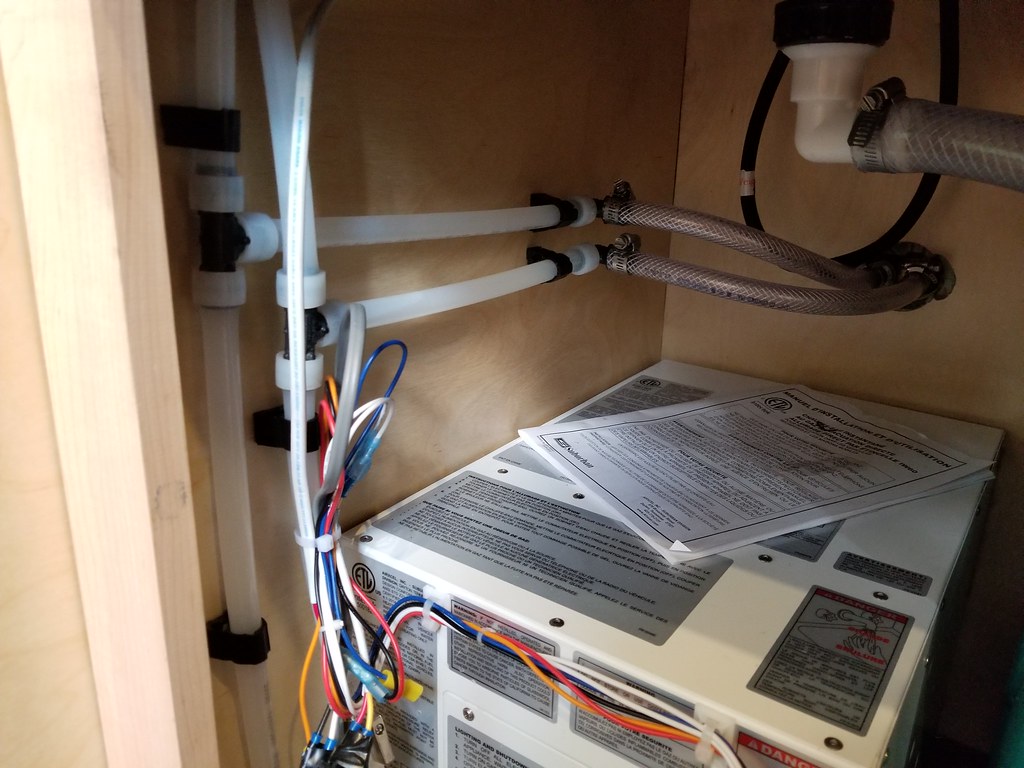
wiring rough in is just about done. I used that entire 250' roll of 14/2, and i didn't use it for the lighting circuits (18 gauge for the LED's). I didnt quite expect it to go tat fast! I need another 30' probably. Need to run circuit for the heater and water pump still. I will likely run those ousisde the wall later on.
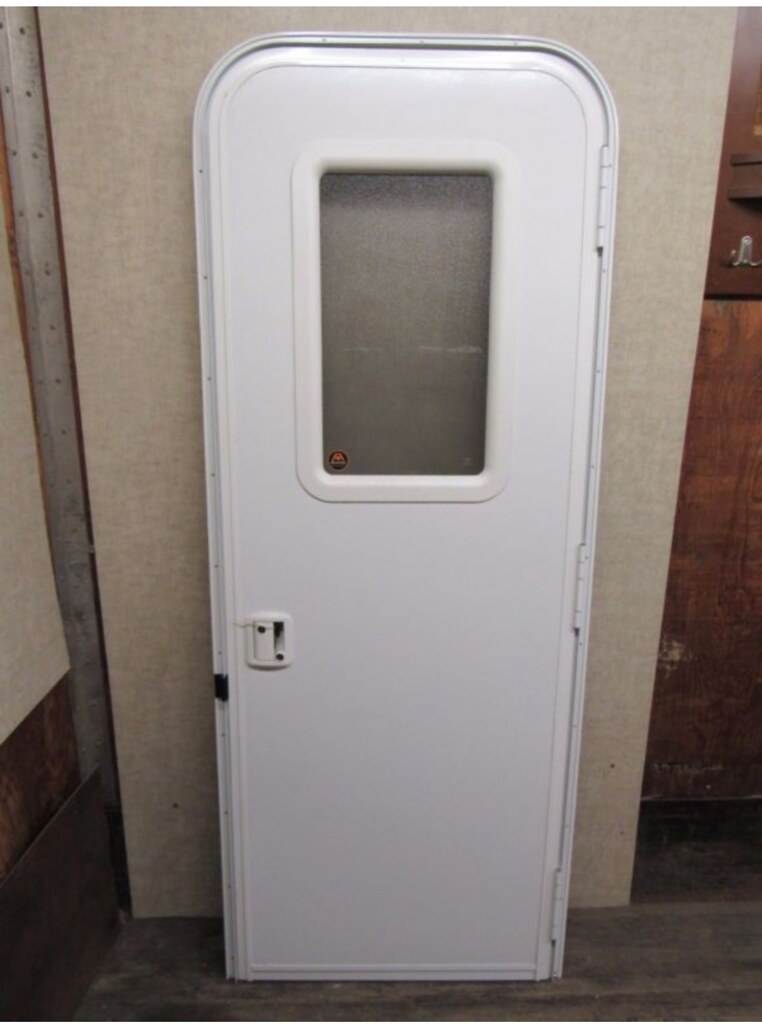
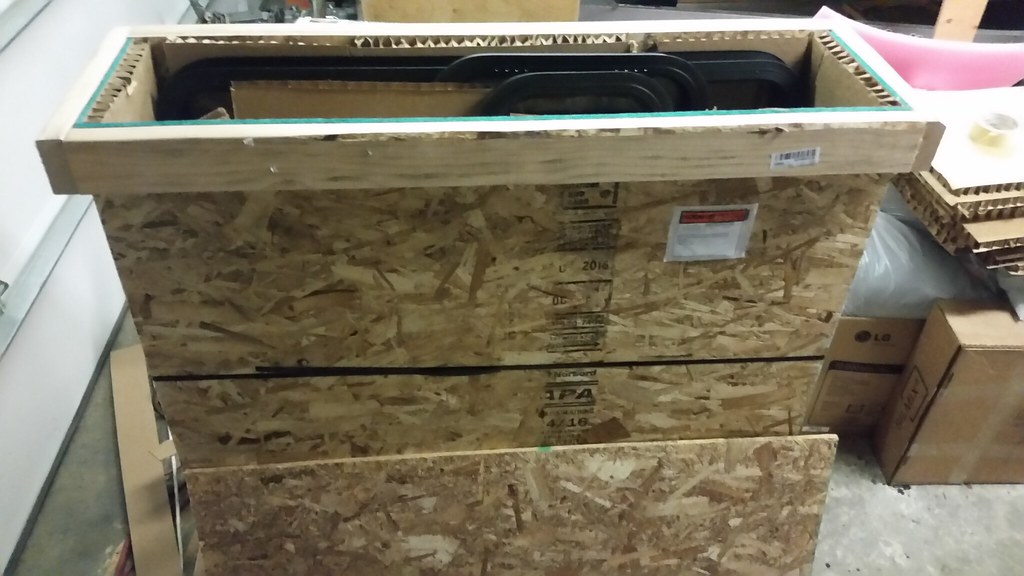
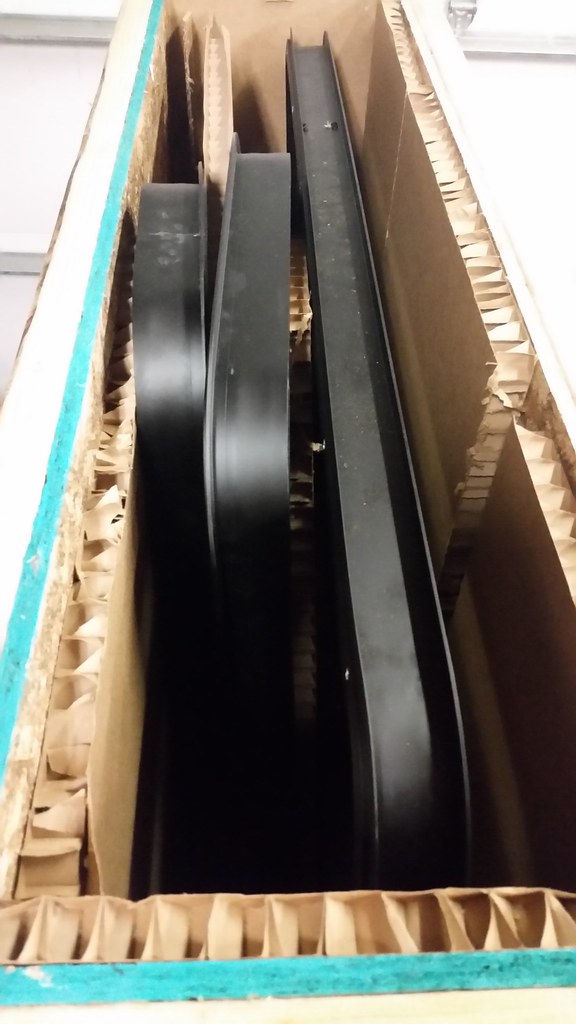
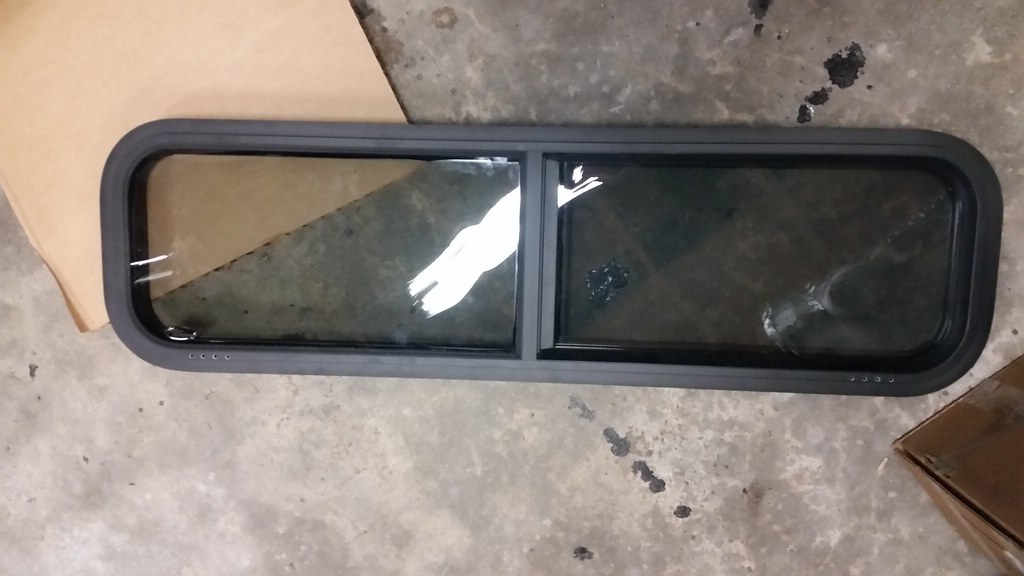
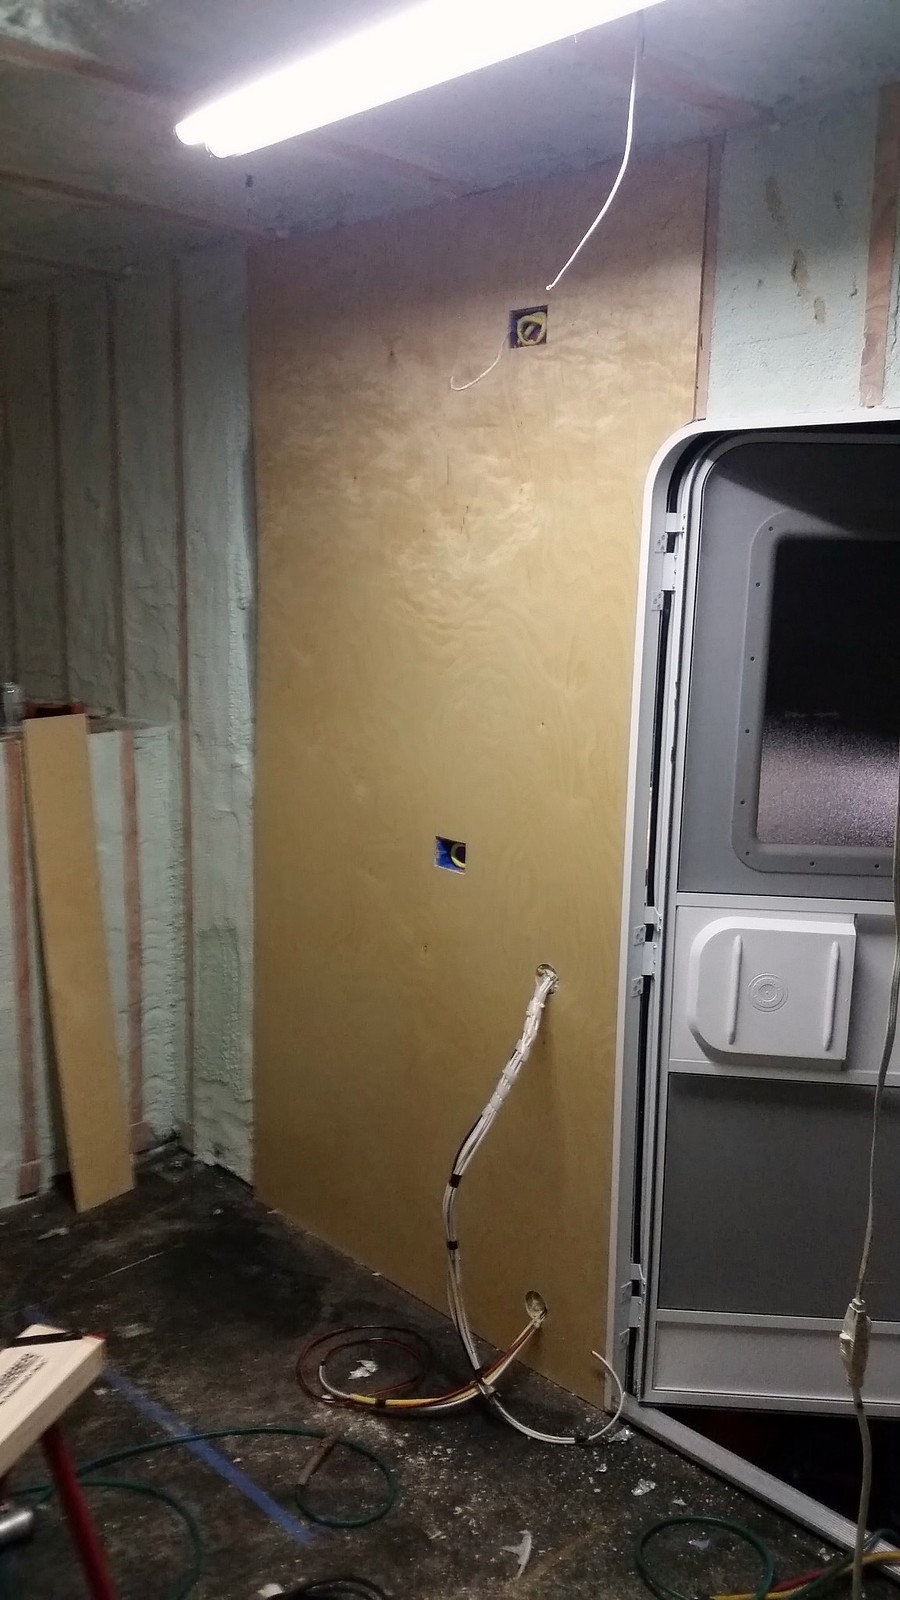
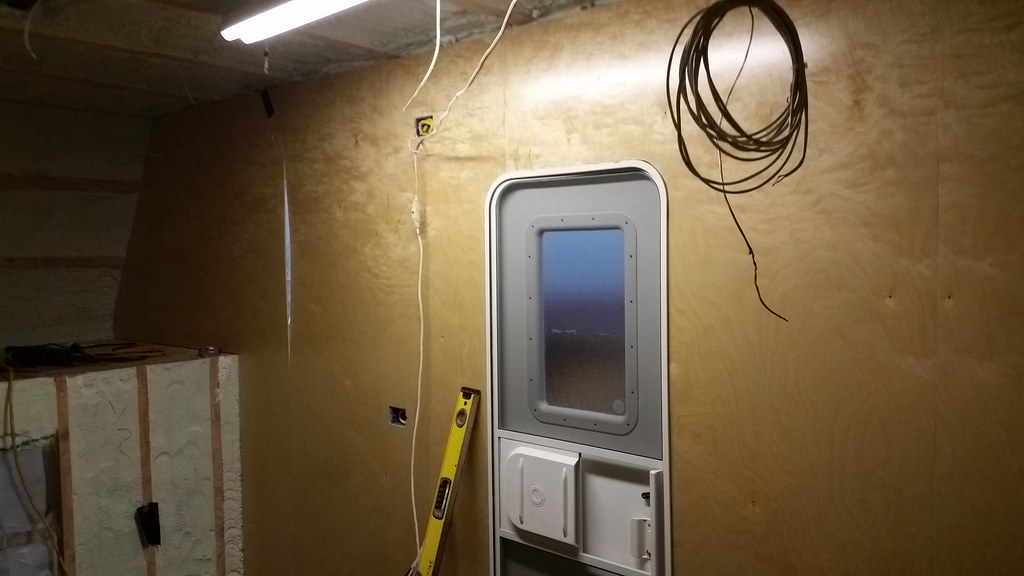
Door and double pane windows have been ordered too!
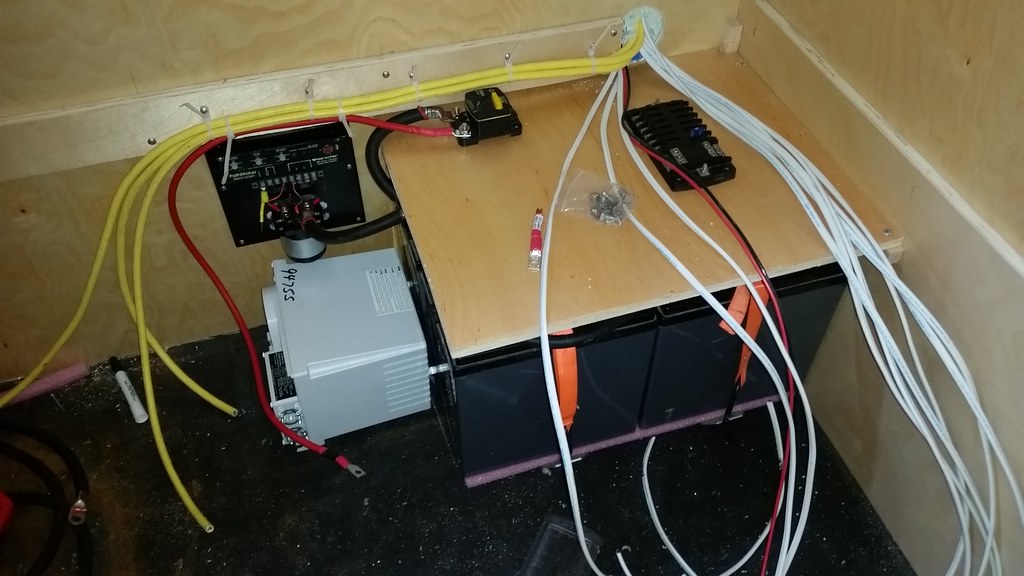
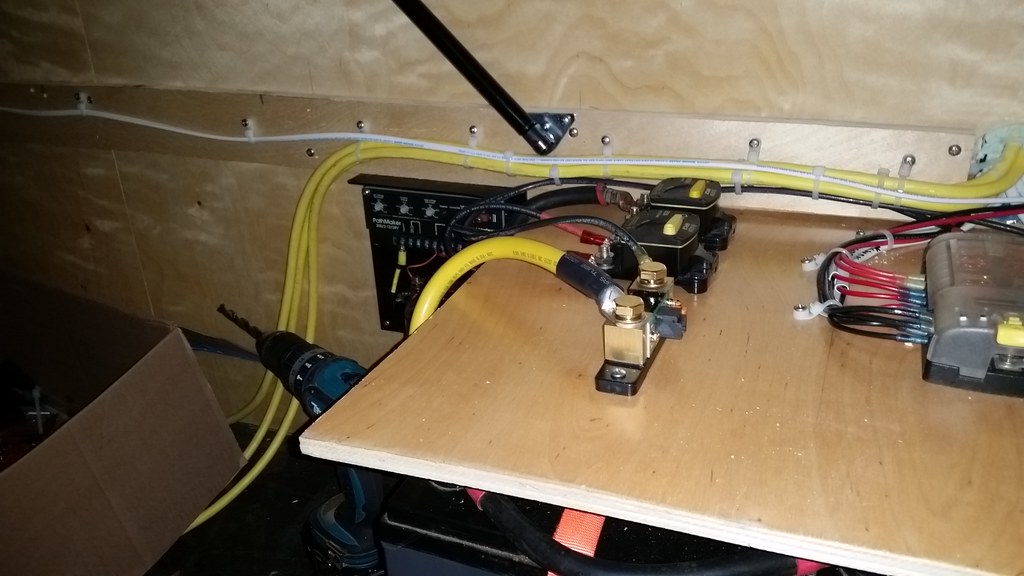
Two main areas for the elec, under the bed, where the batteries, inverter/charger fuse panel and breakers will live, and the end of the cabinets of the opposite side, where all the switches will be. The rest is lighting circuits, and conviniance plugs. I need to figure out a way to keep the end of the wires poking oout of the walls/ceilings where I want them, duct tape may work, but the entire inside of the box is covered with frost at the moment, its cold out...
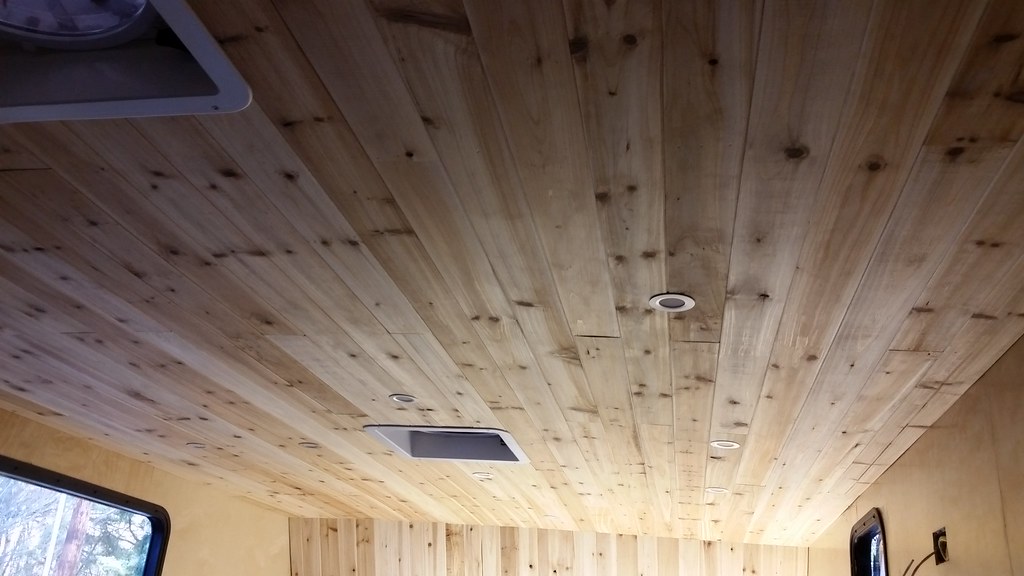
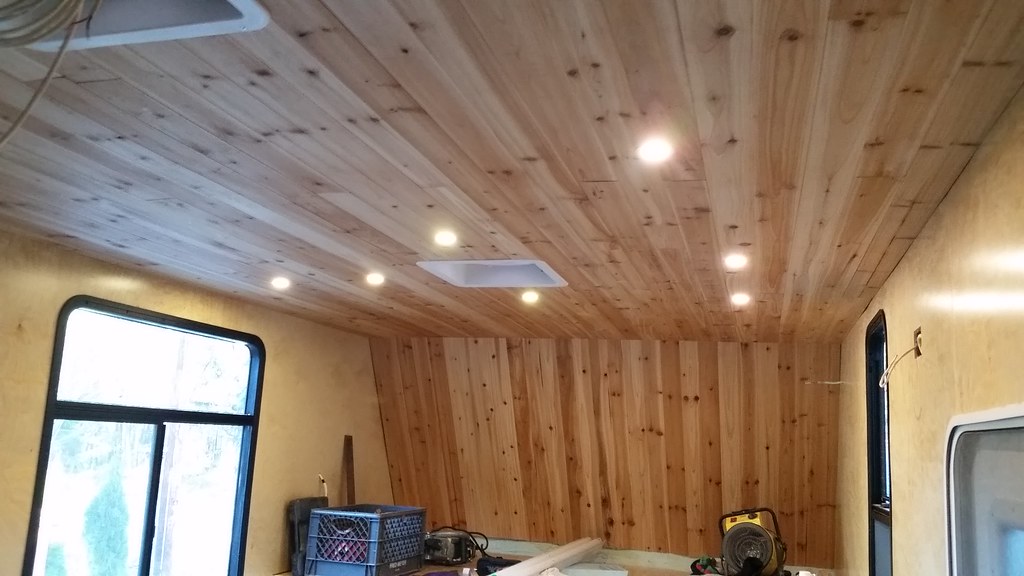
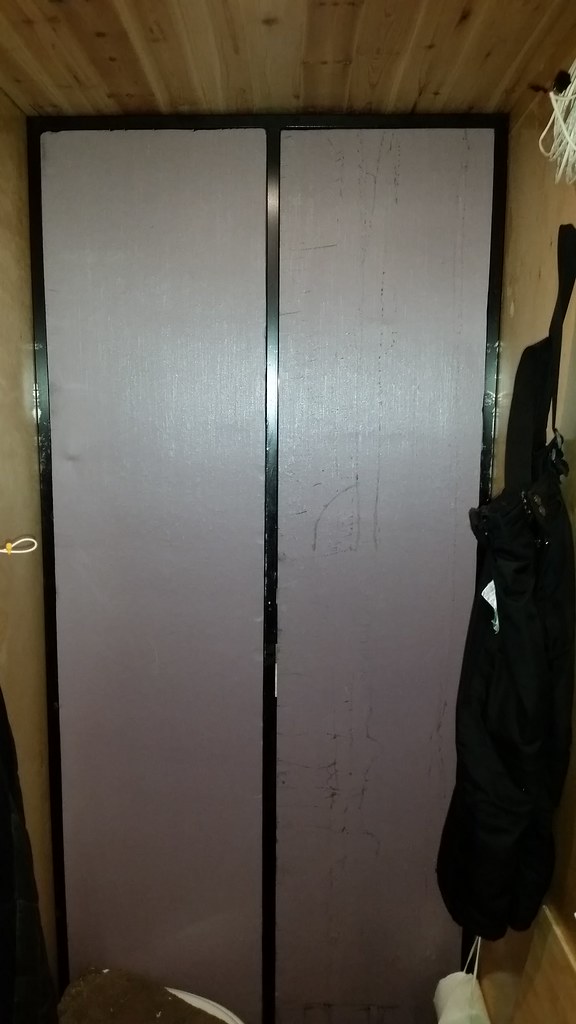
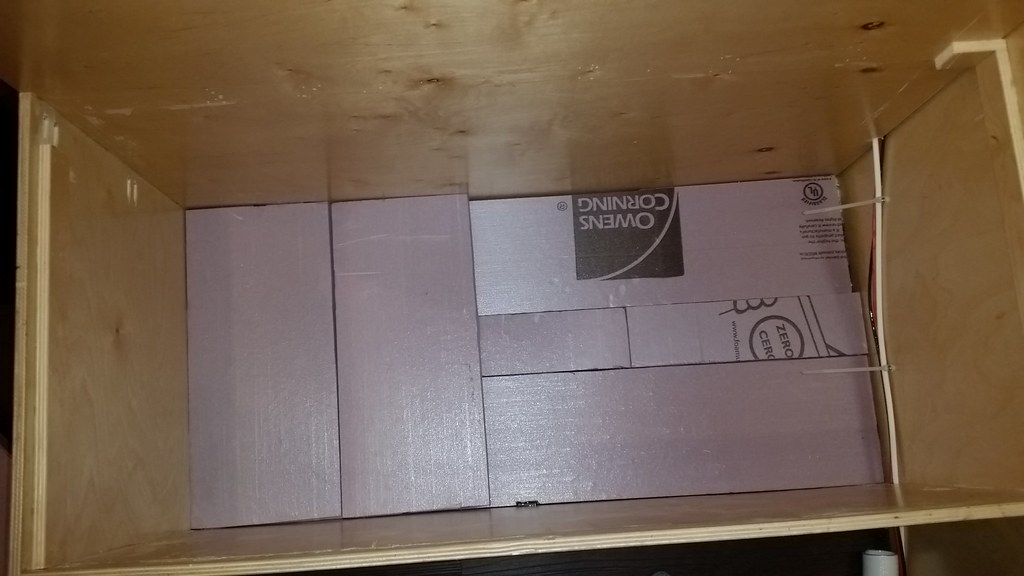
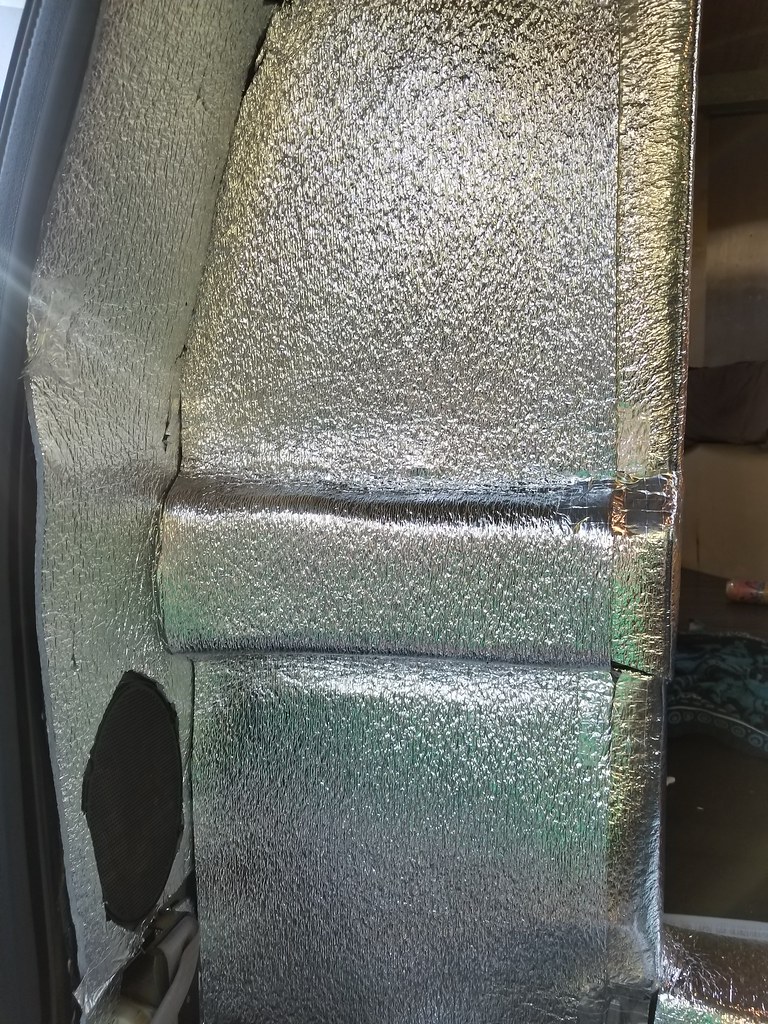
I got some rigid insulation to start furring the ceiling down with as well!
A little more every day is the idea right?
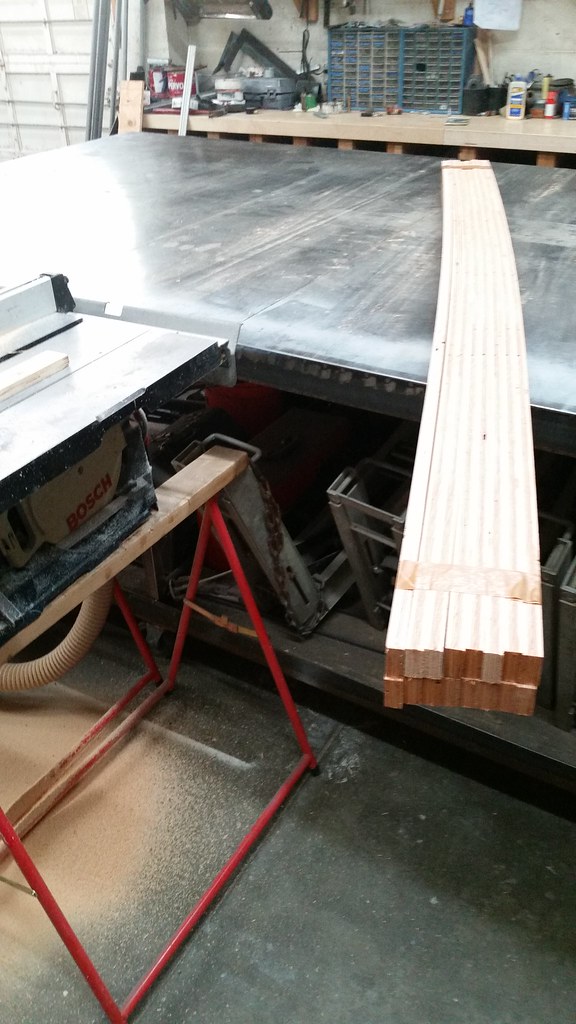
One table saw, one sheet of 3/4 ply turned into little pieces.
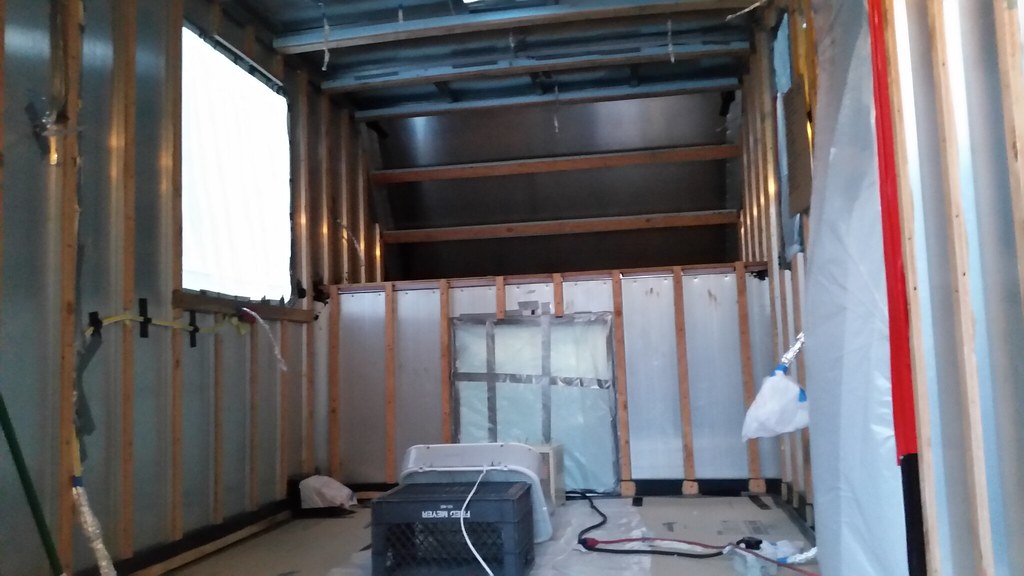
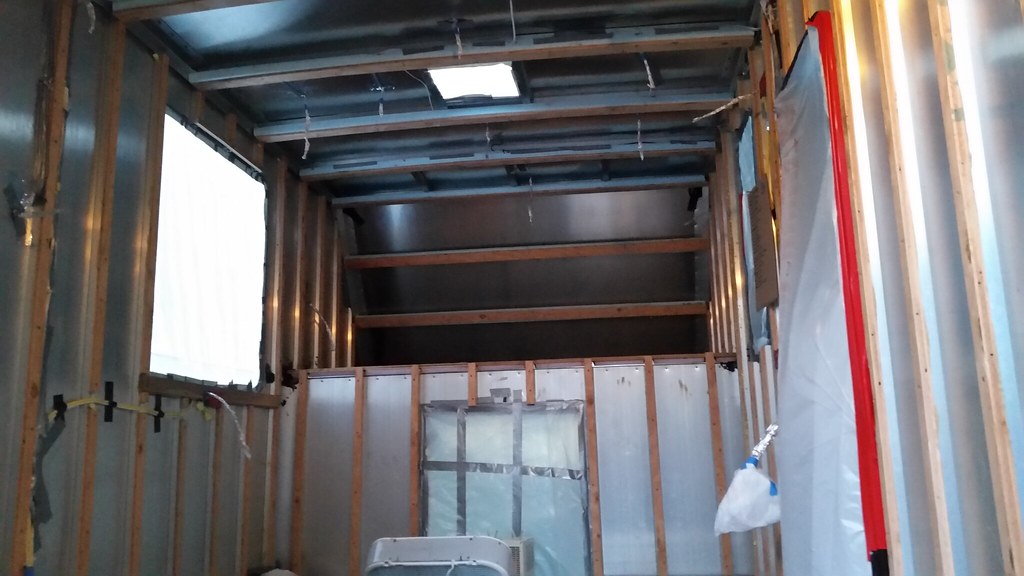
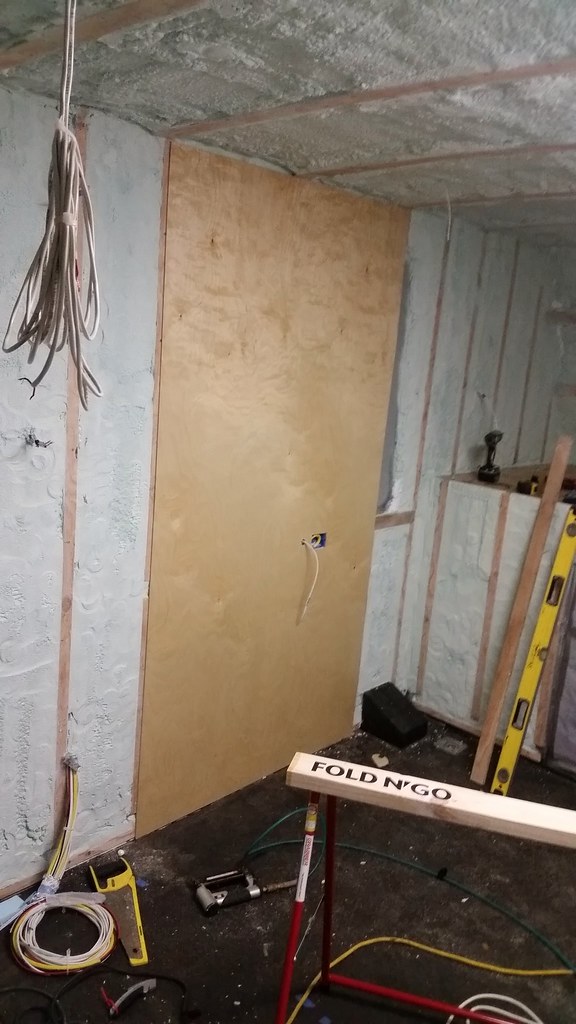
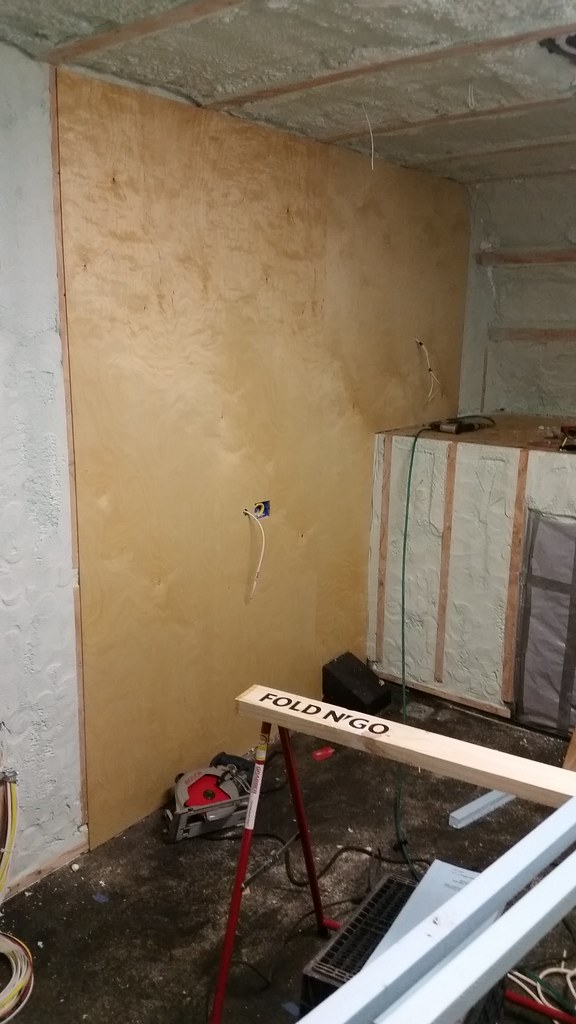
Got one wall almost done. It was butt berkeleying cold. The missing areas are doors/windows.
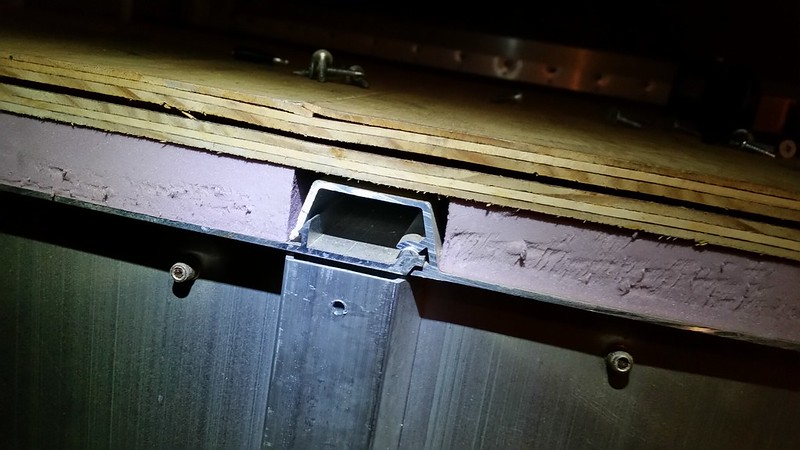
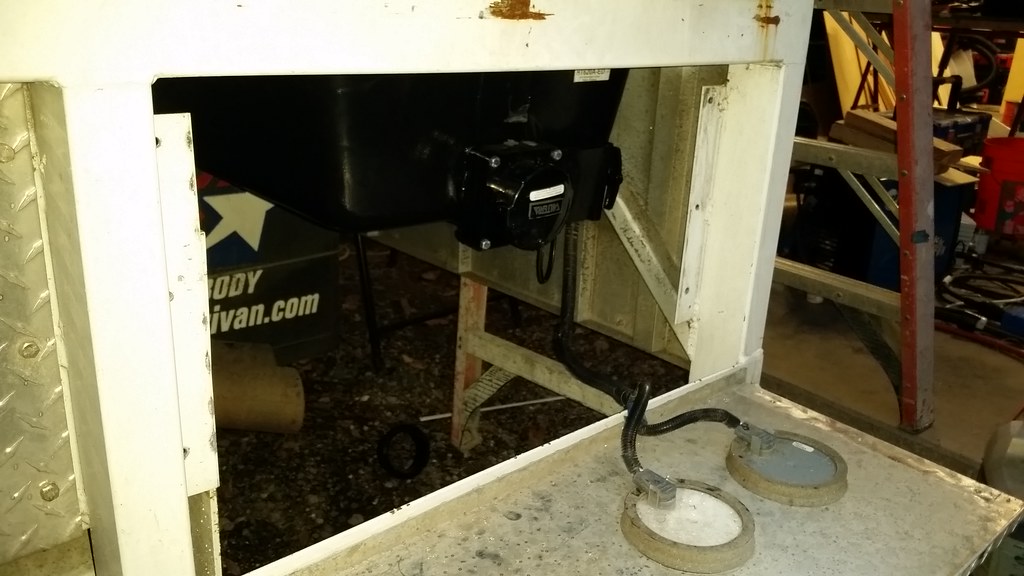
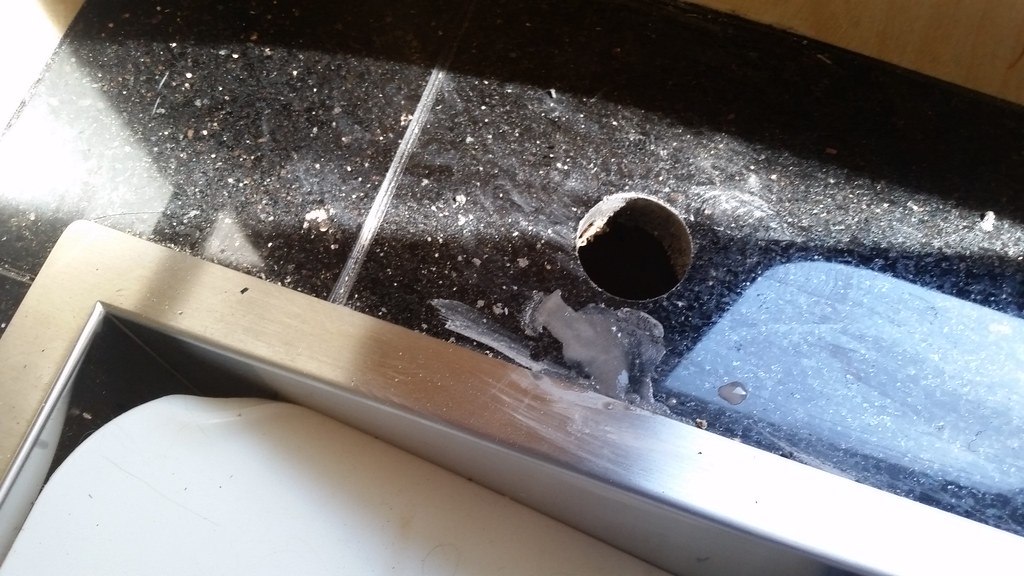
So I tried insulating the aluminum channels. That was a failure. The foam would only expand ~6" either side of the hole, no matter how much you tired to pump in. Im not going to put a 15/64 hole very foot.... Looks like they will remain uninsulated unless someone has a genius idea.
Thoughts? I am trying to avoid cold bridging.
You can see the foam puking out of the holes in a few spots here. That stuff was not cheap.
Got the ceiling channels filled at least.
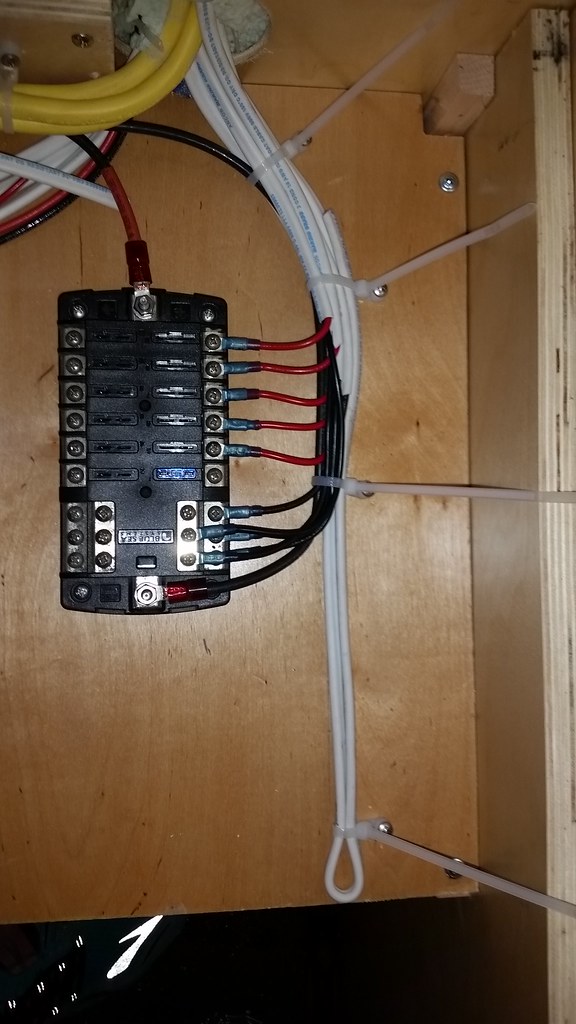
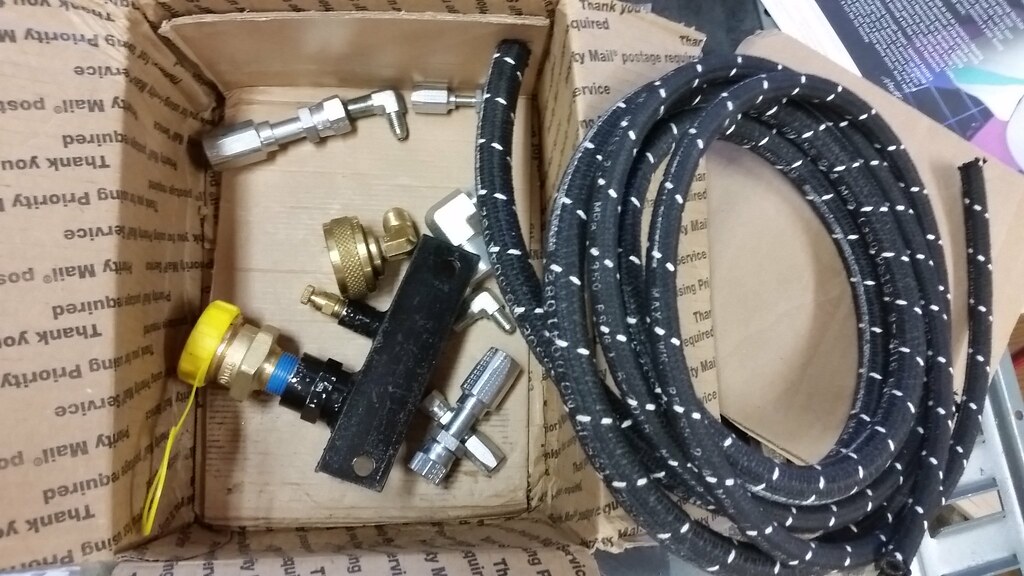
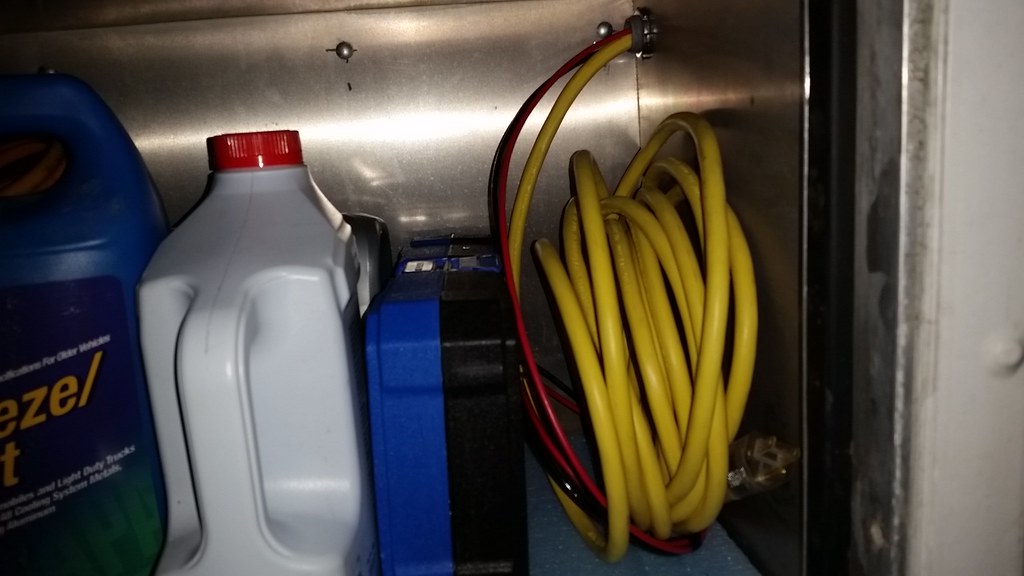
Box of goodies is growing
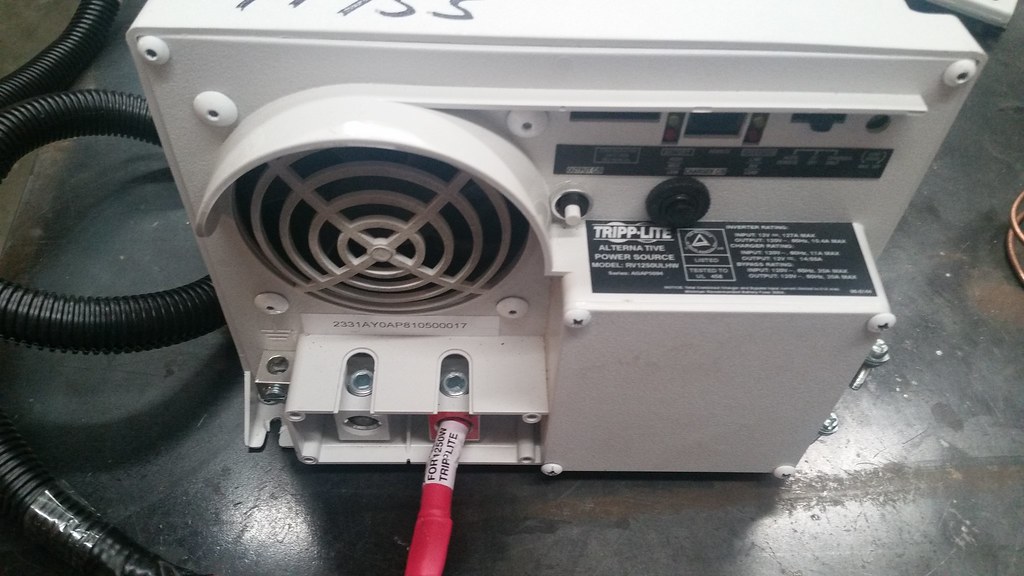
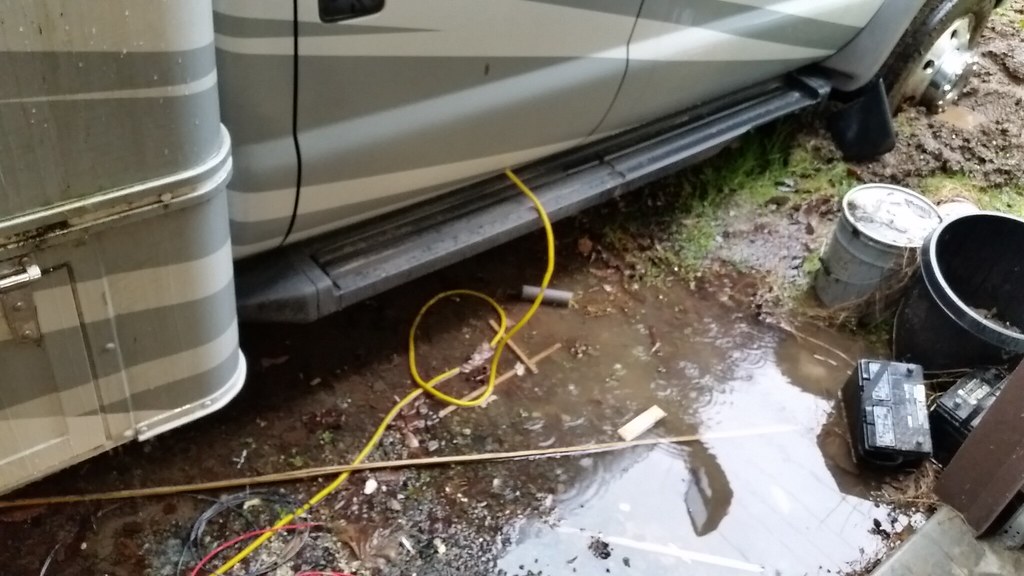
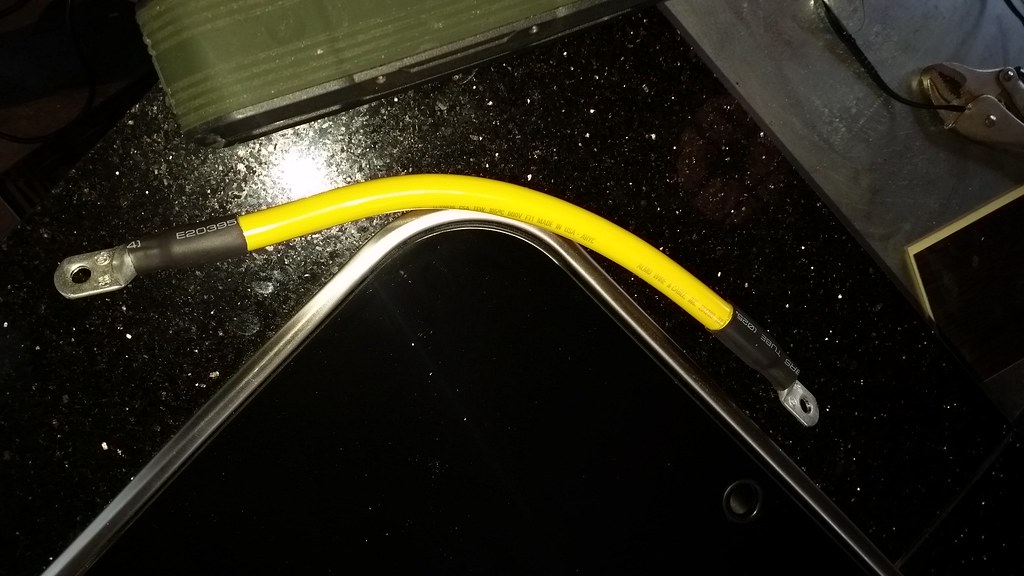
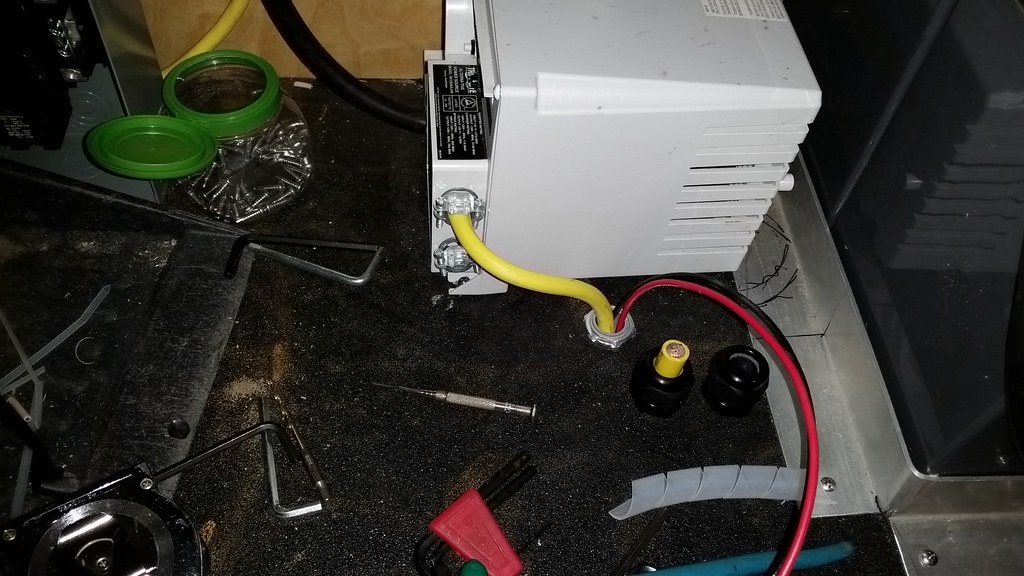
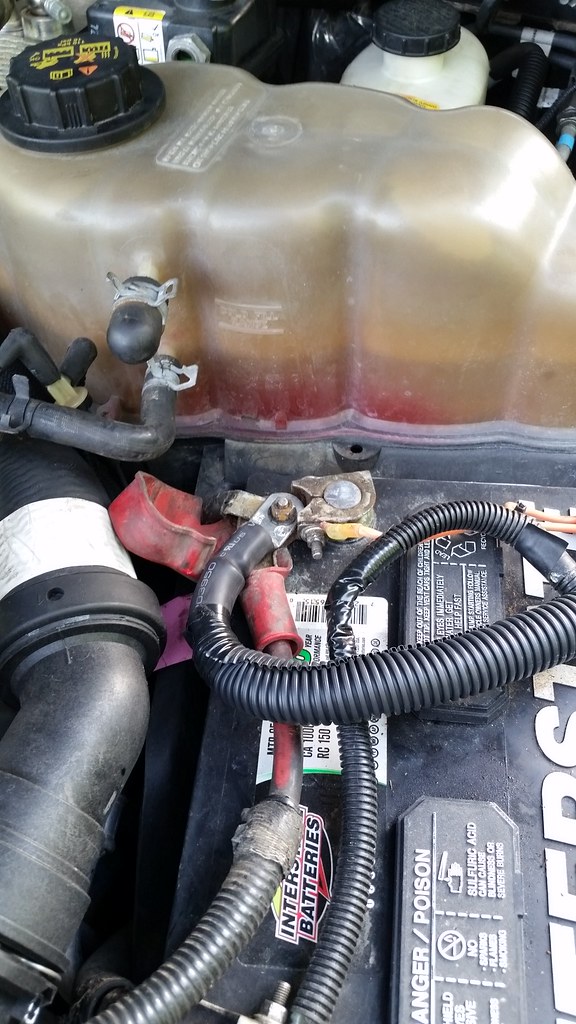
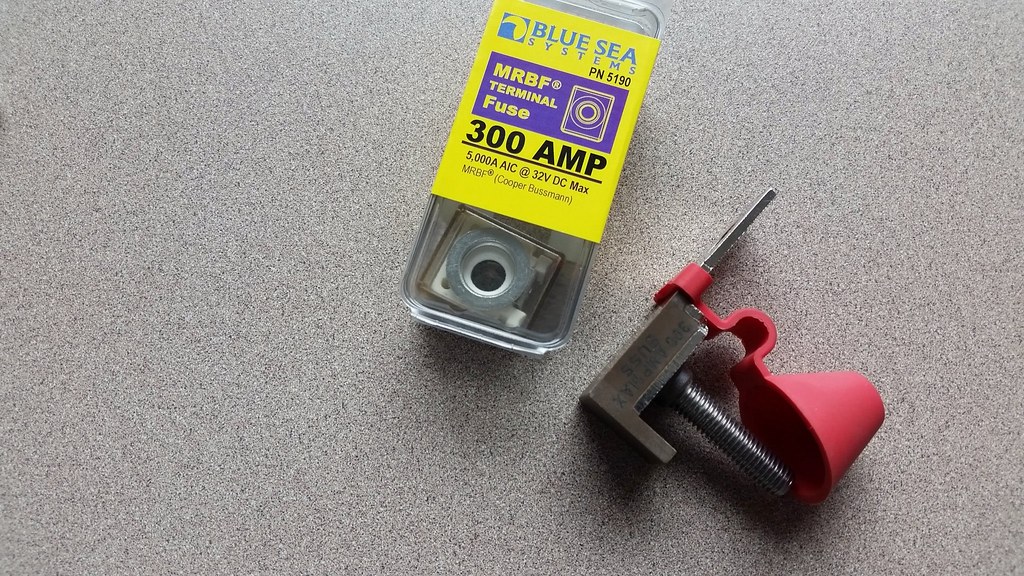
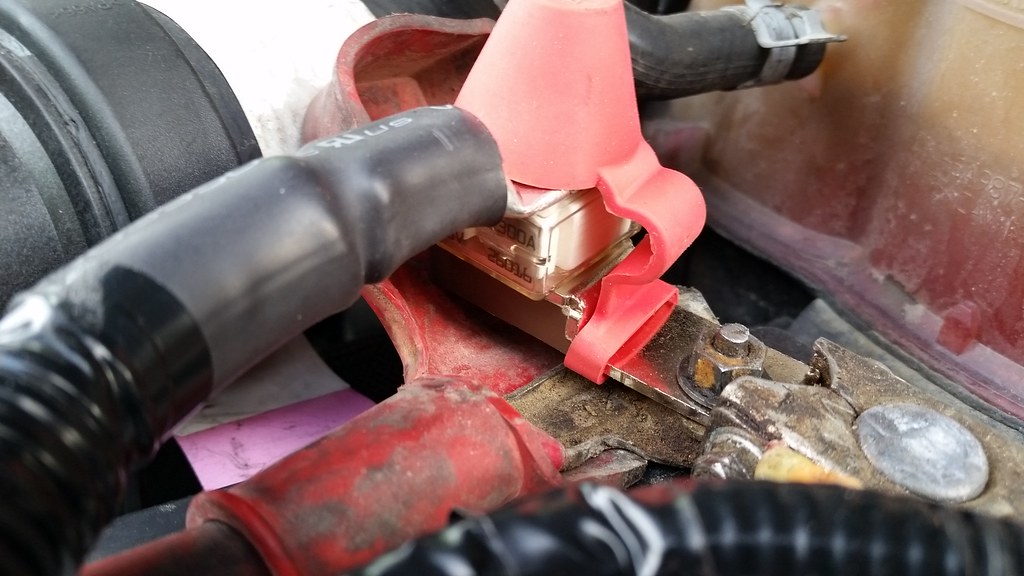
Battery interconnect cables. Check, CL score.
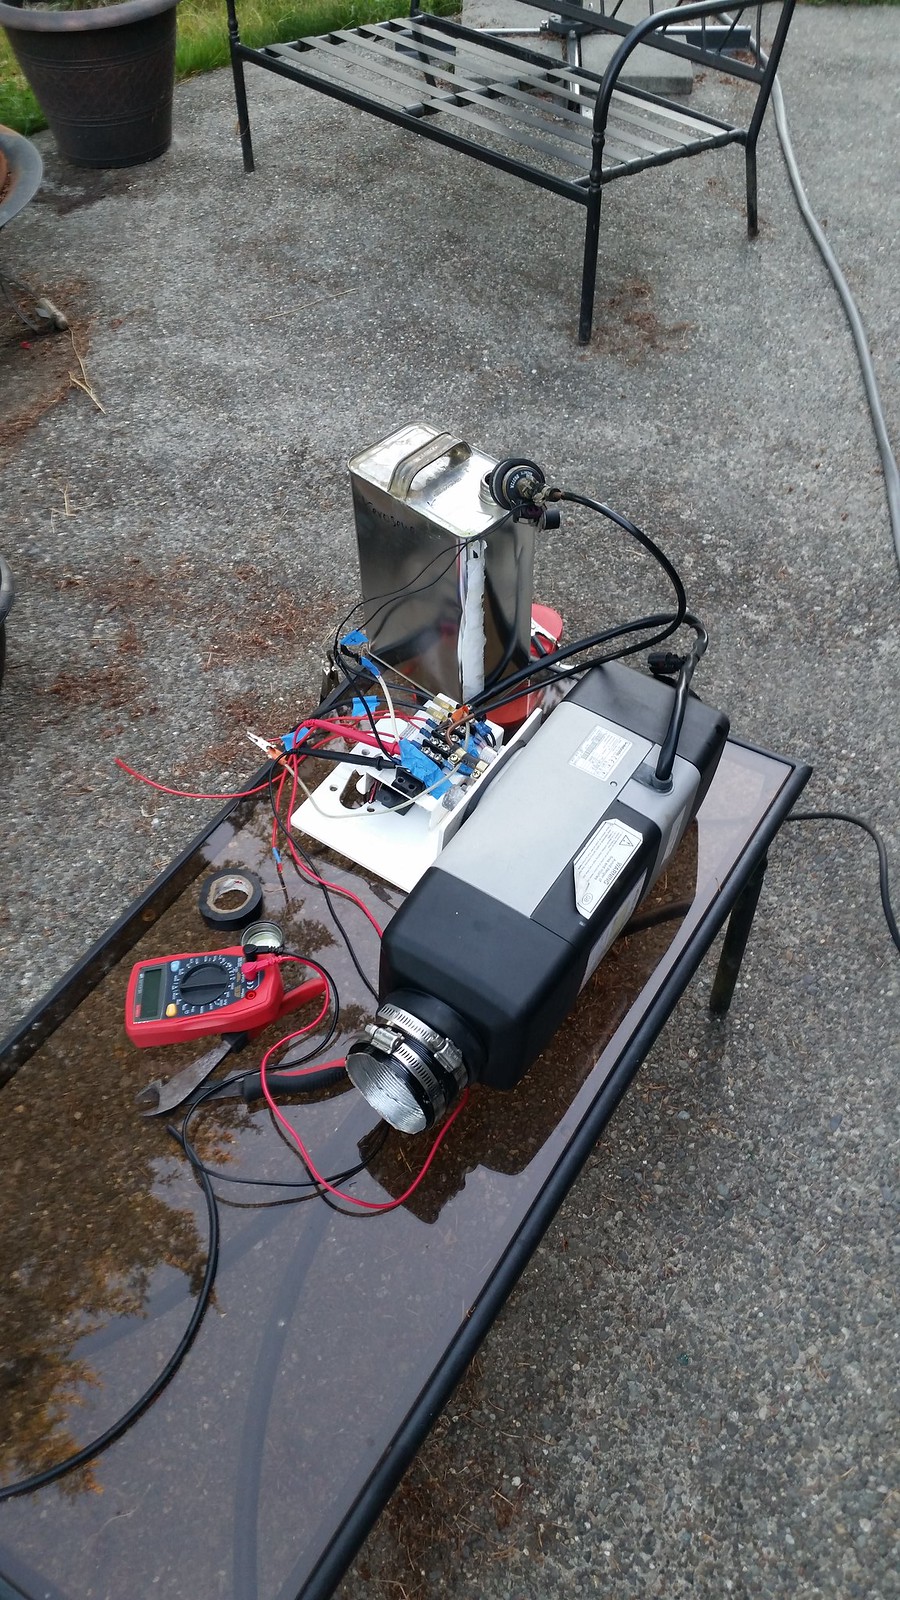
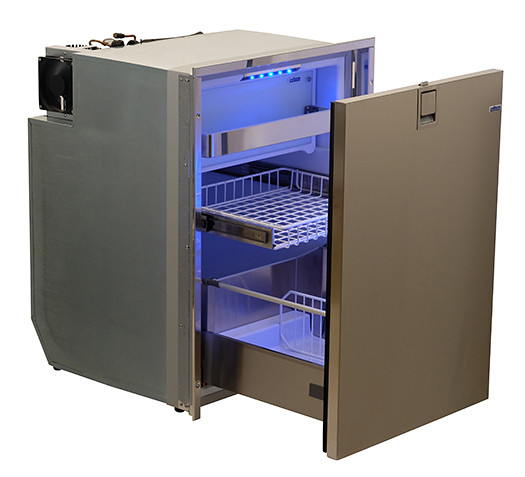
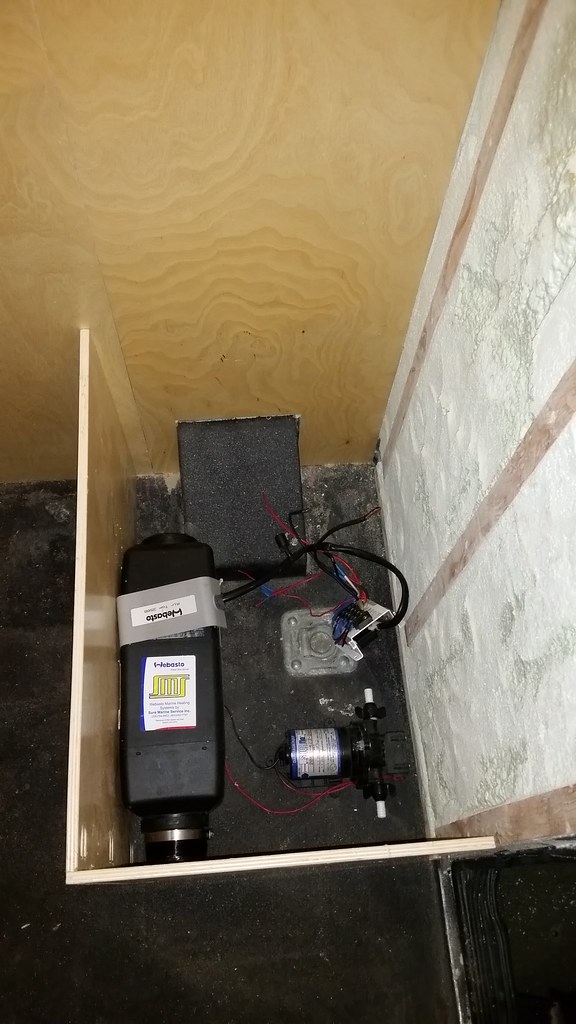
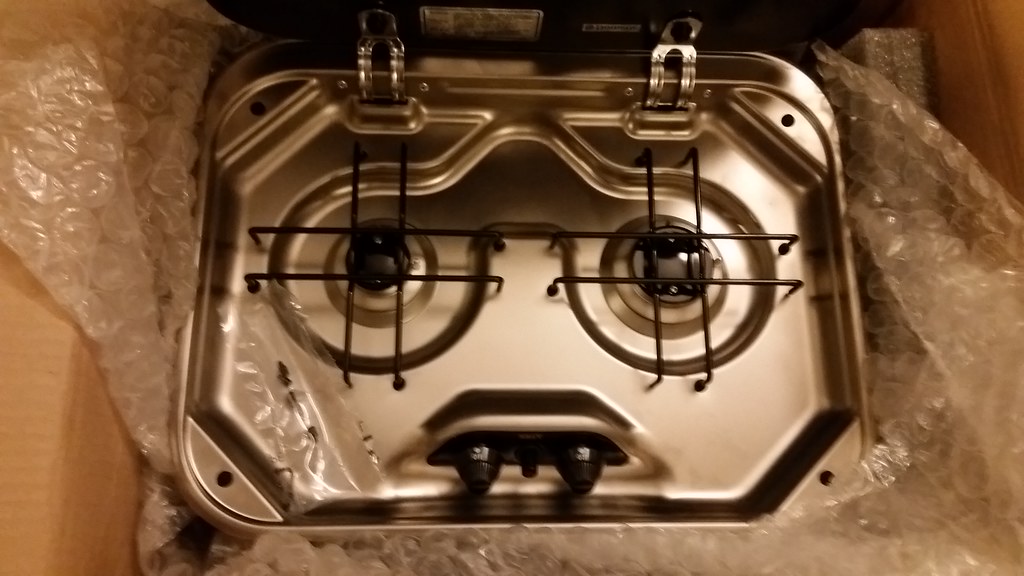
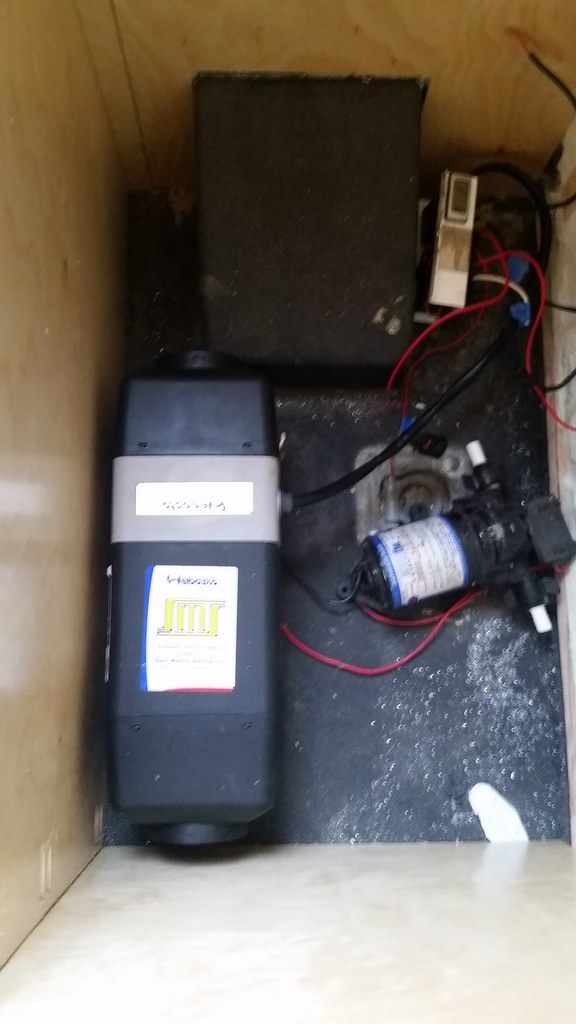
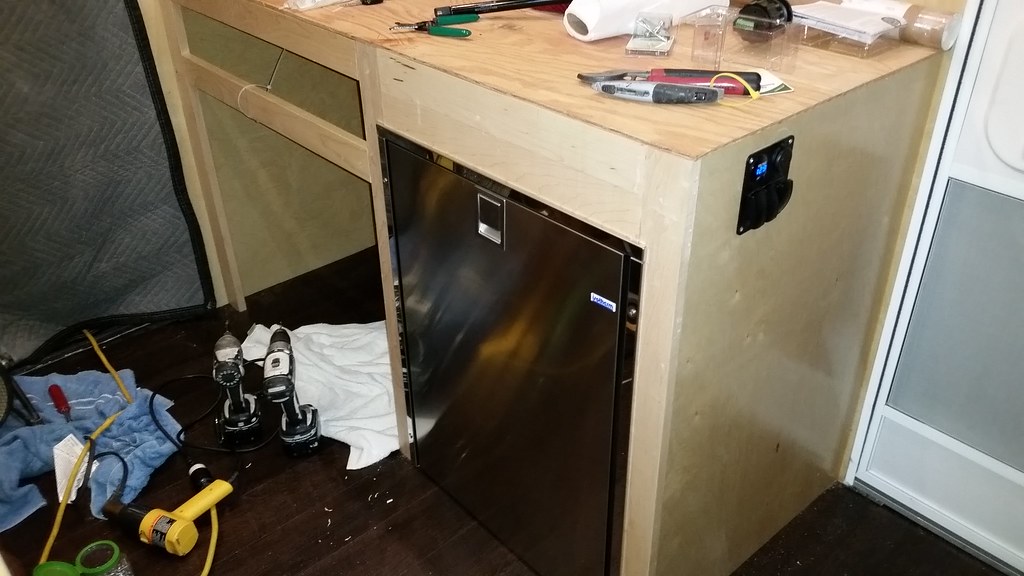
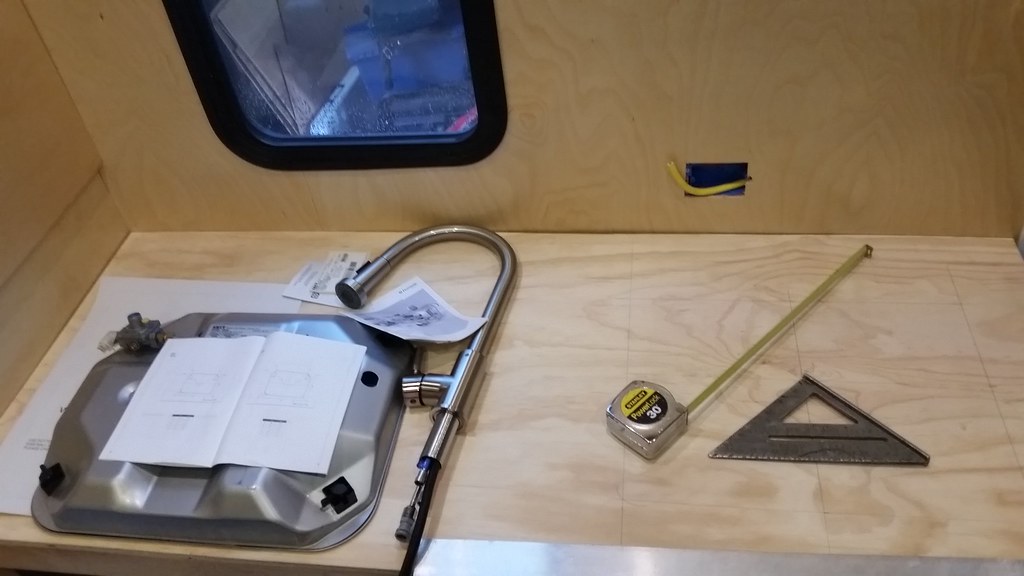
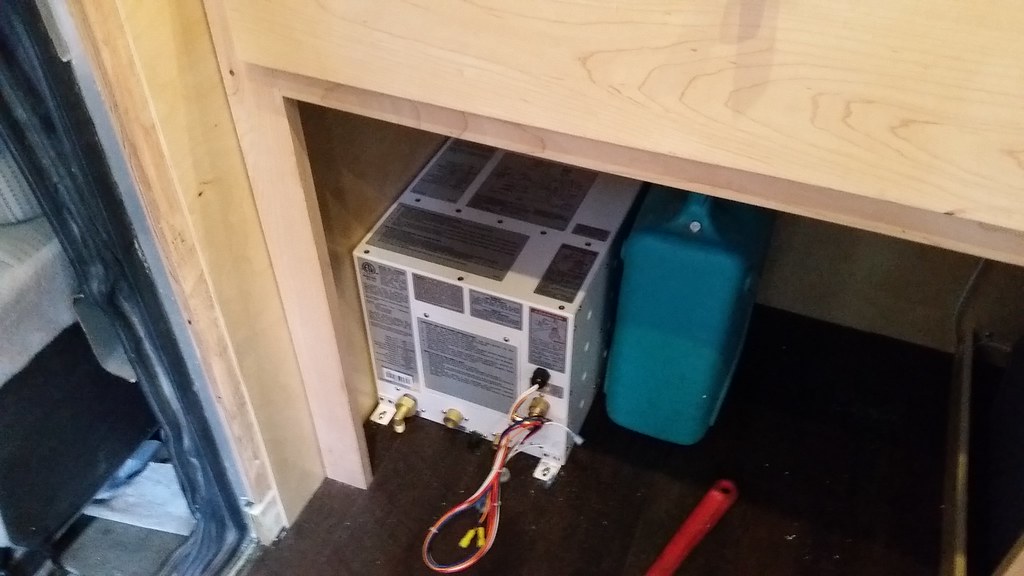
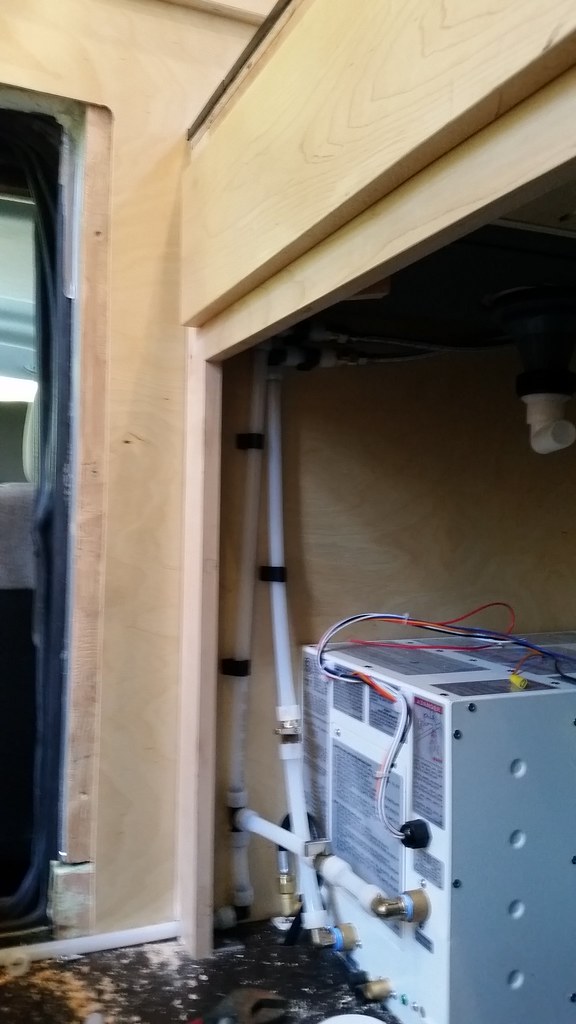
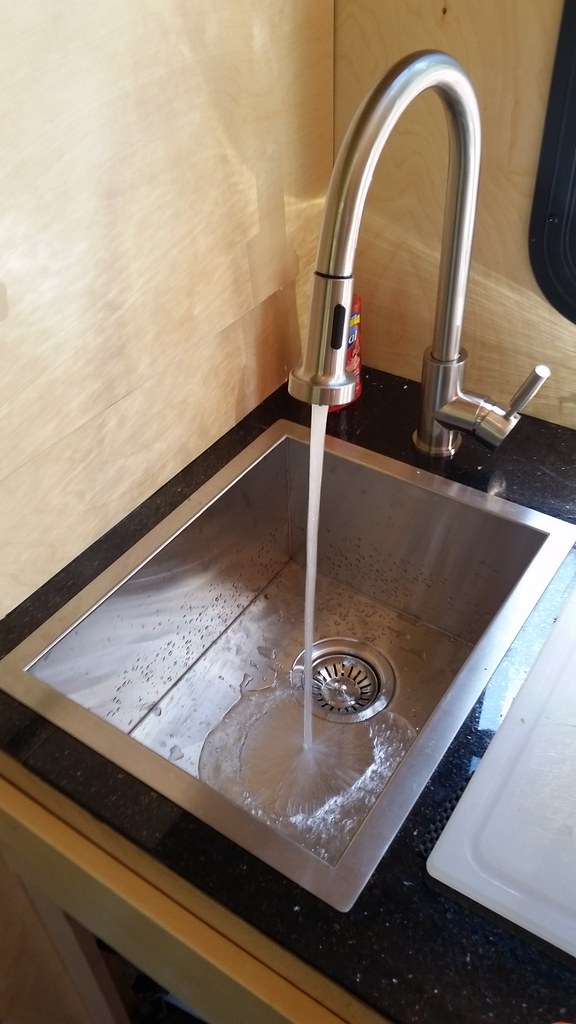
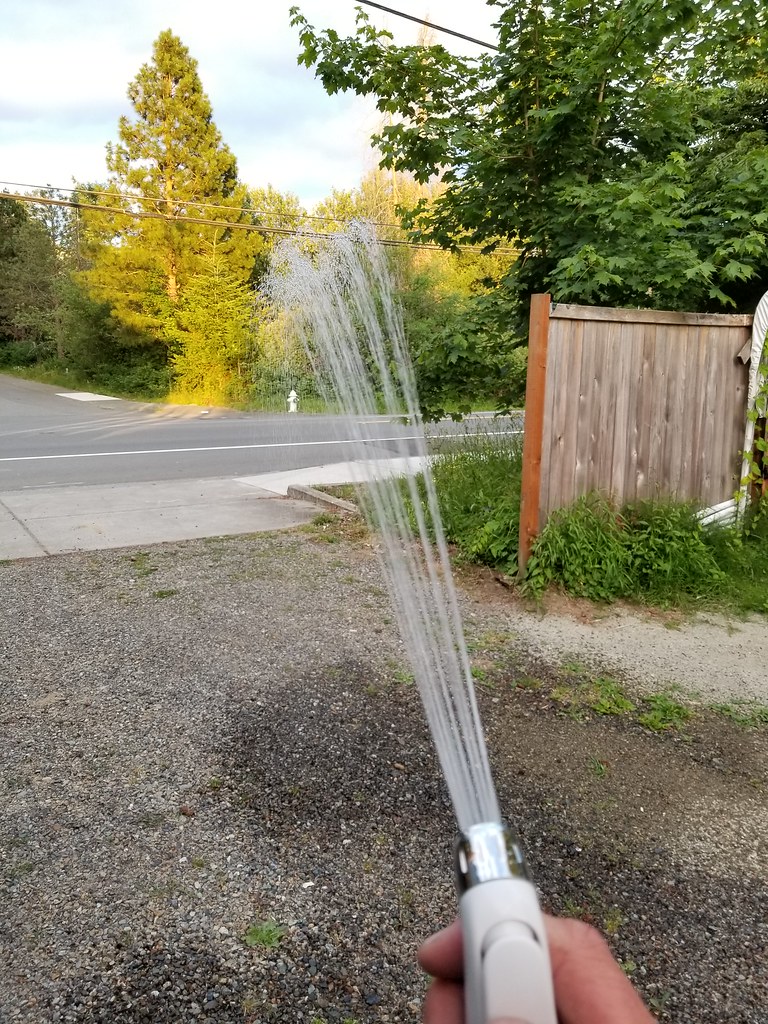
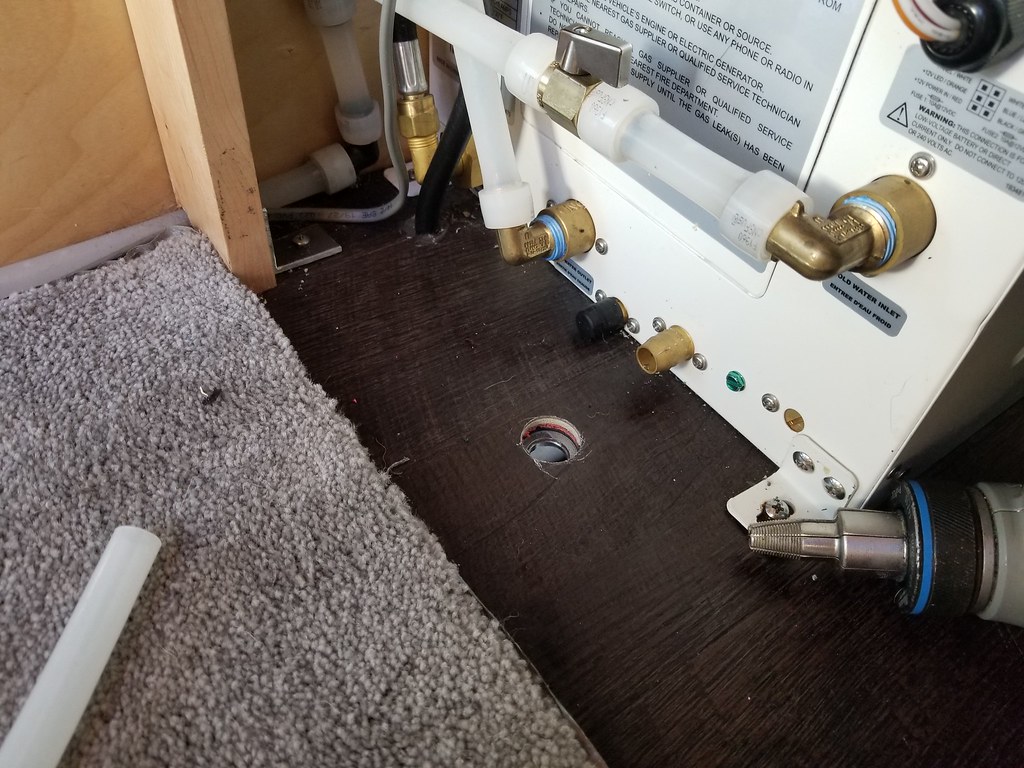
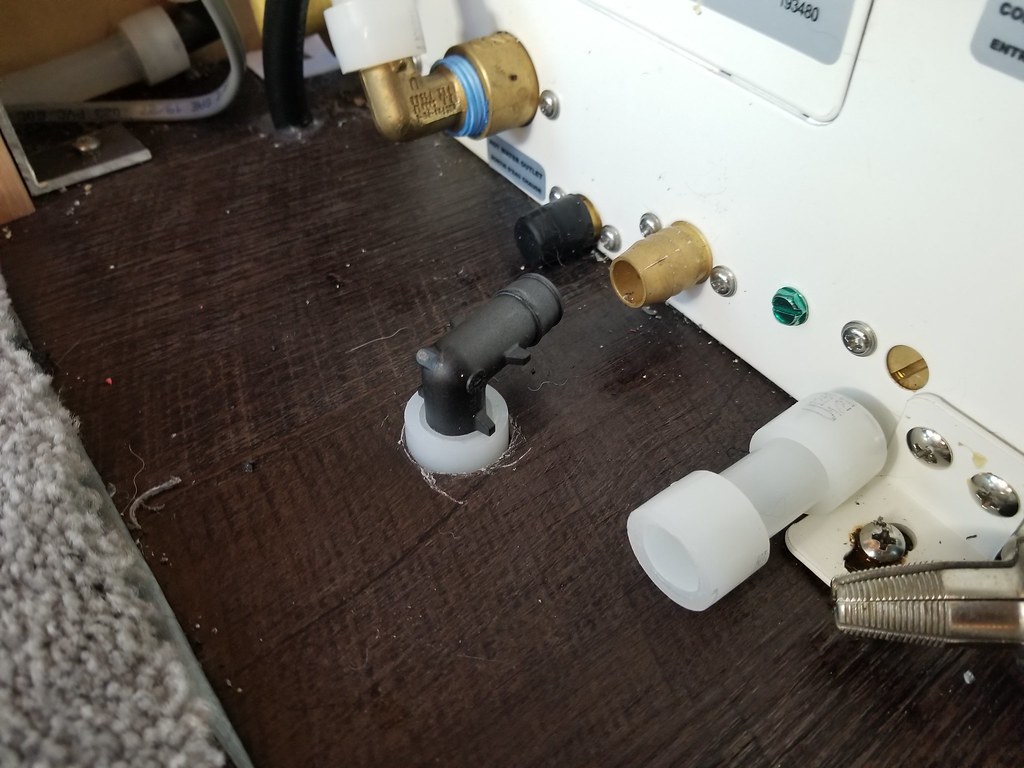
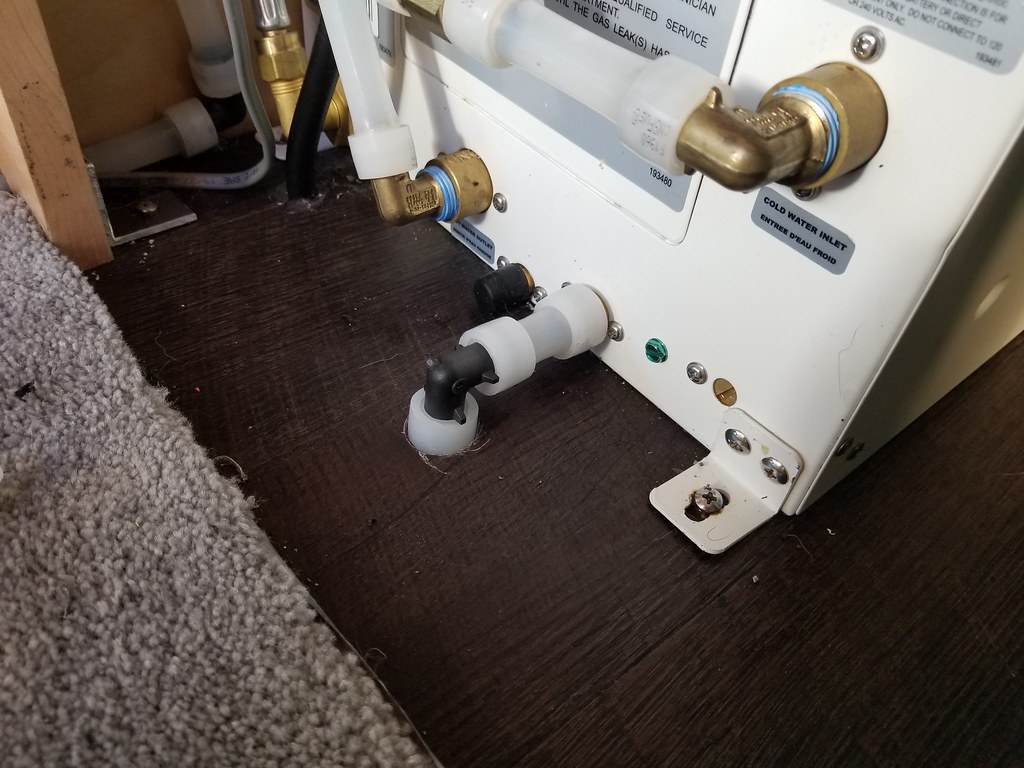
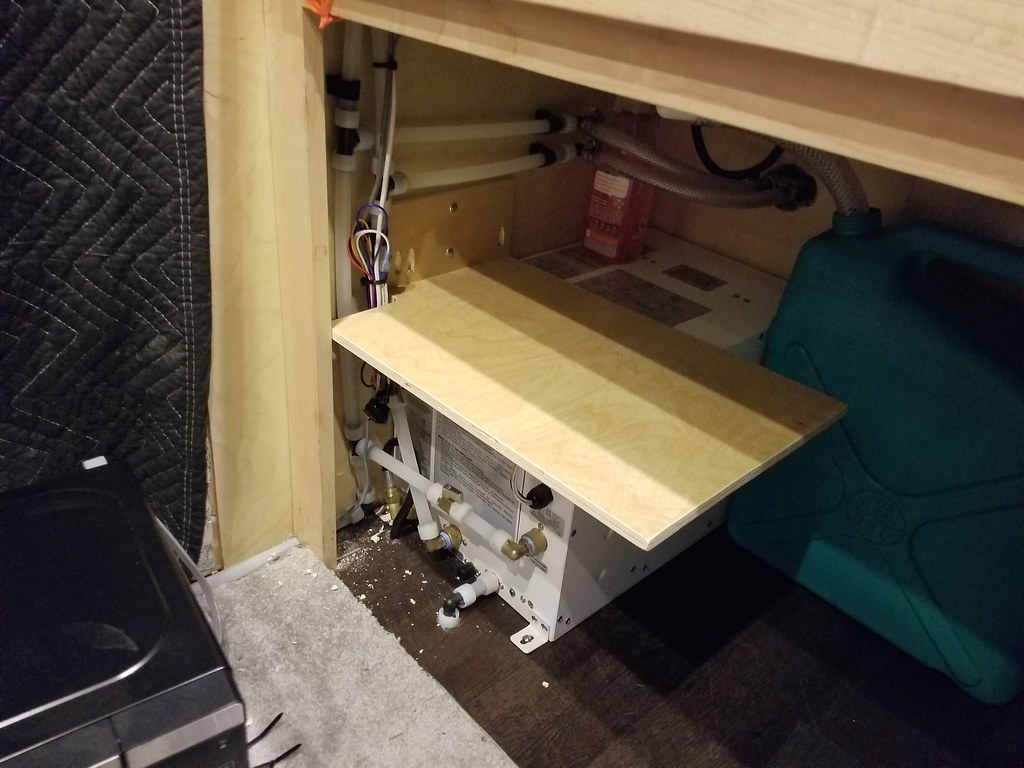
Got an on demand hot water tank on Ebay, killer price, should be a nice unit, 60K btu's.