CDA 455 II
ANFAQUE2
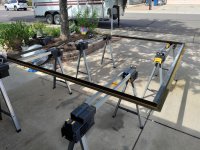
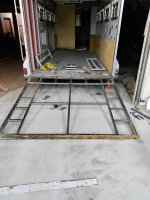
I started with grinder and a cut off wheel and ended up using a torch to cut the axles from the frame. What a total PITA that was.
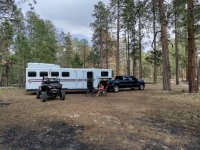
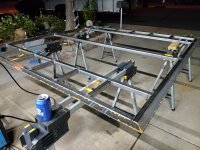
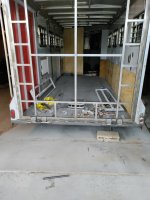
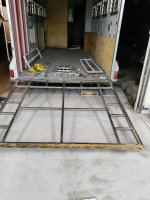
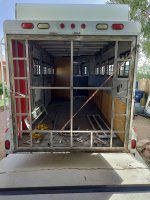
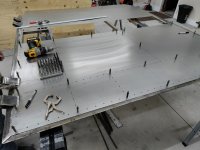
Got the front axle in place and measured cross ways and every other way to be sure it was straight and square then tacked it in place. You can see the 5 inch lift here.
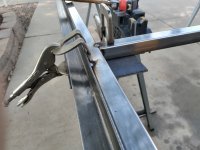
Please correct me if I'm wrong;
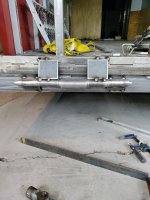
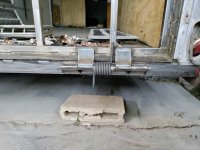
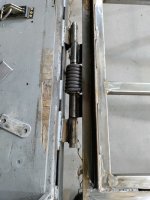
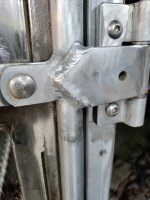
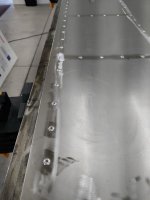
It appears in that pic the axle might be upside down if it's a torsion suspension.