What's new
  • Check out our new Group Buy Program! We're kicking it off with Baja Designs! $10 Flat rate shipping no matter how much you order!

Dez Loc Buggy

Grronk

Somewhat Retarded
Joined
May 19, 2020
Member Number
220
Messages
415
Loc
SLO County, CA
Been piling up parts and pieces for this build for a while, finally taking some bigger steps like glueing tube together over the weekend so that means I can get the build thread started :beer:

Current plan is a tube buggy on tons, 42s, 5.3 ls, TH400, atlas, with 4 seats. I'm 6'4" so lots of the chassis kits and off the shelf chassis either don't fit me or don't look good to me. So I decided to do the easy thing and design and build one completely myself :flipoff2:

Cleaning up a SD60 sucks hard, but it's worth it
20230318_115230.jpg

20230318_115237.jpg
20230320_072241.jpg
20230512_071007.jpg
20230327_070928.jpg

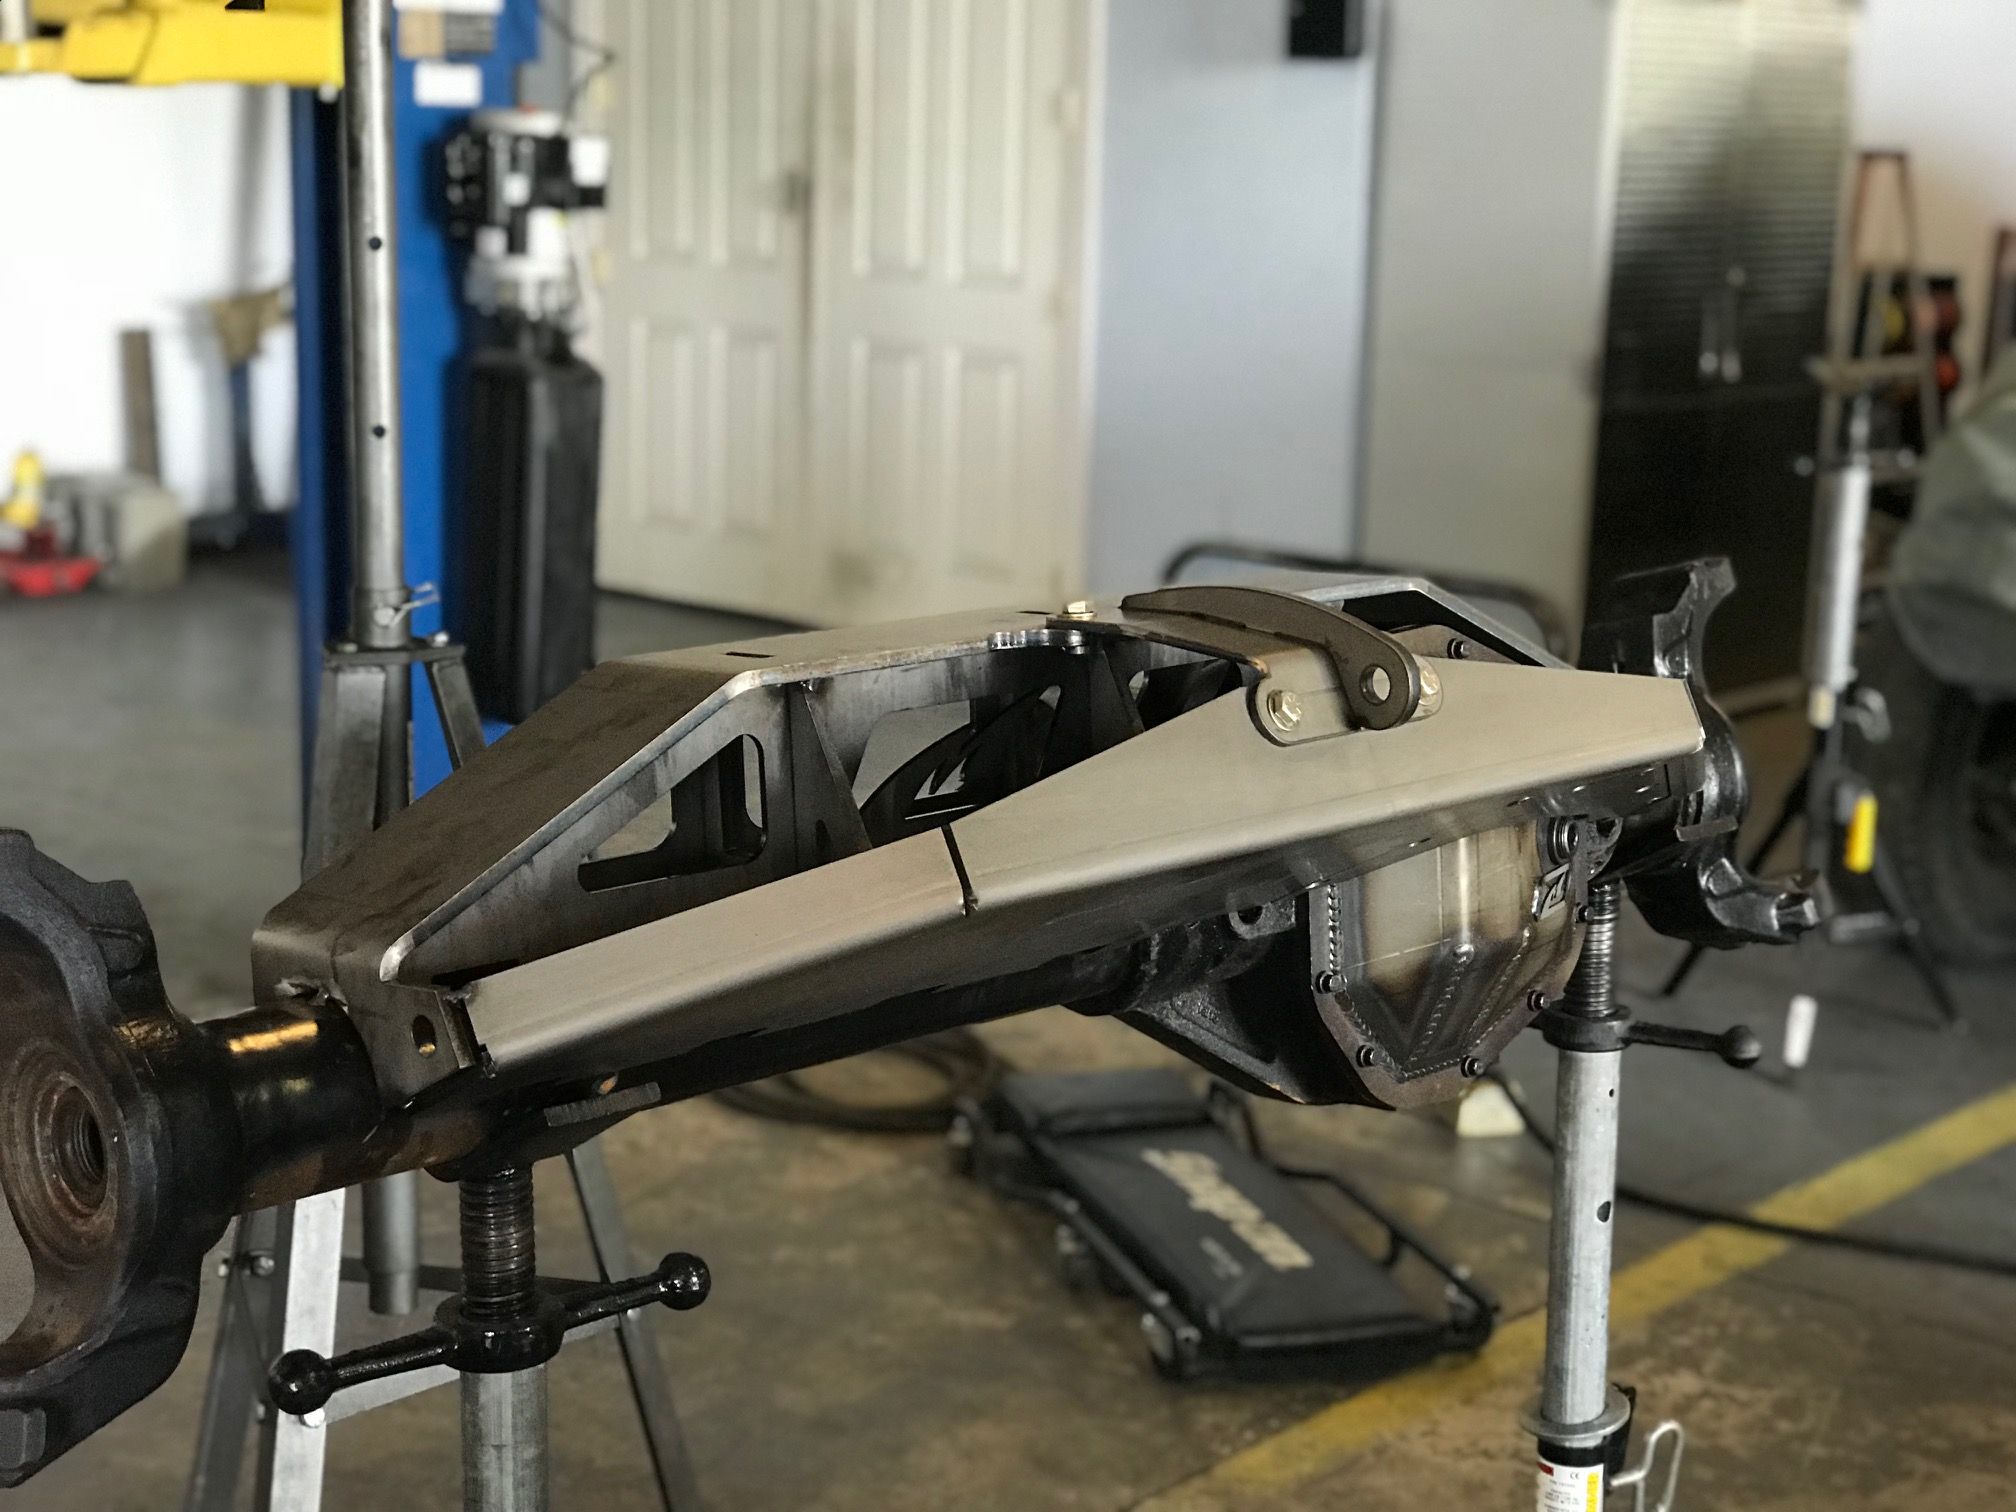
Weaver Fab knuckles

20230323_194335.jpg
20230512_070934.jpg

Rebuilt an LS a buddy sold me for cheap
 
Last edited:
My house came with an old box truck that was abandoned on the property, I yoinked the rear axle from it and cleaned it up and pit disc brakes on it, Dana 70U with the smooth bottom.
20220411_180131.jpg

Built a fixture table, then fixture table axle stands to hold the axles at 120" WB
20240228_192805.jpg
20240315_160006.jpg


Everything set out on the table (mock up block)
Snapchat-1792285699.jpg
20240317_115303.jpg
20240317_115311.jpg
 

Attachments

  • IMG_20240317_121141_723.webp
    336.6 KB · Views: 6
  • 20240317_115300.jpg
    20240317_115300.jpg
    2.7 MB · Views: 9
Last edited:
I like it. I'm sure you can get the front carrier in and out but it doesn't look like it in the pics.
My pics don't show it well, but there is a removable plate, the carrier will go in and out from the underside of the skid

 
so axles are actually set at full bump? or will they go down a couple inches. totaly love the set by step approach

thanks for doing that.
 
so axles are actually set at full bump? or will they go down a couple inches. totaly love the set by step approach

thanks for doing that.
Depending on how everything else ends up occupying space I'm hoping for it to be at full bump where it is at
 
I'm wanting to fit more than just a child in the back seat, so the rear upper links are going to be fighting the rear seat for the same area, so we will see how that effects the bump height at the end. Might just have to limit it to my child size buddies in the back only if it come to it (you know who you are:flipoff2:)
 
20240320_203902.jpg

It would be pretty slick to use Ol' Yellas old steering wheel me thinks:smokin:
Joe's Racing makes a 3-bolt splined quick disconnect that can be used to make this steering wheel work. Slight modification required on the steering wheel hub, but itsn't too bad. I used one on my last buggy and it was sweet.
 
I'm wanting to fit more than just a child in the back seat, so the rear upper links are going to be fighting the rear seat for the same area, so we will see how that effects the bump height at the end. Might just have to limit it to my child size buddies in the back only if it come to it (you know who you are:flipoff2:)

triangulate the lowers at the chassis and make the uppers straight to clear the back seat.
 
Not the actual hood I am planning on using, but it would fit pretty perfect :beer:

Wanting to run a FJ40 hood to keep some yota in this build, if you have one around SLO county CA that you'd get rid of let me know

Snapchat-2073430207.jpg
 
Been busy with non buggy stuff for a while, but finally got a solid day if work in. Got the rear link mounts cut out and tacked in, and some supports put in as well. Drilling out plasma cut holes absolutely fucks my drill bits

20240504_101532.jpg


20240504_101602.jpg


20240504_110812.jpg


I kicked the upper bars if the x back for extra head room for my big fuckin head/helmet
20240504_110823.jpg
20240504_110843.jpg

Windshield bars
20240504_132441.jpg
20240504_132443.jpg
 
I don't know what size holes you are cutting and drilling, but if I need precise holes I will pierce a small hole for location then drill to size.
It is a lot easier to drill than cleaning up a 3/4" plasma cut hole.
 
I don't know what size holes you are cutting and drilling, but if I need precise holes I will pierce a small hole for location then drill to size.
It is a lot easier to drill than cleaning up a 3/4" plasma cut hole.
That's what I'm going to try next, I'm cutting to .73" due to what I found in a quick googling, but it's not great
 
In my software, I can program a pierce only. That gives me a good location, and a .060ish hole.
 
Have you got a square-on side shot? Looks like the link angles converge really aggressively?
 
Finally got back to some buggy work today, got the rear links mocked up, pics are not at ride height

20240914_163338.jpg
20240914_163346.jpg

This pic makes the uppers look straight but theyre not

20240914_163355.jpg

Satchell link.

What did your roll center height come out to?
 
Top Back Refresh