Rugger99
Active member
- Joined
- Dec 4, 2020
- Member Number
- 3110
- Messages
- 29
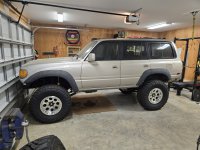
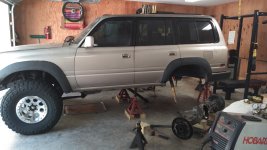
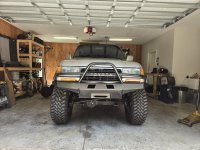
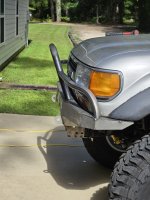
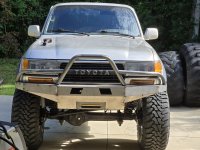
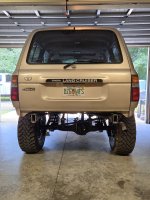
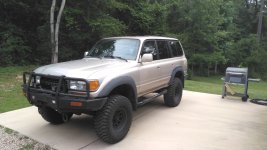
Haven't posted on here in a long time. I have built a couple of Jeeps over the years and had fun with them but I am kinda over the hardcore crawling scene. Don't get me wrong, it's fun but when you live in Florida it's difficult to justify the associated expenses of having a dedicated crawler when the nearest trail / park is 6 + hours away. Sold the last Jeep last July and bought a FJ 80. It's a 1991 and has 346K miles on it. No rust, no frame issues, interior is in really good shape and overall is a very solid rig. The bad...3FE leaked more oil than a rusty oil tanker, had a stupid high idle (likely vacuum related) and definitely needed some TLC and basic maintenance as it appears the last owner(s) were like "maintenace...da fuk is that?"
When I picked it up, drove it 50 miles to the house while my buddy followed me with a trailer. The good, no grey,white, black or other colored exhaust during the entire trip. Also the transmission seemed to shift nice and smooth and there were no whining or grinding noises coming from the drivetrain.
After looking it over the next day, I put together a list of items that needed attention...yeah, large list. First and foremost, I decided to deal with the ticking time bomb that was the spare. It was a 33" Thornturd that still had the nipples intact but the sidewall was splitting and had a couple of bubbled out areas as well, not to mention it was so overinflated the tread rose to a peak, think ridgeline in appearance. Not wanting to die a horrible death, I decided to cut the valve stem and release the air from the tire before removing it from the tire carrier as I am certain any movement may have caused the tire to explode and kill me violently with a chunk of Thornturd to the forehead. Whew...crisis averted. Obviously, I am exaggerating but it was seriously a sketchy spare tire.
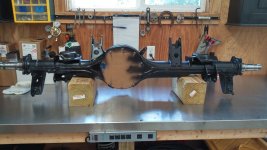
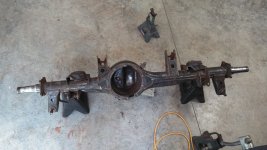
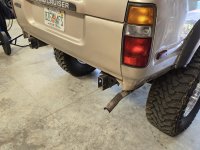
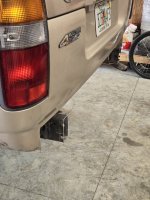
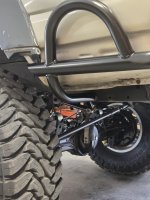
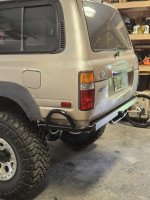
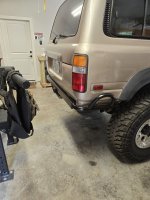
That weekend I went on a road trip to score some parts. Picked up a complete Full Float axle assembly, minus the third member for $50, a correct rear hatch (one on the vehicle was from a 93 - 97) without the stupid air deflector for $37 and some other misc. items.
I had a set of 38" SX's on 15" Allied beadlocks already and they looked good on it but since I was going to swap the semi float rear for a Full Float rear, they were sold to fund the new wheels and tires as the full float requires a 16" minimum wheel to clear the calipers. Ended up going with a set of 37 Toyo MT's on Sidetracked beadlocks.
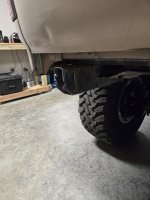
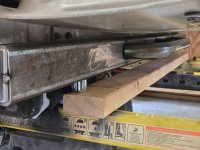
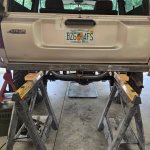
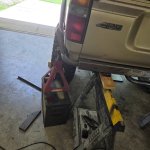
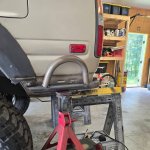
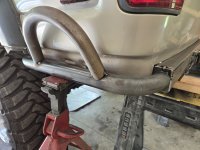
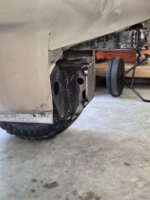
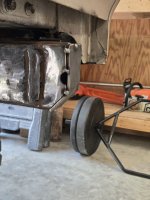
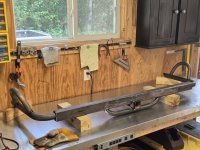
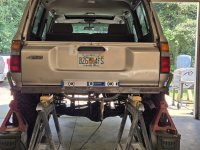
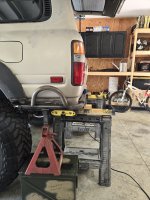
To be continued at a later date....Pics for your viewing pleasure.
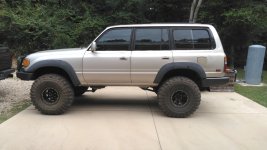
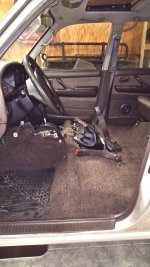
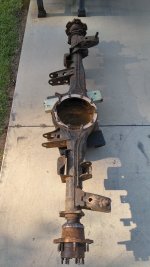
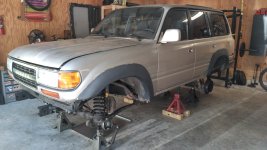

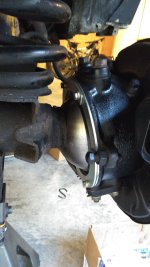
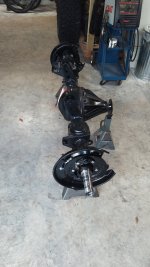
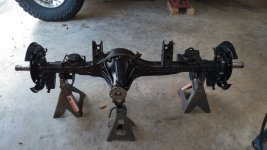
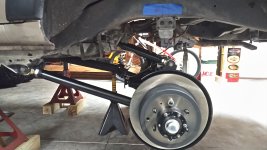
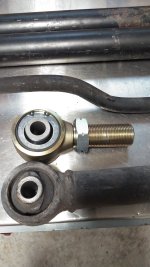
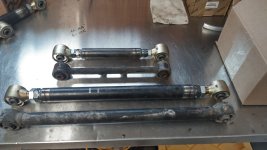
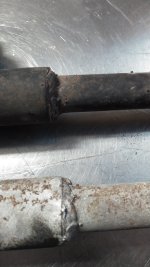
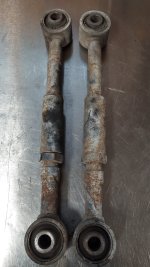
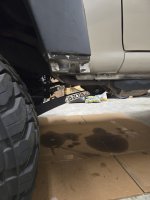
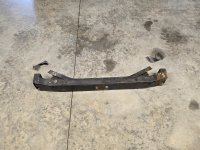
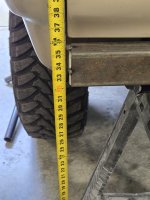
 . Third was pulled and set aside in the parts pile and a new third from Marlin with 5.29's and an ARB was put in....RCV shafts as well. Rear axle was pulled out, third sent to Marlin for 5.29's and an ARB. Semi float housing went to a friend for parts (he has a 91 and 92 FJ80). While waiting for the third to get built, The full float housing was cleaned up, painted and new seals, bearings and hardware installed along with the third and RCV's. While the rear was waiting to go back under the FJ, I made new upper and lower control arms for the rear. A previous owner had taken a set of stock upper arms and cut them up, added sleeves, threaded rod and nuts and made them adjustable. Great idea just poor execution. Since the rear wheel was no longer centered in the wheel well due to the lift and the use of stock length control arms, I made the new ones 1.25" longer and that got the axle centered.