What's new

YJ unlimited build

Hello everyone. The Navy decided they wanted to cut my deployment in half for now so I am typing this from my couch at home. I got home yesterday afternoon. Feels good to be back in the states.

As soon as I got home I went to work getting some things done on the Jeep. I installed some wakeboard tower speakers and a little side marker LED to keep the cops from bugging me when I drive it on the street. Today the wife and I took it to Lowes and to get some Dunkin' donuts. She still drives surprisingly well on the streets. I still need to build a new tie rod and add a steering cooler. That will be done sometime within the next week.


Xy2Mbq8.jpg


LhjnN6f.jpg


T0JQoiI.jpg


nCDOYNG.jpg


T7gYgQL.jpg
 
On Monday I finally put to use the Quadratec Gift certificate I won from YJOTM. I ordered a new Bikini top and a Bestop trail cover. I placed my order on Monday afternoon and they already showed up today. Not only that but my total cost was slightly over what the gift certificate was for, I had my debit card out and was ready to read him the numbers and he said "hold on a second...... Ok you're good to go. I went ahead and knocked off the rest of it". I was shocked and asked if he was sure and thank you so much. I haven't used Quadratec in many years but to say I was impressed would be an understatement.


Here is the new bikini top. Its a little shorter than my old one but I'm hoping its because it needs to relax and stretch a bit. It'll also sit further back when my windshield is removed and the top is connected to the windshield channel on the cage. If the length irritates me too much I can snag a LJ top instead. It is an extended YJ top made by Mastertop. Seems to be good quality.

bKmr4vk.jpg


And here is the Bestop LJ trail cover. This thing is awesome. Its super heavy duty, nice tight fit, has 2 hooks per door flap to secure it tight and it connects to the soft top belt rail in 3 spots each side along the sides. Super impressed with this thing.

gzYk7Wl.jpg


YCJbKue.jpg


LV9lBVe.jpg
 
Just got back from a great weekend at Big Dogs. Jeep did great. Suffered a broken Bilstein shock the first day. The shock ripped from the lower eye and bent the shaft. I was able to straighten out most of the shaft in one of the stake pockets on my trailer and welded the eye back on the shock. It rained for about 2 weeks straight in Va before this trip and even poured most of Friday into Saturday morning. This made for a difficult weekend of wheeling. Most of the trails were covered in thick mud and some trails I had to pull cable just to get up an easy section because I couldnt get any traction. I started the weekend off with 7 psi in my PBRs and by Sunday I lowered it to 5 and the tires gripped the heck out of the rocks. I'm going to keep playing with the numbers but so far I'm extremely impressed with how they do at 5 psi. I was also the second smallest tire in my group with my 41.5" Pitbulls.

Here's some pictures in no particular order.

OrOEg06.jpg


ycJgcYv.jpg


ddzd6HX.jpg


9XlIjkU.jpg


C2GsL5x.jpg


lEGQGGS.jpg


qfew6Ou.jpg


F8yN96w.jpg
 
Checking in after being AWOL for a little bit. Deployed again at the end of August. Been all over the Atlantic ocean and even made it north across the Arctic Circle.

Pulled into Belgium for a few days in October and am now sitting in Rota, Spain. Below are just a few cool pictures I've taken. I will get some of Spain soon for you guys.


Belgium

yFhMmZP.jpg


sQlmmsE.jpg


5B0RmW8.jpg


C6uONAK.jpg


fFADyJ0.jpg


Sunset leaving Belgium

amFSXAp.jpg


Off the coast of Norway

2Ddo0Qy.jpg


SD64ha4.jpg


20' seas in the Arctic

PL3wULI.jpg
 
Here are some photos from Spain. I will be leaving here shortly and heading back out to Sea.

kwjv3Px.jpg


0cSo4VW.jpg


Jwkb85Z.jpg


UrcooP8.jpg


cqXW8ZQ.jpg


j3iEuCm.jpg


Vo1bqO5.jpg


qW9S0bo.jpg


a6zn1b3.jpg
 
Back from Deployment again. Came home yesterday morning. I will be leaving tomorrow to head to Vegas and San Diego for the holiday season. Stay tuned for updates after that as I hope to kick off the front 3 link soon. Have a safe holiday everyone.
 
Well with the upcoming 3 link project there are a couple things I want to get done around the shop to make the build easier and more organized.

The first thing I got done was an adjustable axle cart. I spent a couple hours a day the last couple days building this. It is made of 1.5" square tubing as the main frame and 2" square for the adjustment sleeves. It uses 2 scissor jacks and also an ordinary jack stand. Everything is able to move up/down, left/right and forward/aft to easily facilitate any axle setup. This should make the 3 link project a lot easier.


Stick of 1.5' square with 1/8" wall.

B5qygcV.jpg


2" square with 1/4" wall. This is actually the trailer hitch tubing that came with the hitch basket that I built my rear storage basket out of.

intOsqe.jpg


With a little shaving of the 1.5 square everything slides nice and easy

llyV0WX.jpg


then I cut everything to size and tac'd it all up. I used some angle iron to build a little holder for the jack stand.

Ho6nI2h.jpg


mockup

1gZI48a.jpg


fully welded

6lA2D2Z.jpg


And what it will look like under the axle. The weight of the axle is still resting on the tires. As you can see the jackstand is used to support the pinion.

ZbGzZ7Z.jpg


ujbGcVI.jpg
 
Started today off by building some jack stand platforms real quick. Used some 4x4 and 3/4 plywood.

wpatbHn.jpg


h56Yfwg.jpg


NGoimqm.jpg


Then it was time to start tearing down the front end on the Jeep. 1 last picture of it on leaf springs before I start.

ljzRym2.jpg


First thing is disconnect my winch and lights then pull off the bumper. As a combo unit my bumper and winch are extremely heavy. Not sure on actual weight but it feels like a crap ton

c9HqhiN.jpg


Then remove the highline fenders

QXi6DQd.jpg


Put it on jack stands and lets remove those big 'ol tires.

XcOyPAc.jpg


And the leafs come off for the last time. Good riddance. I am stoked to finally get rid of these.

Z8oa9Dw.jpg


After that it was just a matter of disconnecting the drive shaft and removing brake lines, Hydro assist, shocks, Arb air line and disconnecting the drag link from the pitman arm.

KB0eL1l.jpg


Axle ready to get all the brackets removed at a later date.

dkJqD4x.jpg


and here you can see how bent both my tie rod and drag link are. That tie rod only has 1 trip on it and the drag link has 3. :eek:

Xf3yu9Y.jpg


Well thats all for today. I have work all day tomorrow but plan to get some work in on Sunday and Monday. I will start removing all the frame brackets.
 
Got the frame and axle stripped. Only thing I still need to do on the axle is trim some of the cast. In total for the frame and axle I went through 17cut off discs, 3 flapper wheels, 1 grinder wheel and 13 sawzall blades.


EH5WQvz.jpg


4vaP4KC.jpg


Xr3Csxy.jpg


KJ8d8TQ.jpg
 
Spent some time over the weekend working on the Jeep. Got a lot done but not too much to show because I was in the zone and didnt take many pictures.


The first thing I did was trim the cast on the Dana 60 then make a new tie rod. I've bent 2 tie rods in my last 2 trips out. I've been using 1.5x.250. The reason for them bending I believe is because the places I wheel have a lot of rock gardens and its impossible to line your tires up perfectly on the rocks to clear all the others, I also slip off of rocks straight onto my tie rod sometimes. So I decided to try a tie rod made out of 2x.250". With 2 bent tie rods laying around I just cut about 6-10" off the ends of one and sleeved that into the 2" tube. I shaved the 1.5" down with the flapper and then had to vigorously slam the tubing on a piece of steel on the ground to get it in all the way. One side took about 2 minutes and the other side took about 45, what a workout that was


Heres a example of the rock gardens. This is at Rausch Creek.

mDXOI95.jpg


Threw a tie rod into the band saw.

HtNc7Fj.jpg


shaved it and proceeded to slam the crap out of it. I tried to use my neighbors press but the tie rod is too long.

v3KUKNA.jpg


Shiny new tie rod. I will weld the circumference where the 2 meet(right at the bung) and I will also probably do a couple plug welds even though I KNOW these will never come apart again after the force it took to get them together.

lQQM5x2.jpg


After that it was time to roll the axle under the Jeep. The first thing I wanted to answer was am I going to be able to fit everything while still running a steering box. In the picture below I only have about 2.5-3" before the rod end at the pitman arm hits the differential cover. I can't move the axle rearward because with the 41.5" tires I start to get into the tub and battery holder. After some playing around I swapped the pitman arm for a flat arm that's also a little shorter. The new arm I put on sits 3/4" higher and has a mounting hole distance of 6.5" vs the 6.75" on the J20 arm. After I swapped it looks like everything will clear until the rod end contacts the tie rod at around 5.5" of up travel. I don't have have a picture of checking clearances with the new arm.

J20 arm clearance at ride height.

7a3Y5jp.jpg


I think I might be good for now so I figured I'd get my lower mounts tac'd on and make some PVC links.

PahP6rV.jpg


2KhrOzP.jpg


And one more picture to close out the day. I will try to get some more done next weekend. I will tac up the upper link mounts and figure out how the heck I'm supposed to get a panhard bar in there.


ZR053F8.jpg
 
Spent a little time working on the front suspension this weekend. Didn't spend as much time as I would've liked but I had to work all day yesterday plus I spent some time with the family.

I was able to get all of the suspension mocked up and check for clearances. As of right now it looks like I'm only going to have to clearance the frame for the drag link and panhard mount on the passenger side. Today the axle fought me a bunch. It fell off the jack and cart twice while trying to flex it and check clearances. Because the axle is so heavy once it gets momentum in one direction it just keeps going. Both time that it fell off the jack it ripped some brackets off the axle and frame that were tac'd on. So i had to cut the tacs off, sand it smooth then tac it on again, all for it to happen again an hour later

I pretty much just put everything where it would fit while adhering to a few standard rules of thumb for 3 links.

Here are my numbers and a couple pictures. Inputs welcome.


HRrmIHP.png


1GECahc.jpg


vjTEoyZ.jpg


UPZO3Px.jpg


wSlYs1K.jpg


nQHMpNw.jpg


You can see in these pictures that I have the drag link C-clamped to the high steer arm. The drag link is clamped at 6" from center of kingpin to match my 6" mounting hole-mounting hole pitman arm. I am currently able to get from lock to lock with this setup. I havent seen exactly how far I can turn before my tires hit the lower links yet but i will get to that soon. I really need to figure out how I'm going to really flex this thing out and check clearances without the damn axle falling. Once I do a few more clearance checks I will start bending up shock hoops and try to get those mounted.
 
Got a little work done over the weekend on shock mounts.


First thing I did was fit up the Ruffstuff lower shock tabs. Required a little bit of trimming but not too much.

0vt4lgU.jpg


Then I threw some 1.75x.120 DOM in the JD2 Model 32 bender and bent up a hoop to 60 degrees.

OjREBKC.jpg


kHqIWBS.jpg


C2qEWVK.jpg


I tried these round tube shock tabs for my upper mounts but didn't like them. They were hard to get position and because of the bend in the shock hoops I was pretty limited to how they positioned the shock.

4u2Z5Vn.jpg


So in my typical fashion I made some shock tabs out of 1/4" plate. Here is a quick rundown of the process. I used a small tab I had laying around as a reference.

sXS6tt4.jpg


usaEmpR.jpg


OaTtBvr.jpg


pzpGMaZ.jpg


BmbDB11.jpg


Then it was time to mock up the shocks again. Way better with these tabs.

zK0ALGQ.jpg


c2B9z24.jpg


Qinub3w.jpg


and mimic the same exact thing on the driver's side.

T12RhGW.jpg


And the last thing I did was cut the frame for drag link and panhard bracket clearance.

BzClYkp.jpg


Finally on Monday I went in the garage and shifted my focus a little bit. With my rear 4 link I built my lower links out of 2x.250 DOM. It took about 2 trips for me to put a slight bow in them. Everyone that I run with locally has all bent 2x.250 and most have swapped over to aluminum links. Well if you have learned anything about this build it's that I like to build things out of whatever I have laying around my garage vs spending a crap ton of money on blingy products unless I absolutely need them. I am not saying that I will never spend the money on aluminum links, just not going to right now.

In the meantime what I have laying around the garage is an entire stick of 2x.250 ready to be used. Seeing that I already own it I decided to use it and just sleeve it. So after a quick purchase of some 1.5x.250 DOM from Chassis Unlimited I am one step closer to links. I am going to take the 1.5 to work and throw it on the lathe to turn down the OD to press fit into the 2".


Eventually these 2 will be one.

rfZg71w.jpg


cLYFhnv.jpg


Got the links all cut to length and the 1.5 wrapped up to take to work. I wrapped the 2" after this pic and loaded them in the truck.

ISkOayi.jpg
 
Got some good progress done. Started off by staying late at work on Friday and turning down my DOM to make lower links.


1.5x.250 on the lathe at work.

IvsXrXv.jpg


j8ZCzaa.jpg


Nice press fit into the 2"

QRVu782.jpg


Then today I brought it to a buddies house and pressed it in. This was pretty scary to do. It kept making really loud popping noises as I was pressing it in and was even bending the frame a little bit. I guess I could've shaved a couple thousands more off of it first.

NWGrbR6.jpg


BOOM!! 2x.500 DOM lower links

DOJedSL.jpg


After that I spent a few hours cutting the rest of my links and panhard from DOM and getting everything nice and secure with some good tac welds to move it outside and really flex it out to make sure everything clears good.


Ride height

tyMKrUX.jpg


lgTRjiW.jpg


Full stuff passenger side and full droop drive side

or2Irmk.jpg


lg8F6zP.jpg


Shock frame clearance at full droop

SLfVFxb.jpg


And the opposite

Ze0jJIt.jpg


Only problem that I've seen so far is that when driver is full stuff and passenger is full droop it looks like the heim at the pitman arm is maxed out. I think it should be fine and I'm probably going to run limit straps anyway so I can try to limit my full droop 1/2" or so.


Need to rig up some bump stops then everything should be ready for final welding. Still need to fill in the frame where I notched, fish plate it then rework my exhaust and engine skid. I'm happy with the progress so far.
 
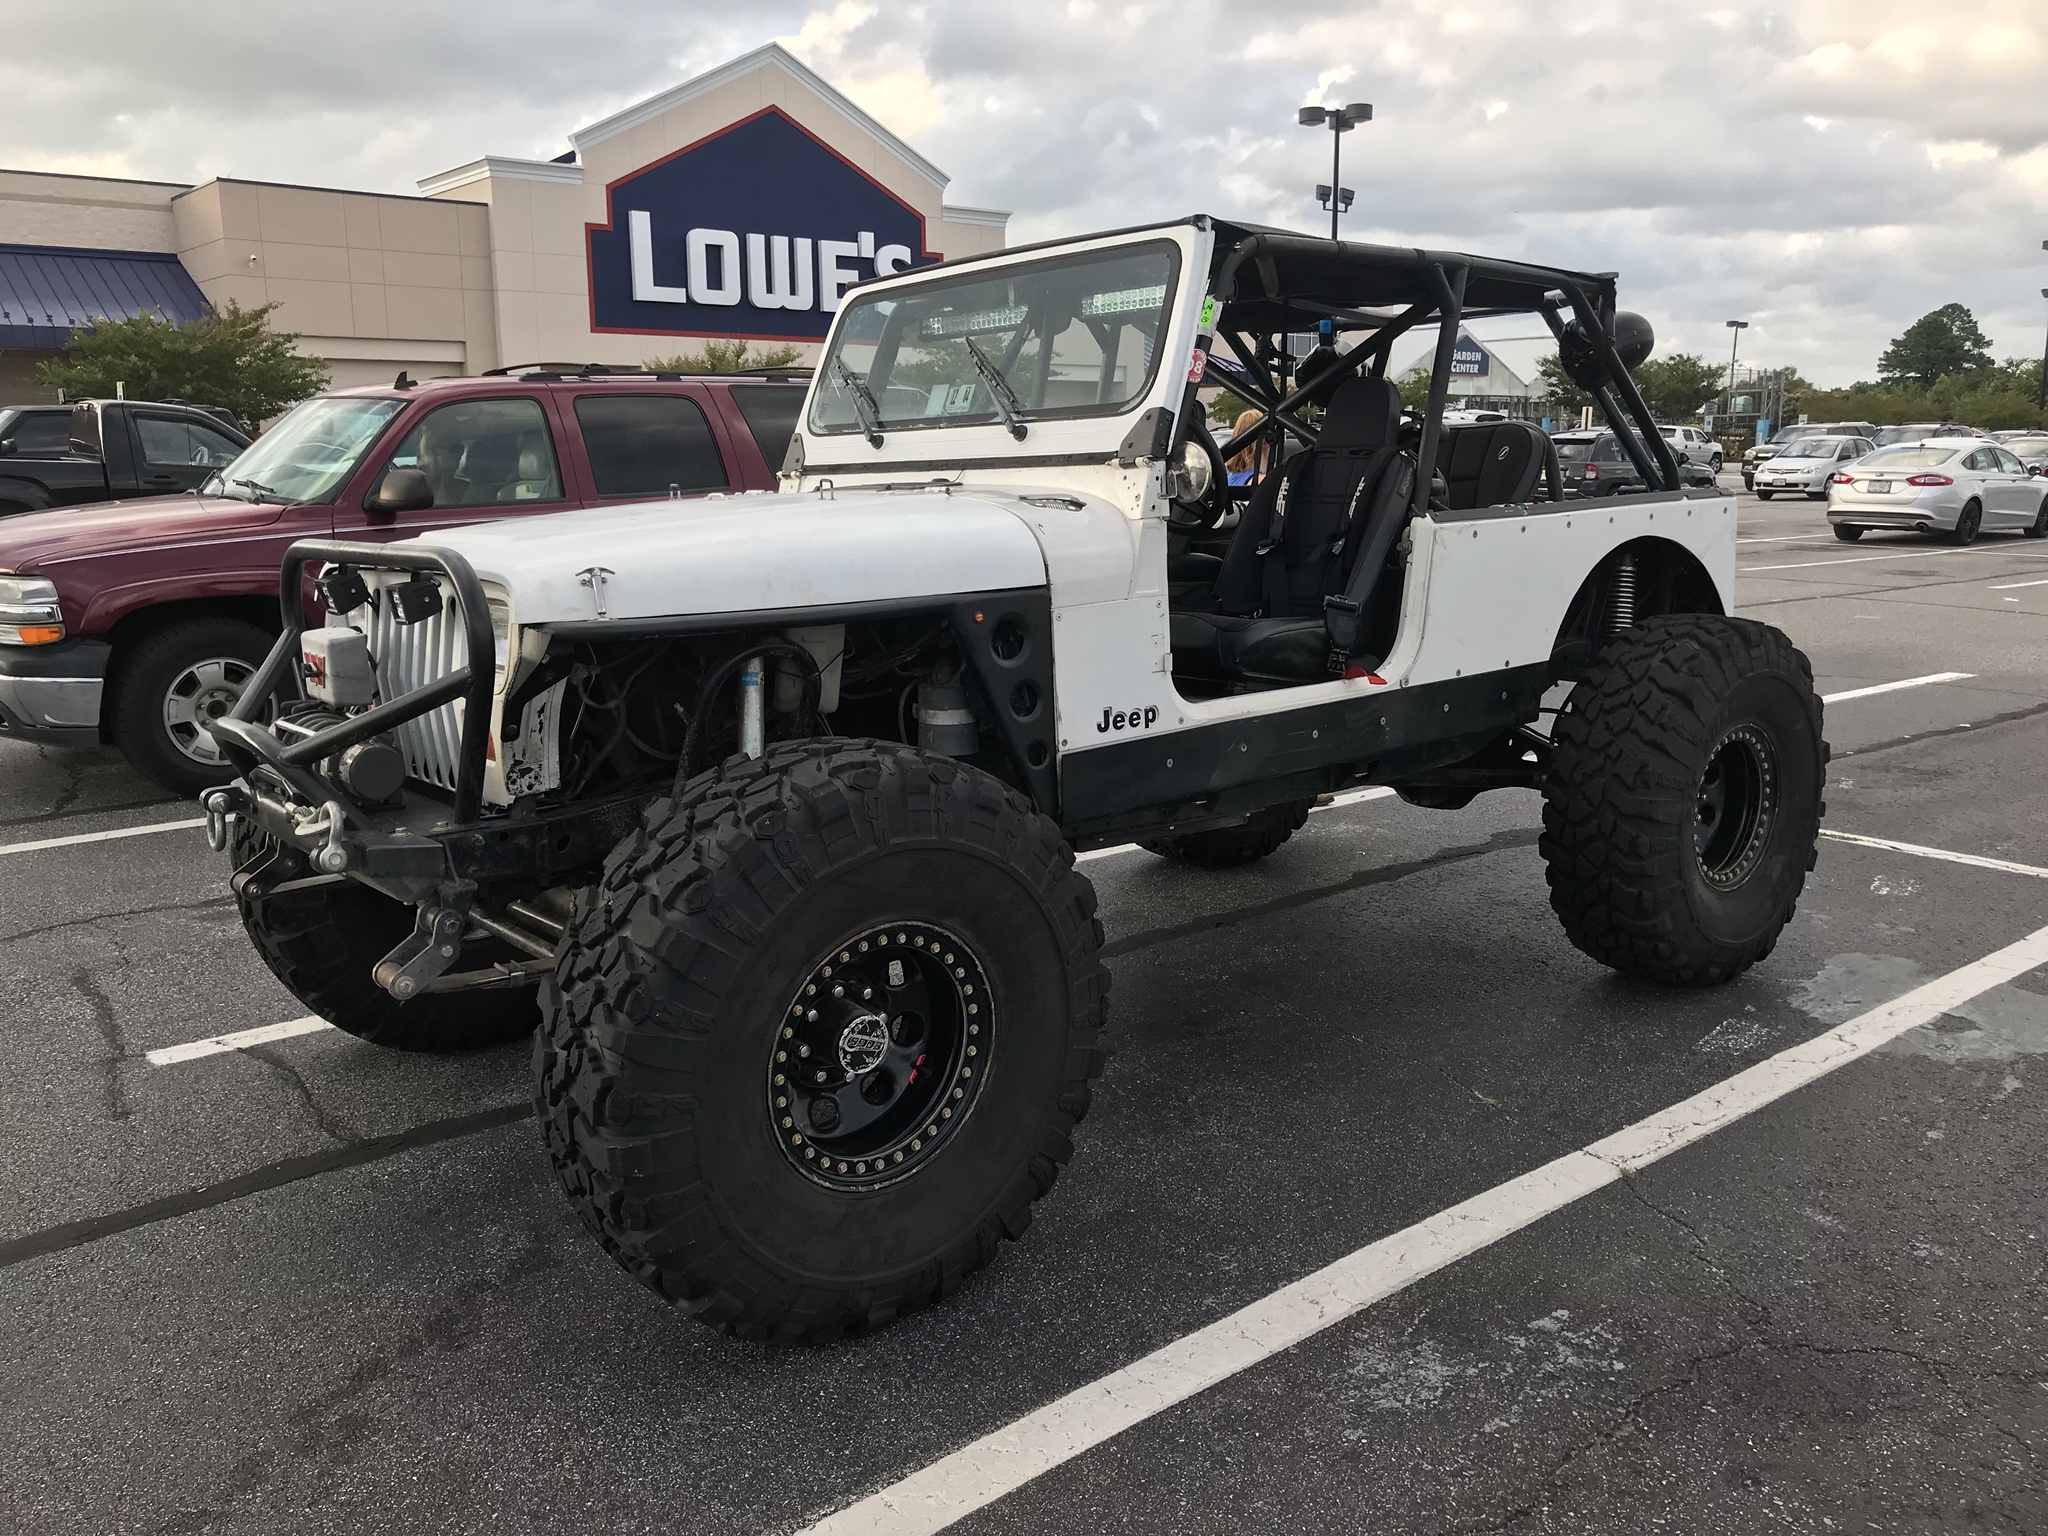
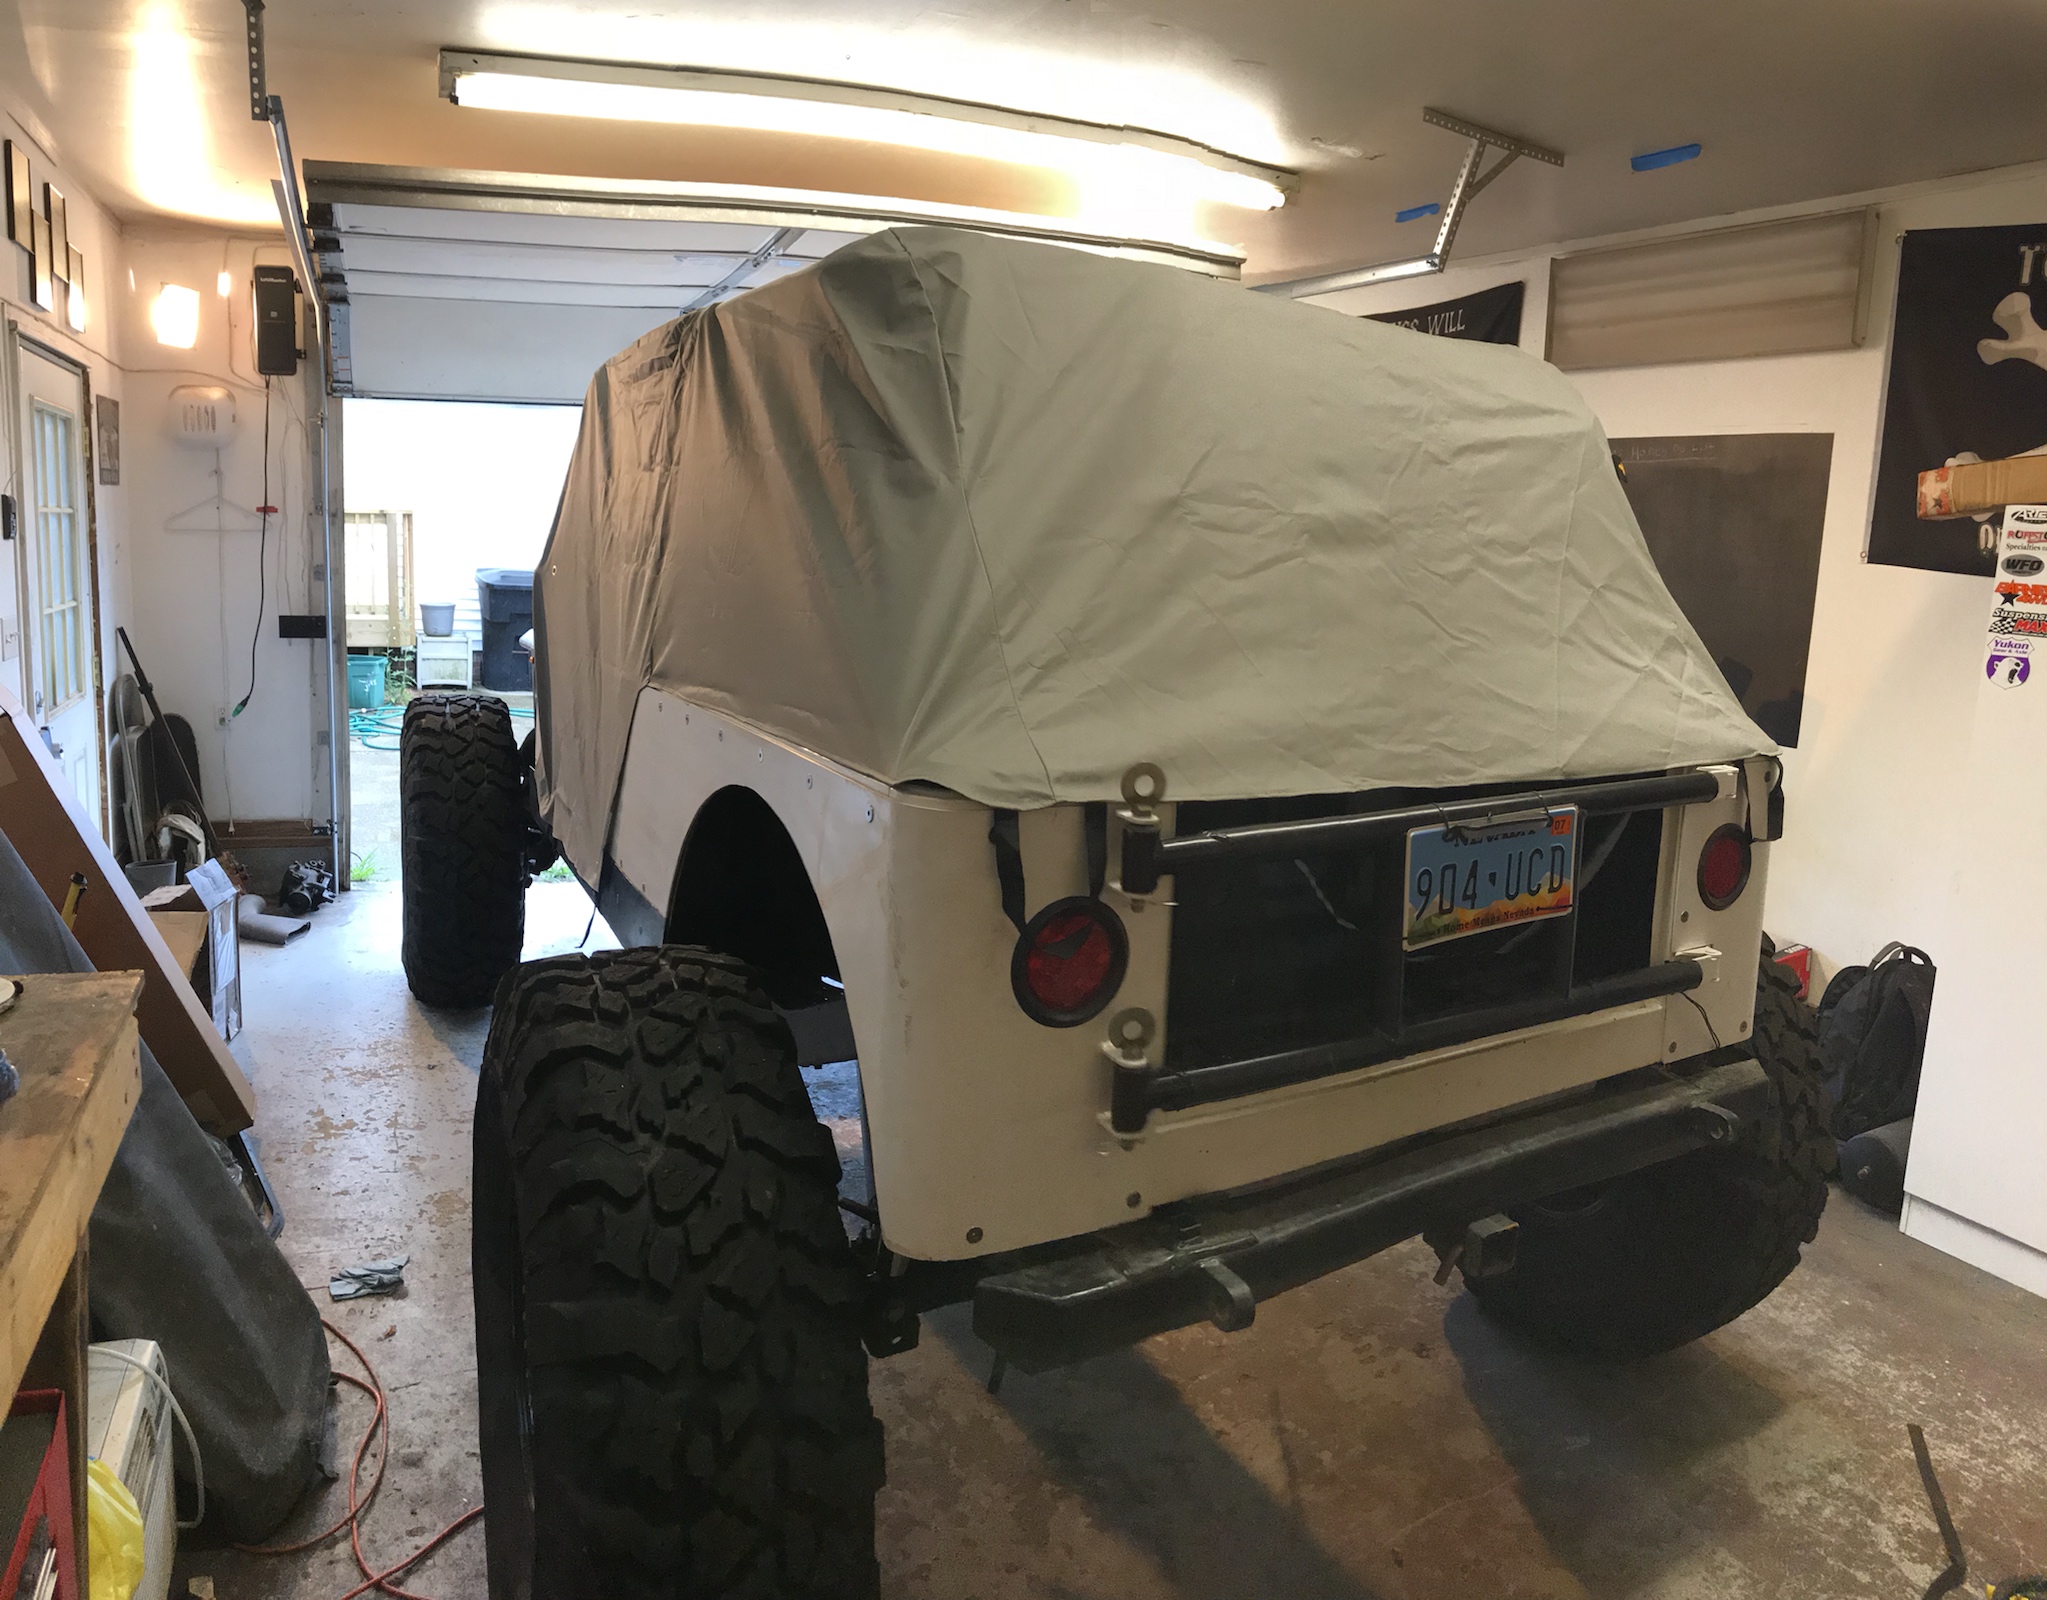
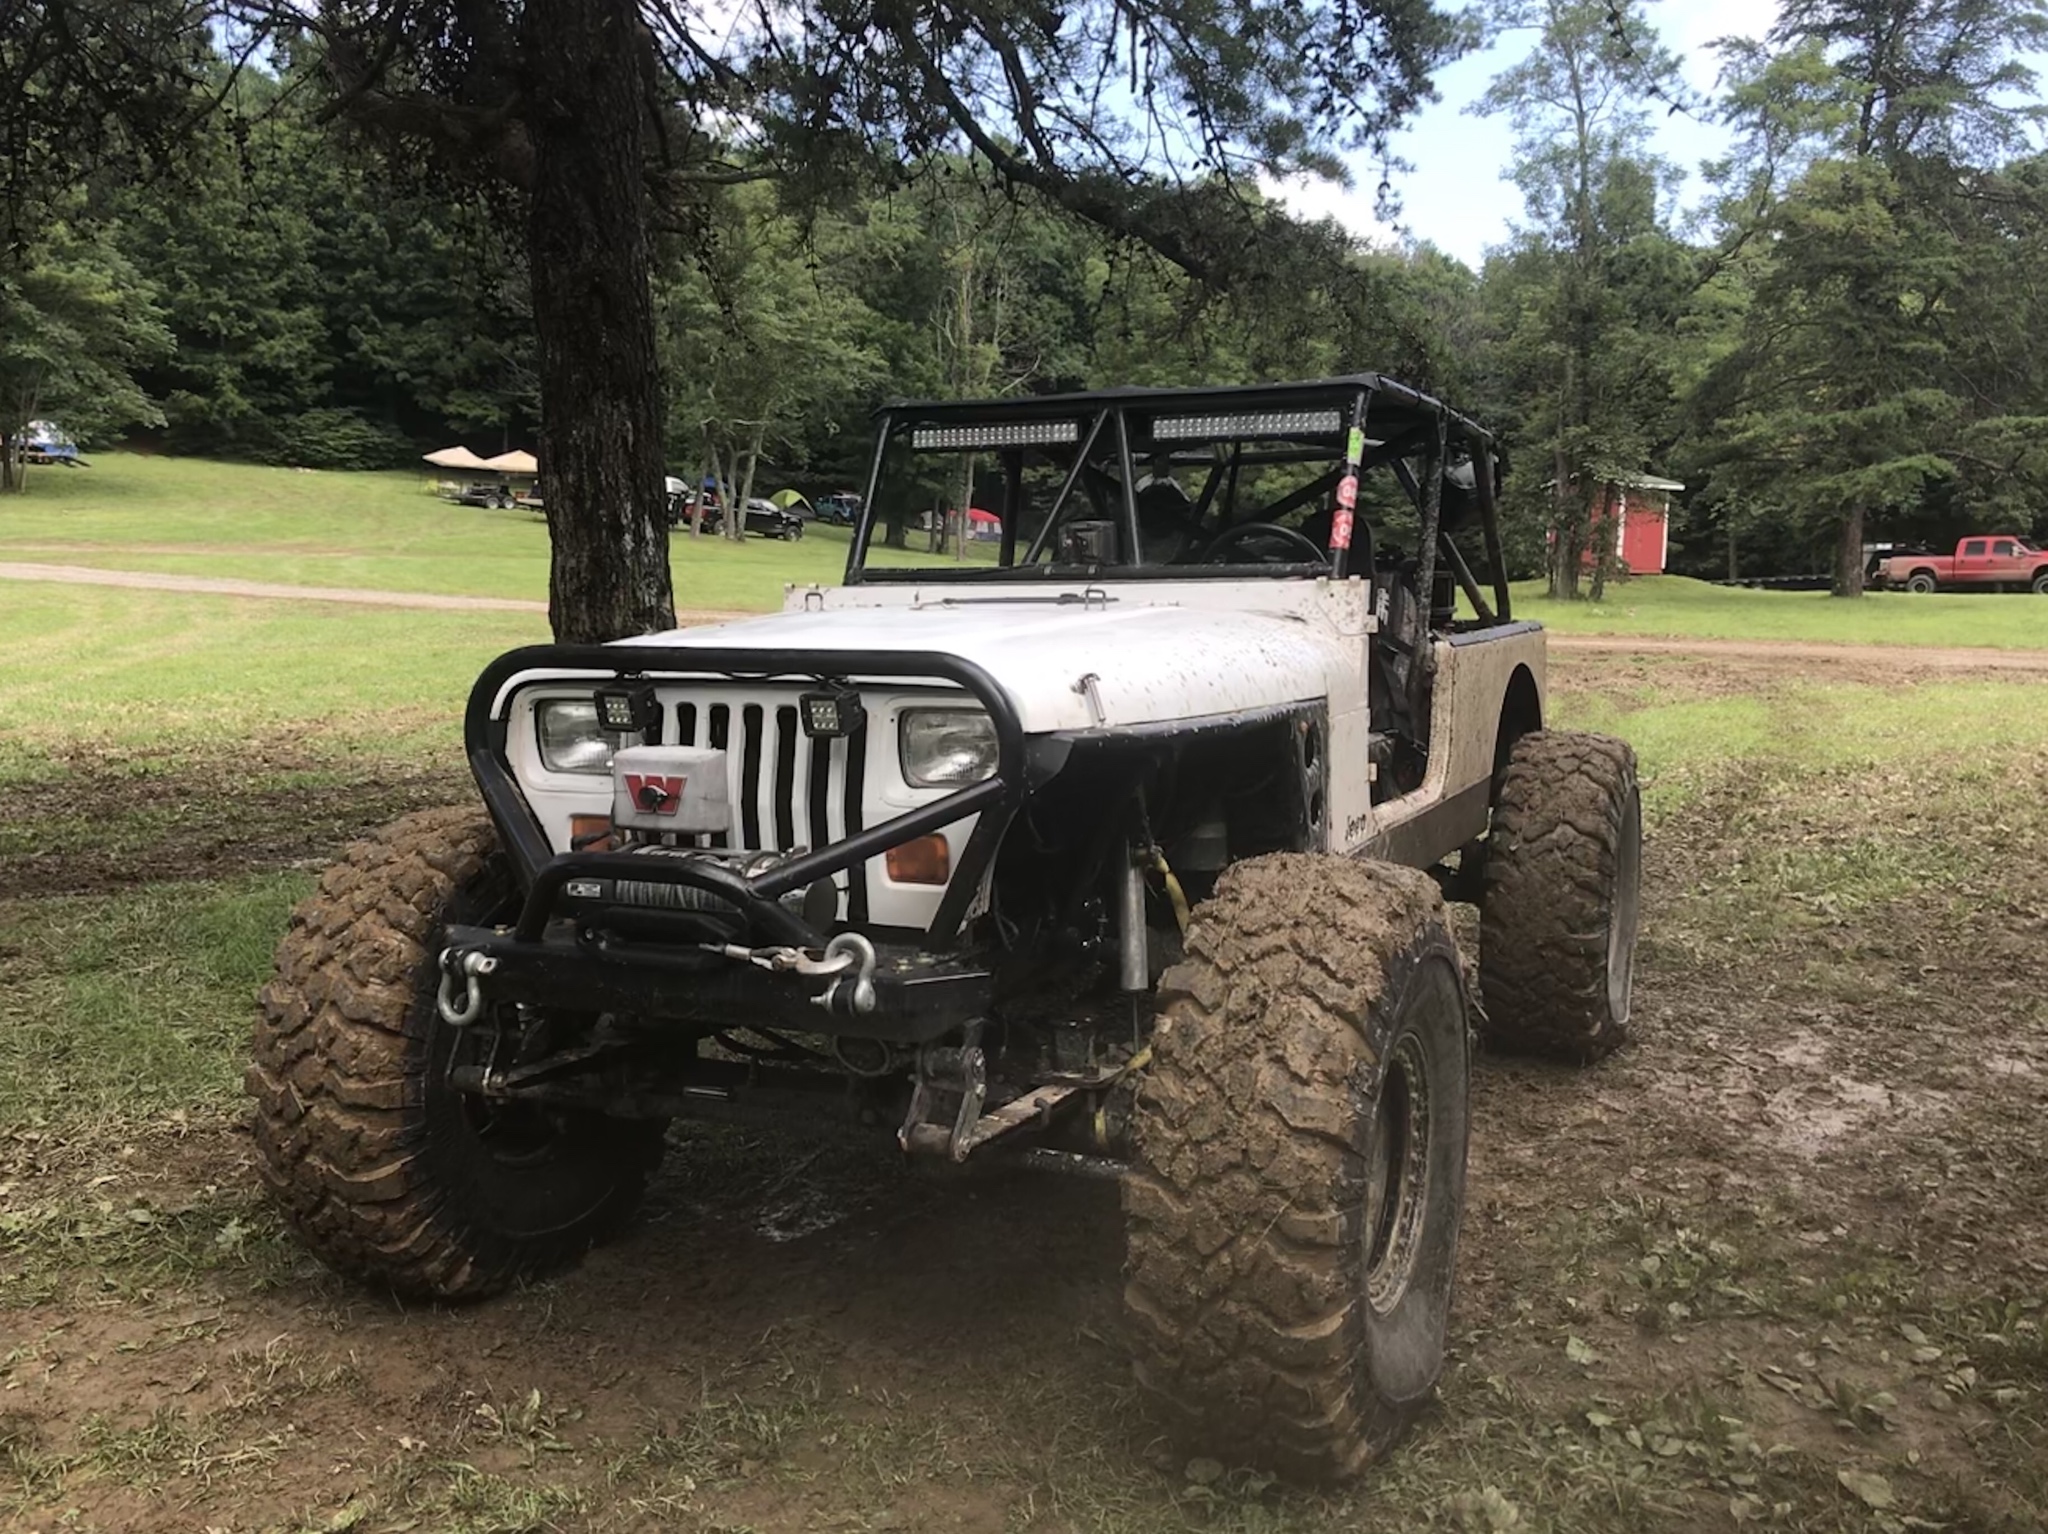
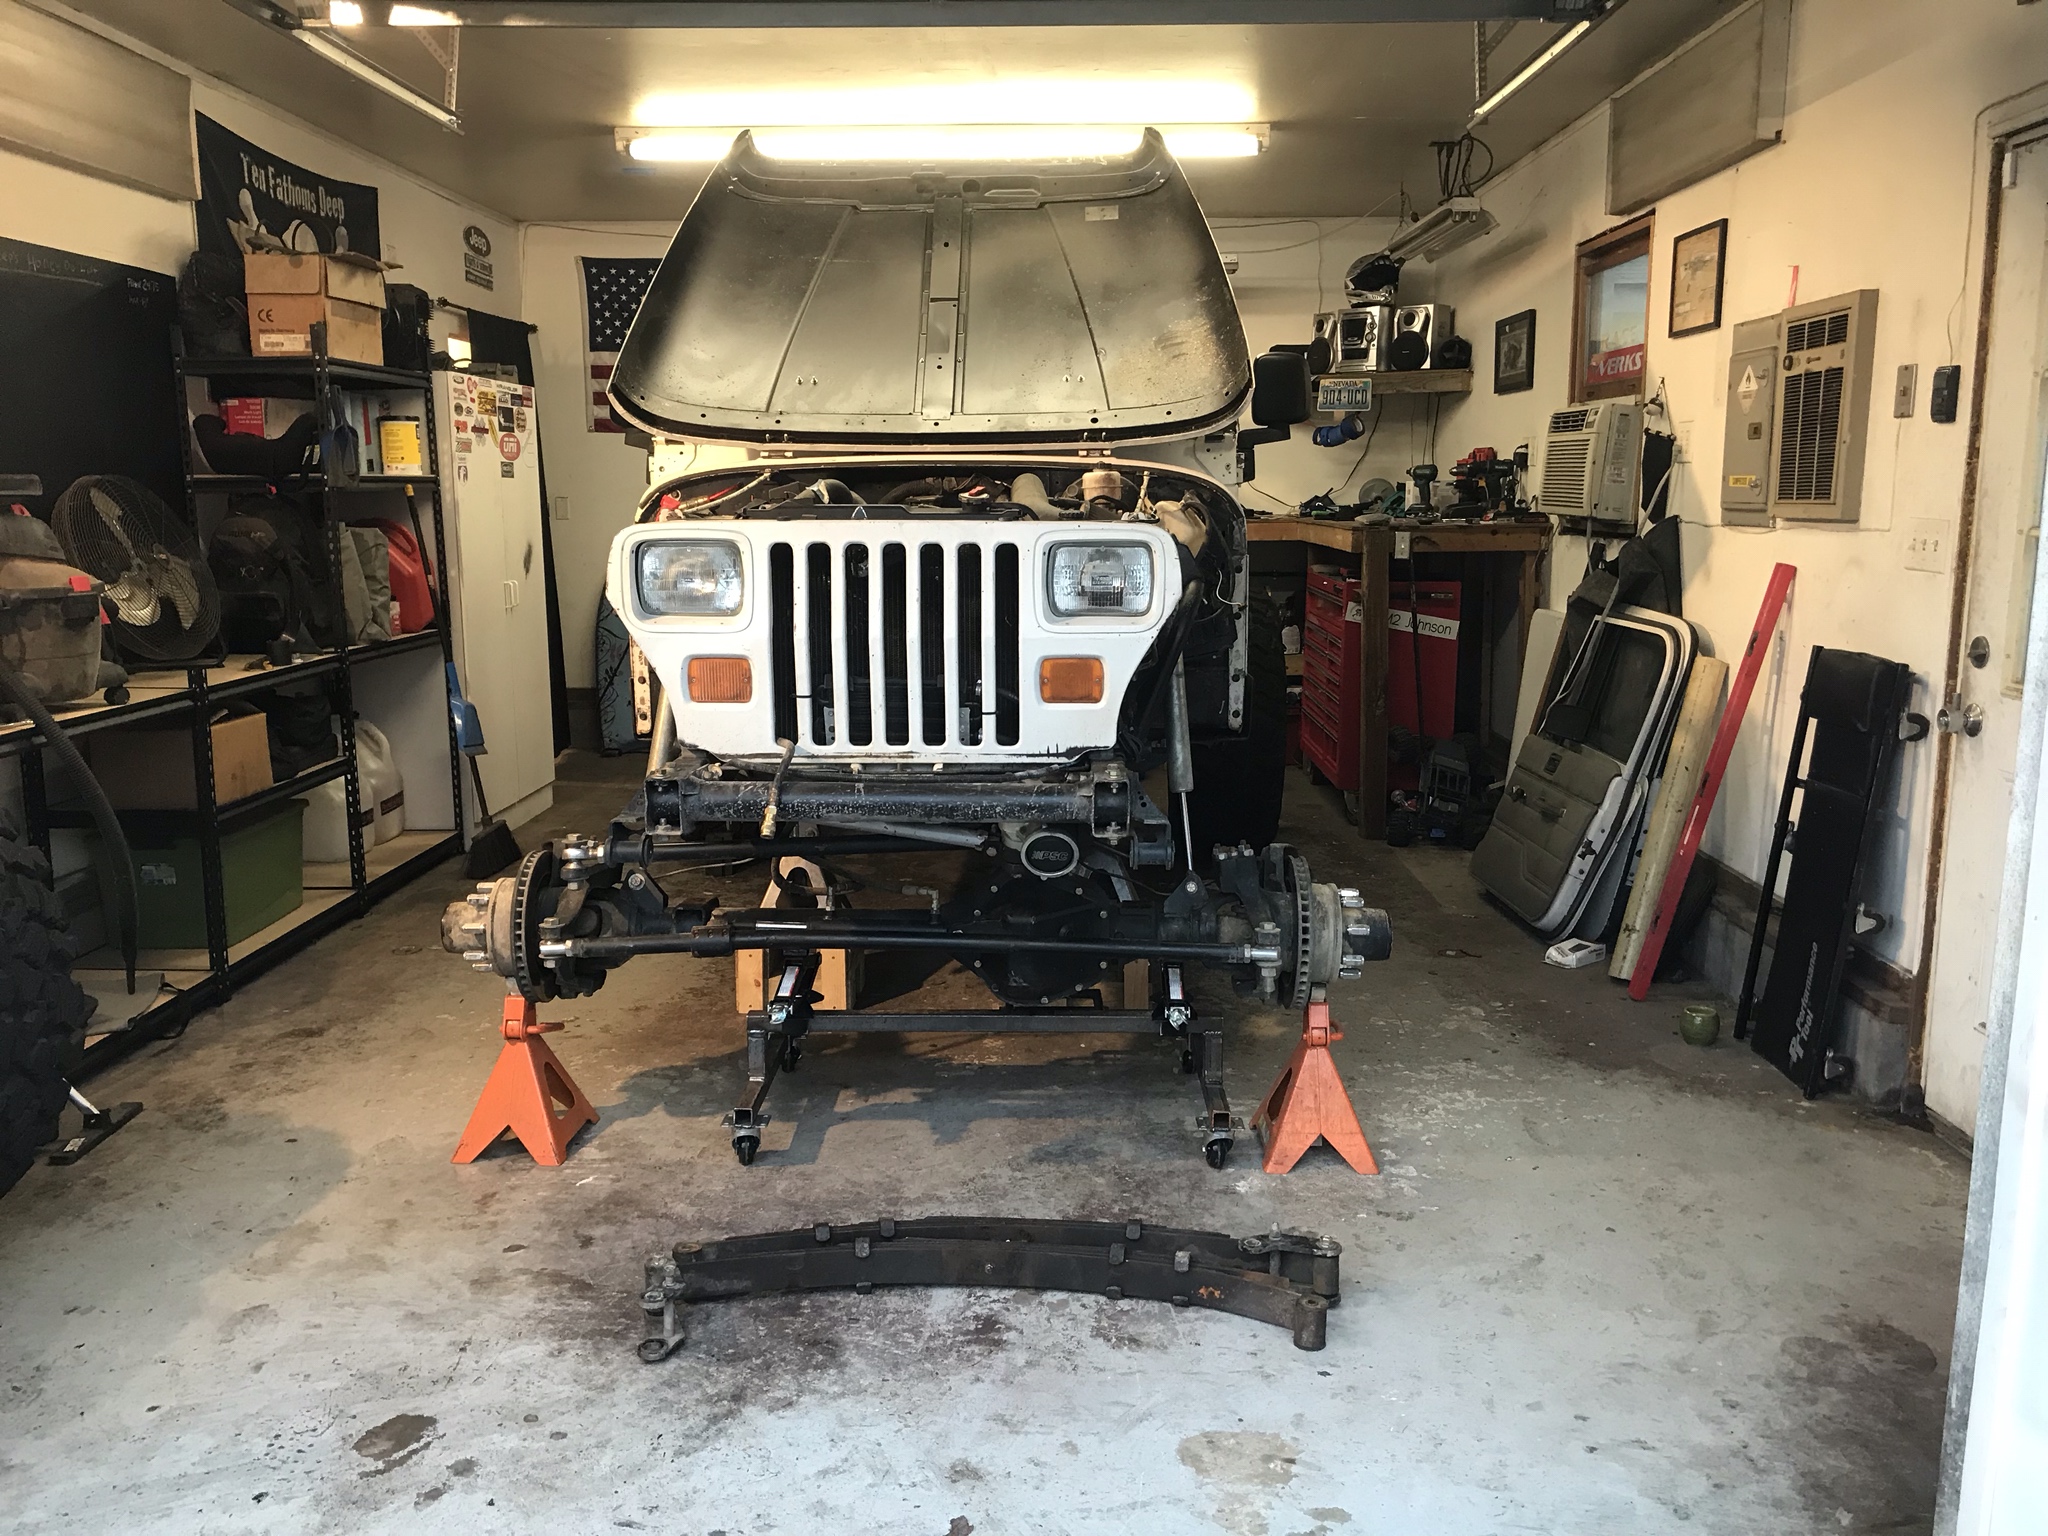
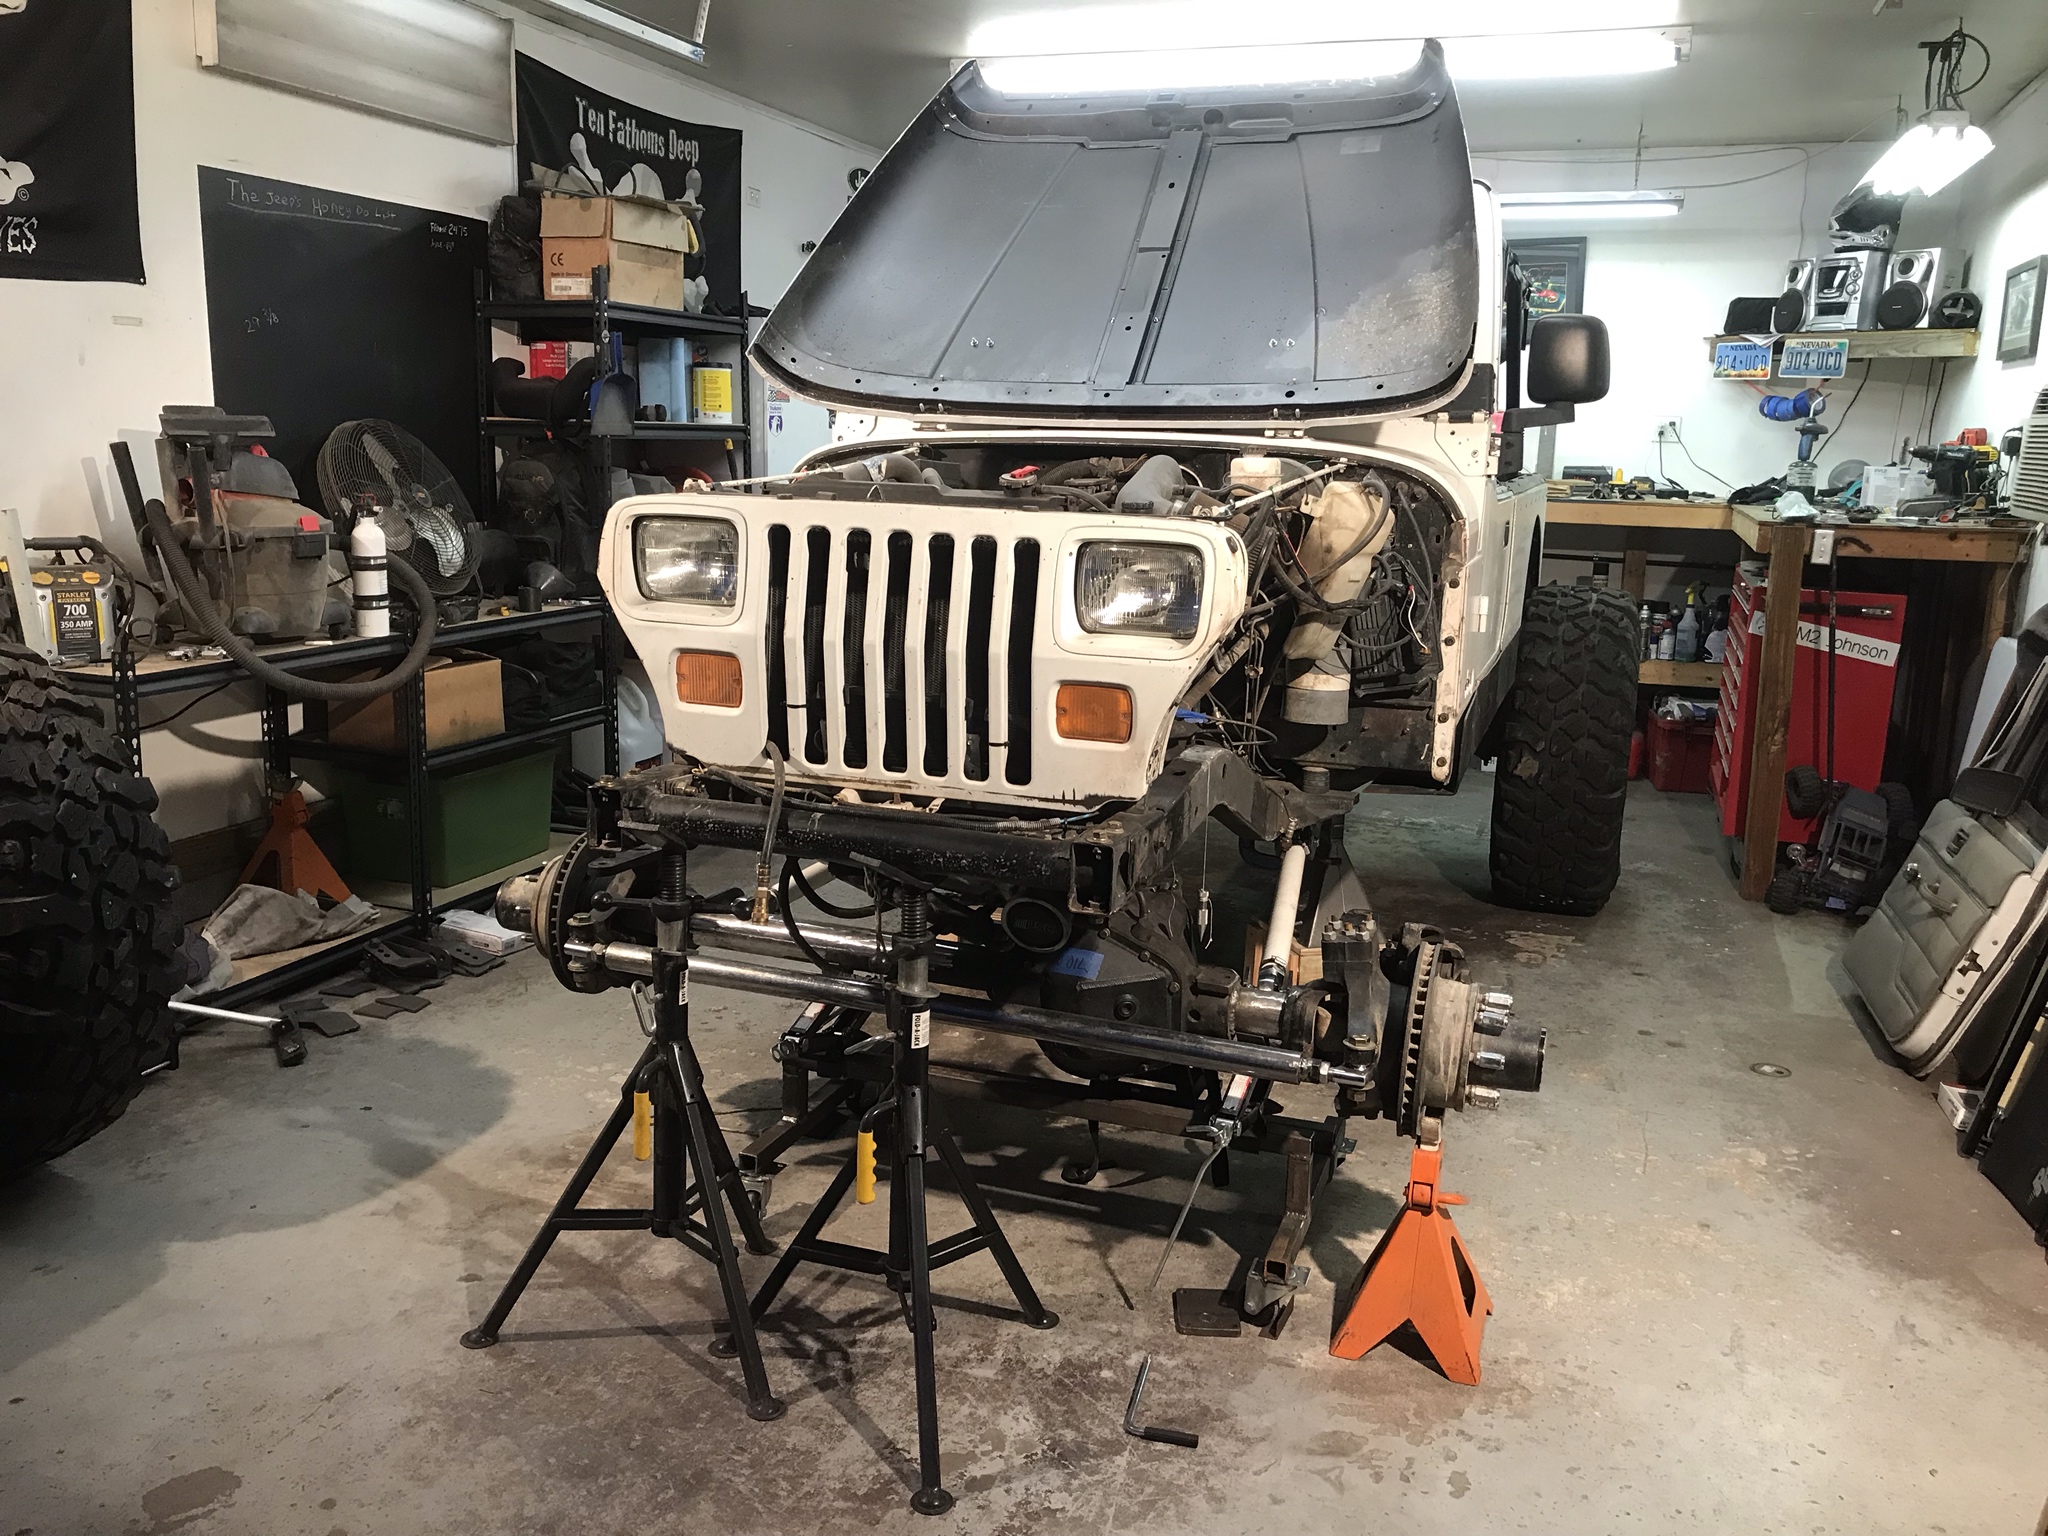
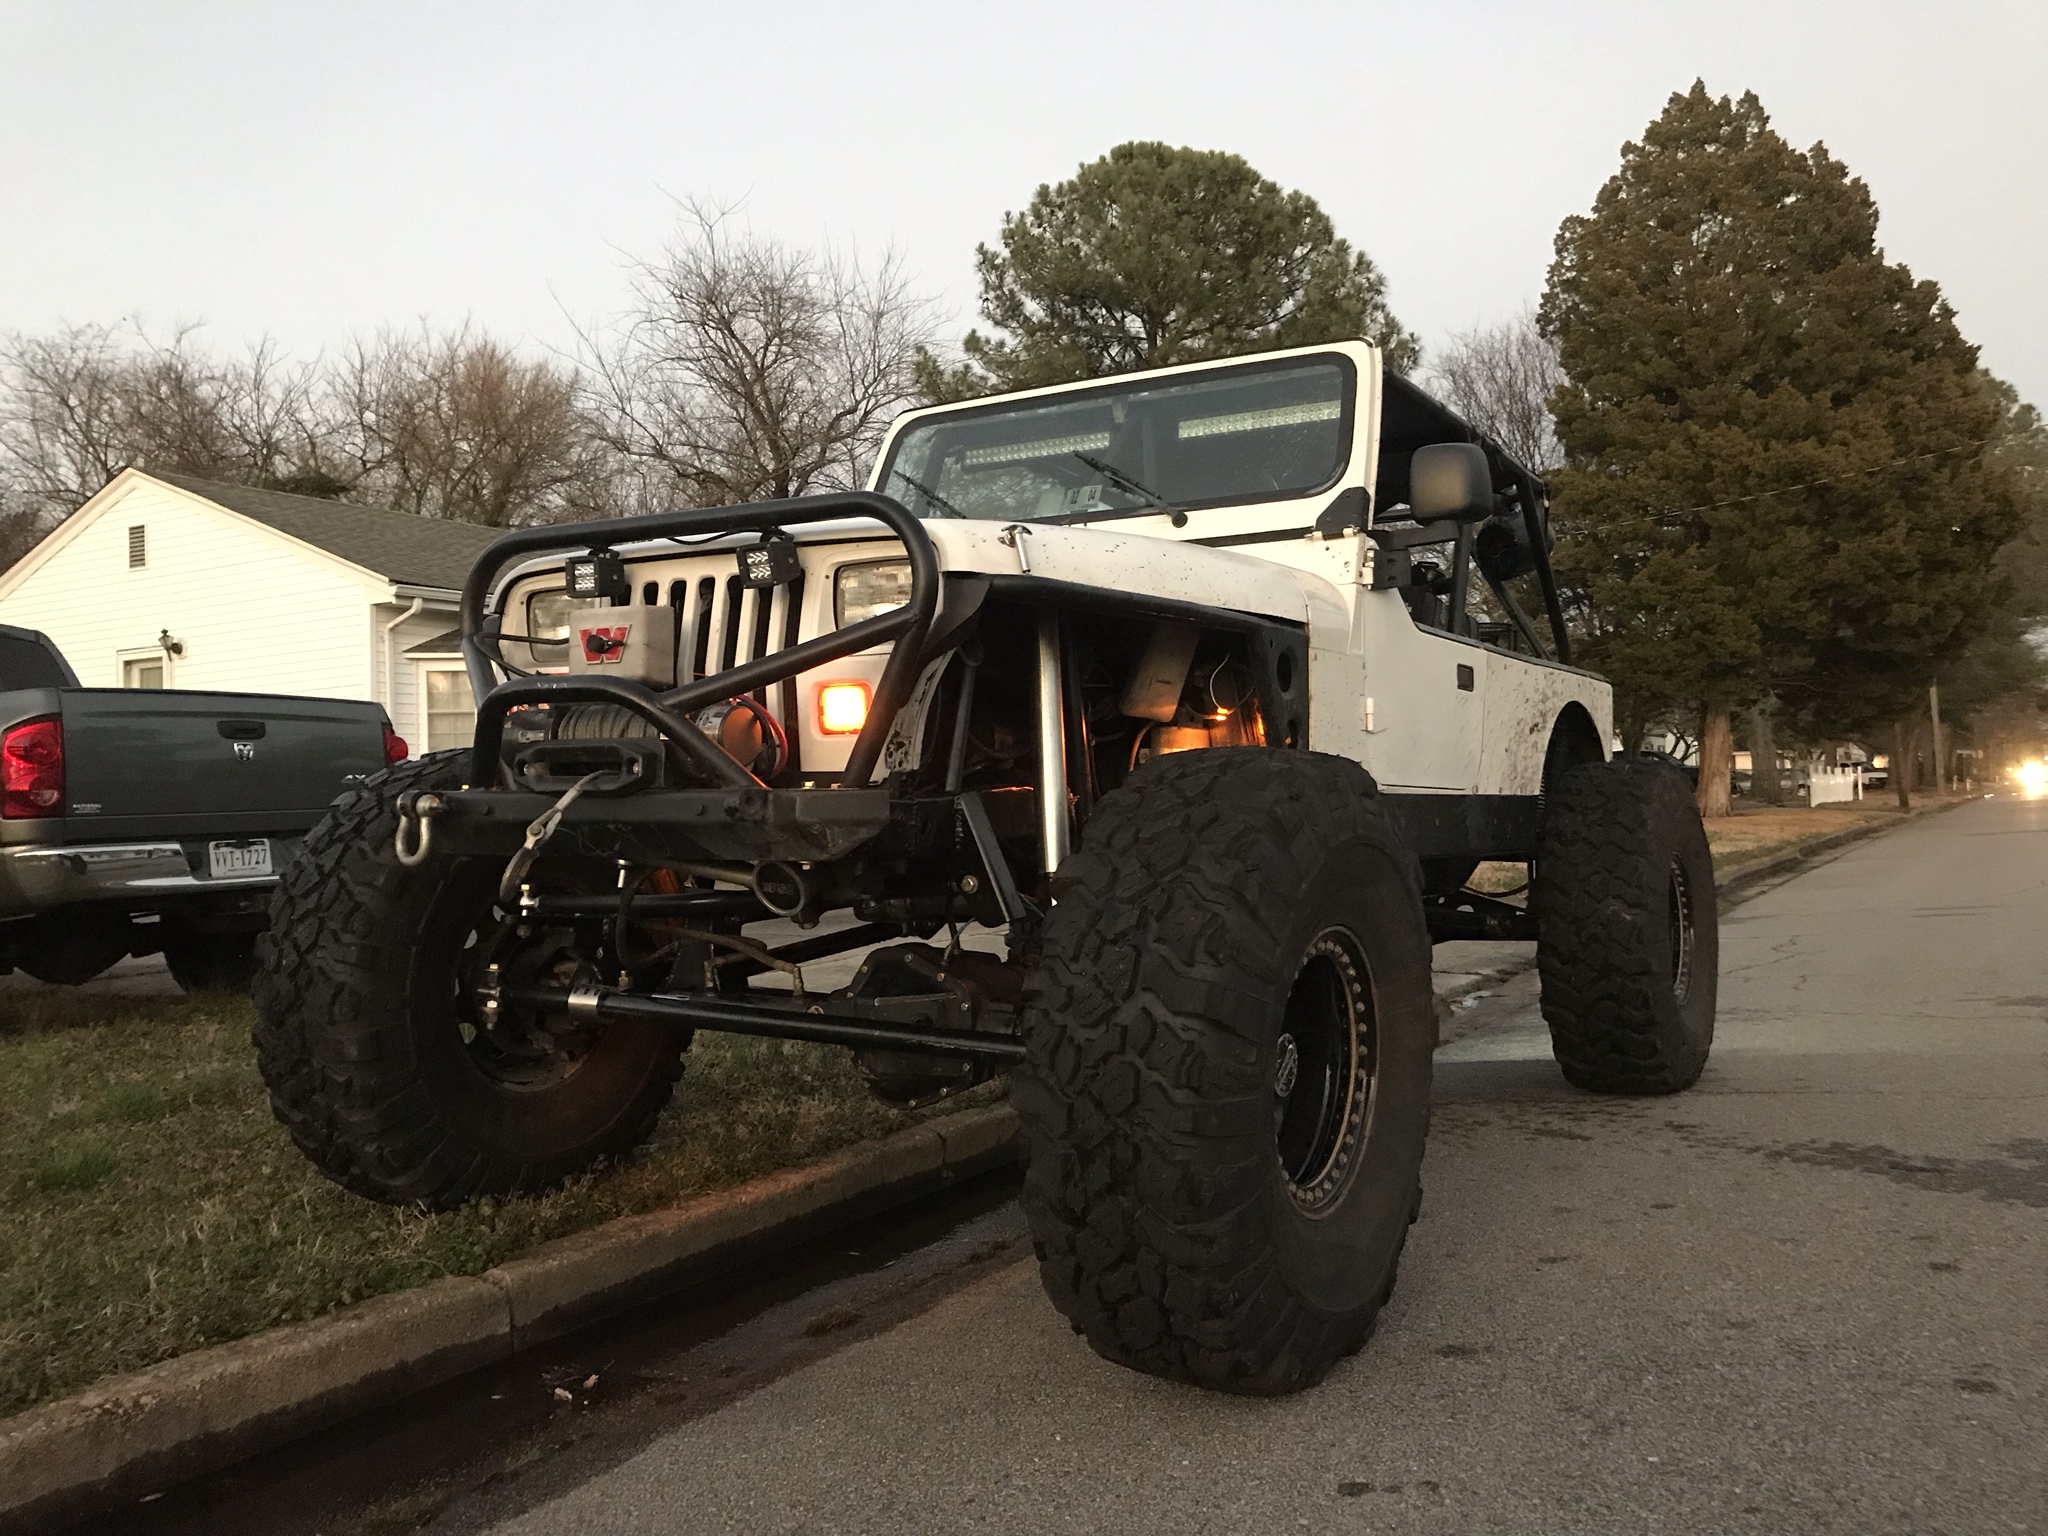
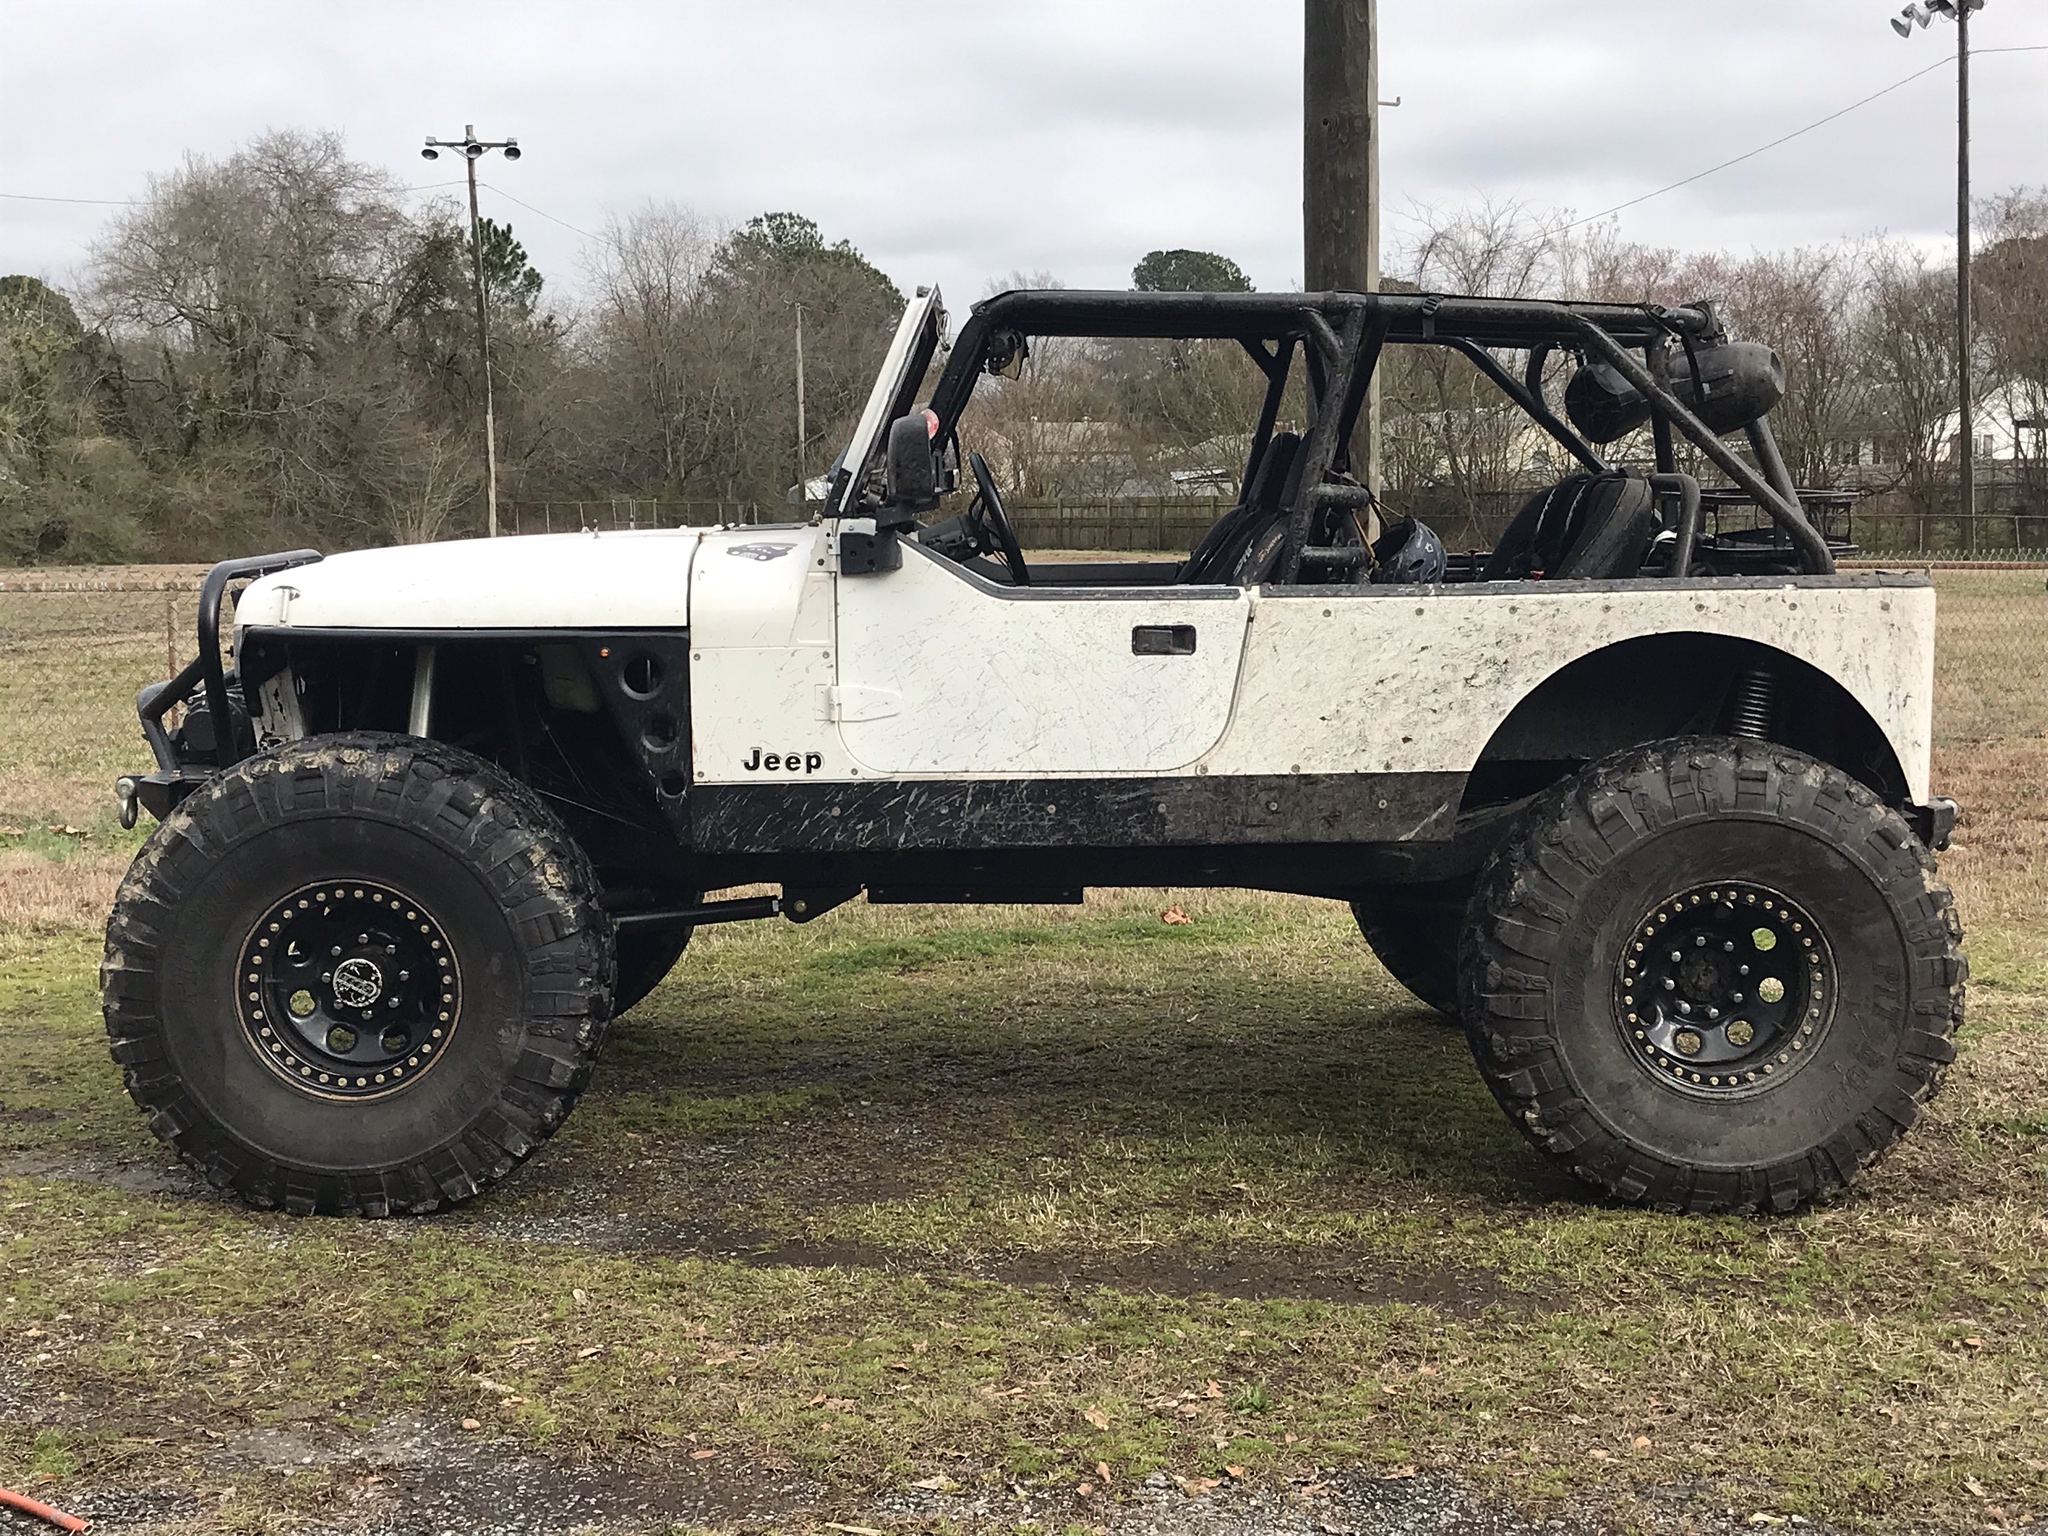
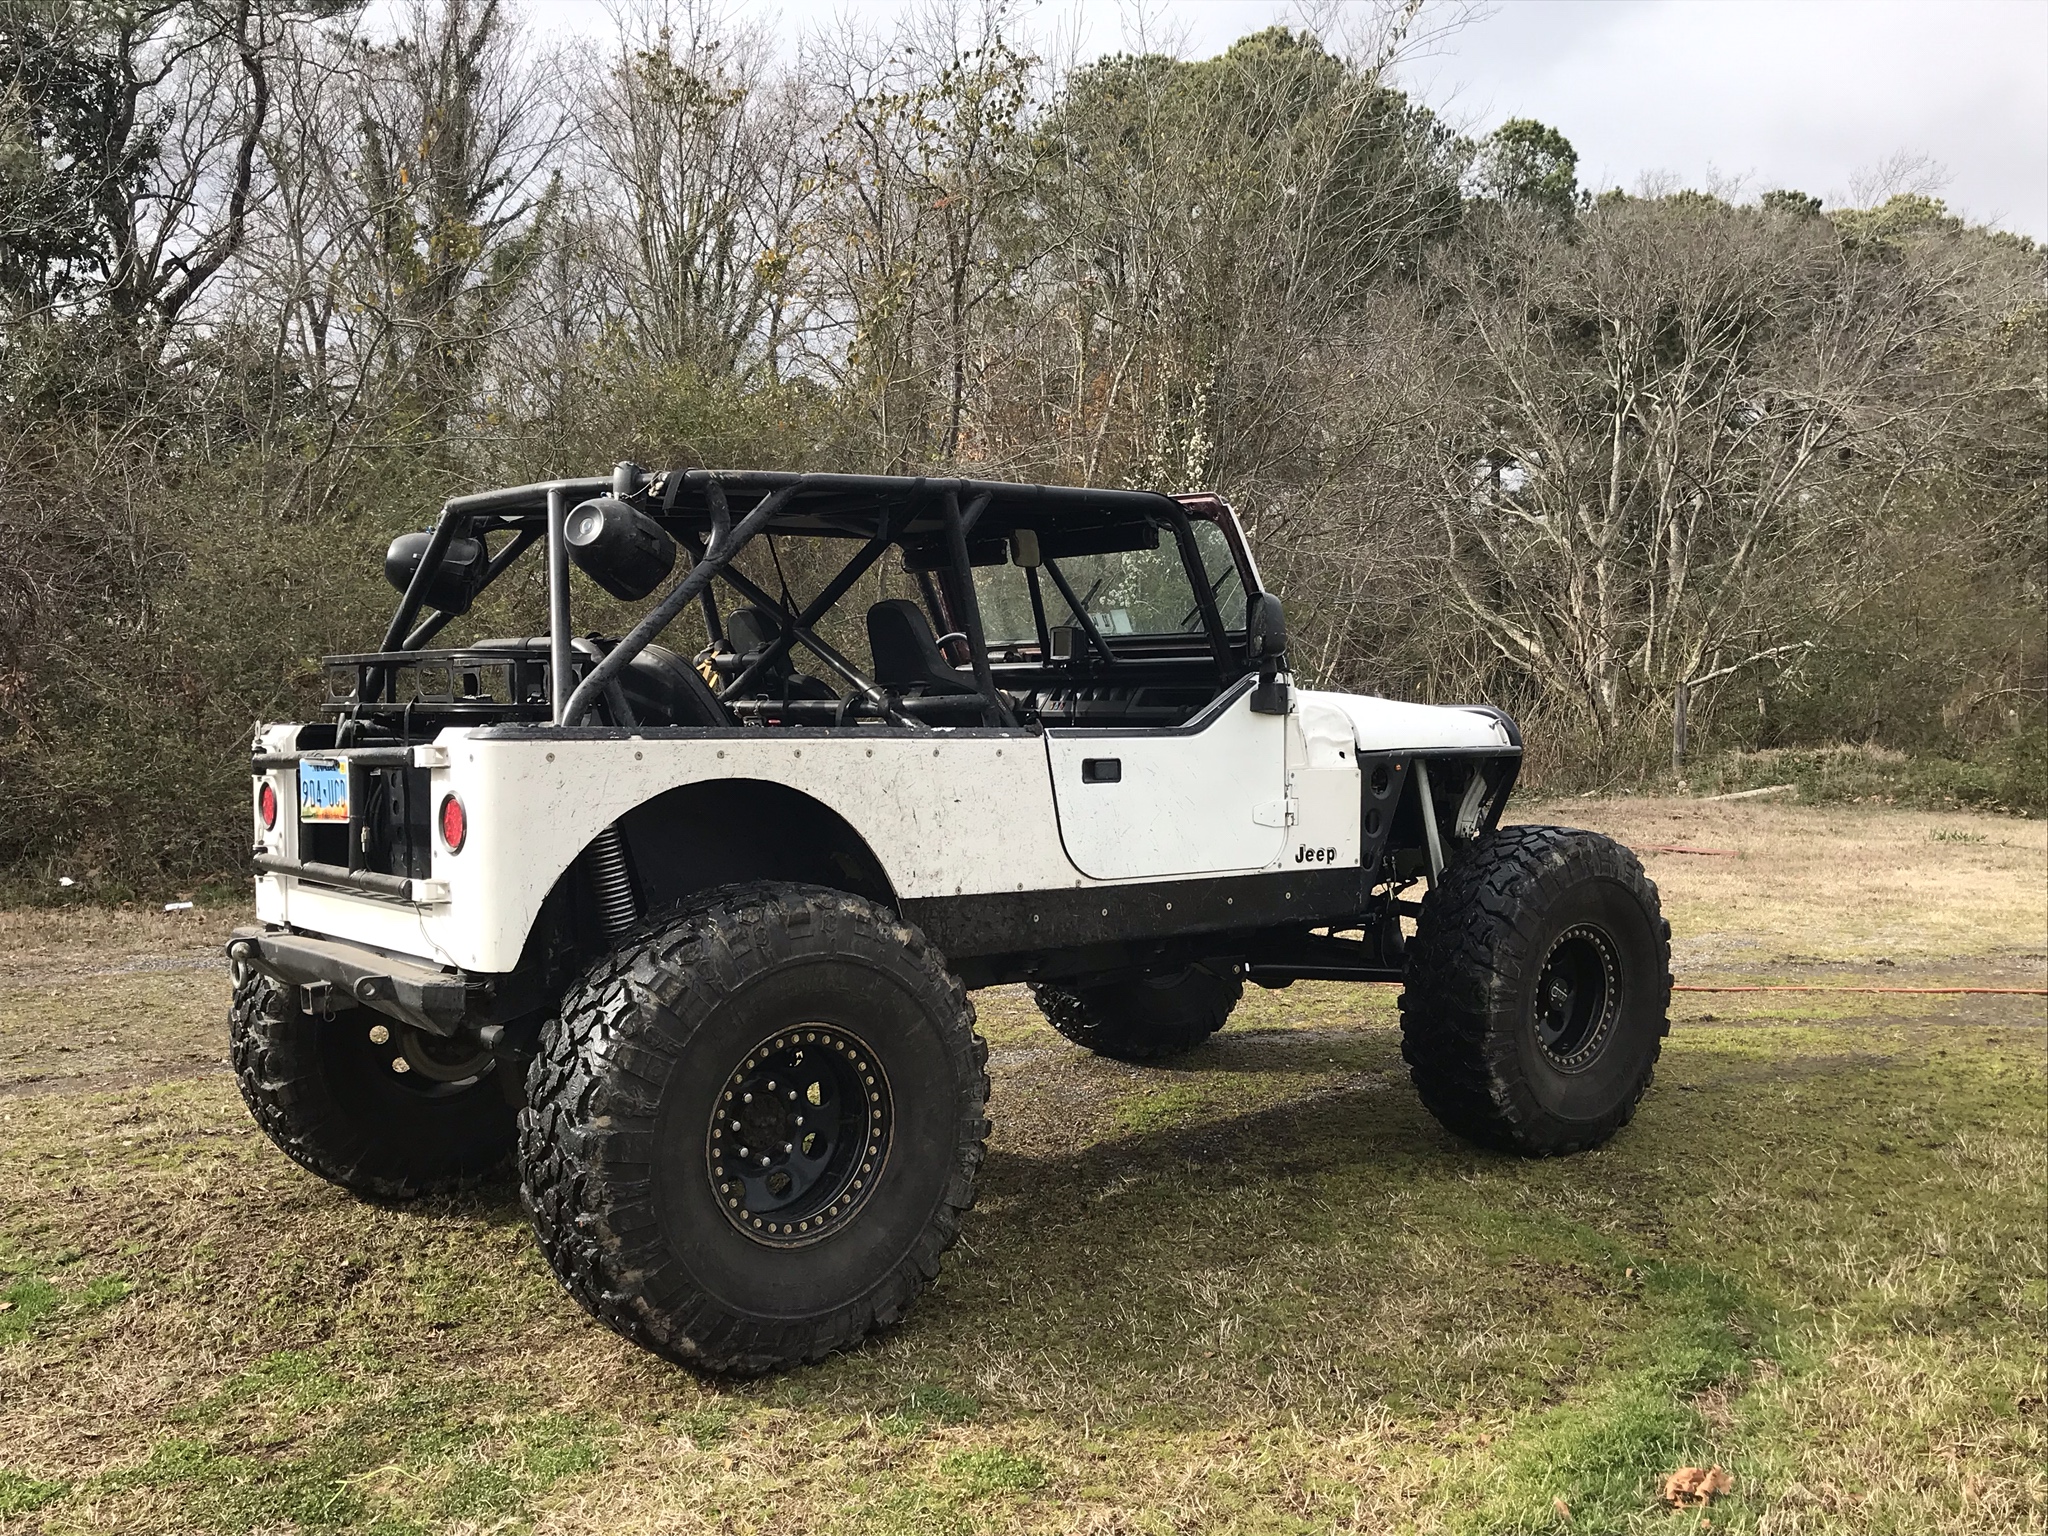
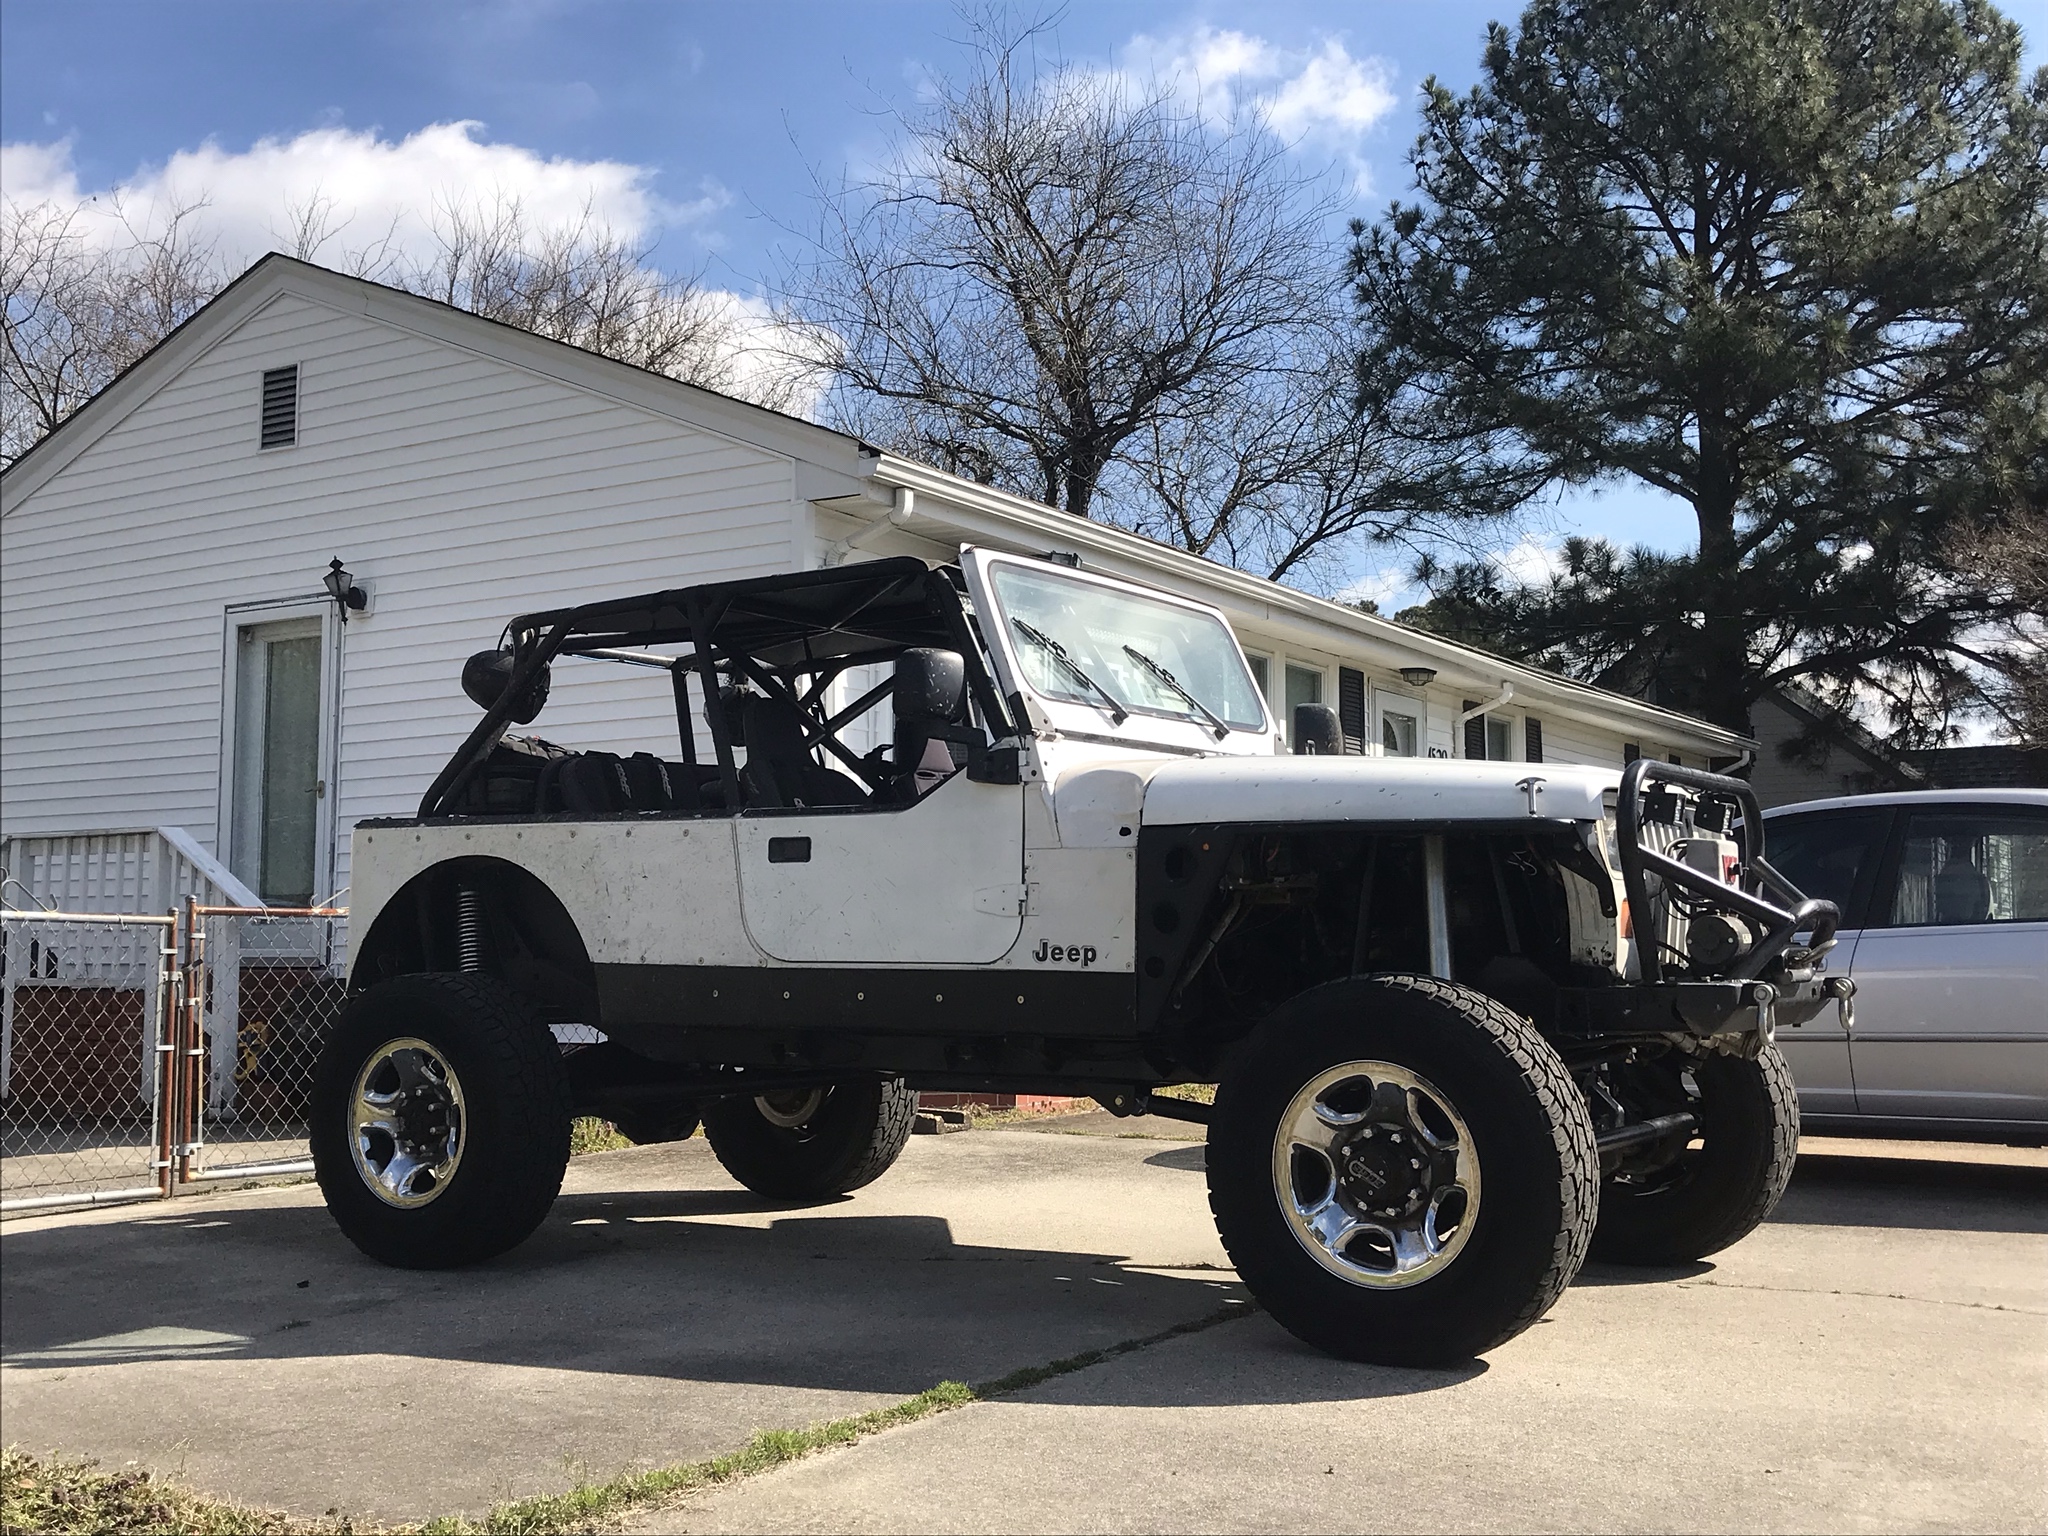
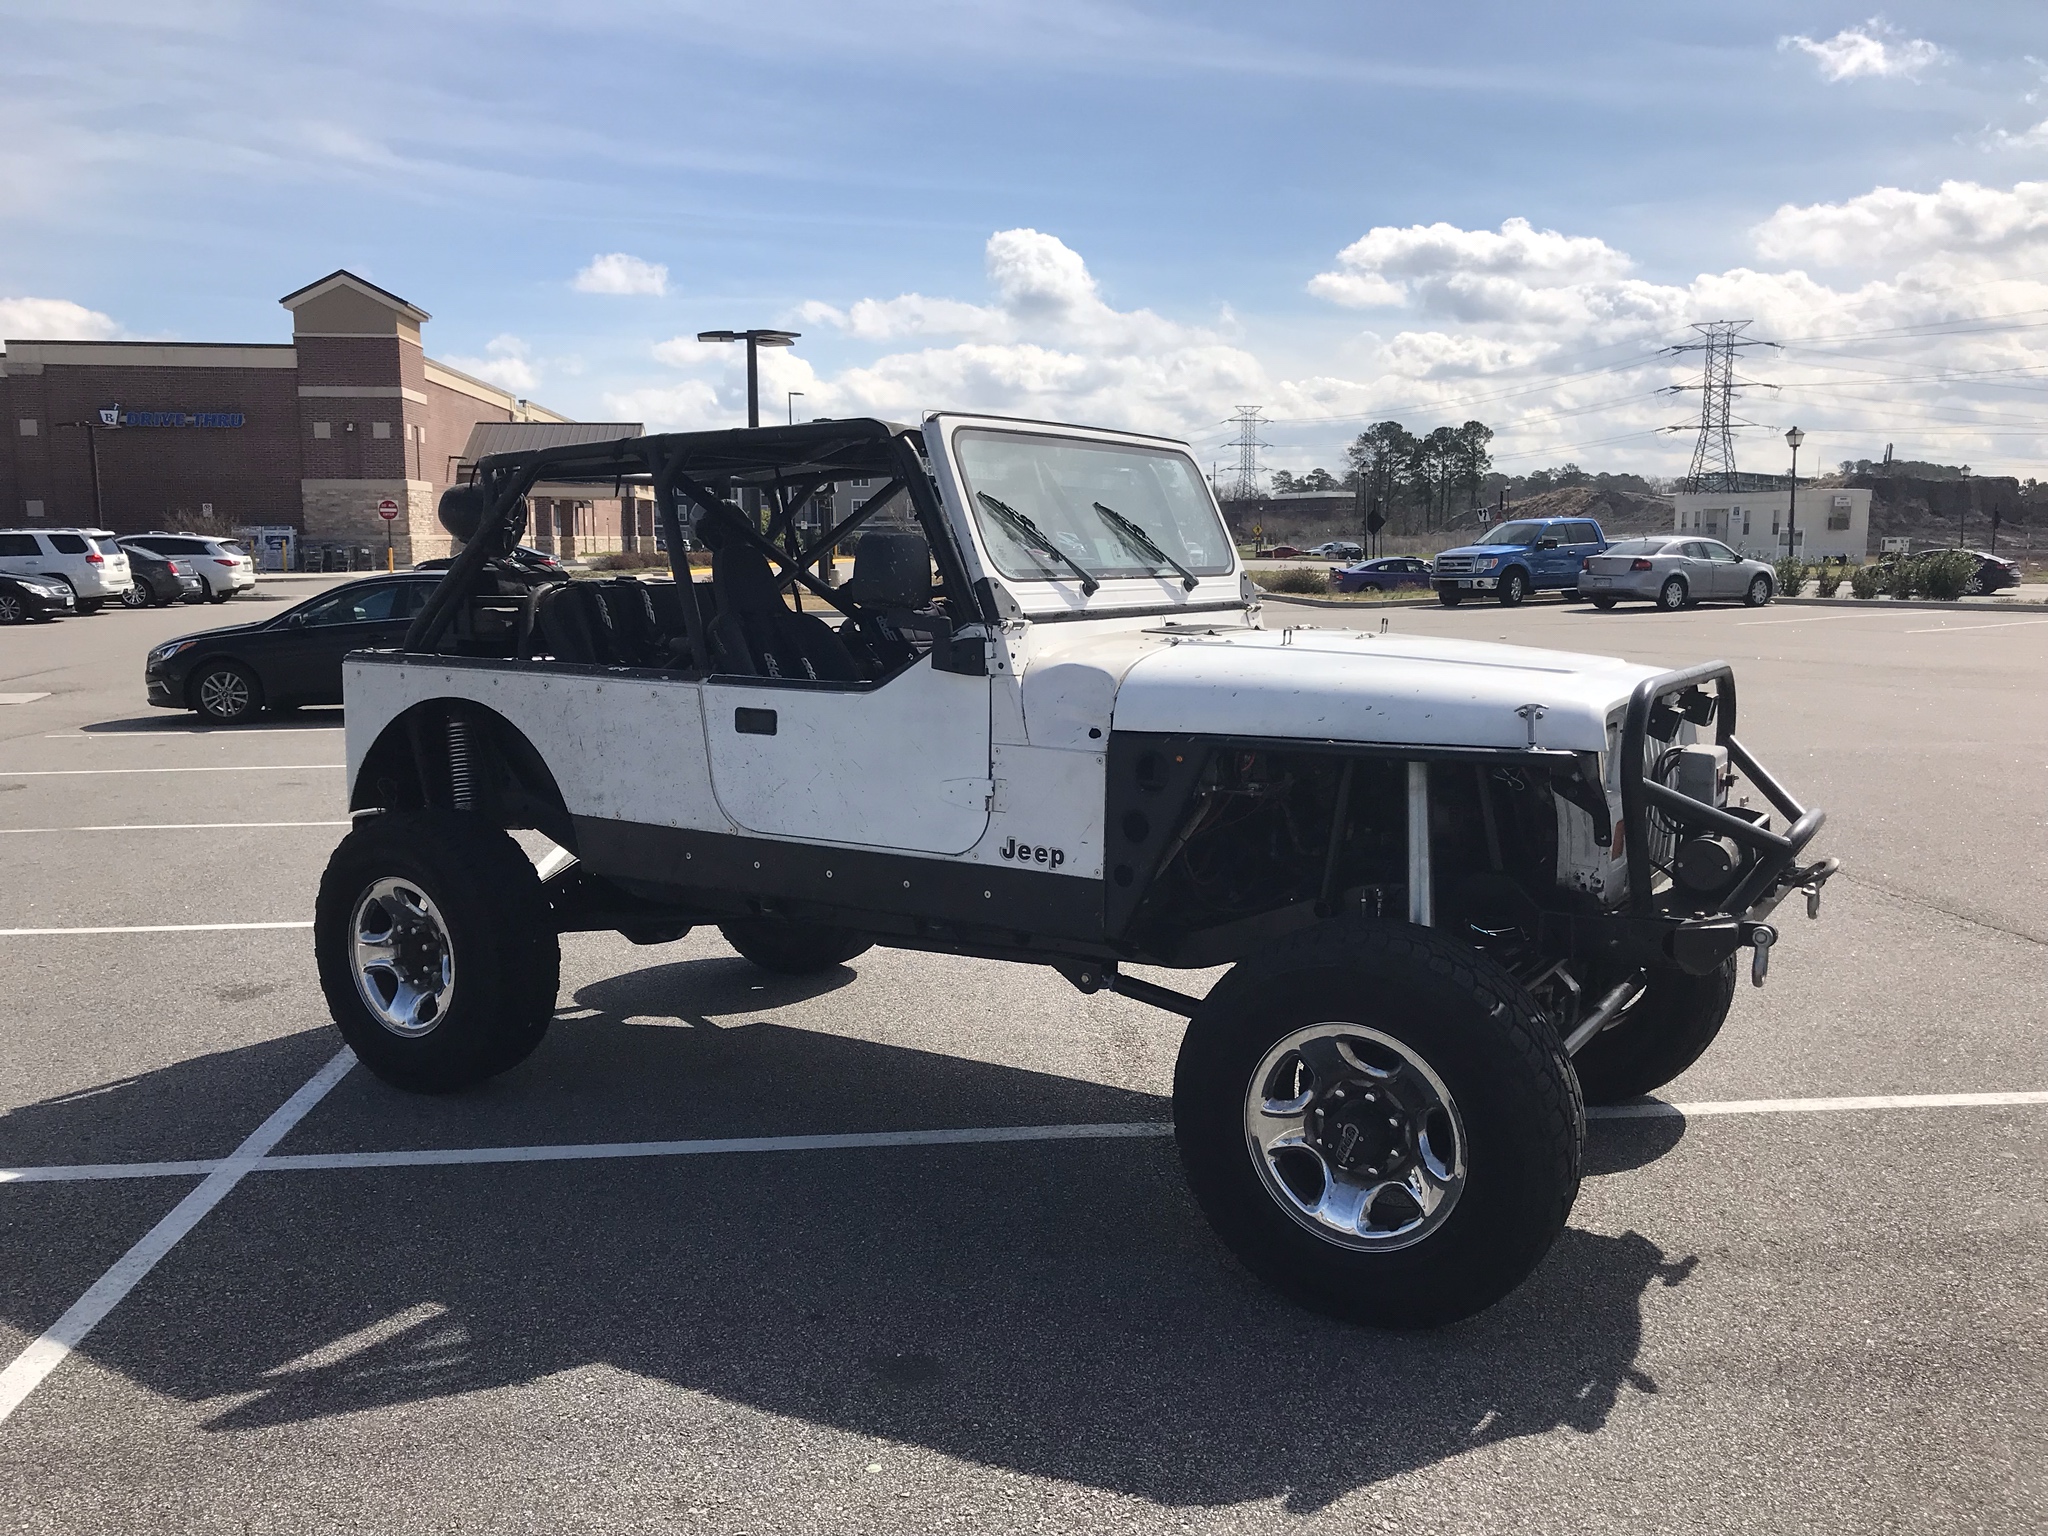
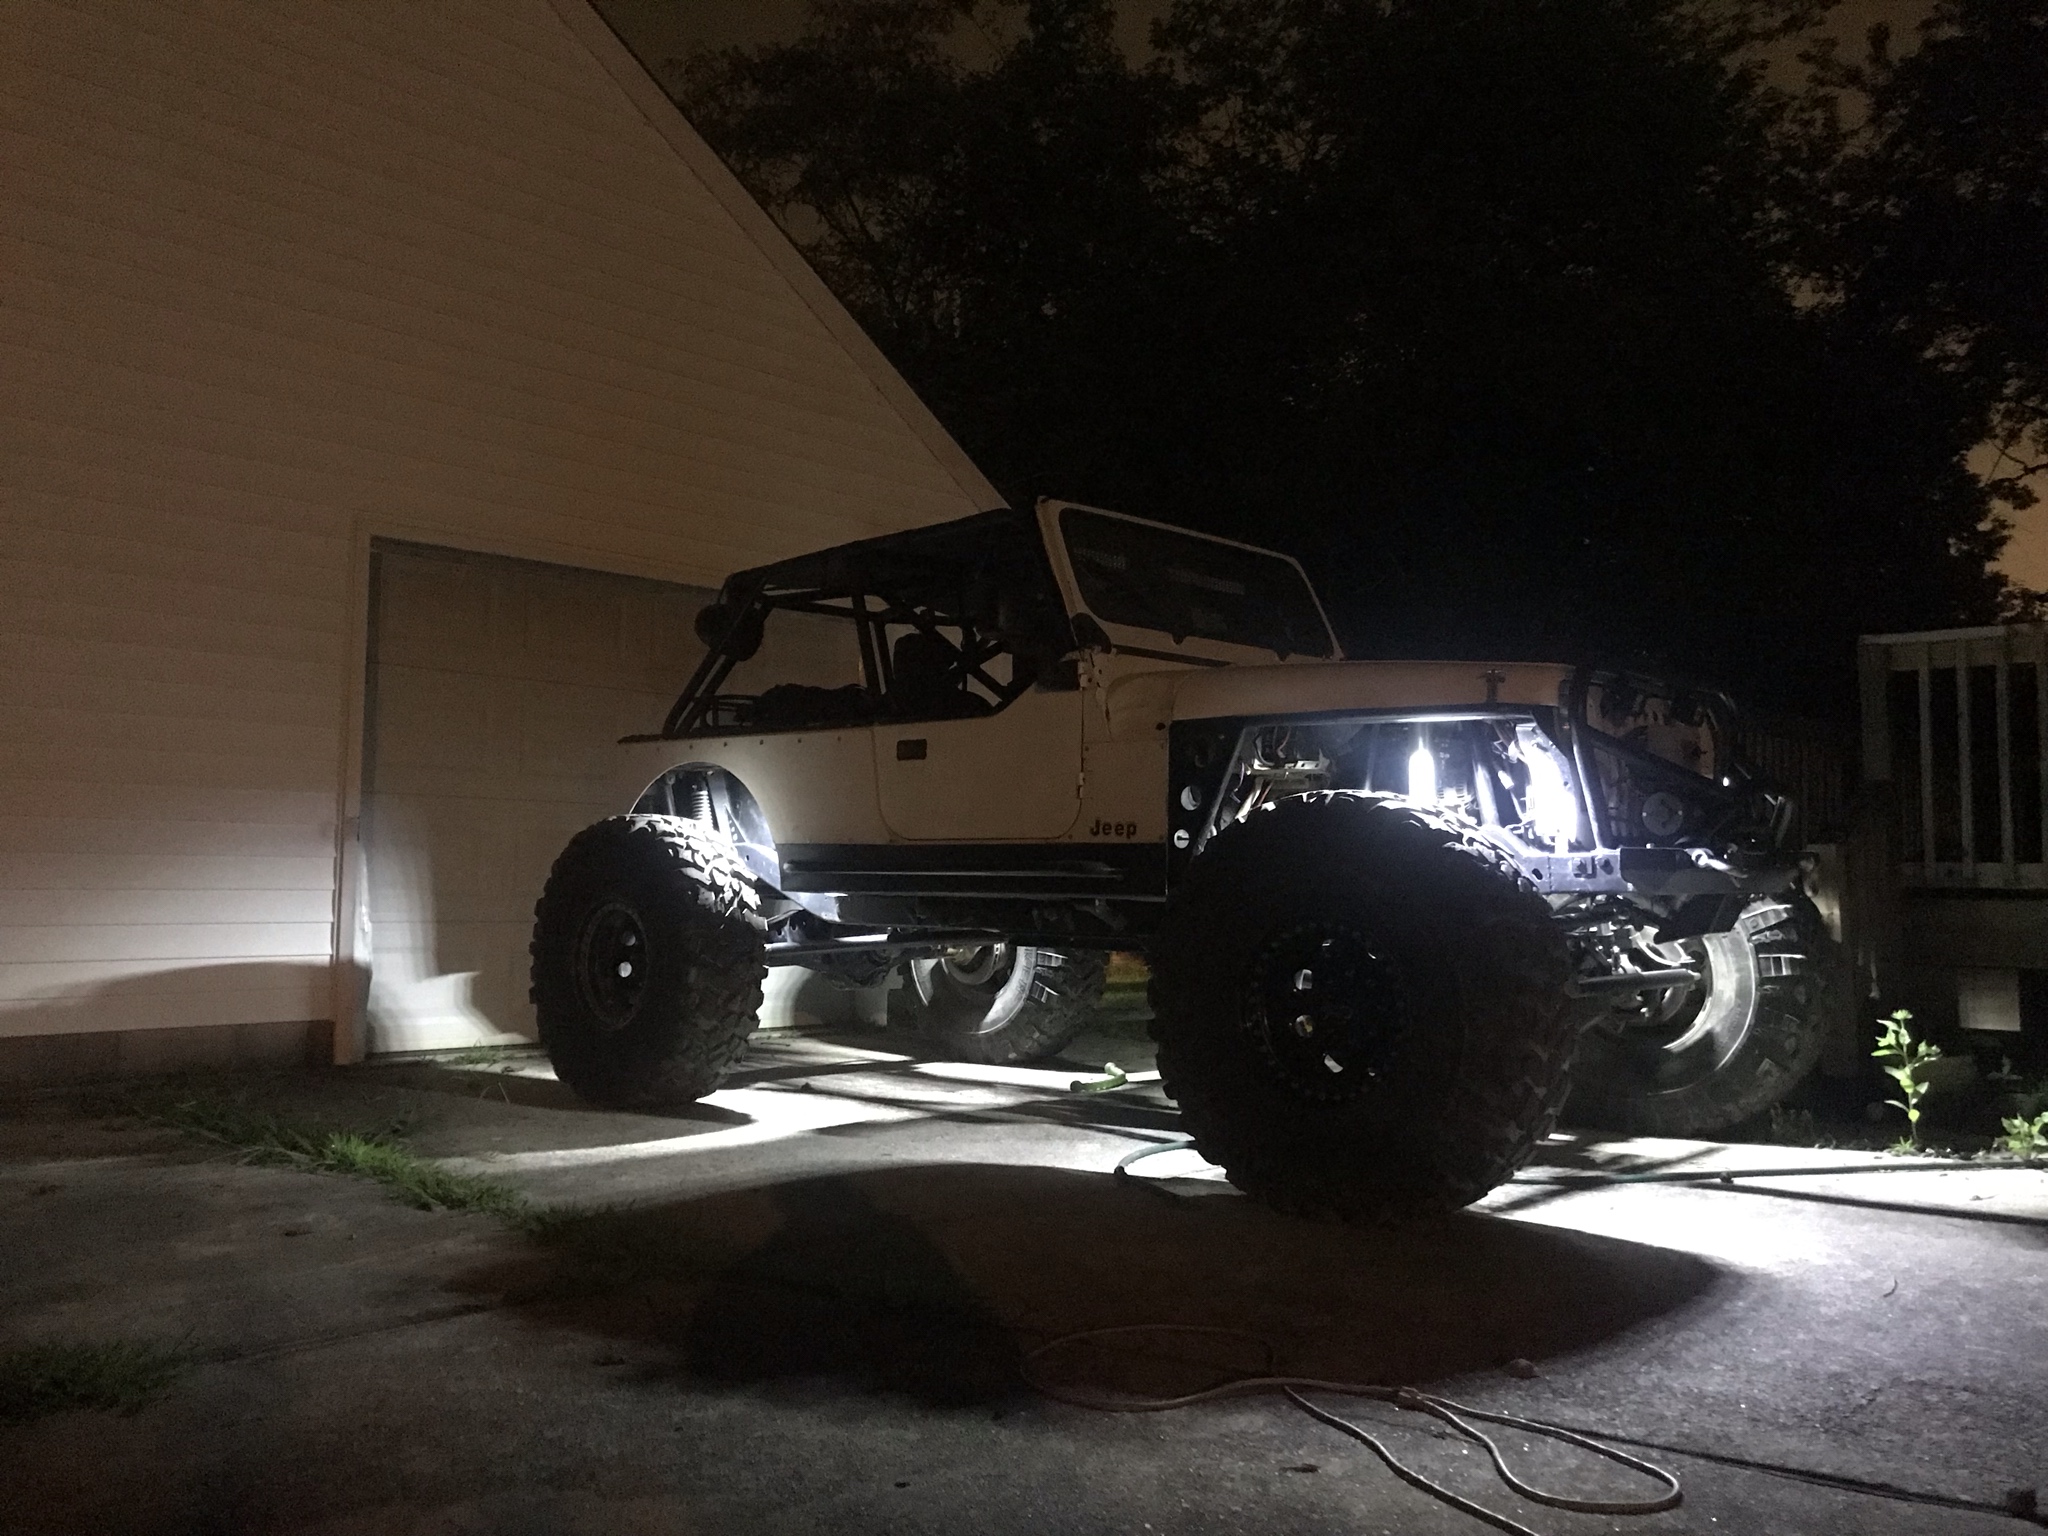
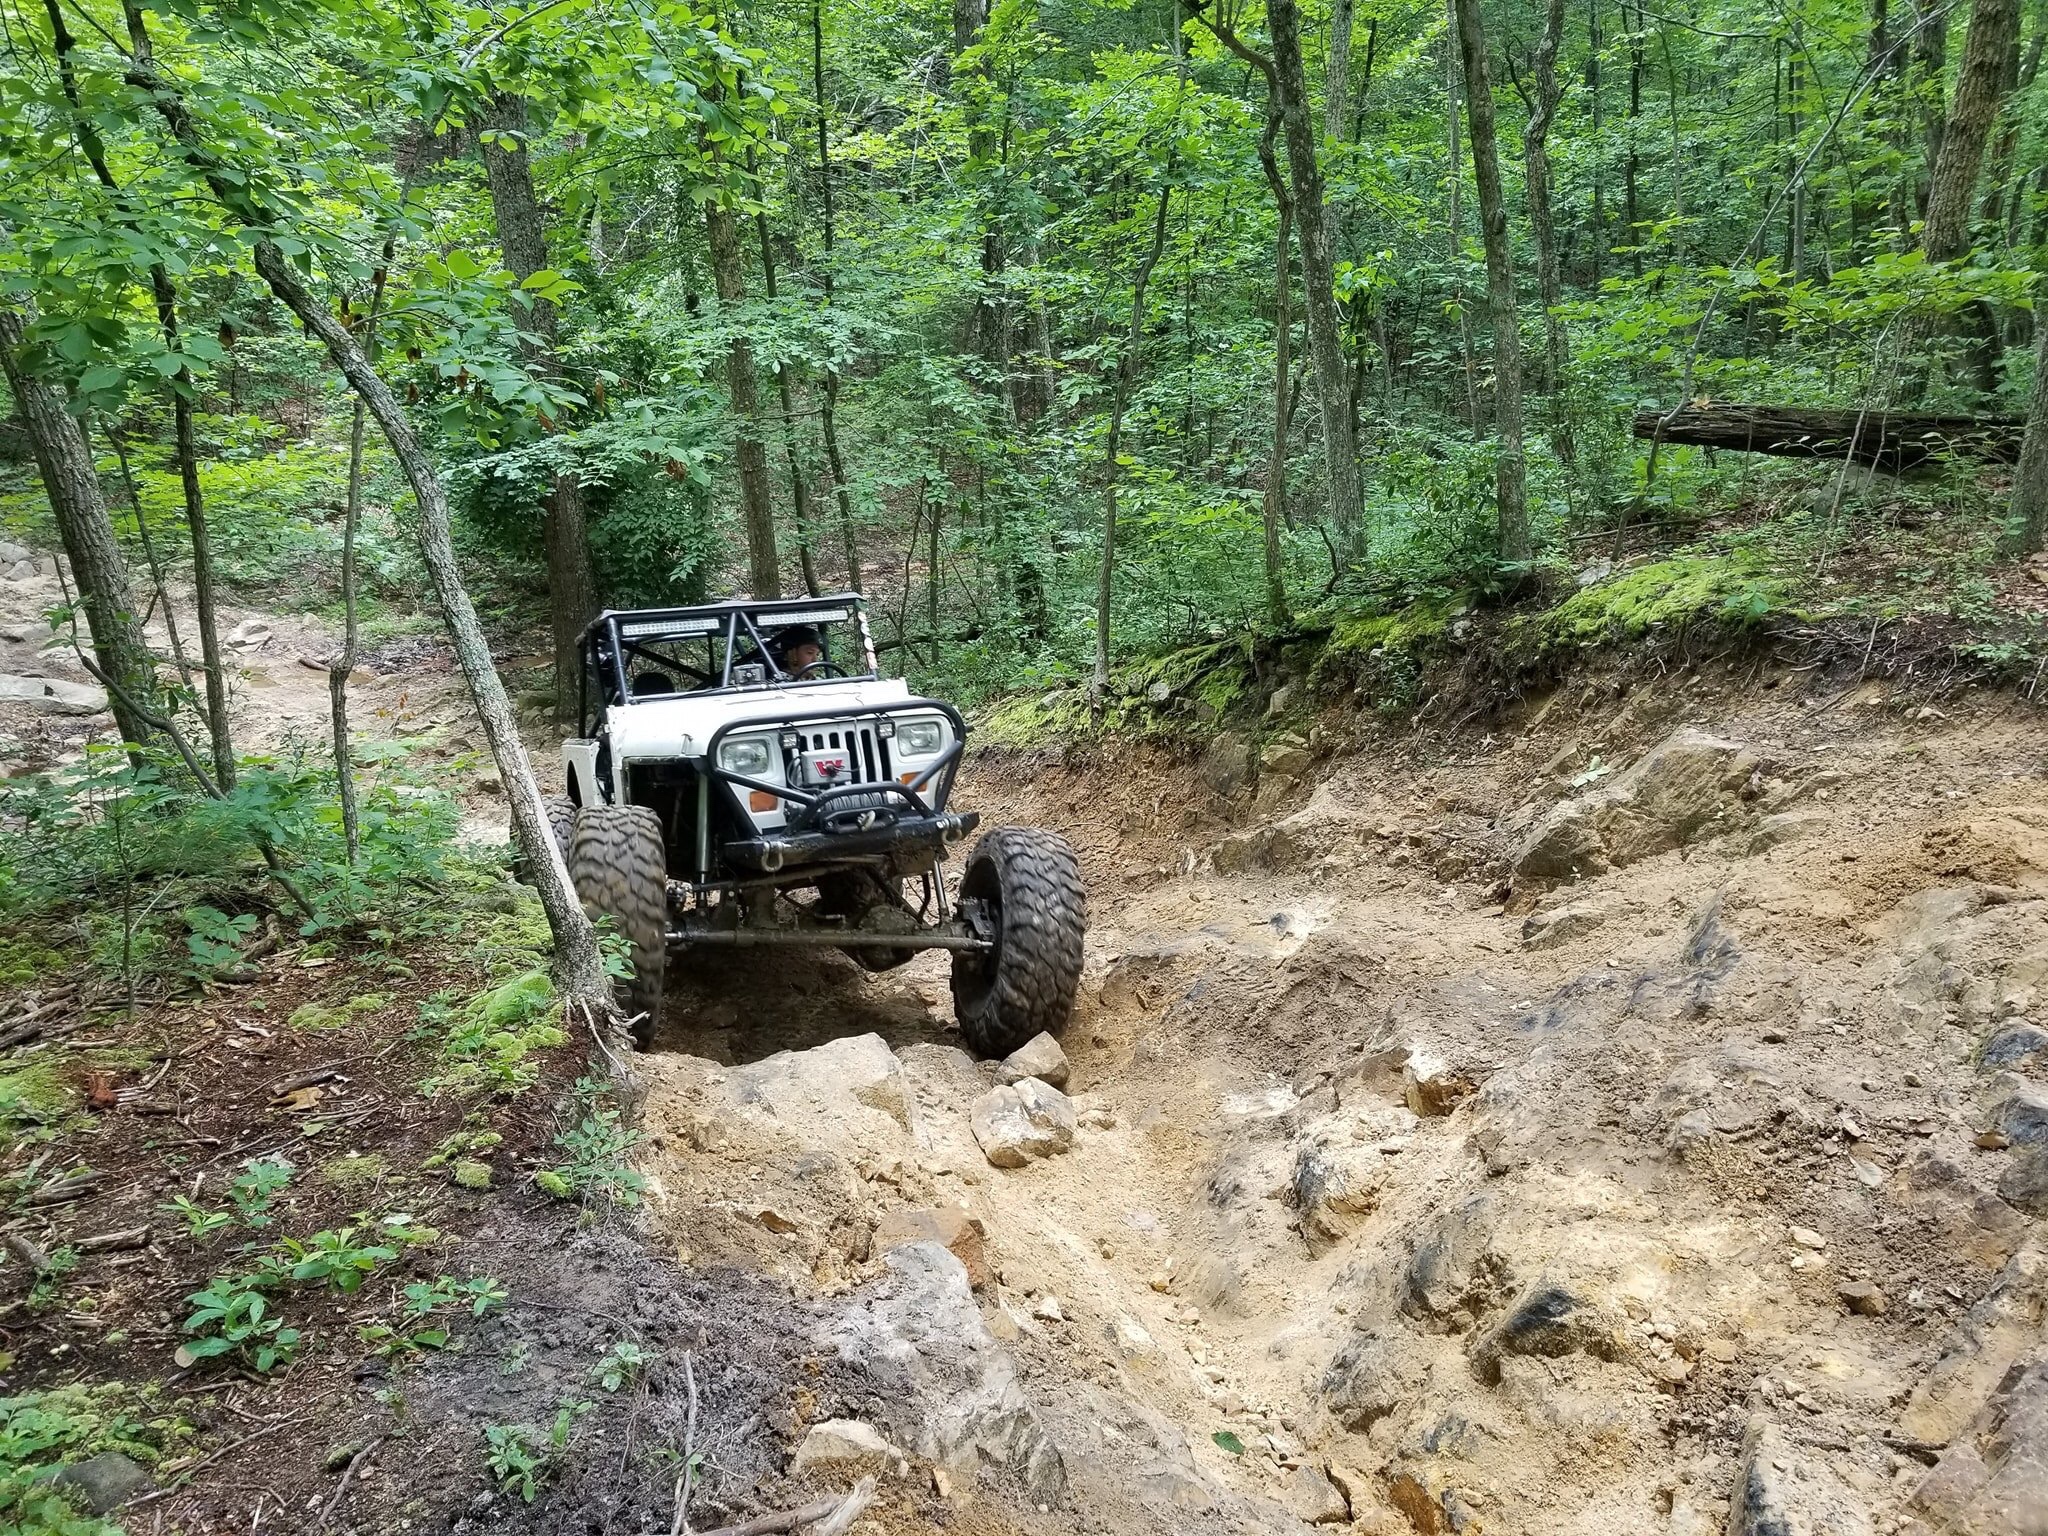
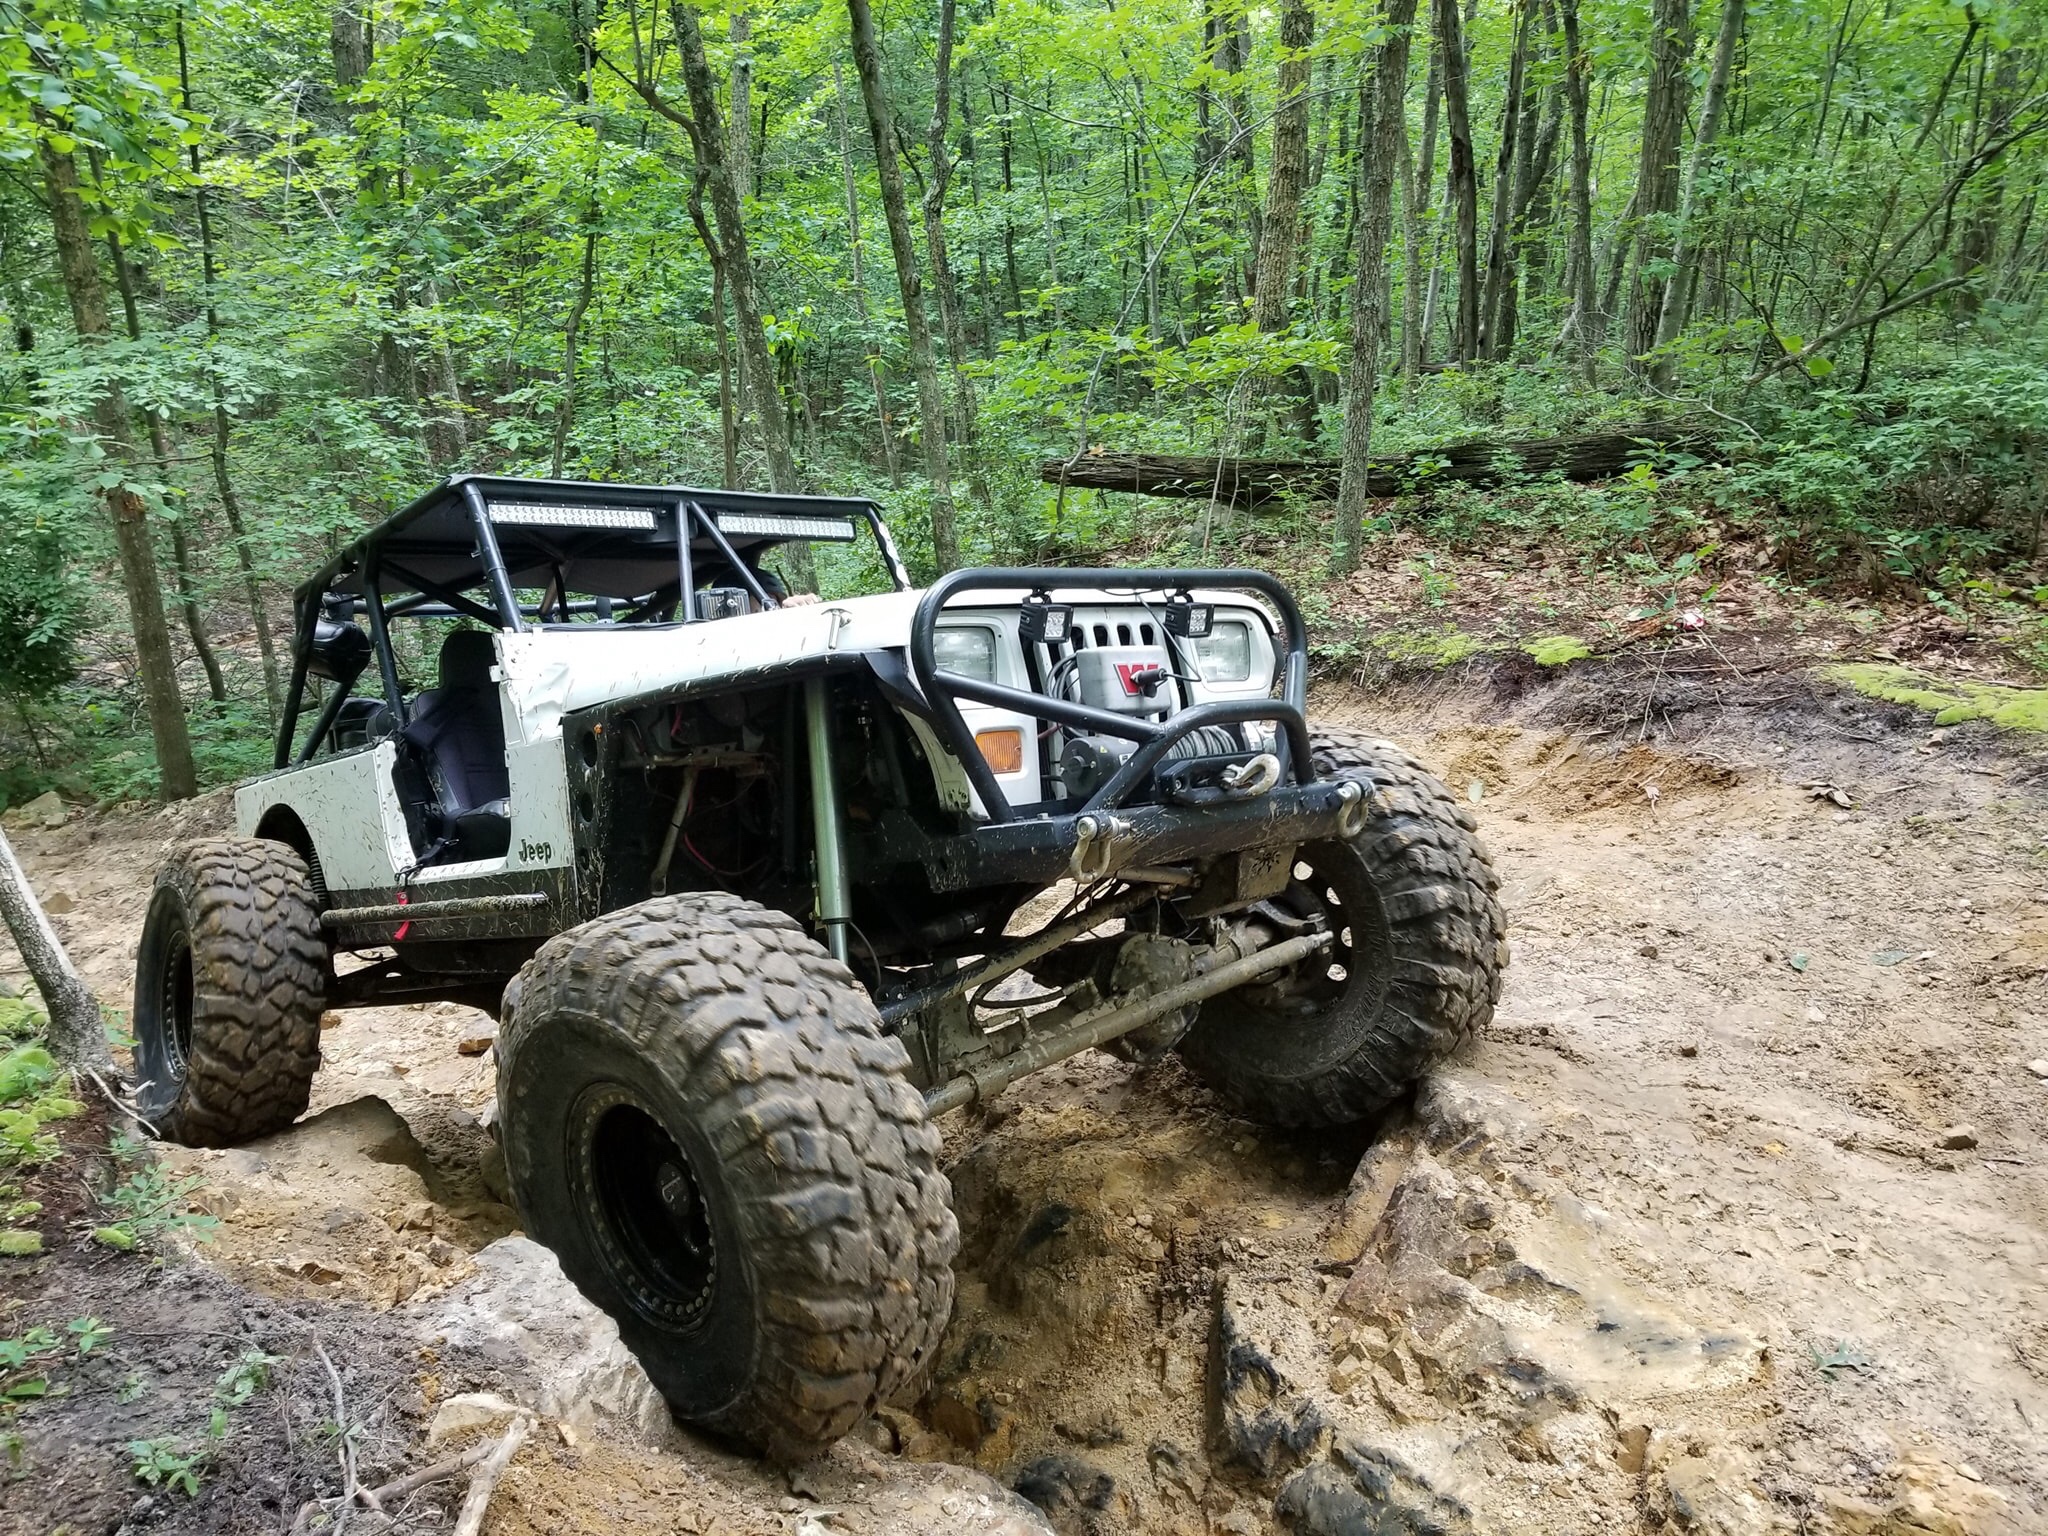
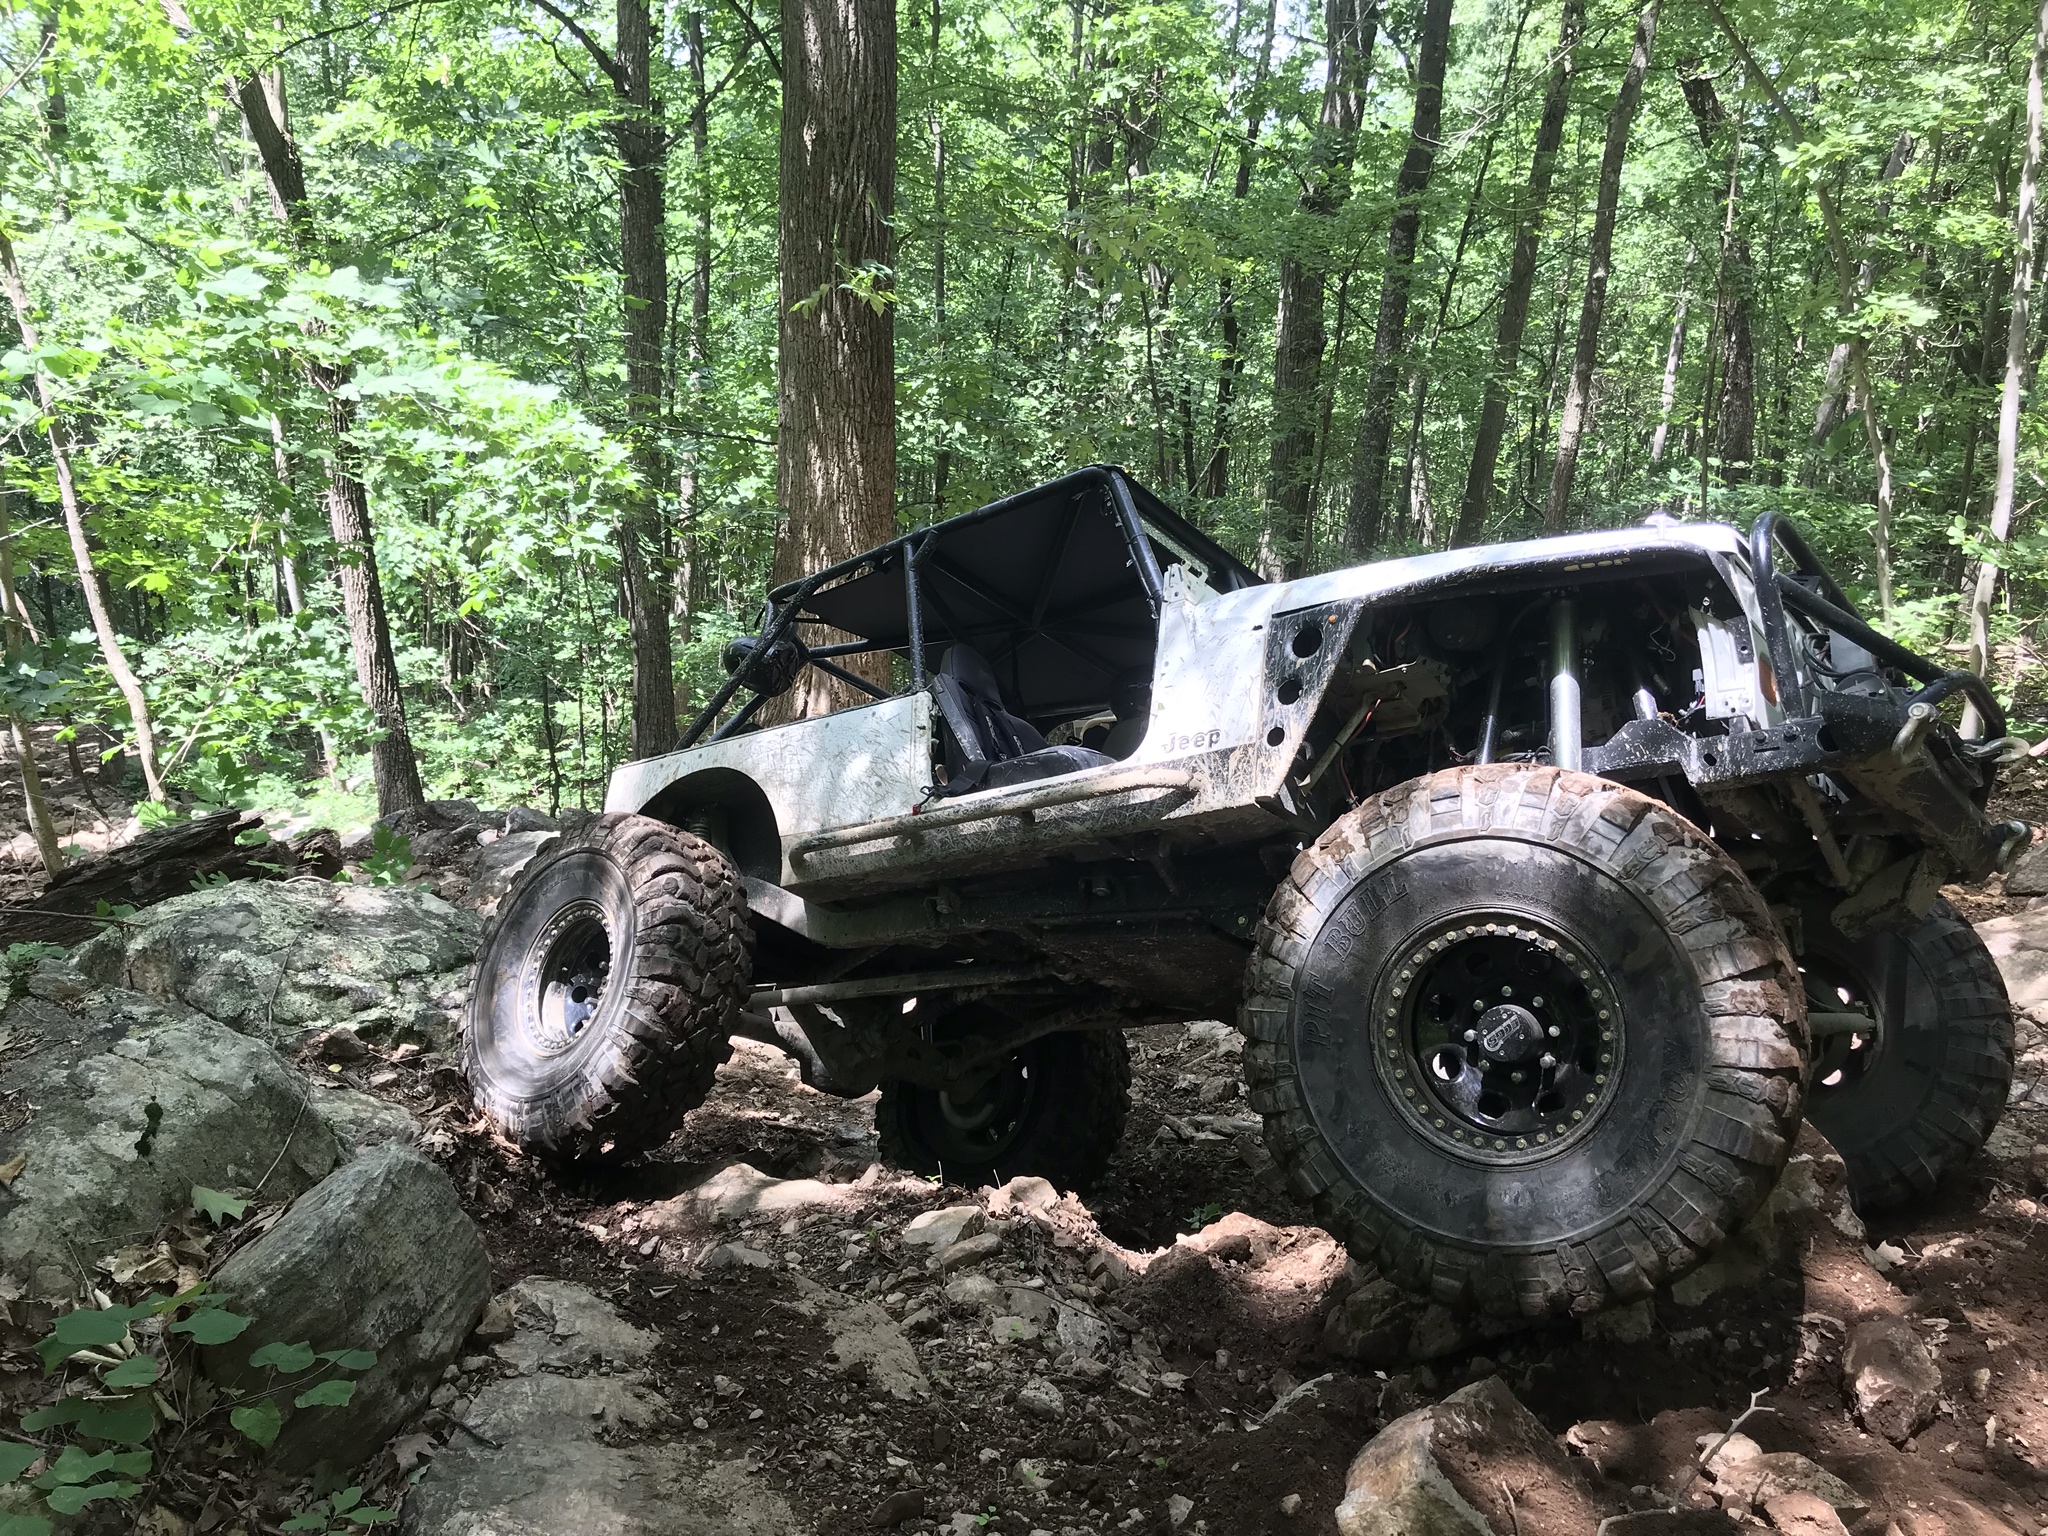
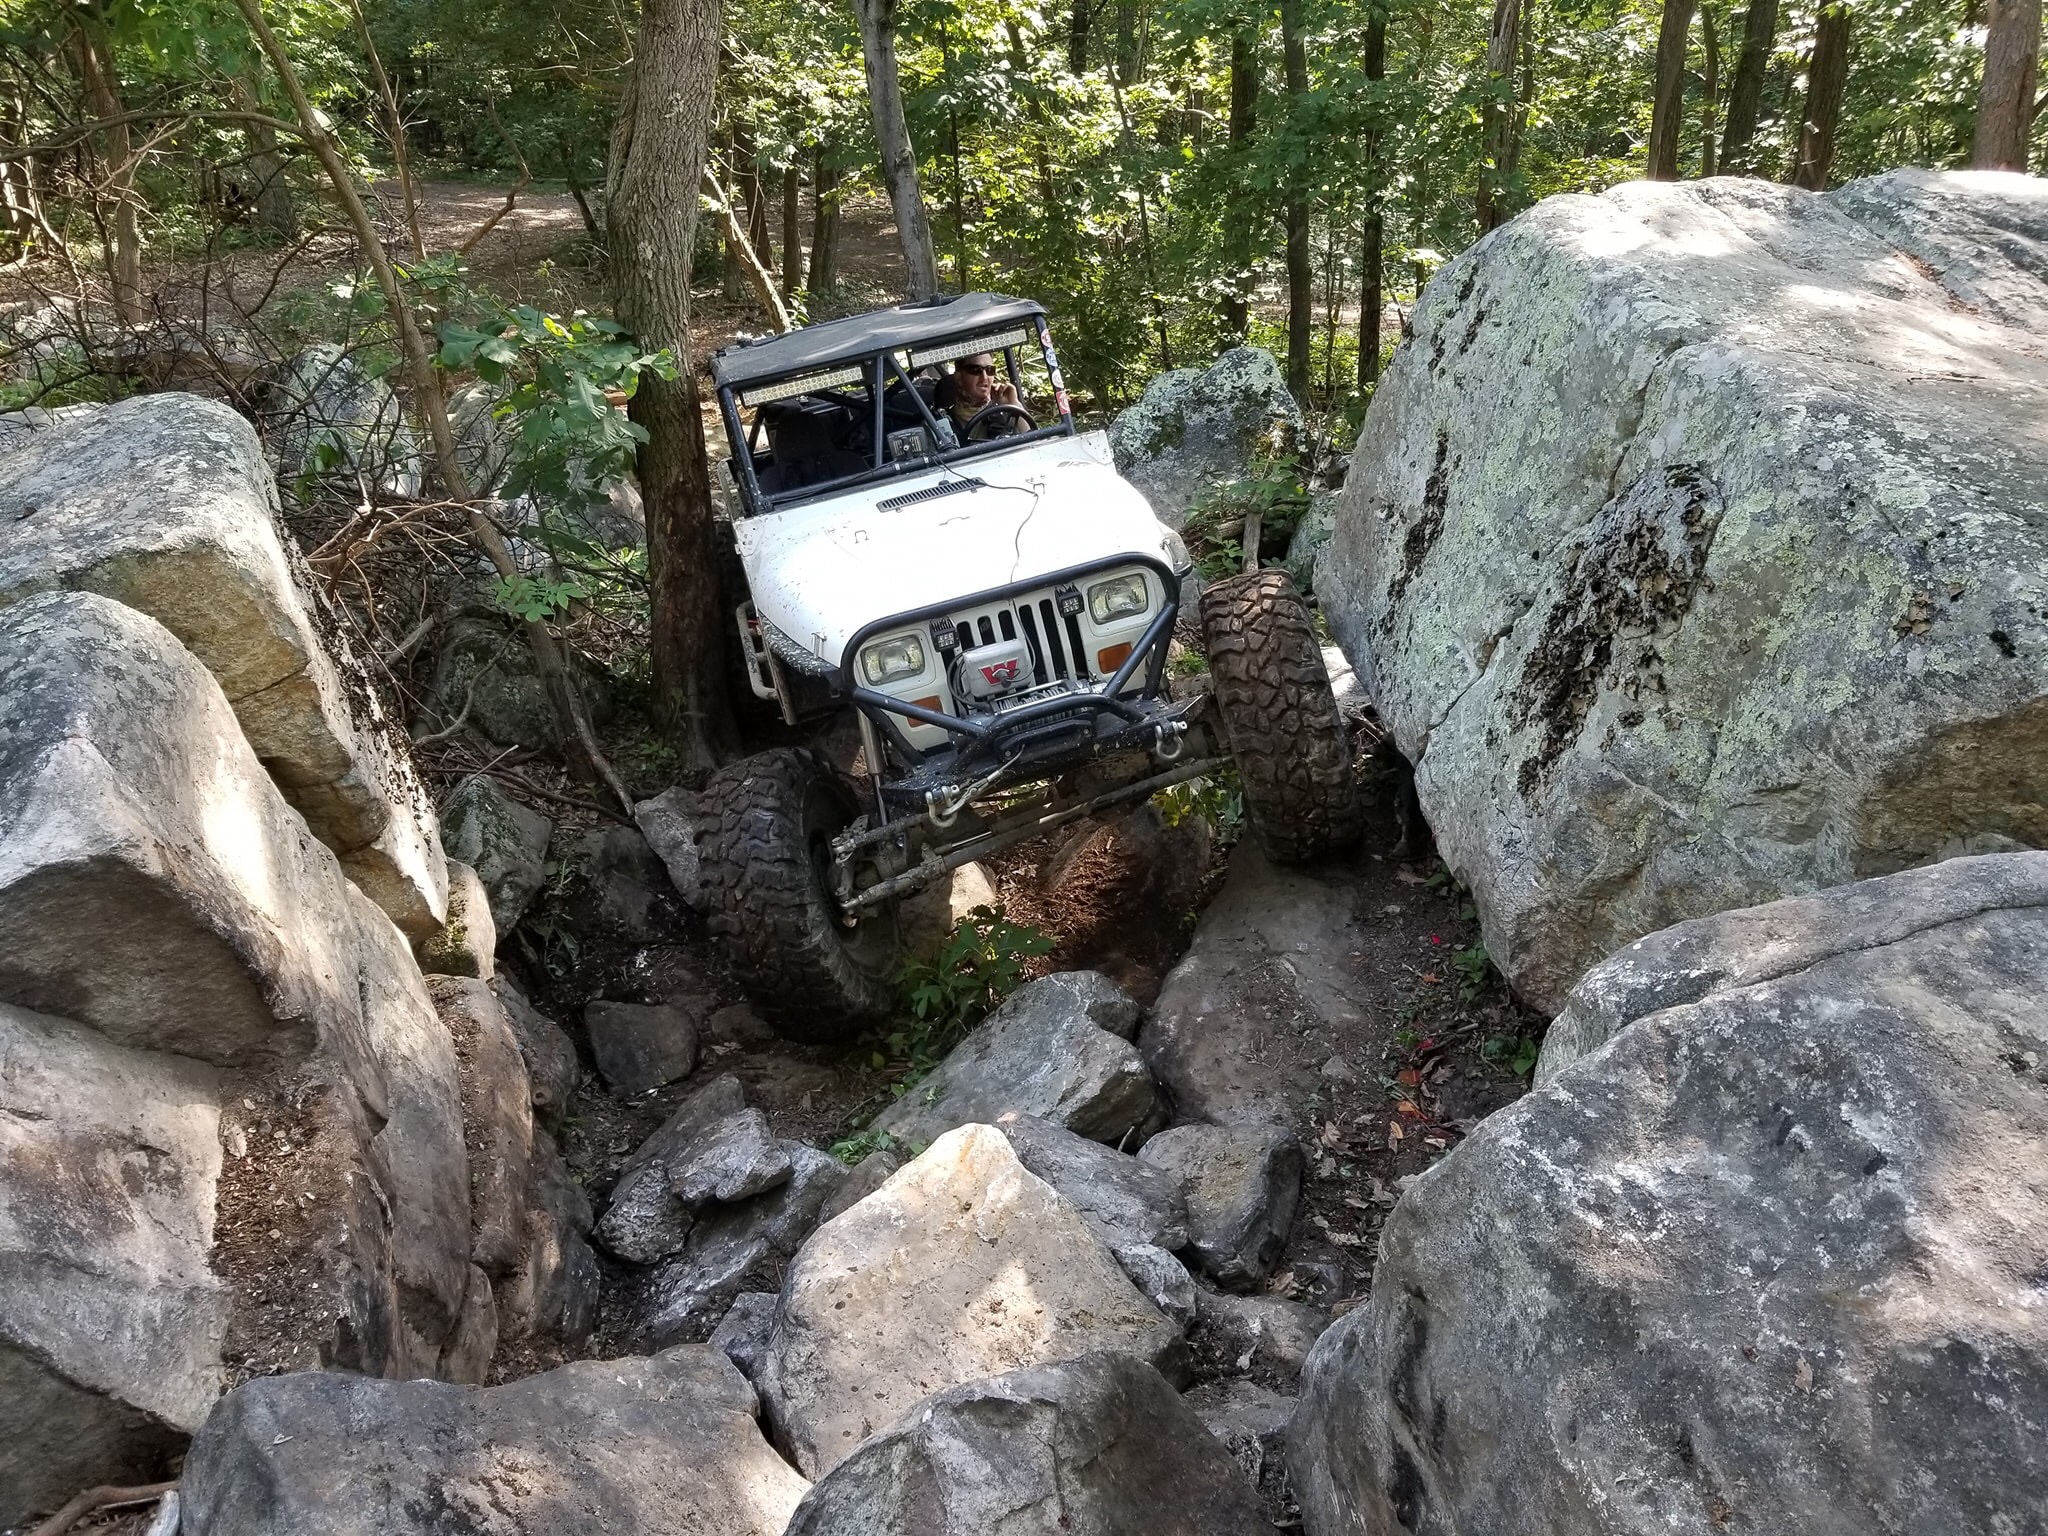
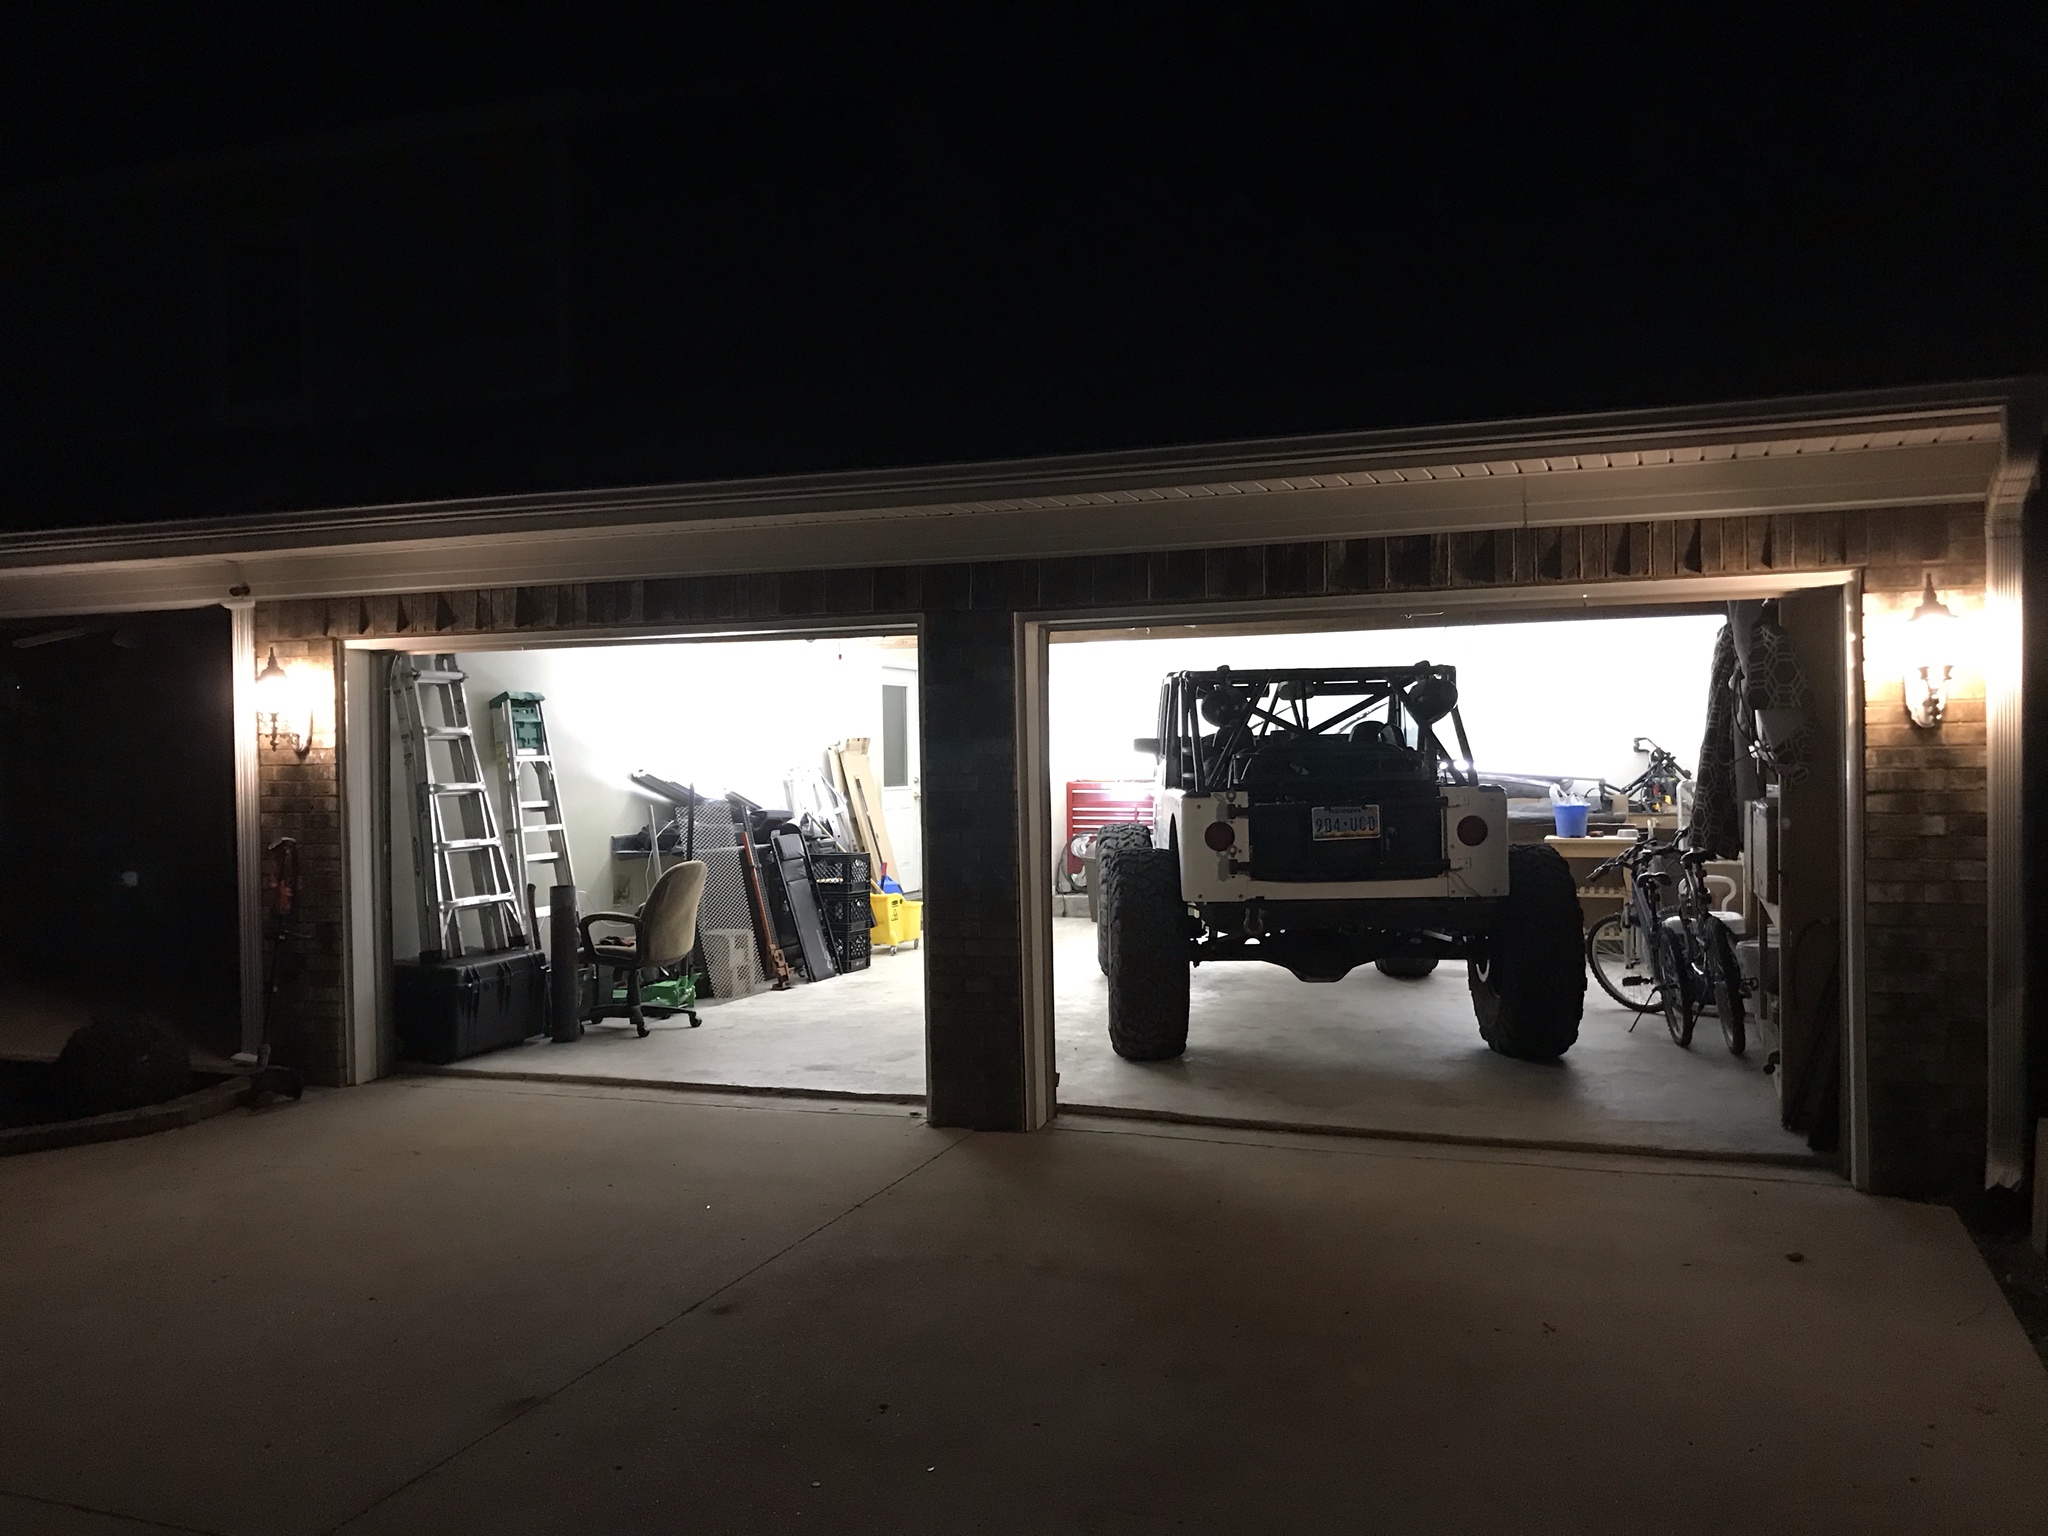
Continuing to chip away at this thing on the weekends. Lots of progress done this weekend.


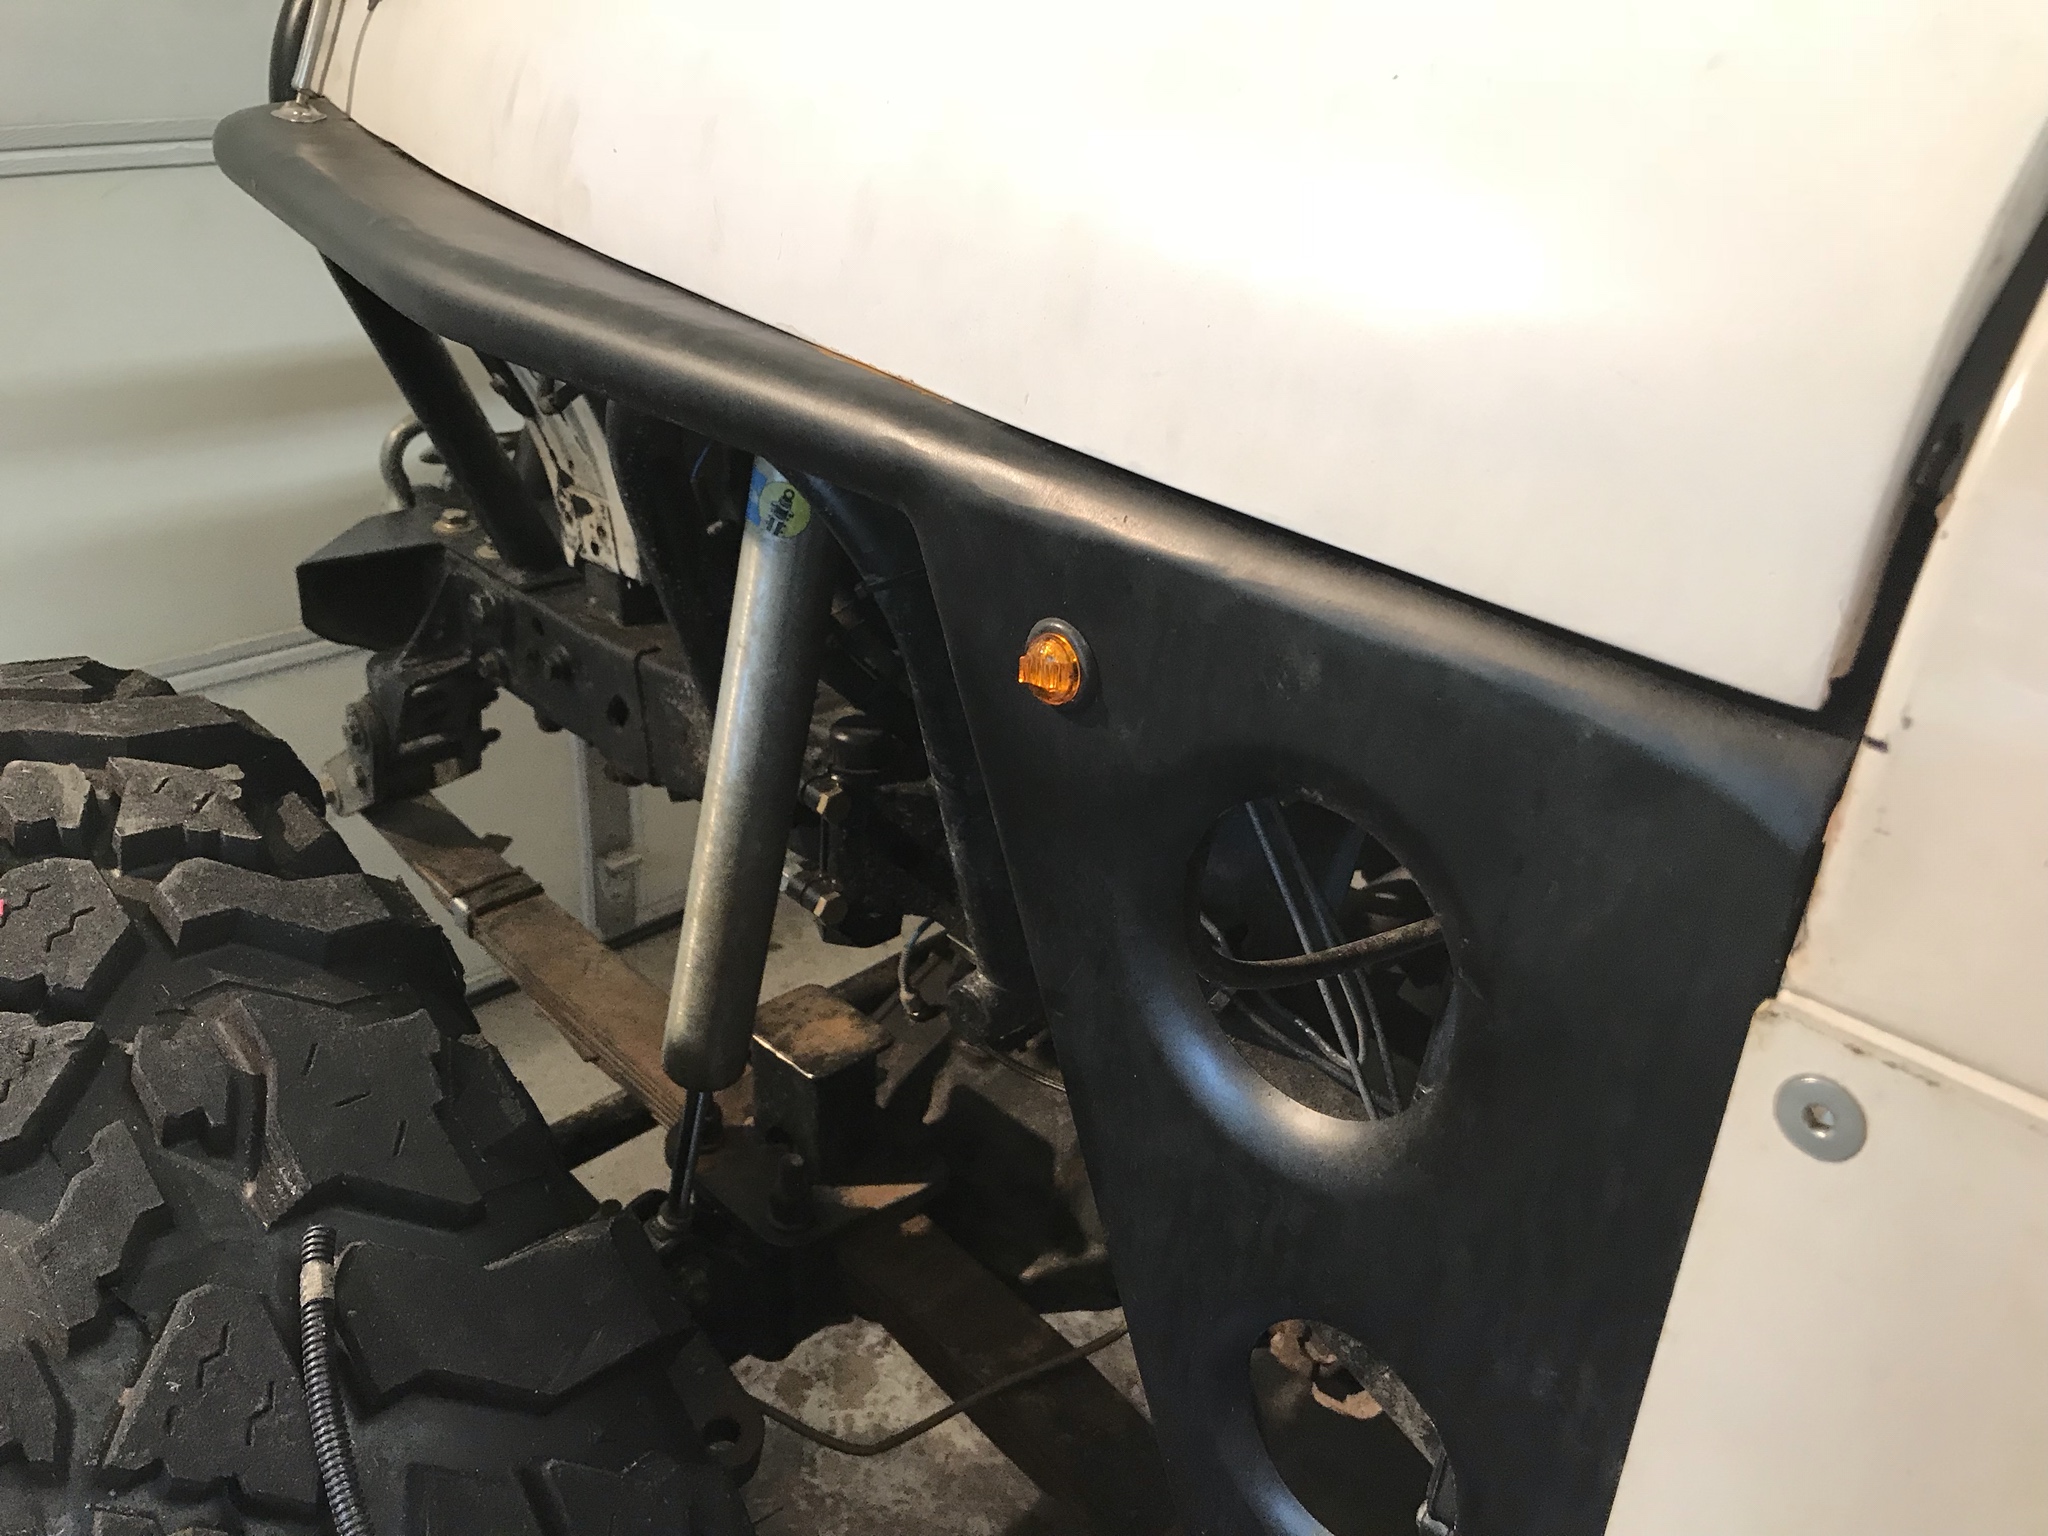
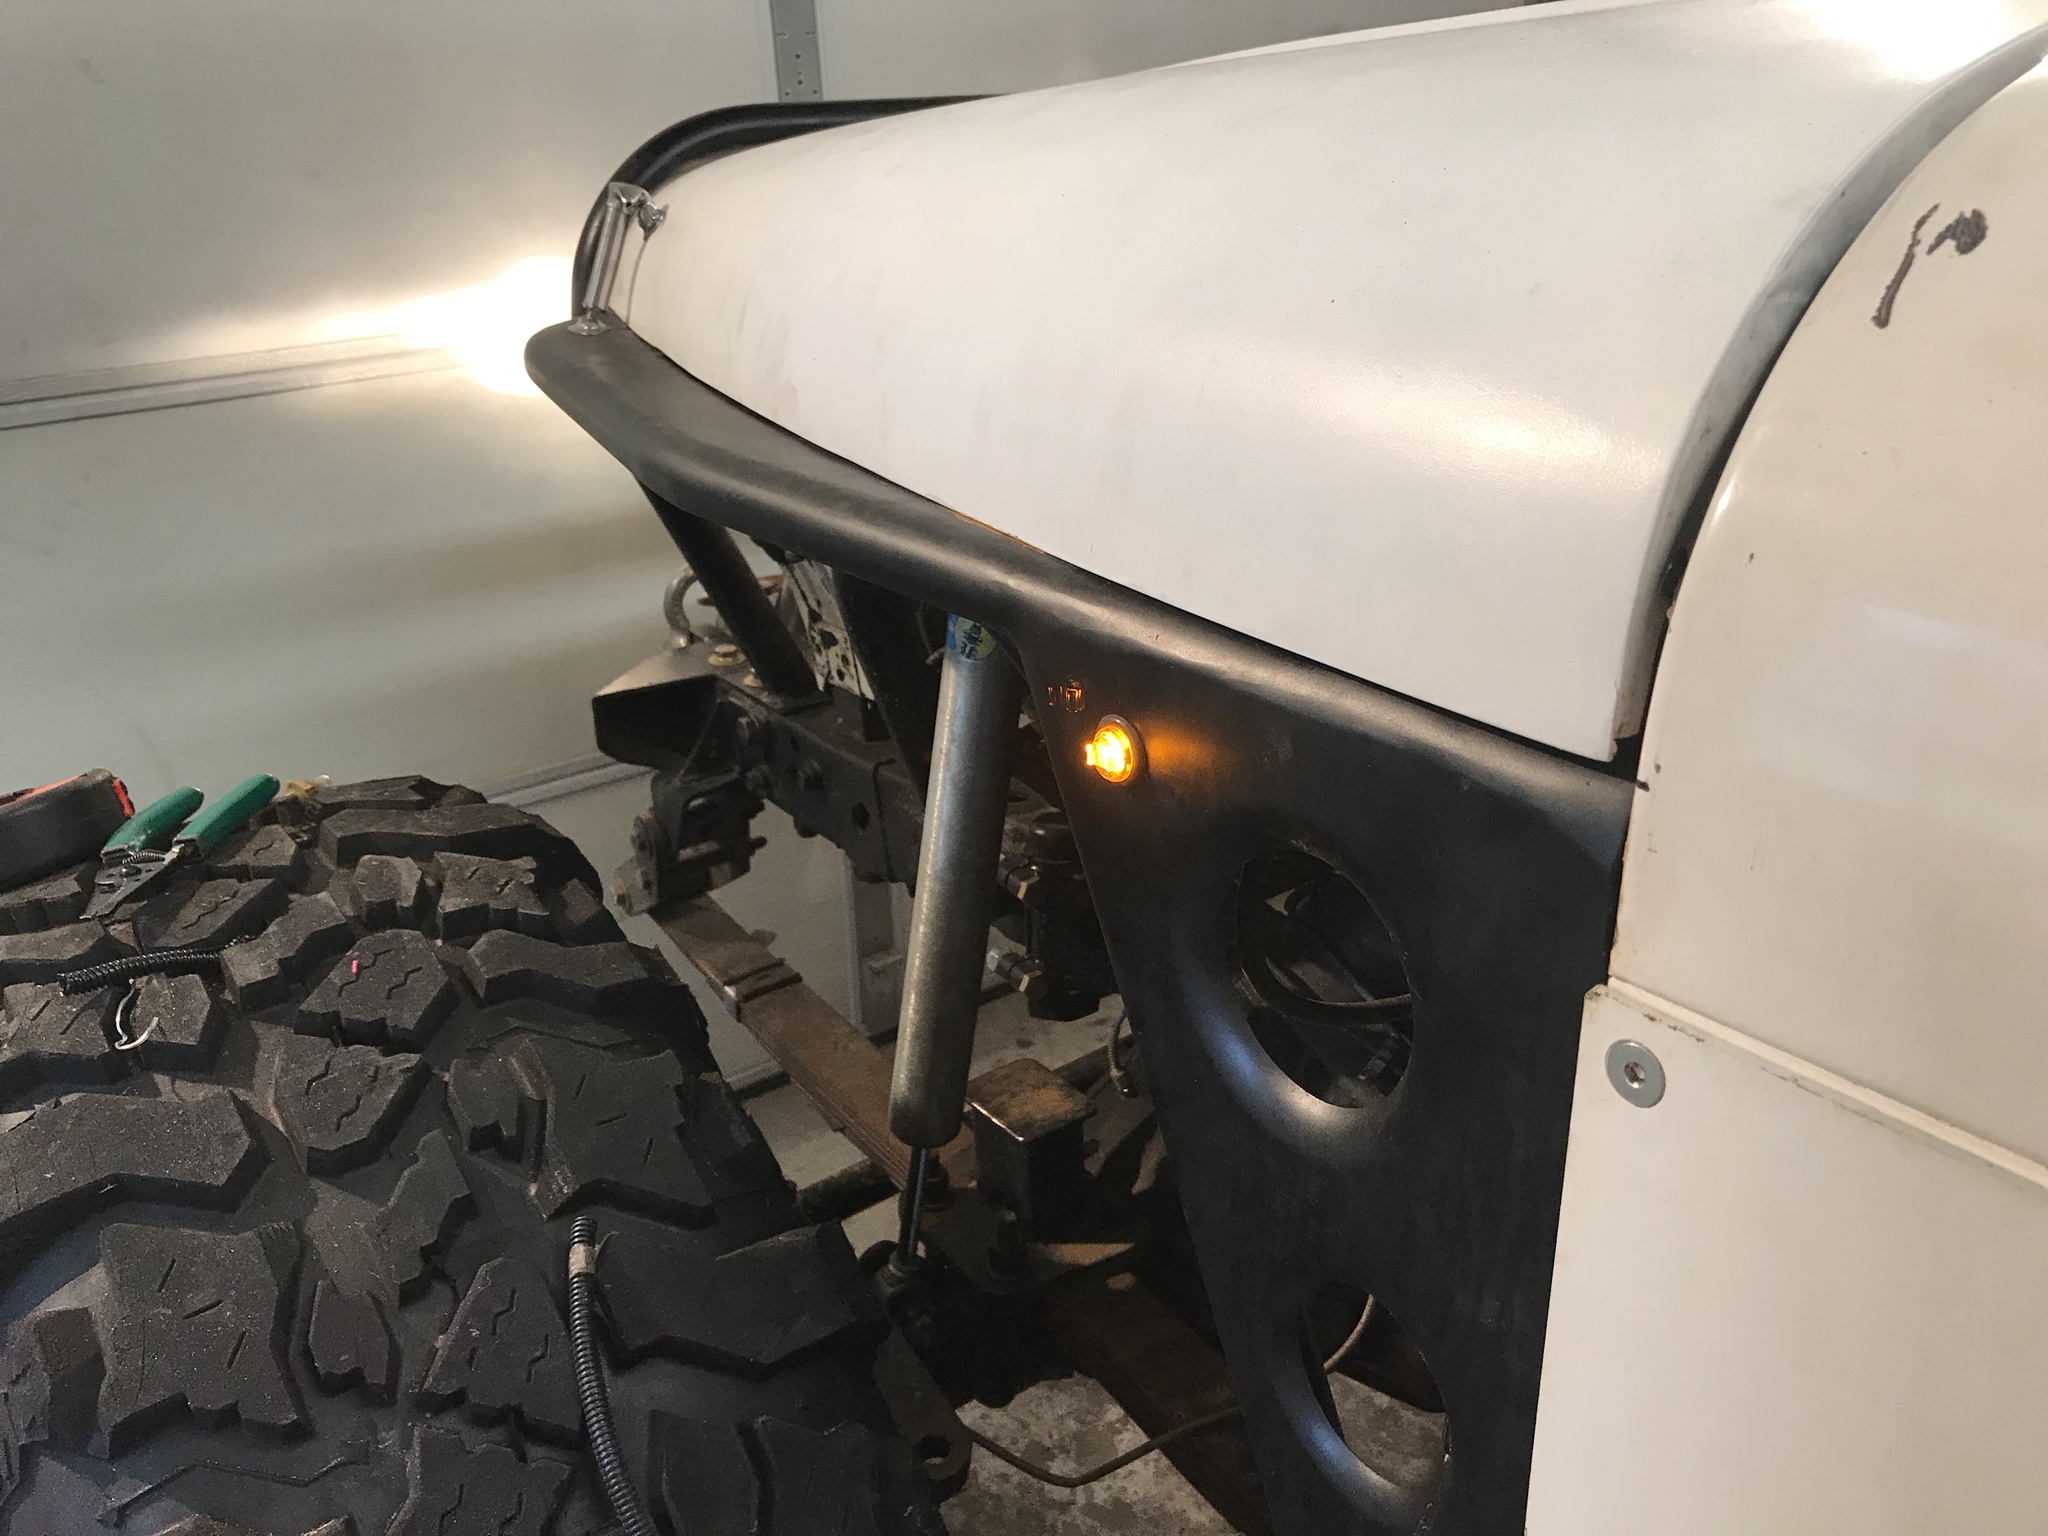
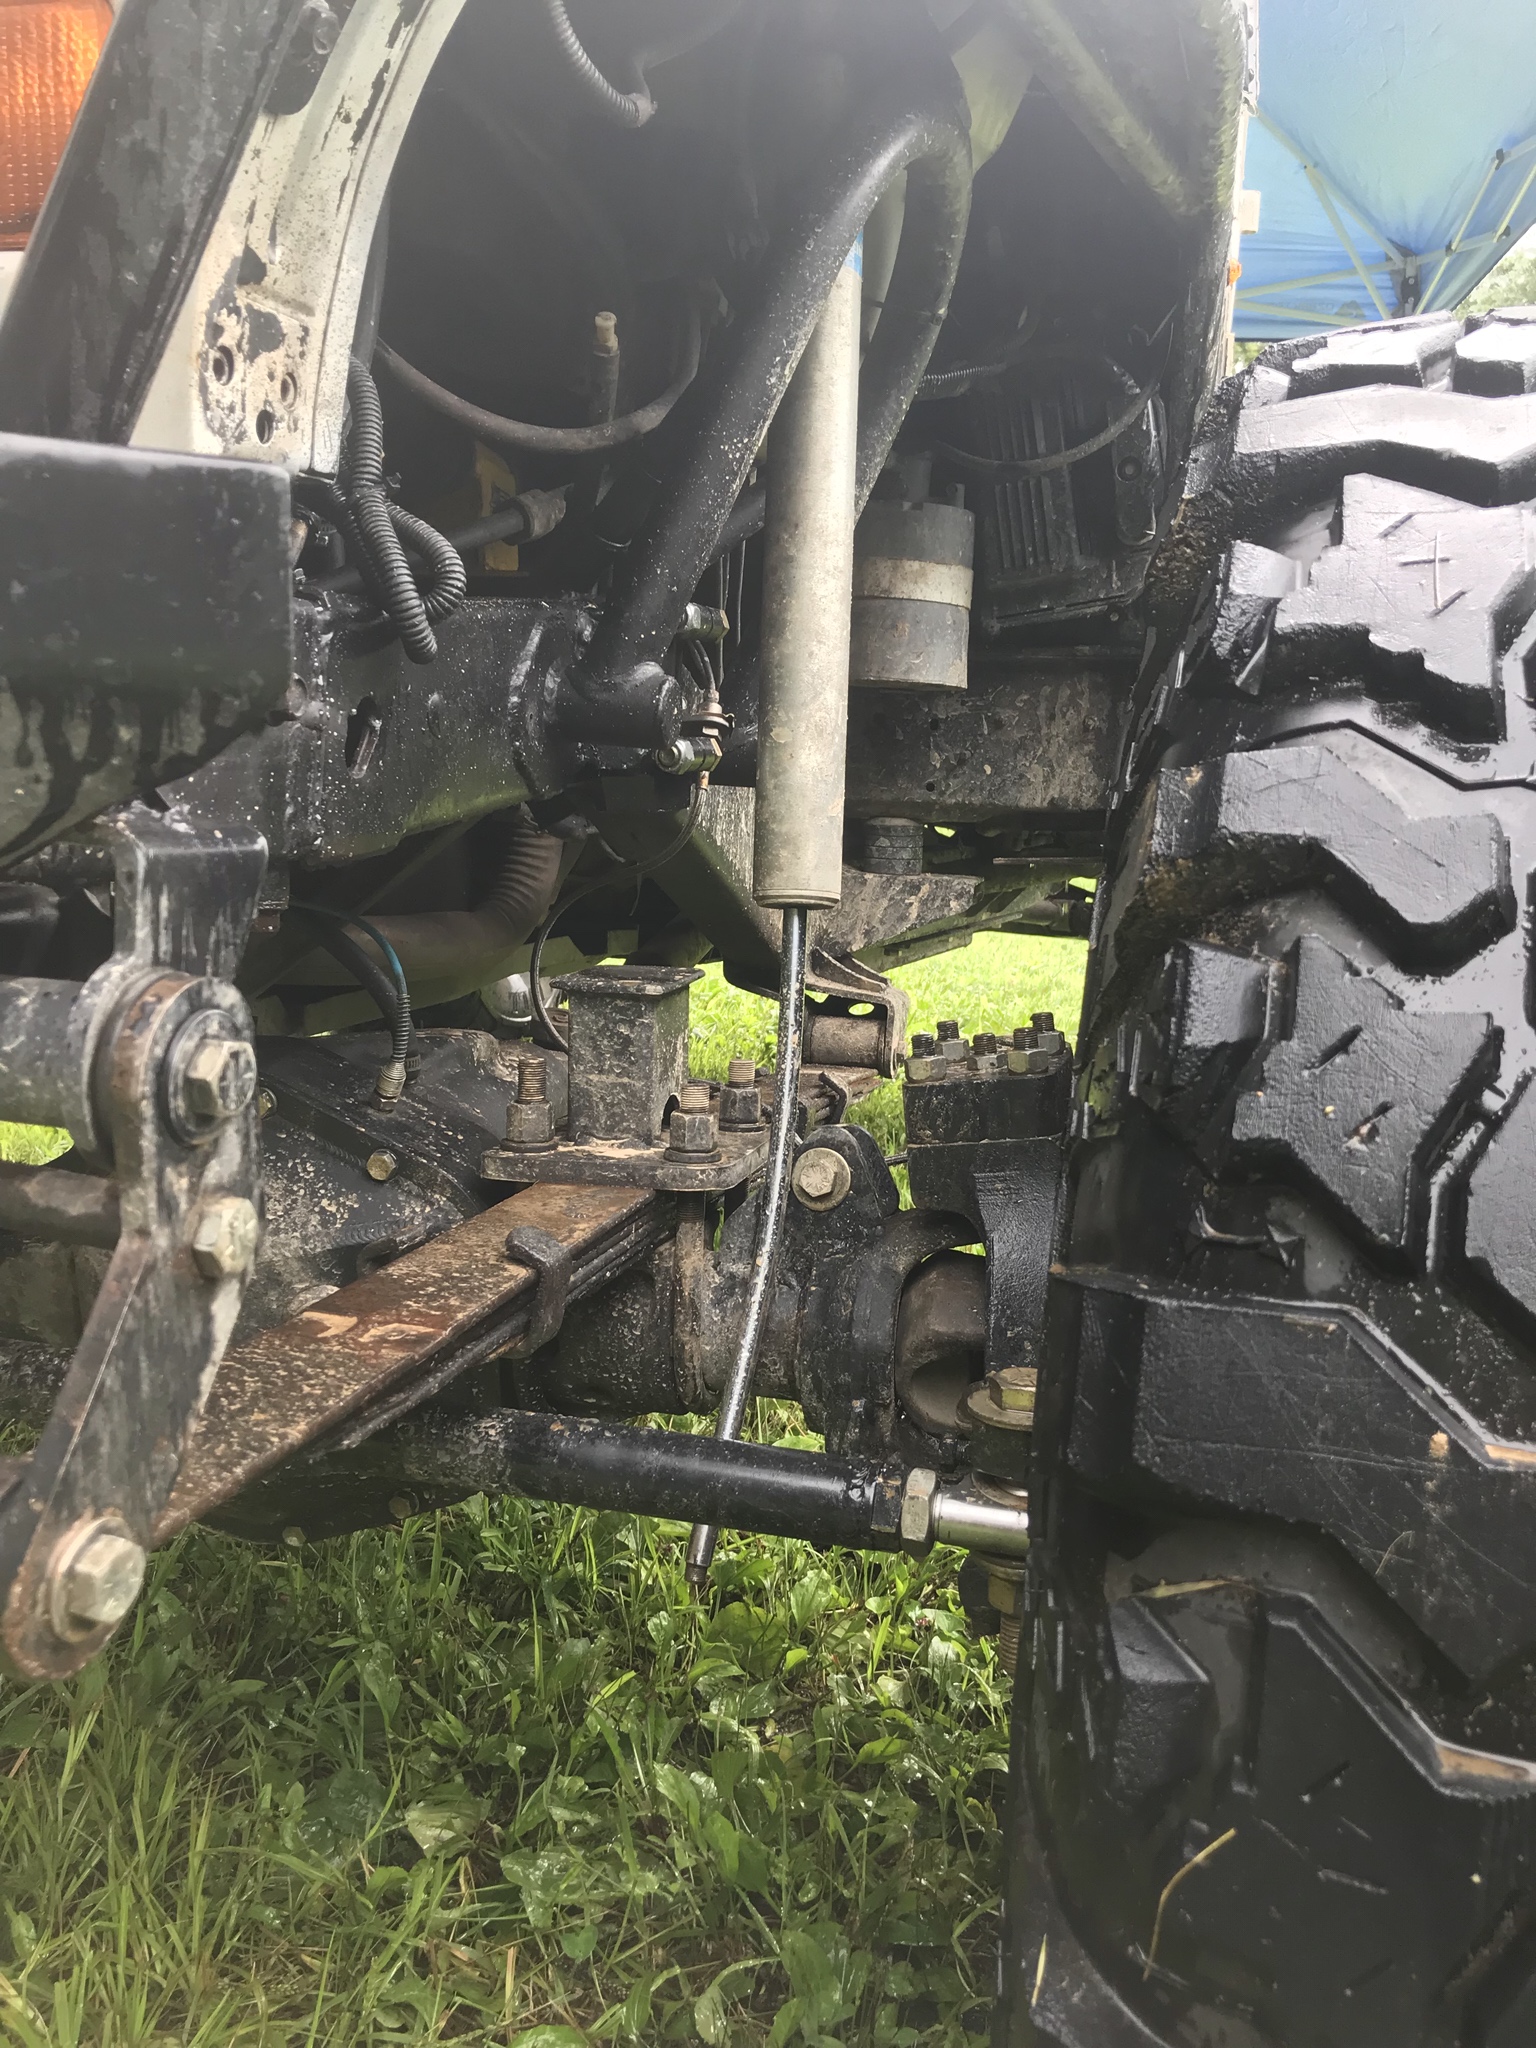
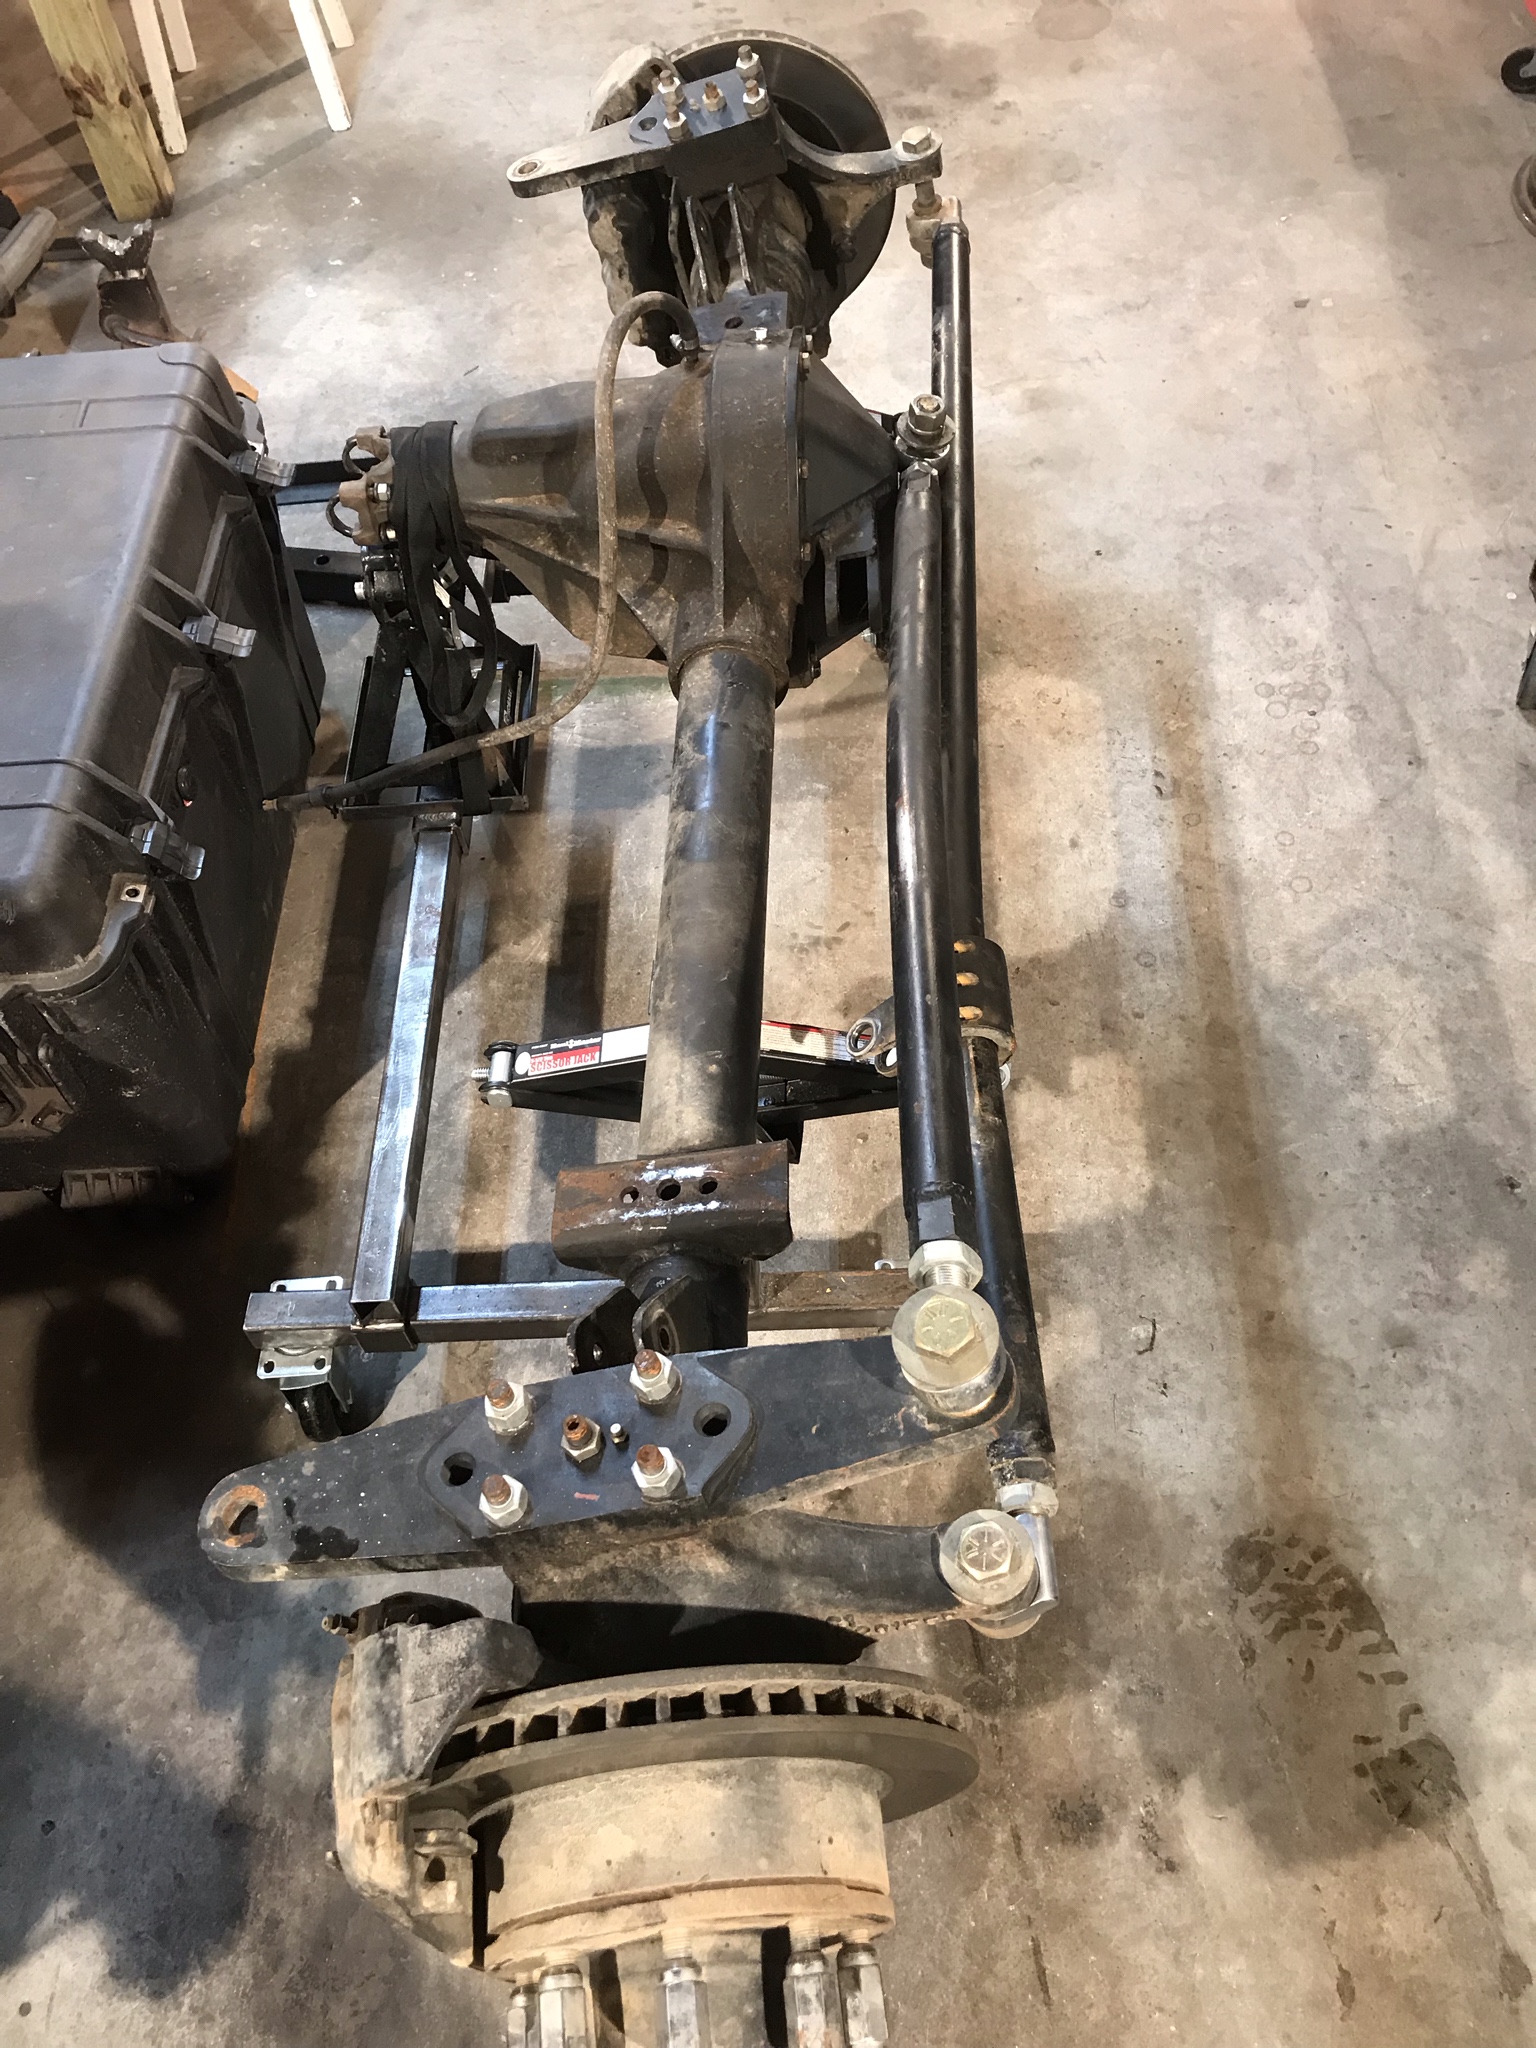
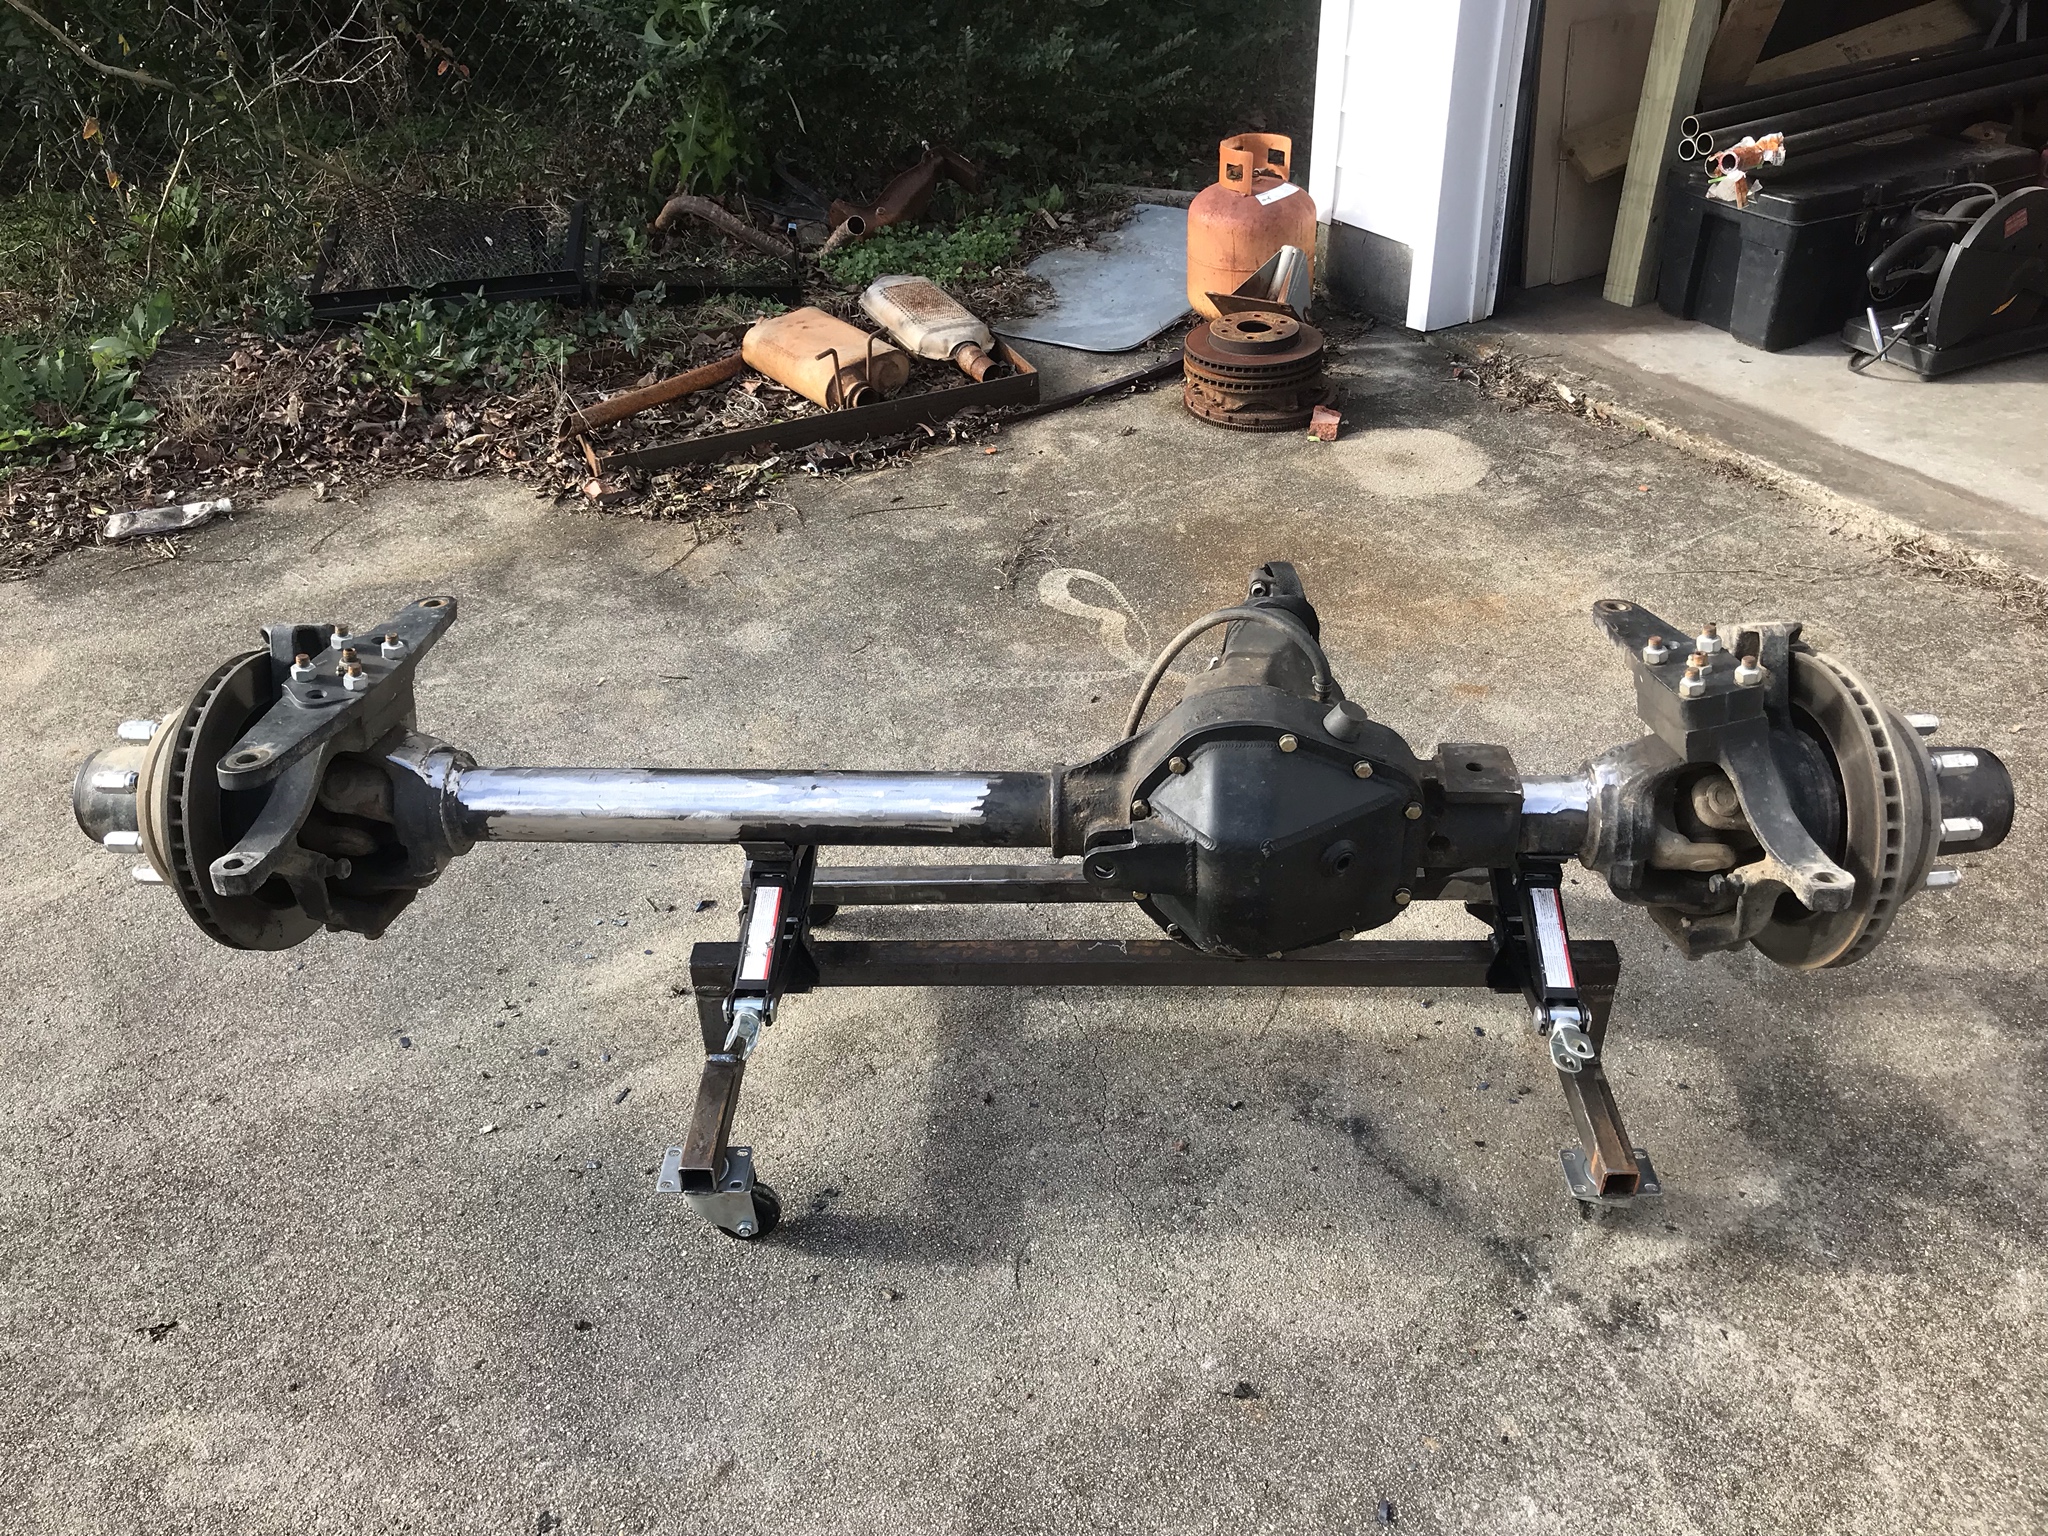
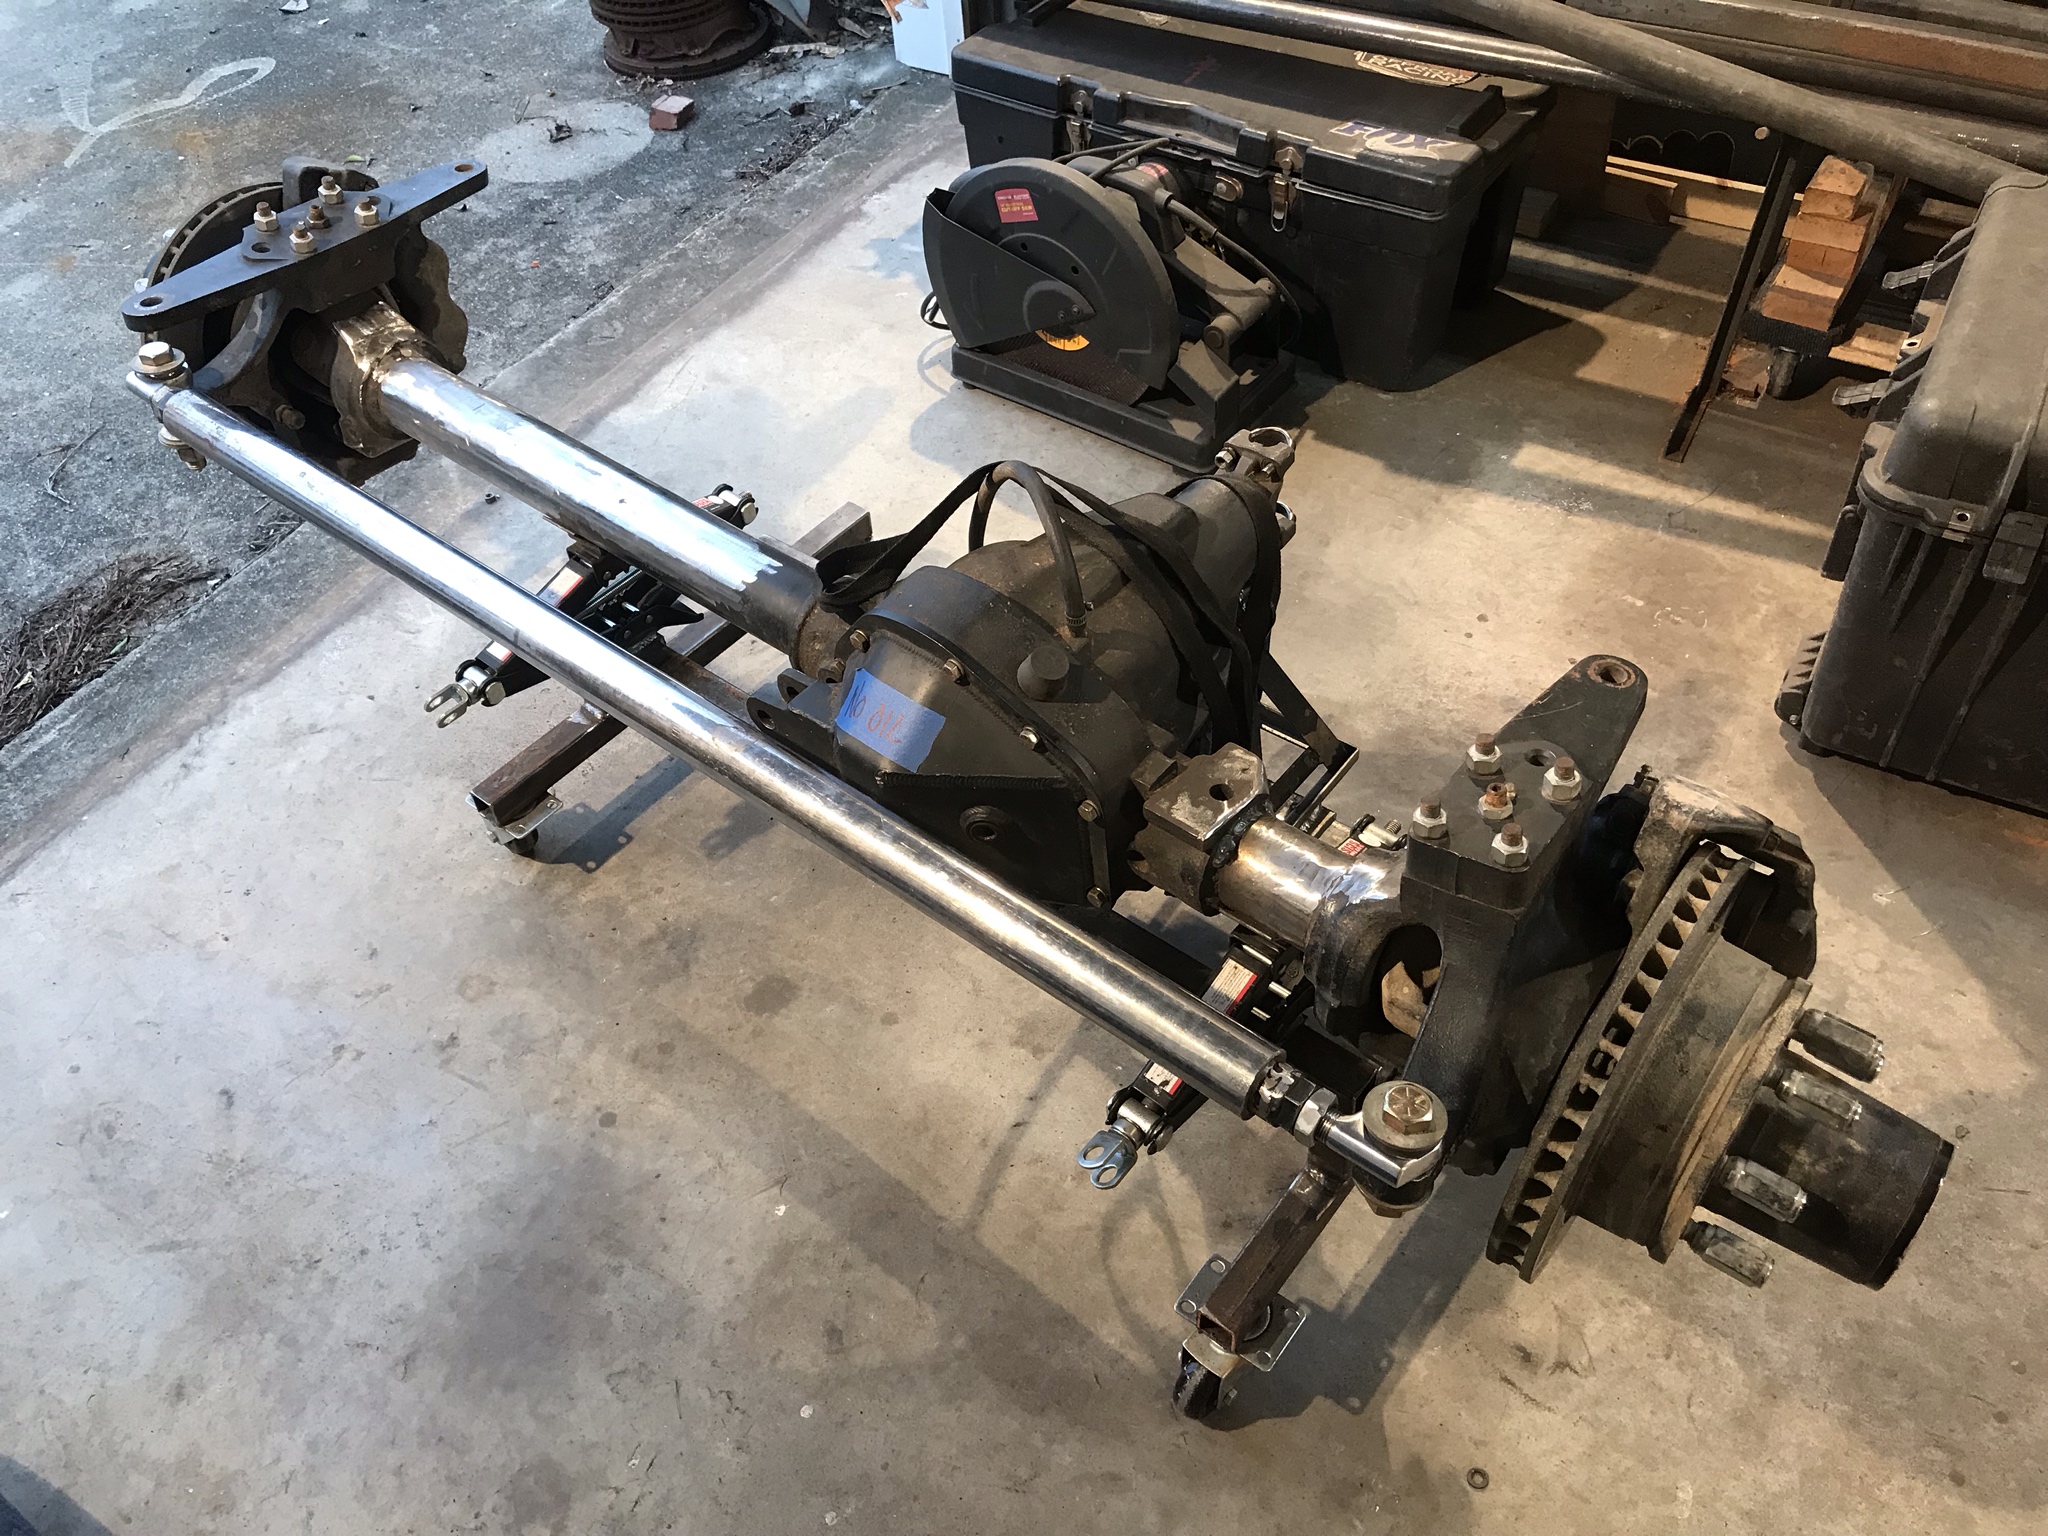
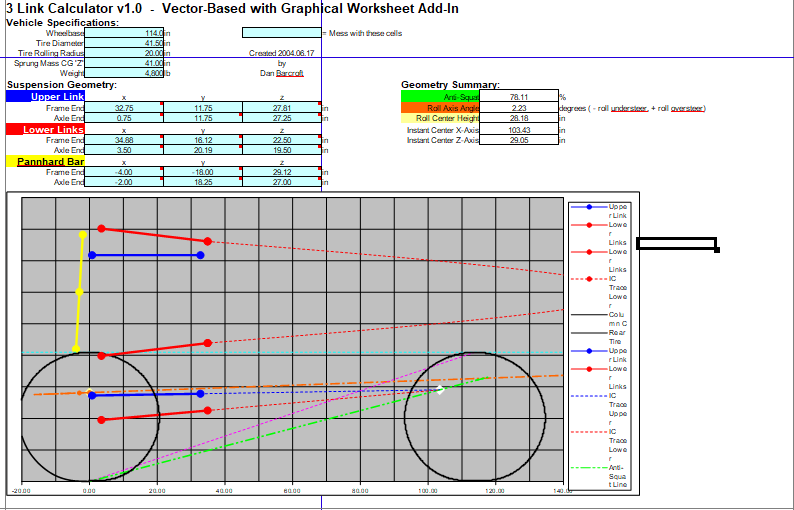
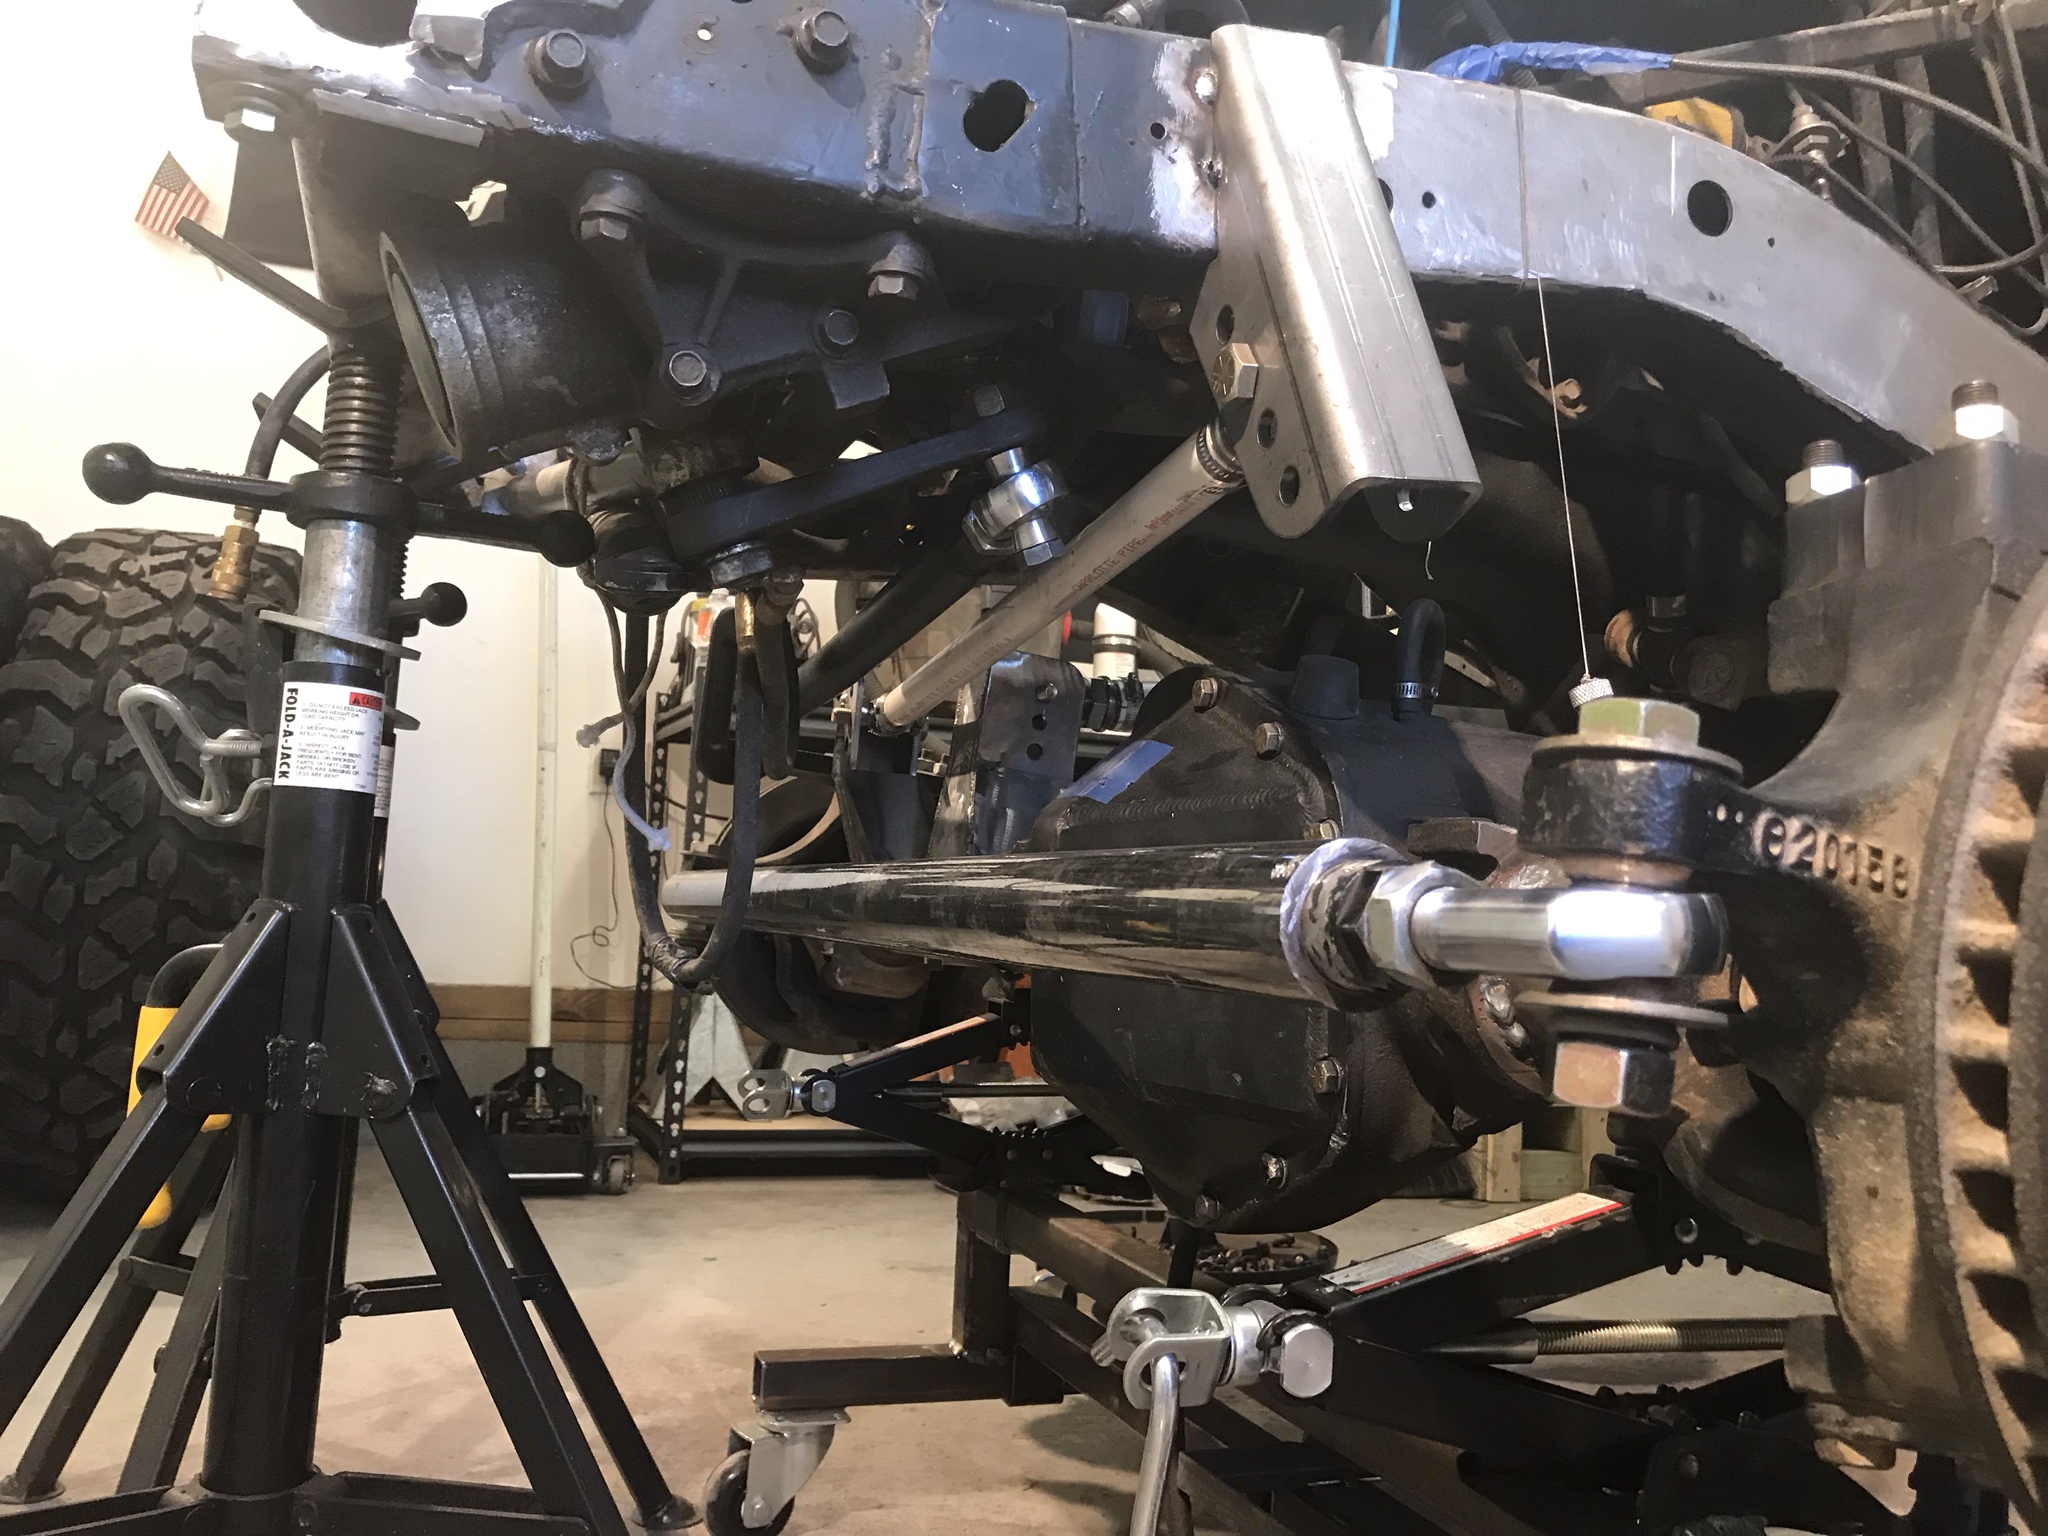
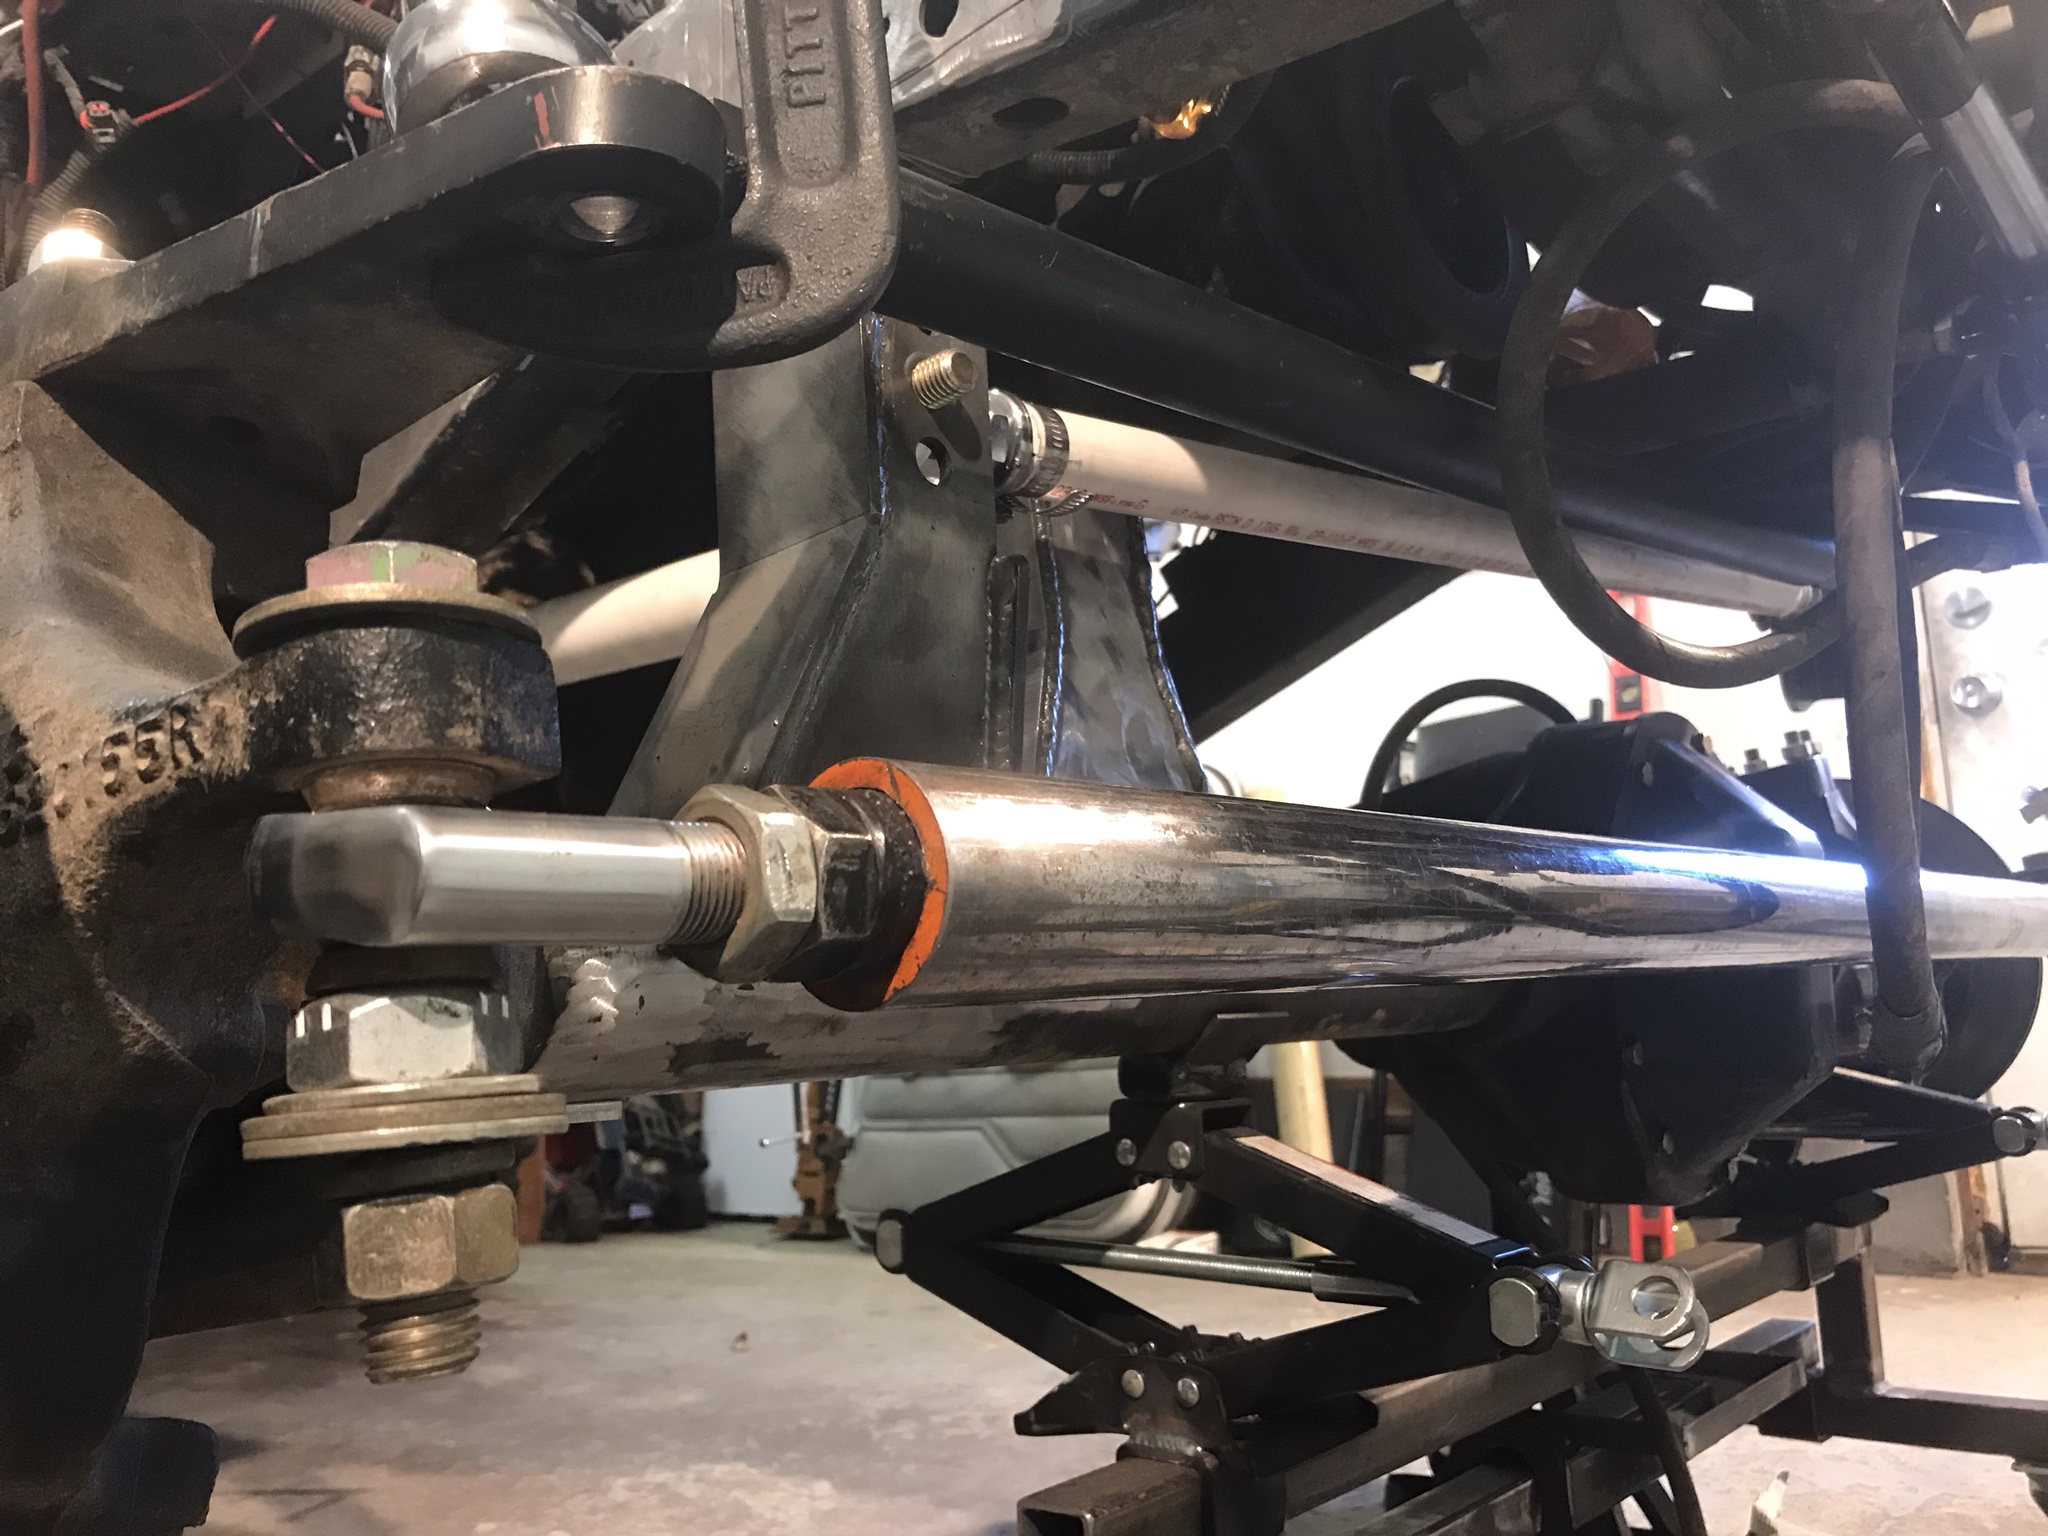
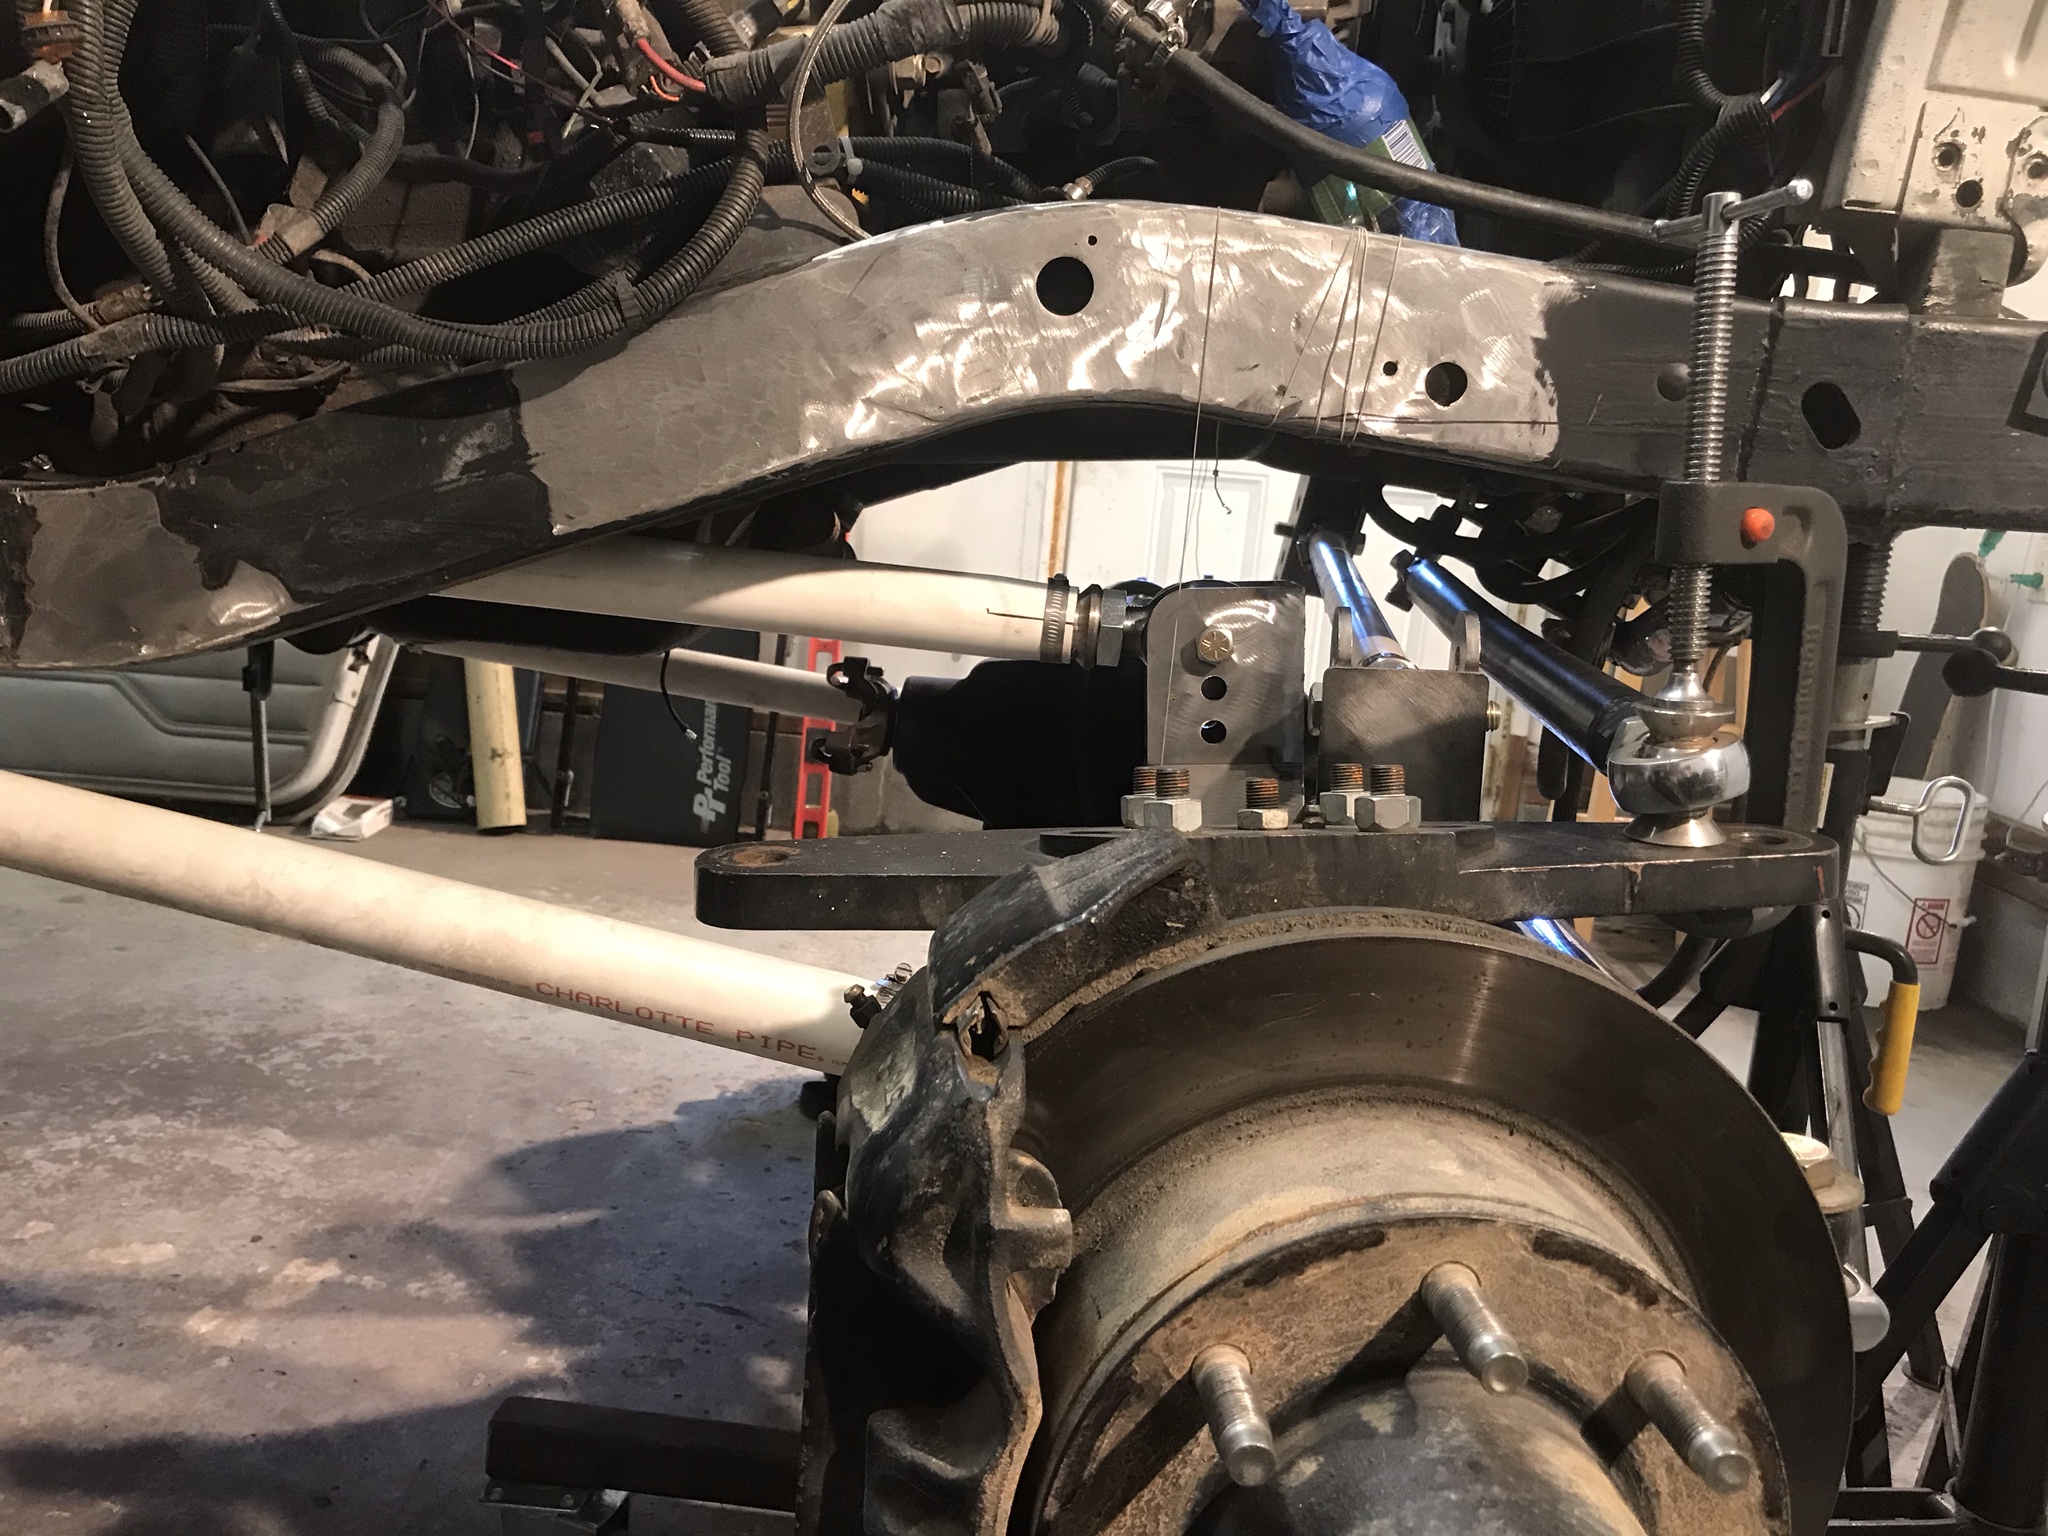
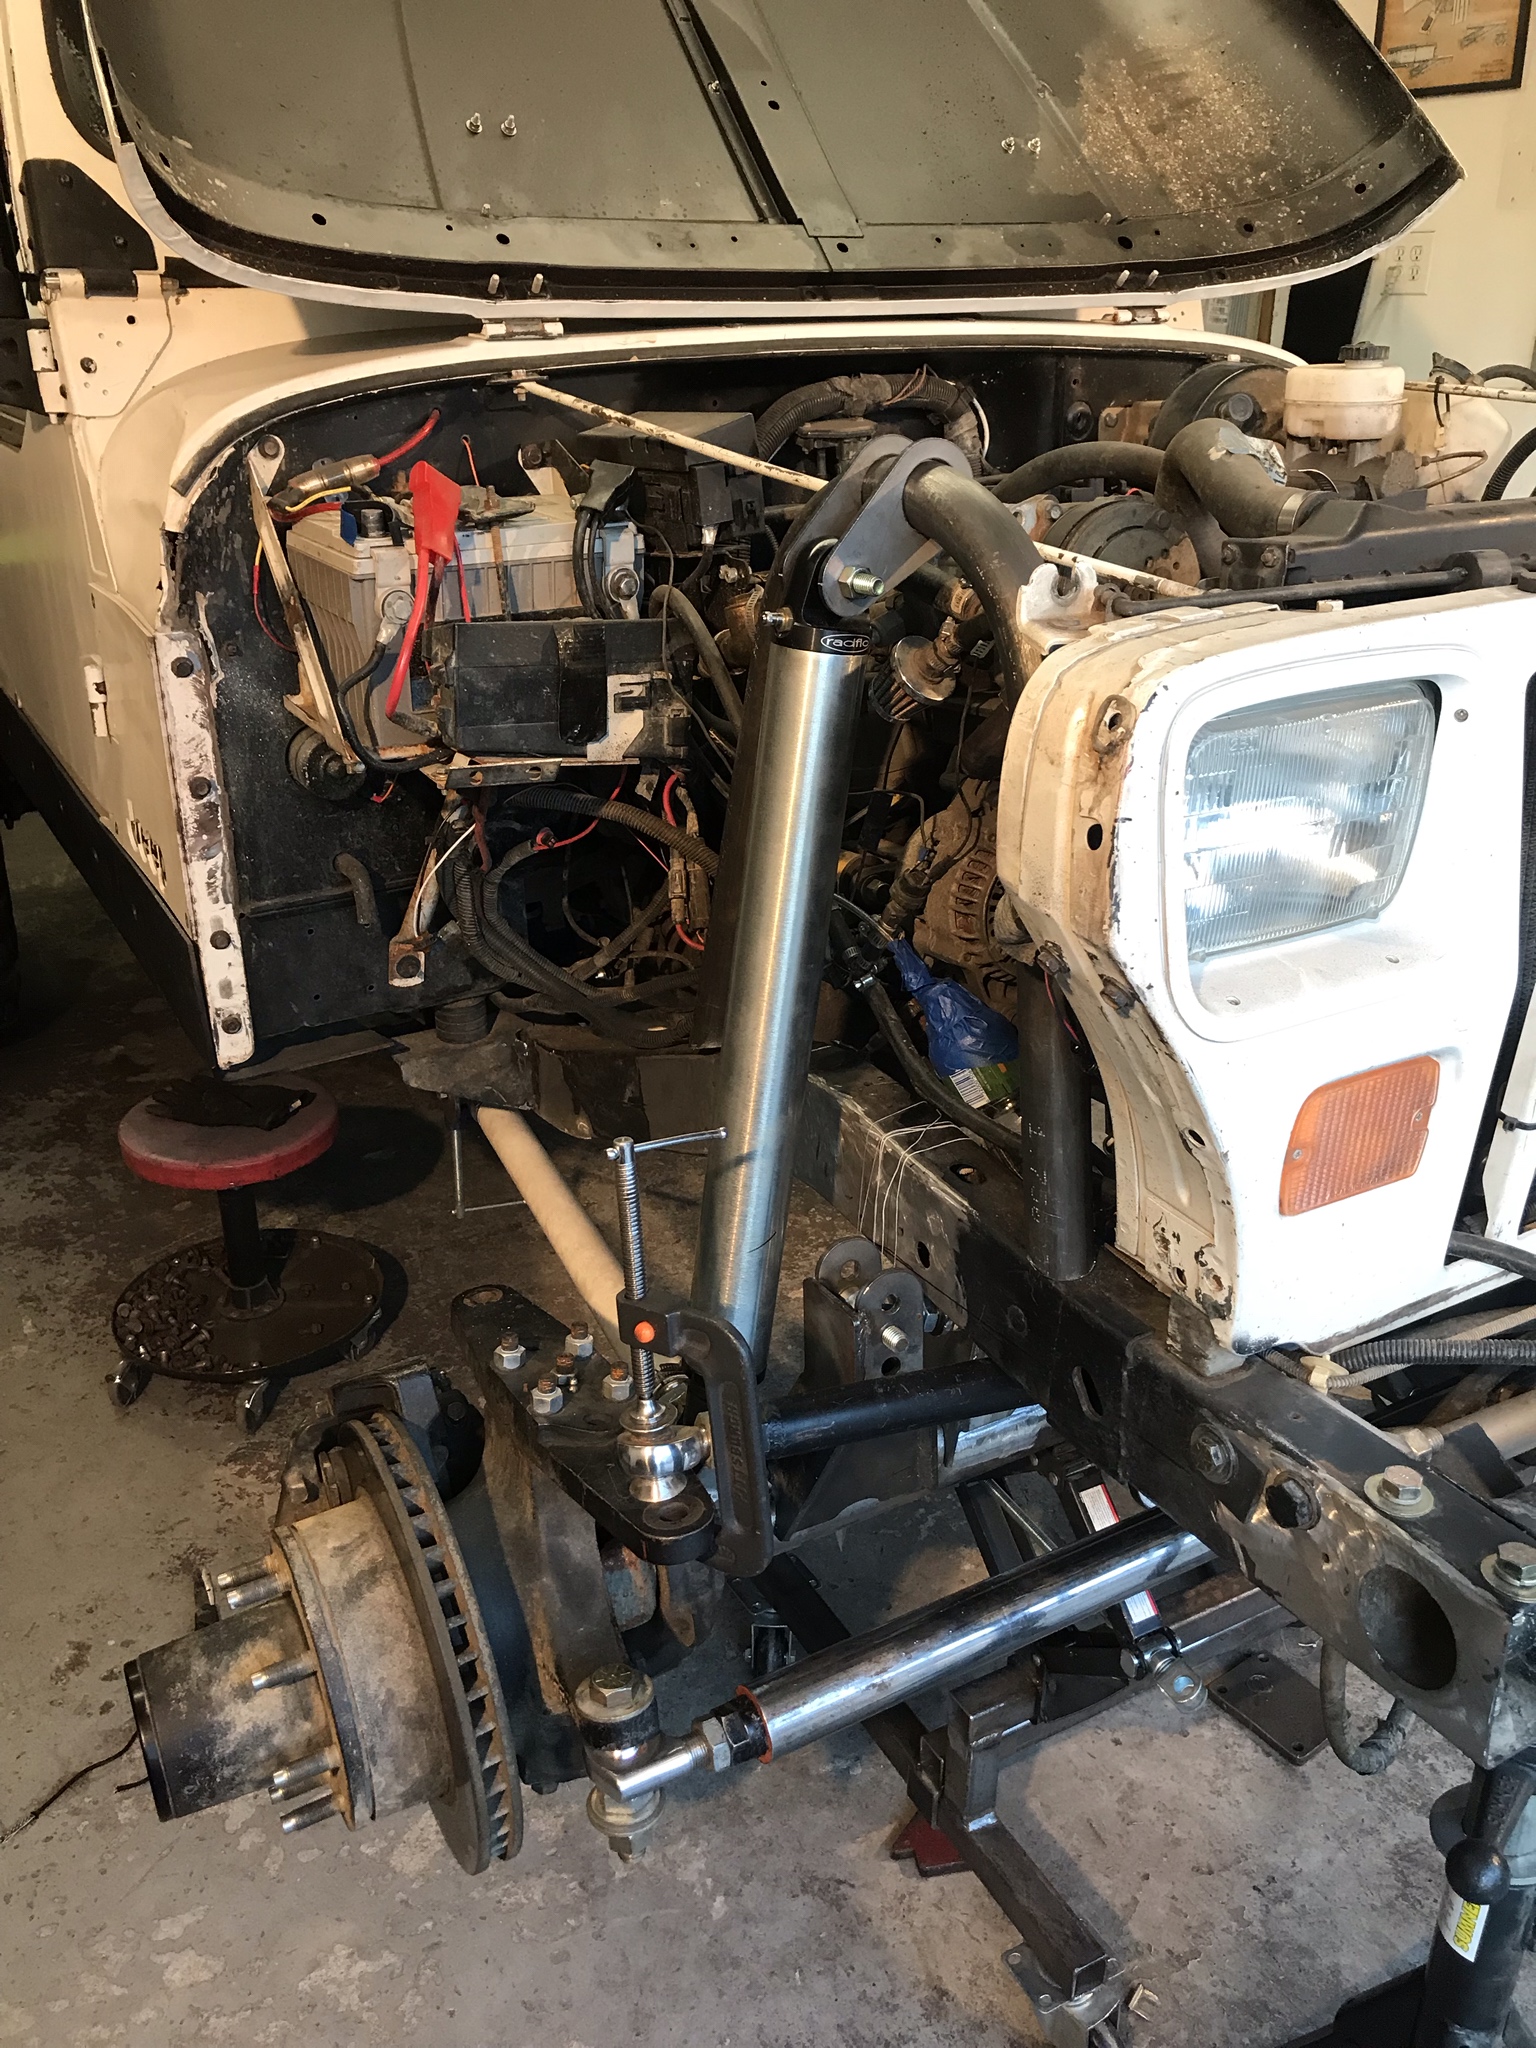
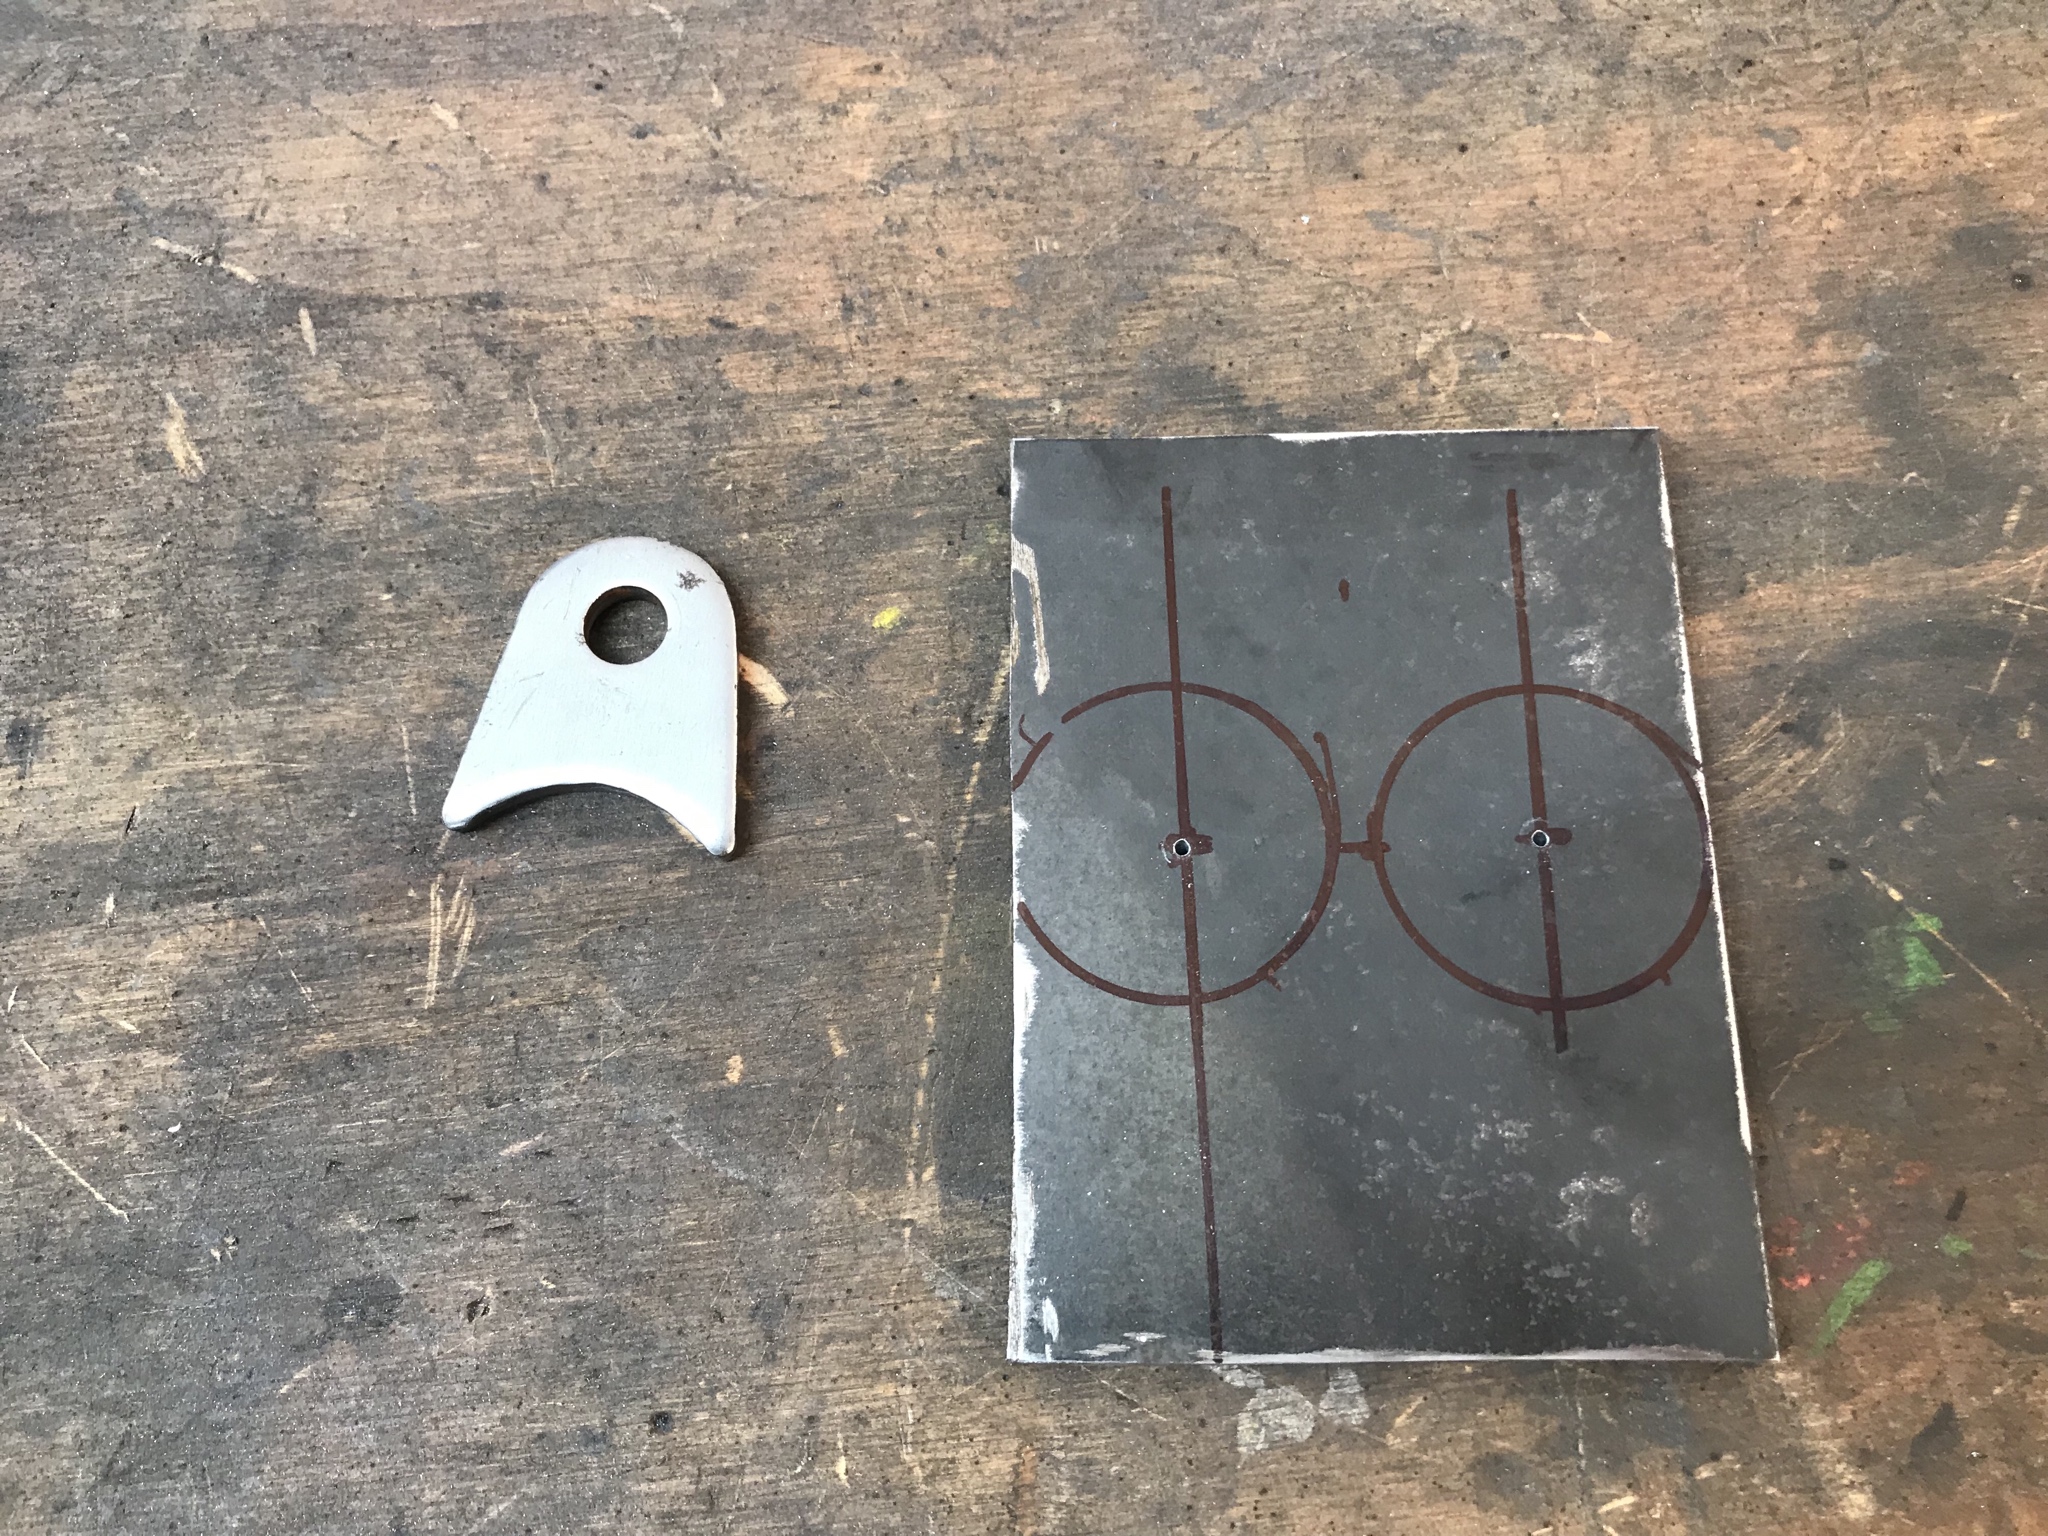
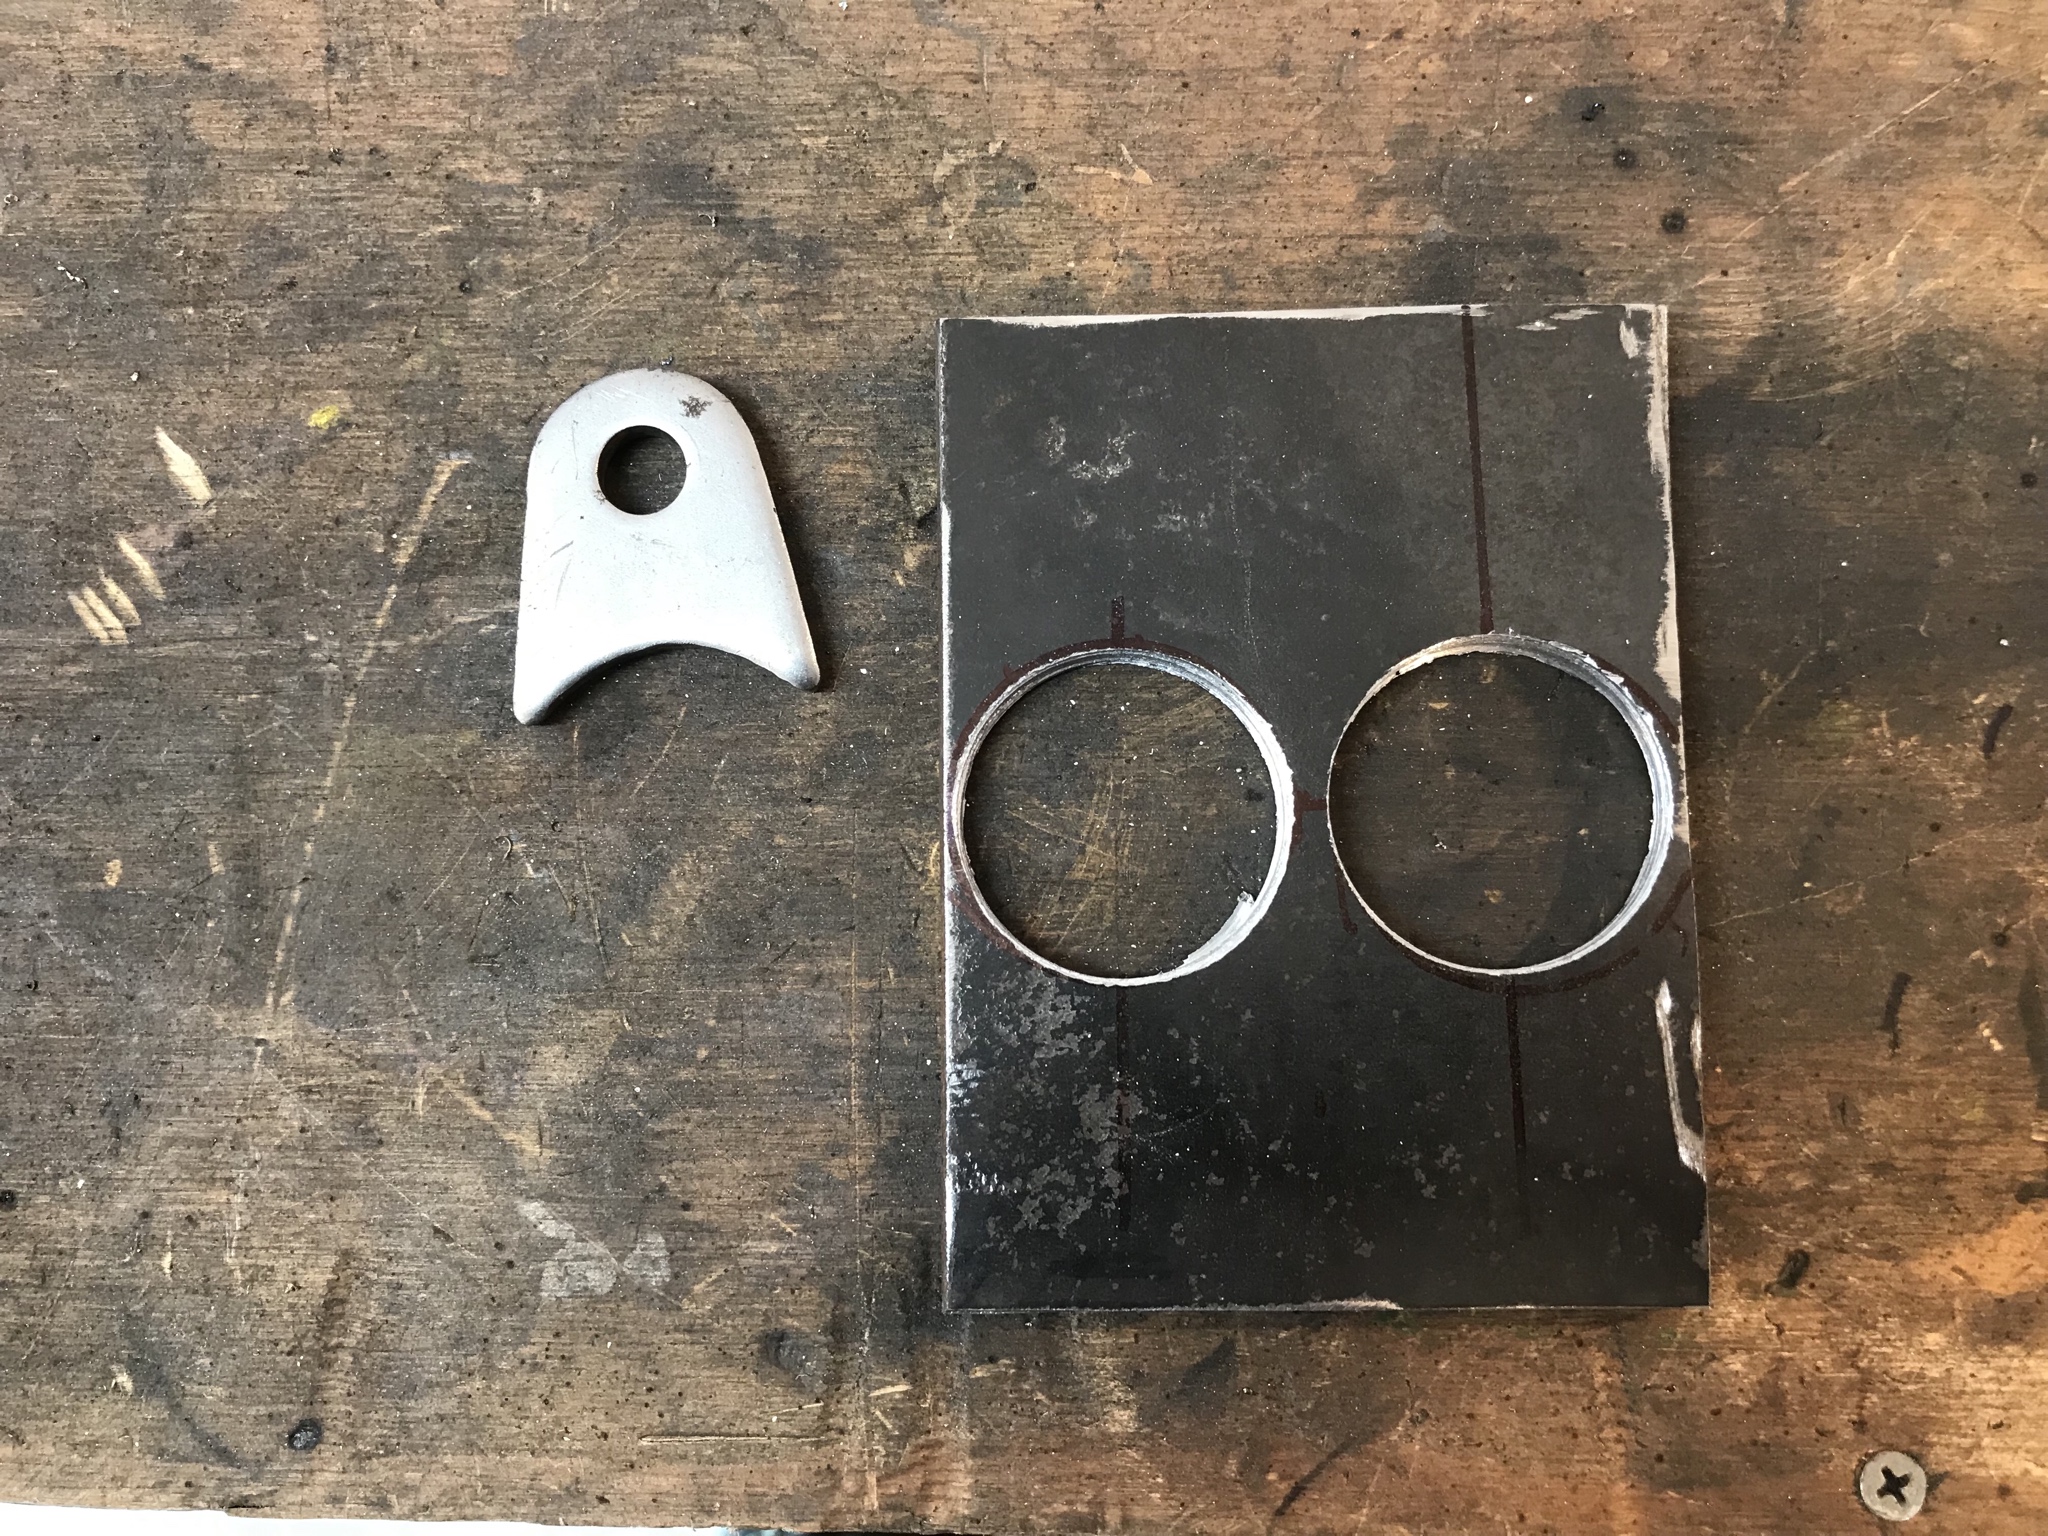
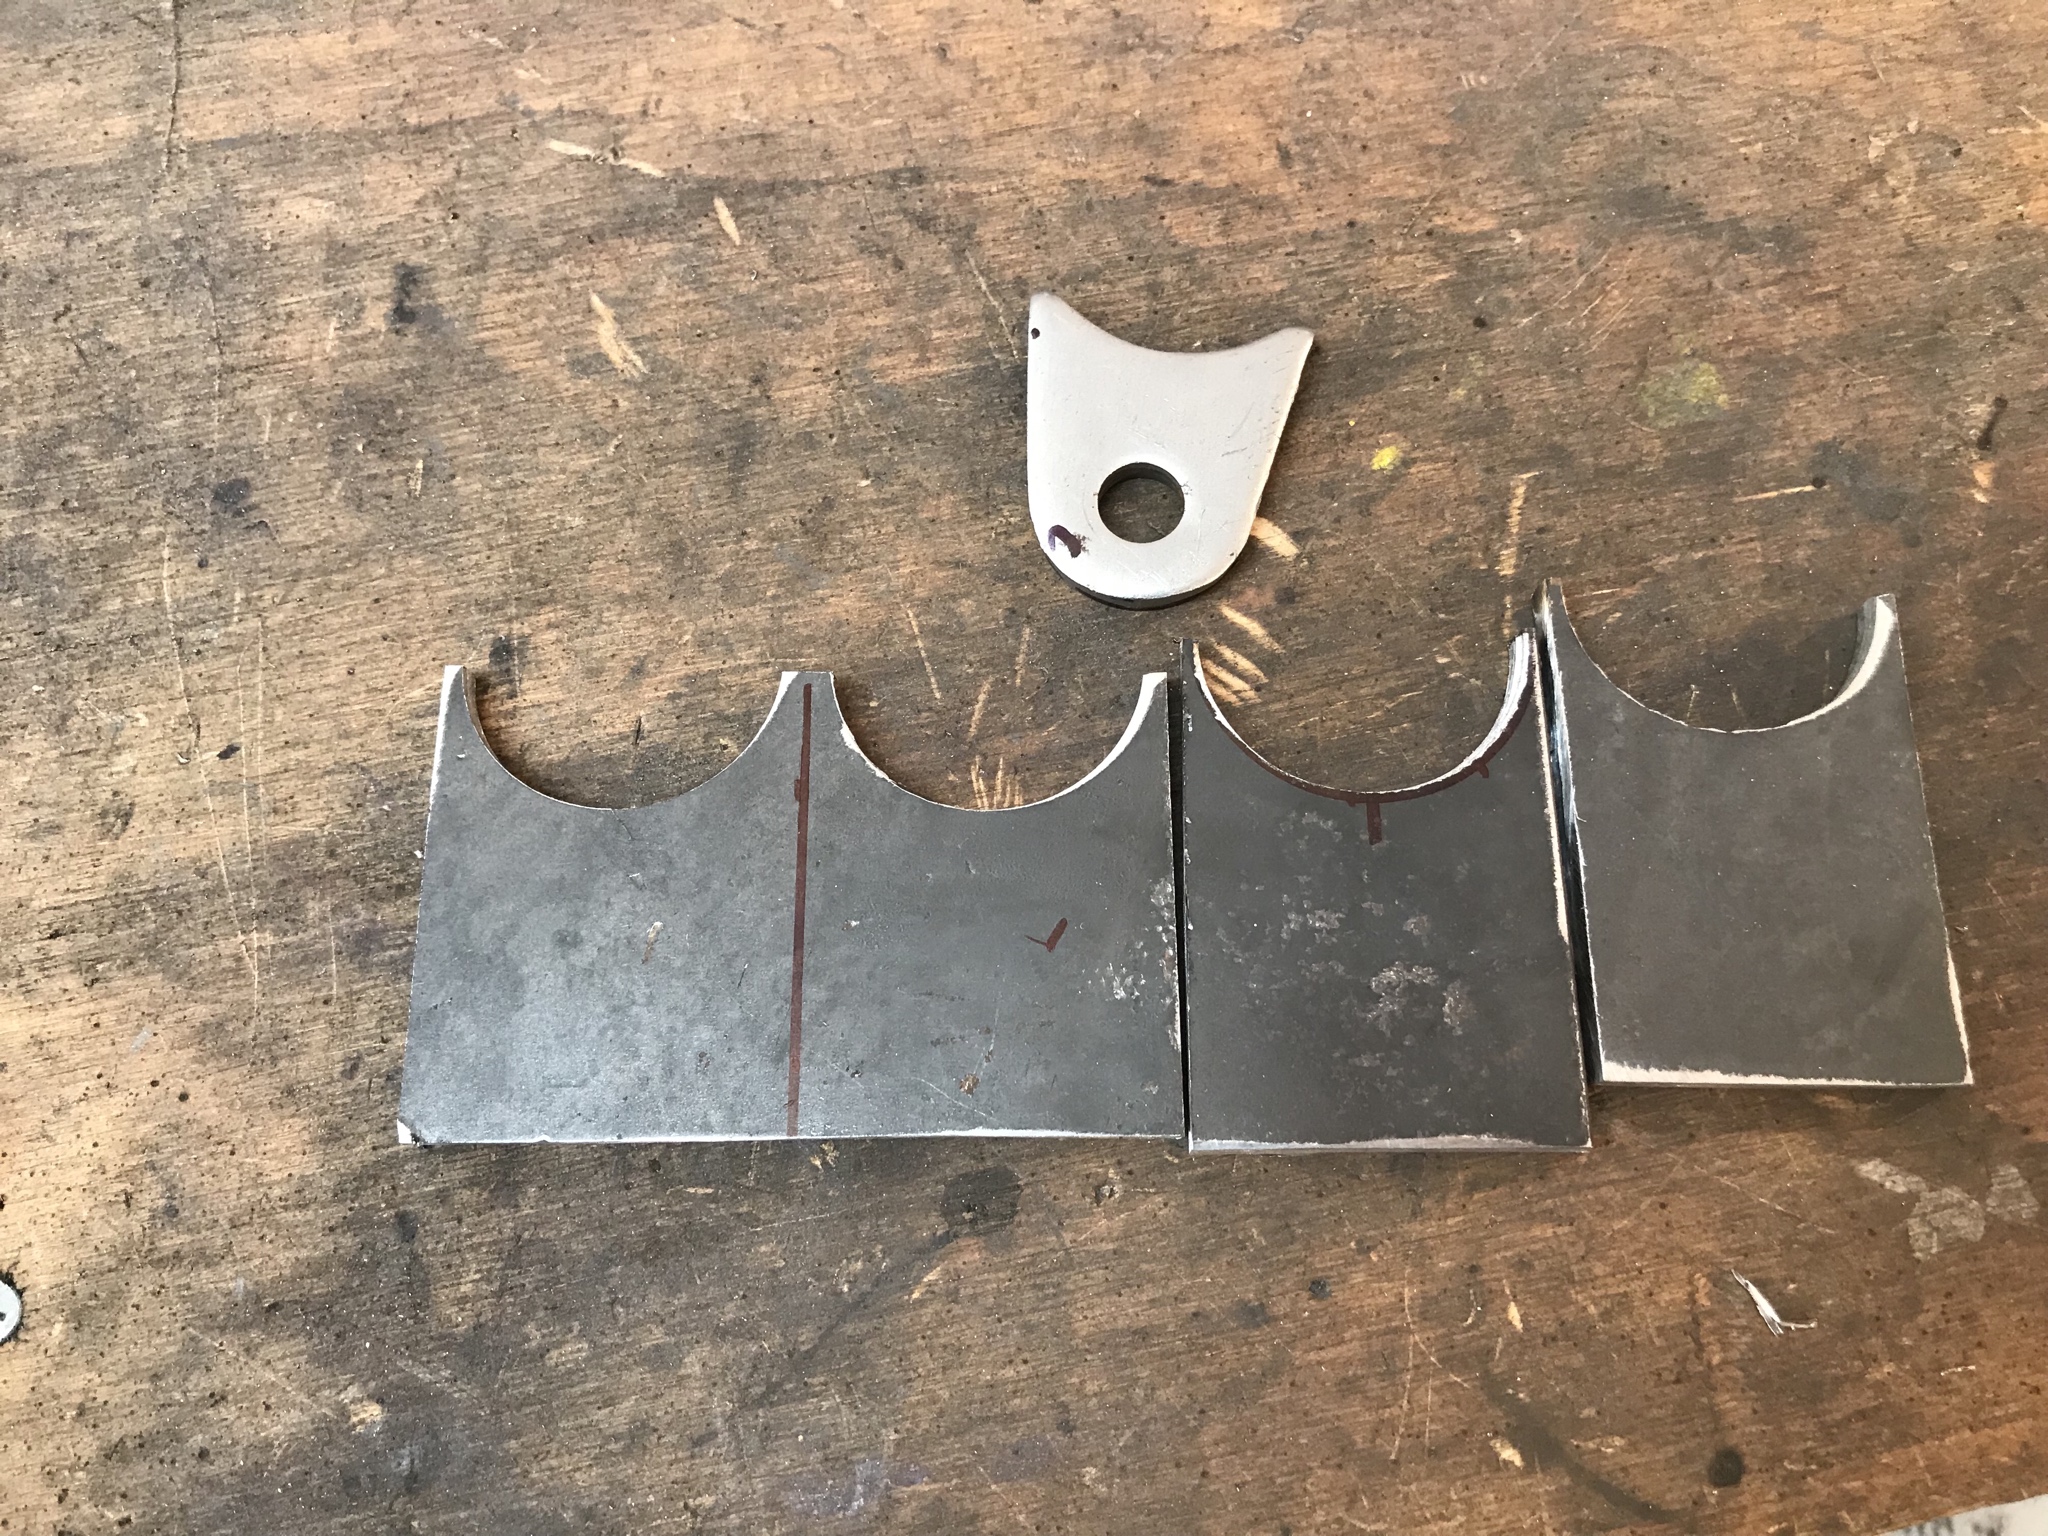
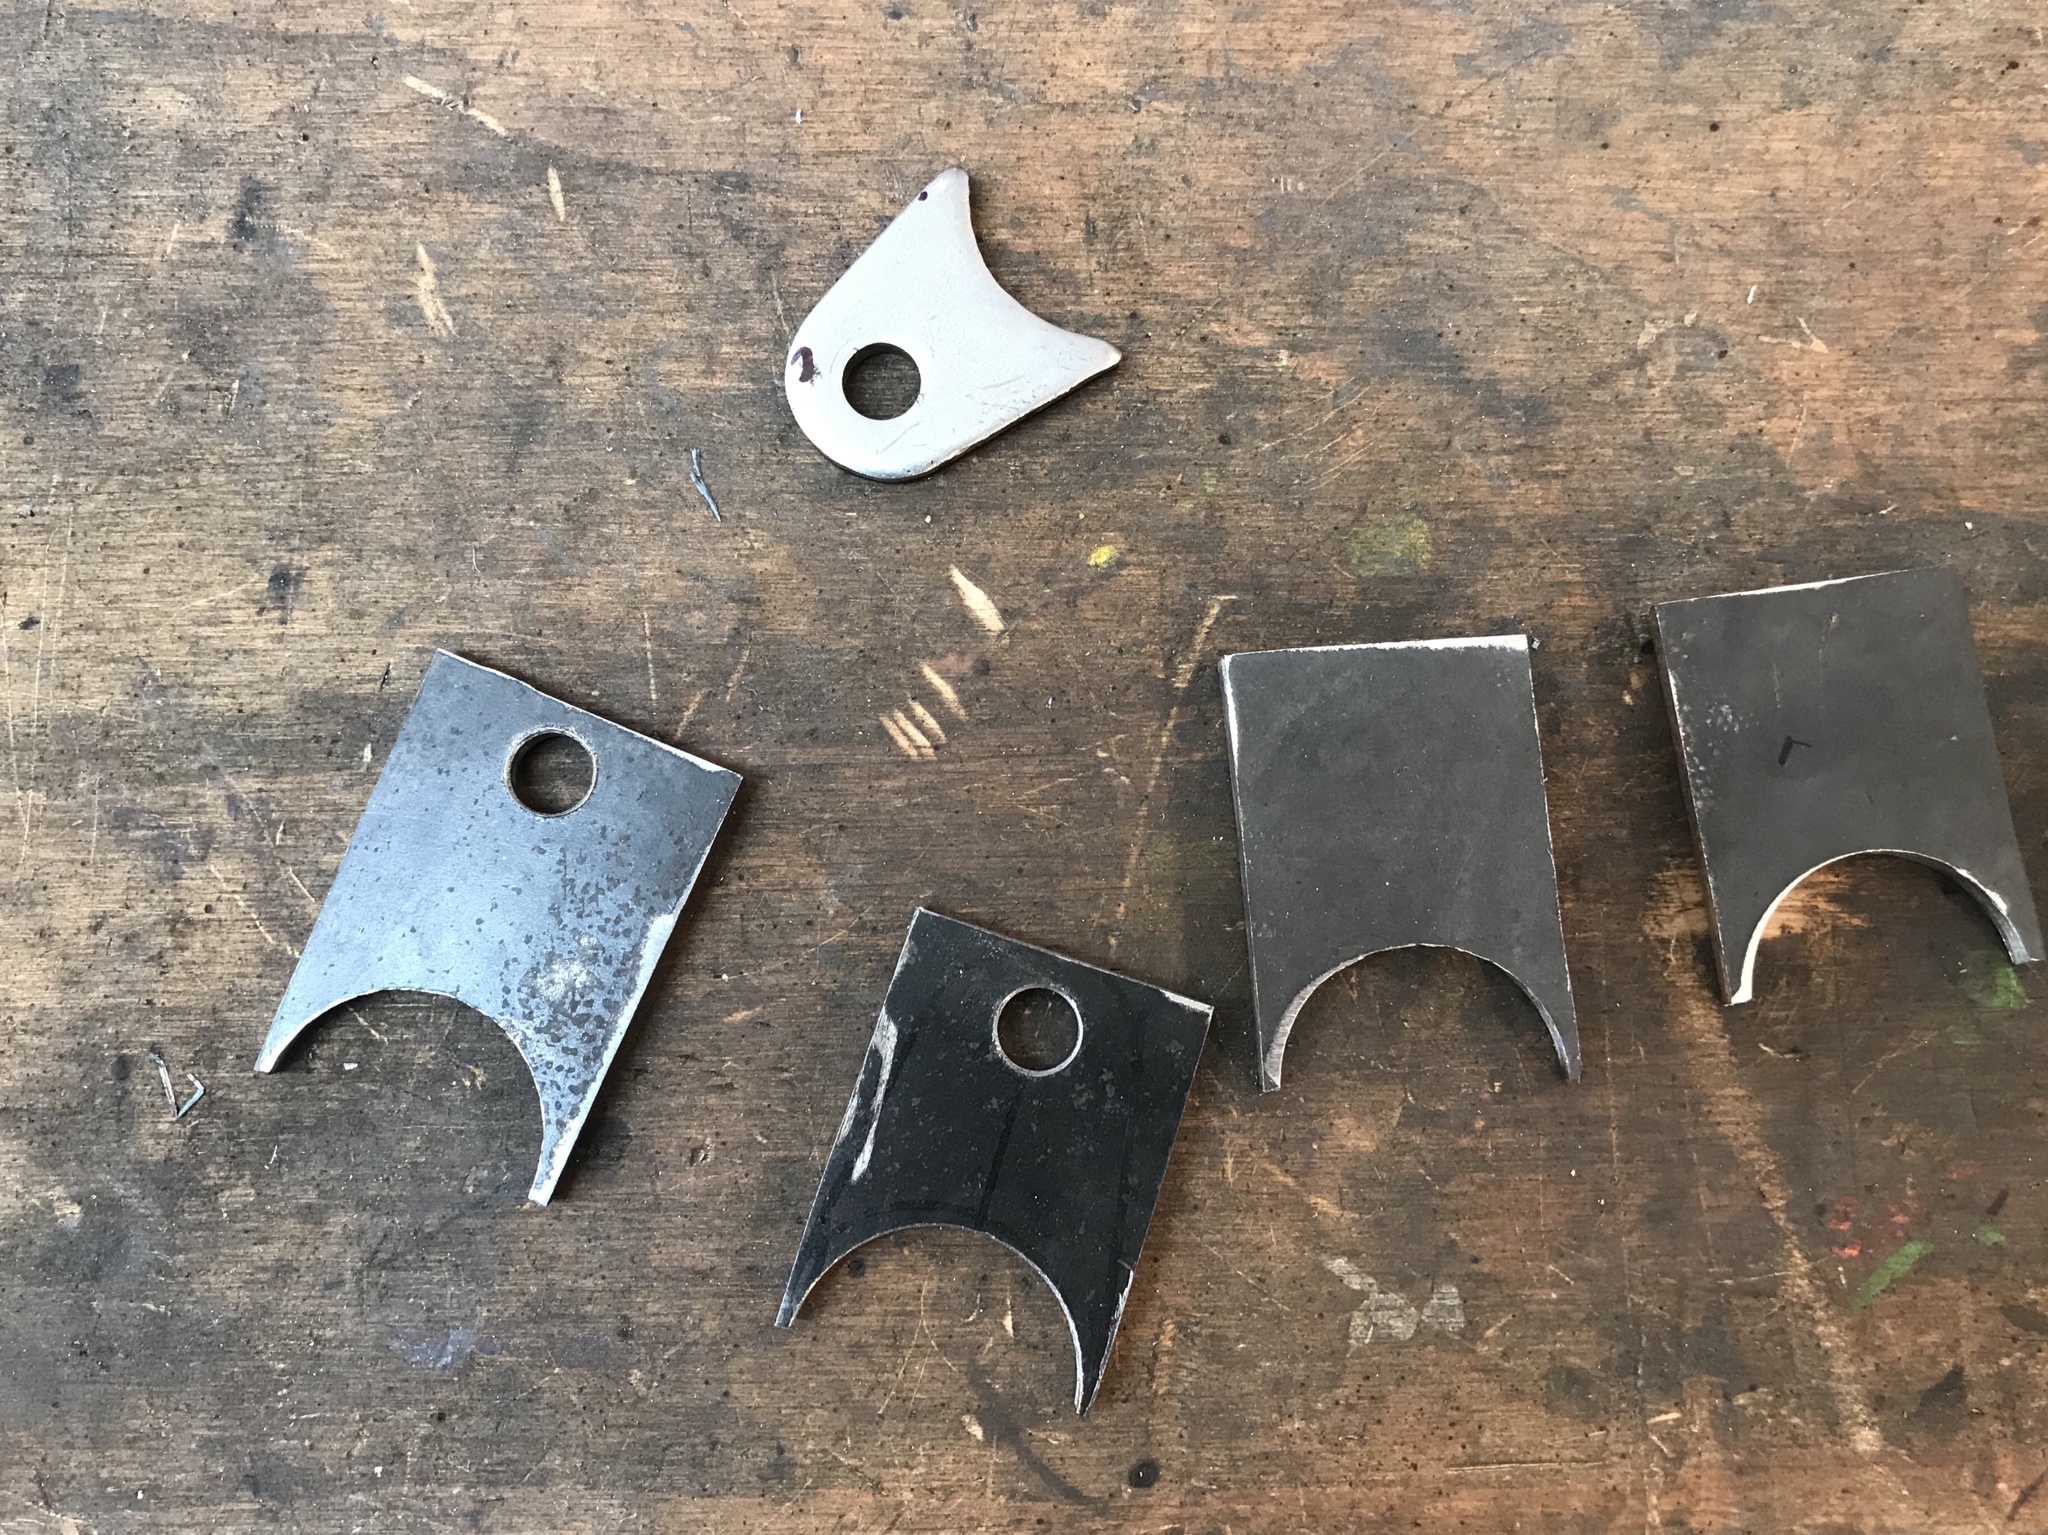
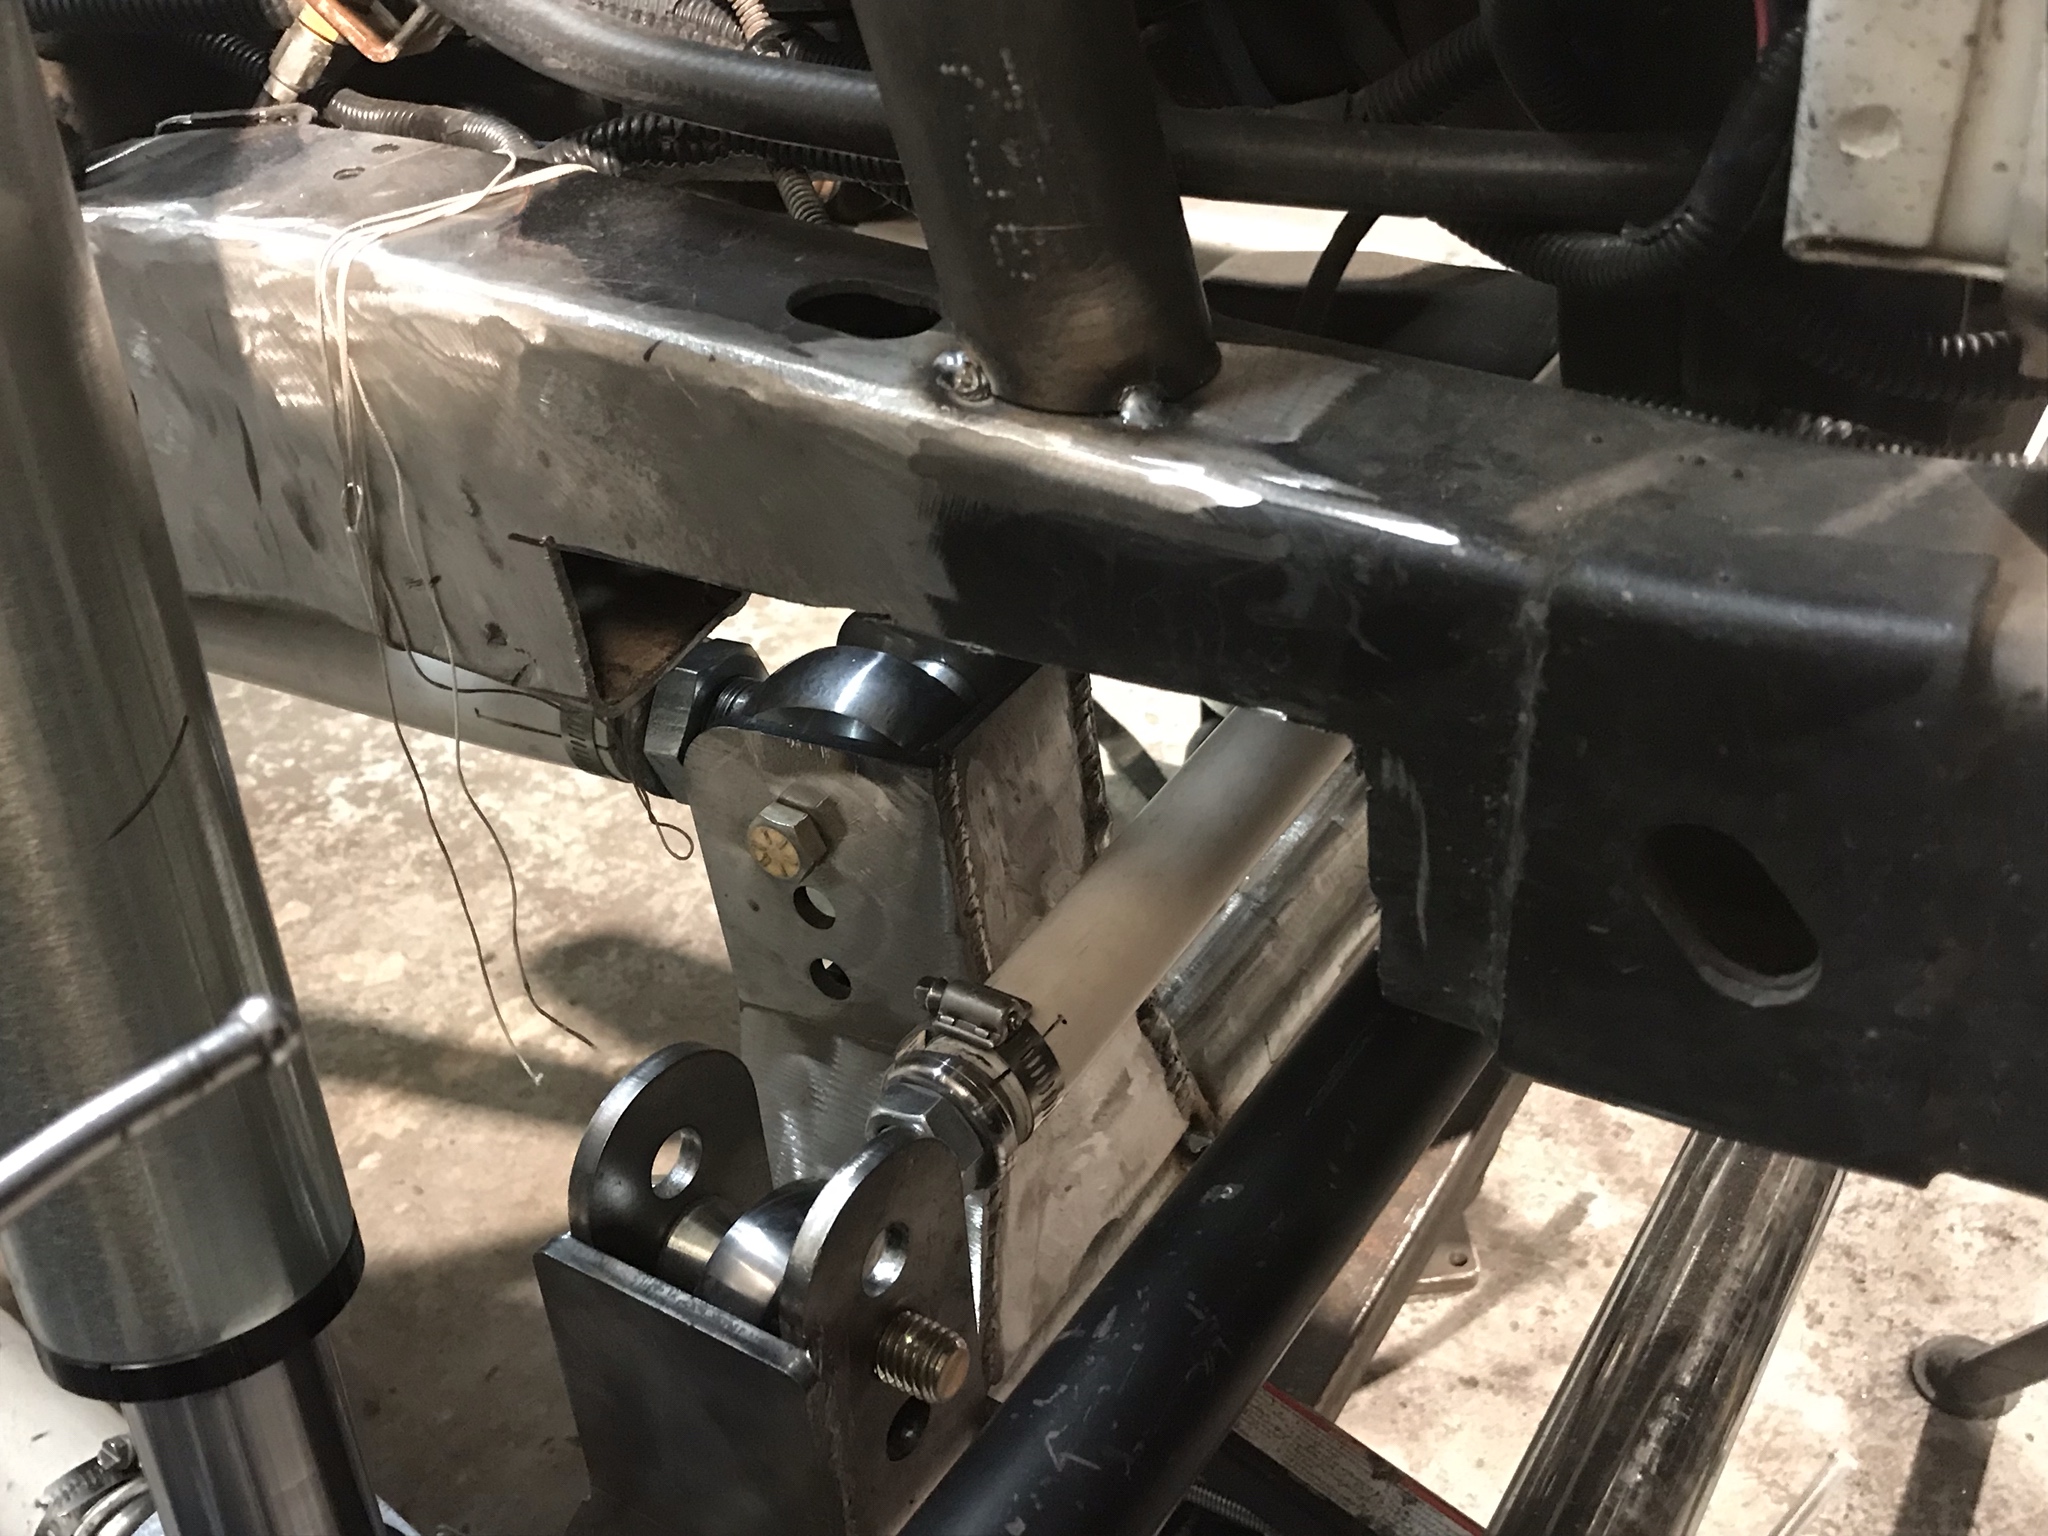
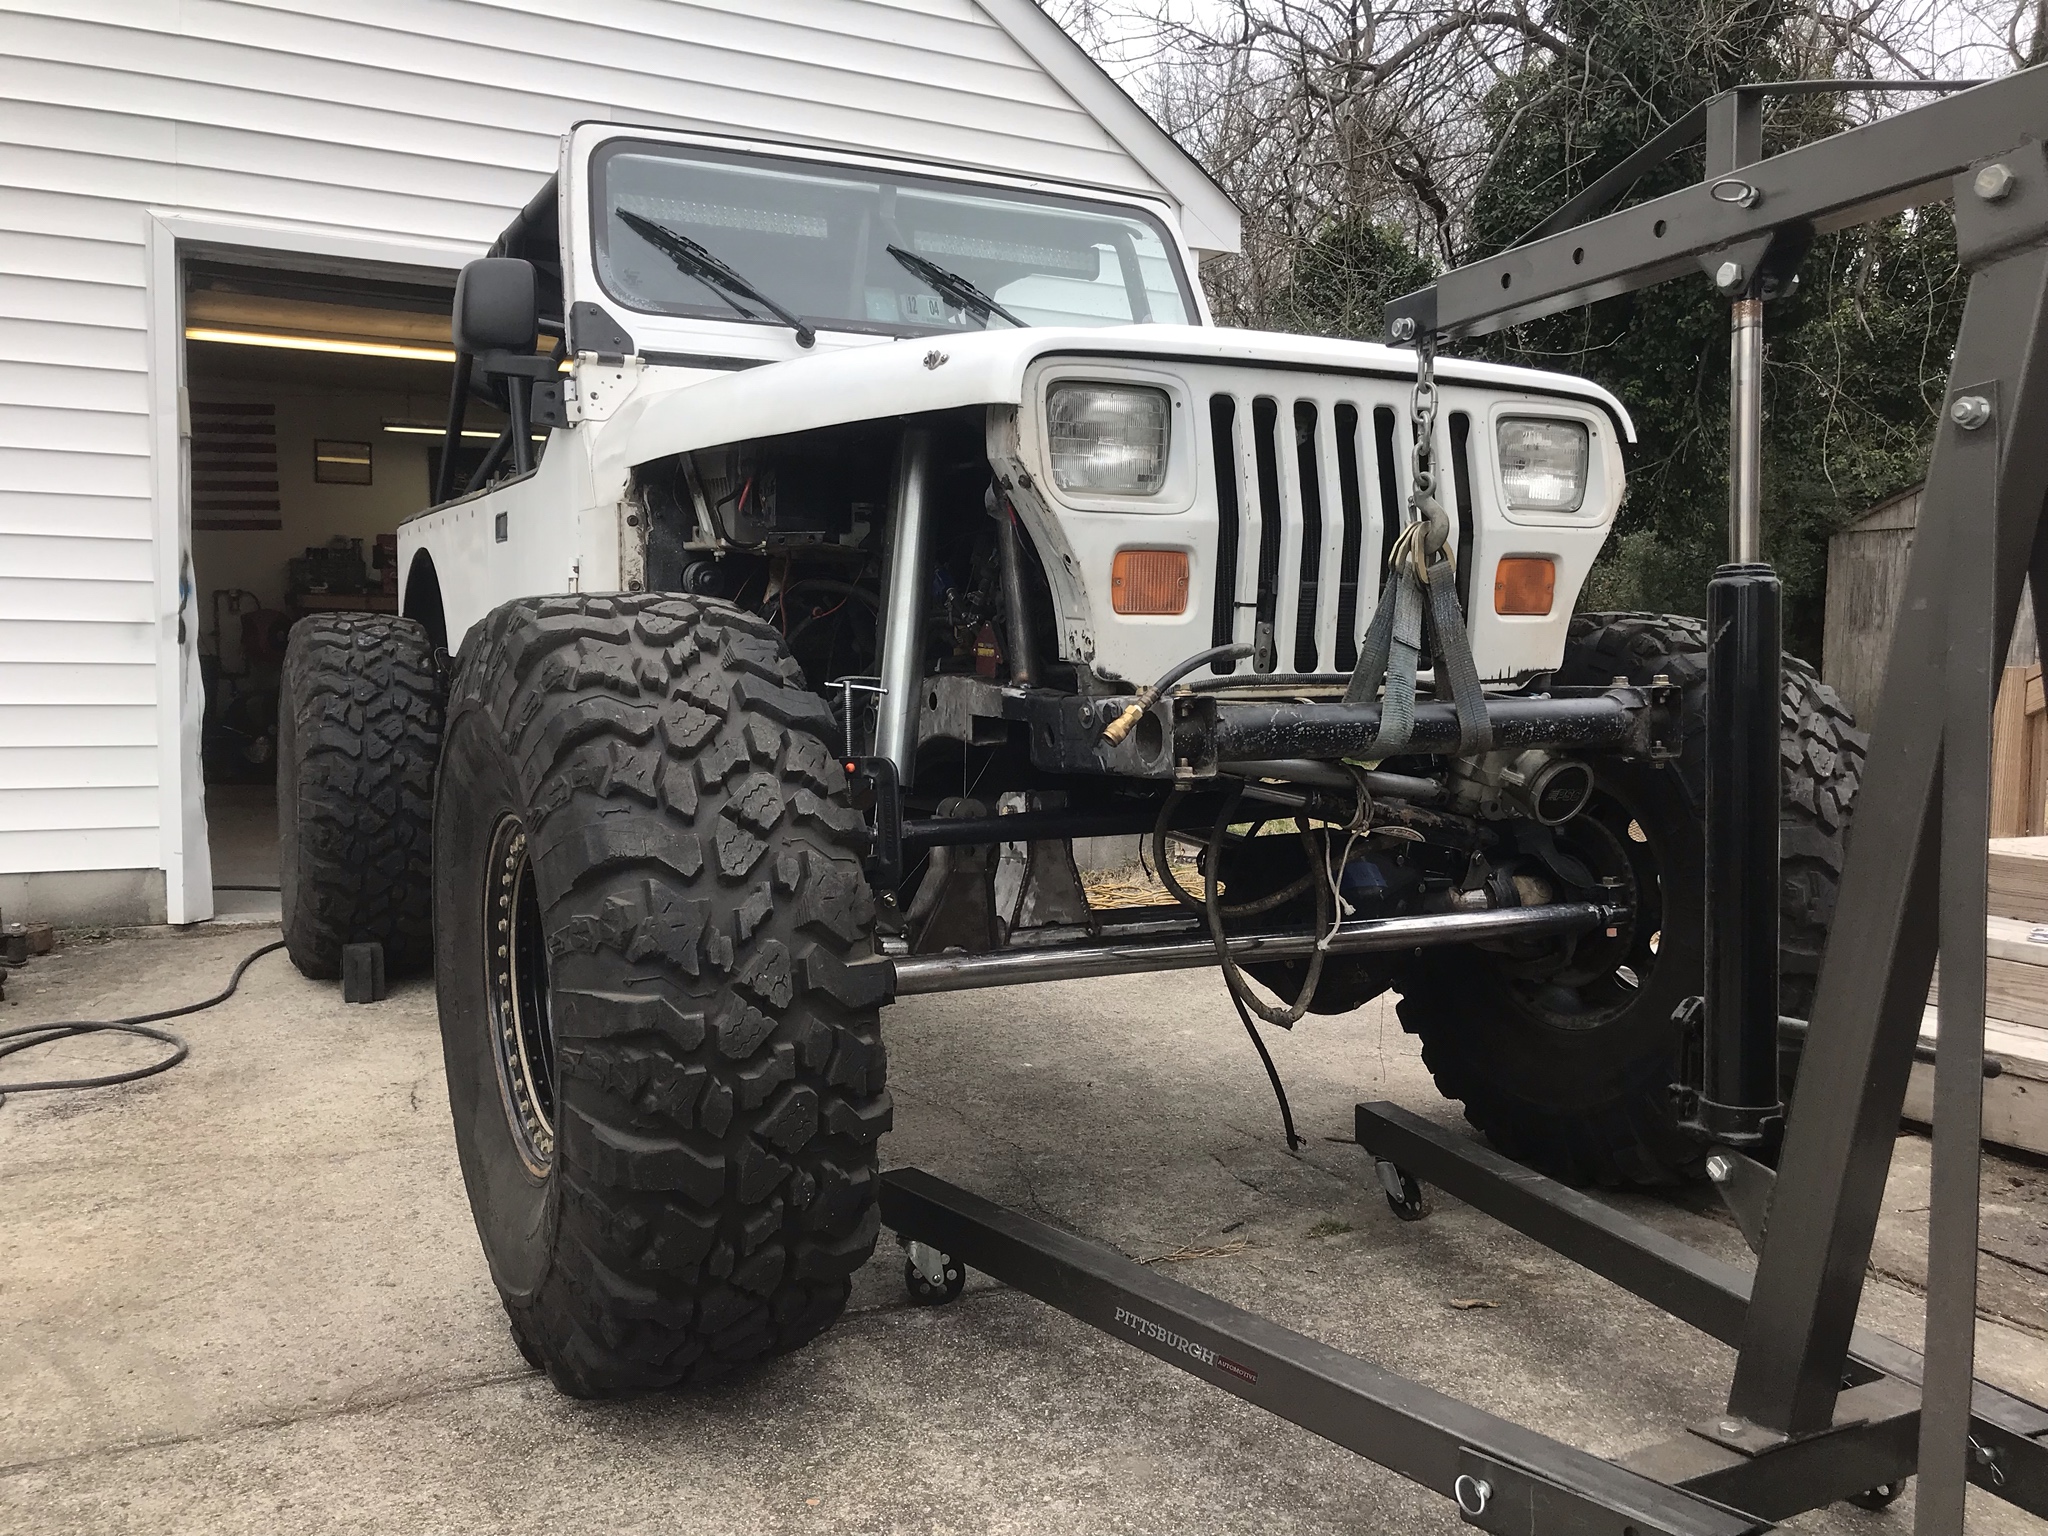
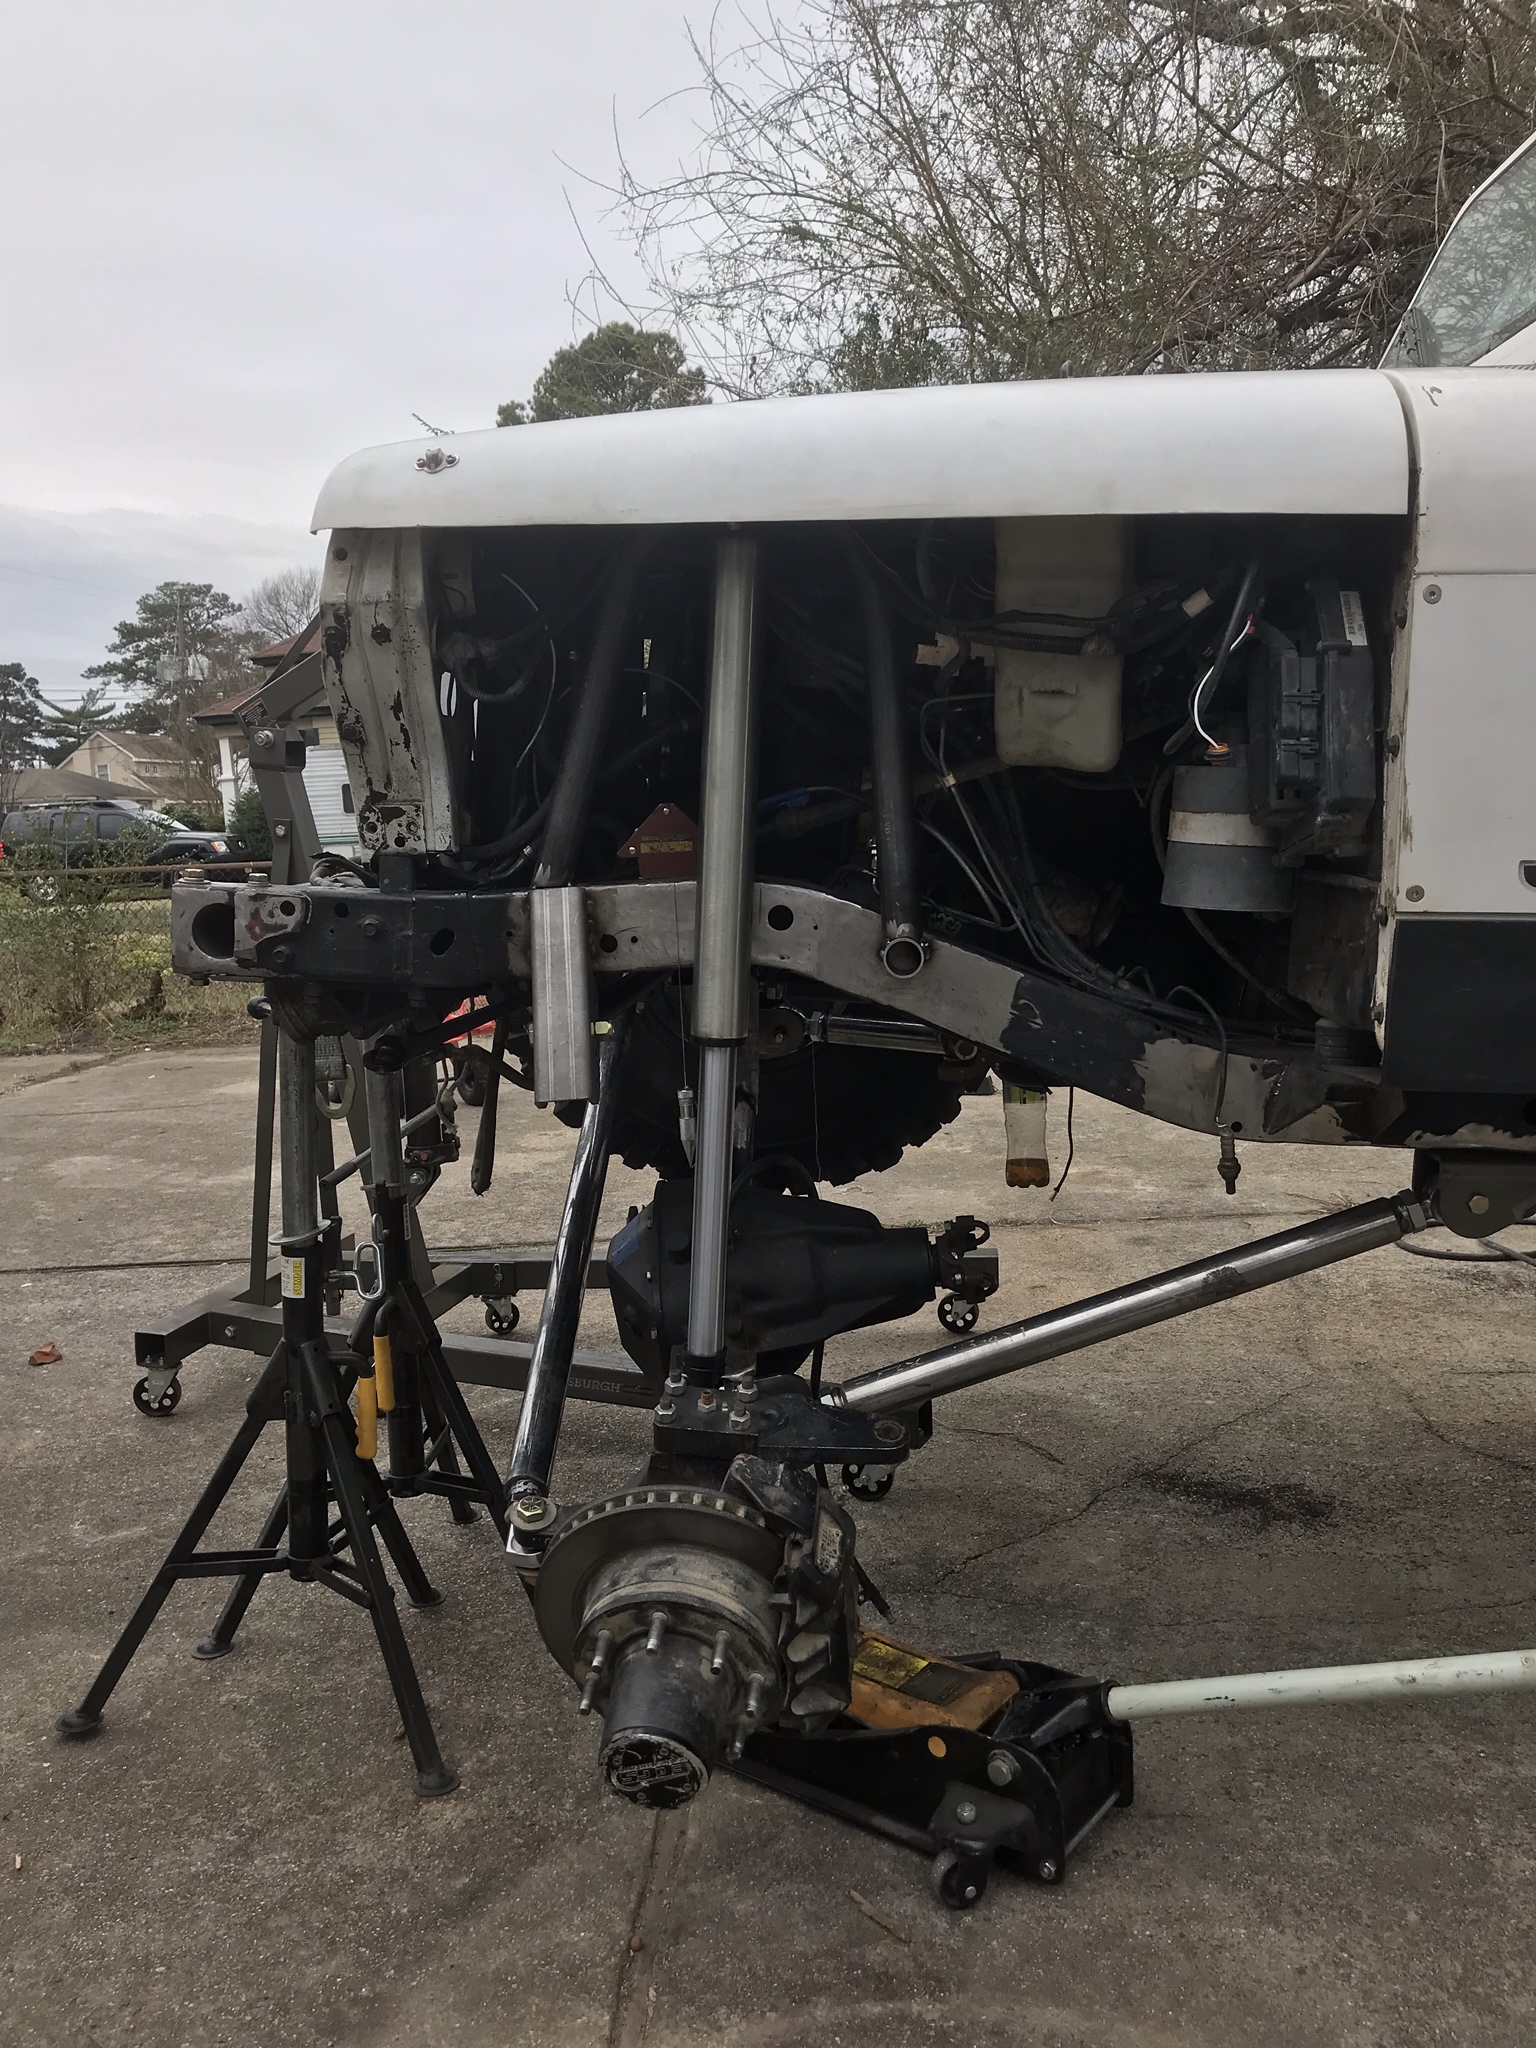
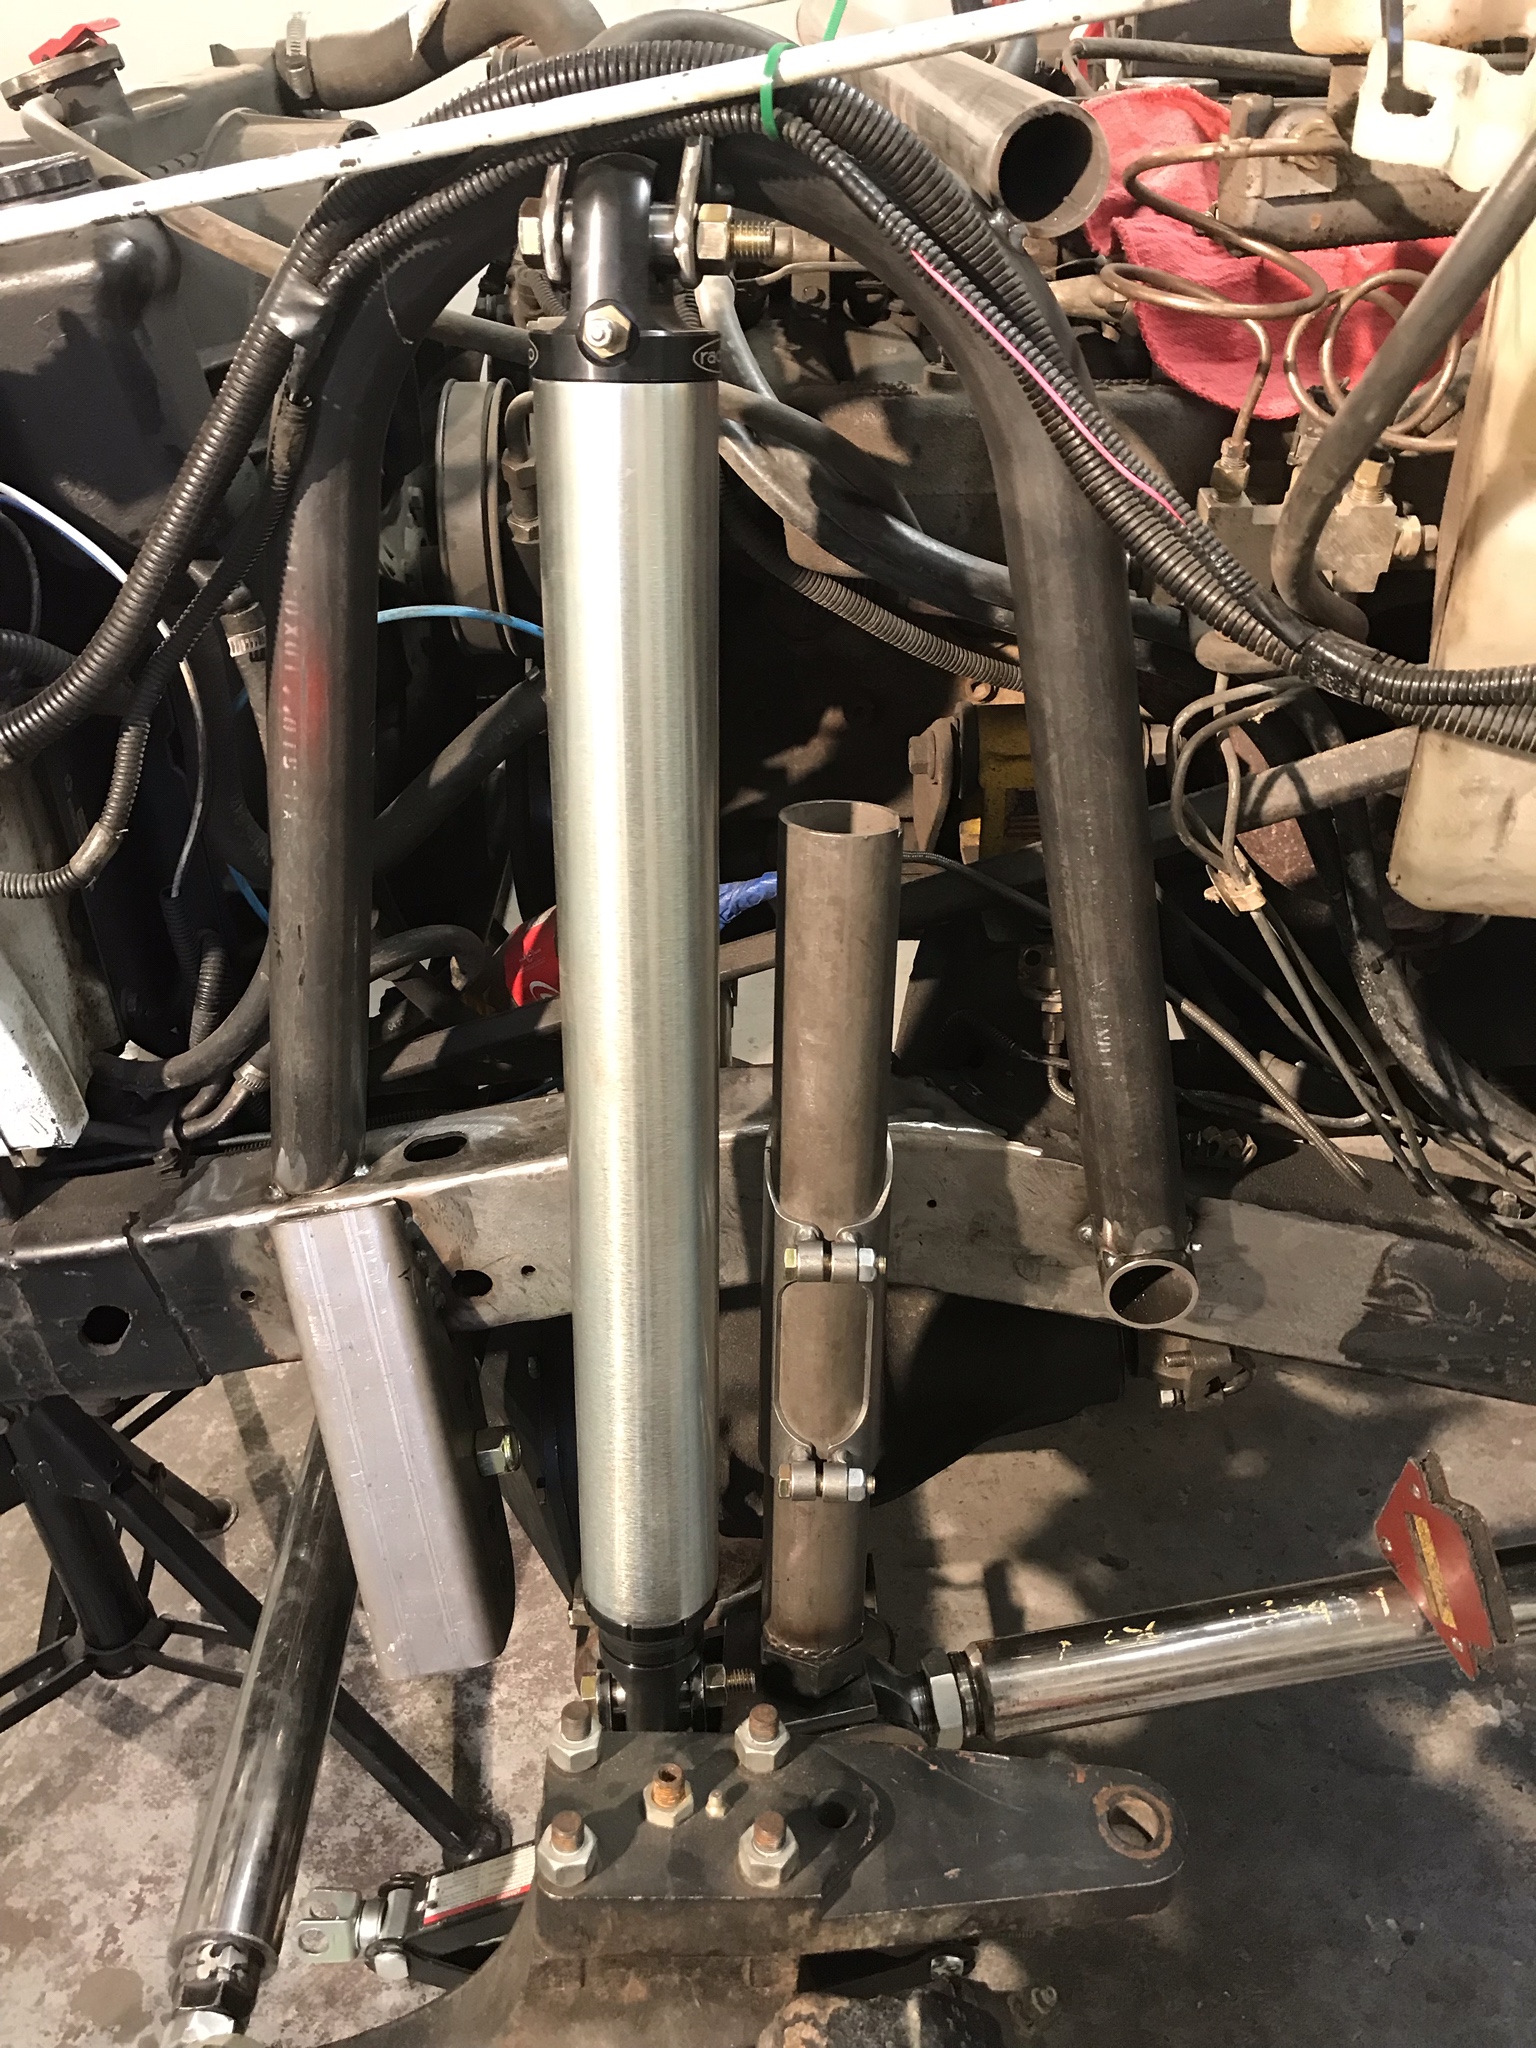
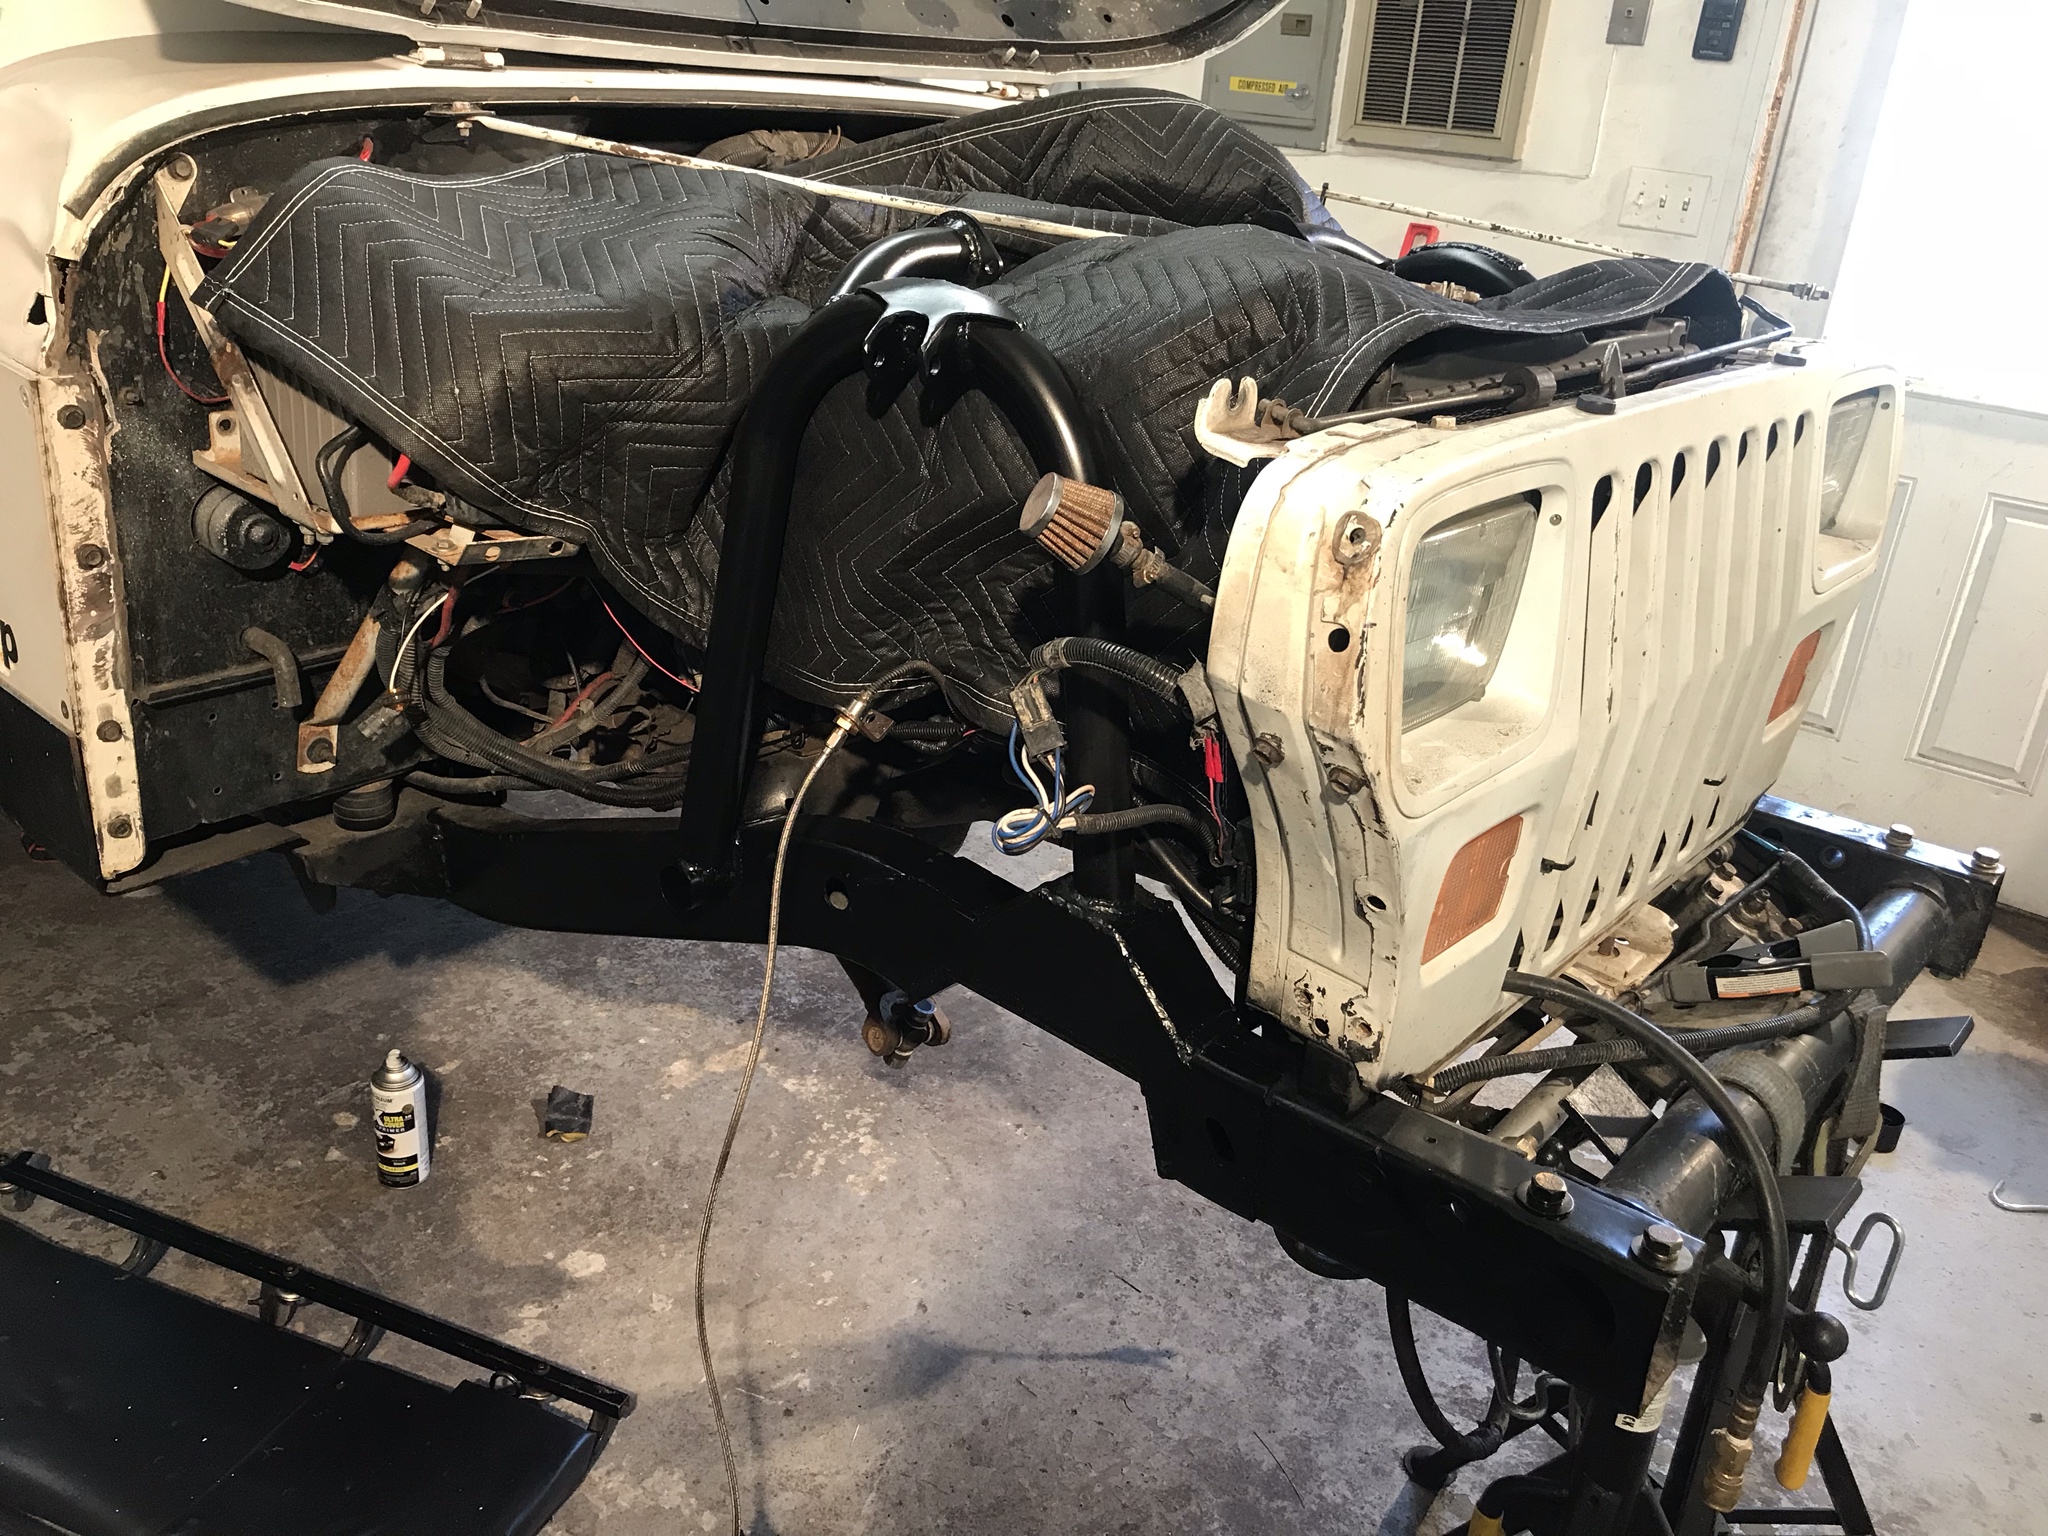
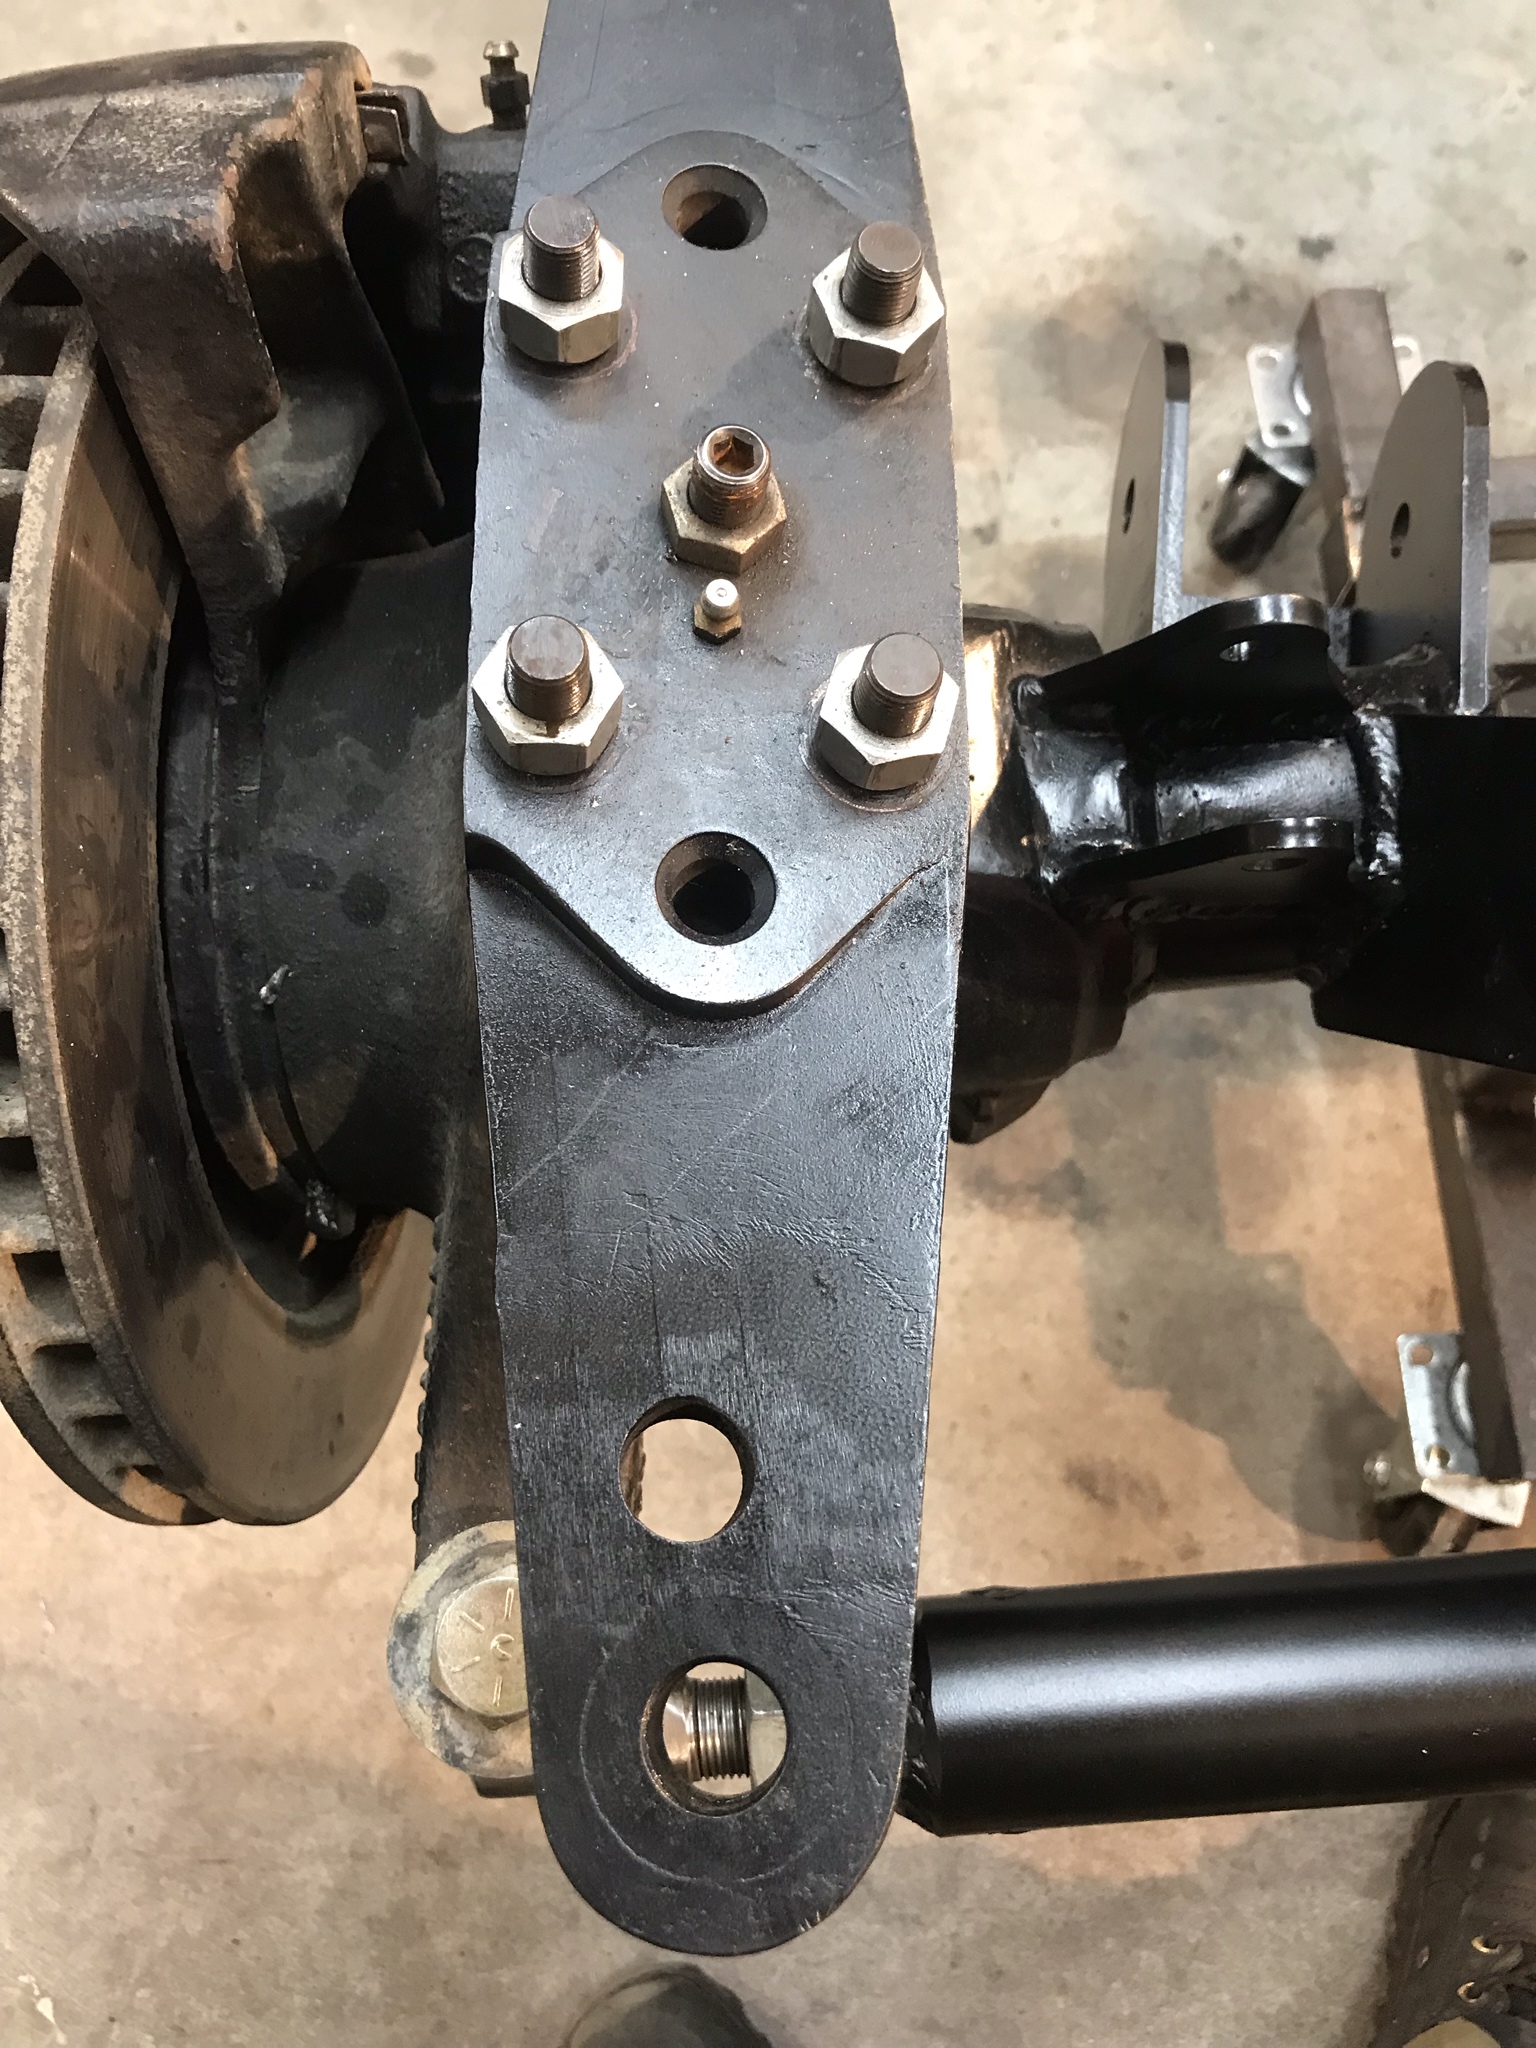
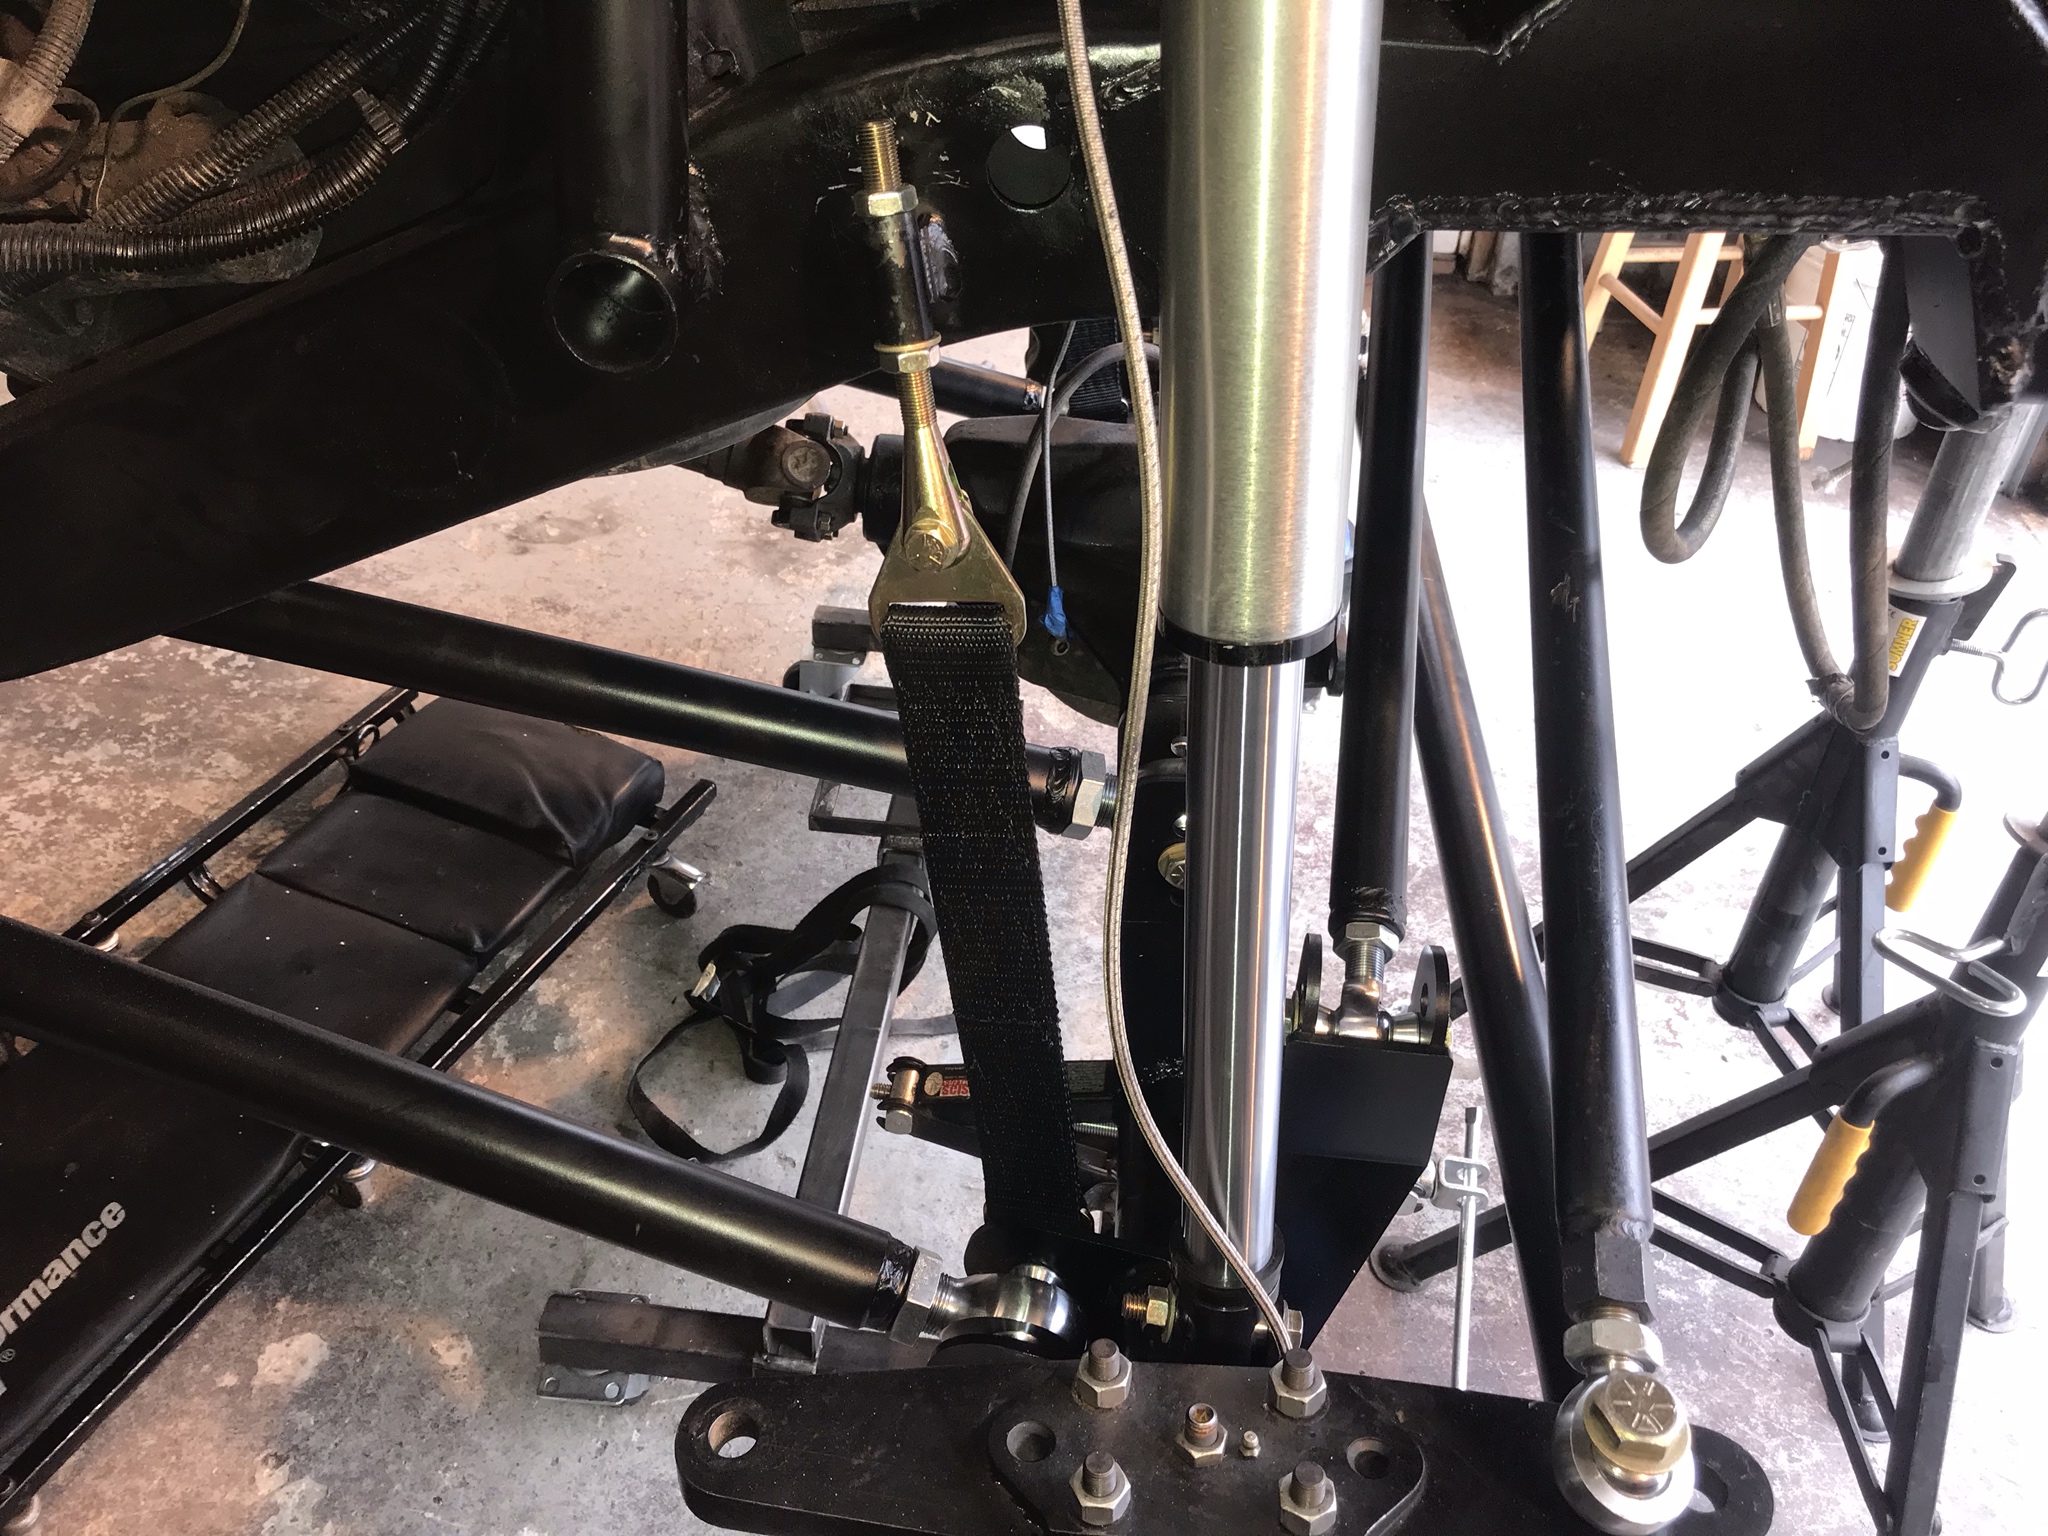
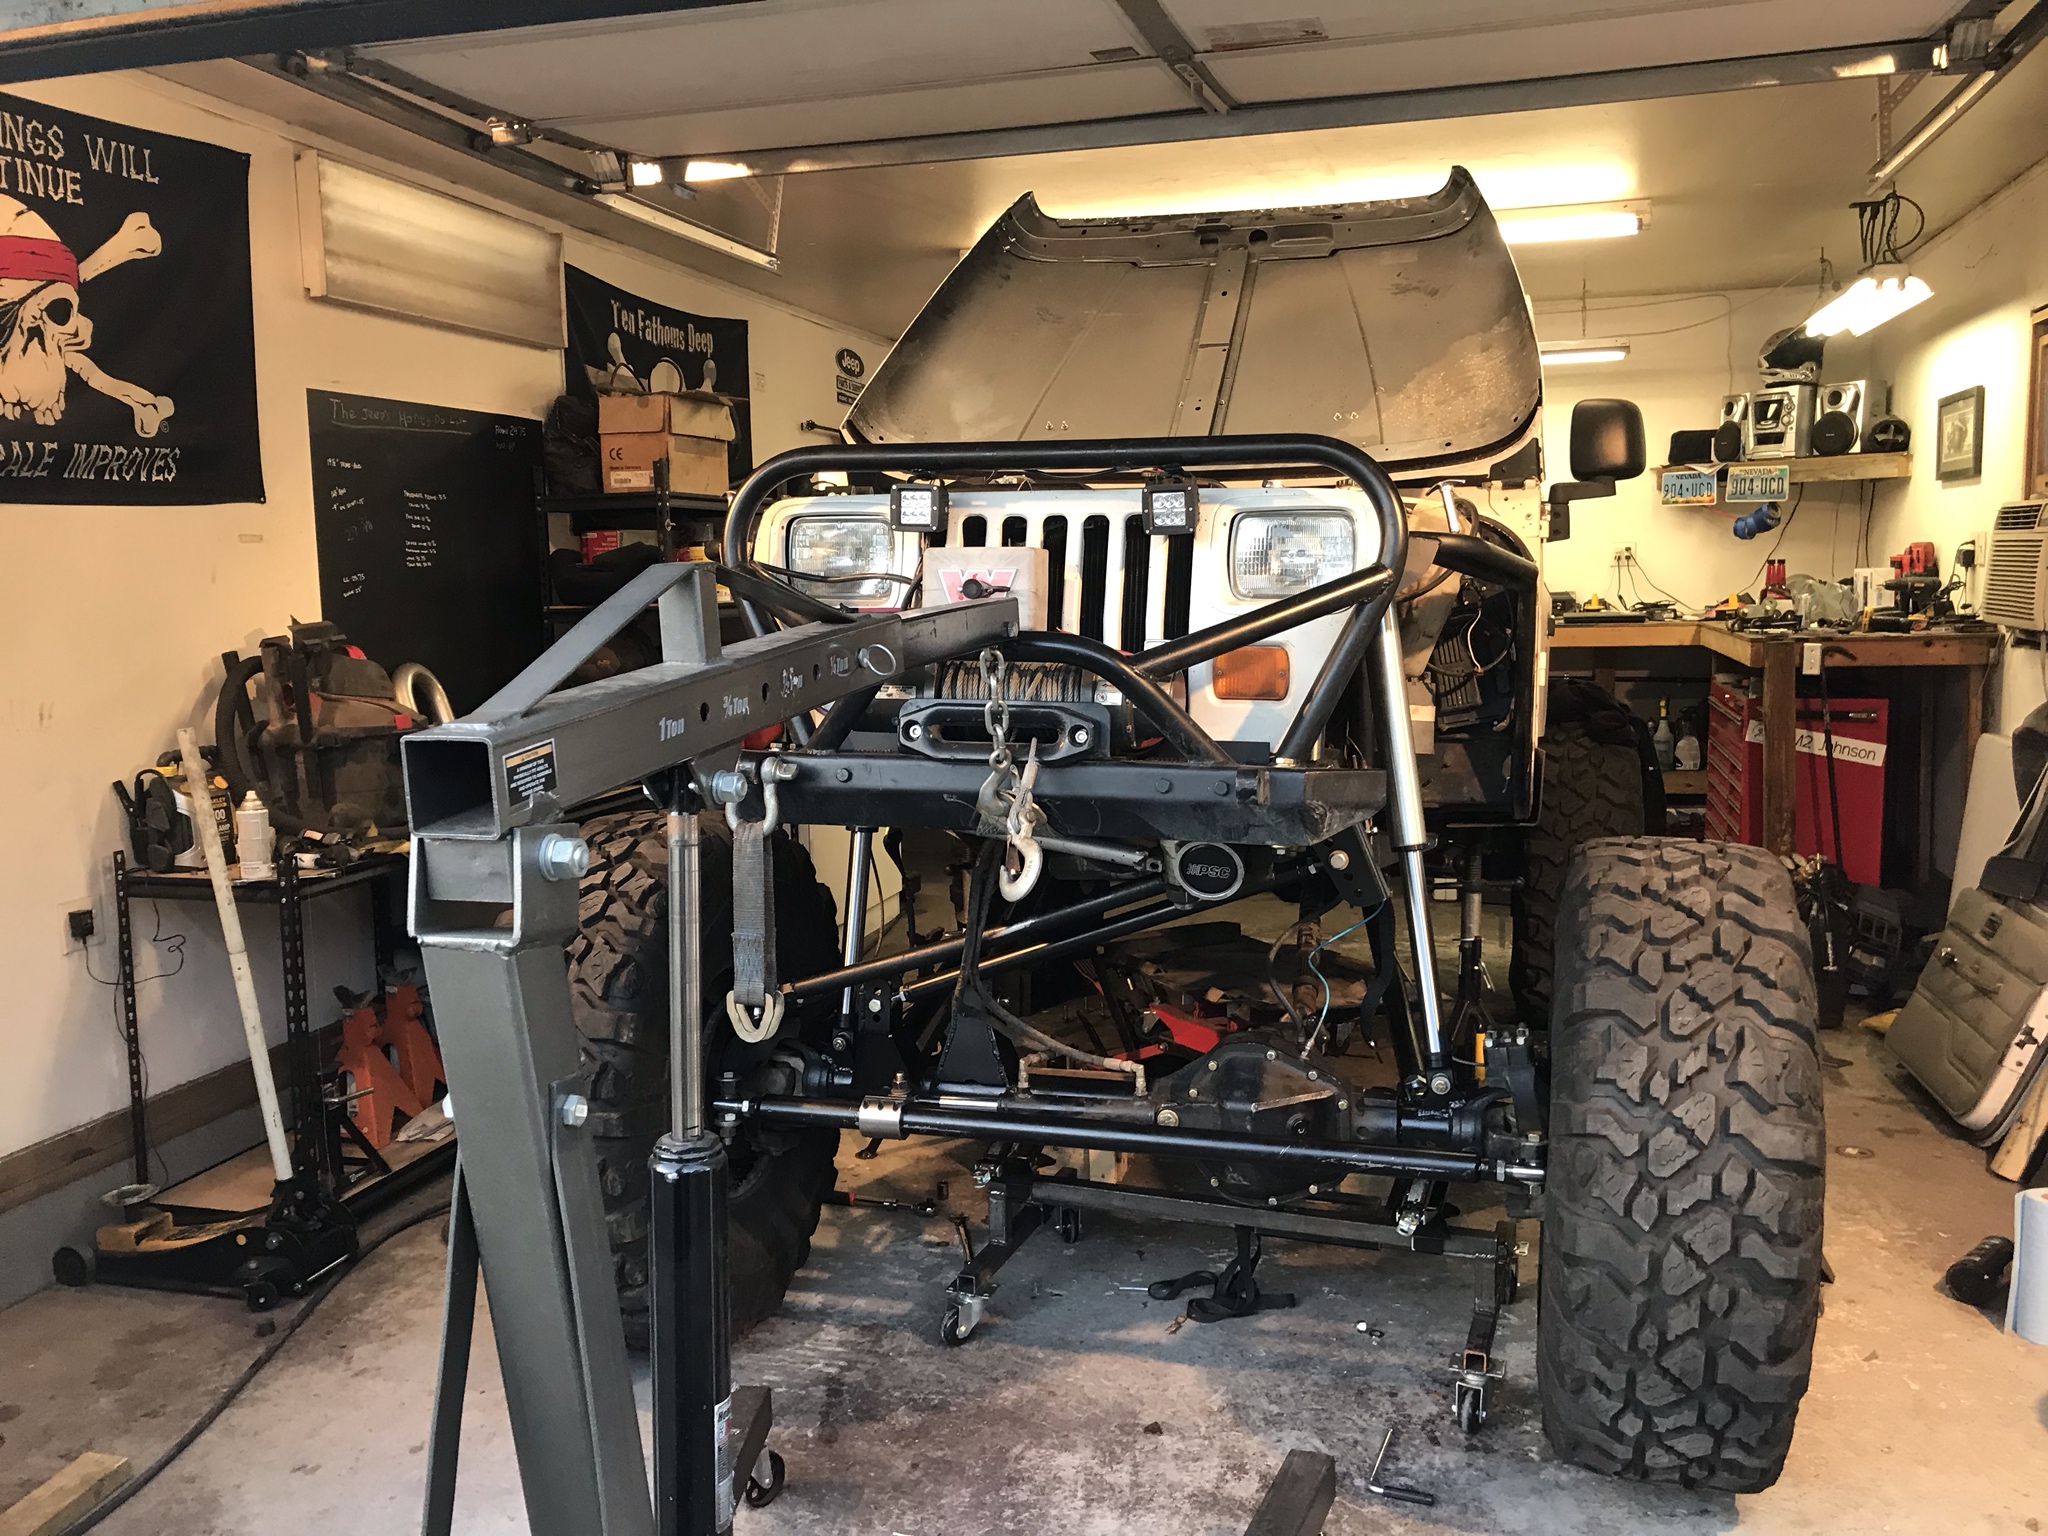
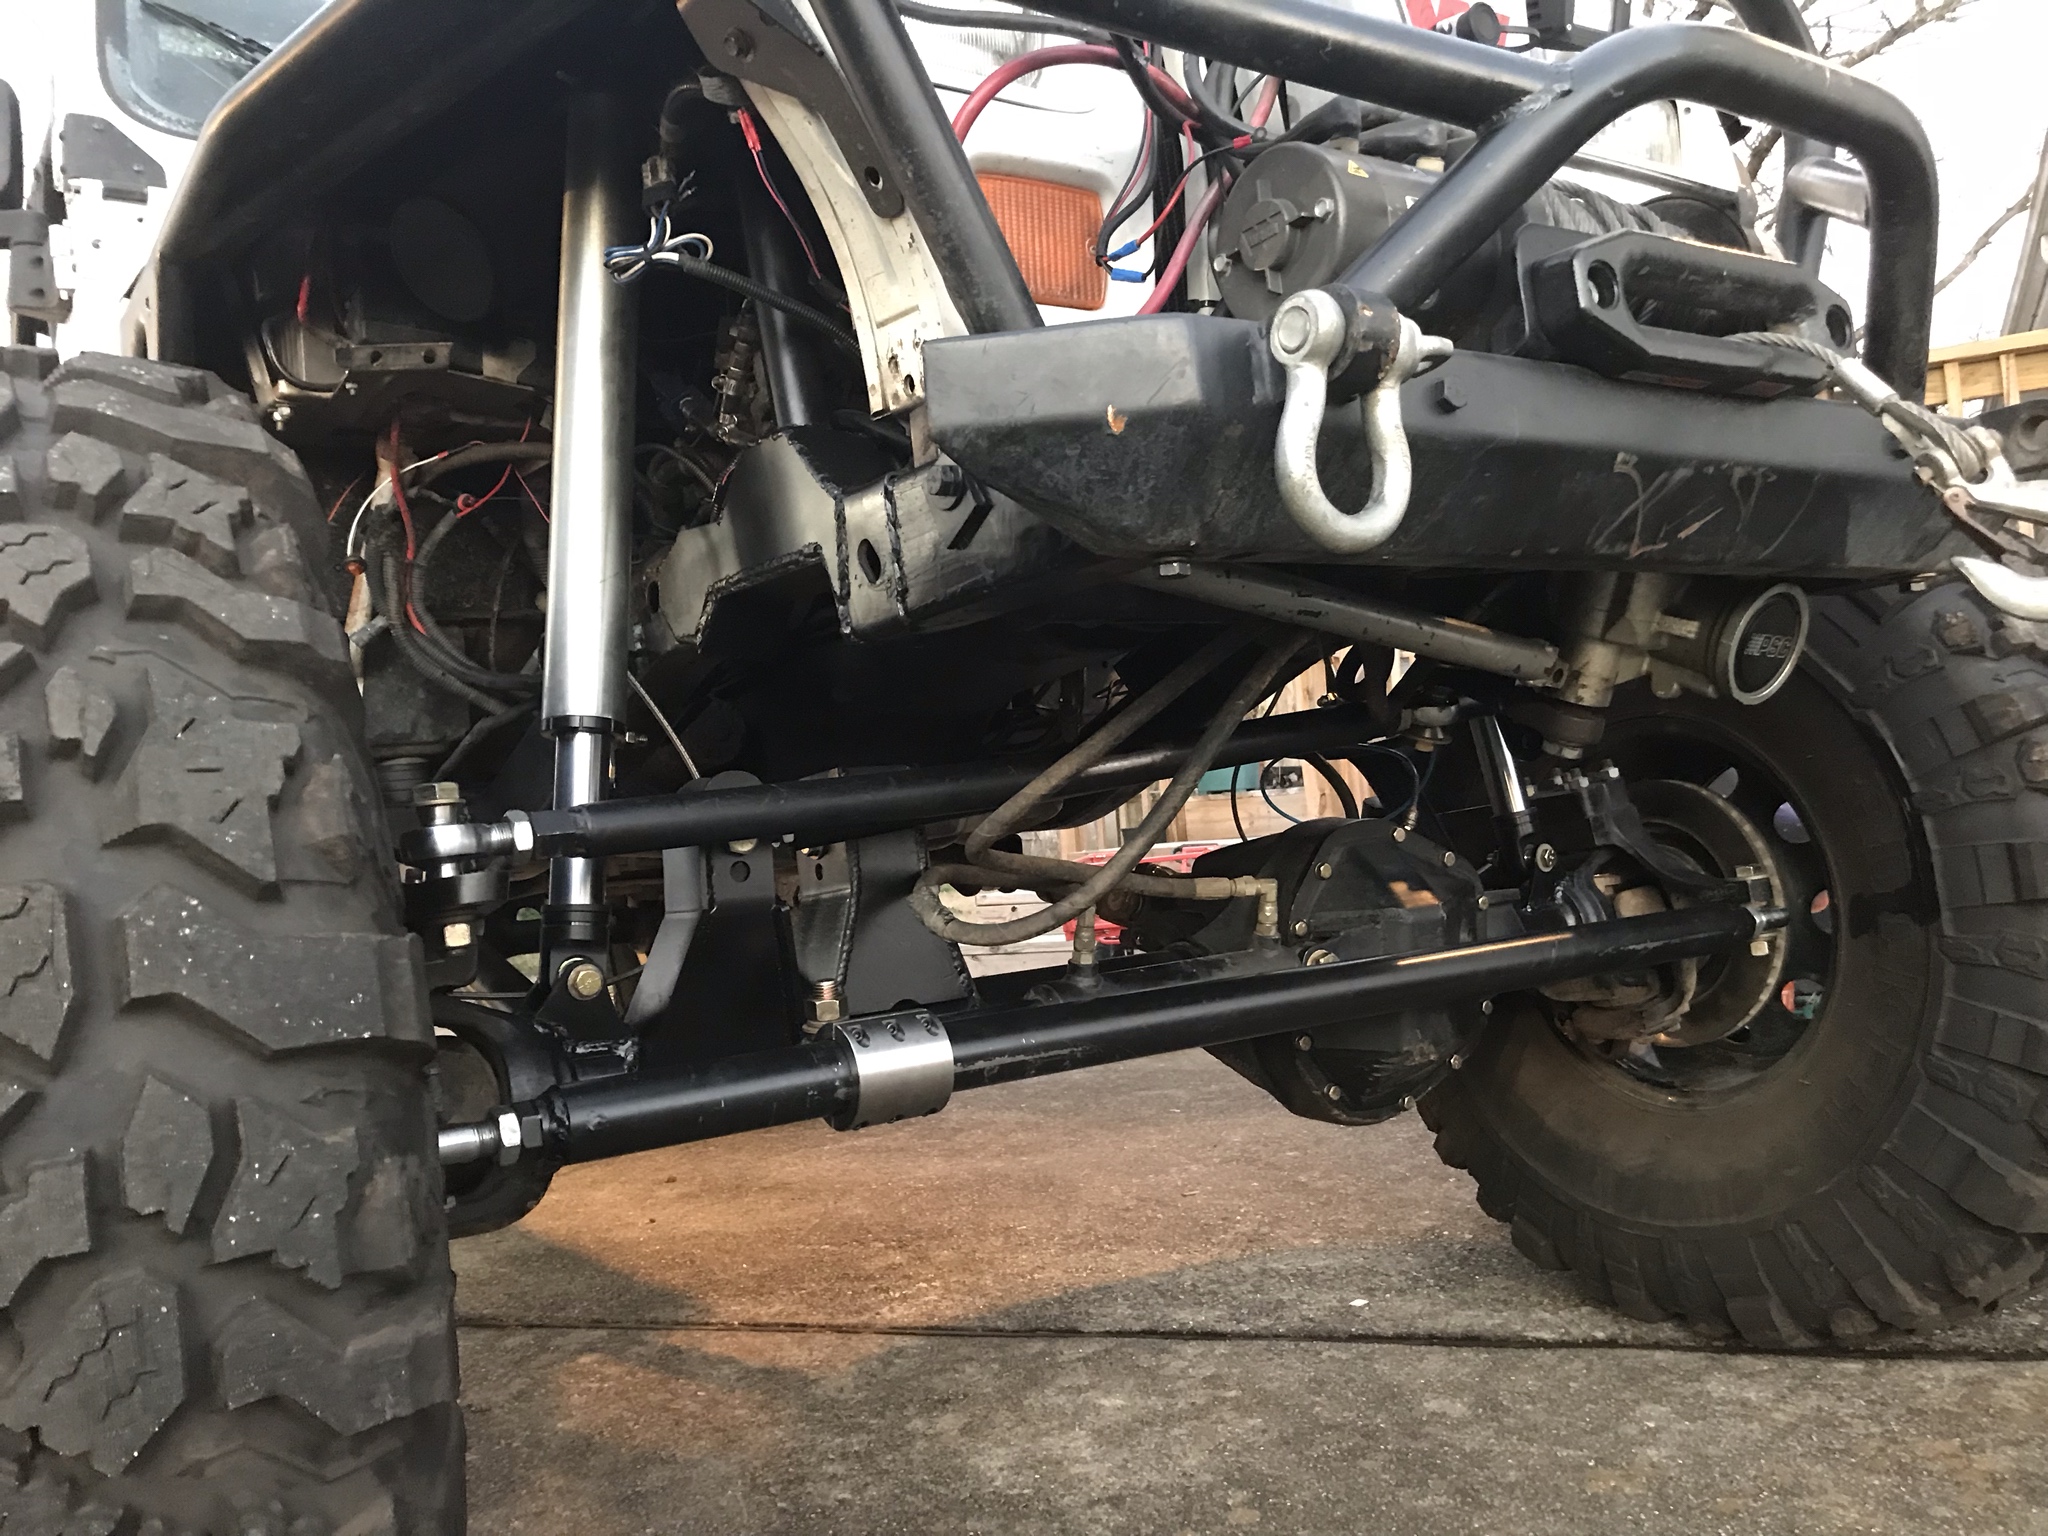
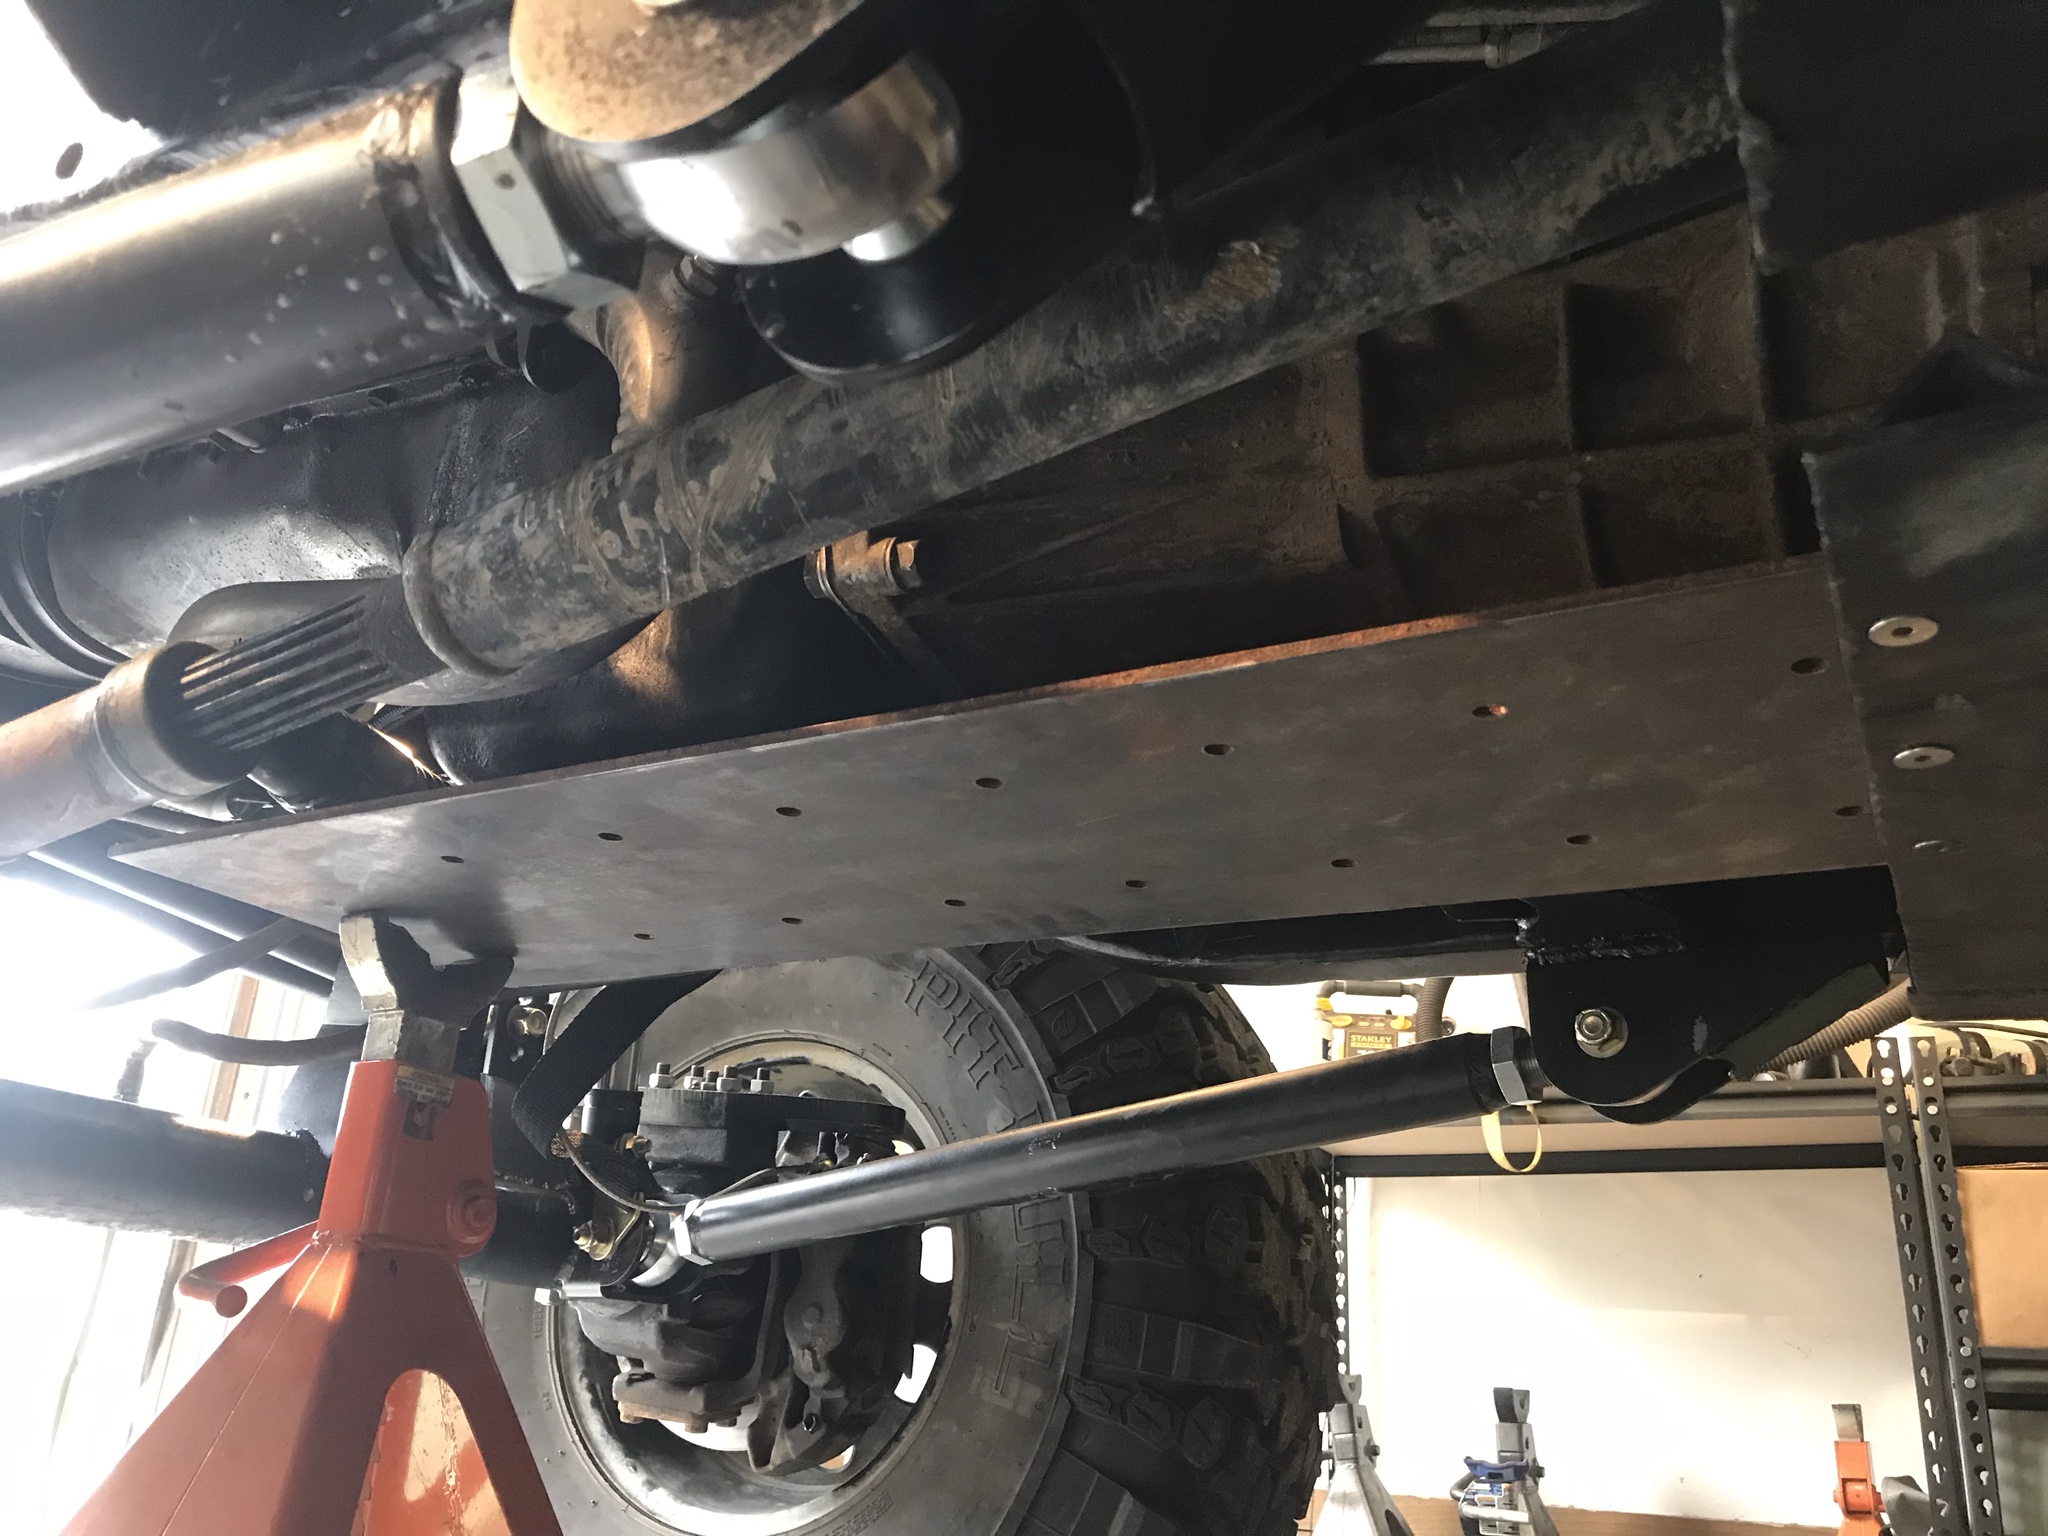
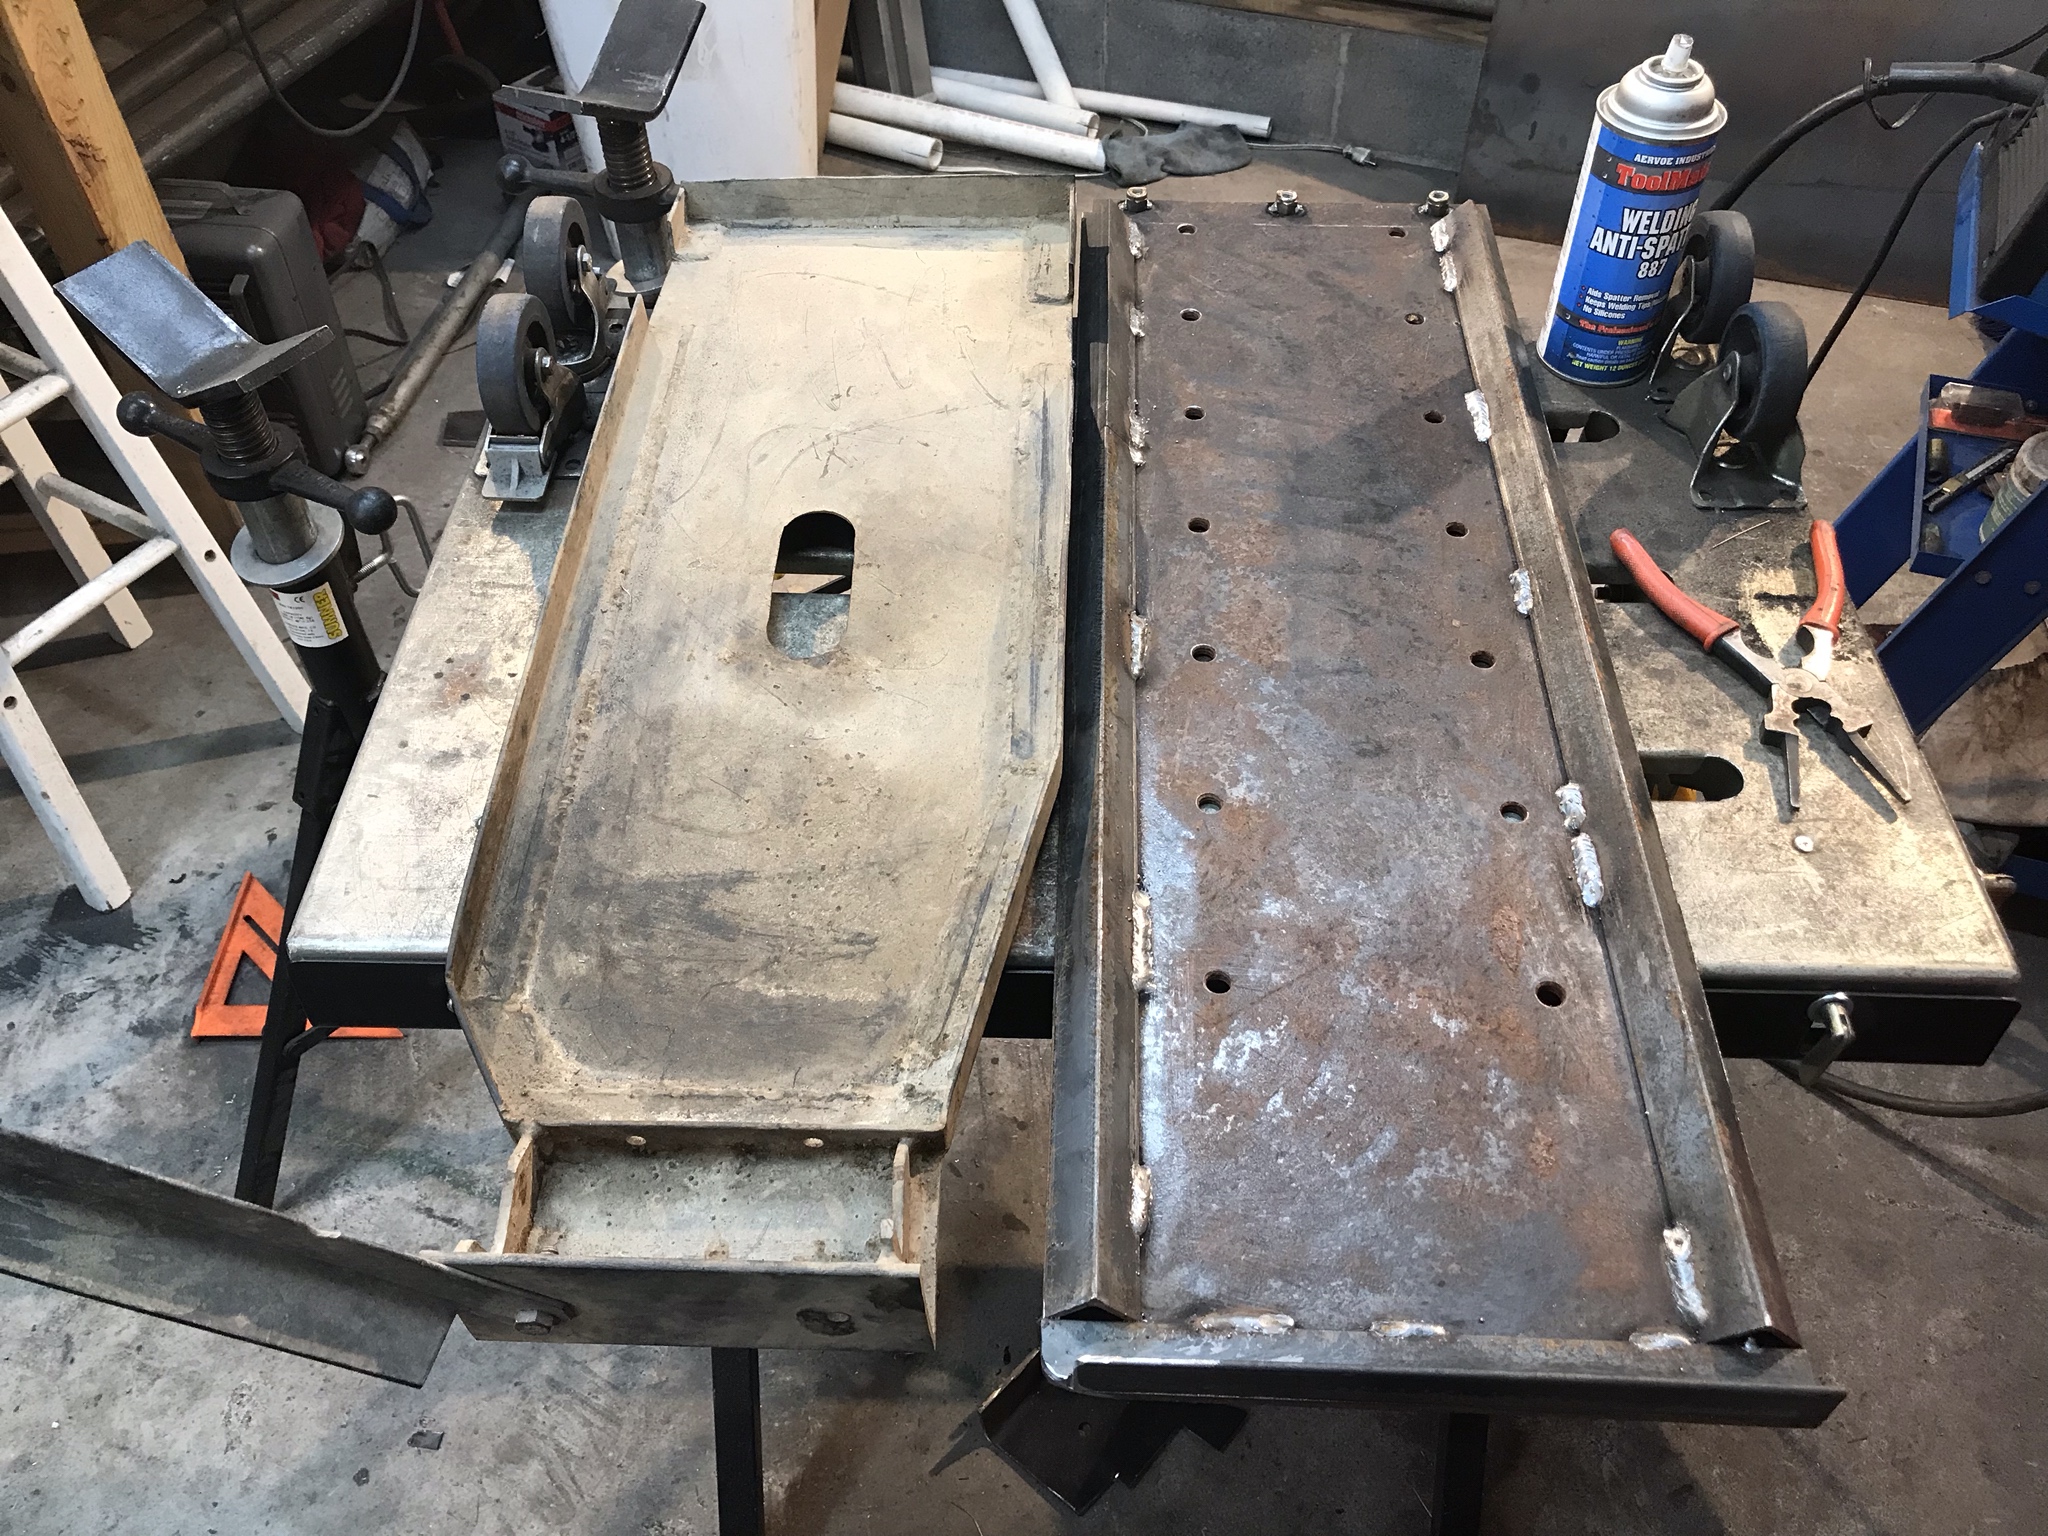
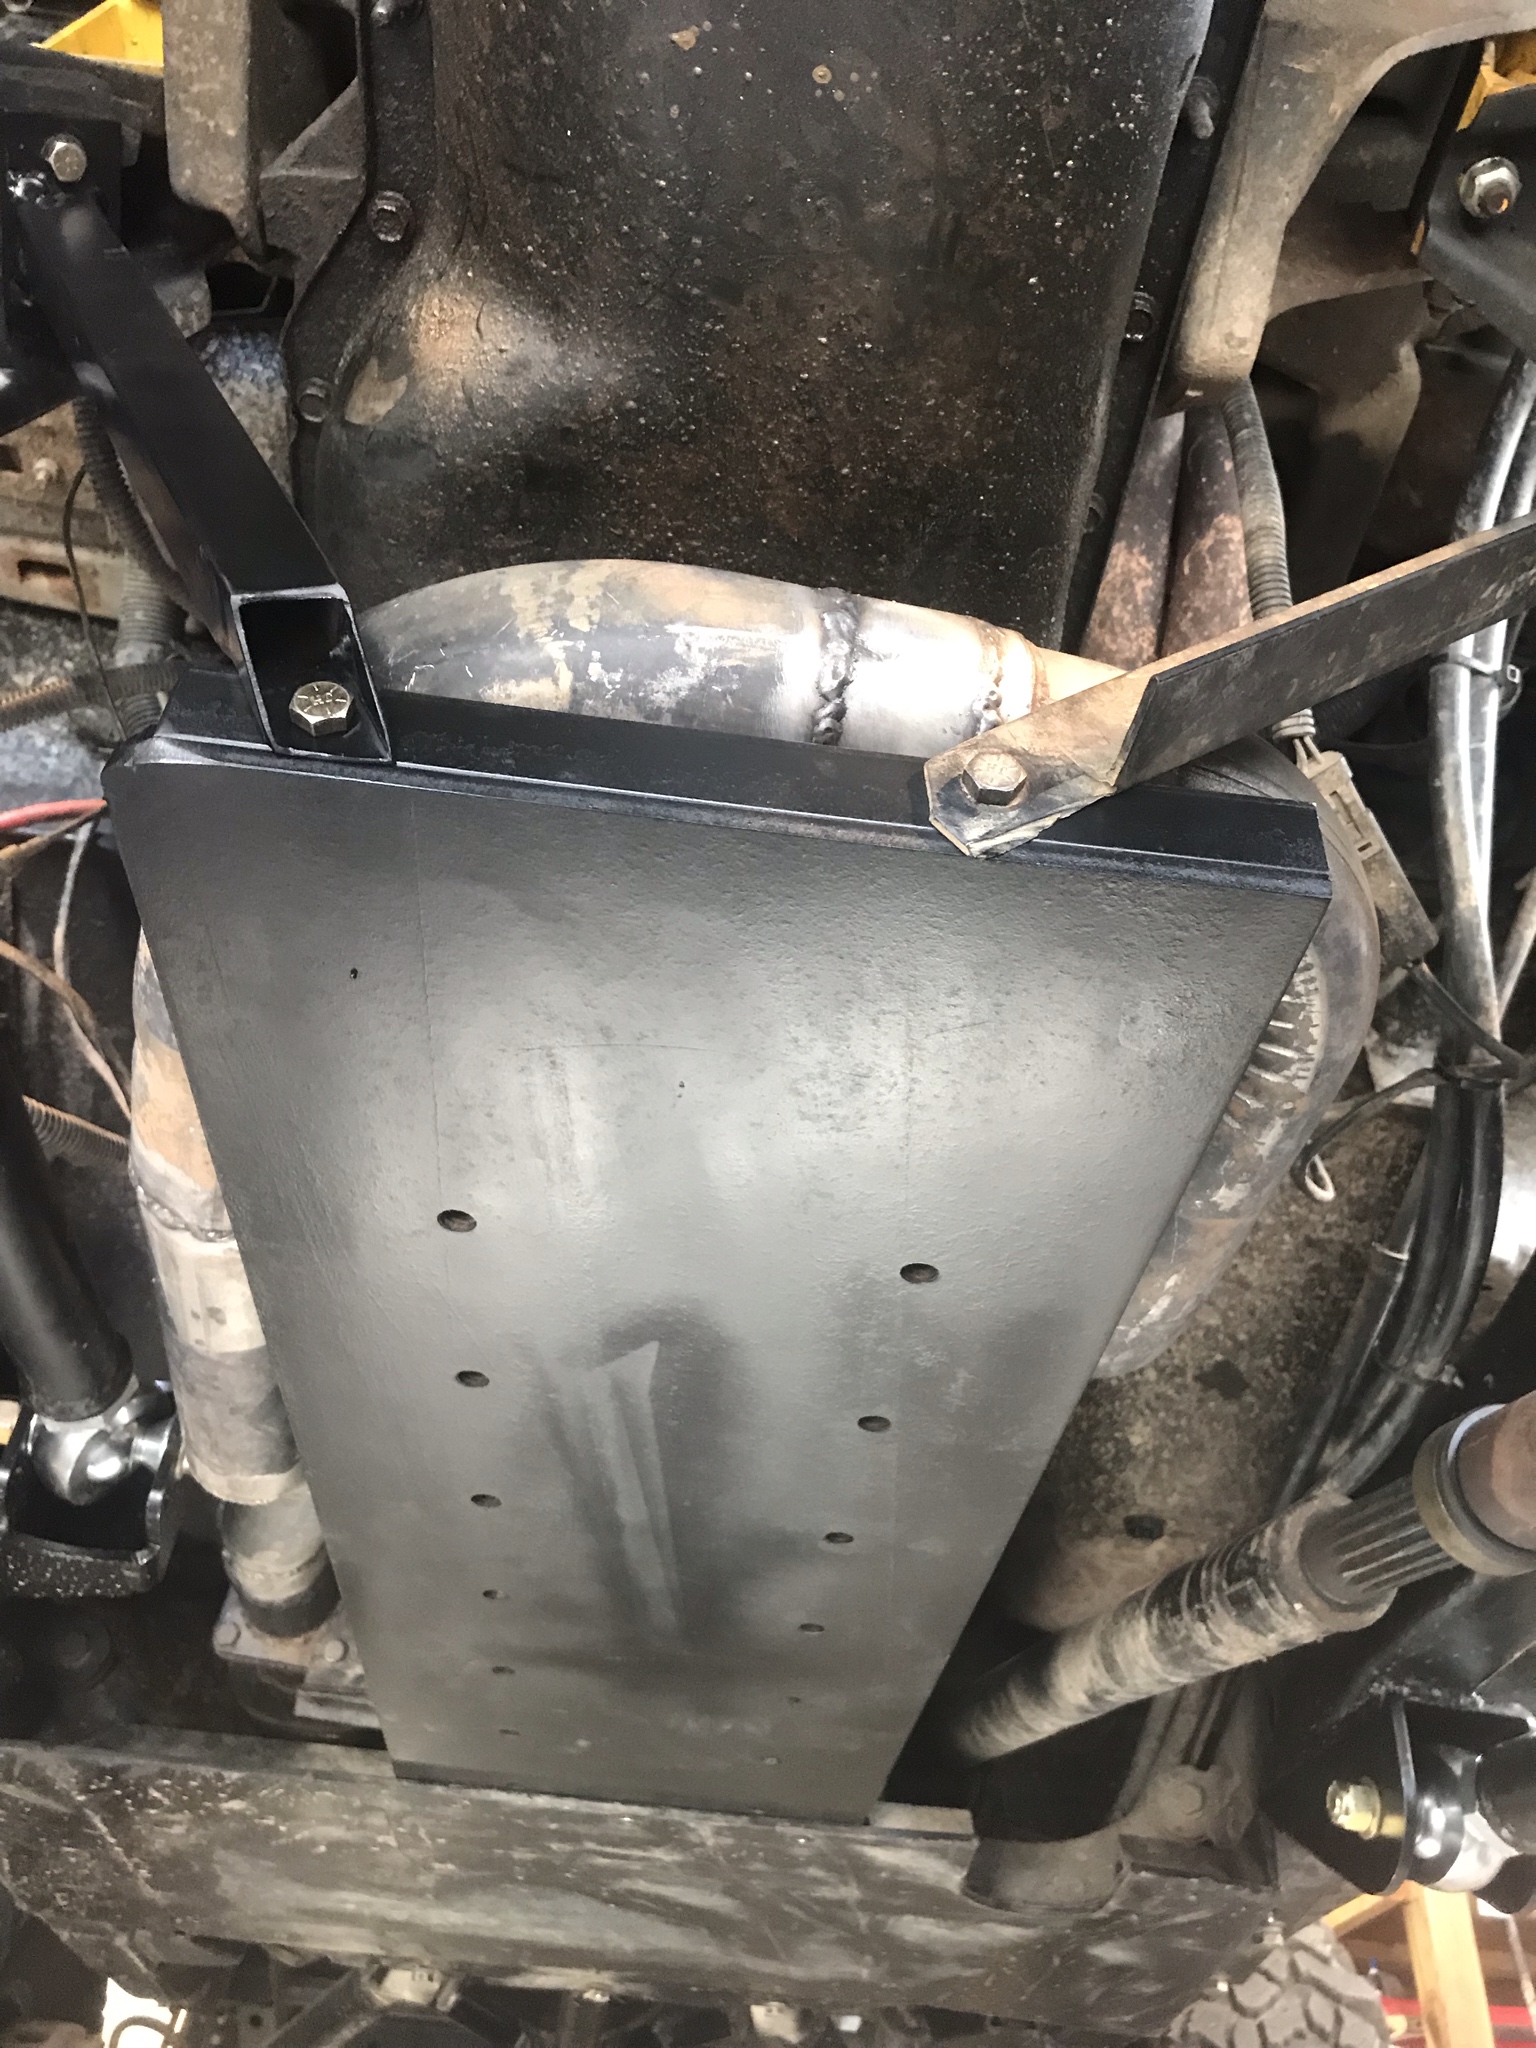
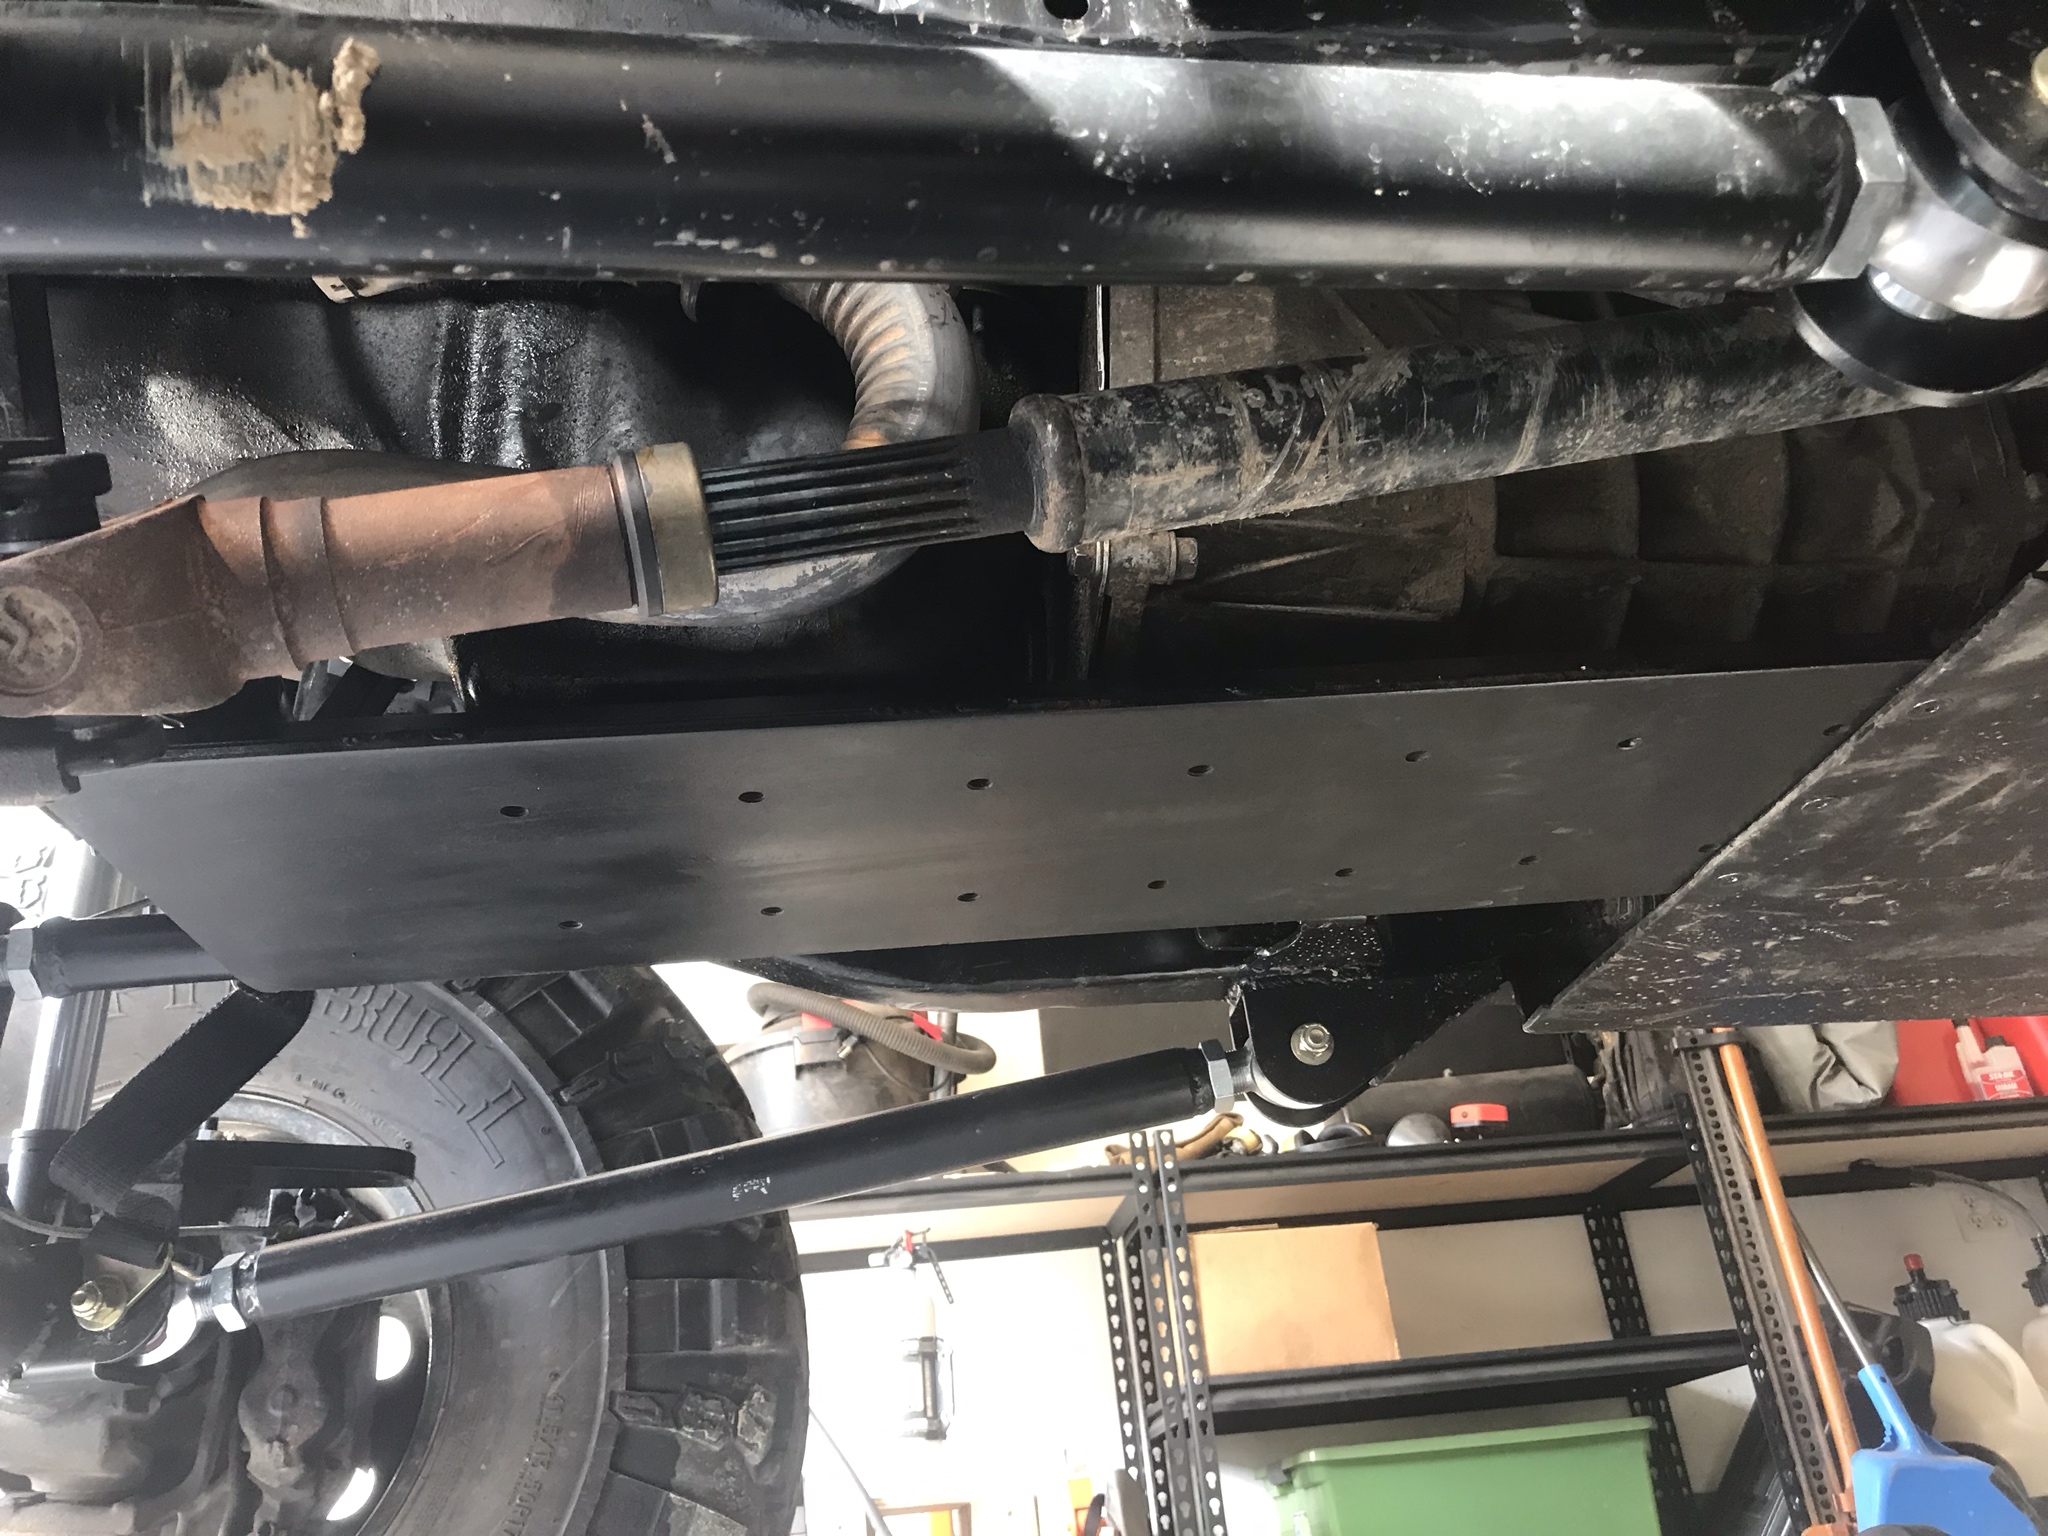
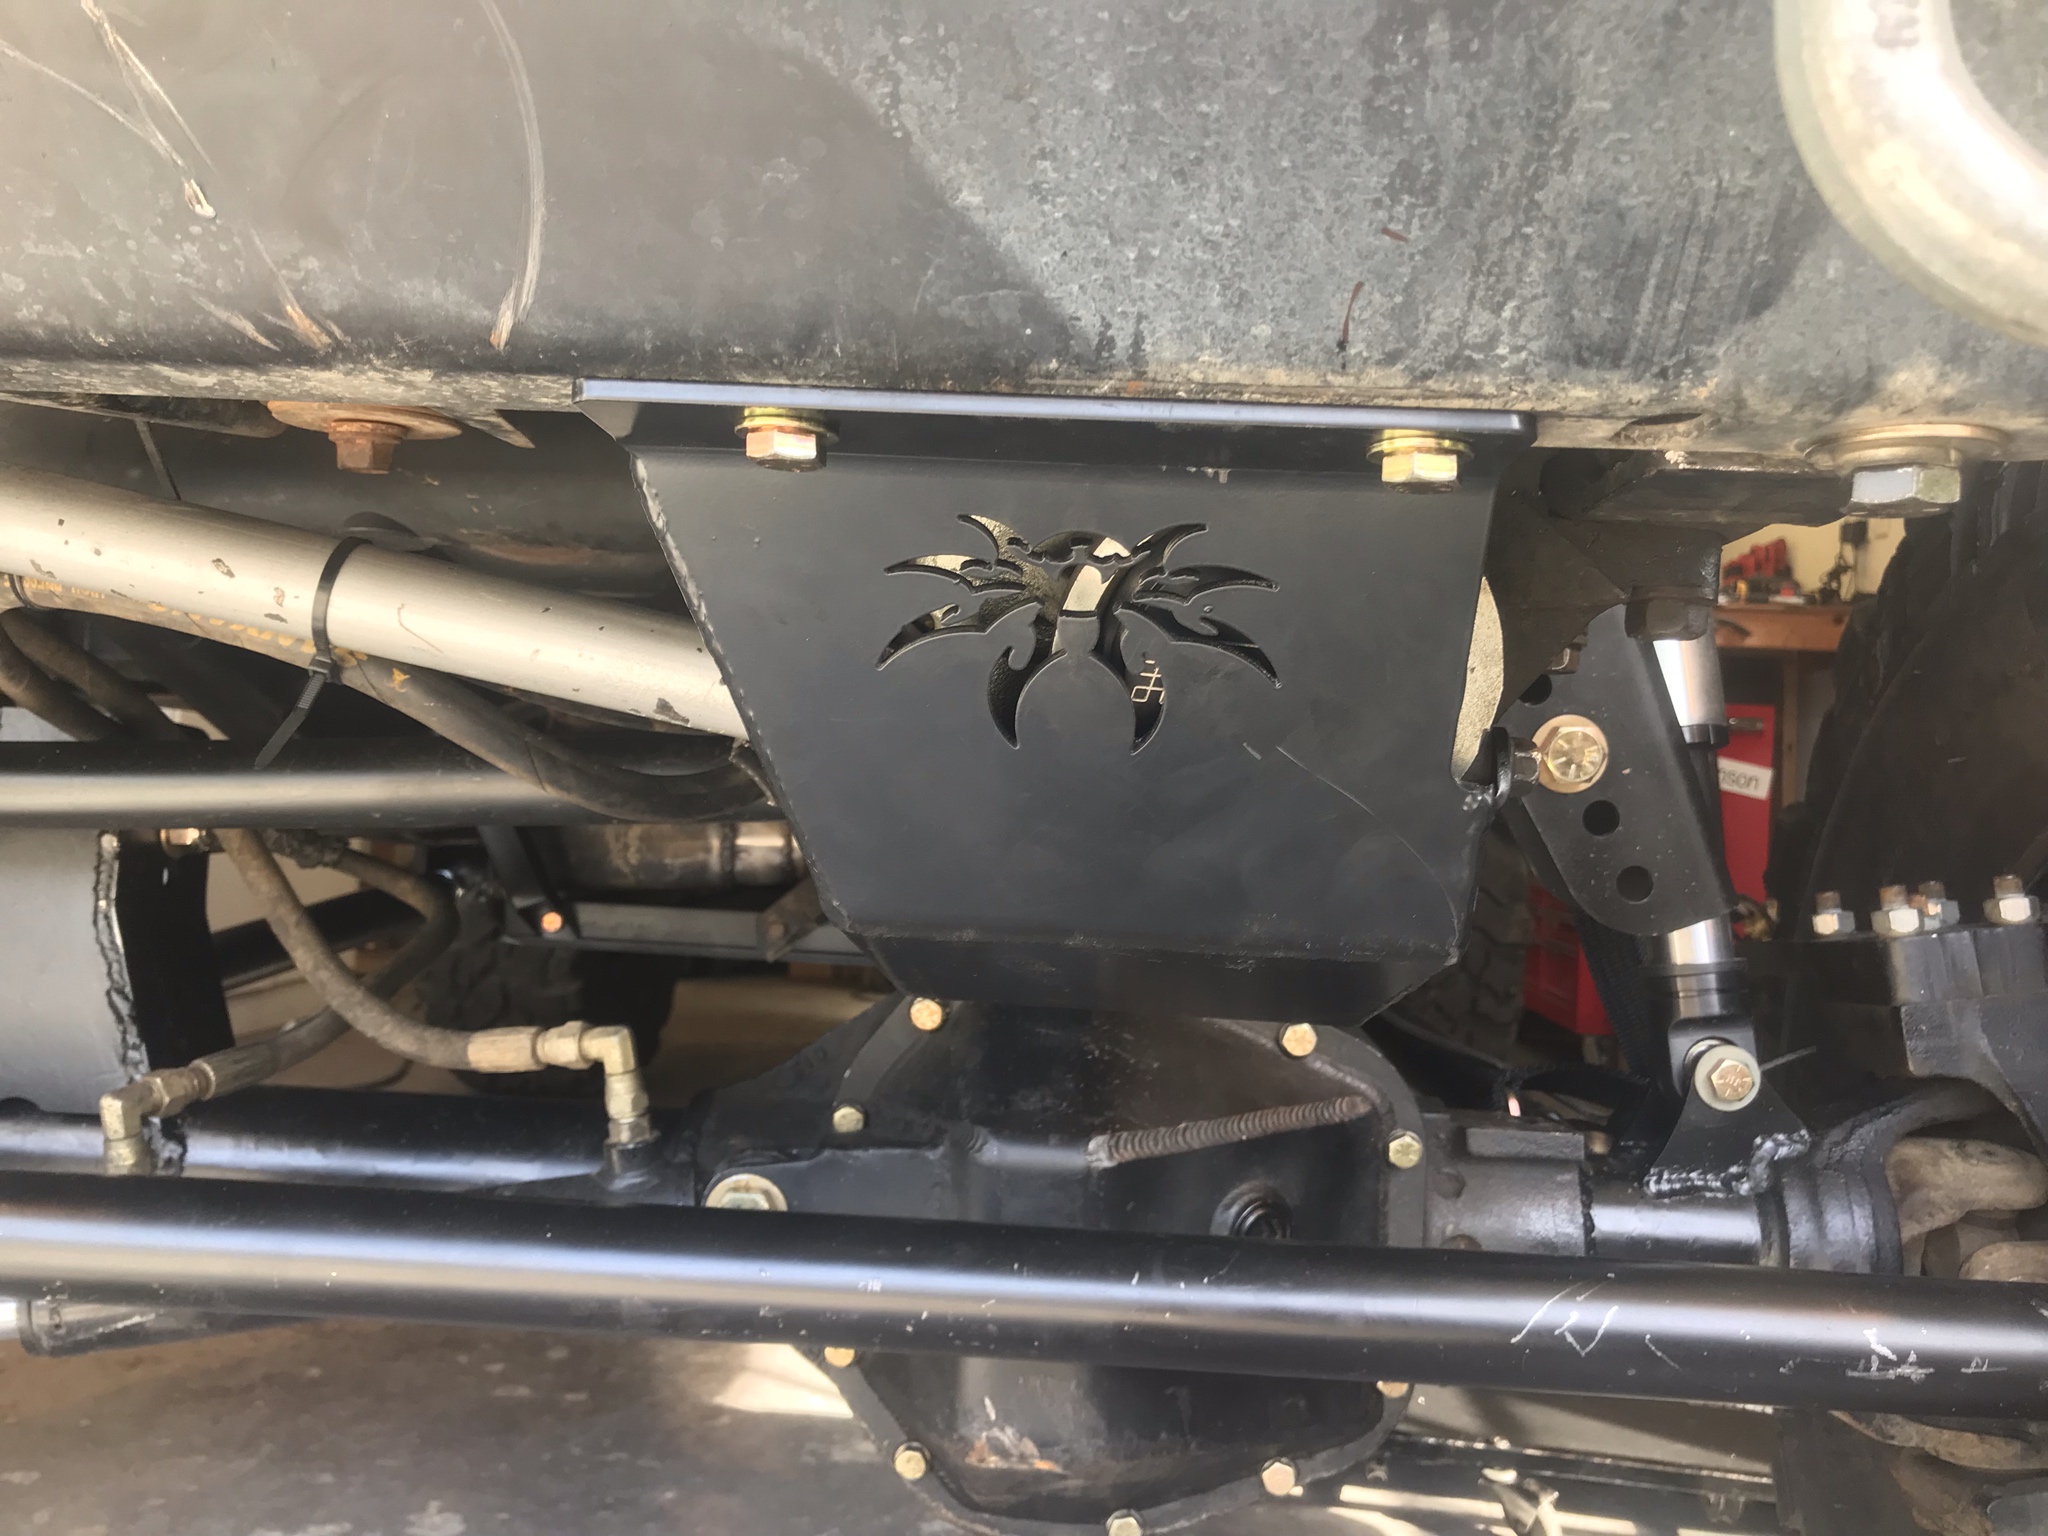
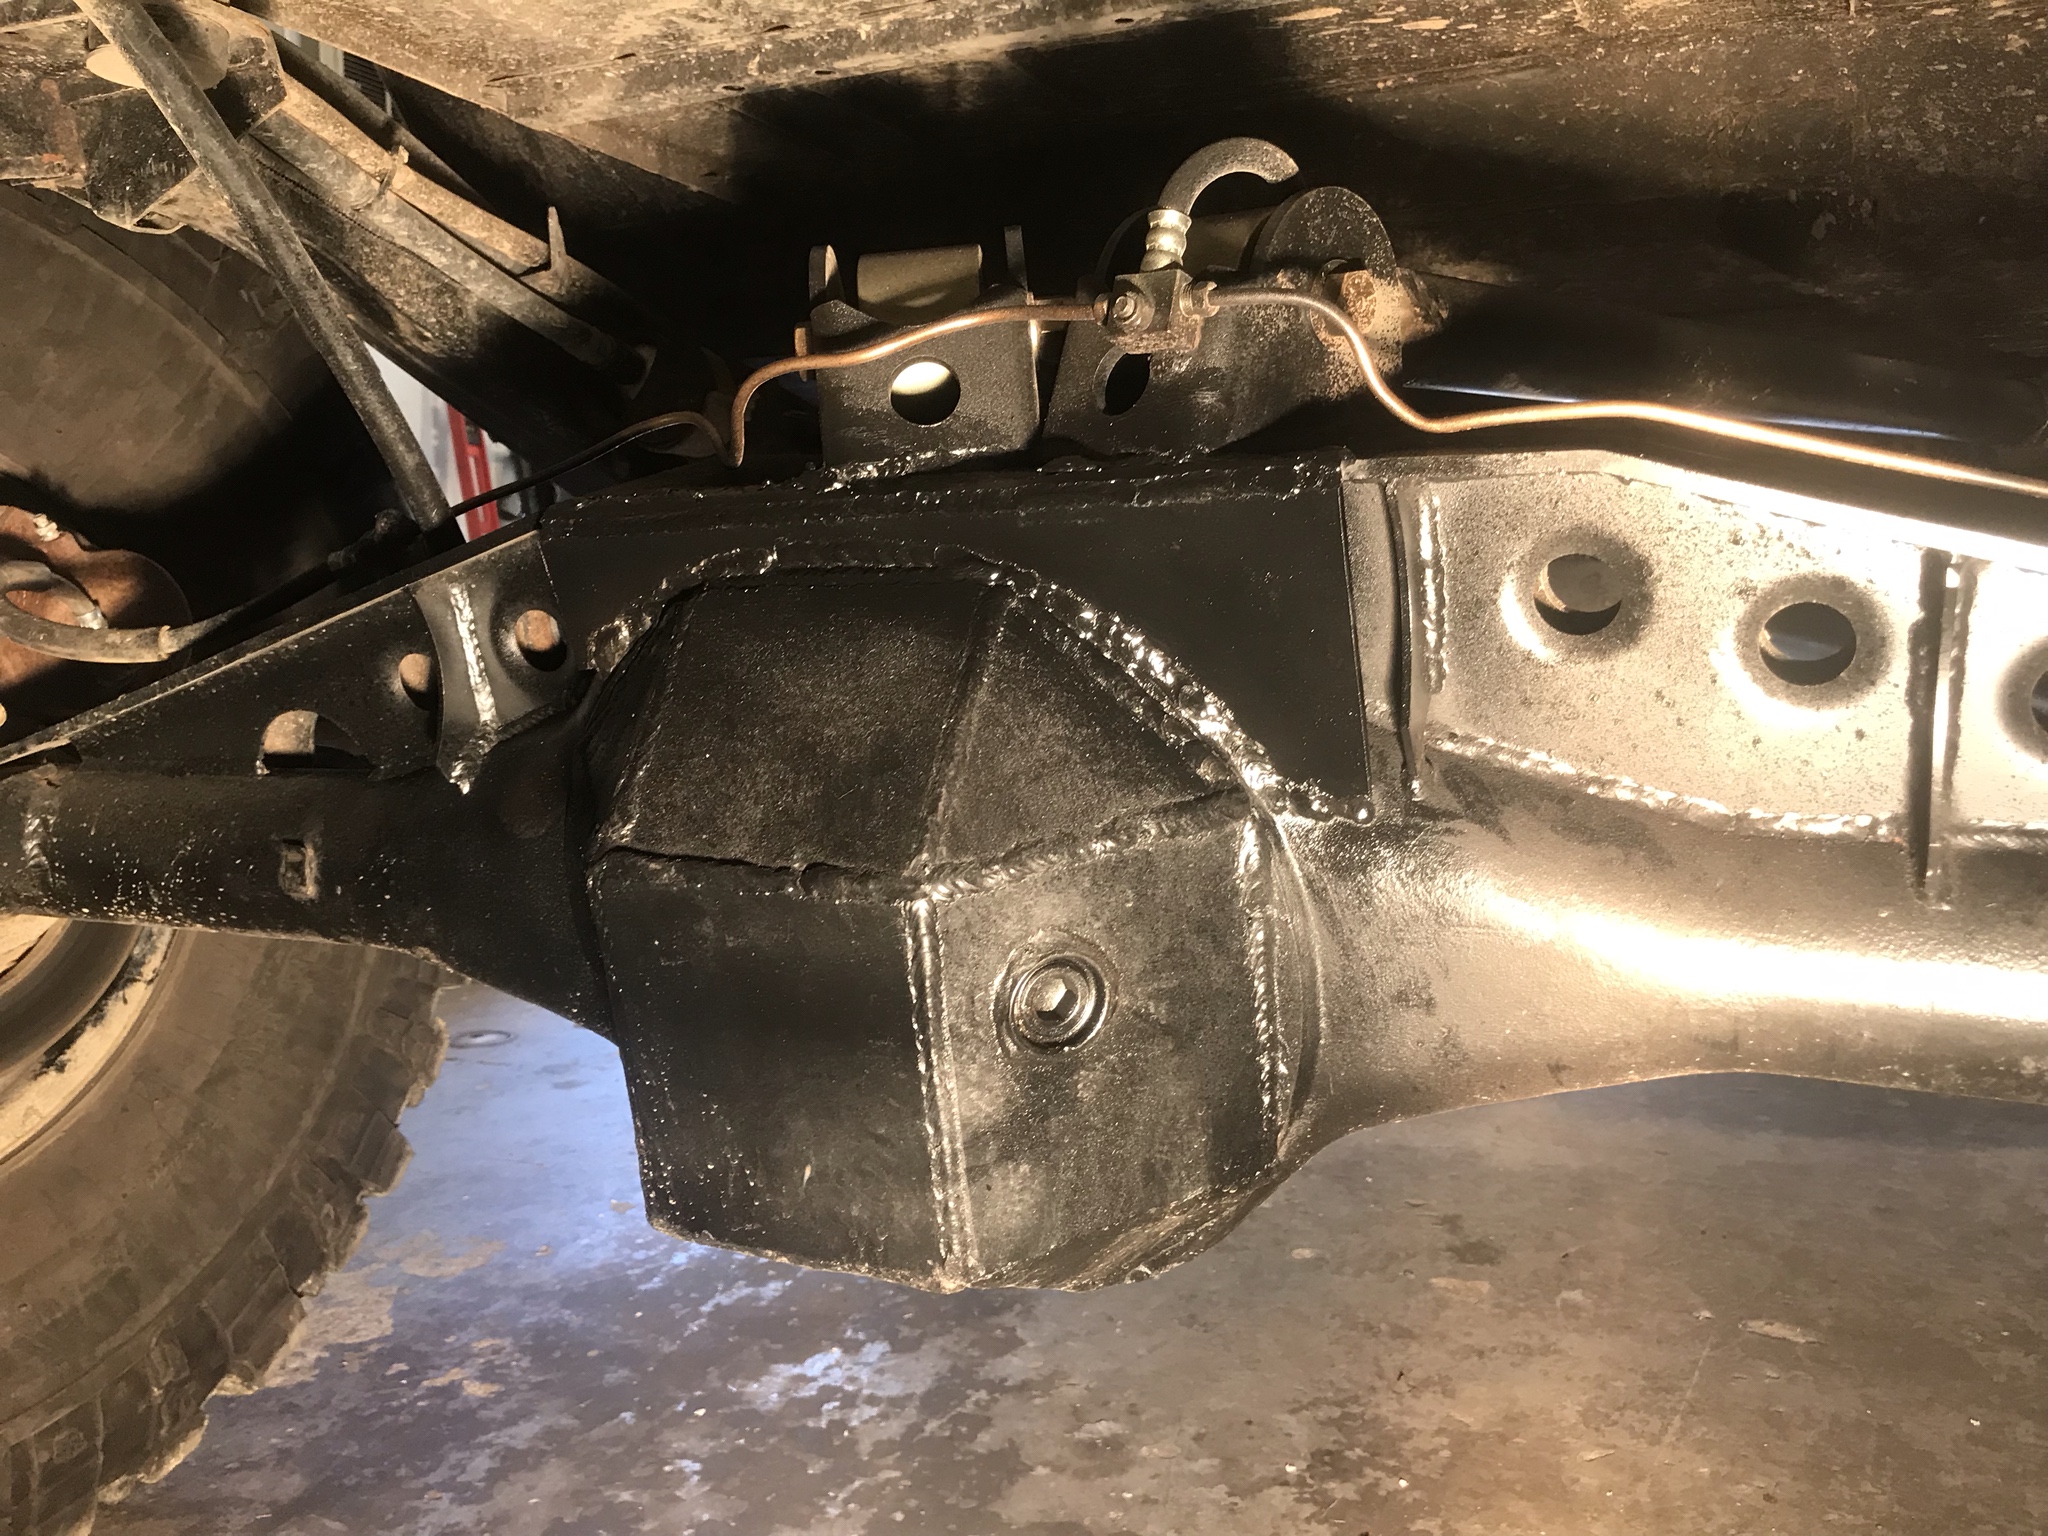
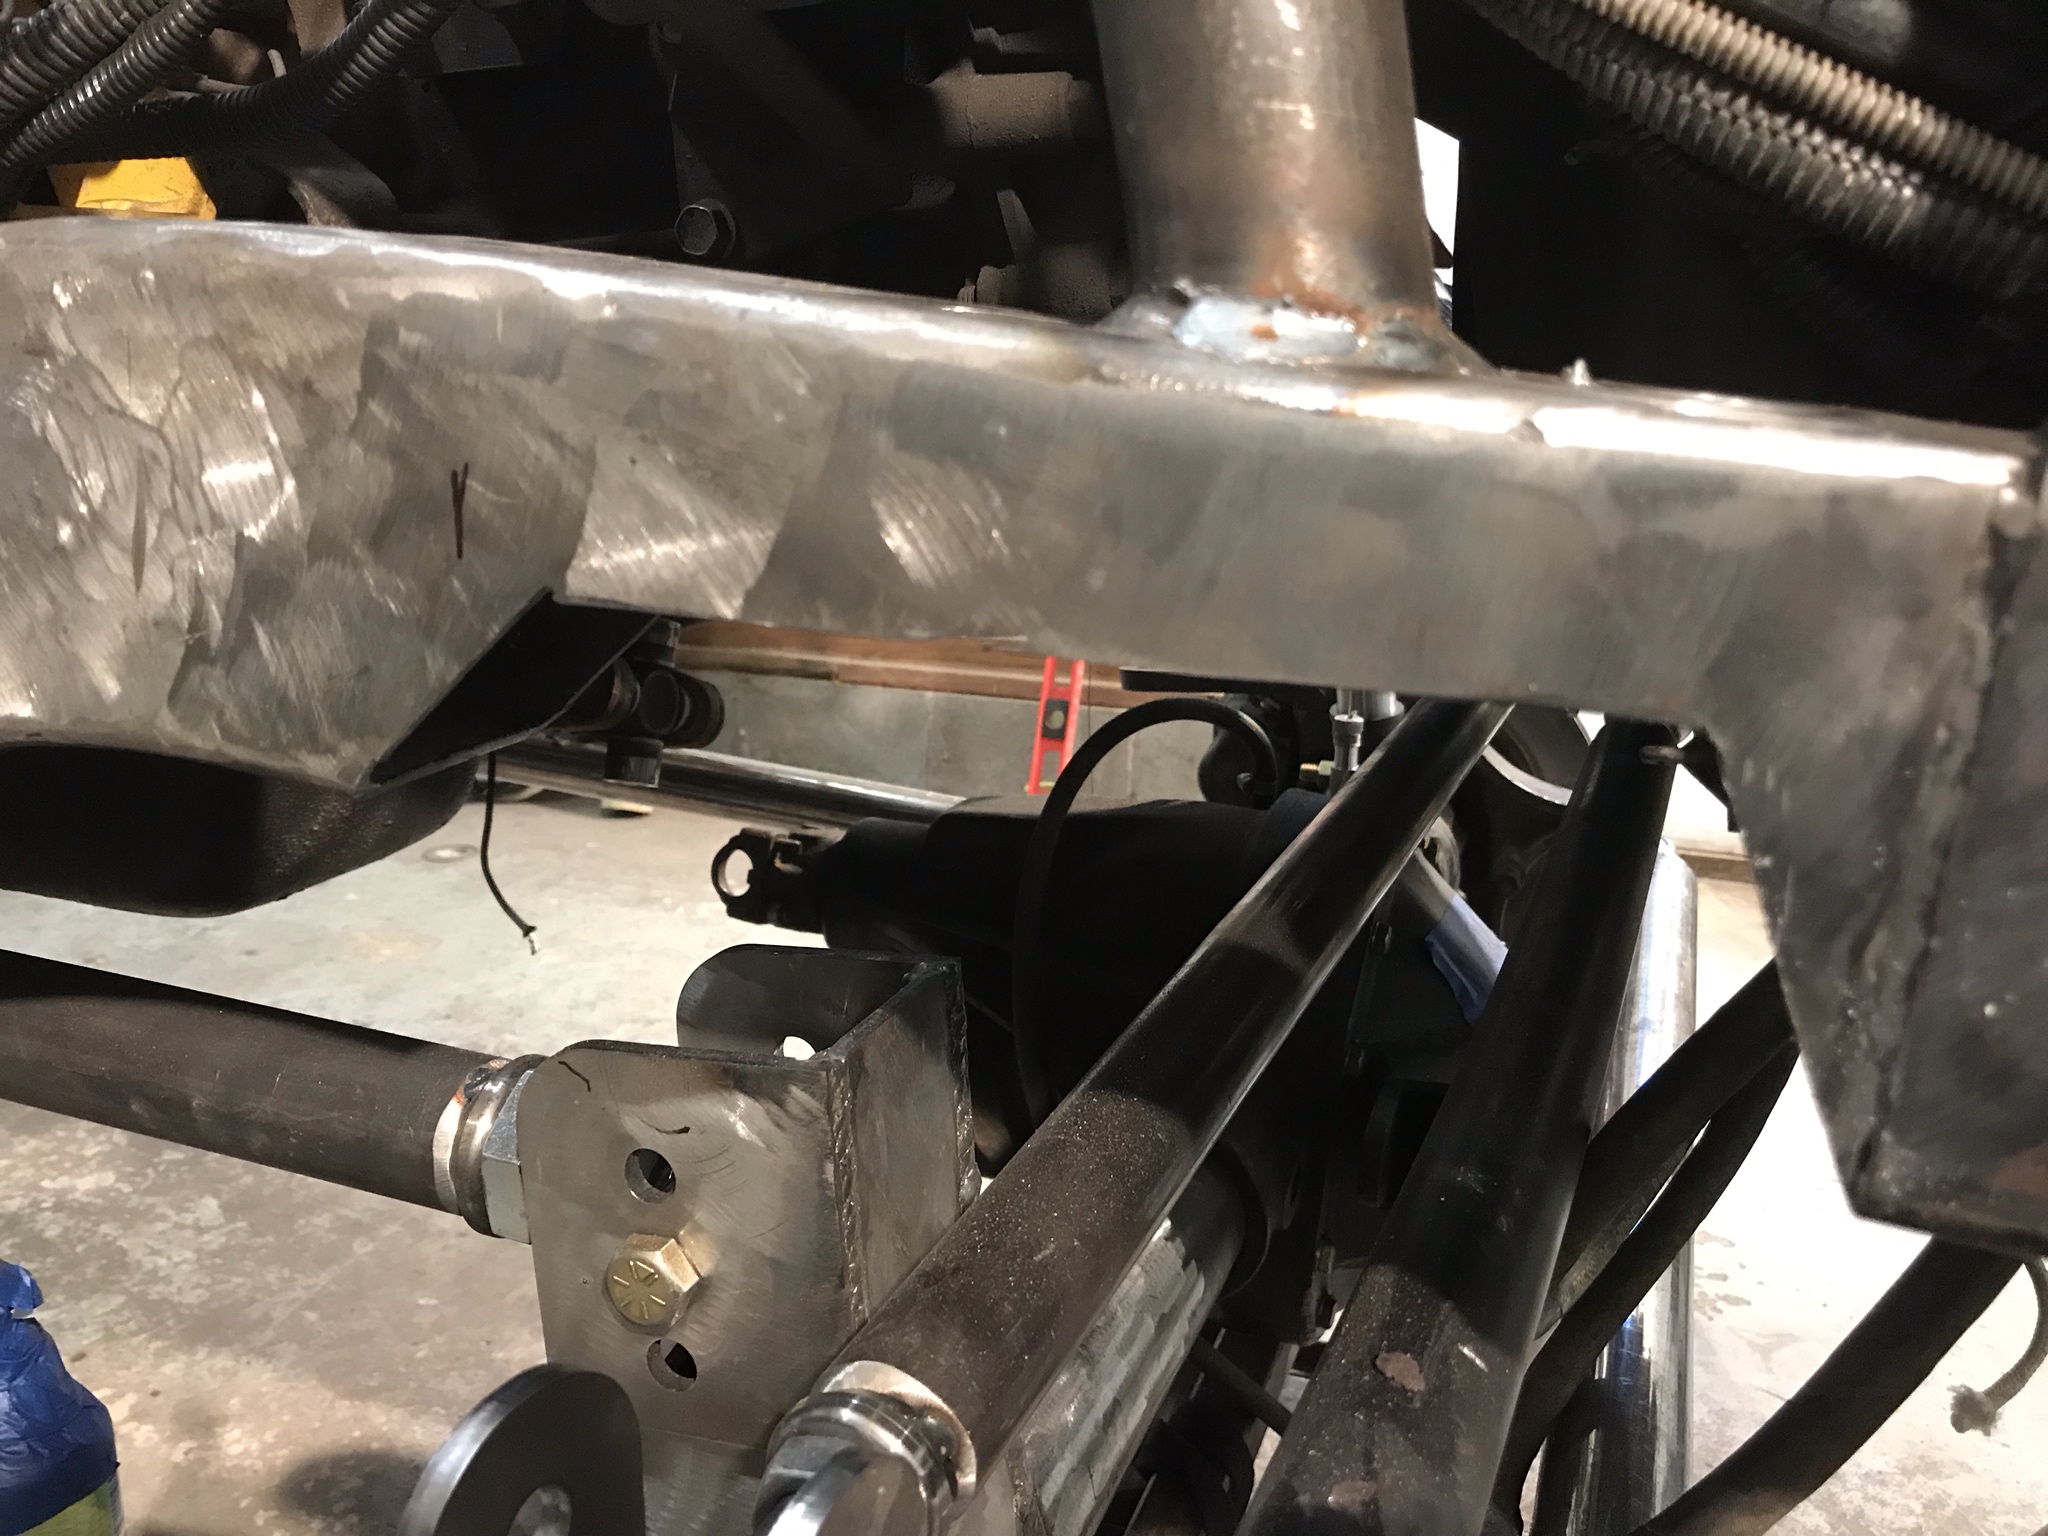
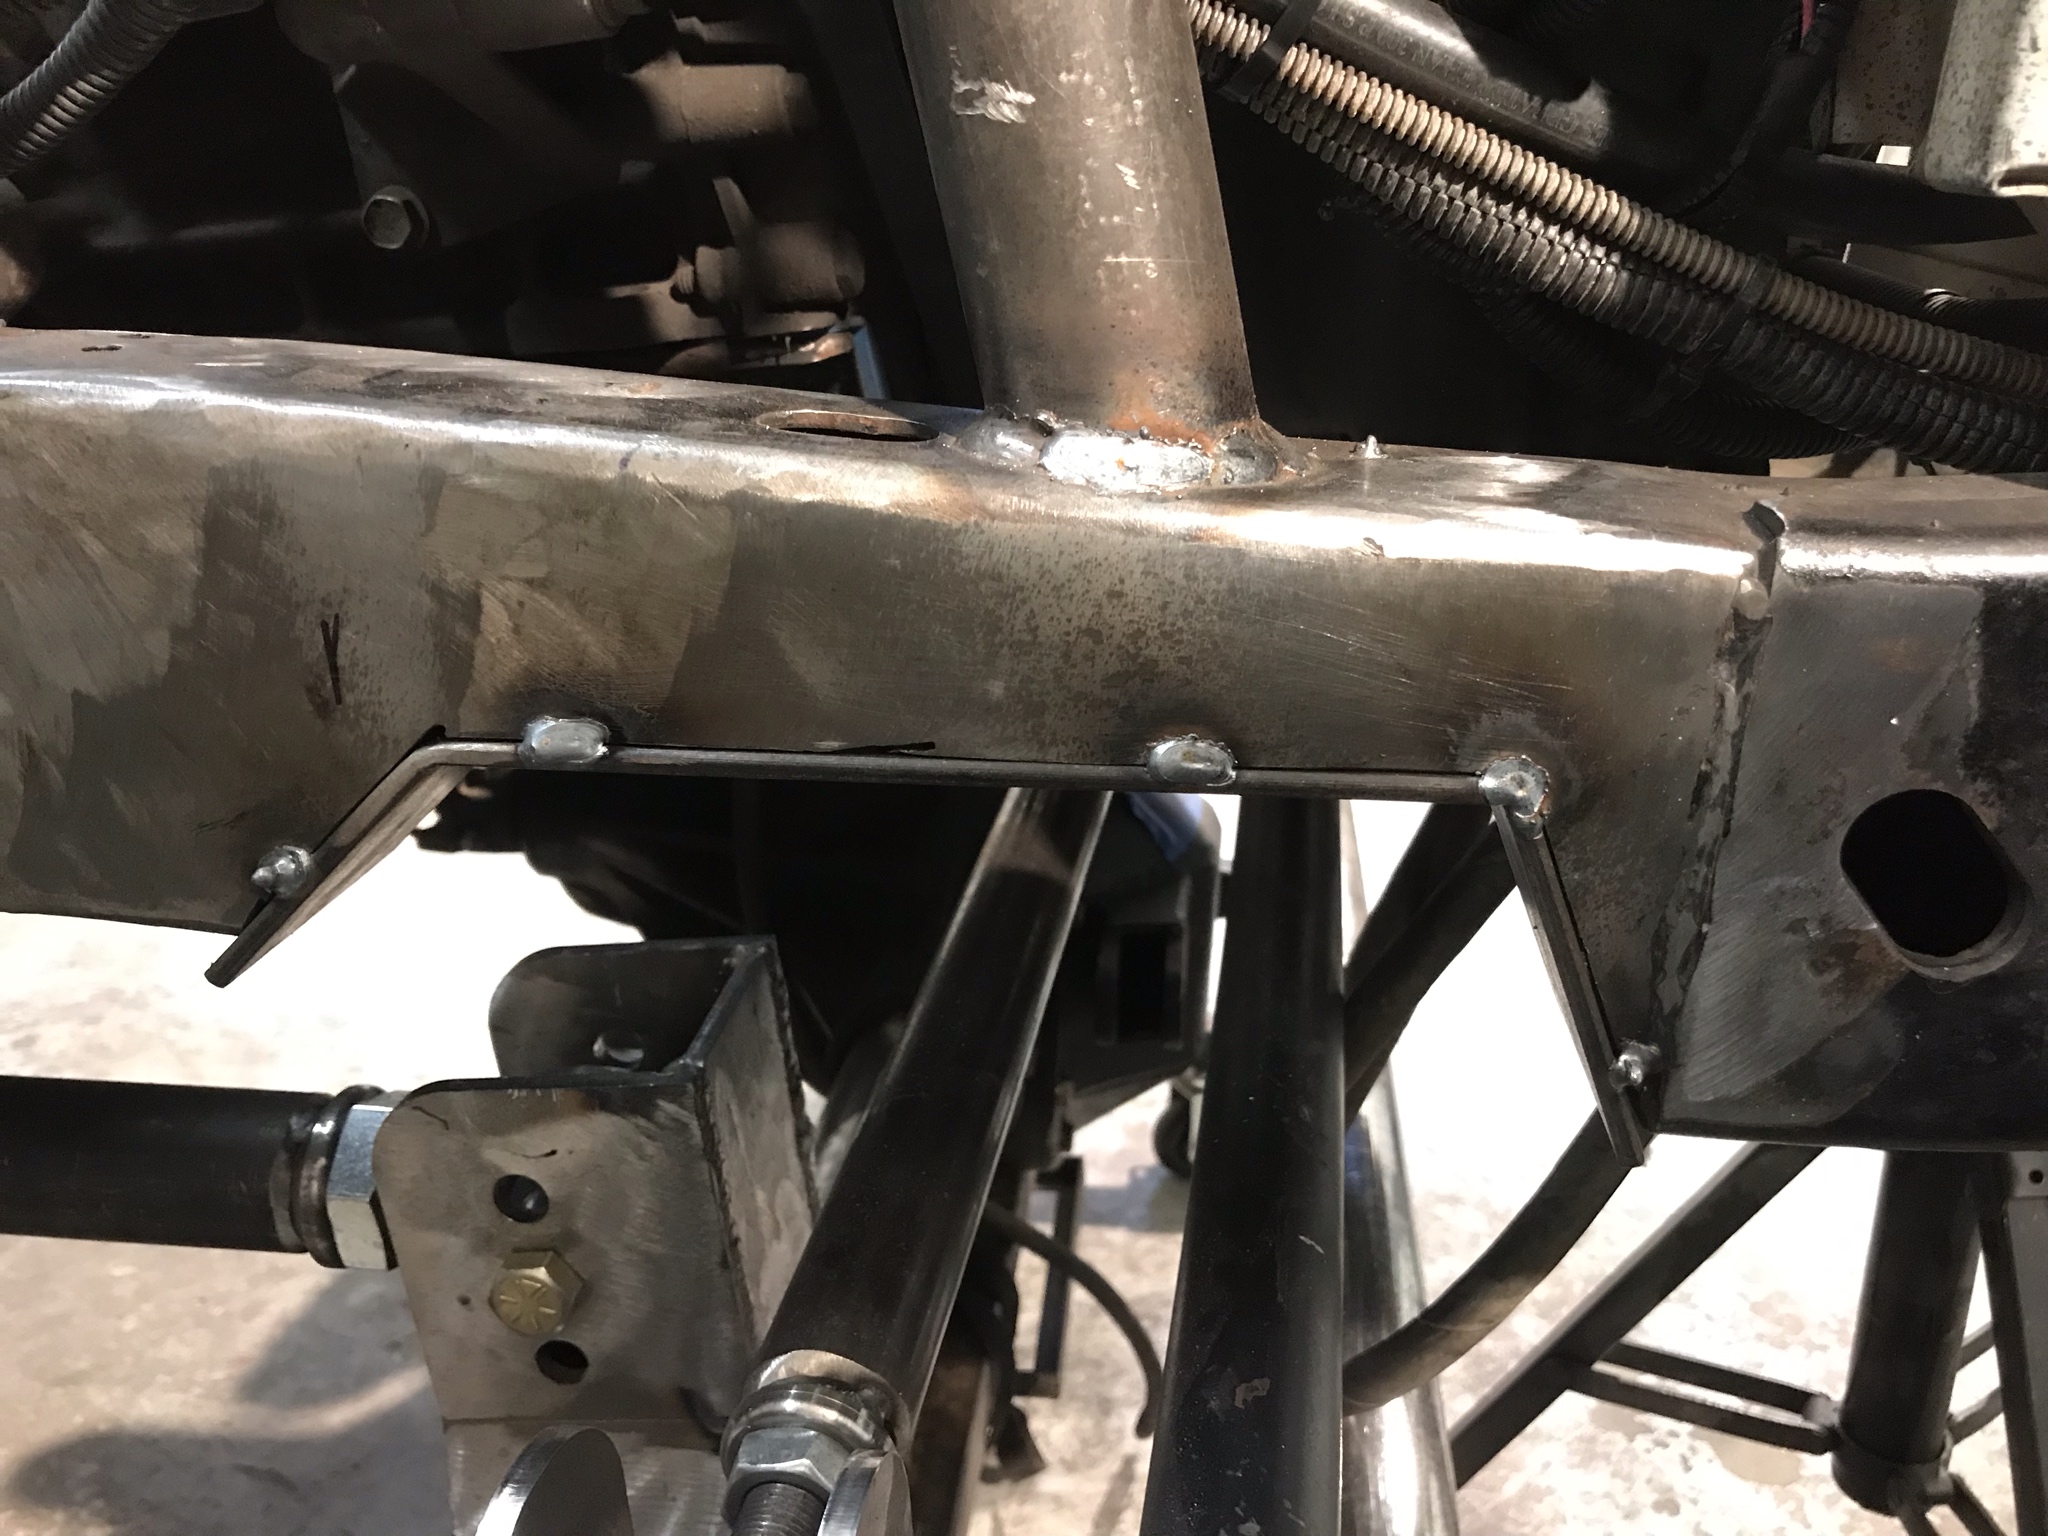
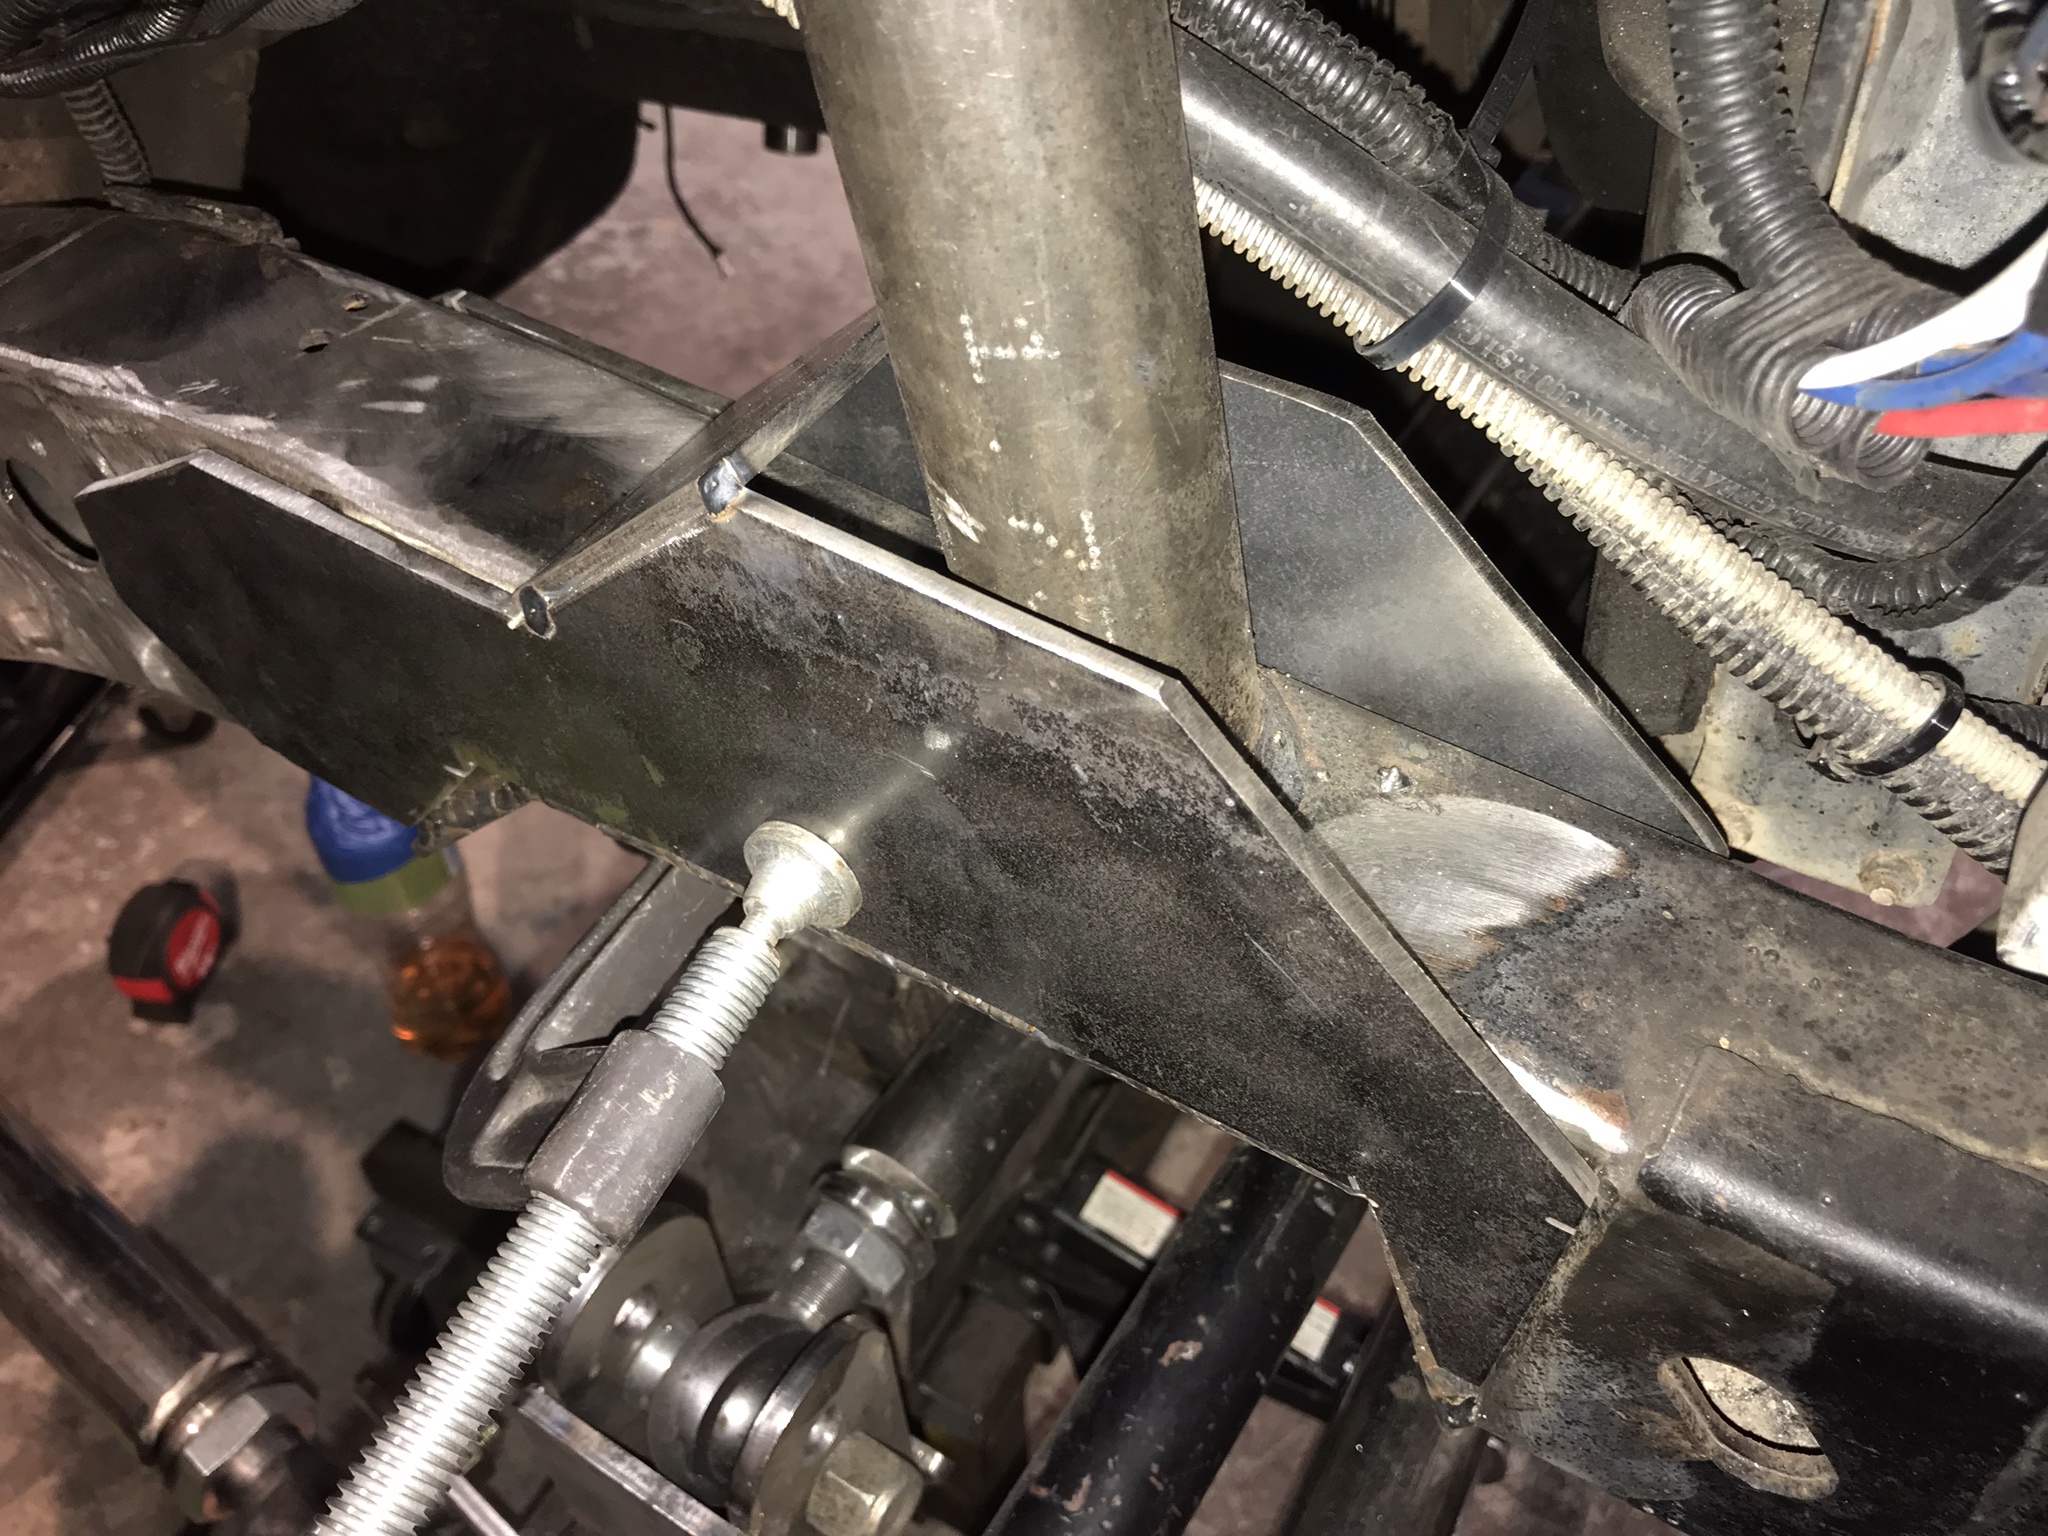
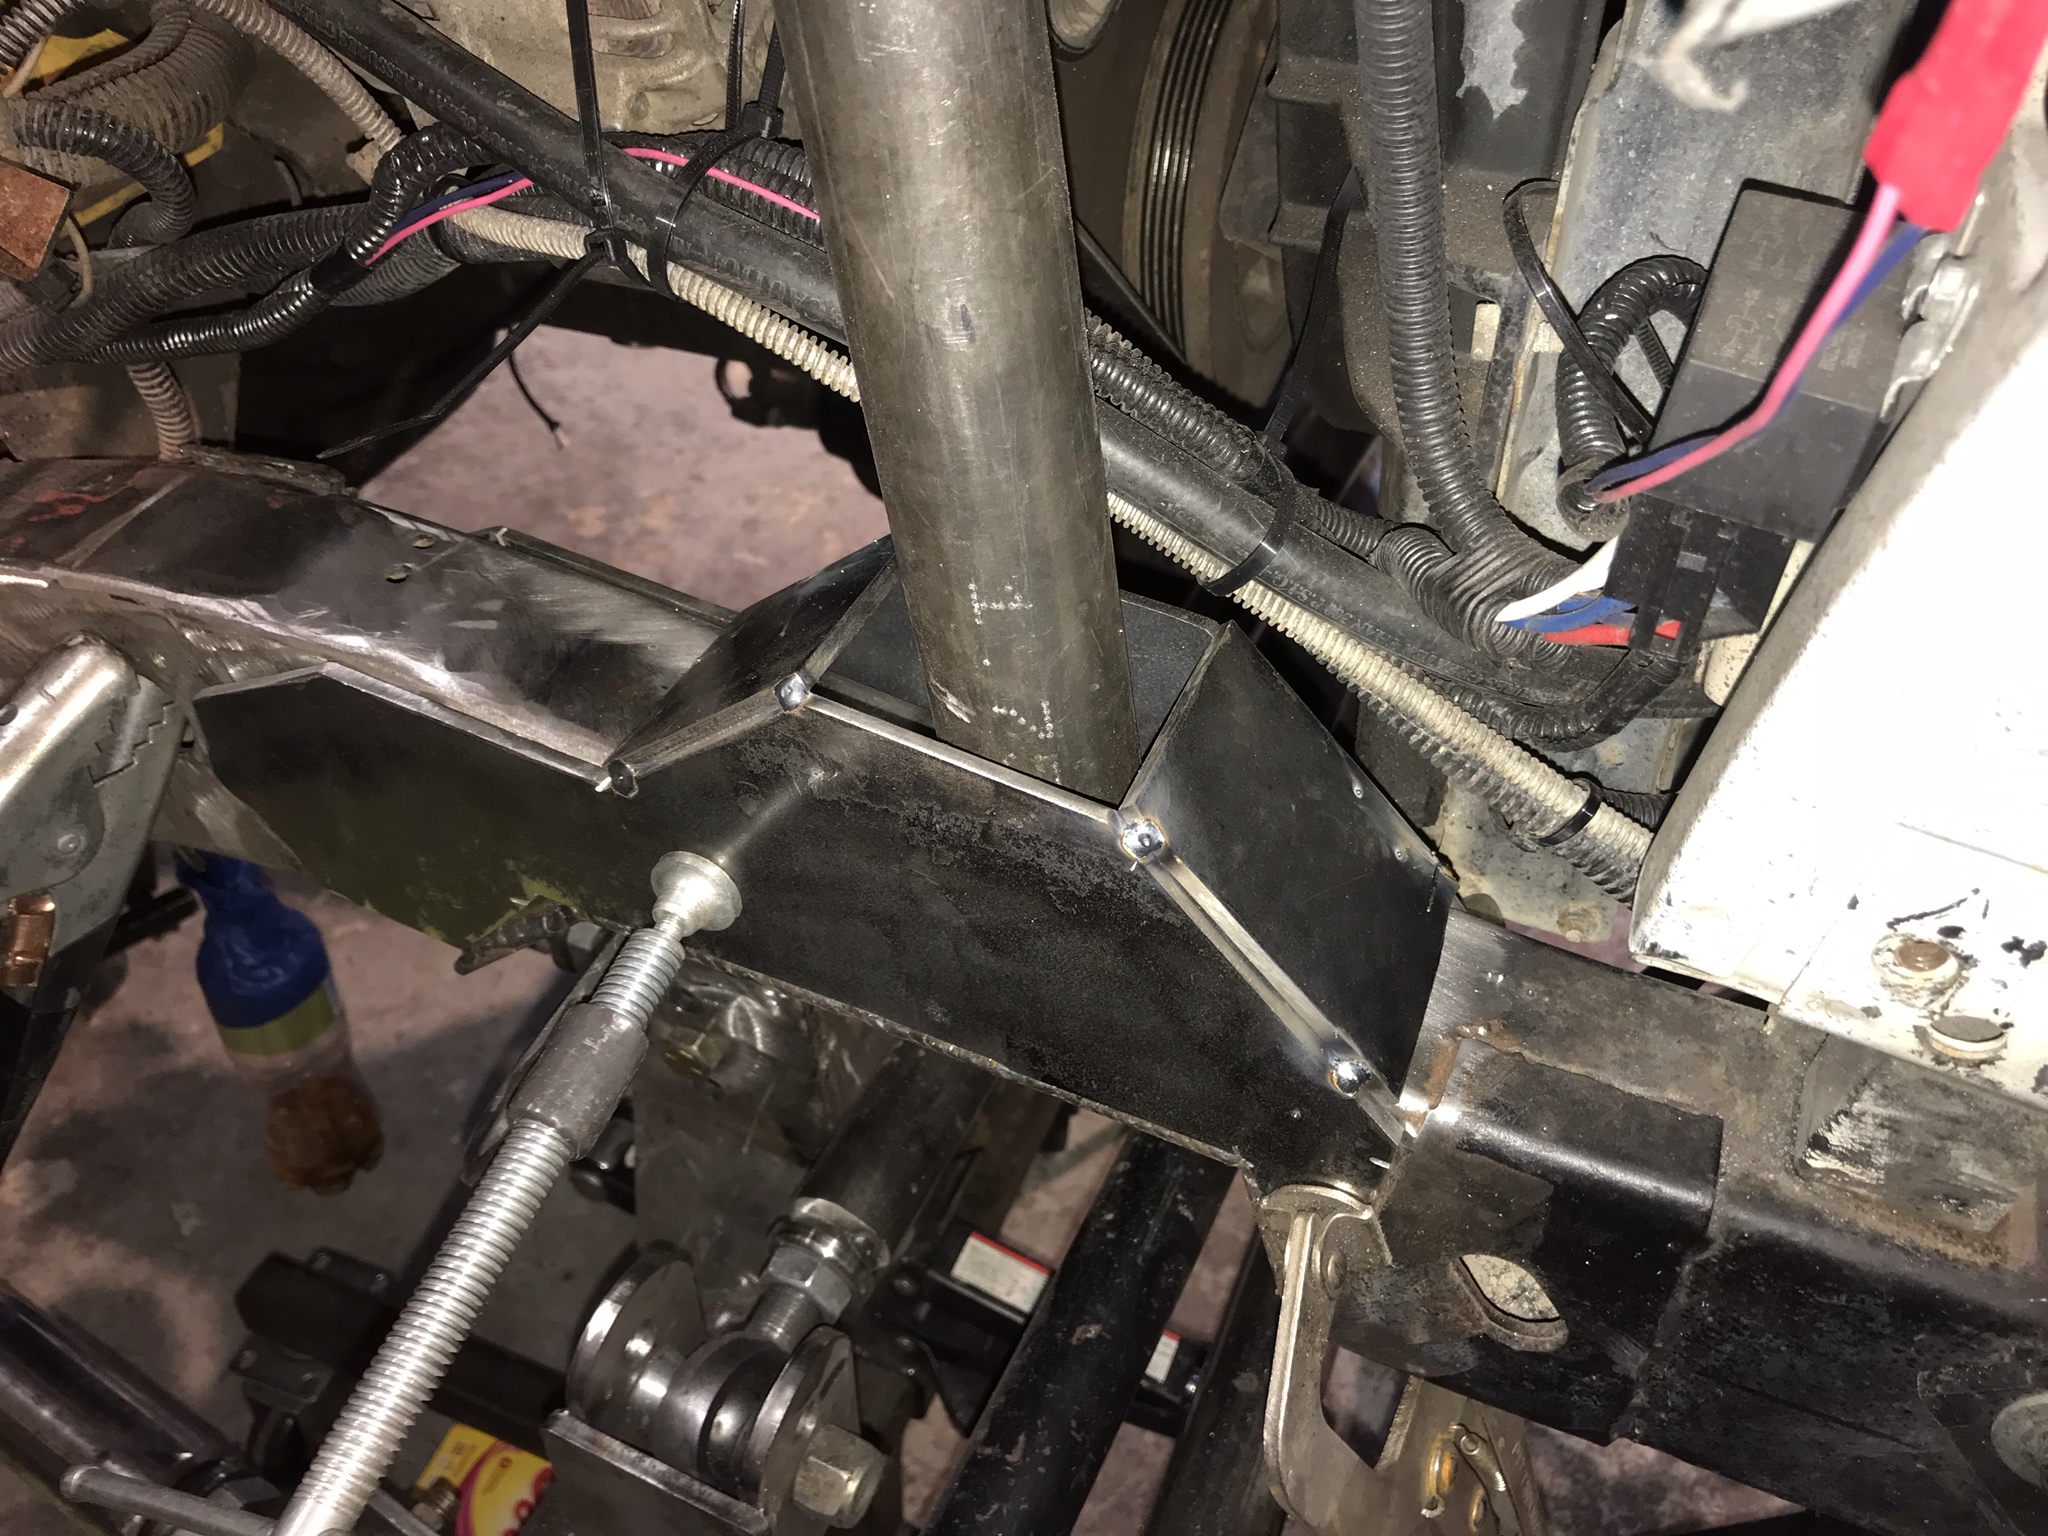
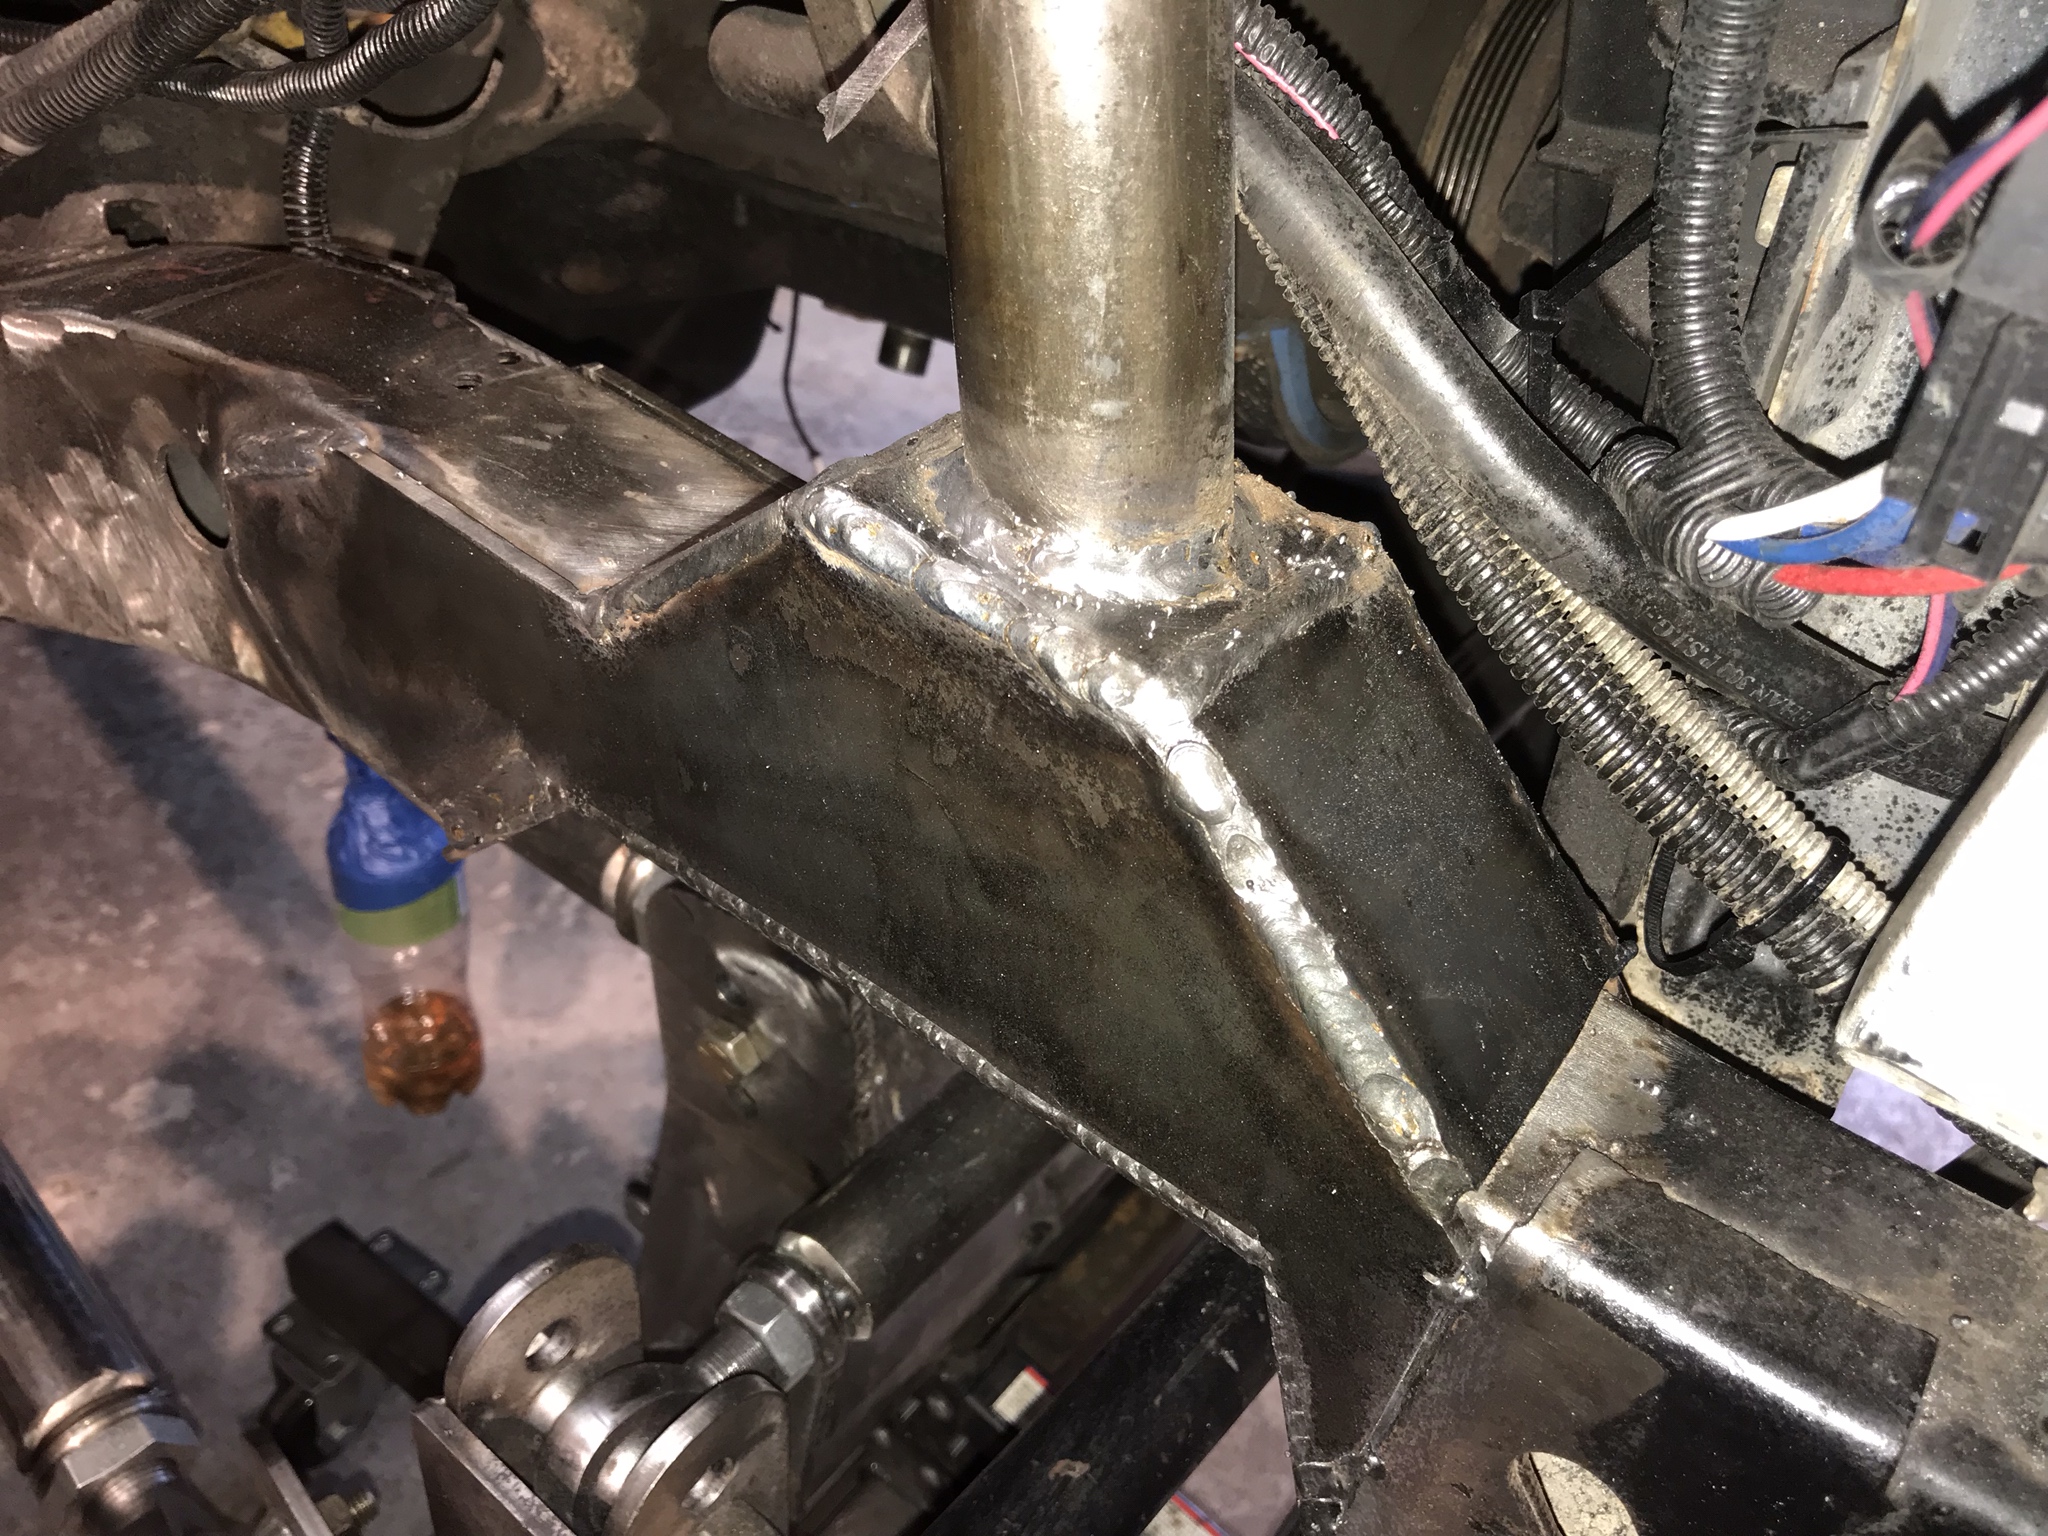
First order of business was to fix the giant hole cutout in my frame to my drag link and pandhard bar mounts. I first plated the bottom then I built some fish plates that mimic the cutout in hopes of regaining some strength. It is built around the shock hoop and fish plated on both sides of the frame. The shock hoop was also fulled welded to the top of the stock frame below all of the plating before I welded up the plating. This whole setup feels extremely strong to me. All of this was done with 3/16" plate.

OslrrVm.jpg


hOs3JhN.jpg


kSCTMy5.jpg


cJd1Jk4.jpg


cegp3FJ.jpg


oYCMWJB.jpg


hPRpnMj.jpg


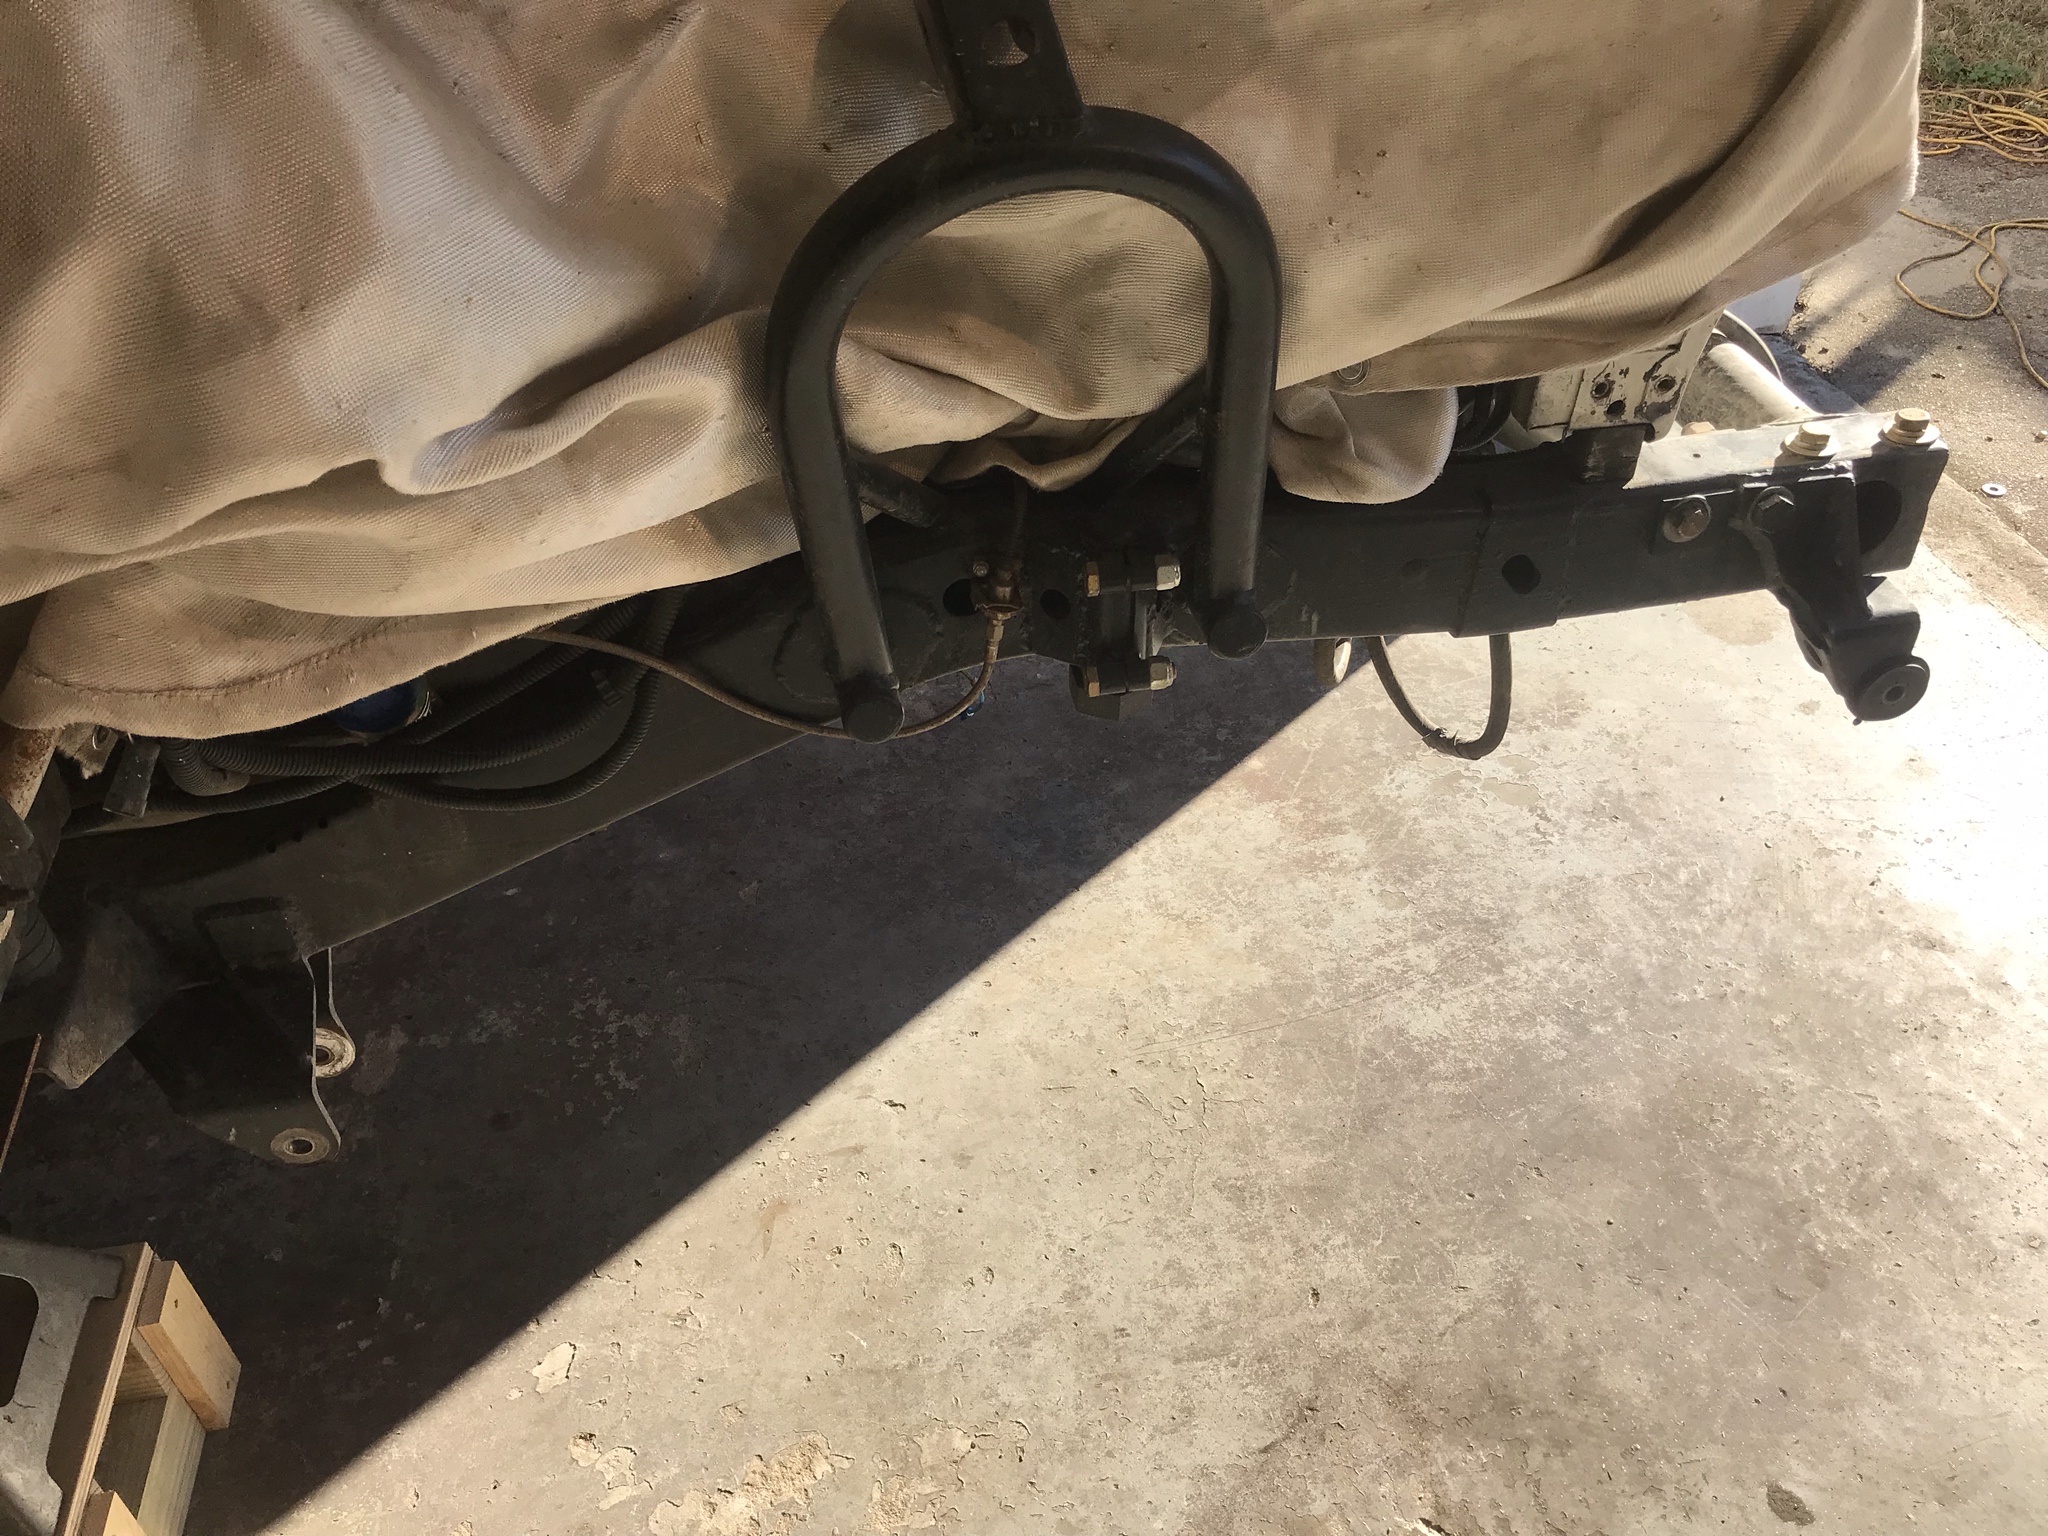
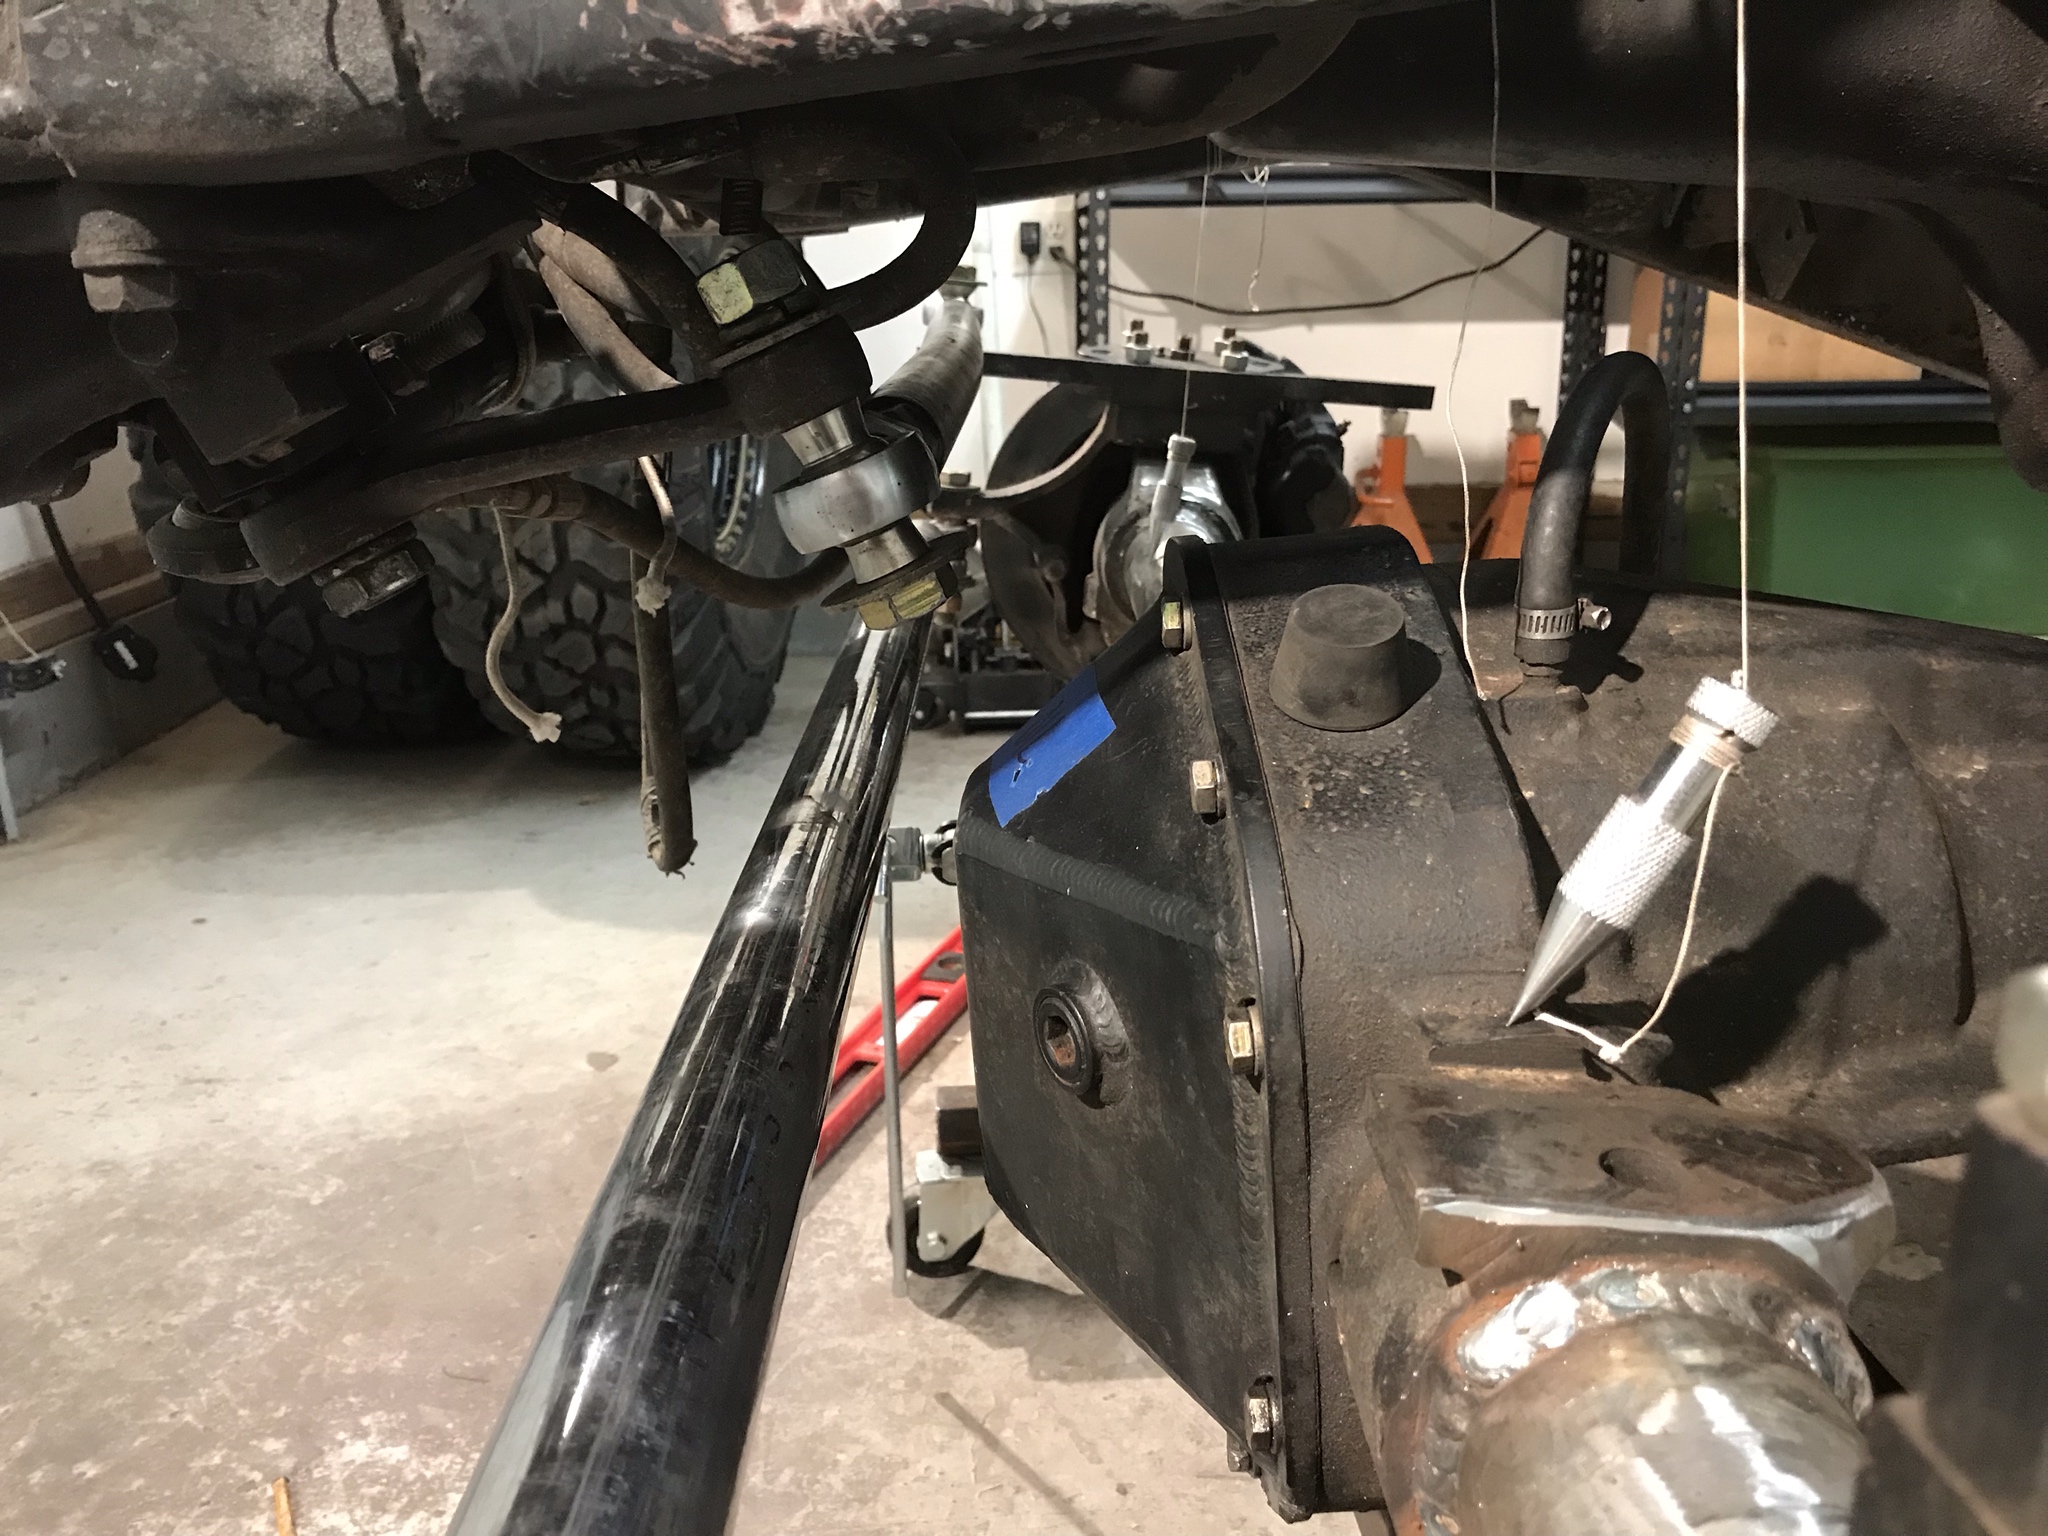
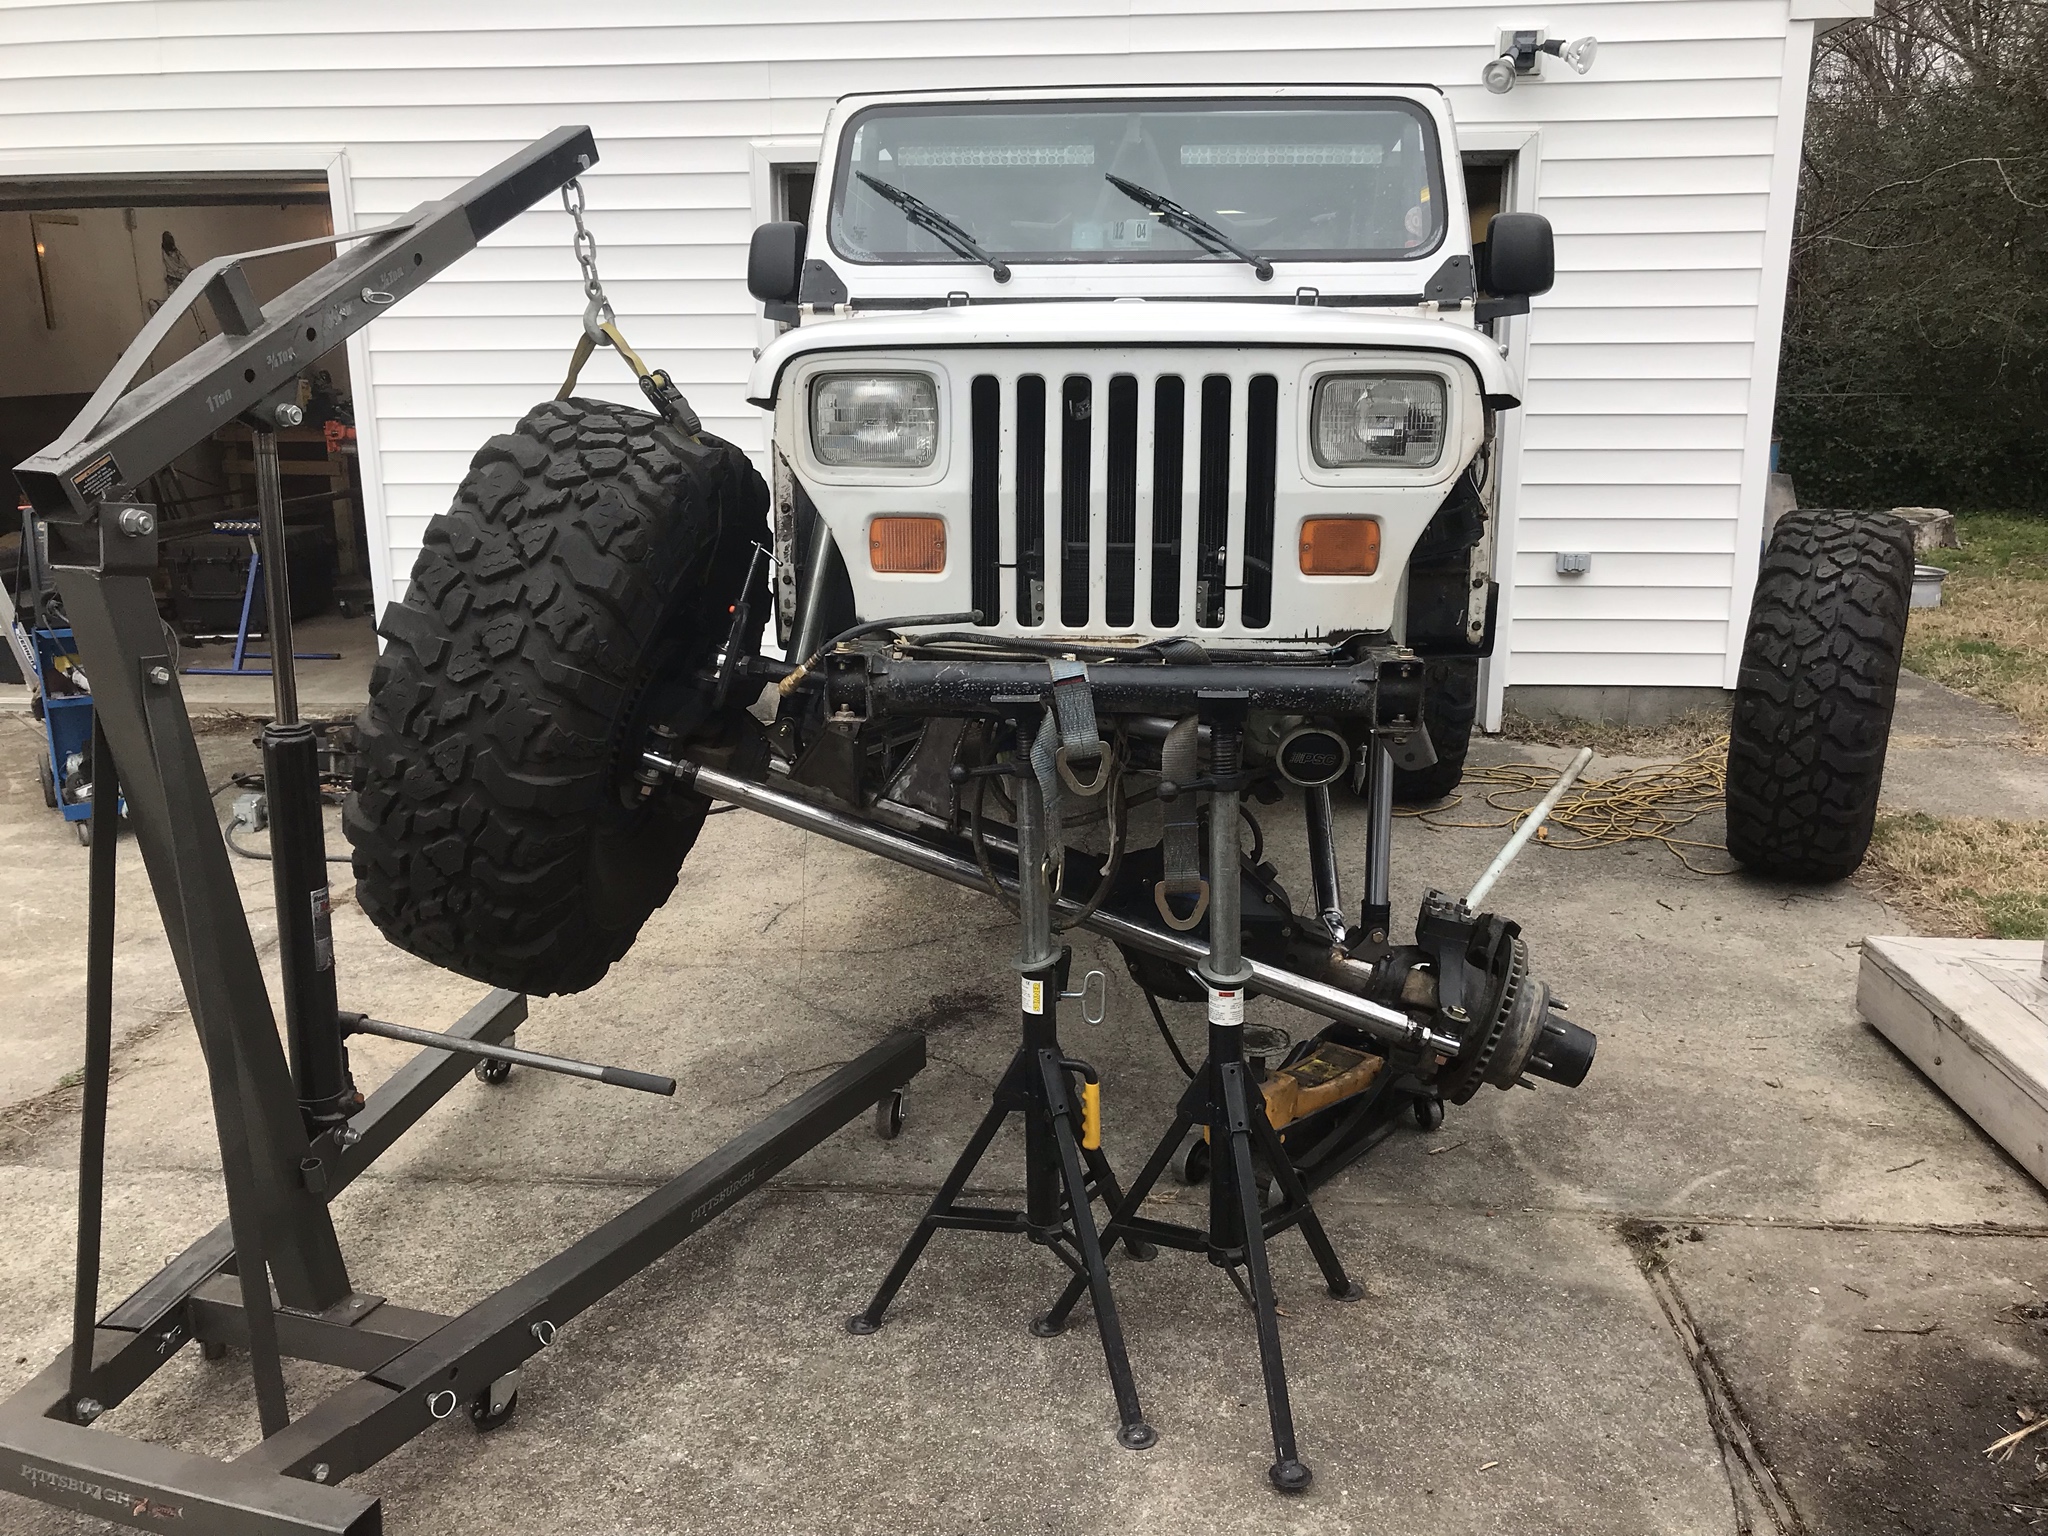
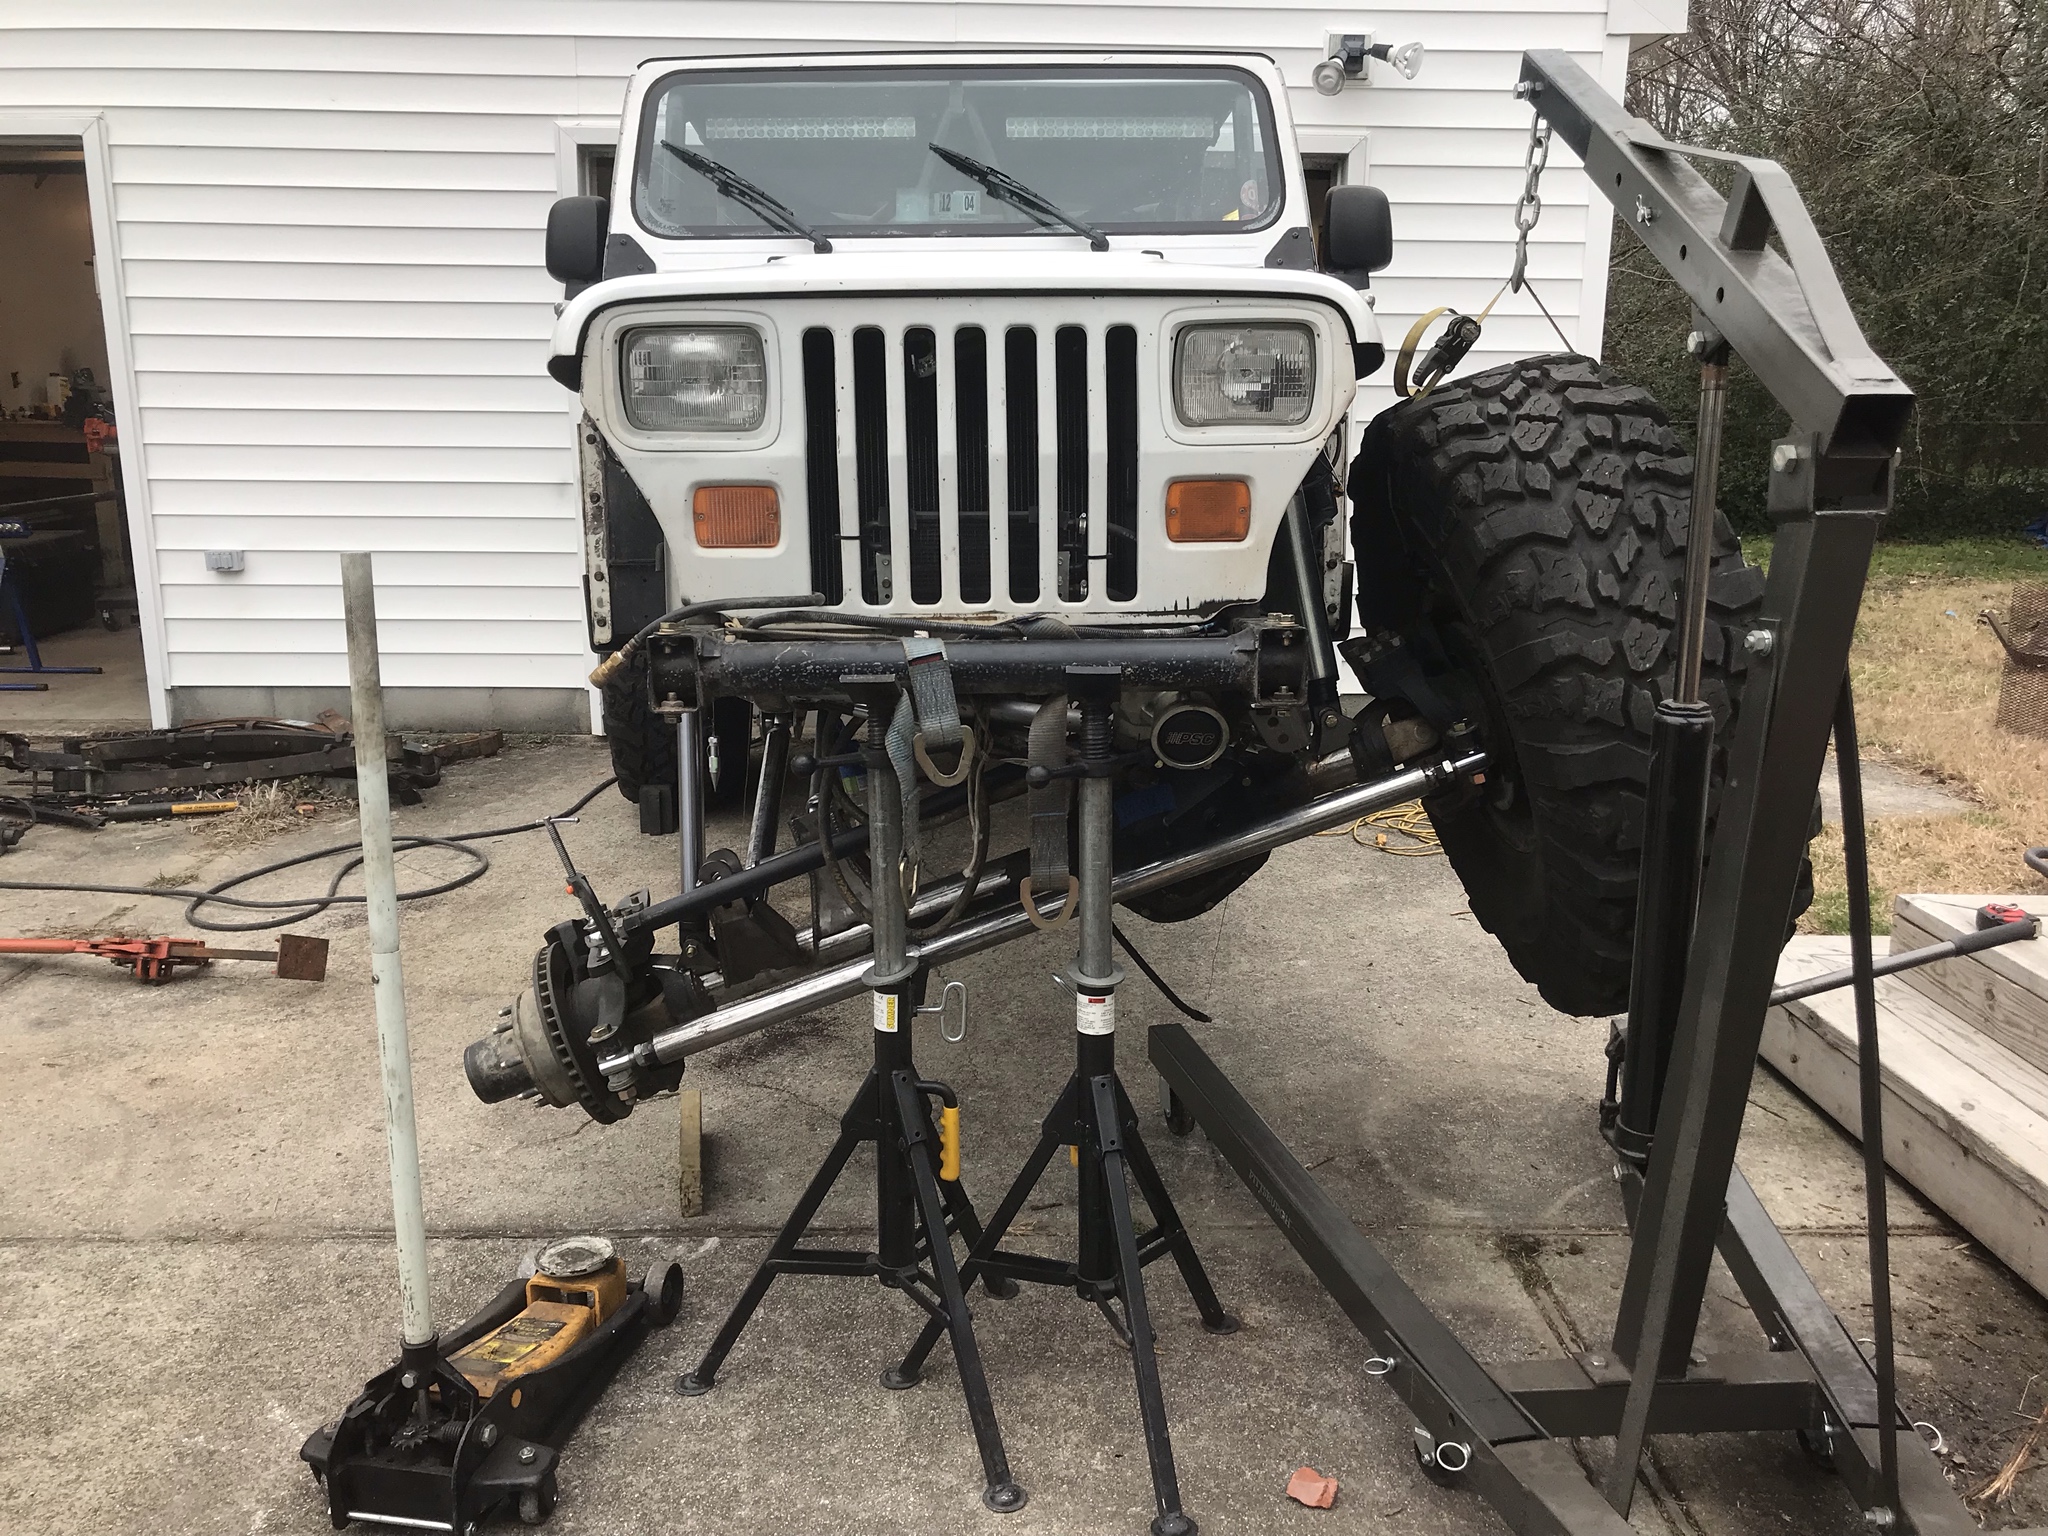
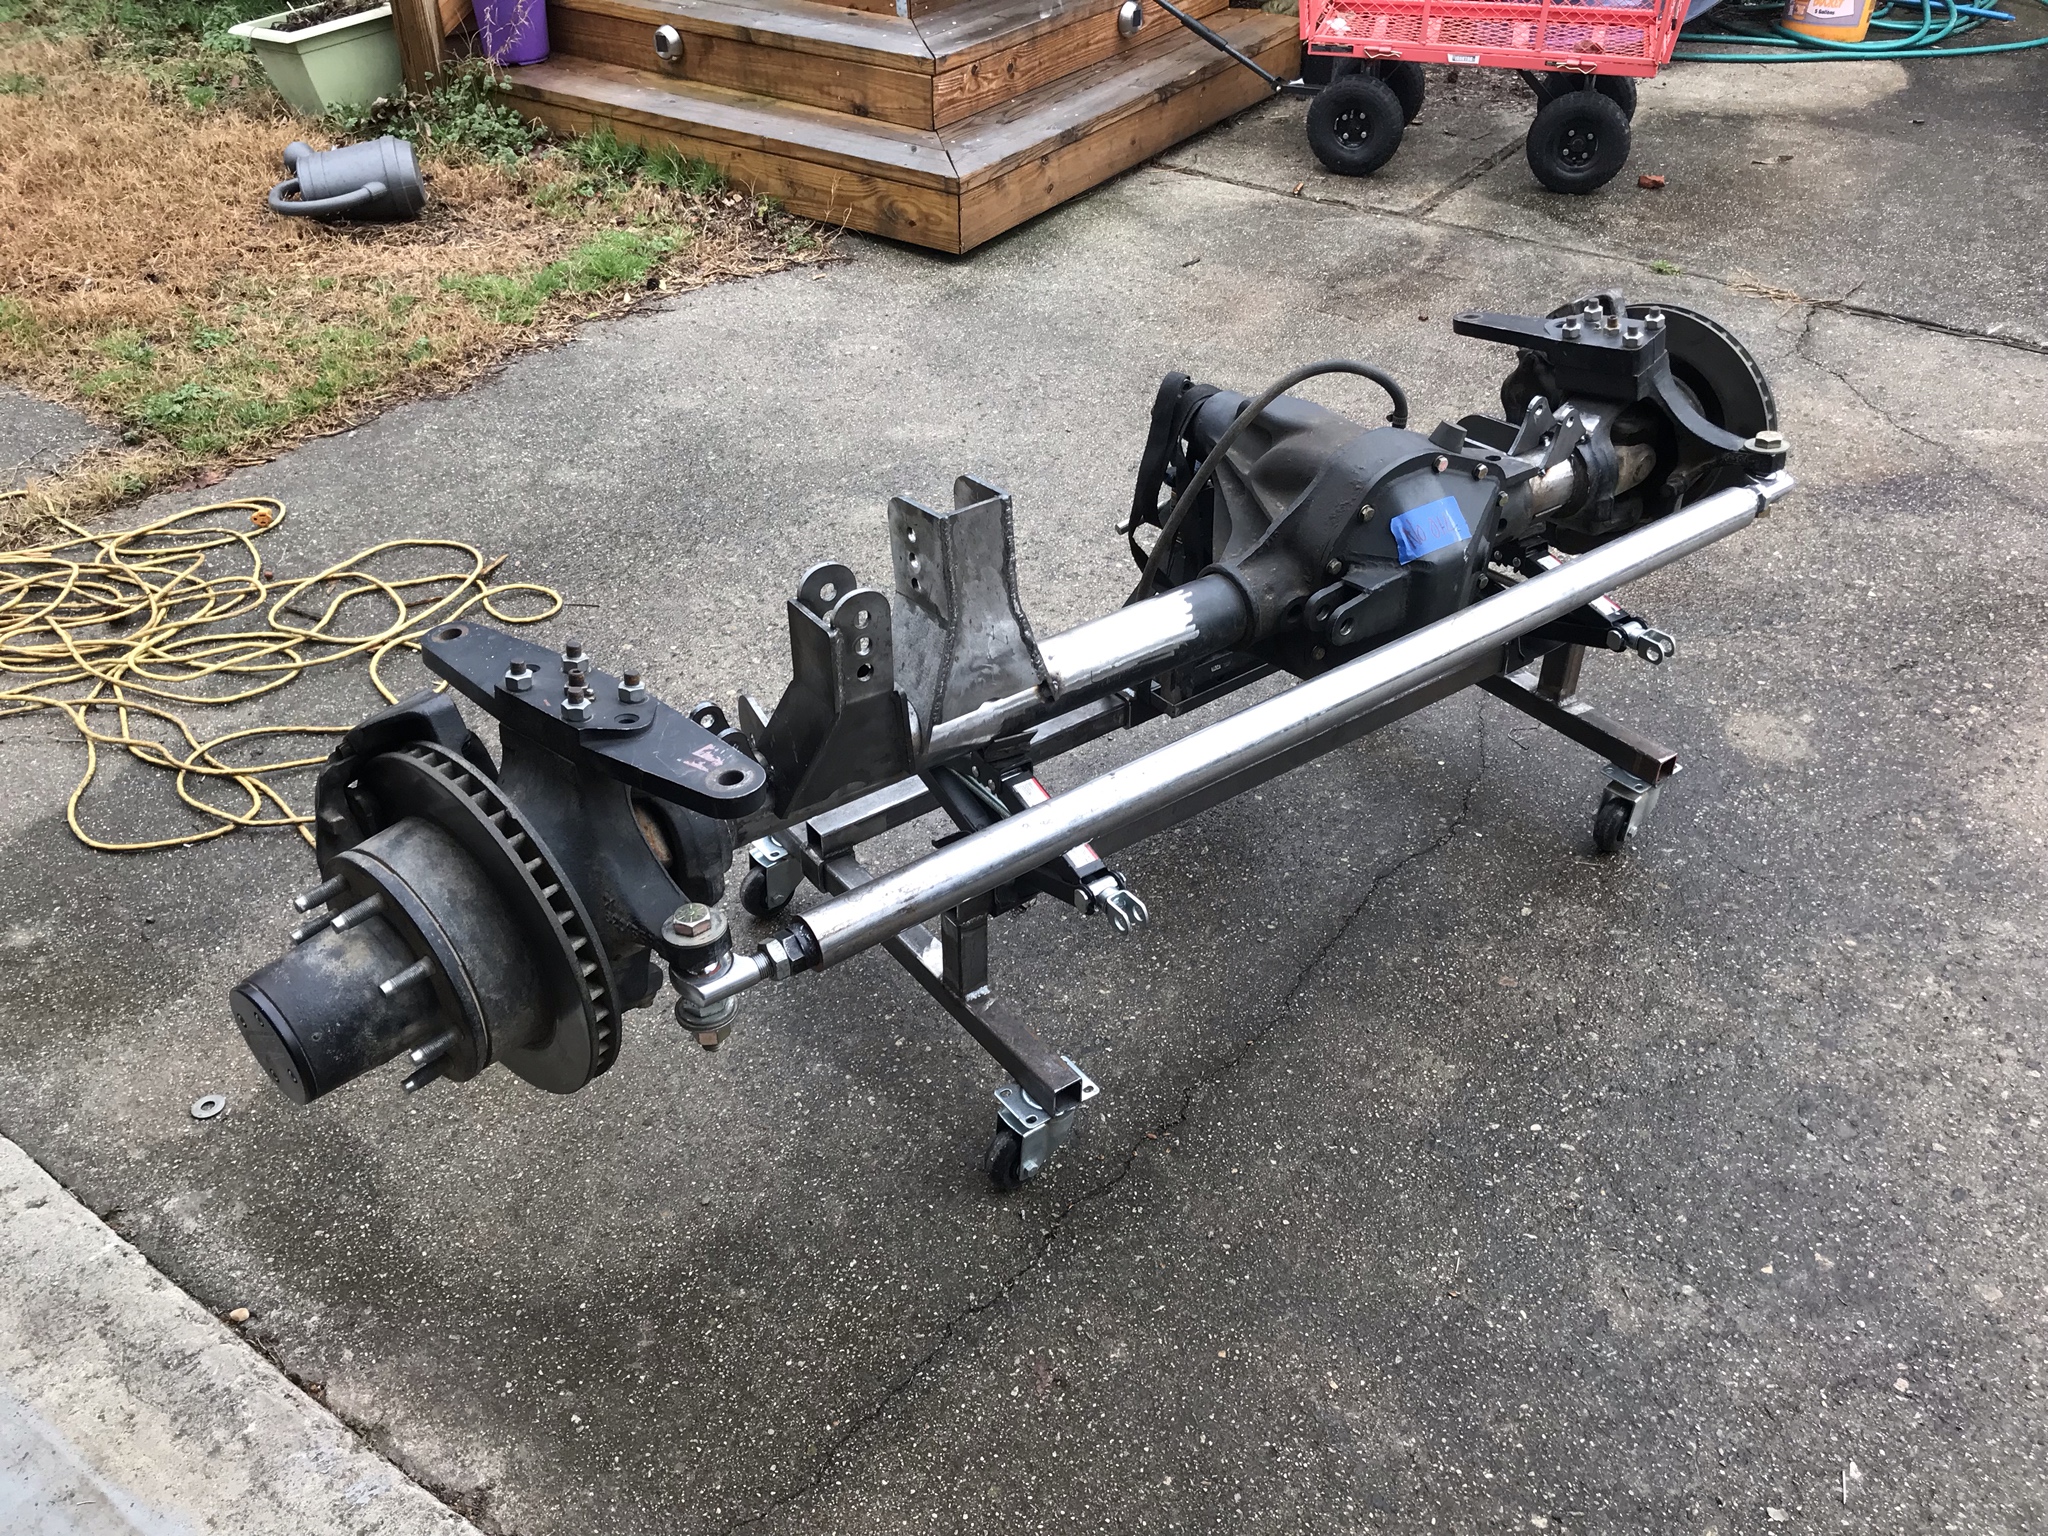
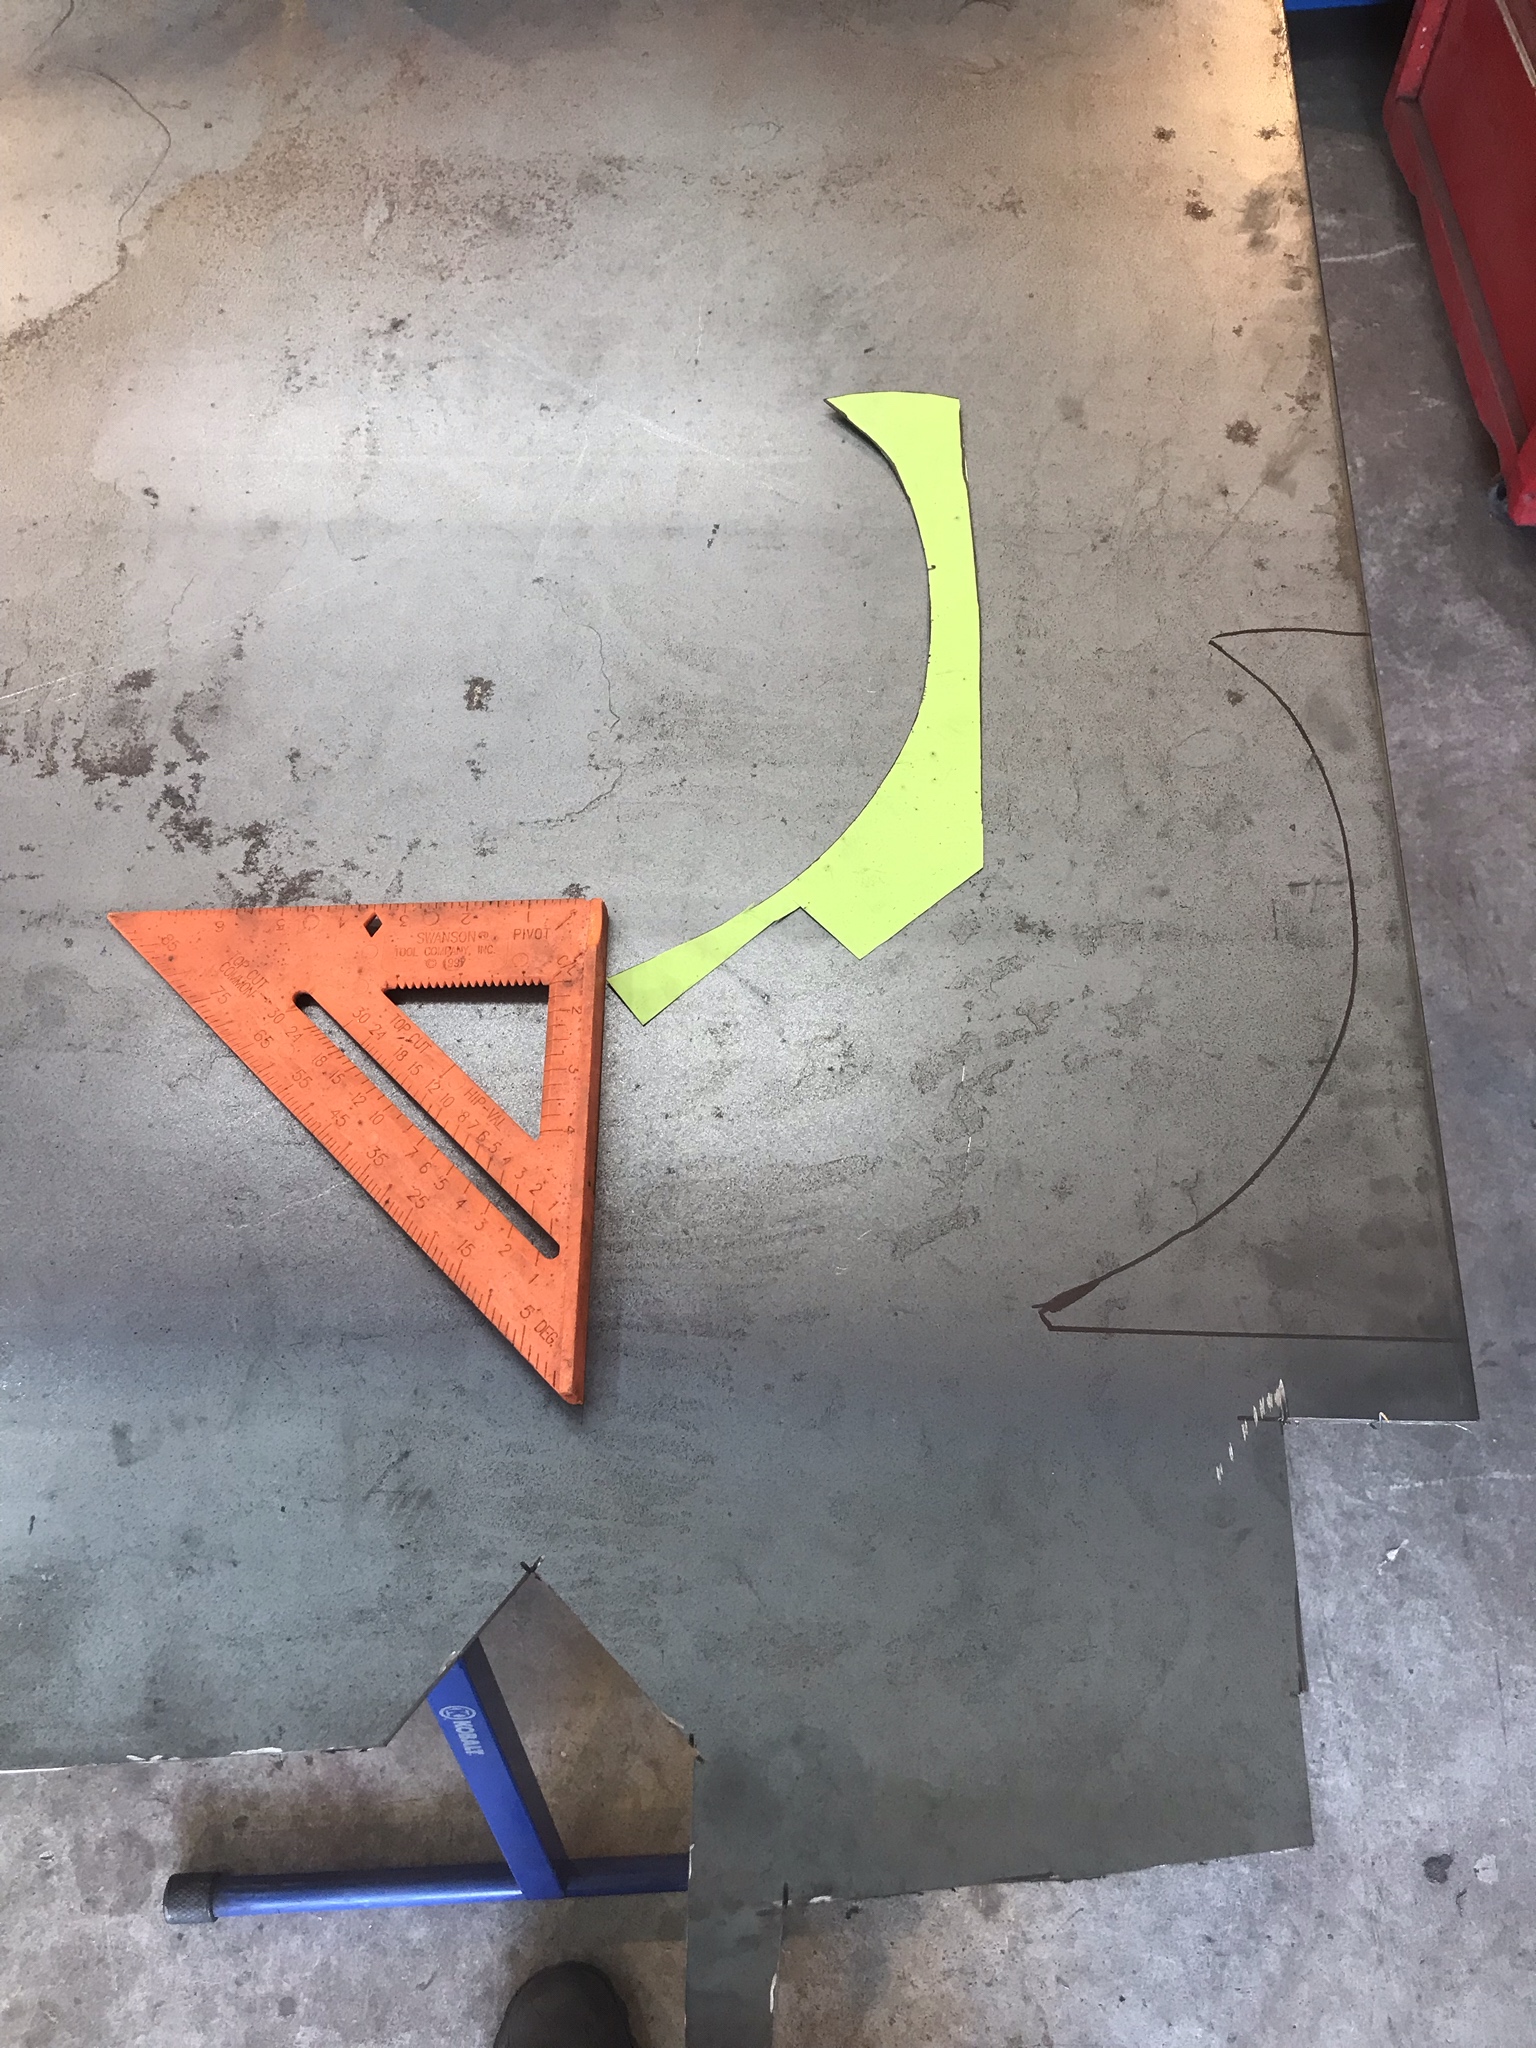
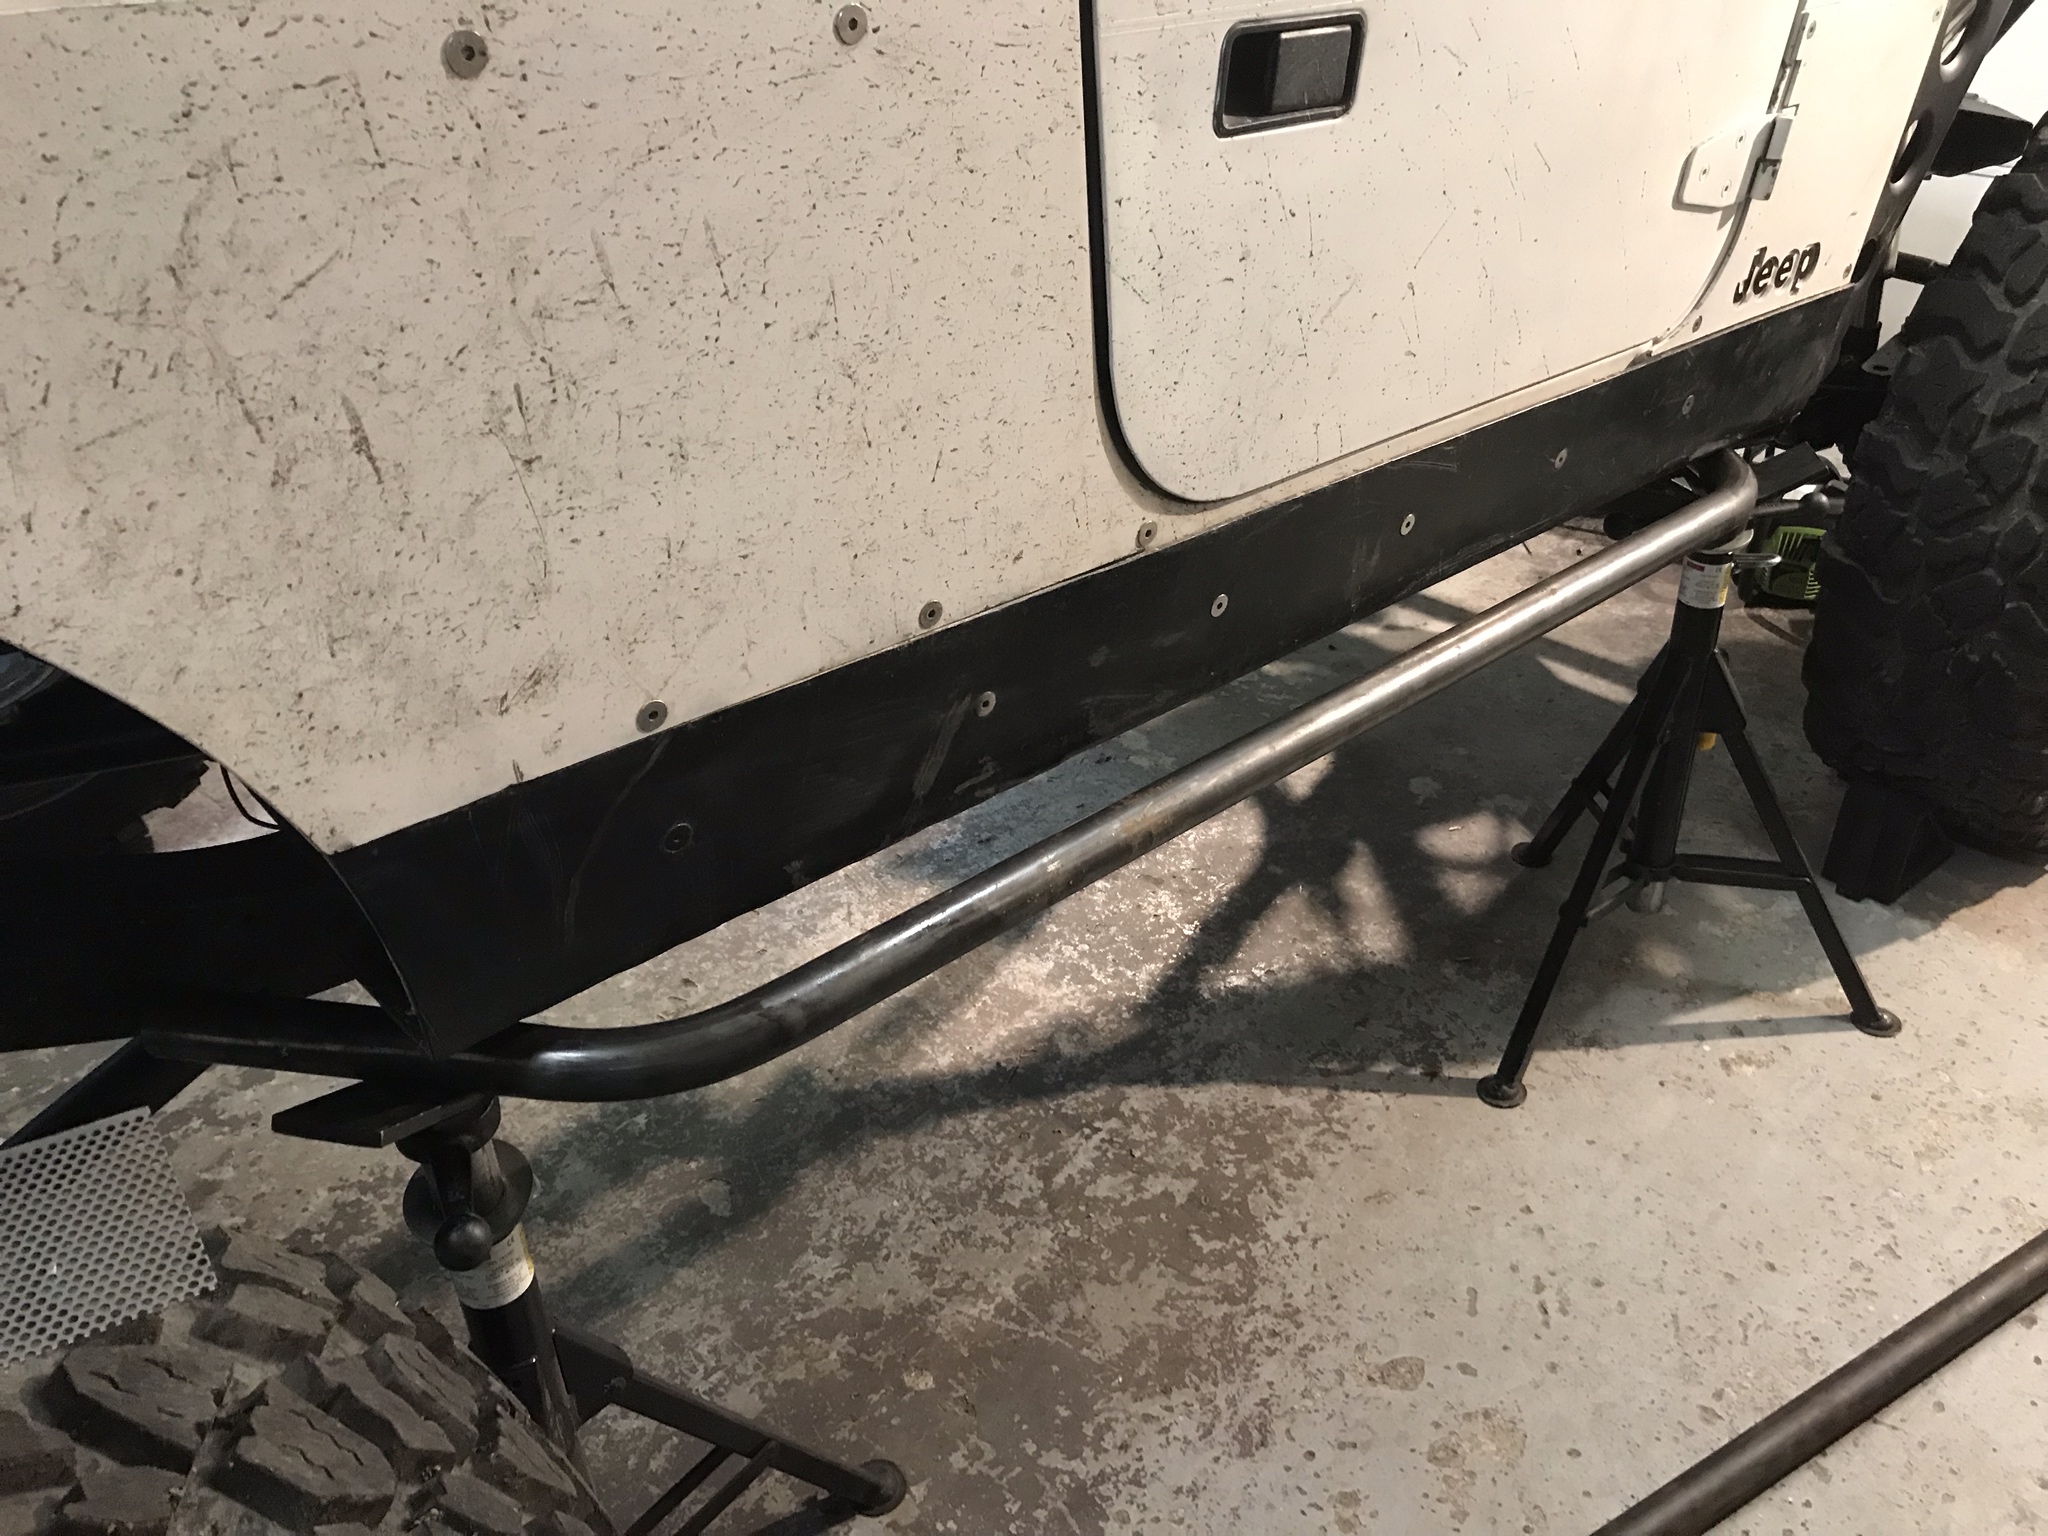
You know how sometimes you have great ideas but they just don't pan out the way you wanted them to. That's basically the story of my bump stops. I had plans of running my bump stops behind the shocks and building the bump pad on top of my lower link mount. After spending half of the day building bump stops, mounts and lower bump pads then mocking everything up I ended up defeated. I tried to run them at the same angle as the shock and have everything jive but while the axle is drooping the shocks kept coming in contact with the bump cans. The picture below is as far back as I can move the mounts and still have the lower bump pad on the link mount. I finally called it quits and will revisit at another time. I think I will just have to have my pad come about 2" off the back of the link mount, which will require some creative reinforcing. I know in the pictures it looks like theres plenty of room but I run out quick.

Here's my attempt

BUQL6dU.jpg


mngsONm.jpg


6sgcXFN.jpg


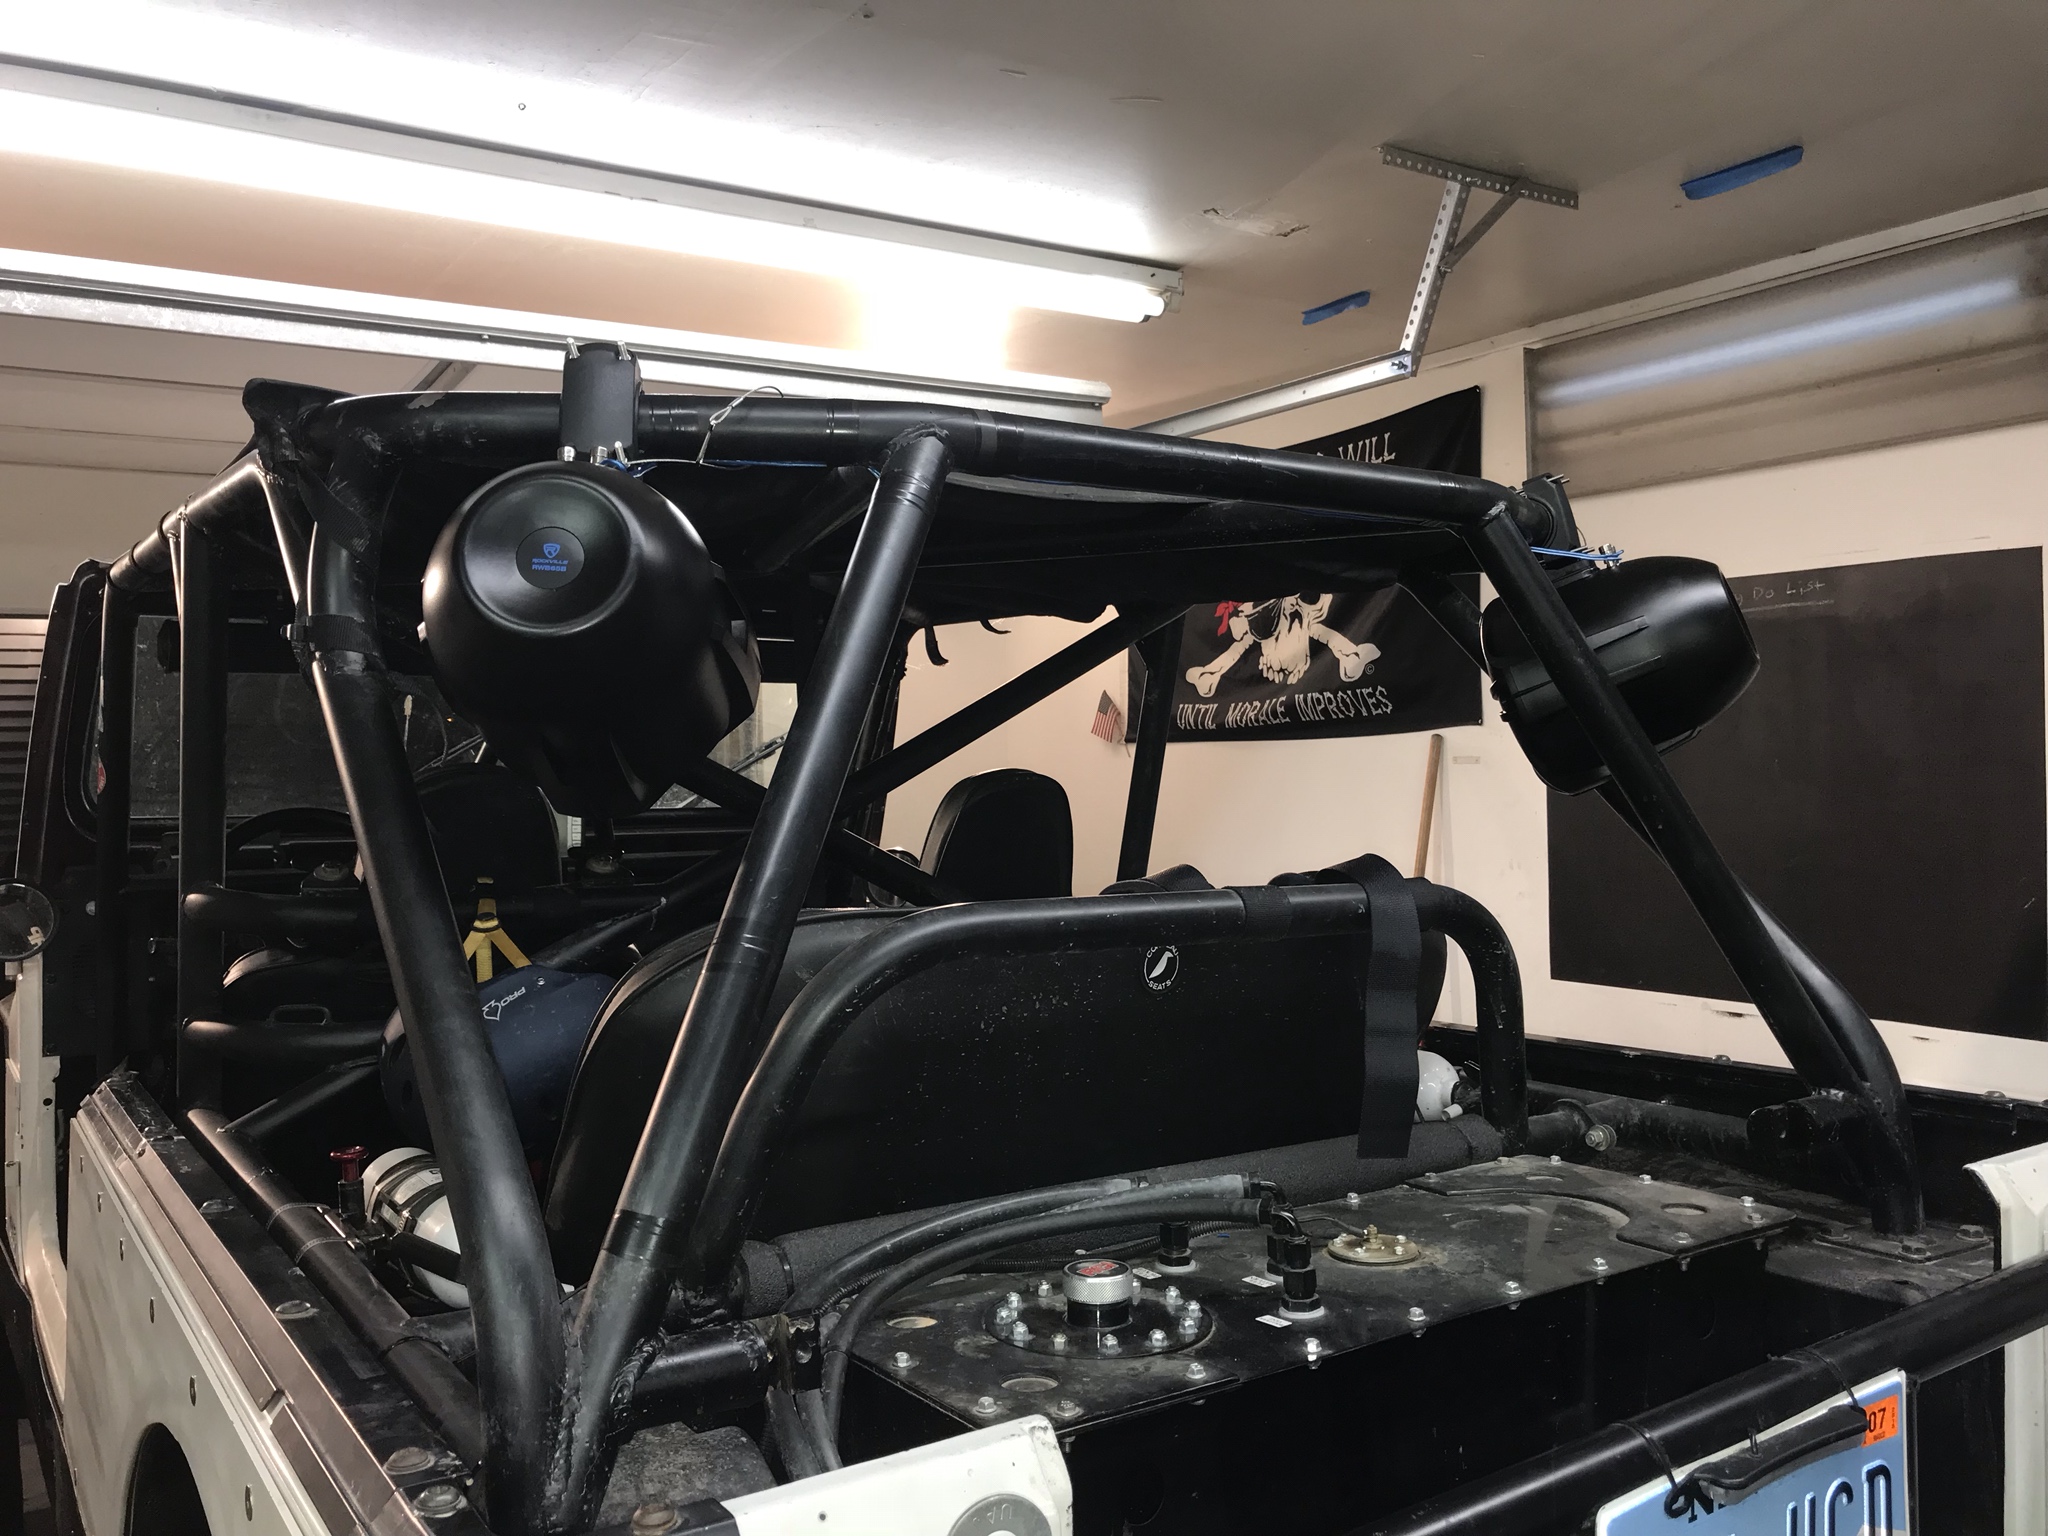
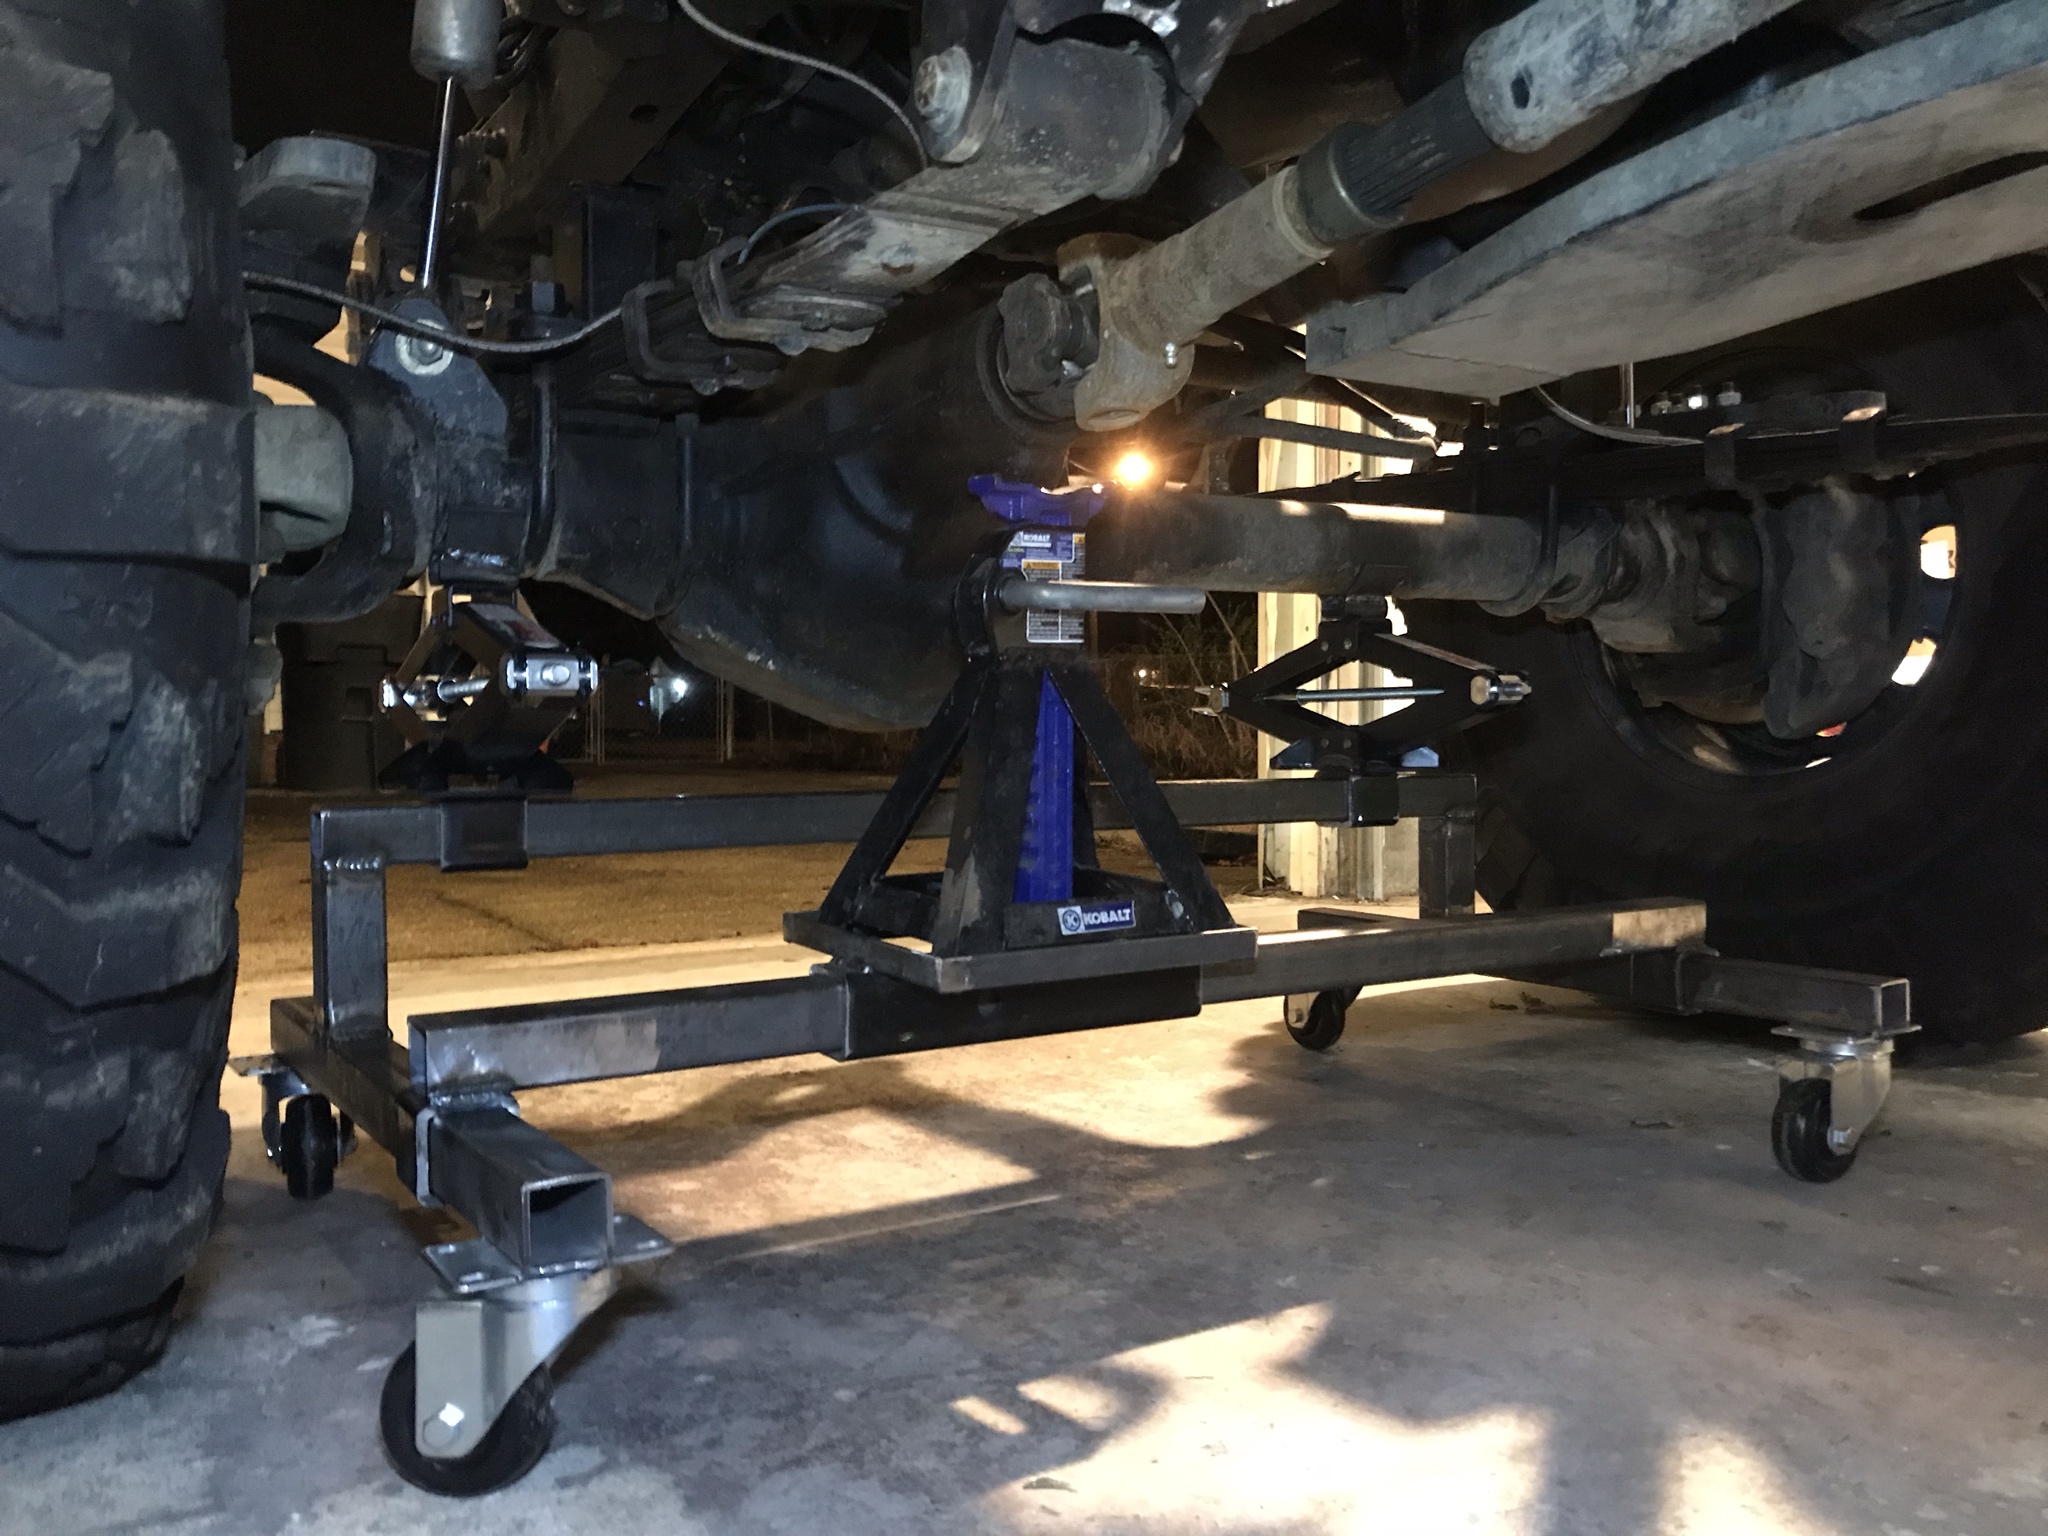
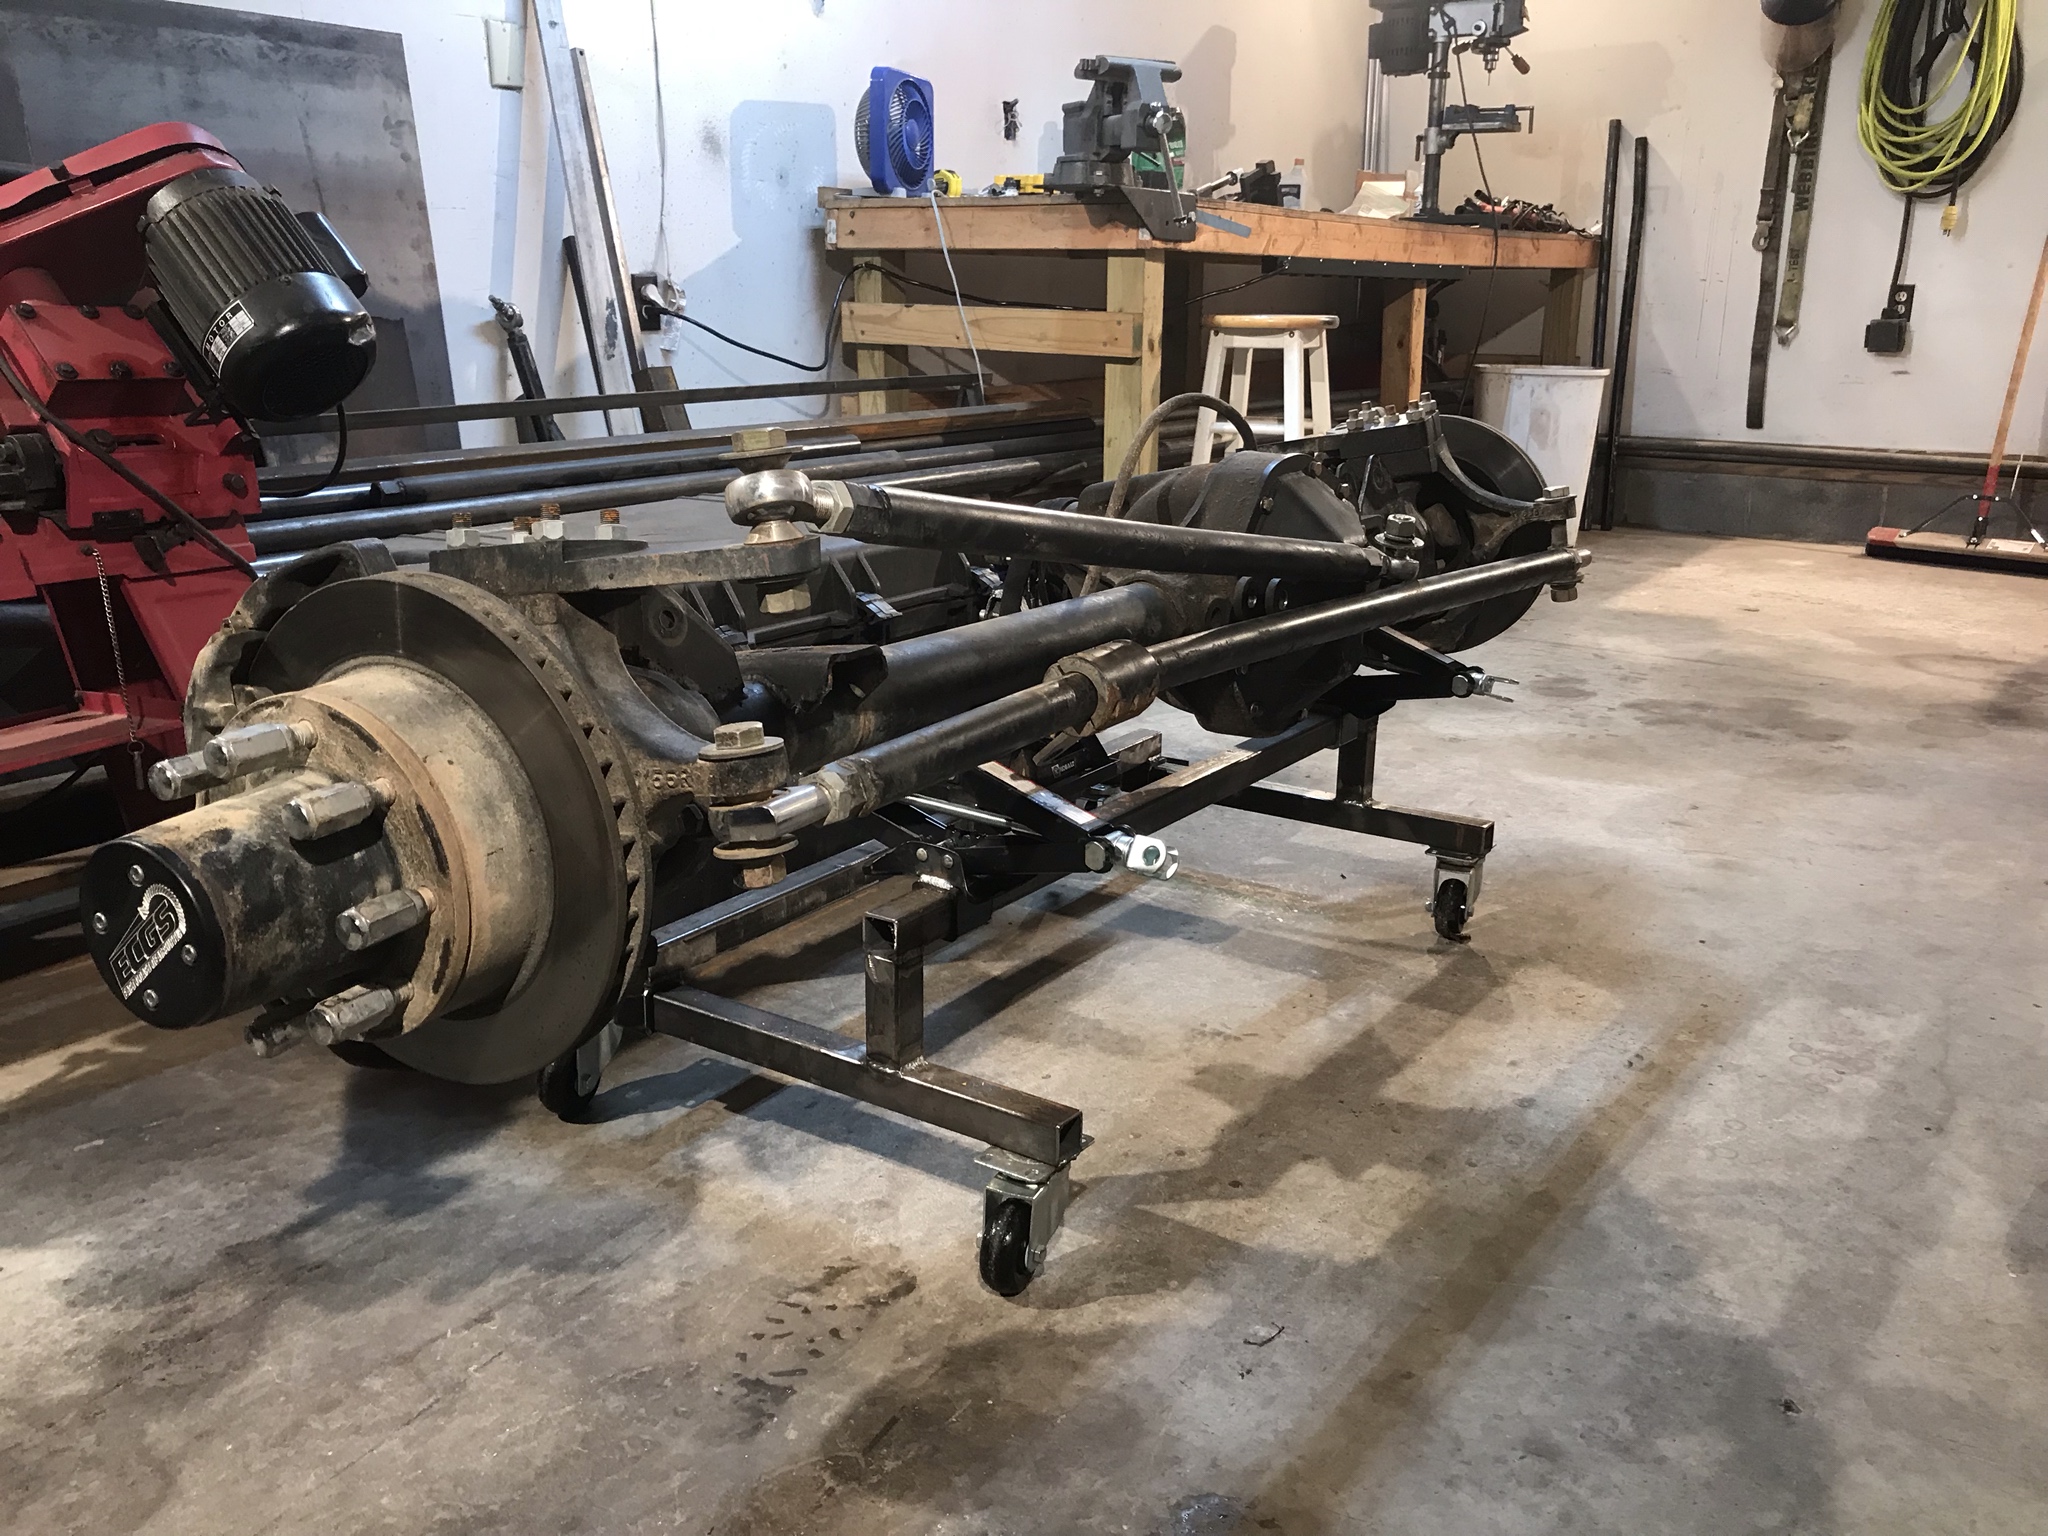
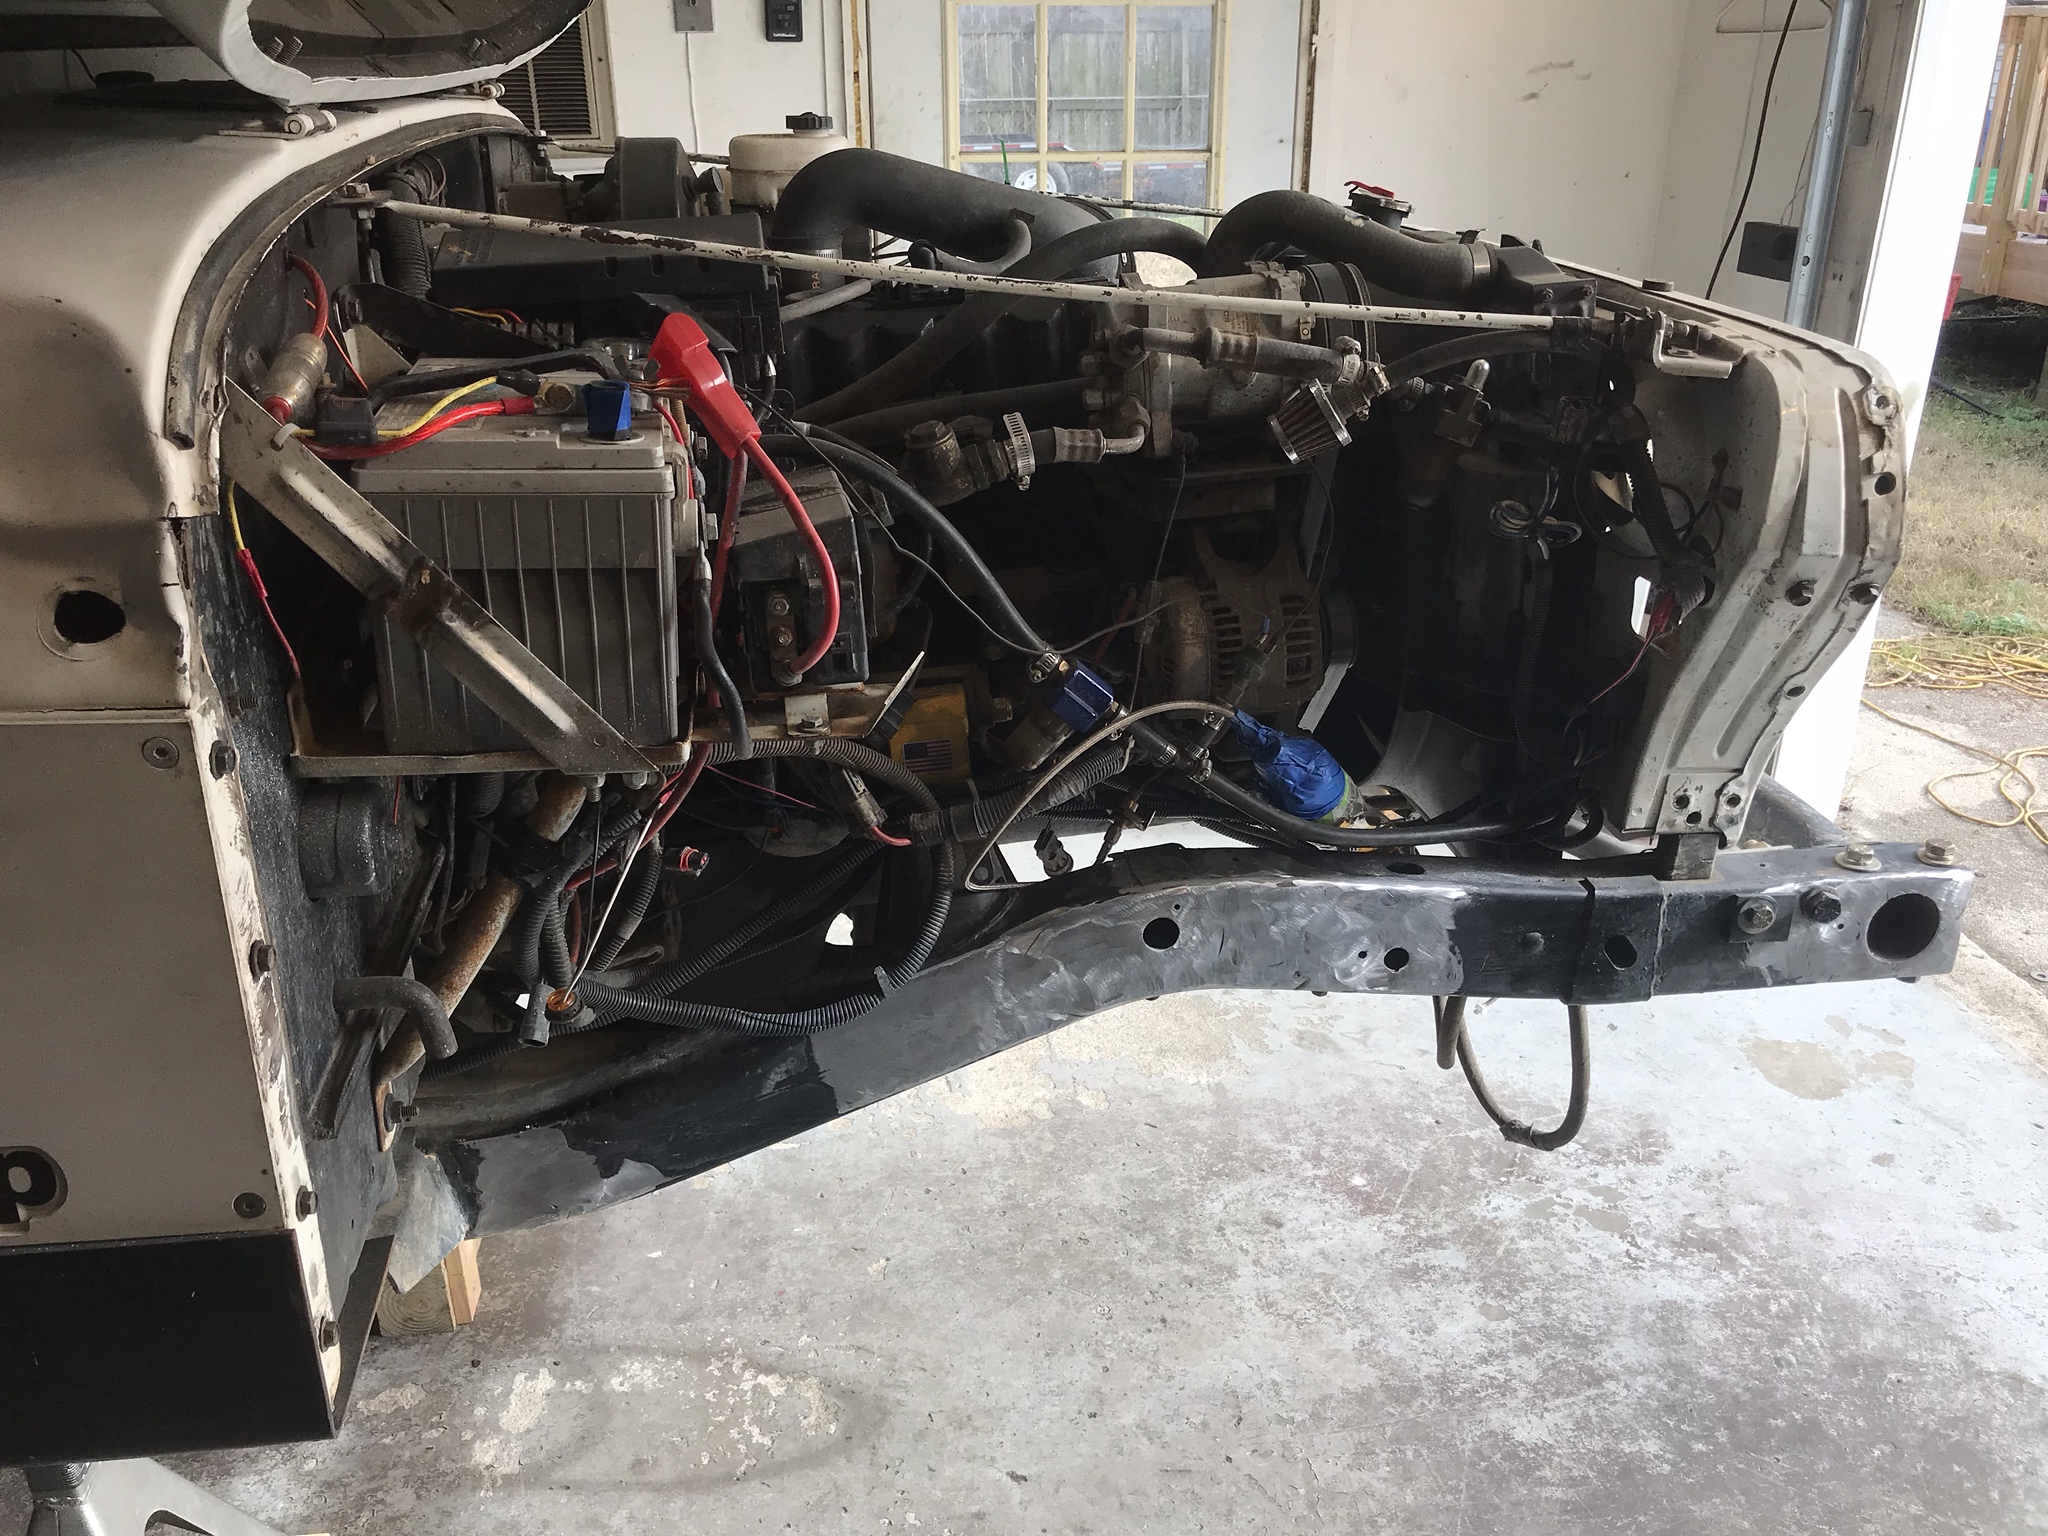
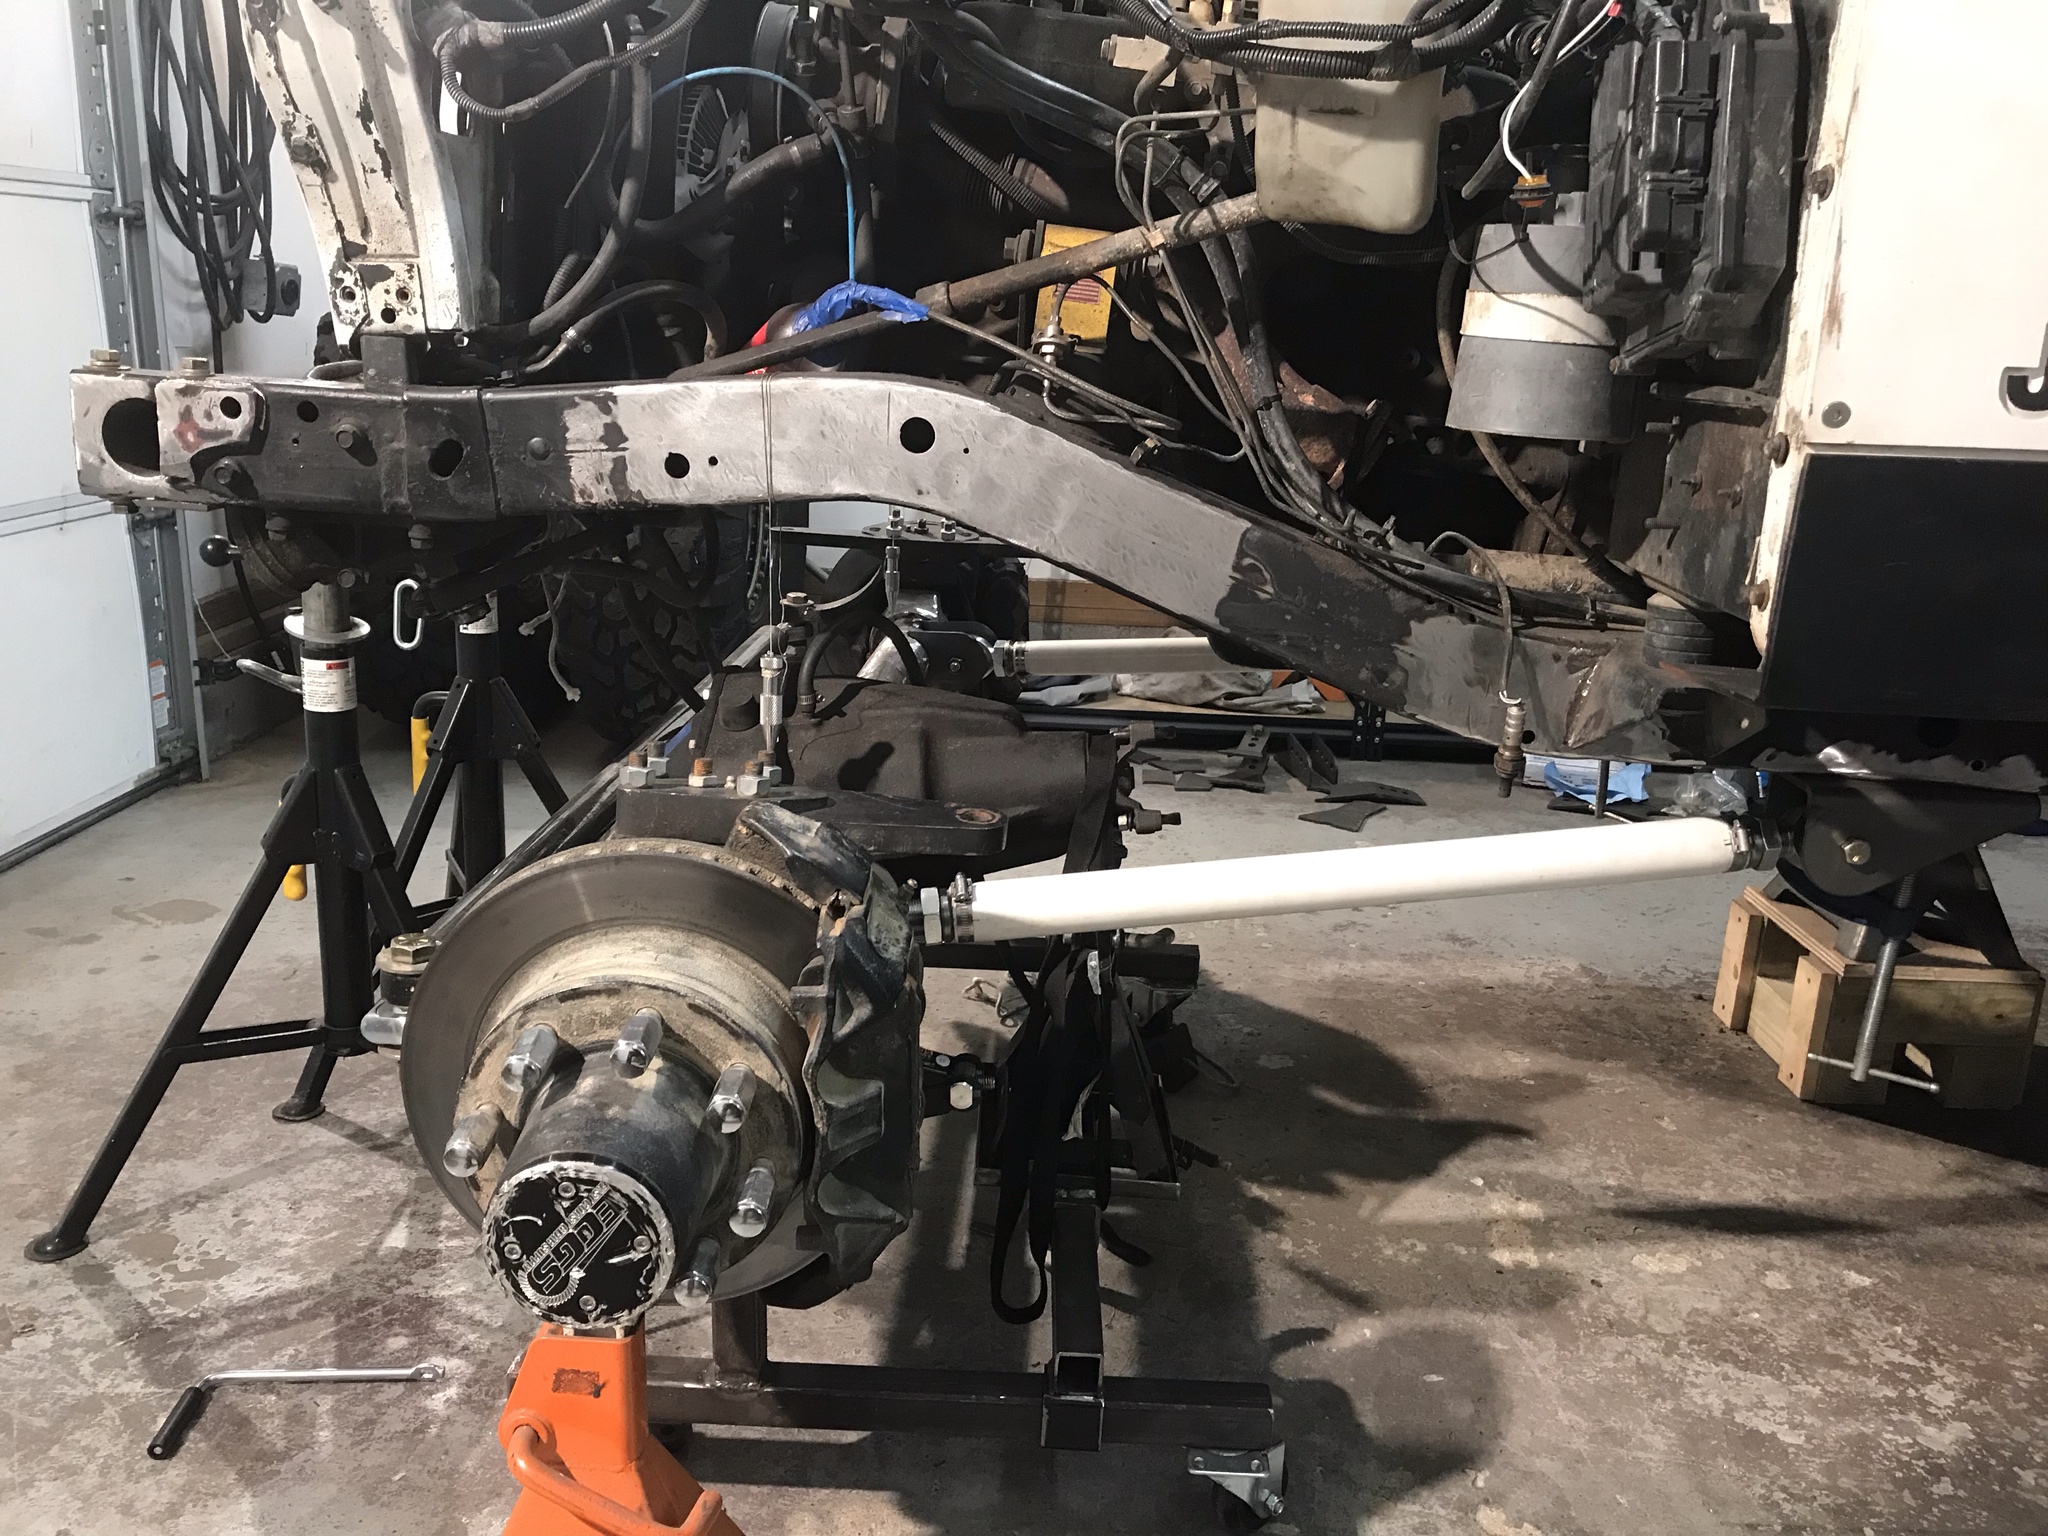
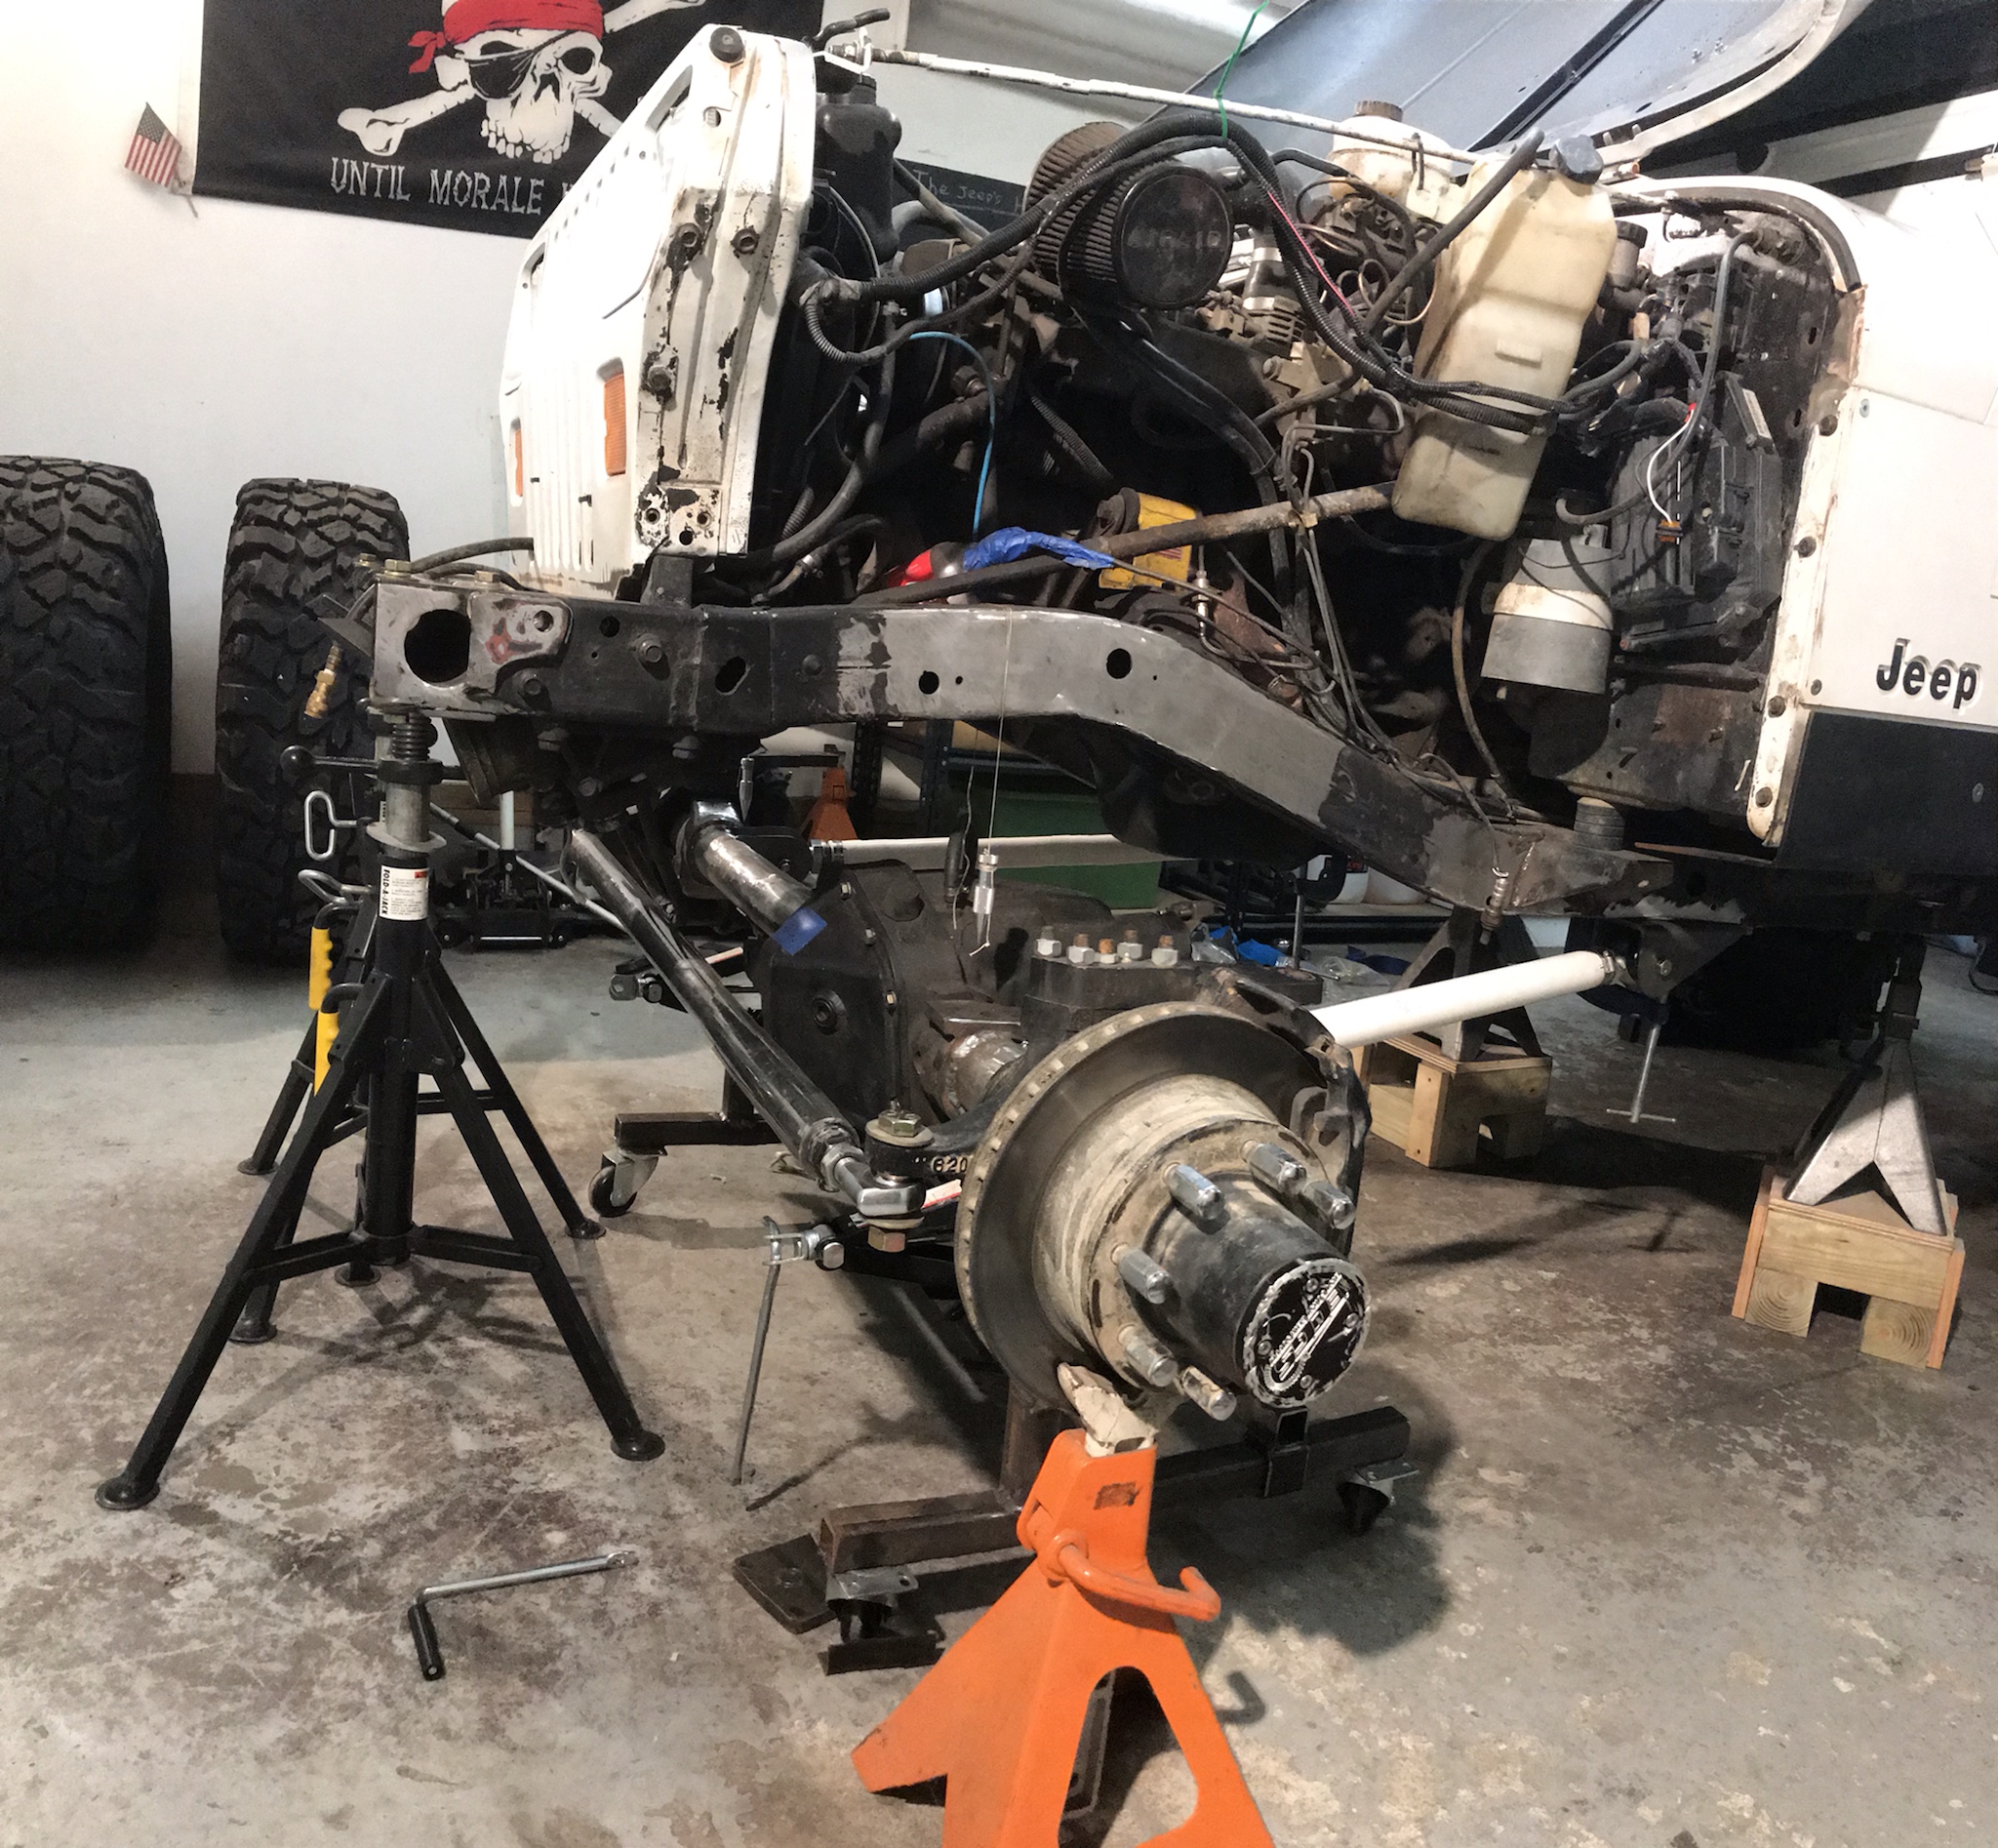
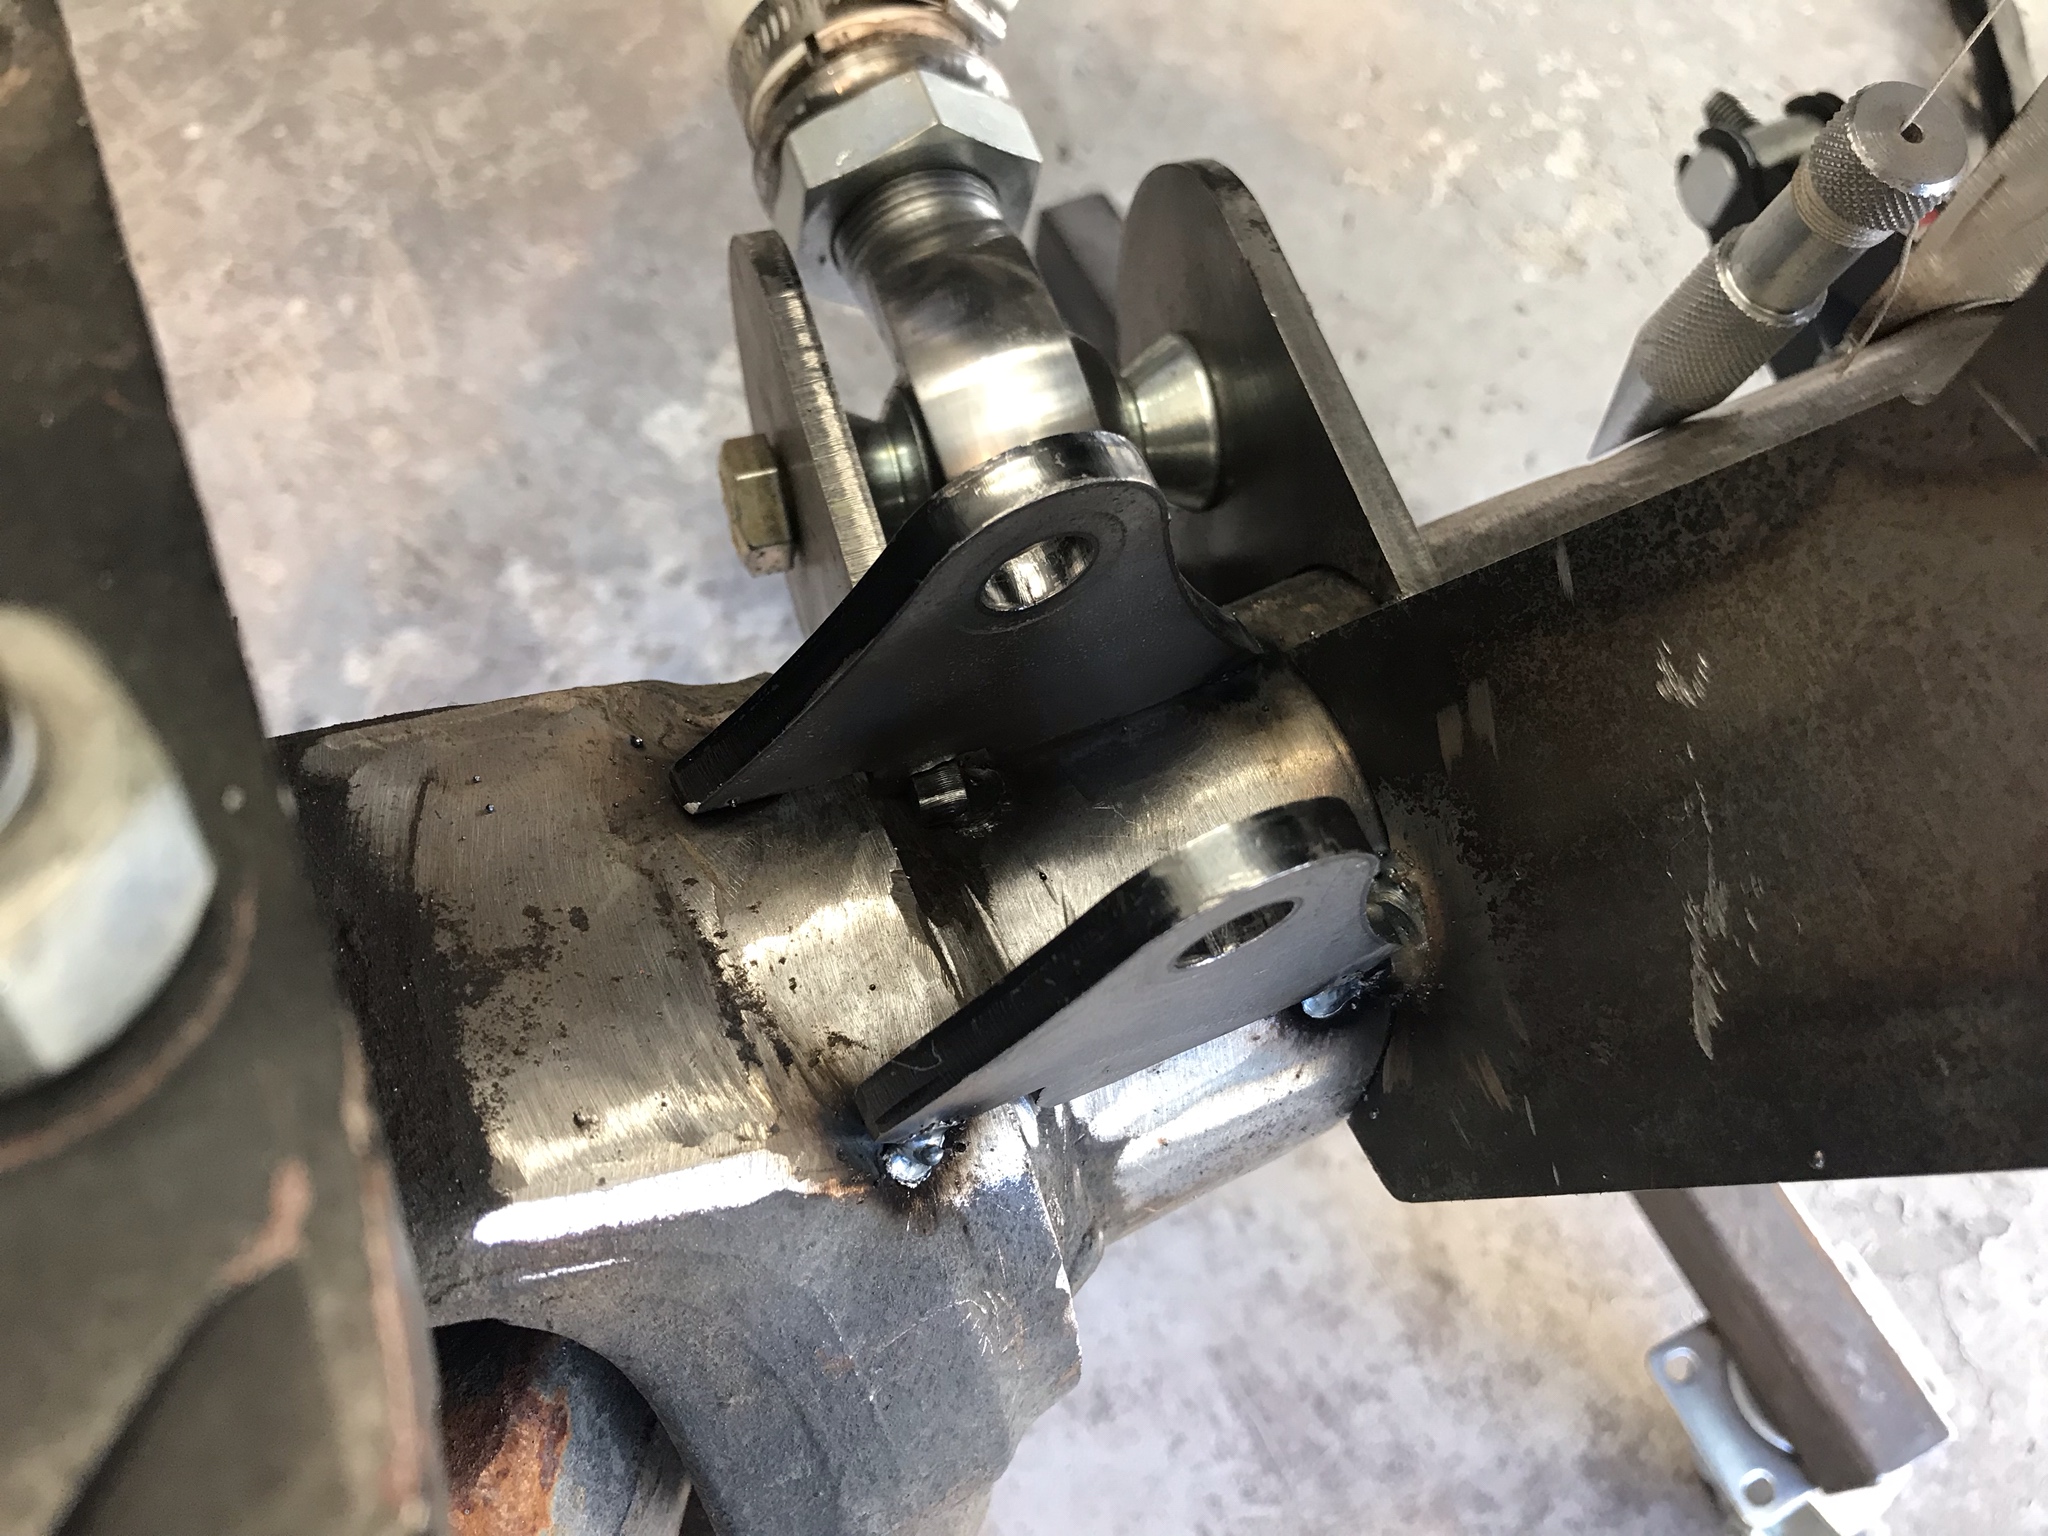
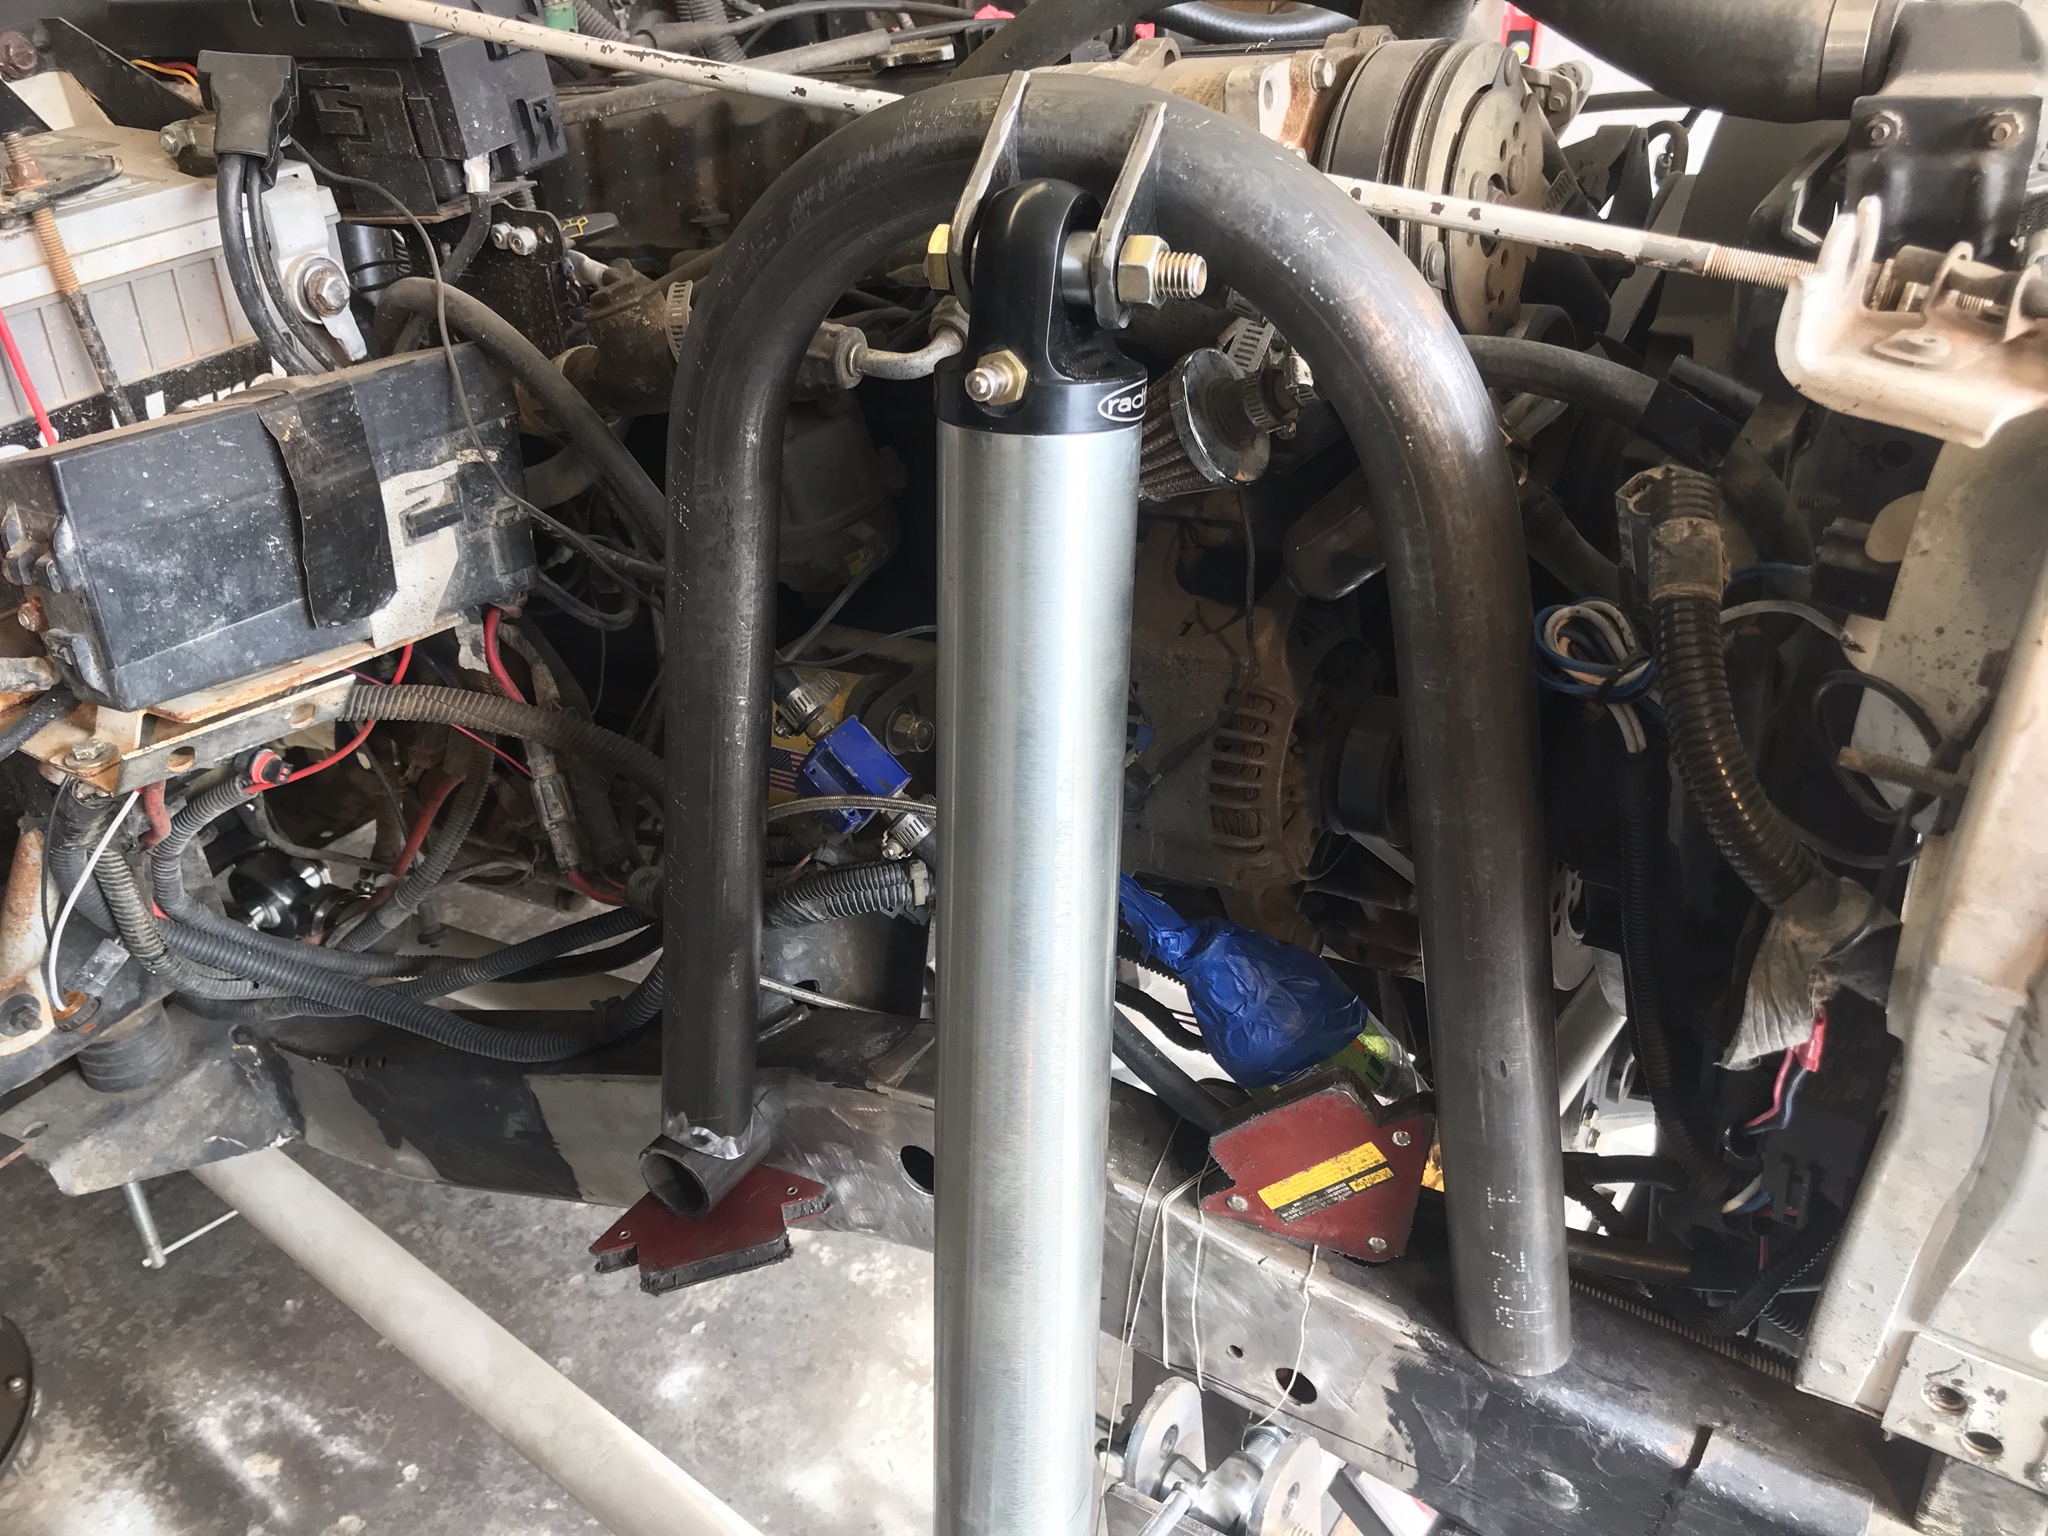
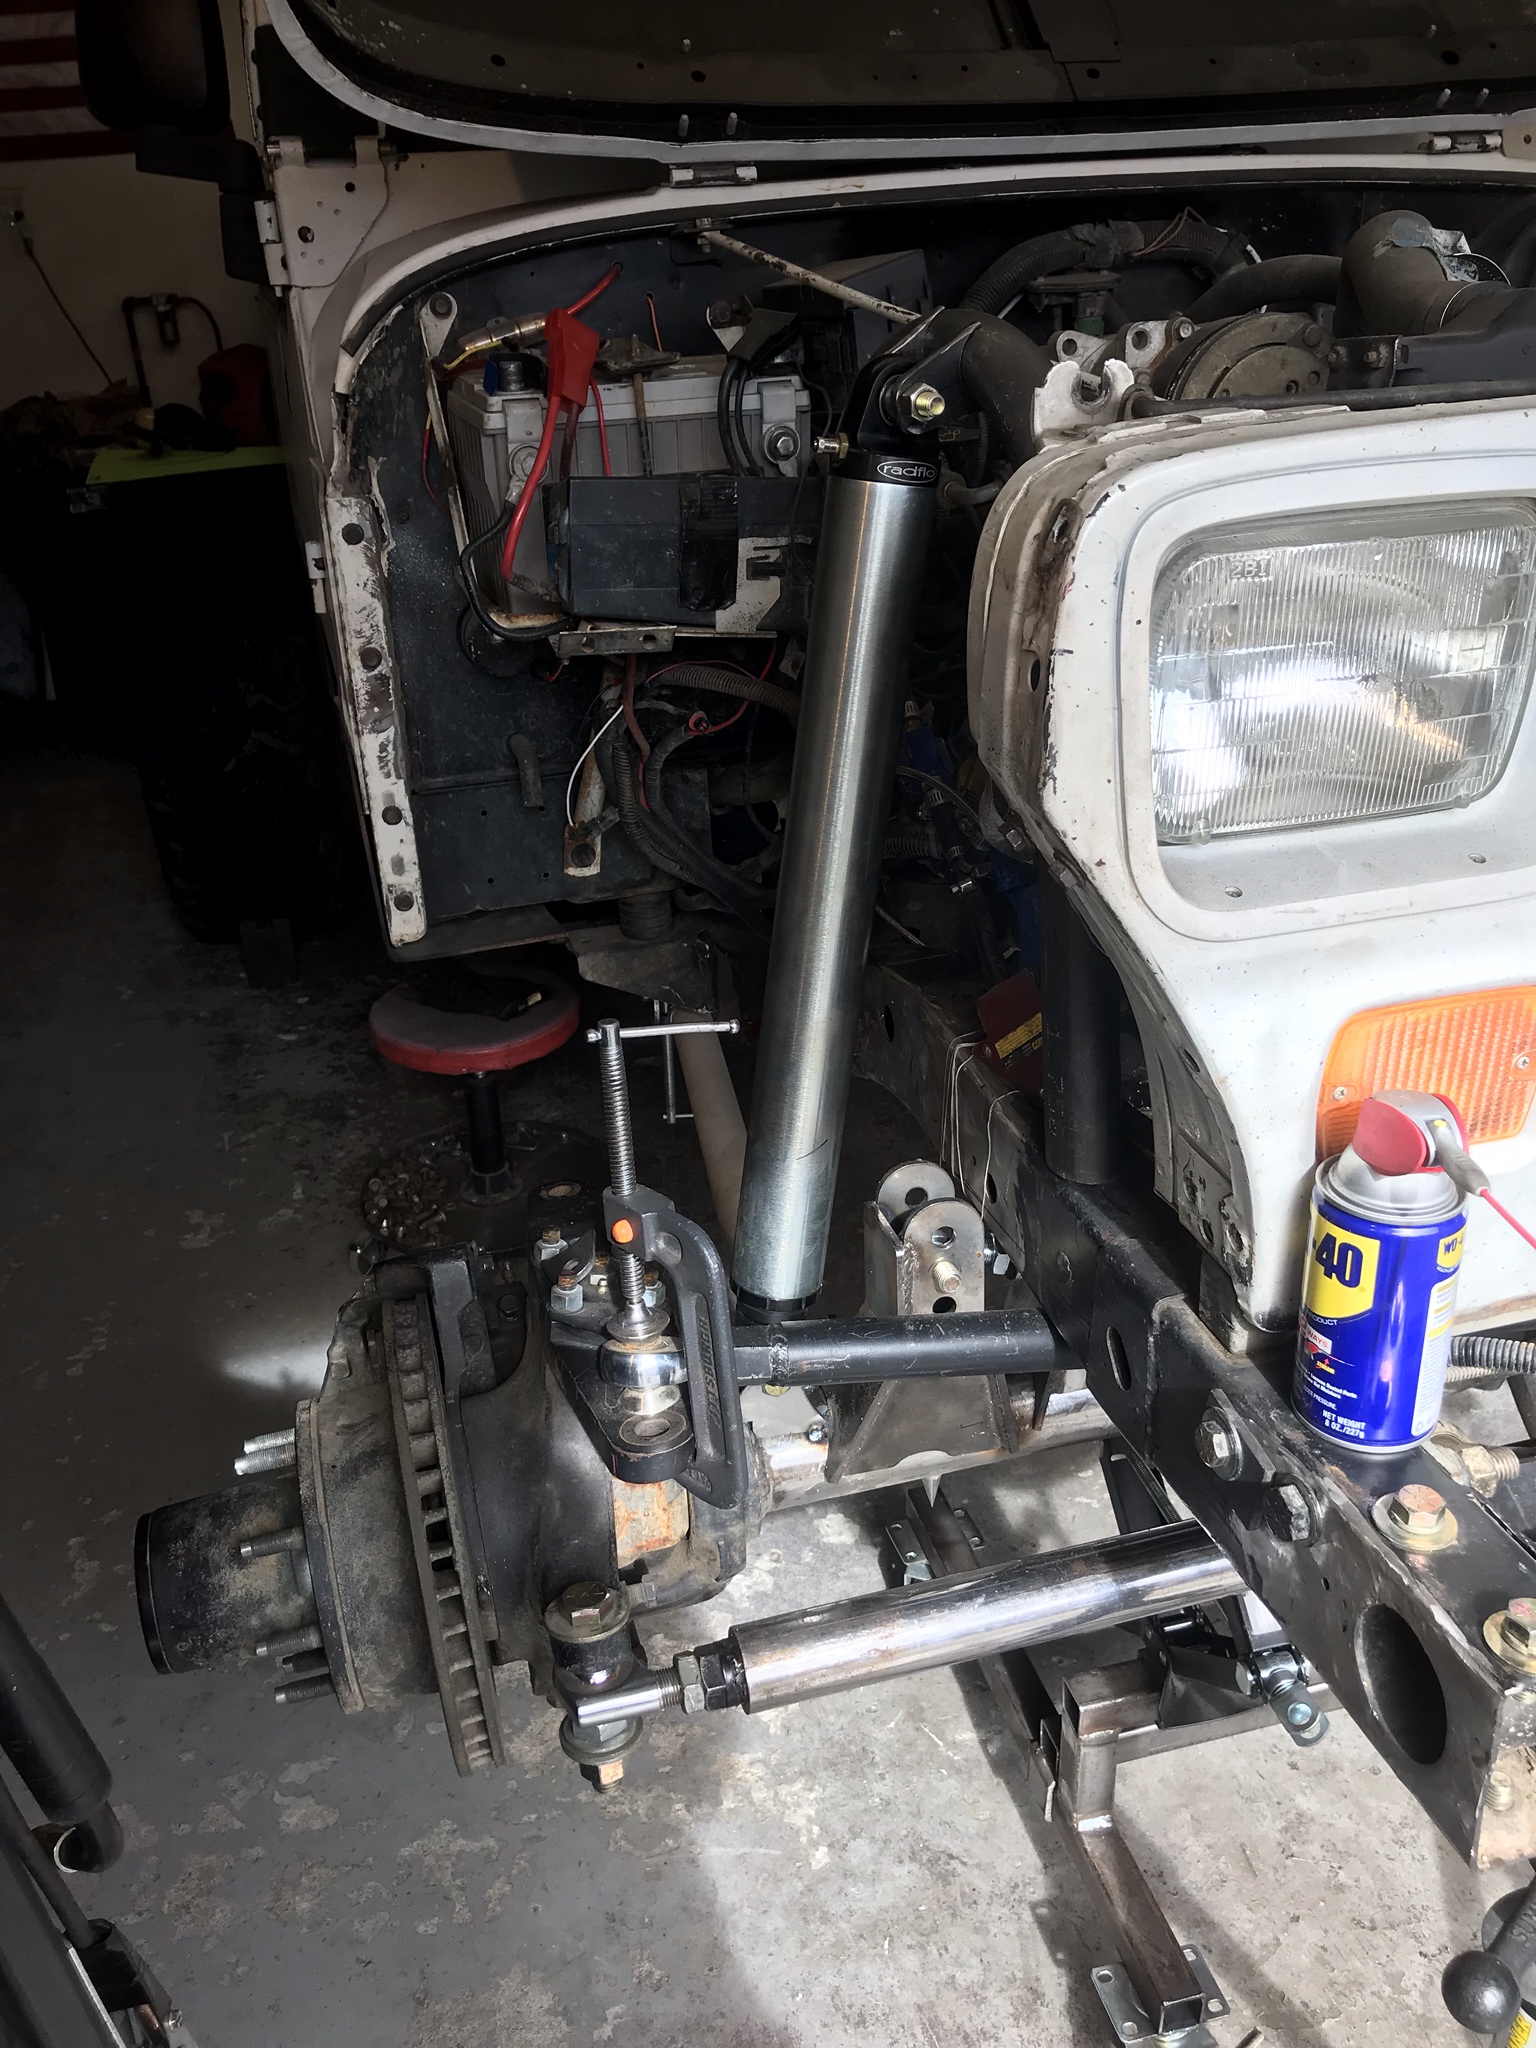
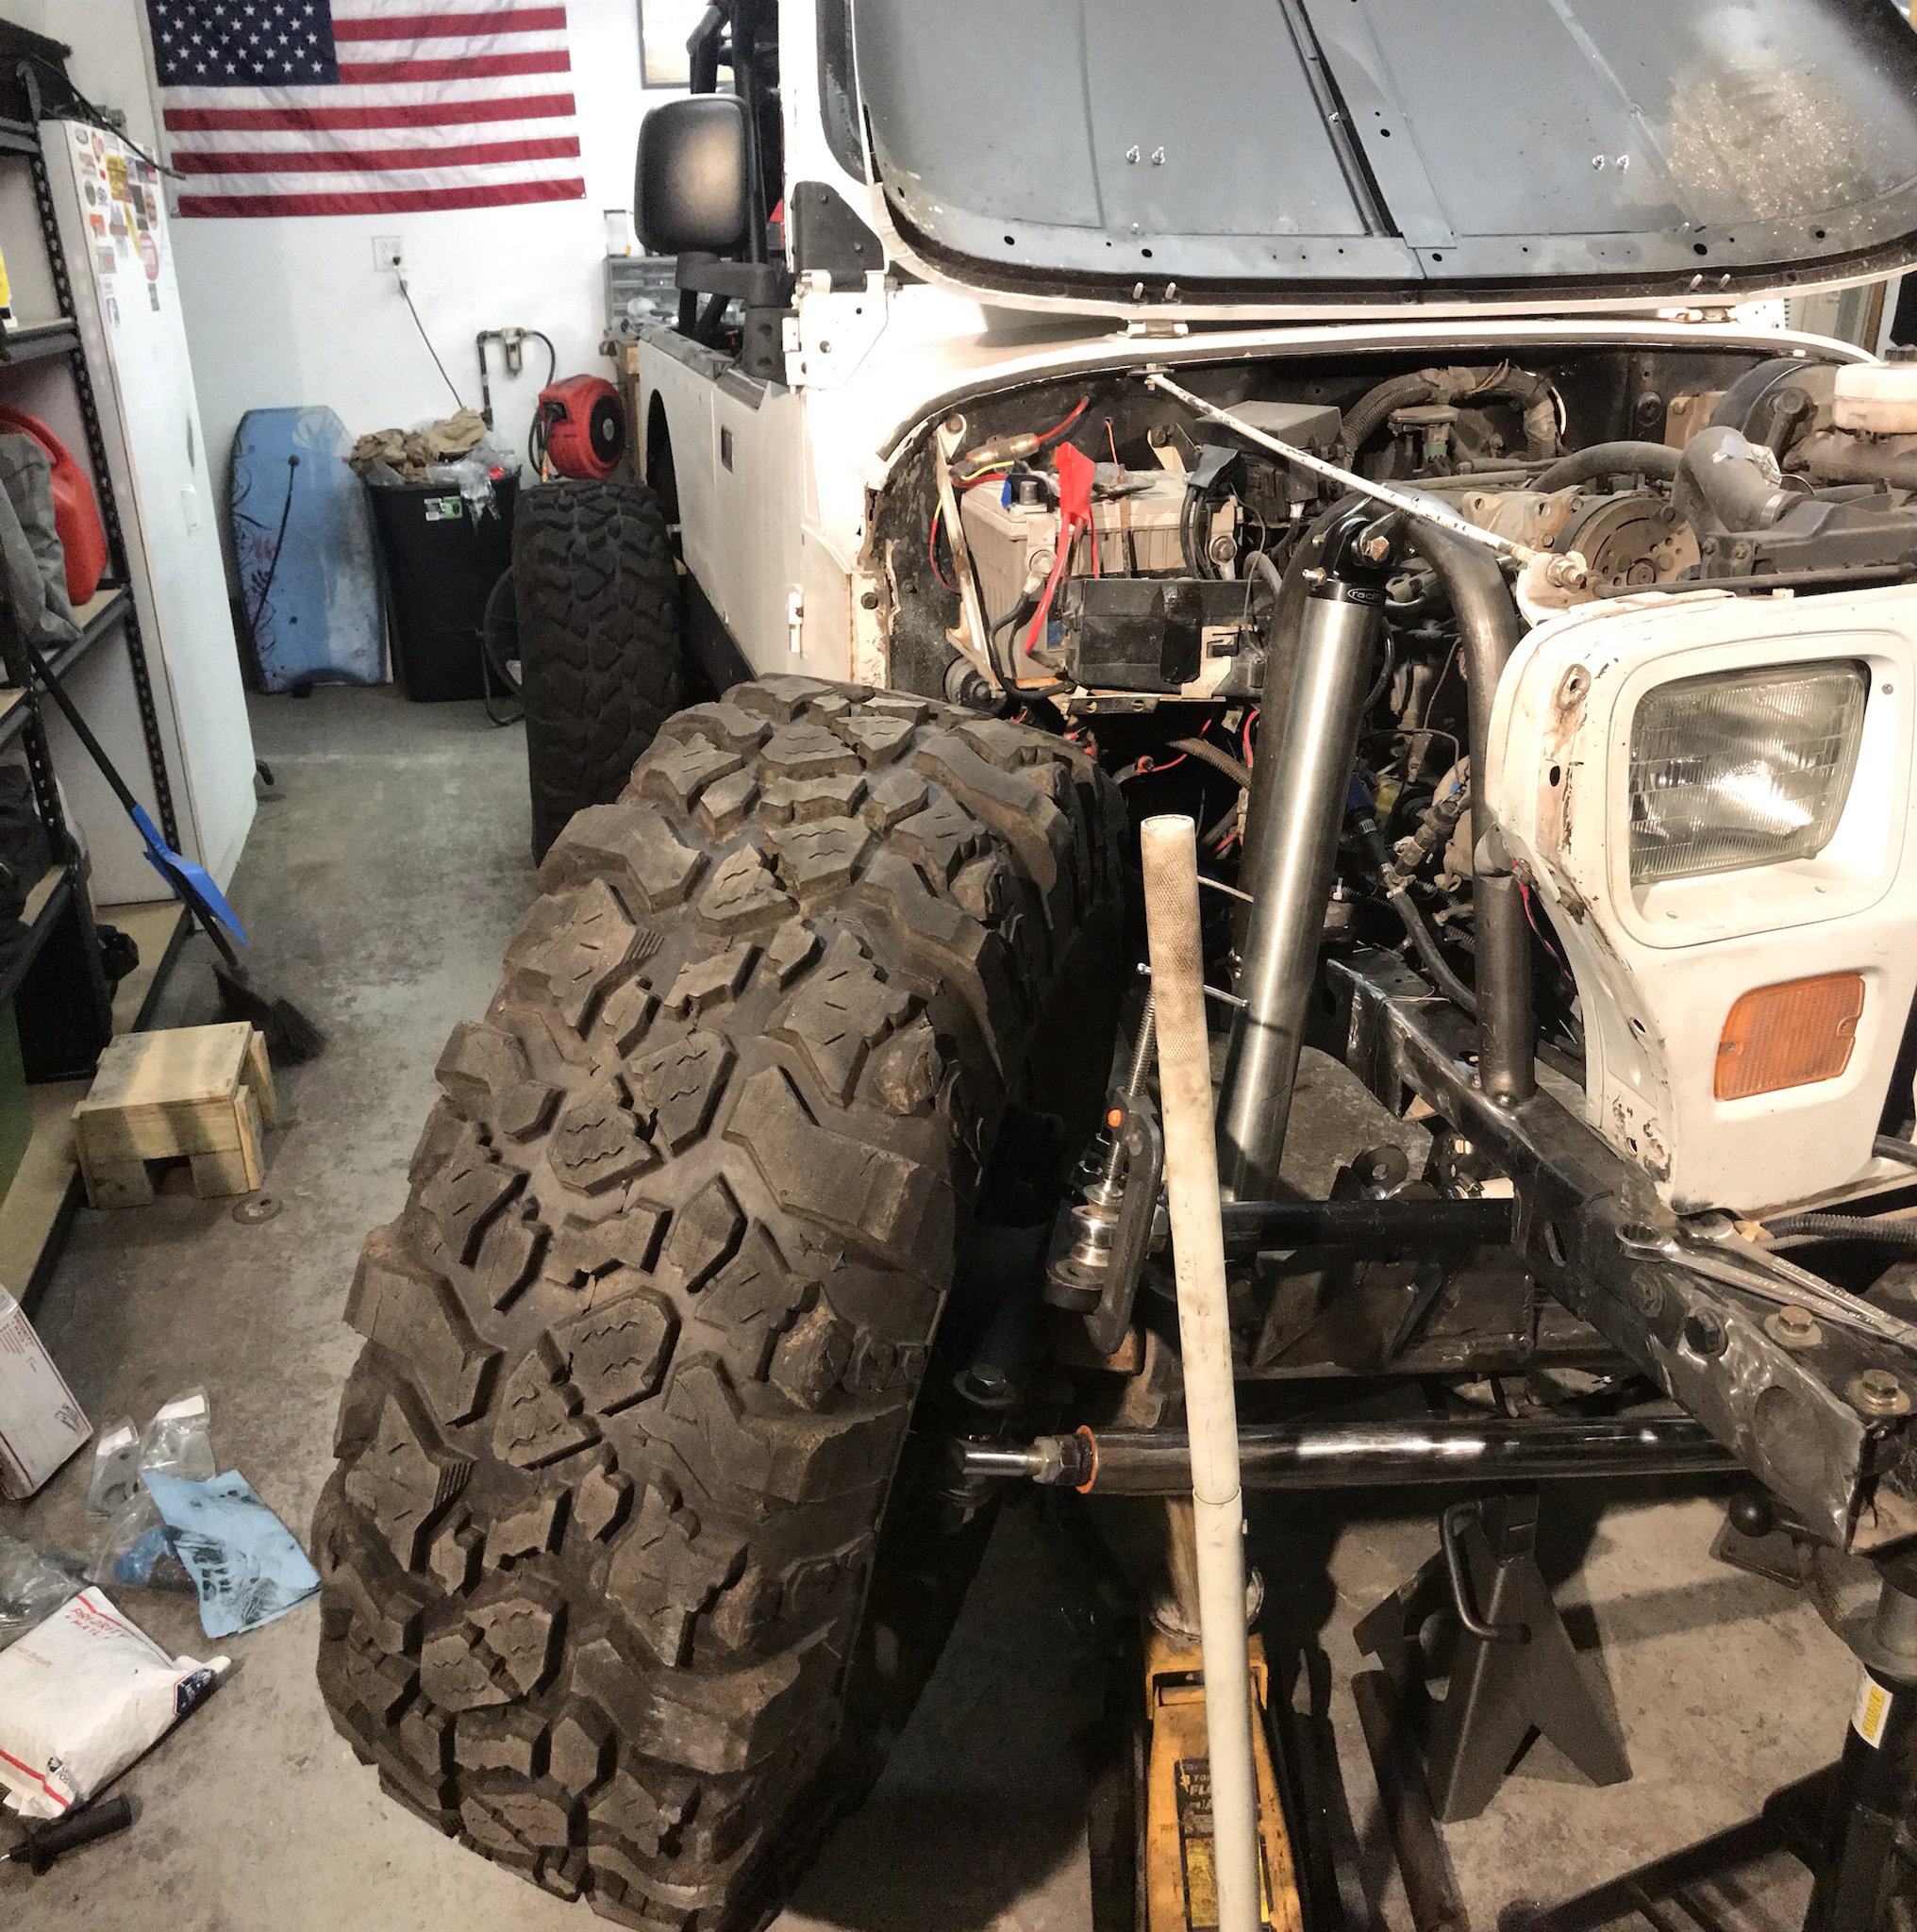
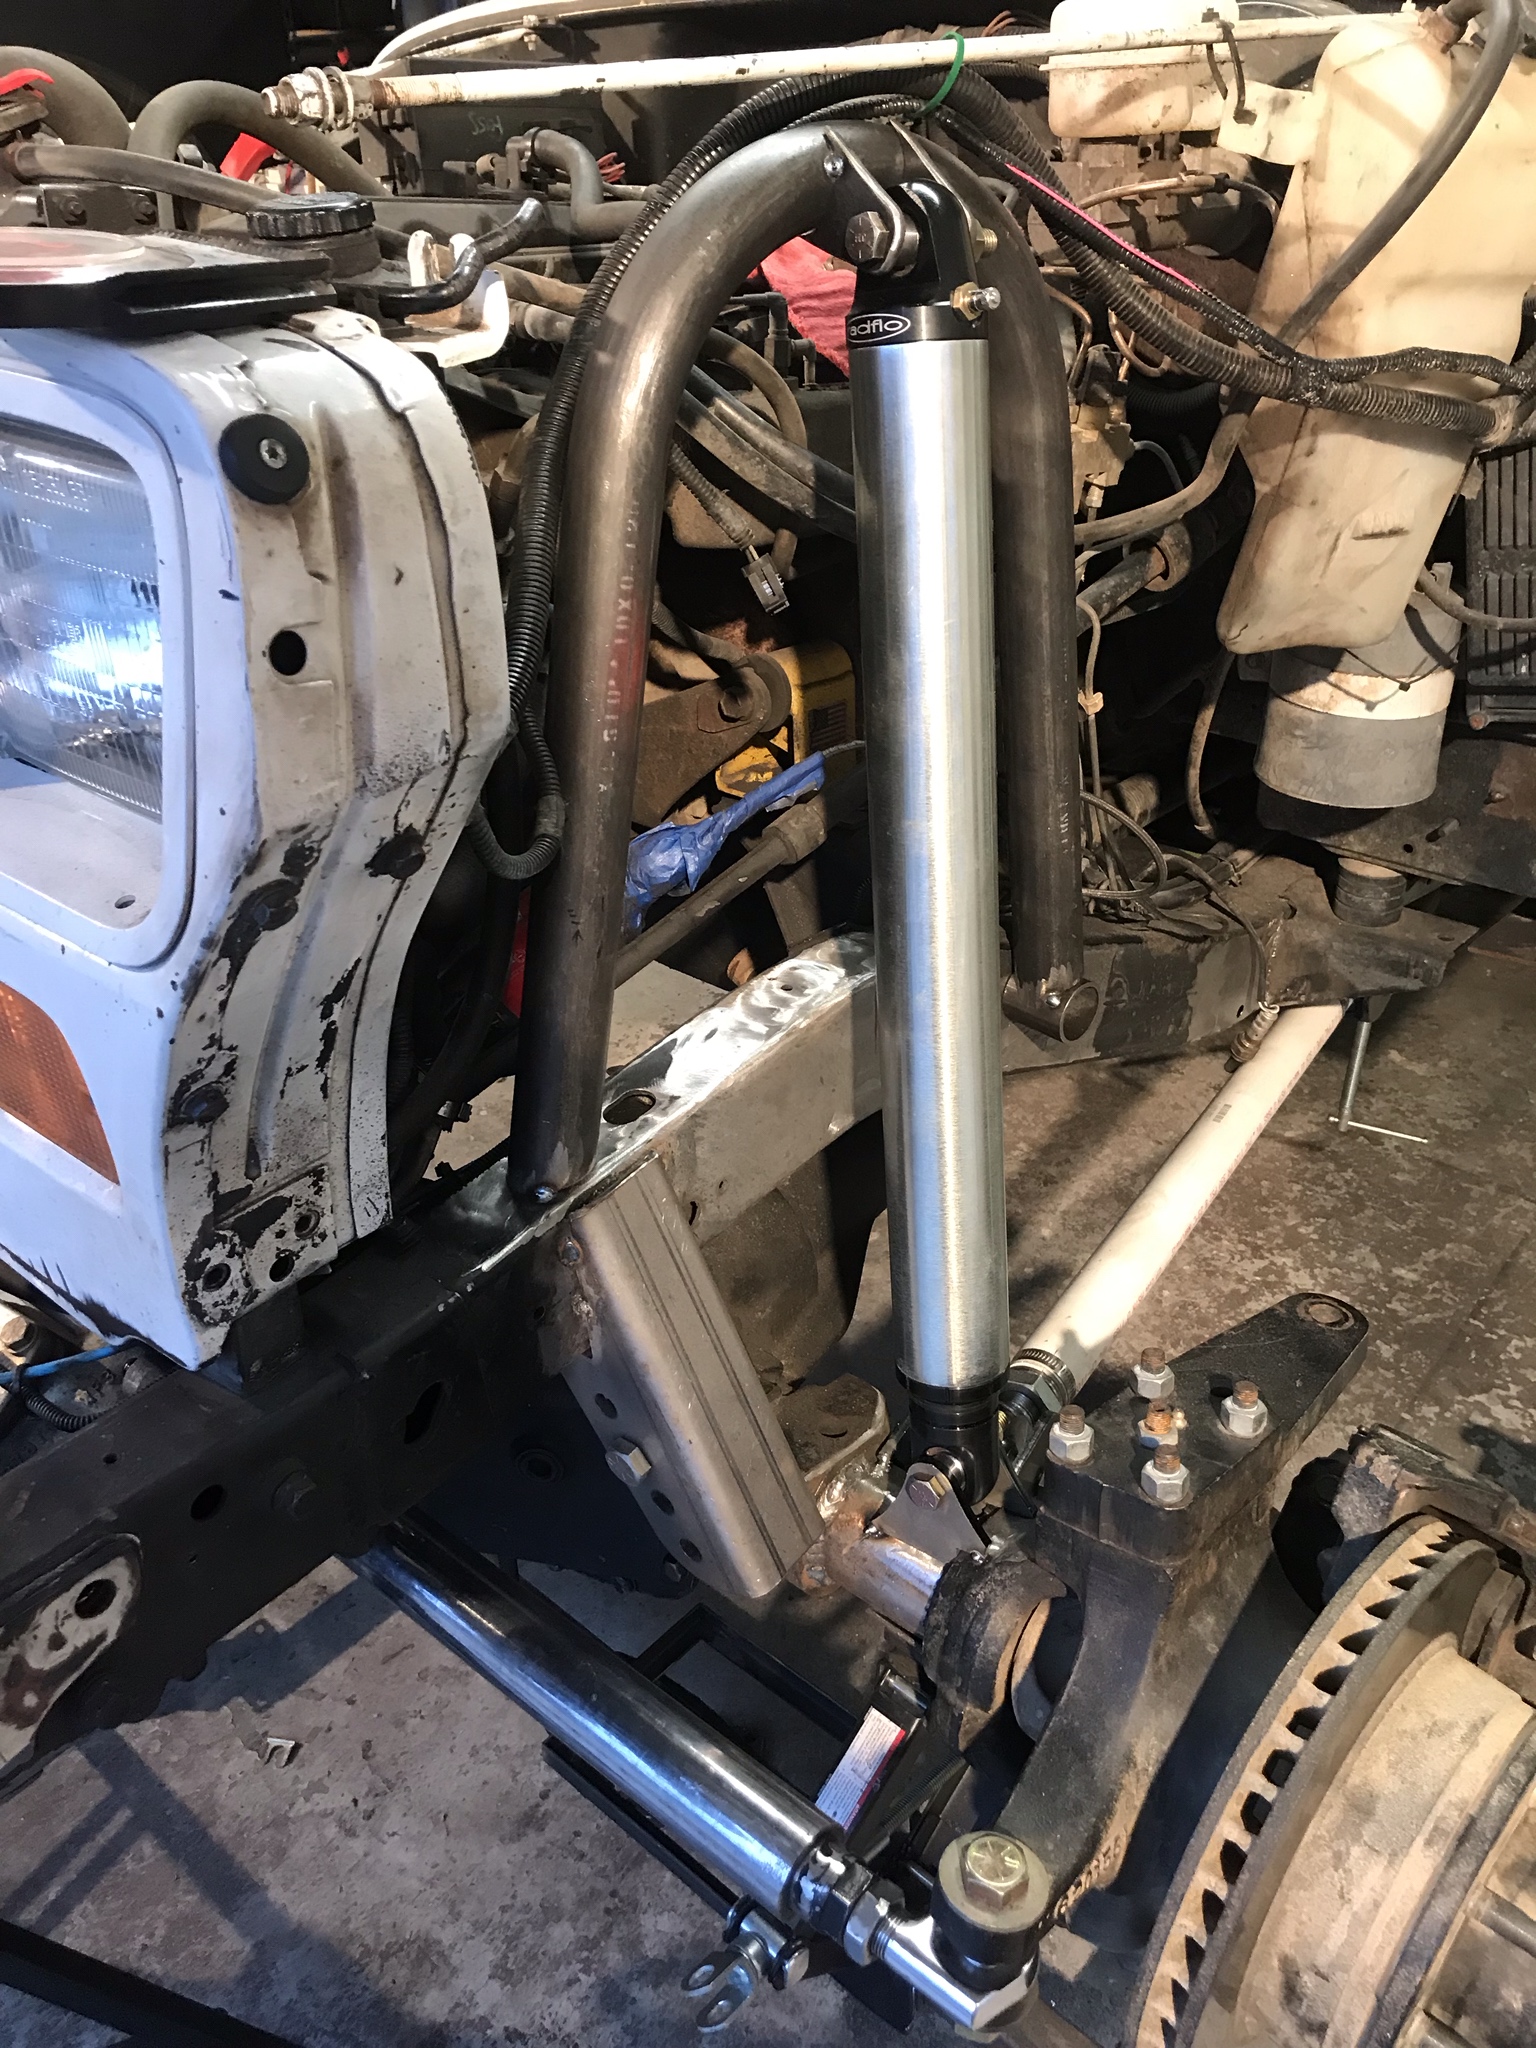
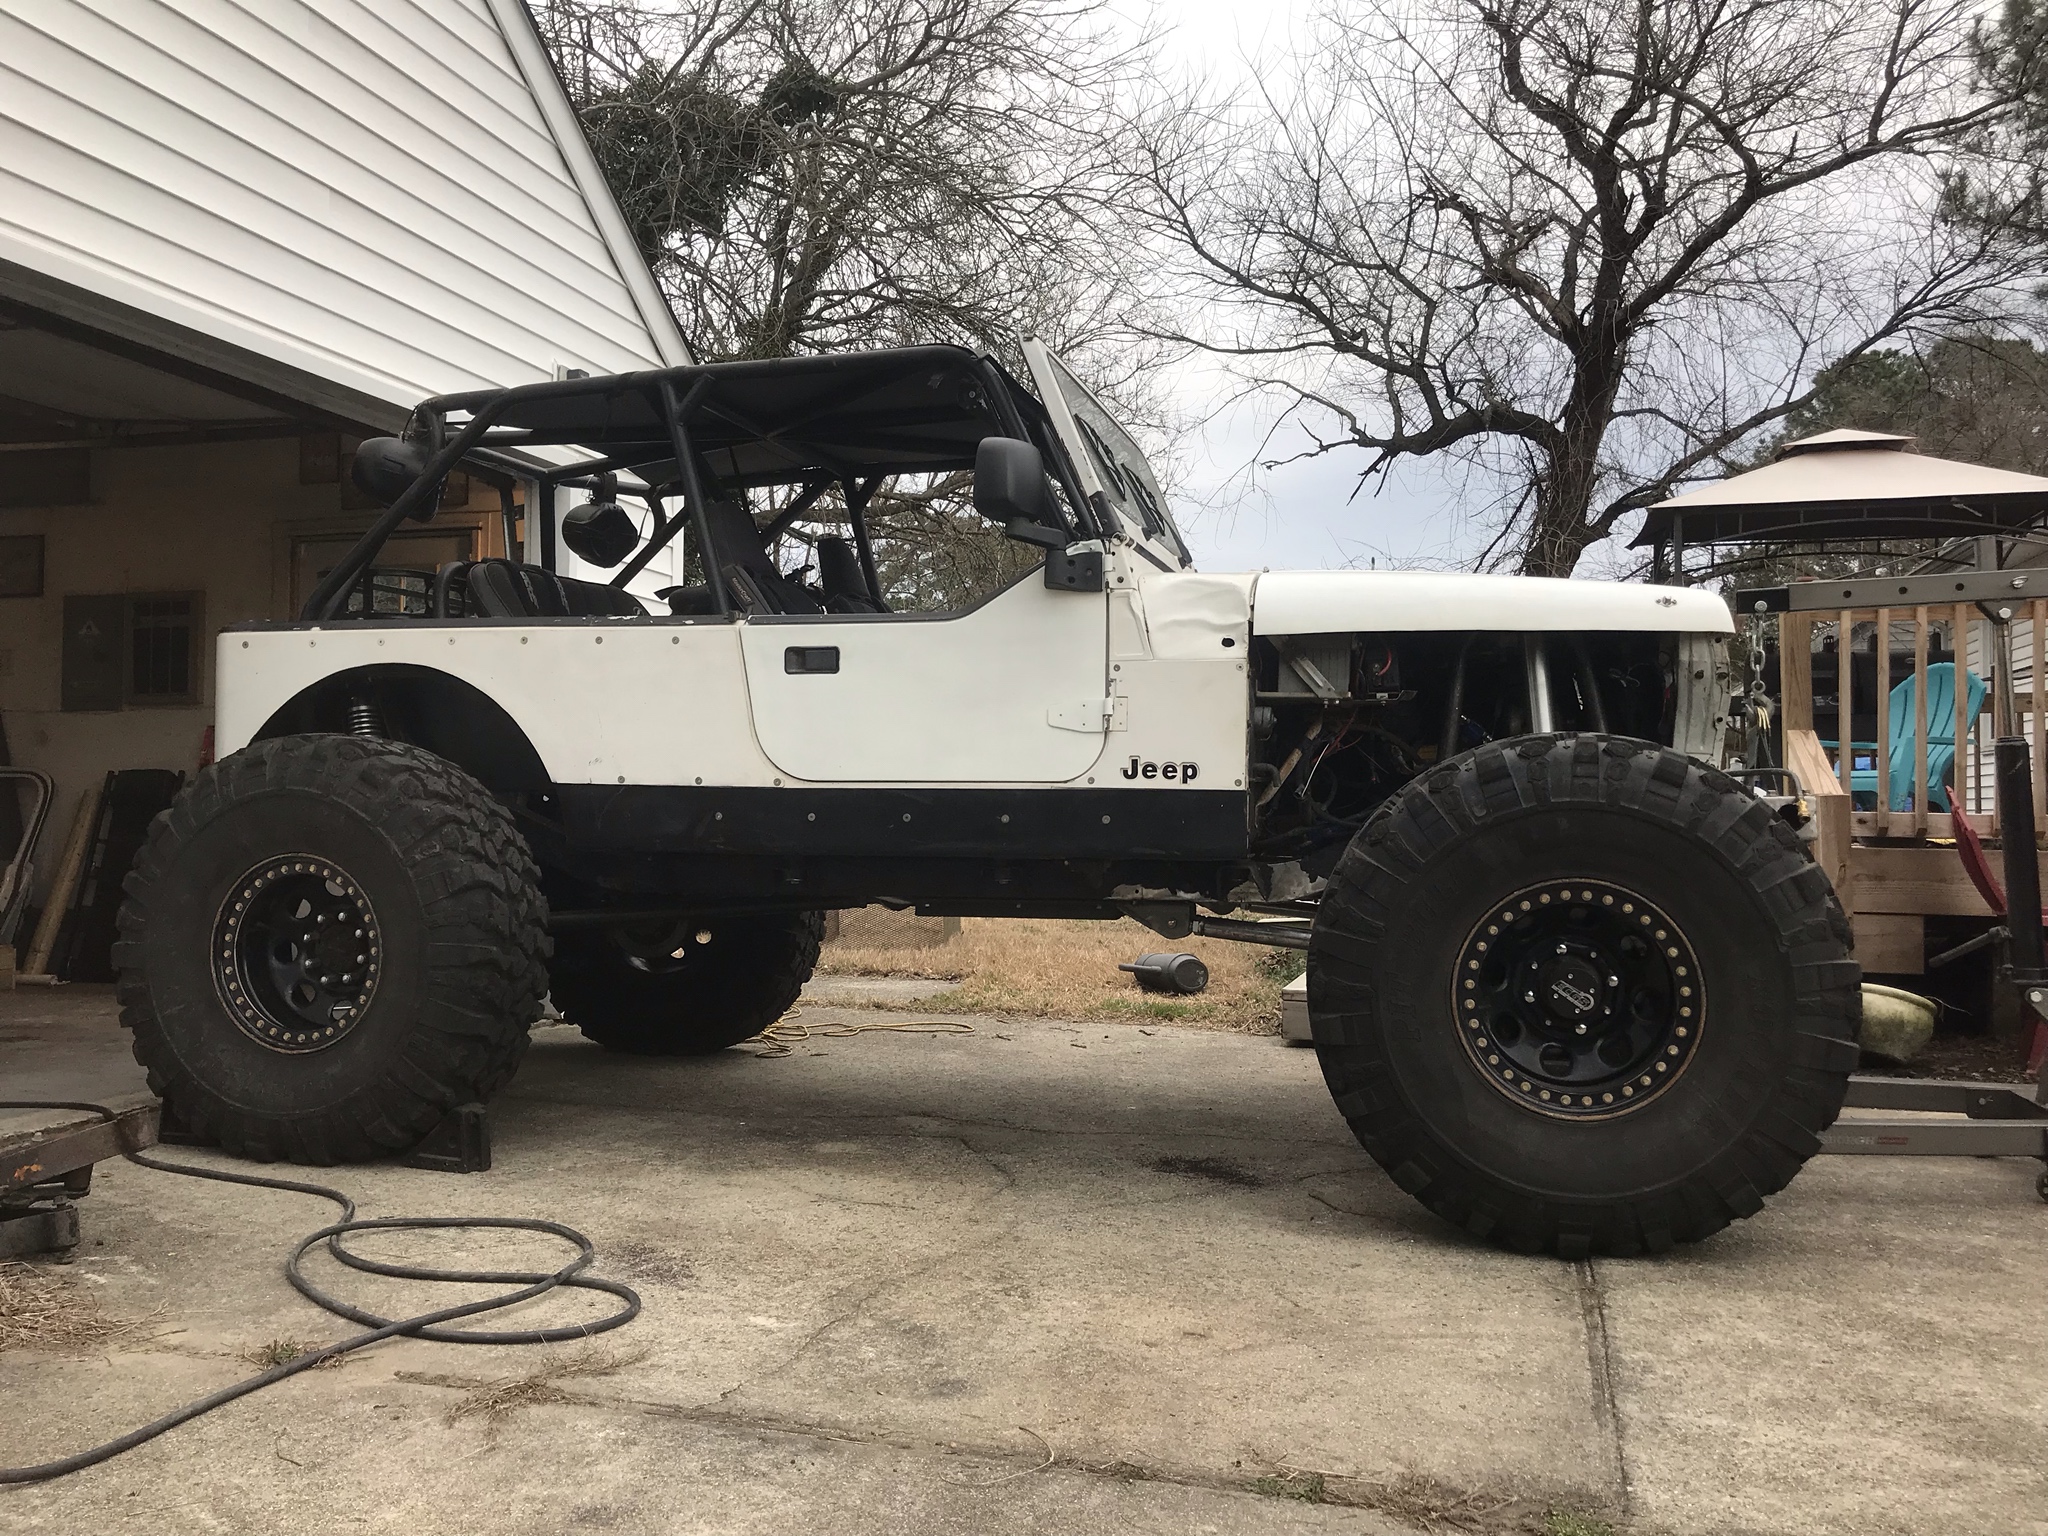
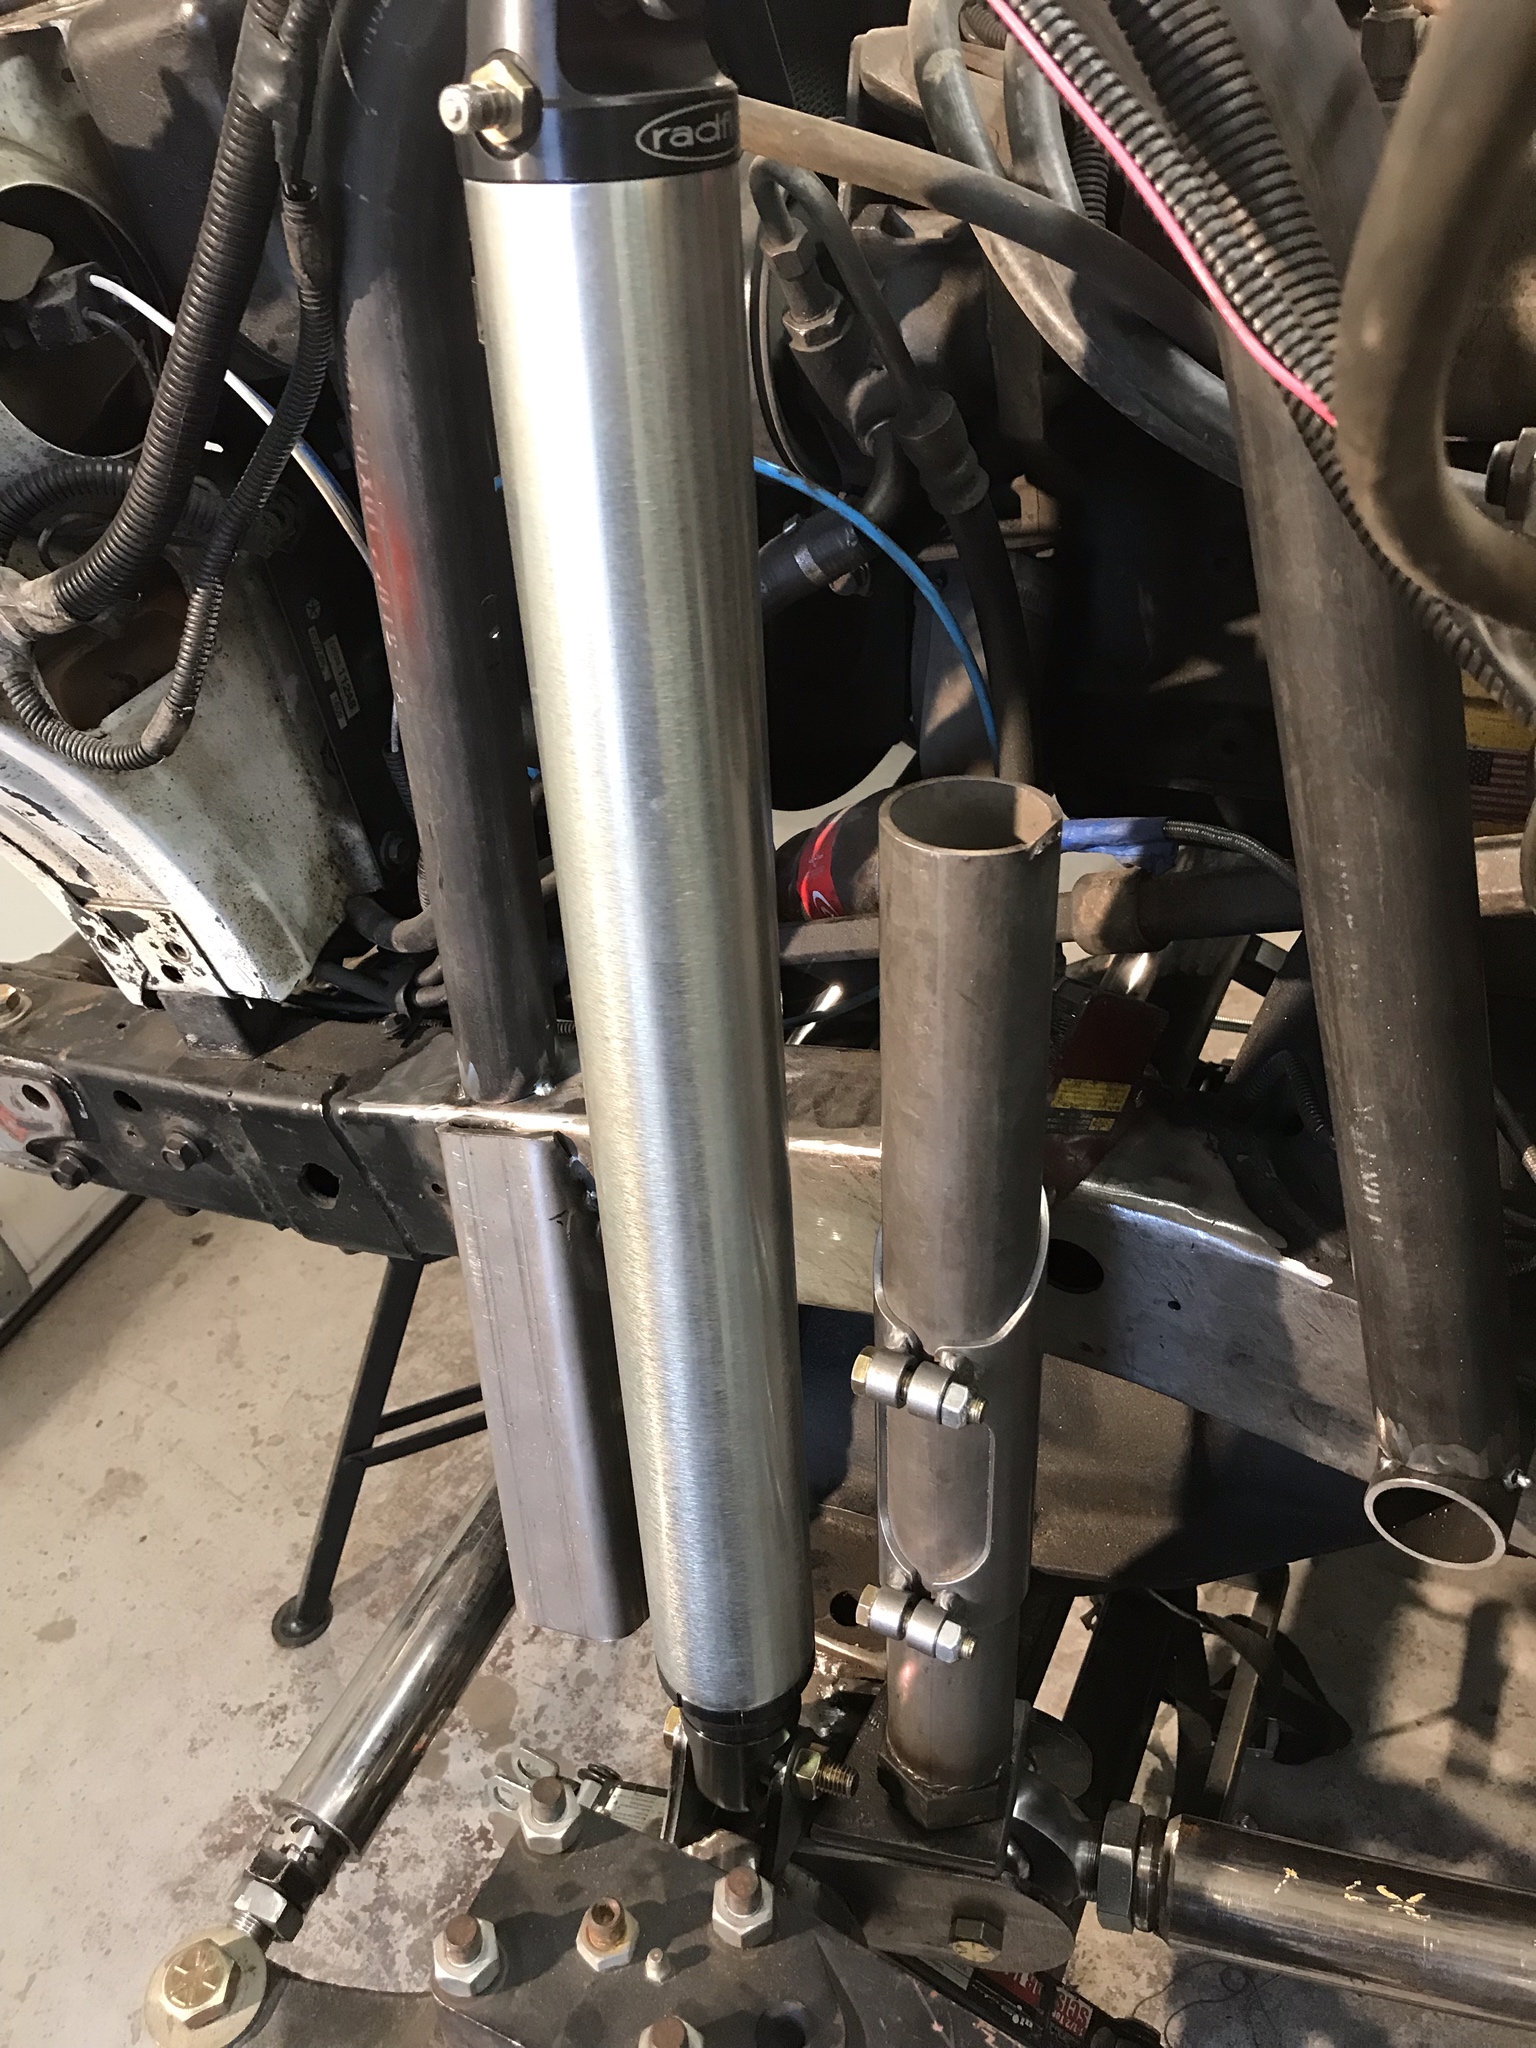
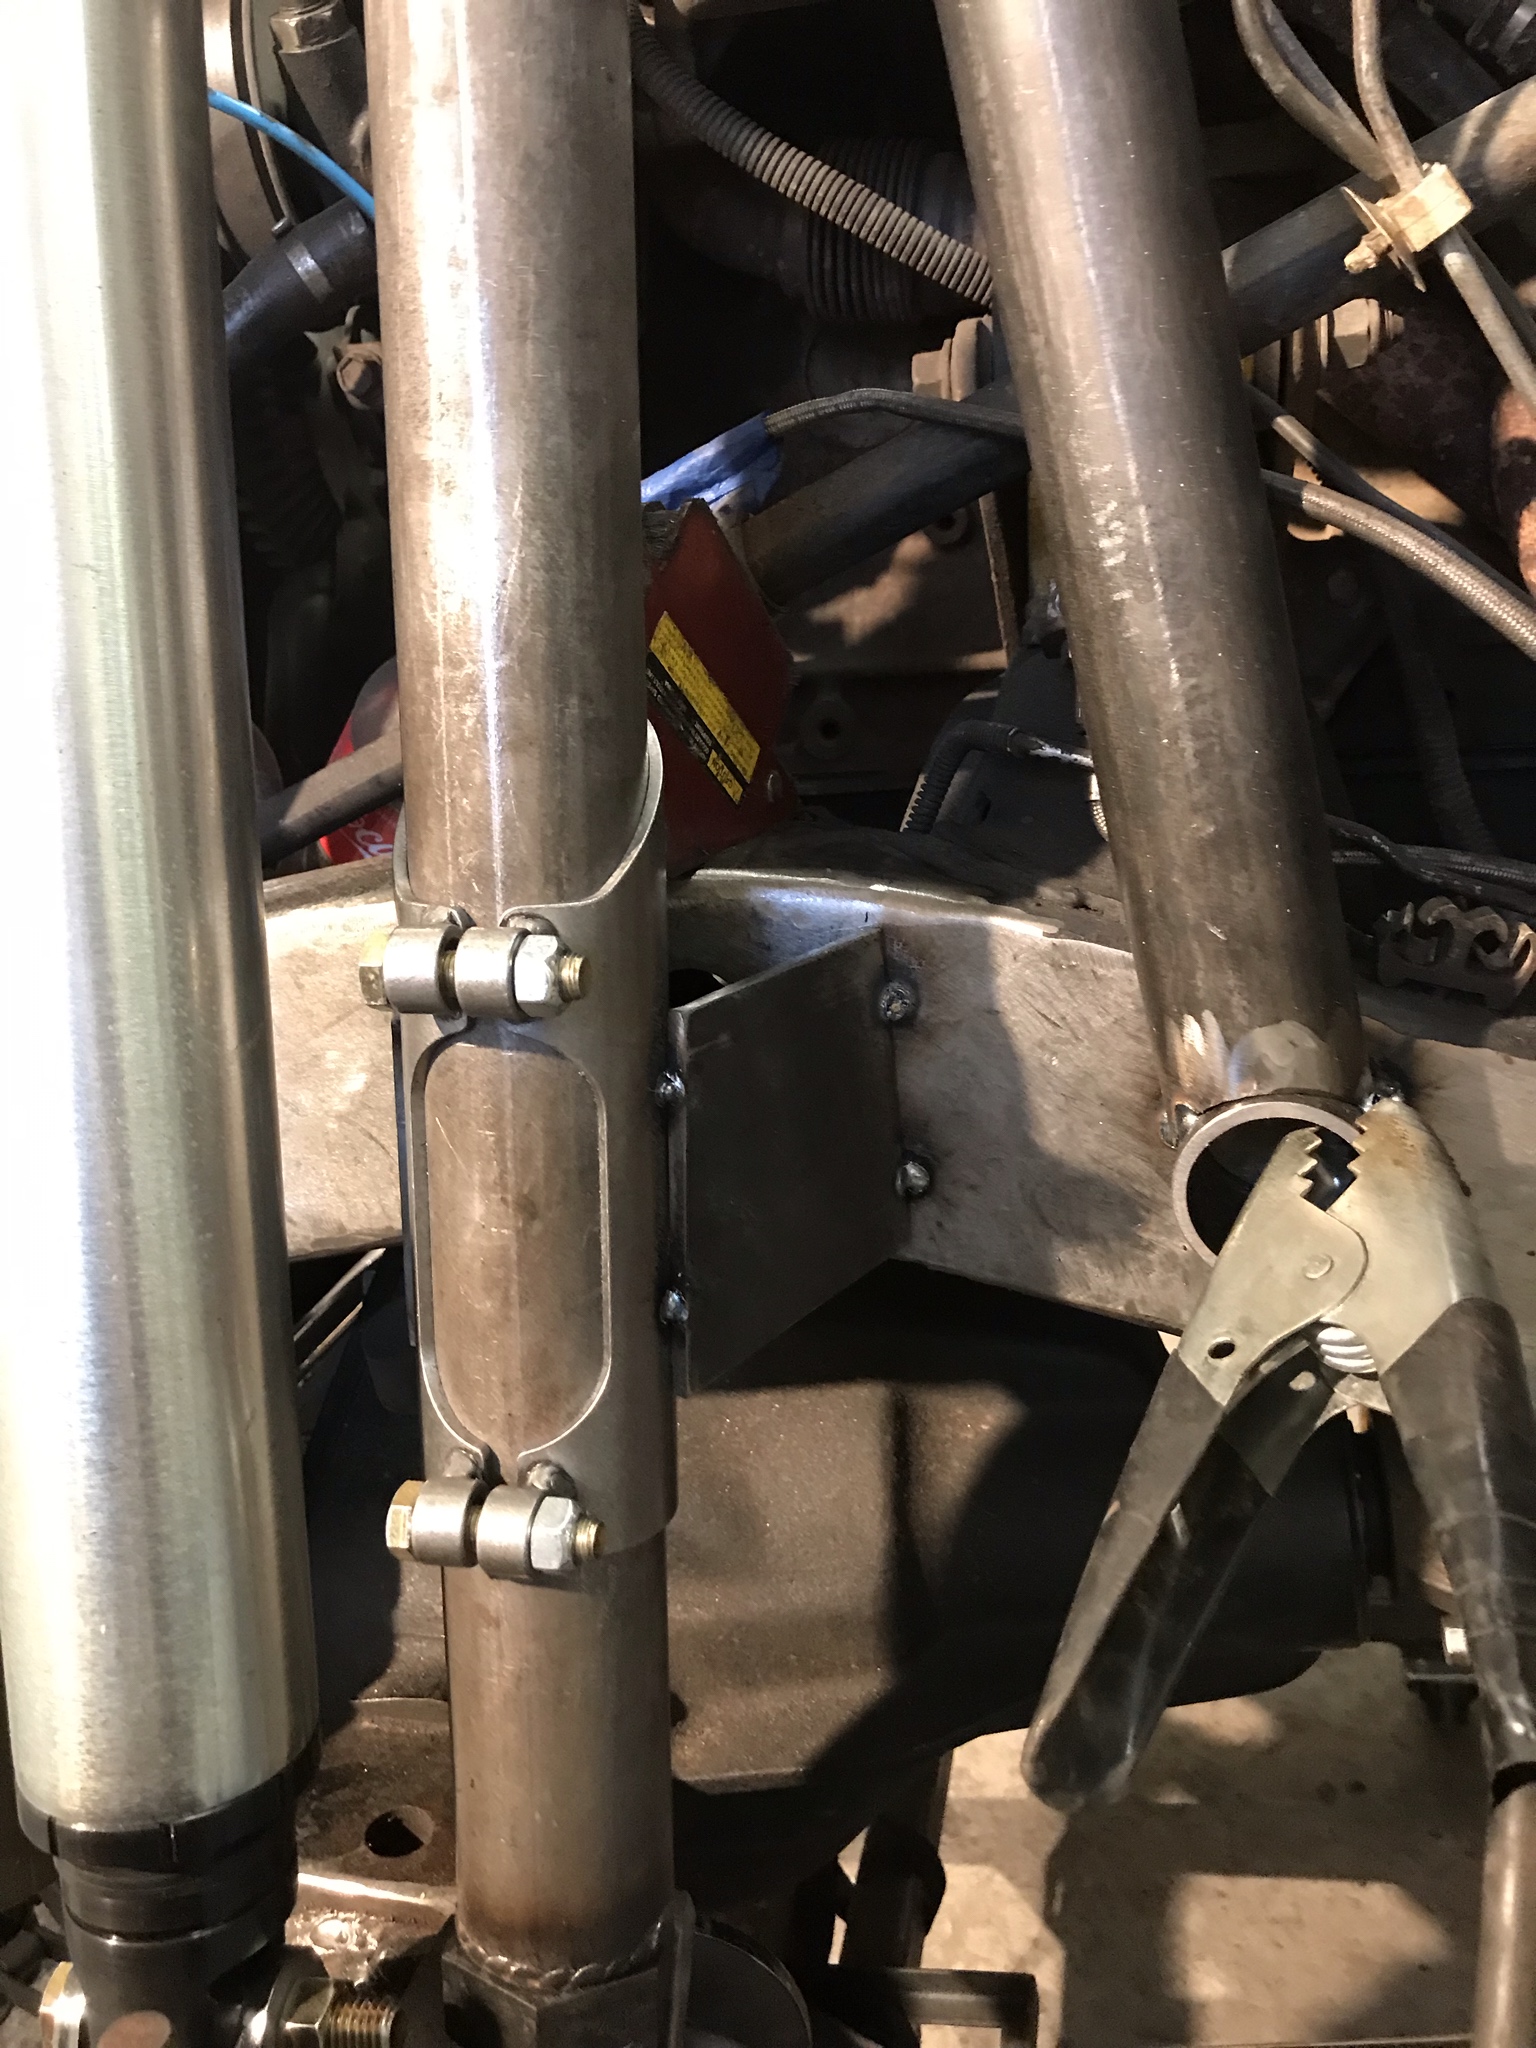
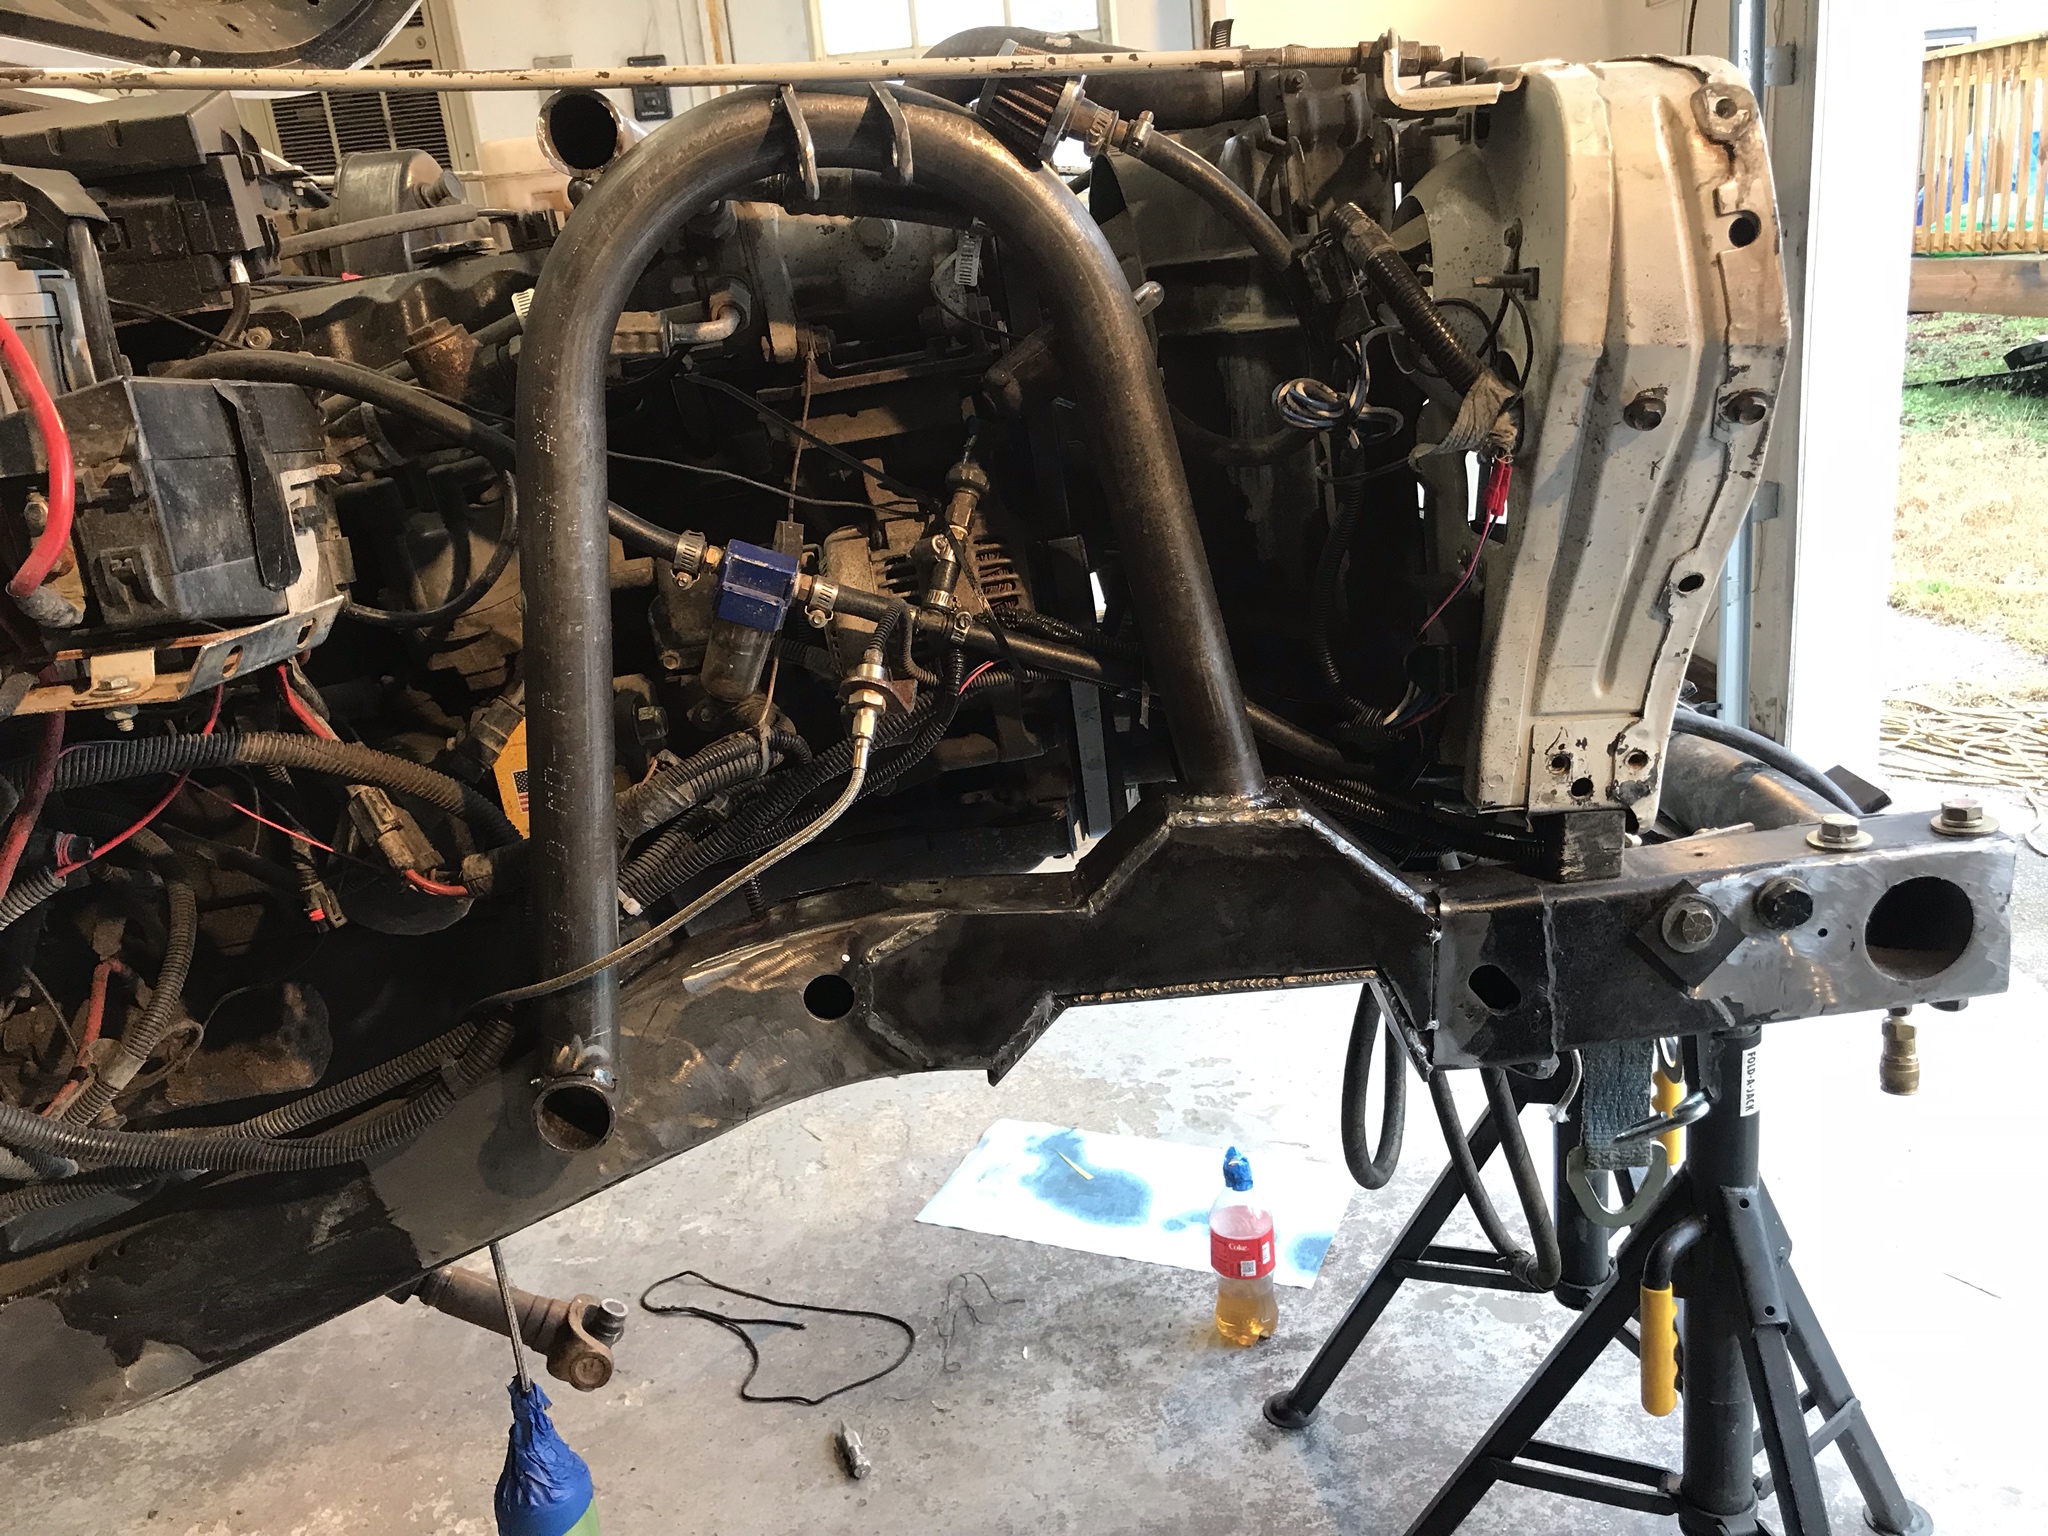
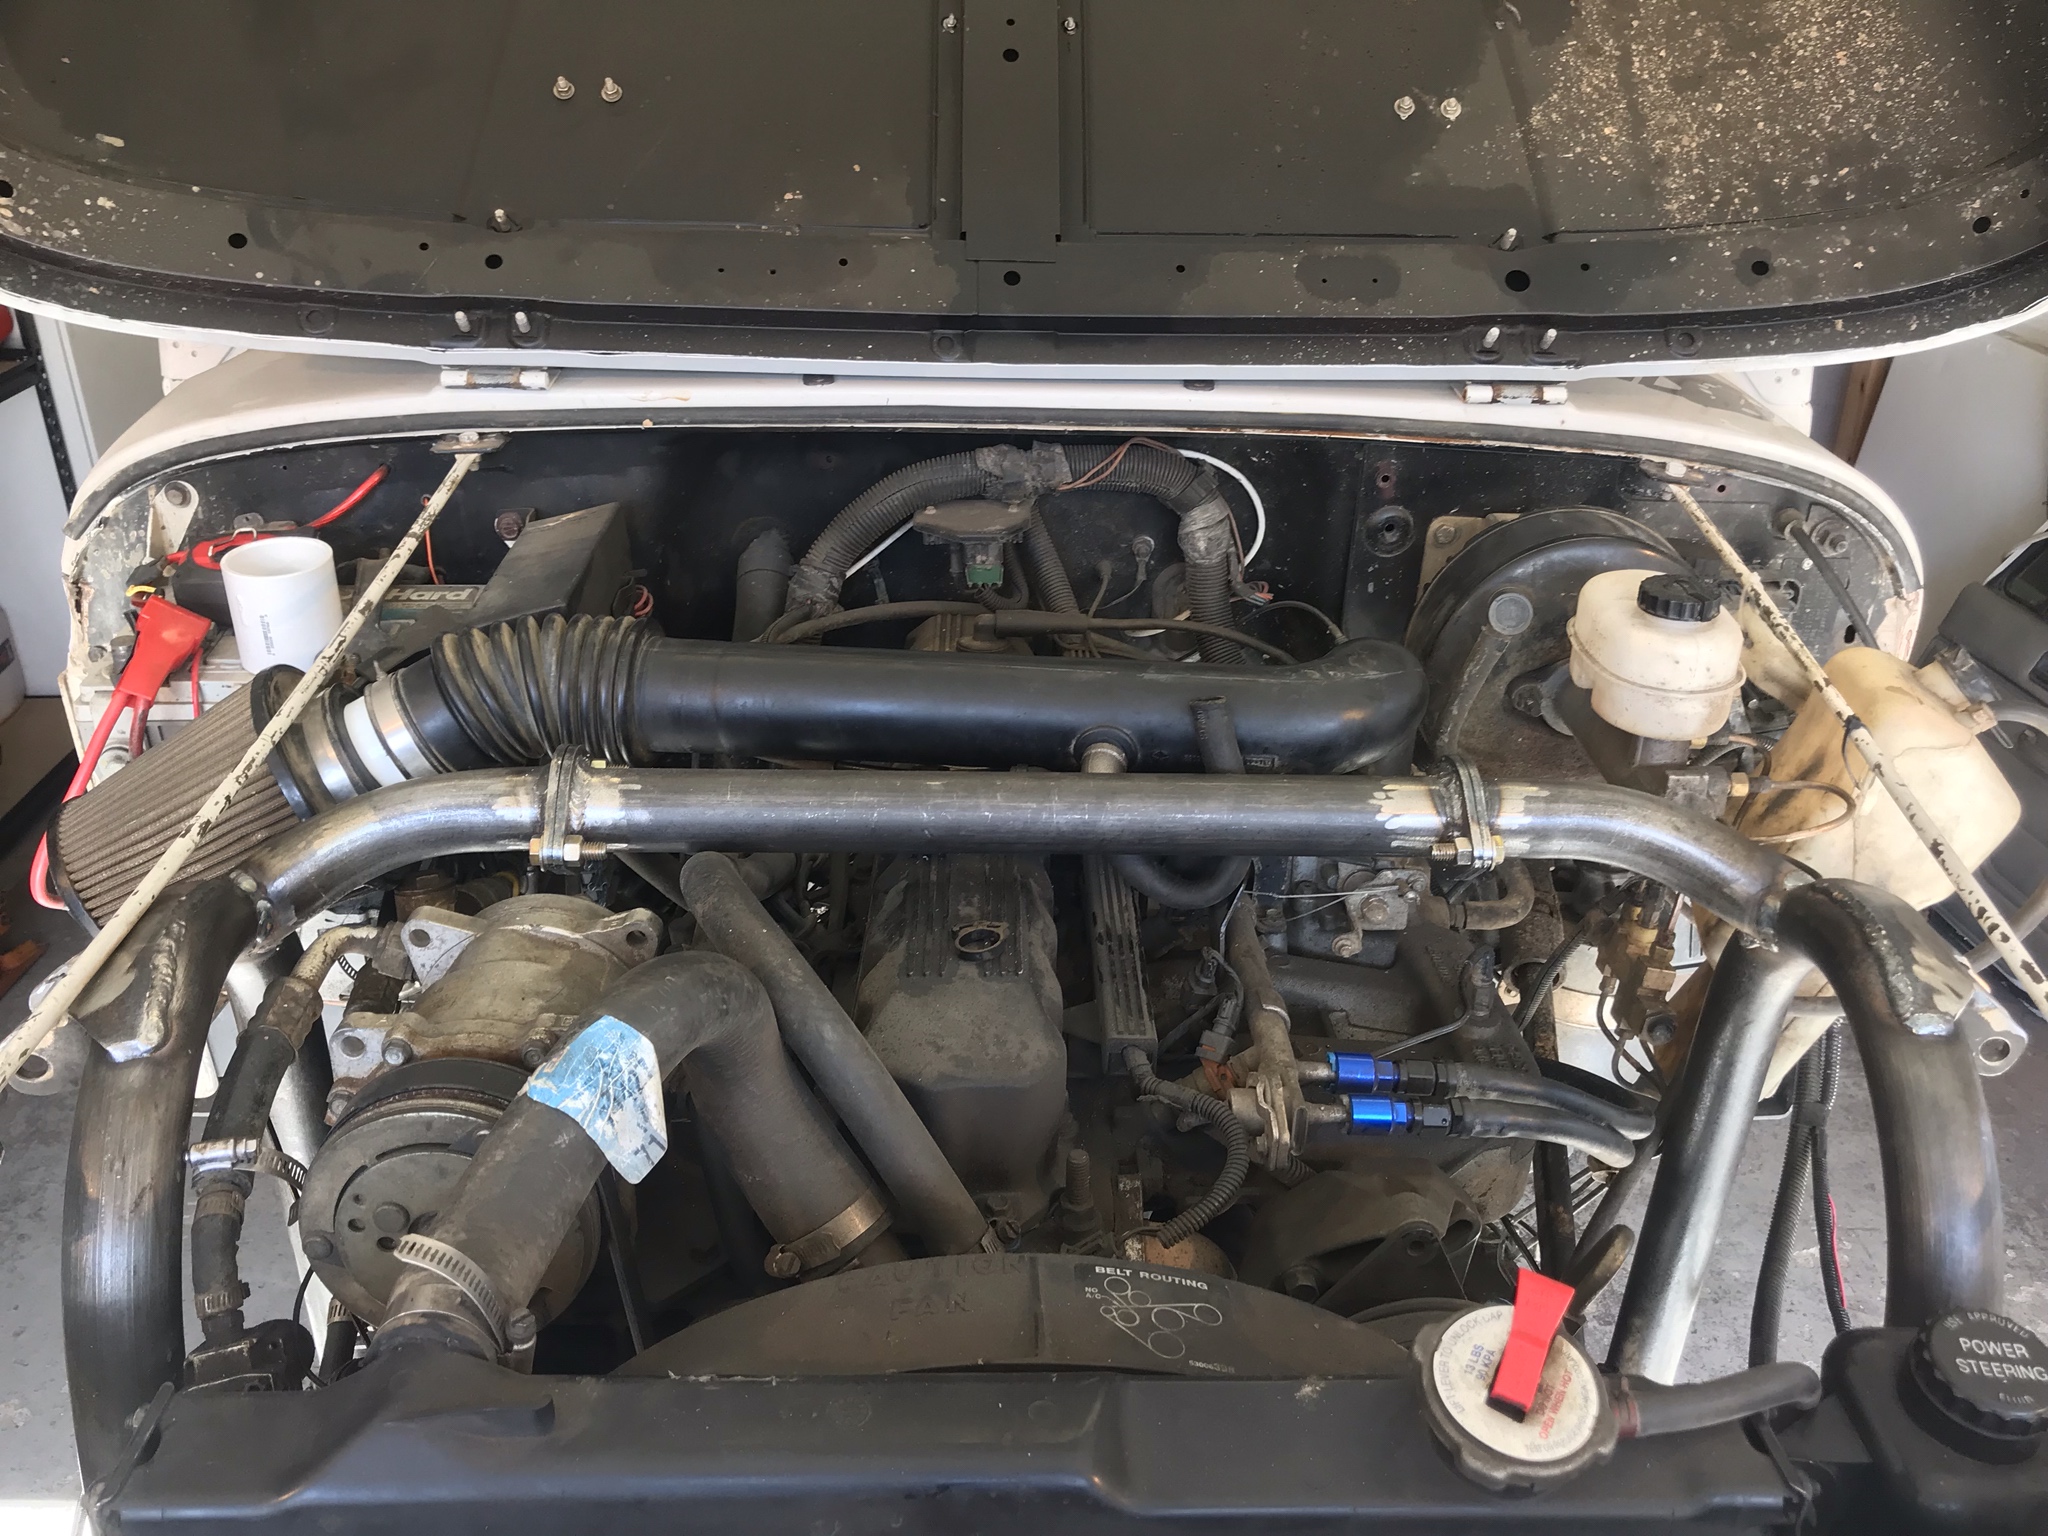
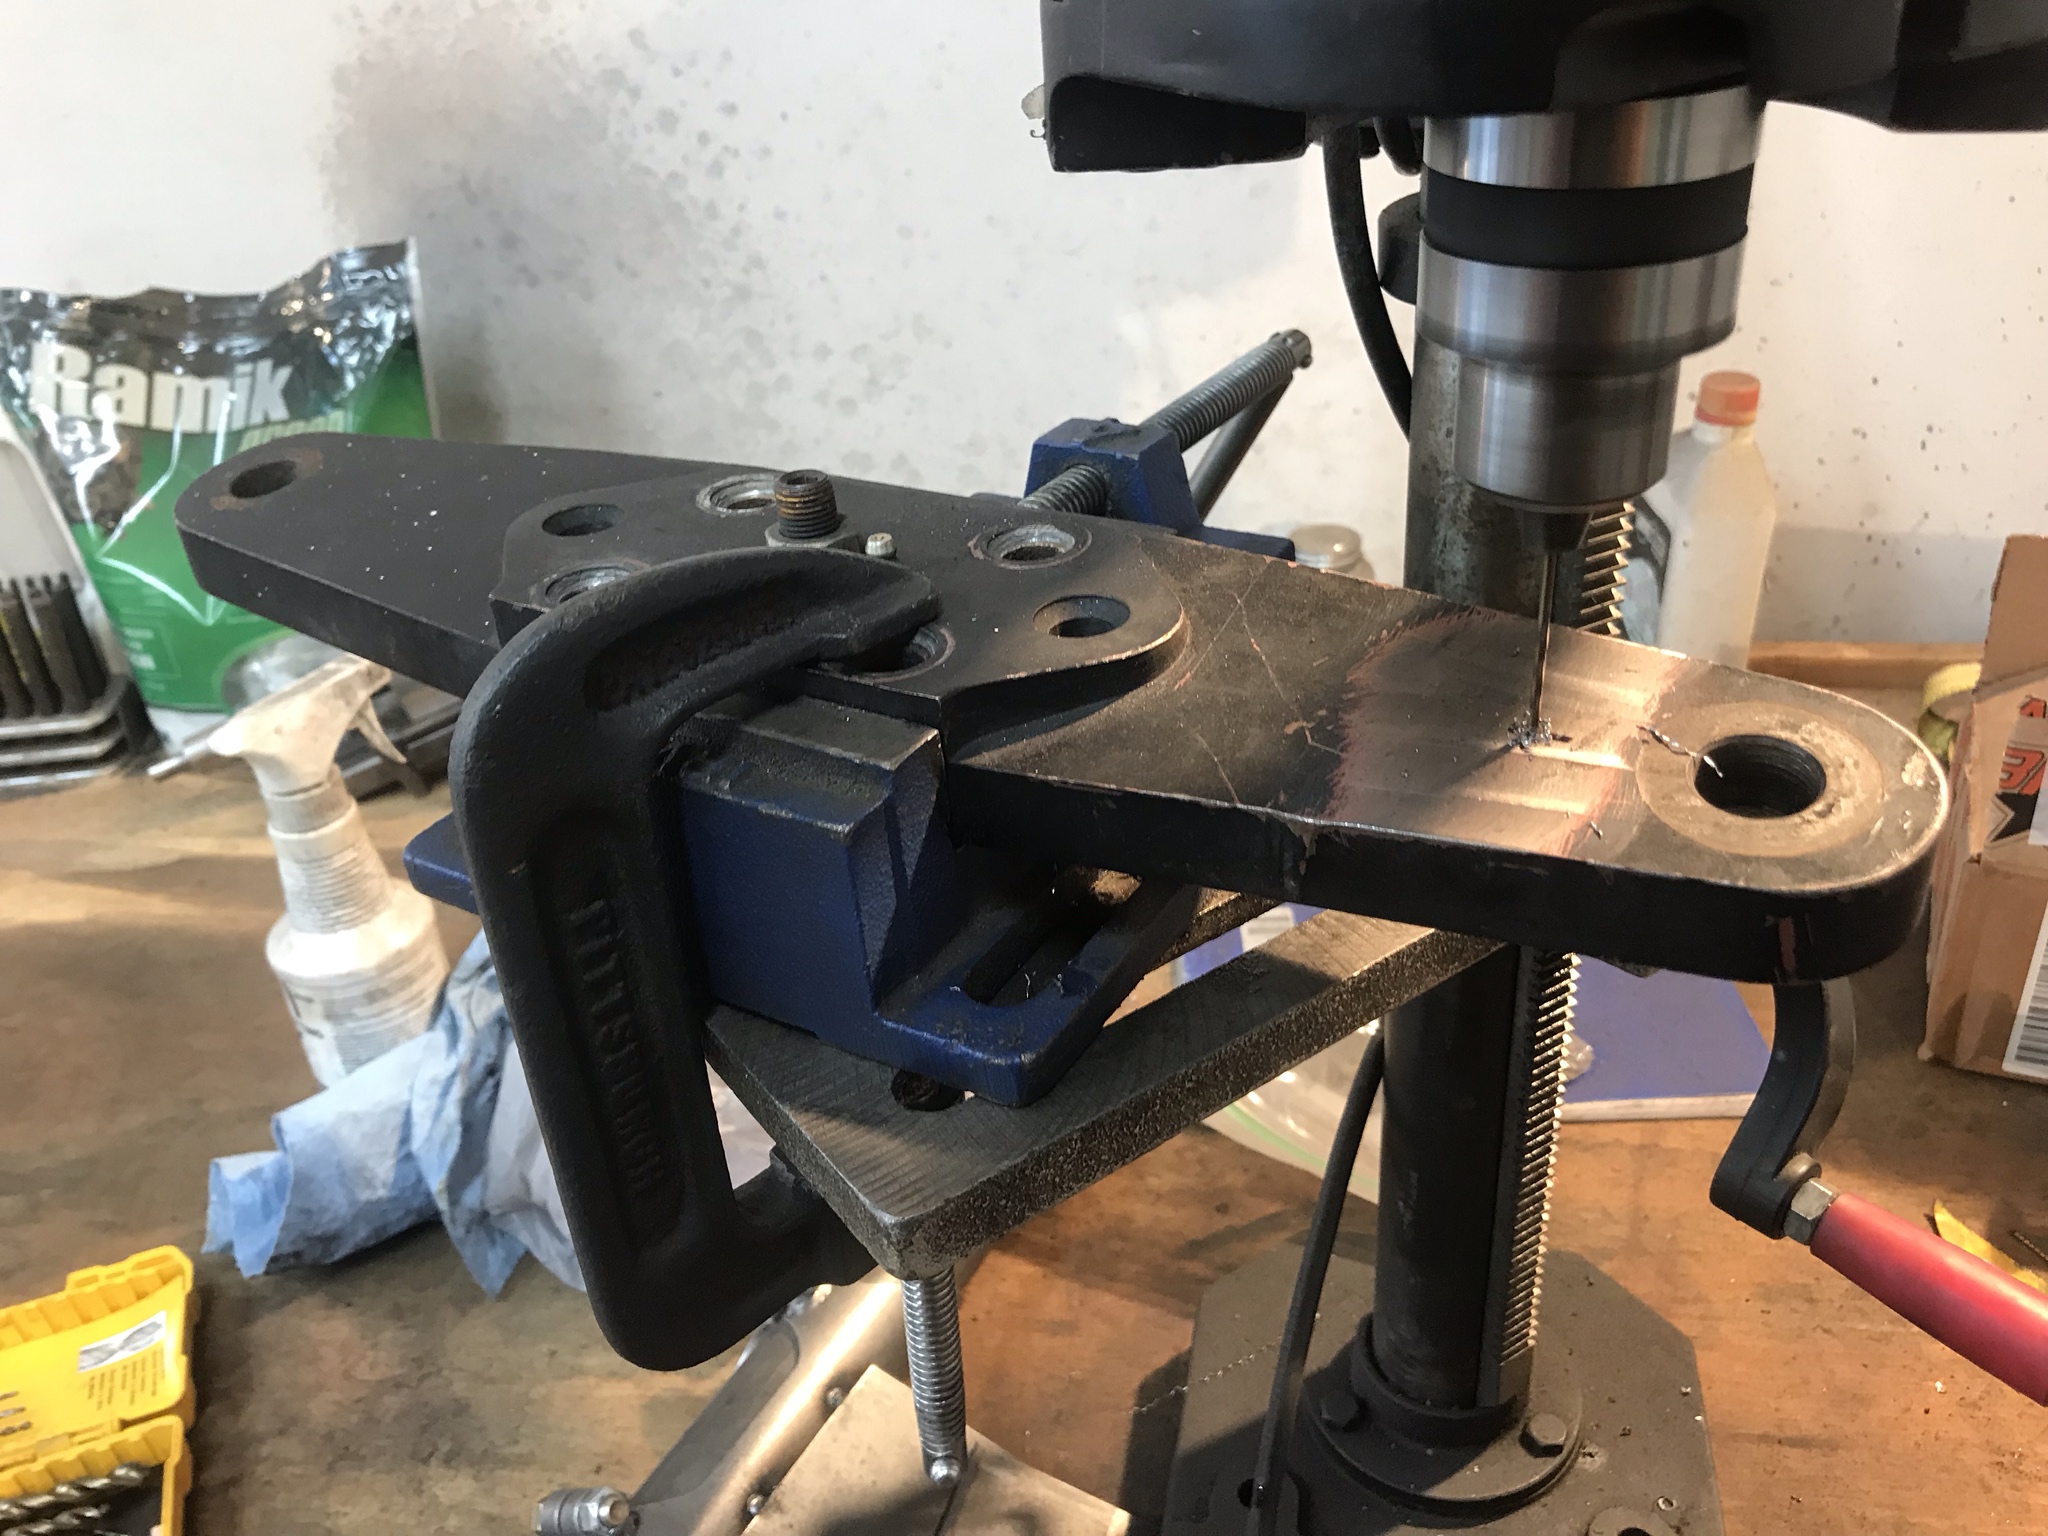
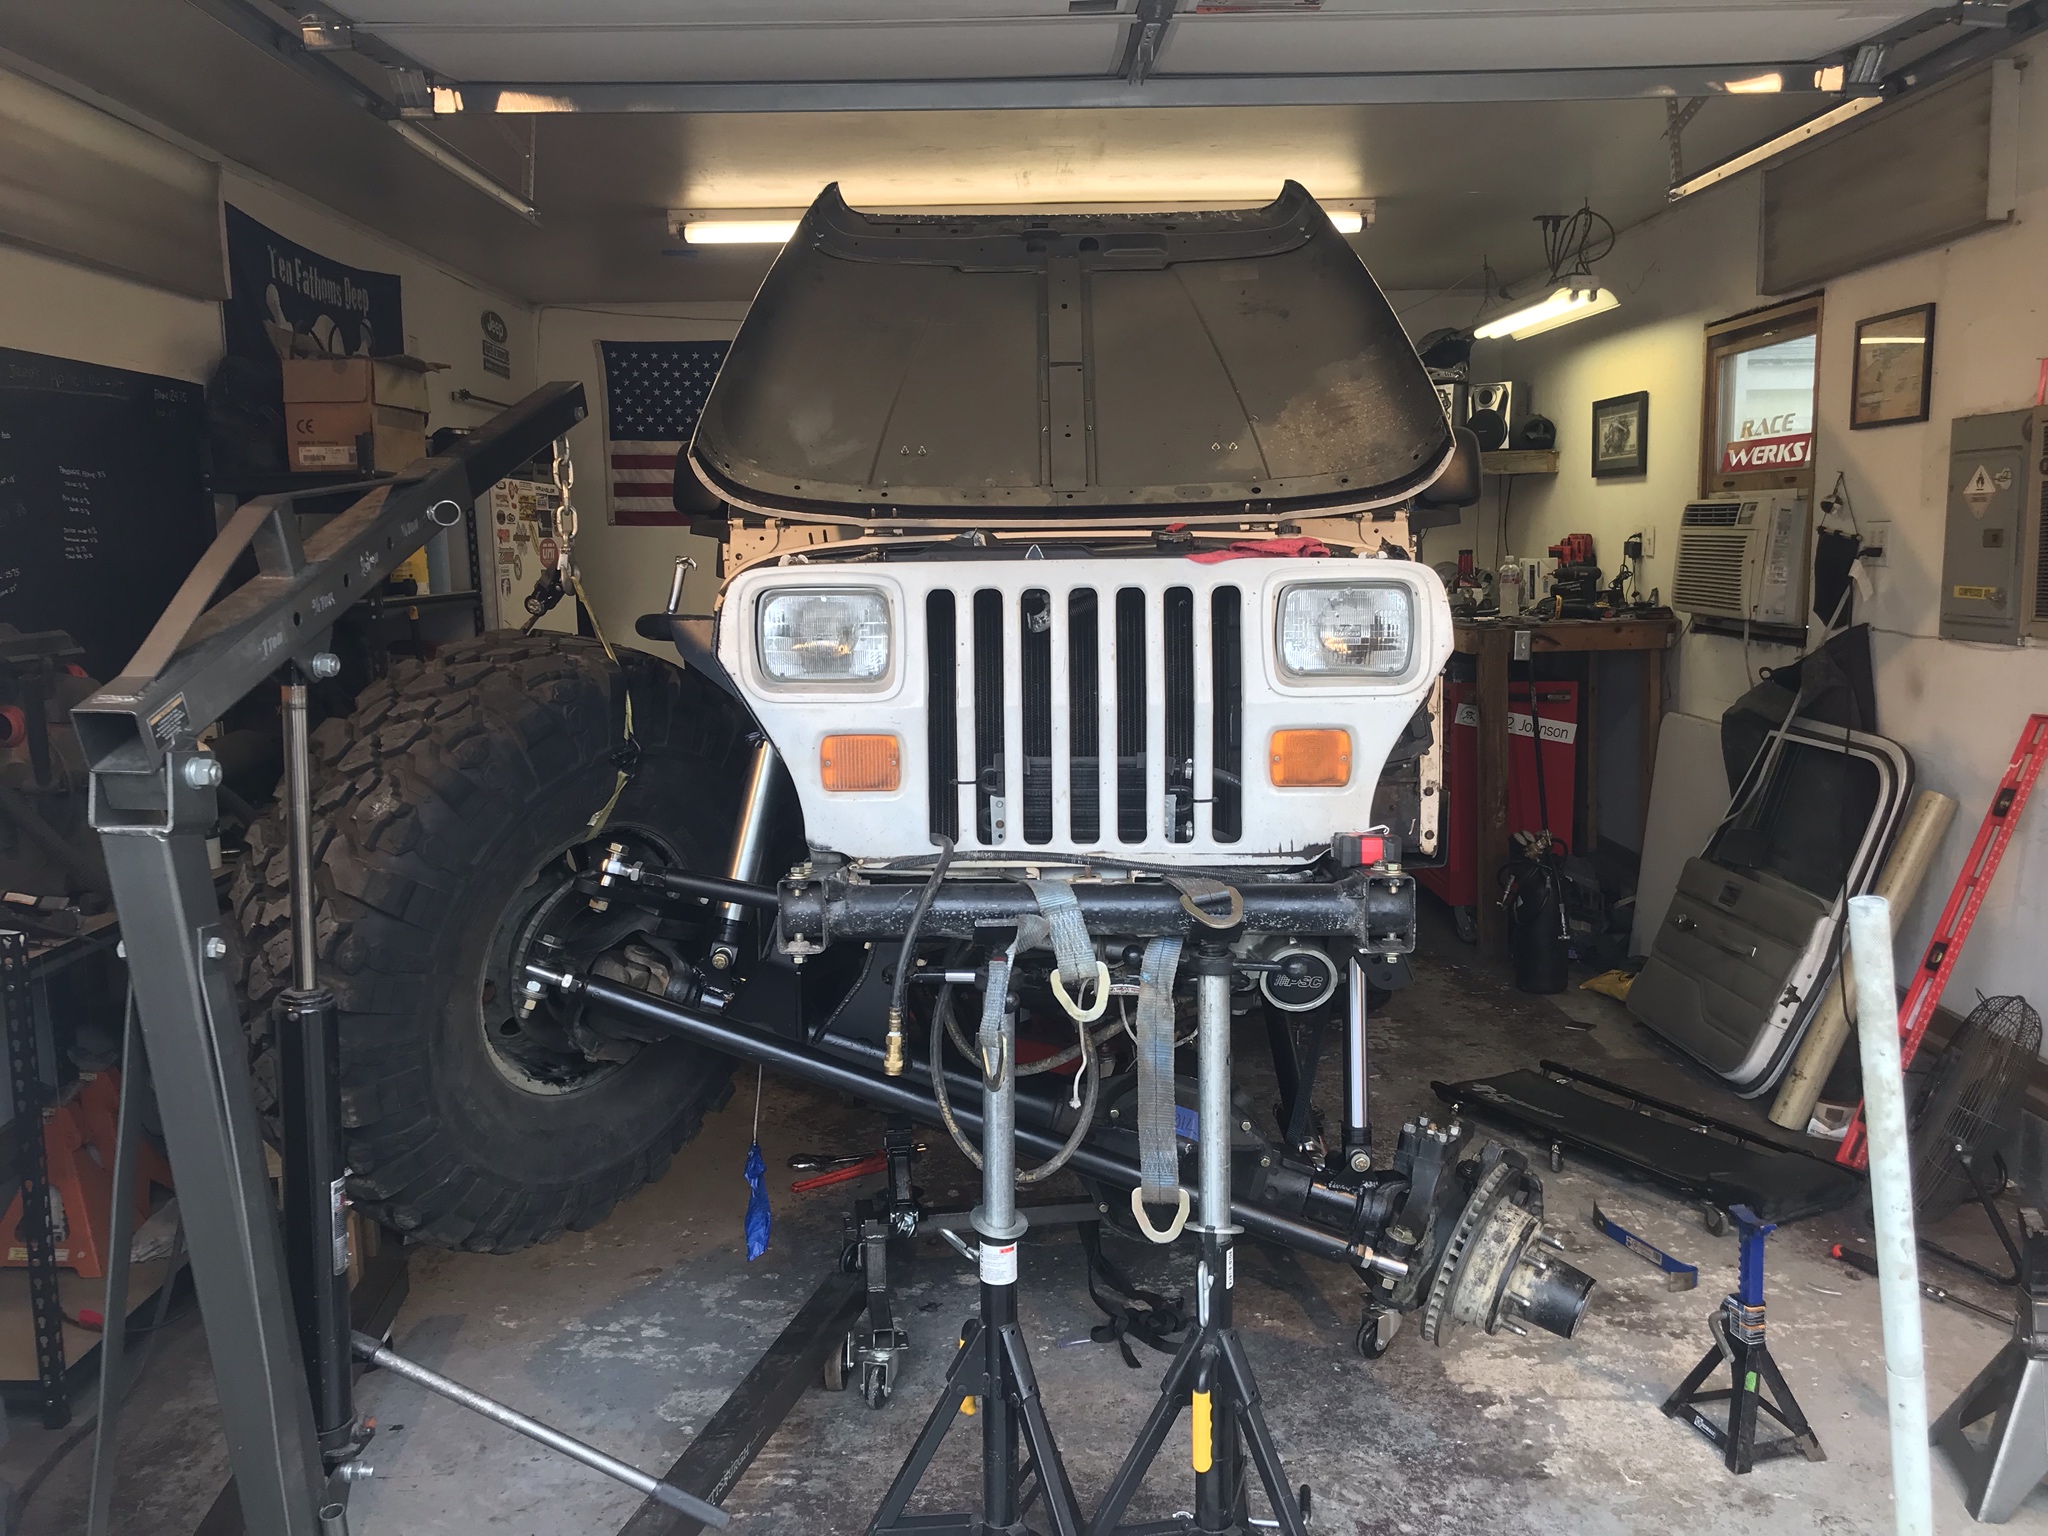
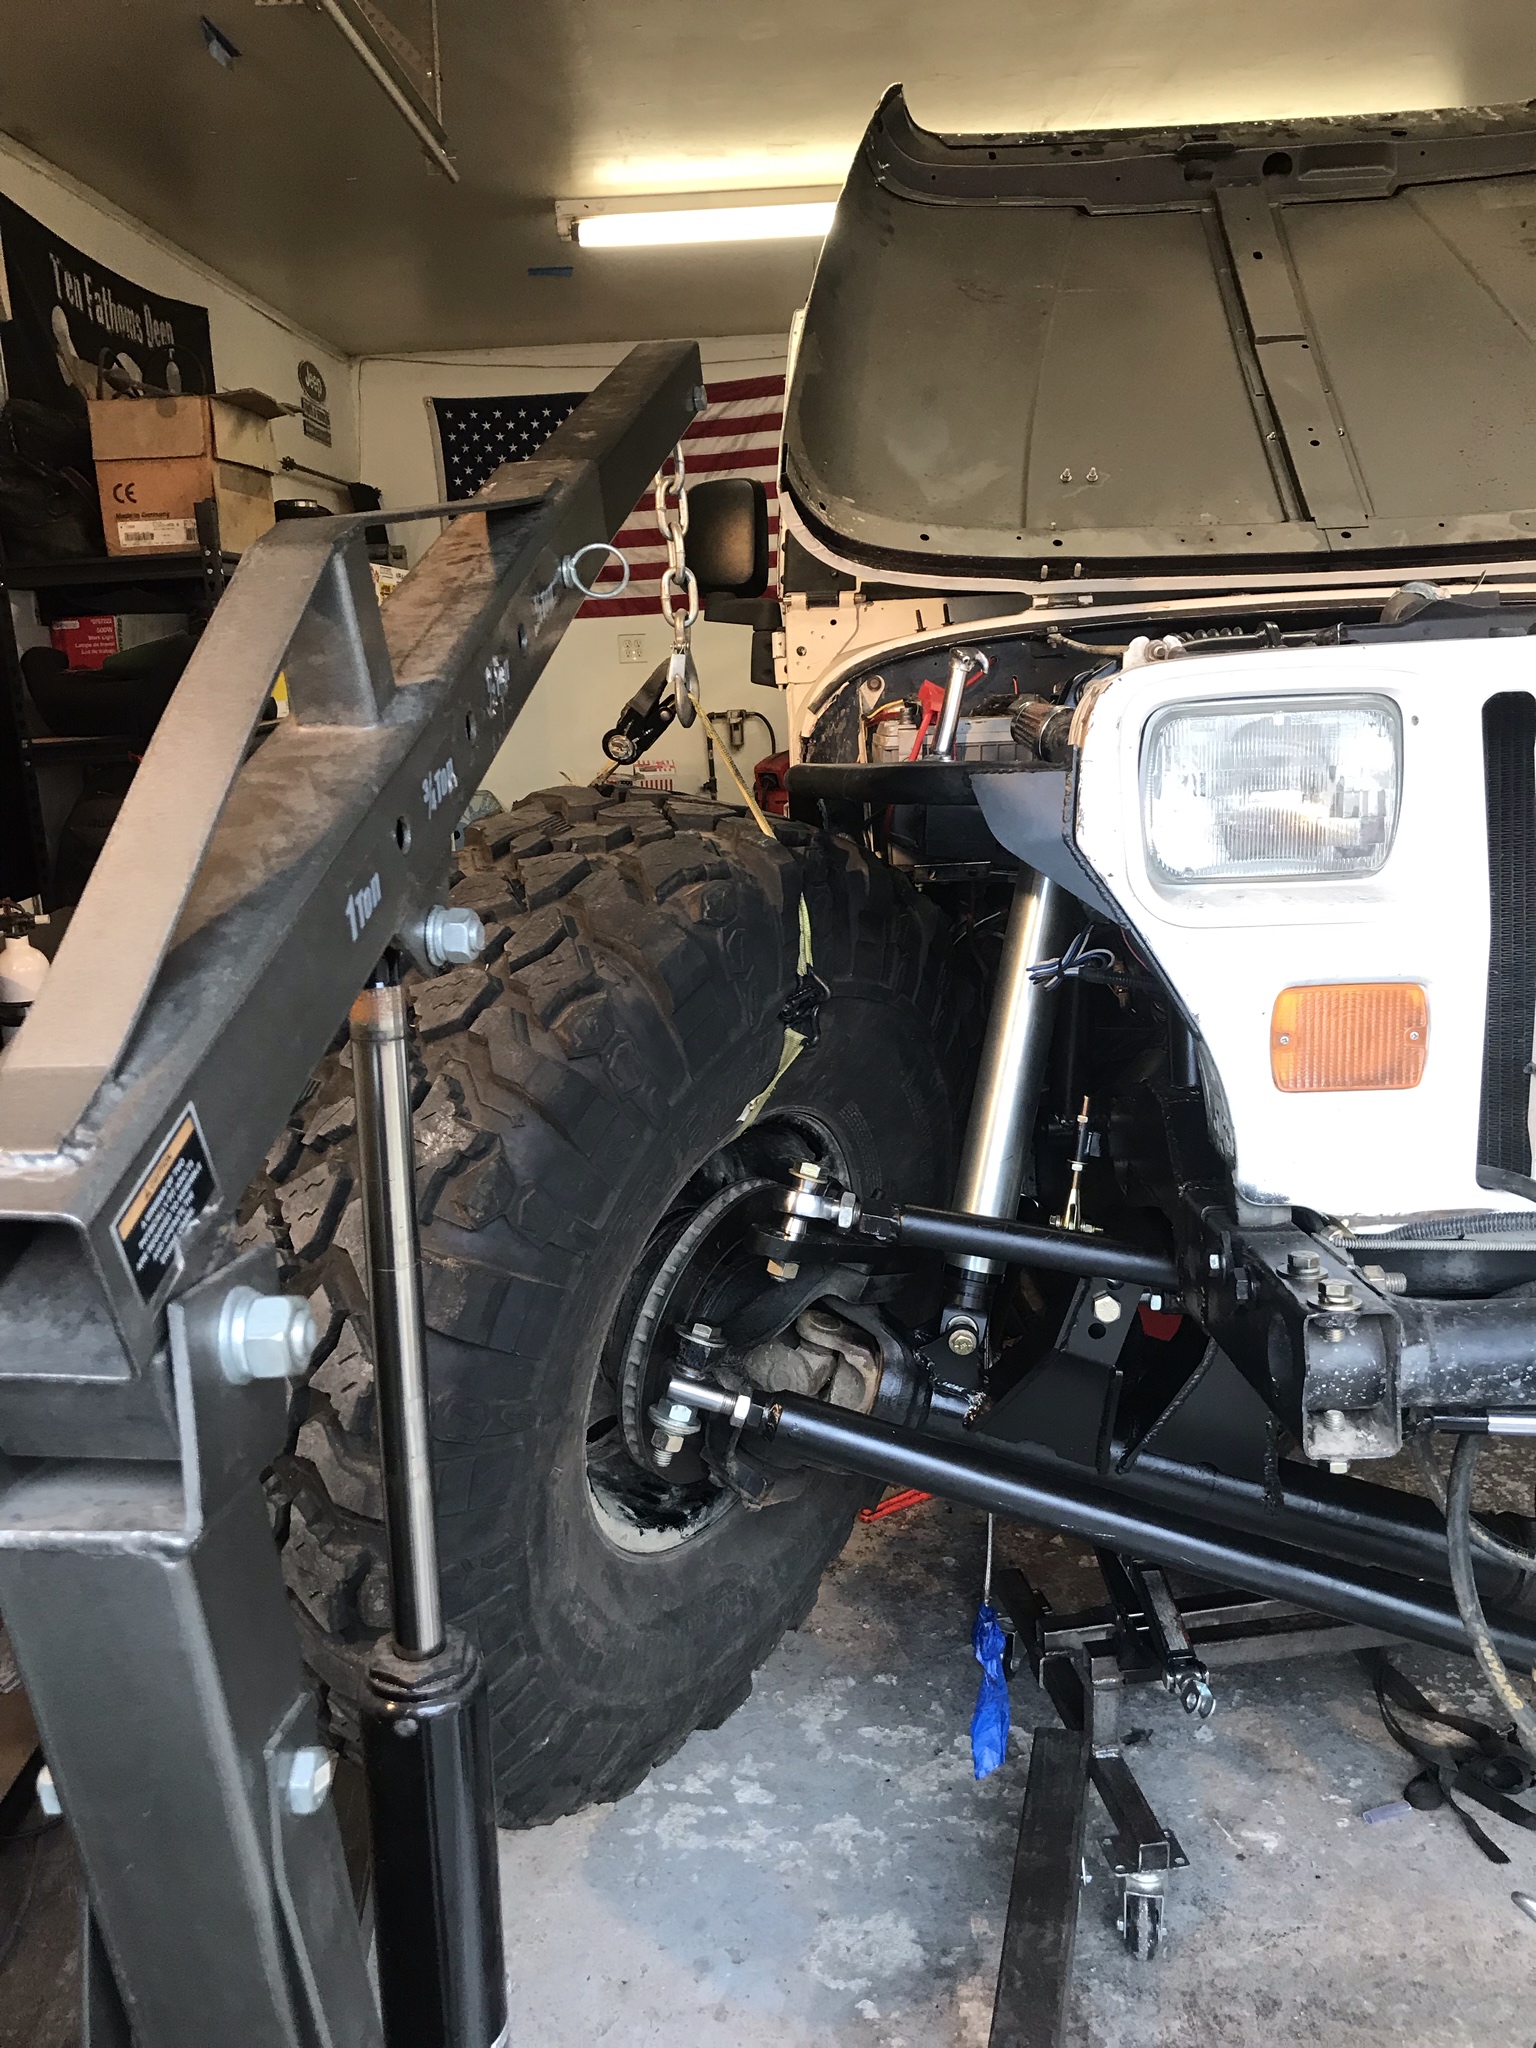
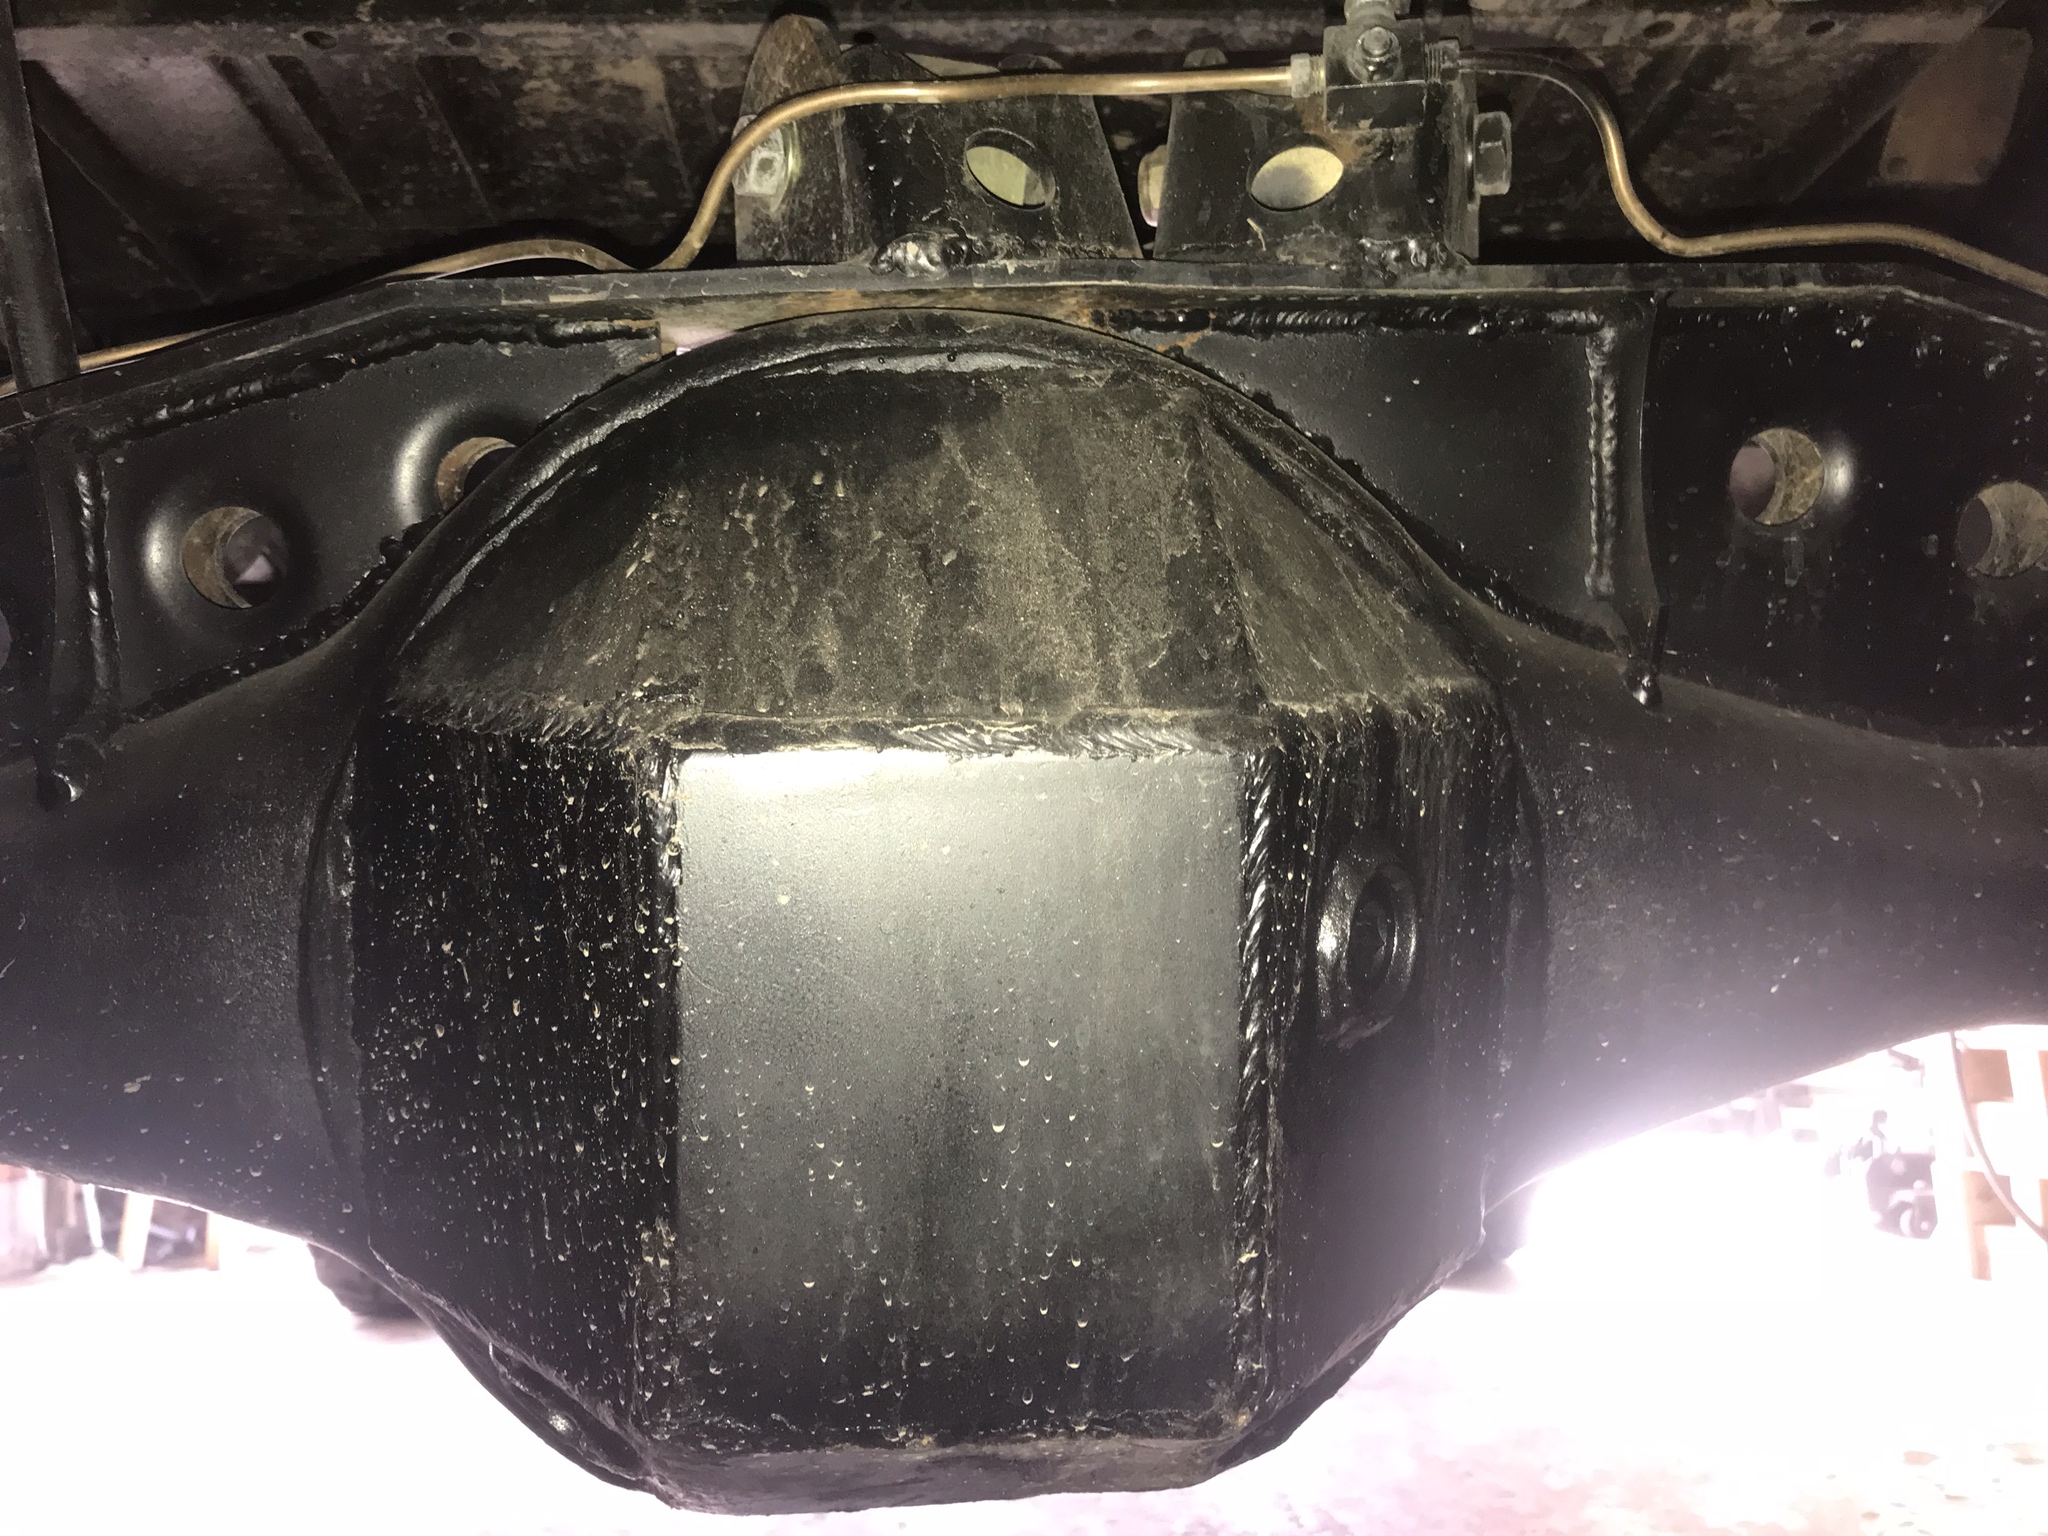
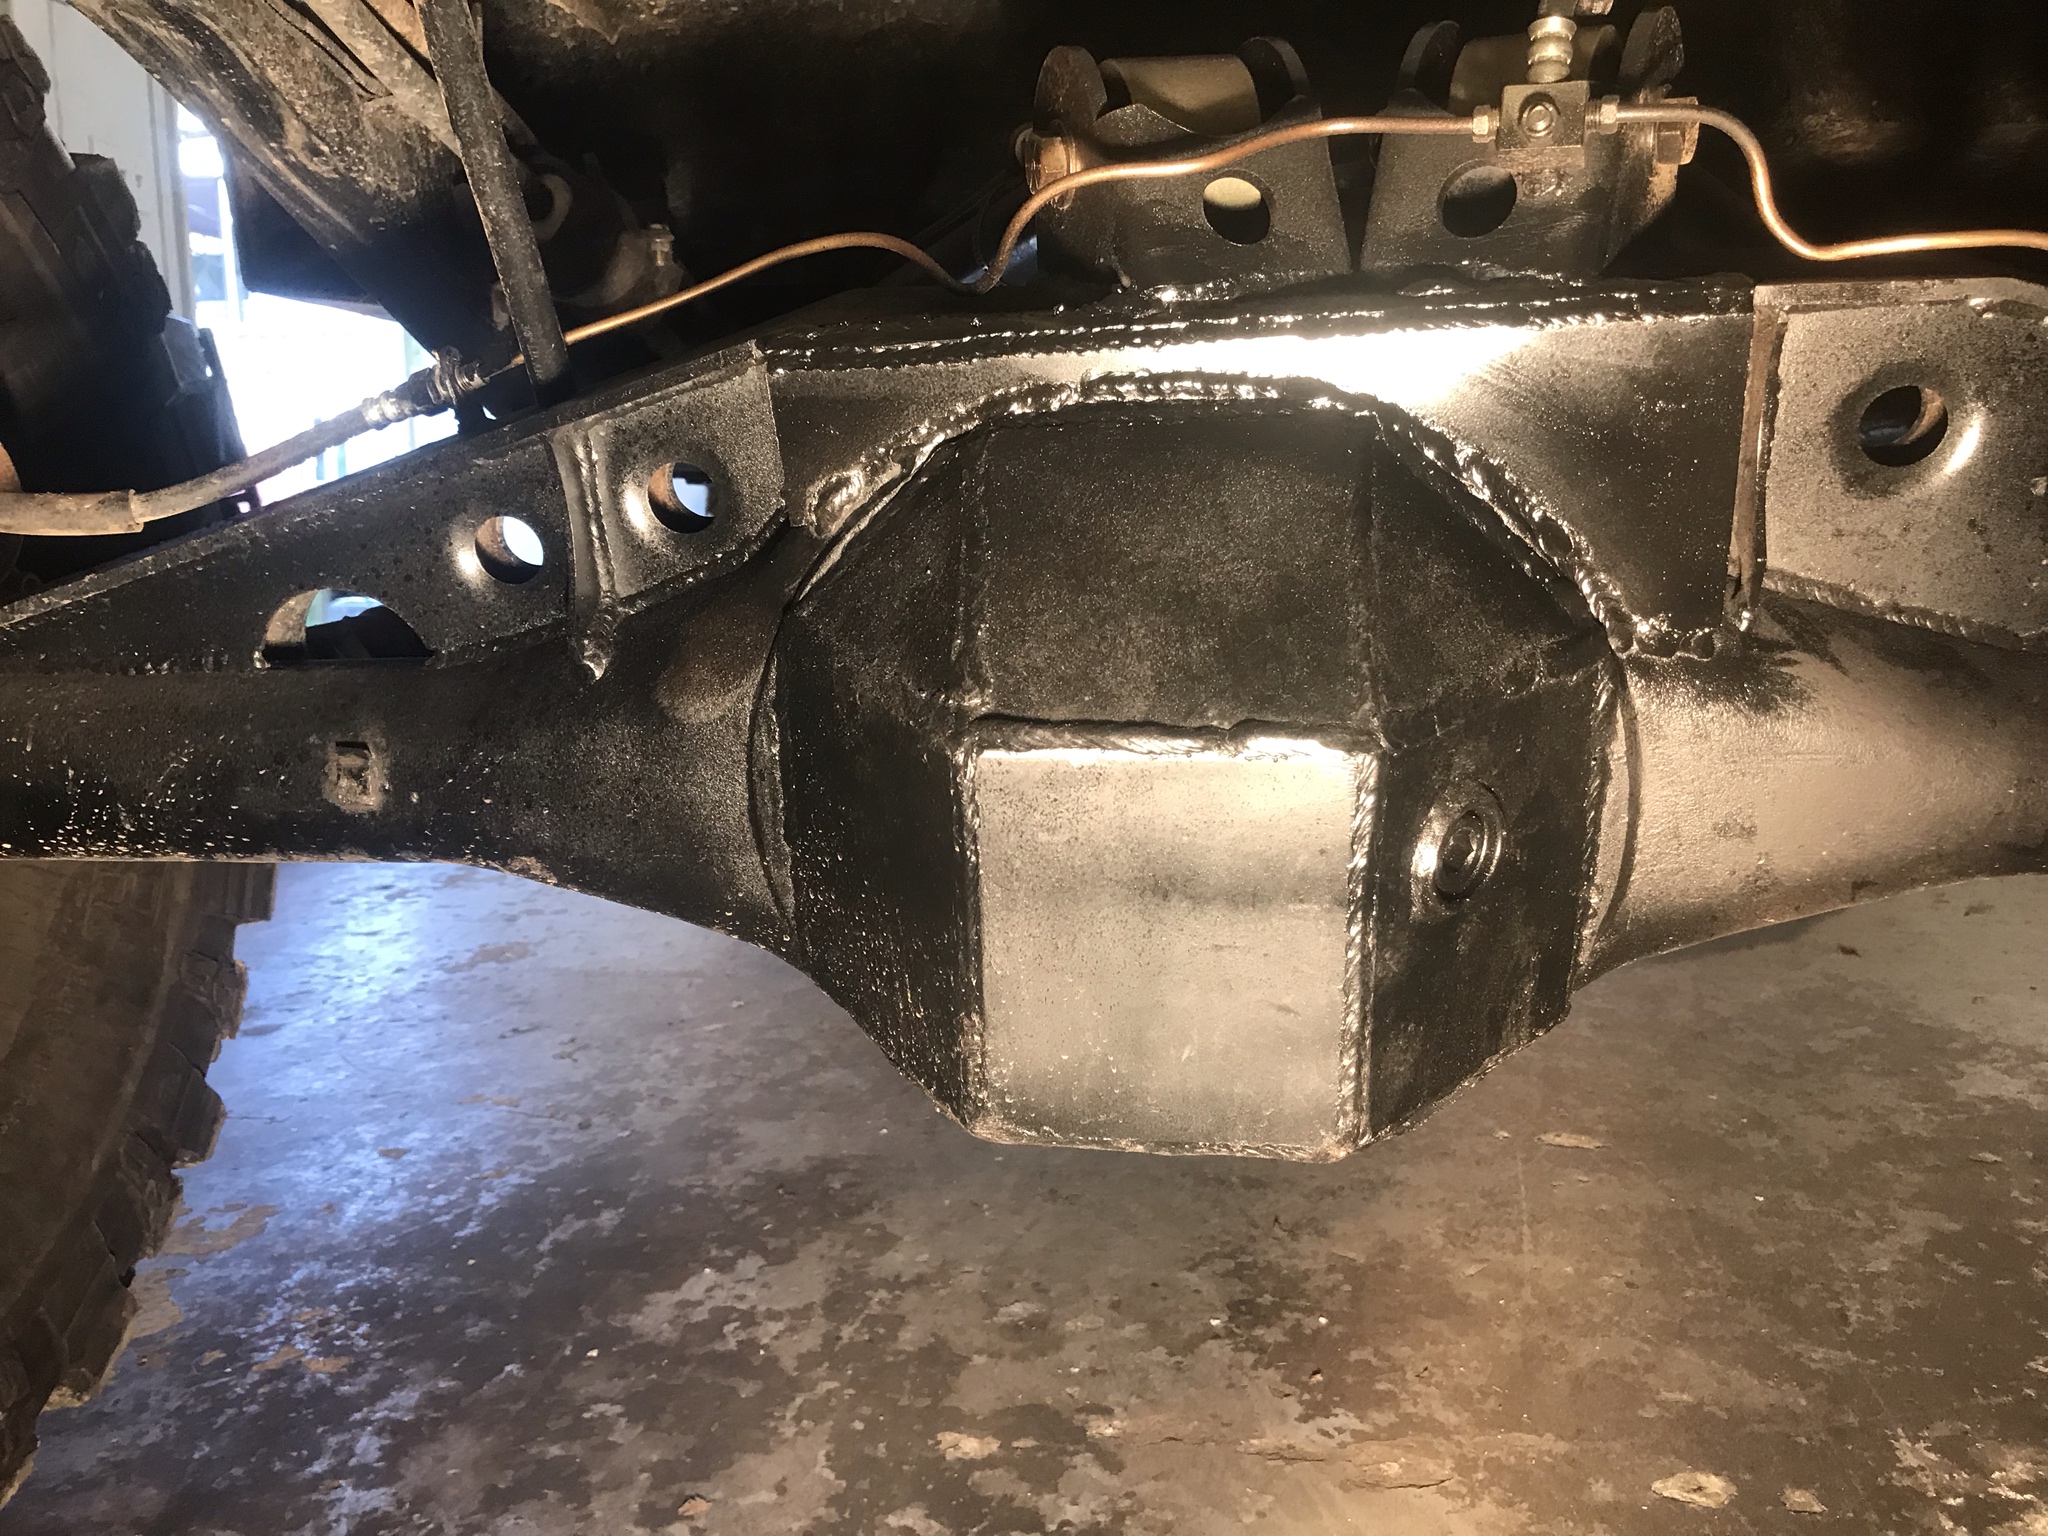
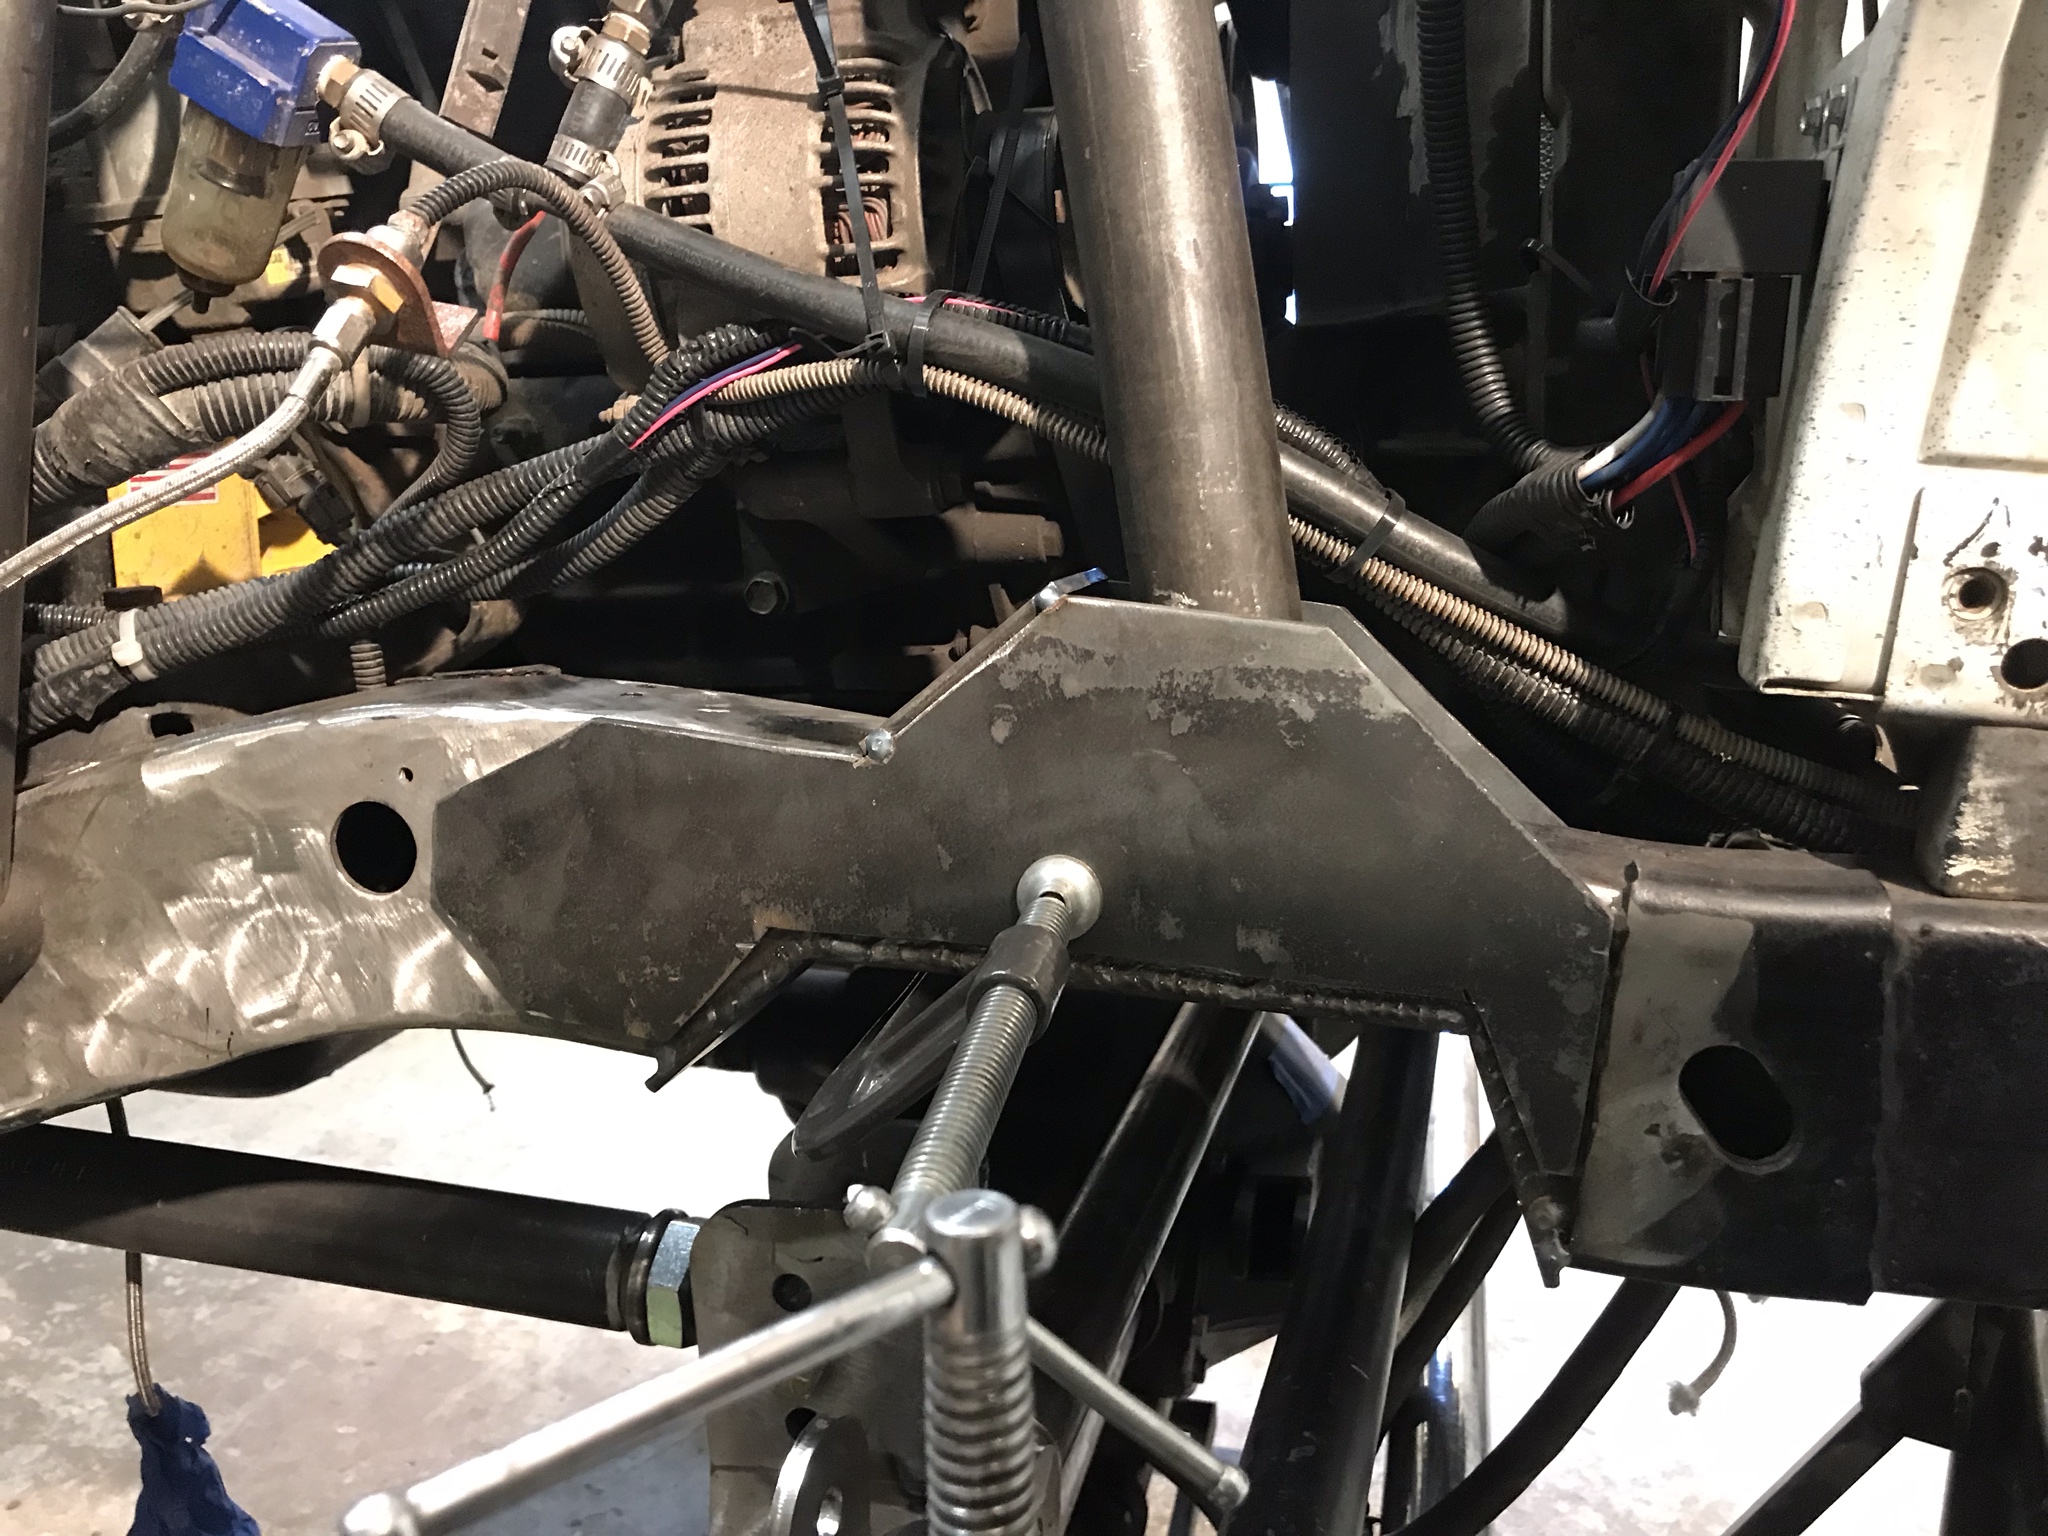
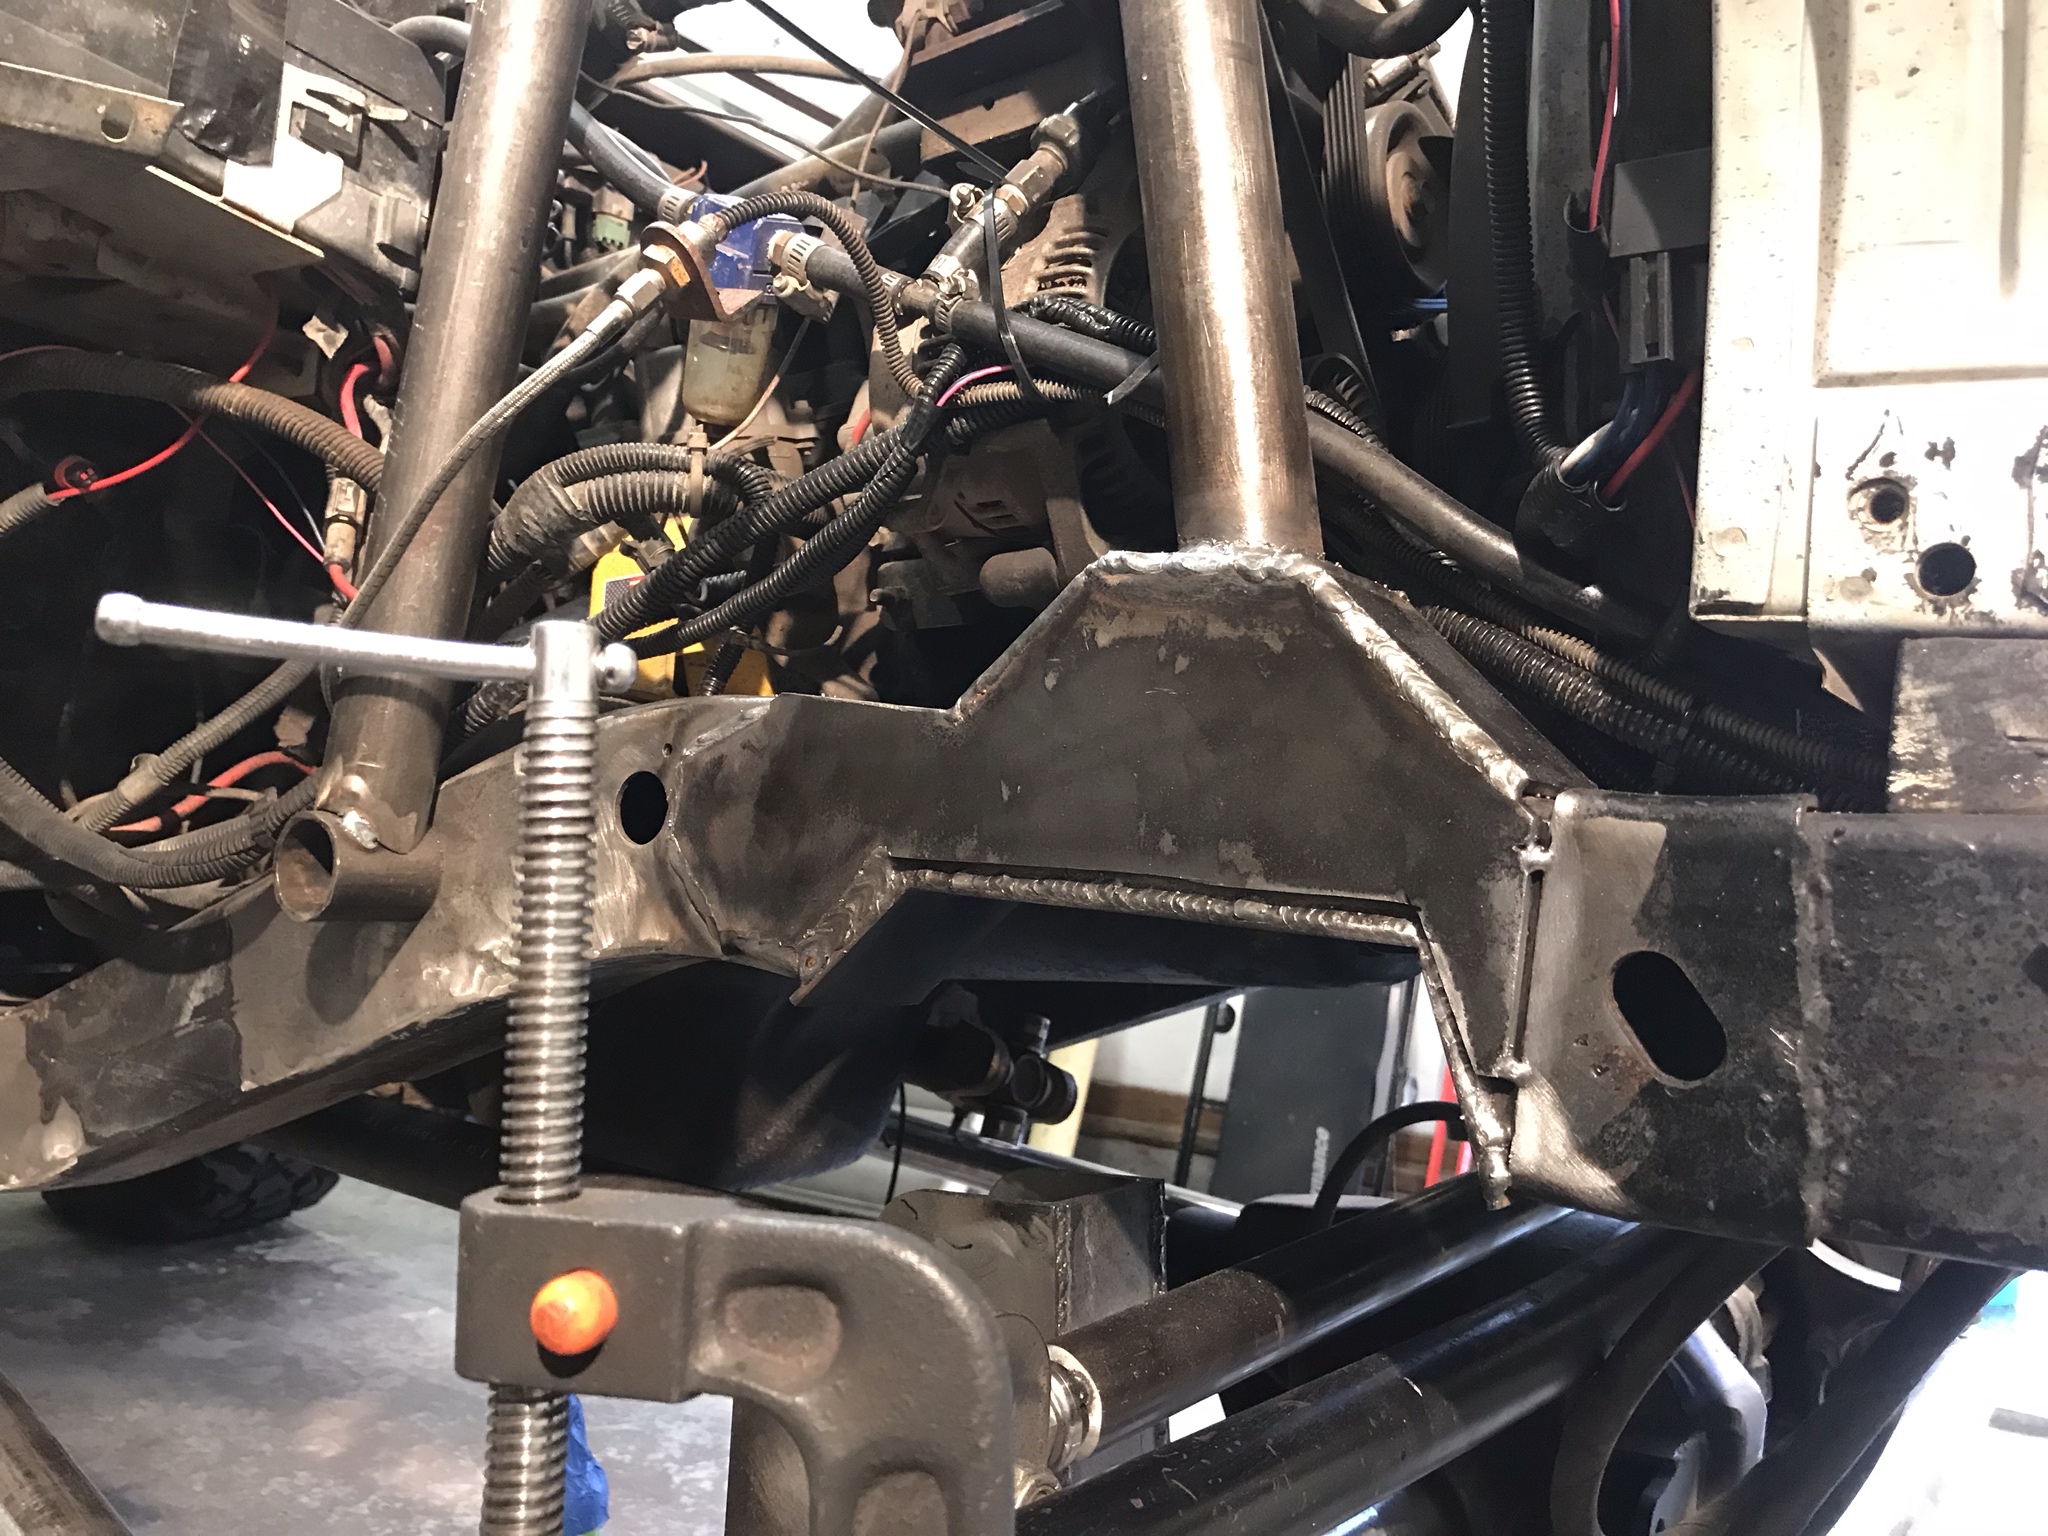
After that I pulled the axle for final welding and started building my shock tower brace and reinforcing my shock tabs on the hoops.

yyceWOf.jpg


DkPRJQk.jpg


F0TETWz.jpg


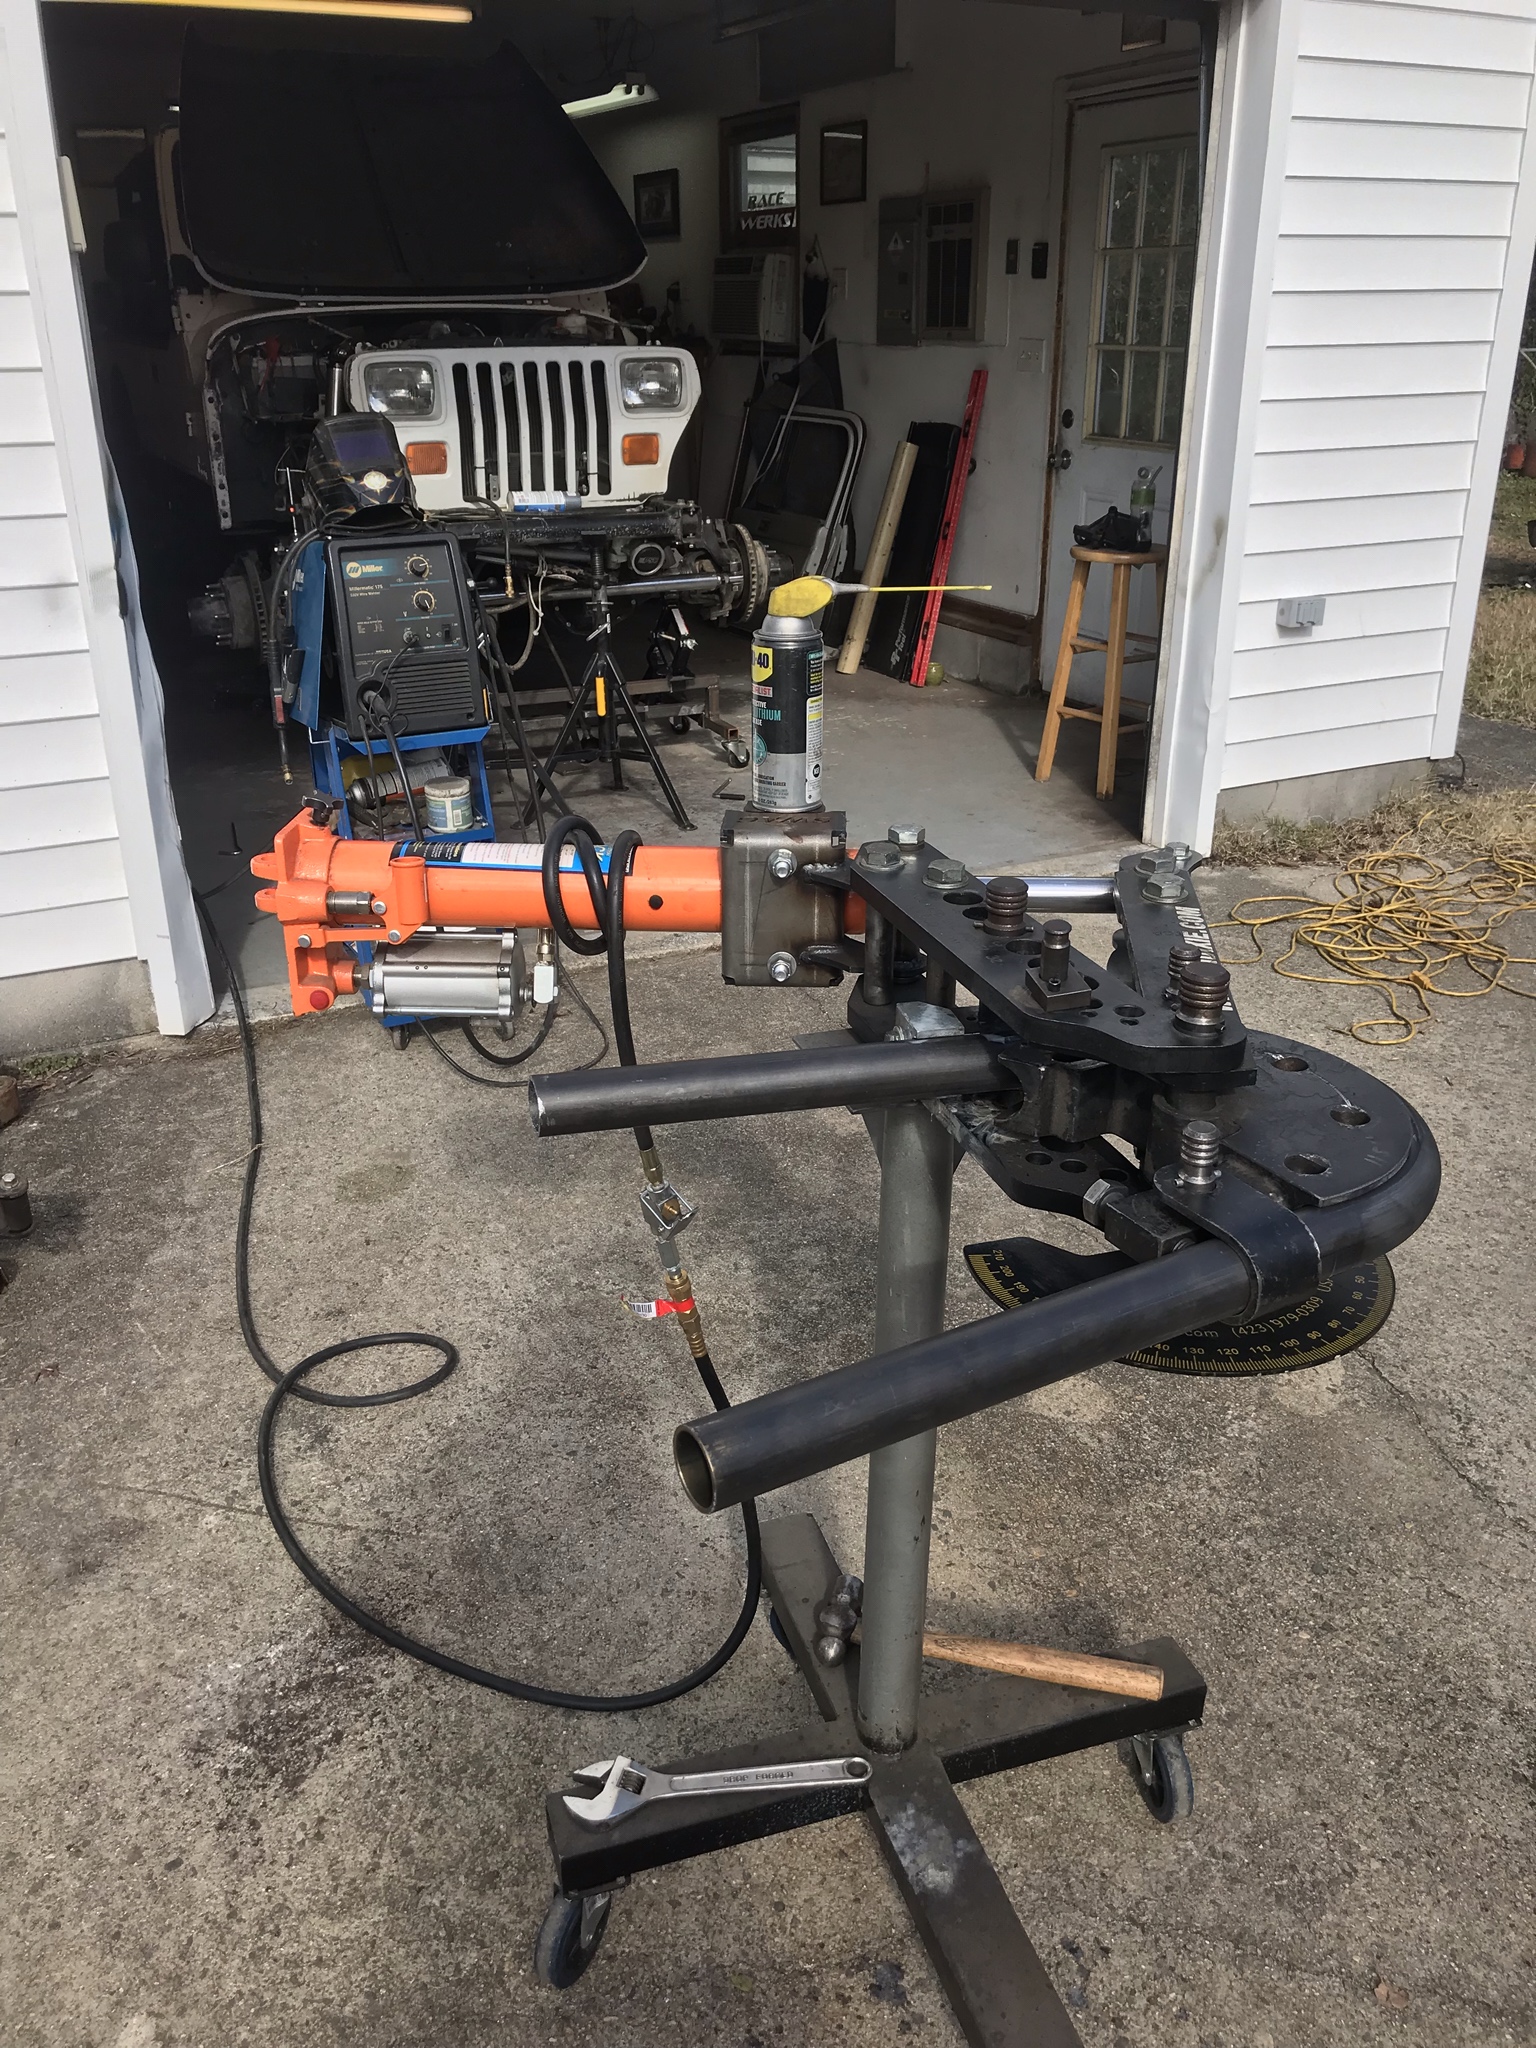
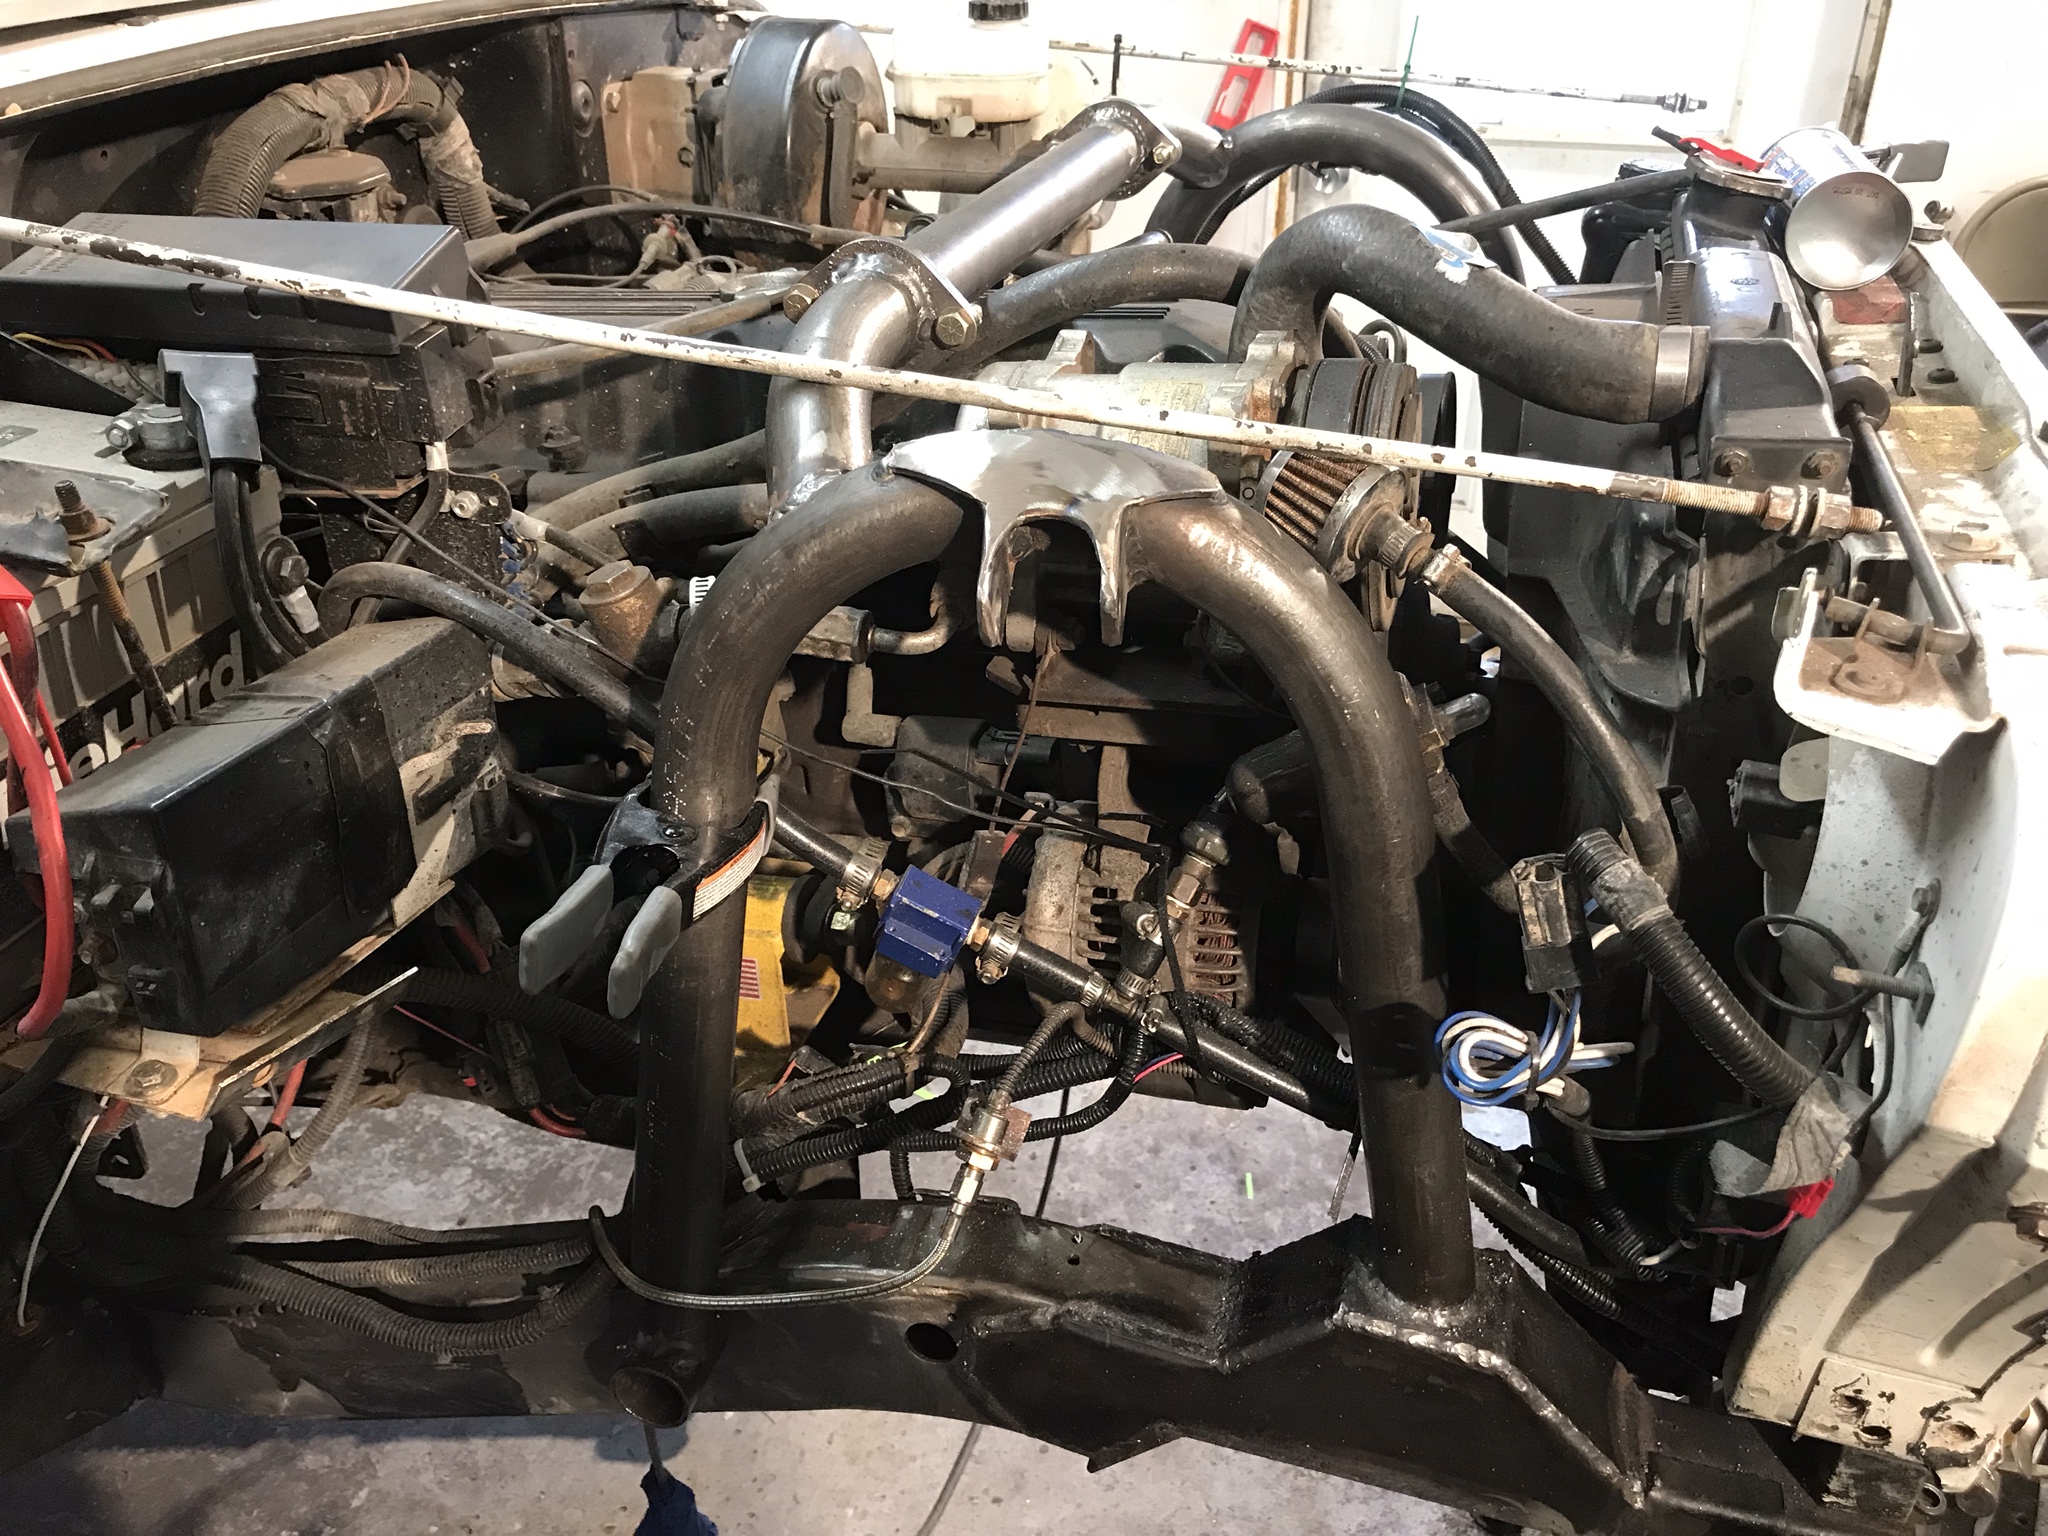
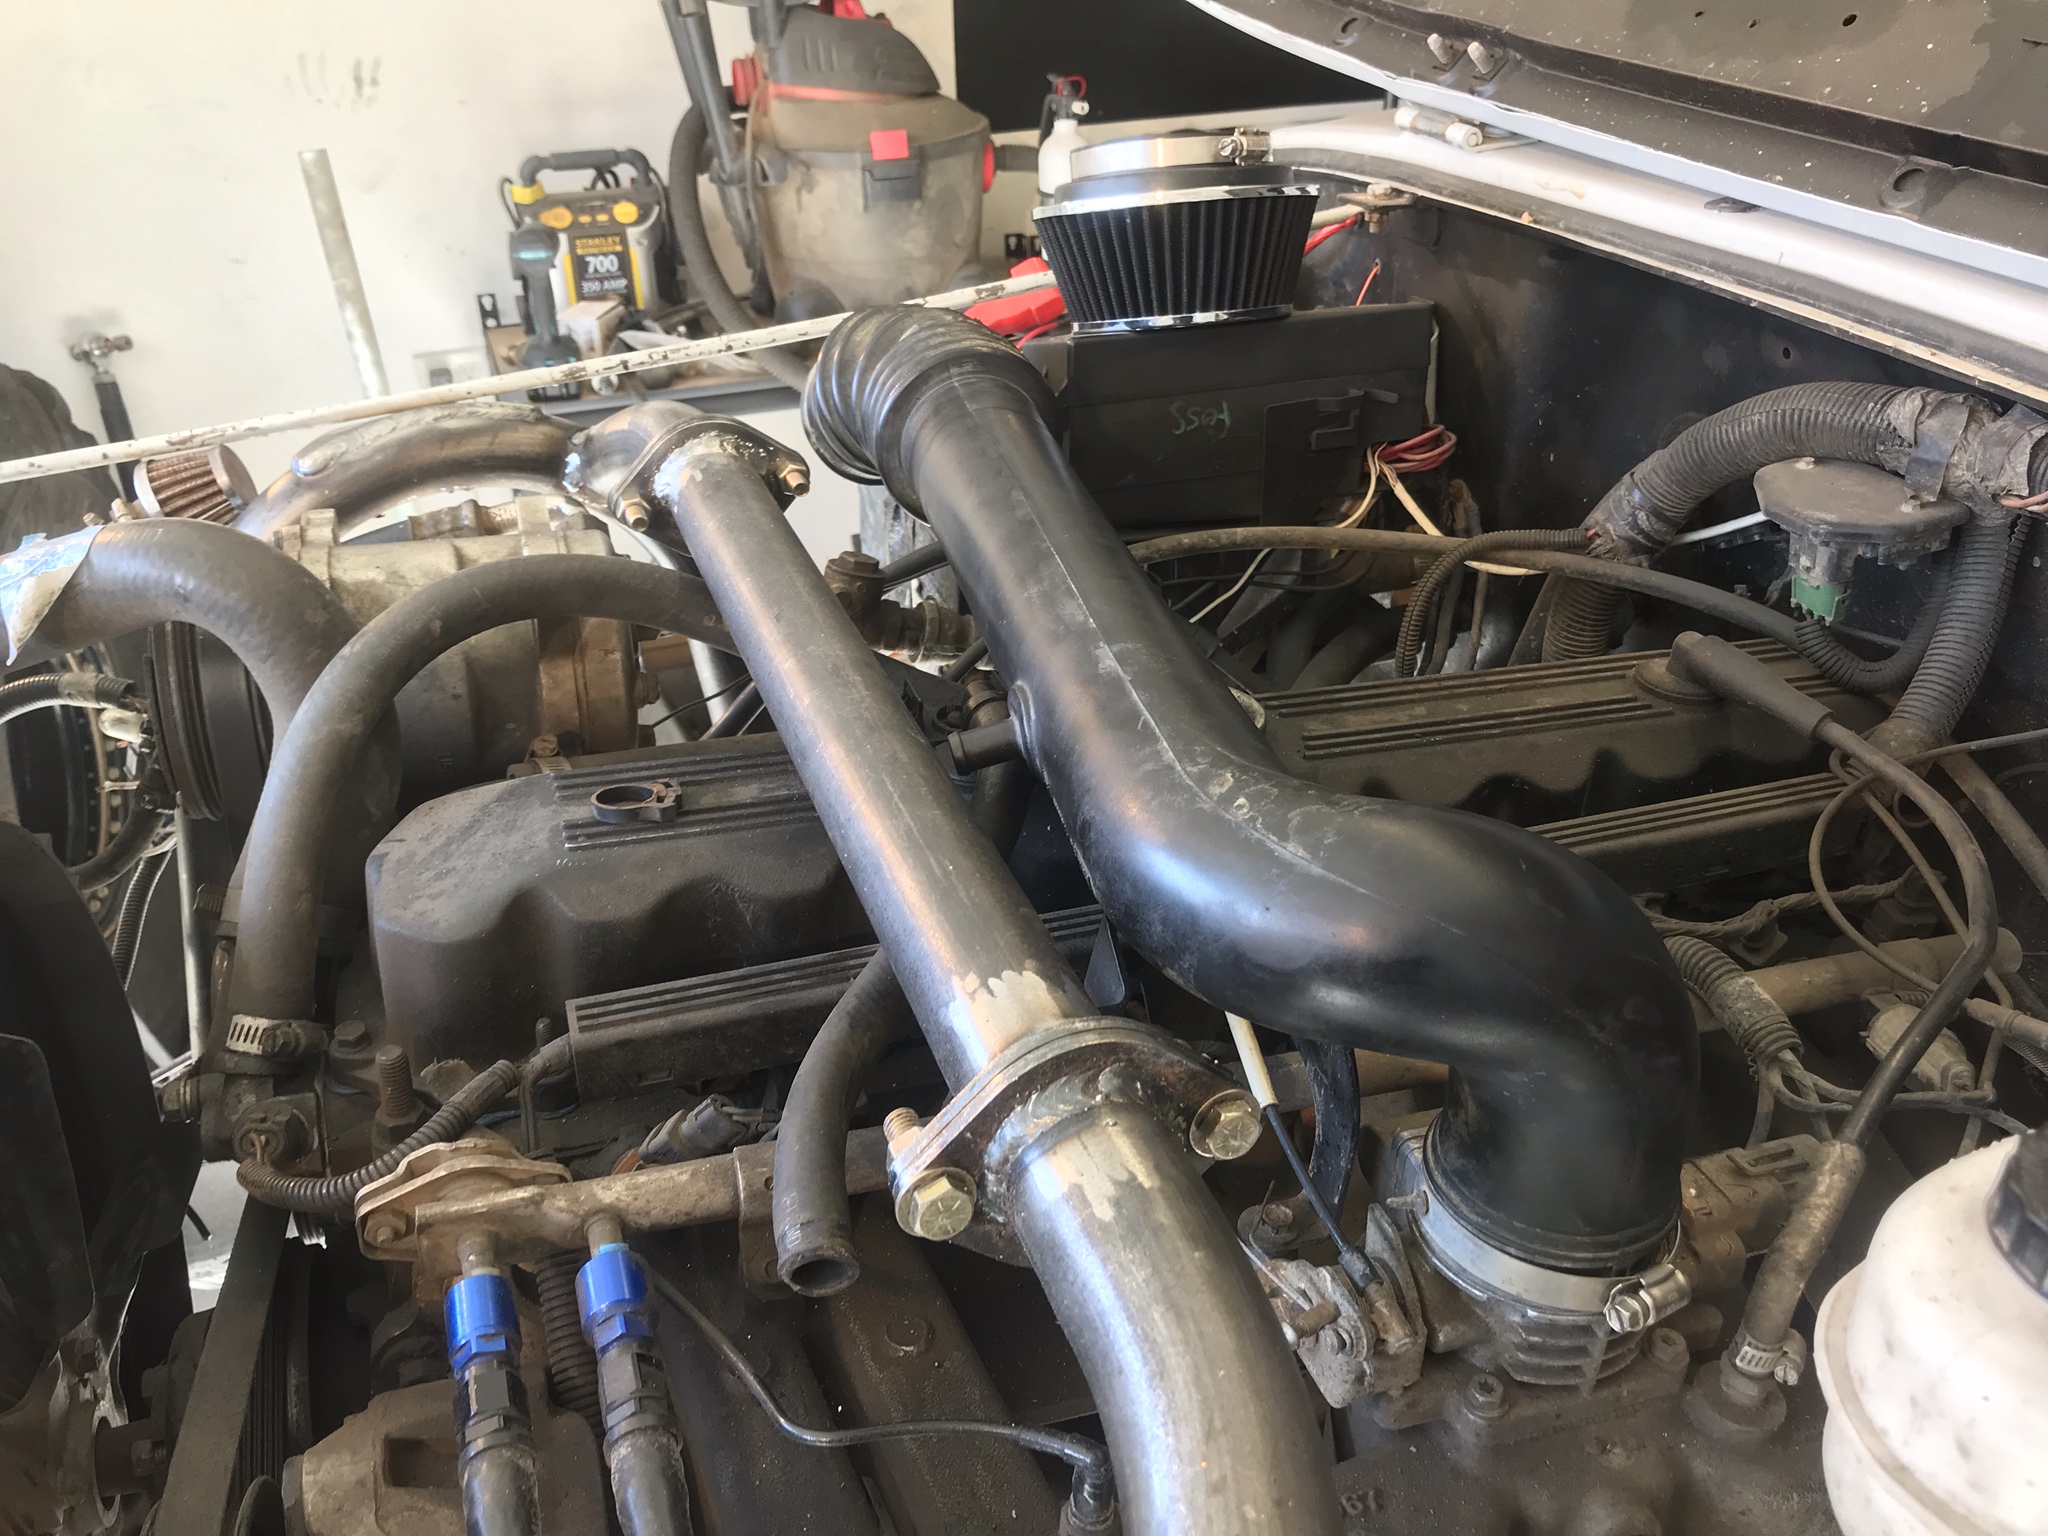
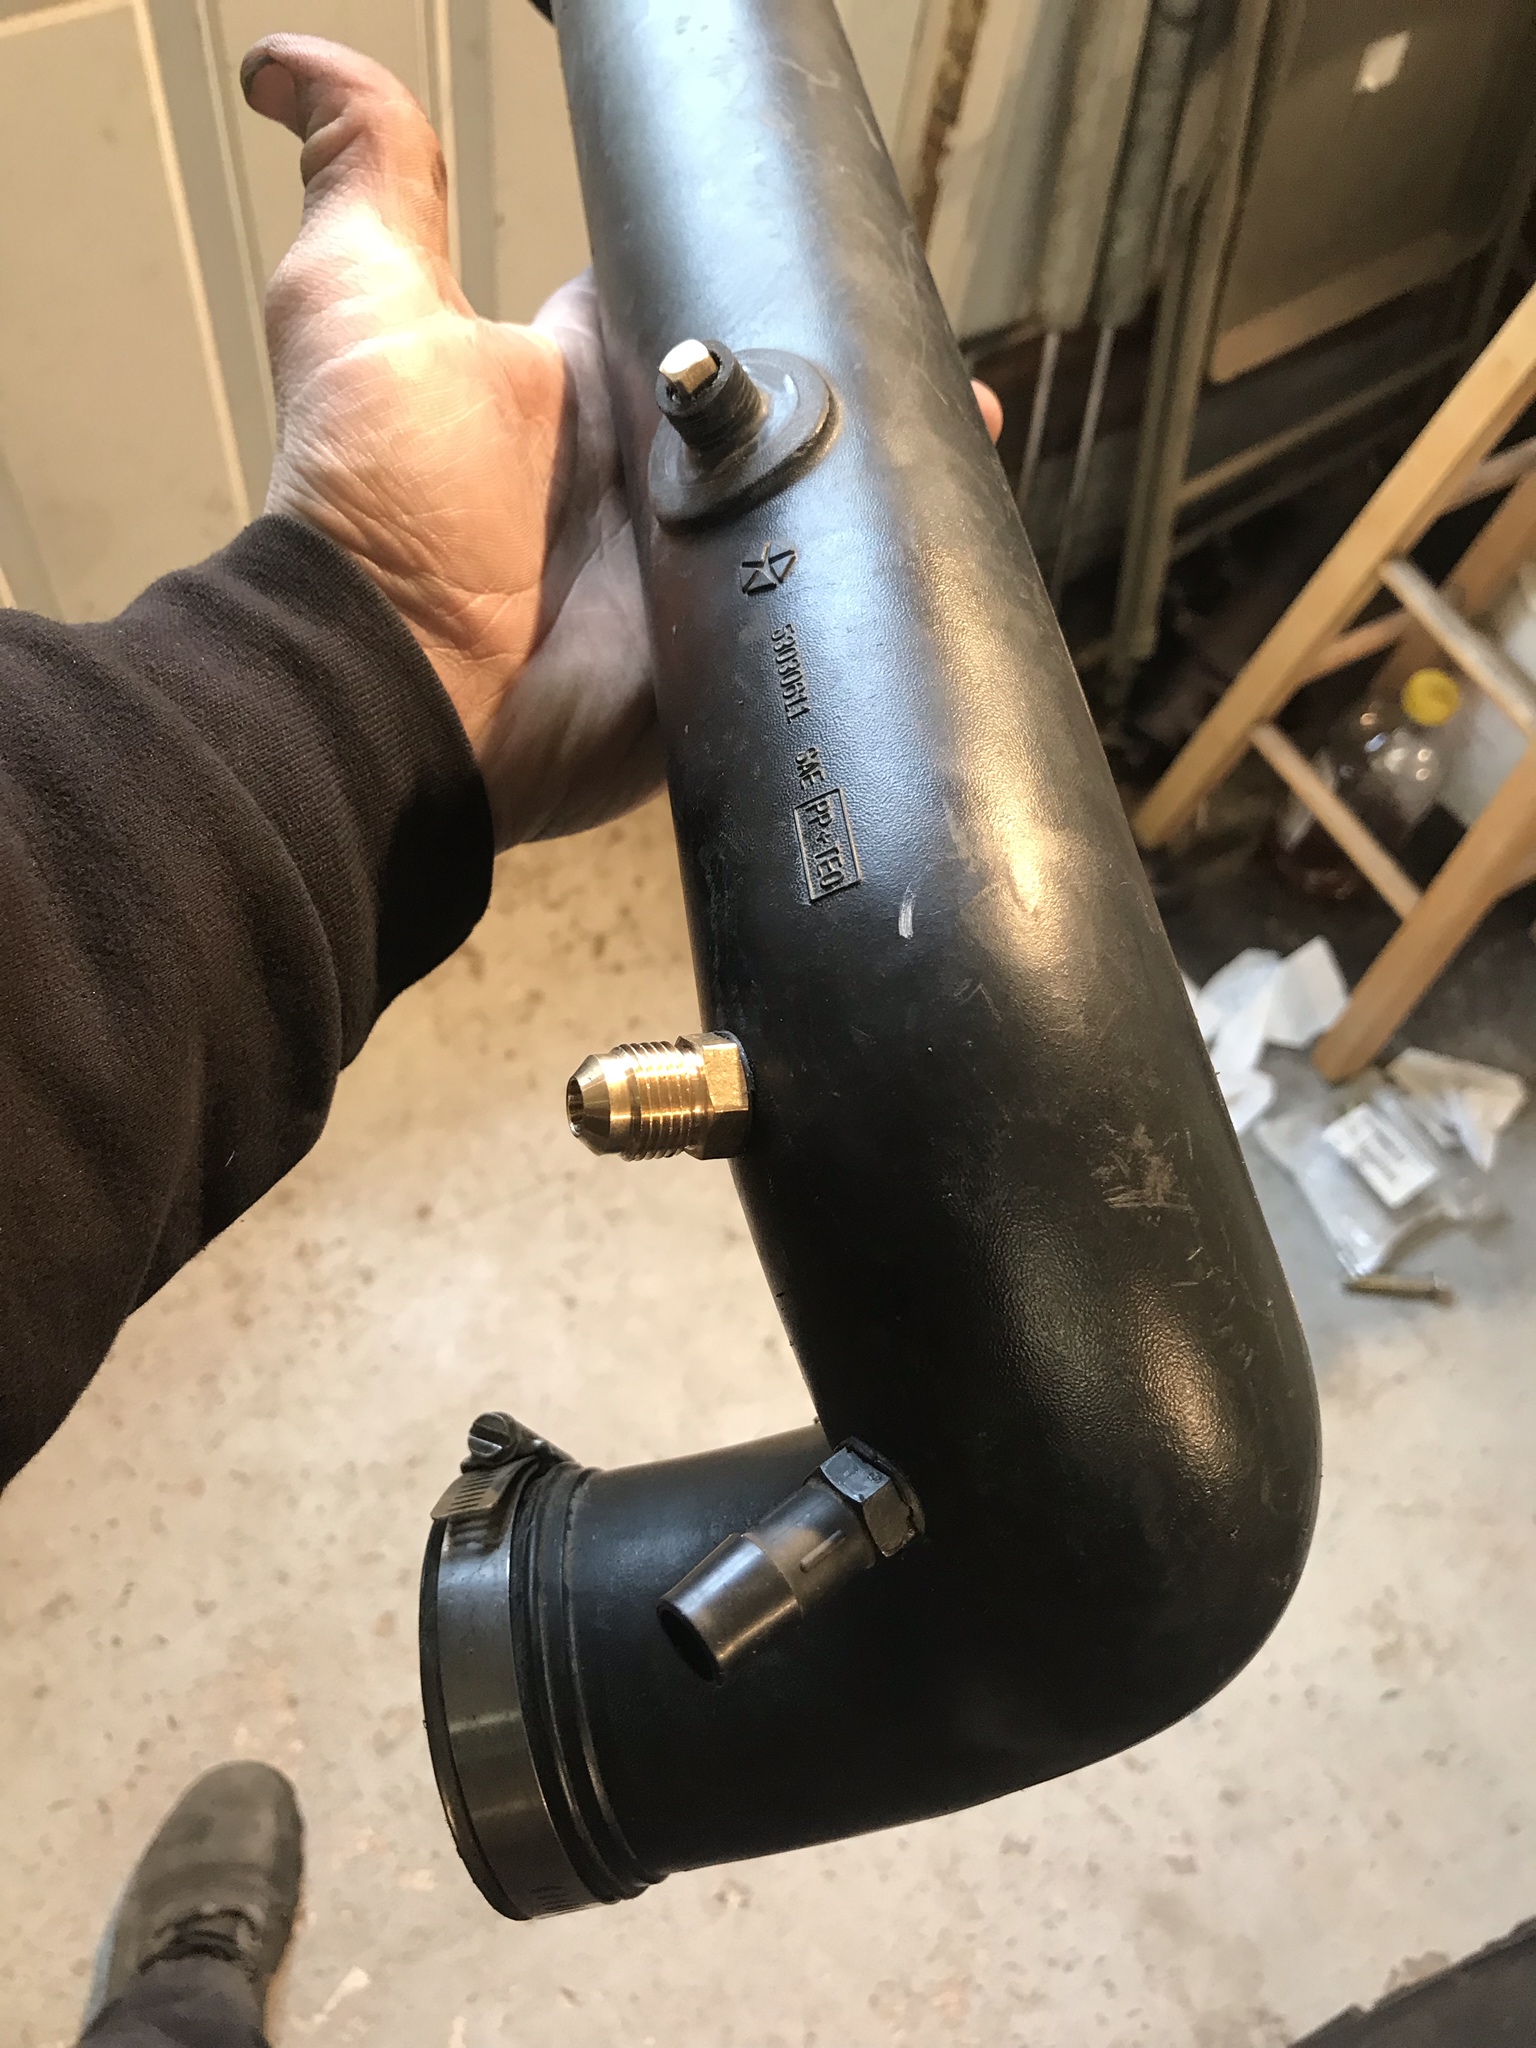
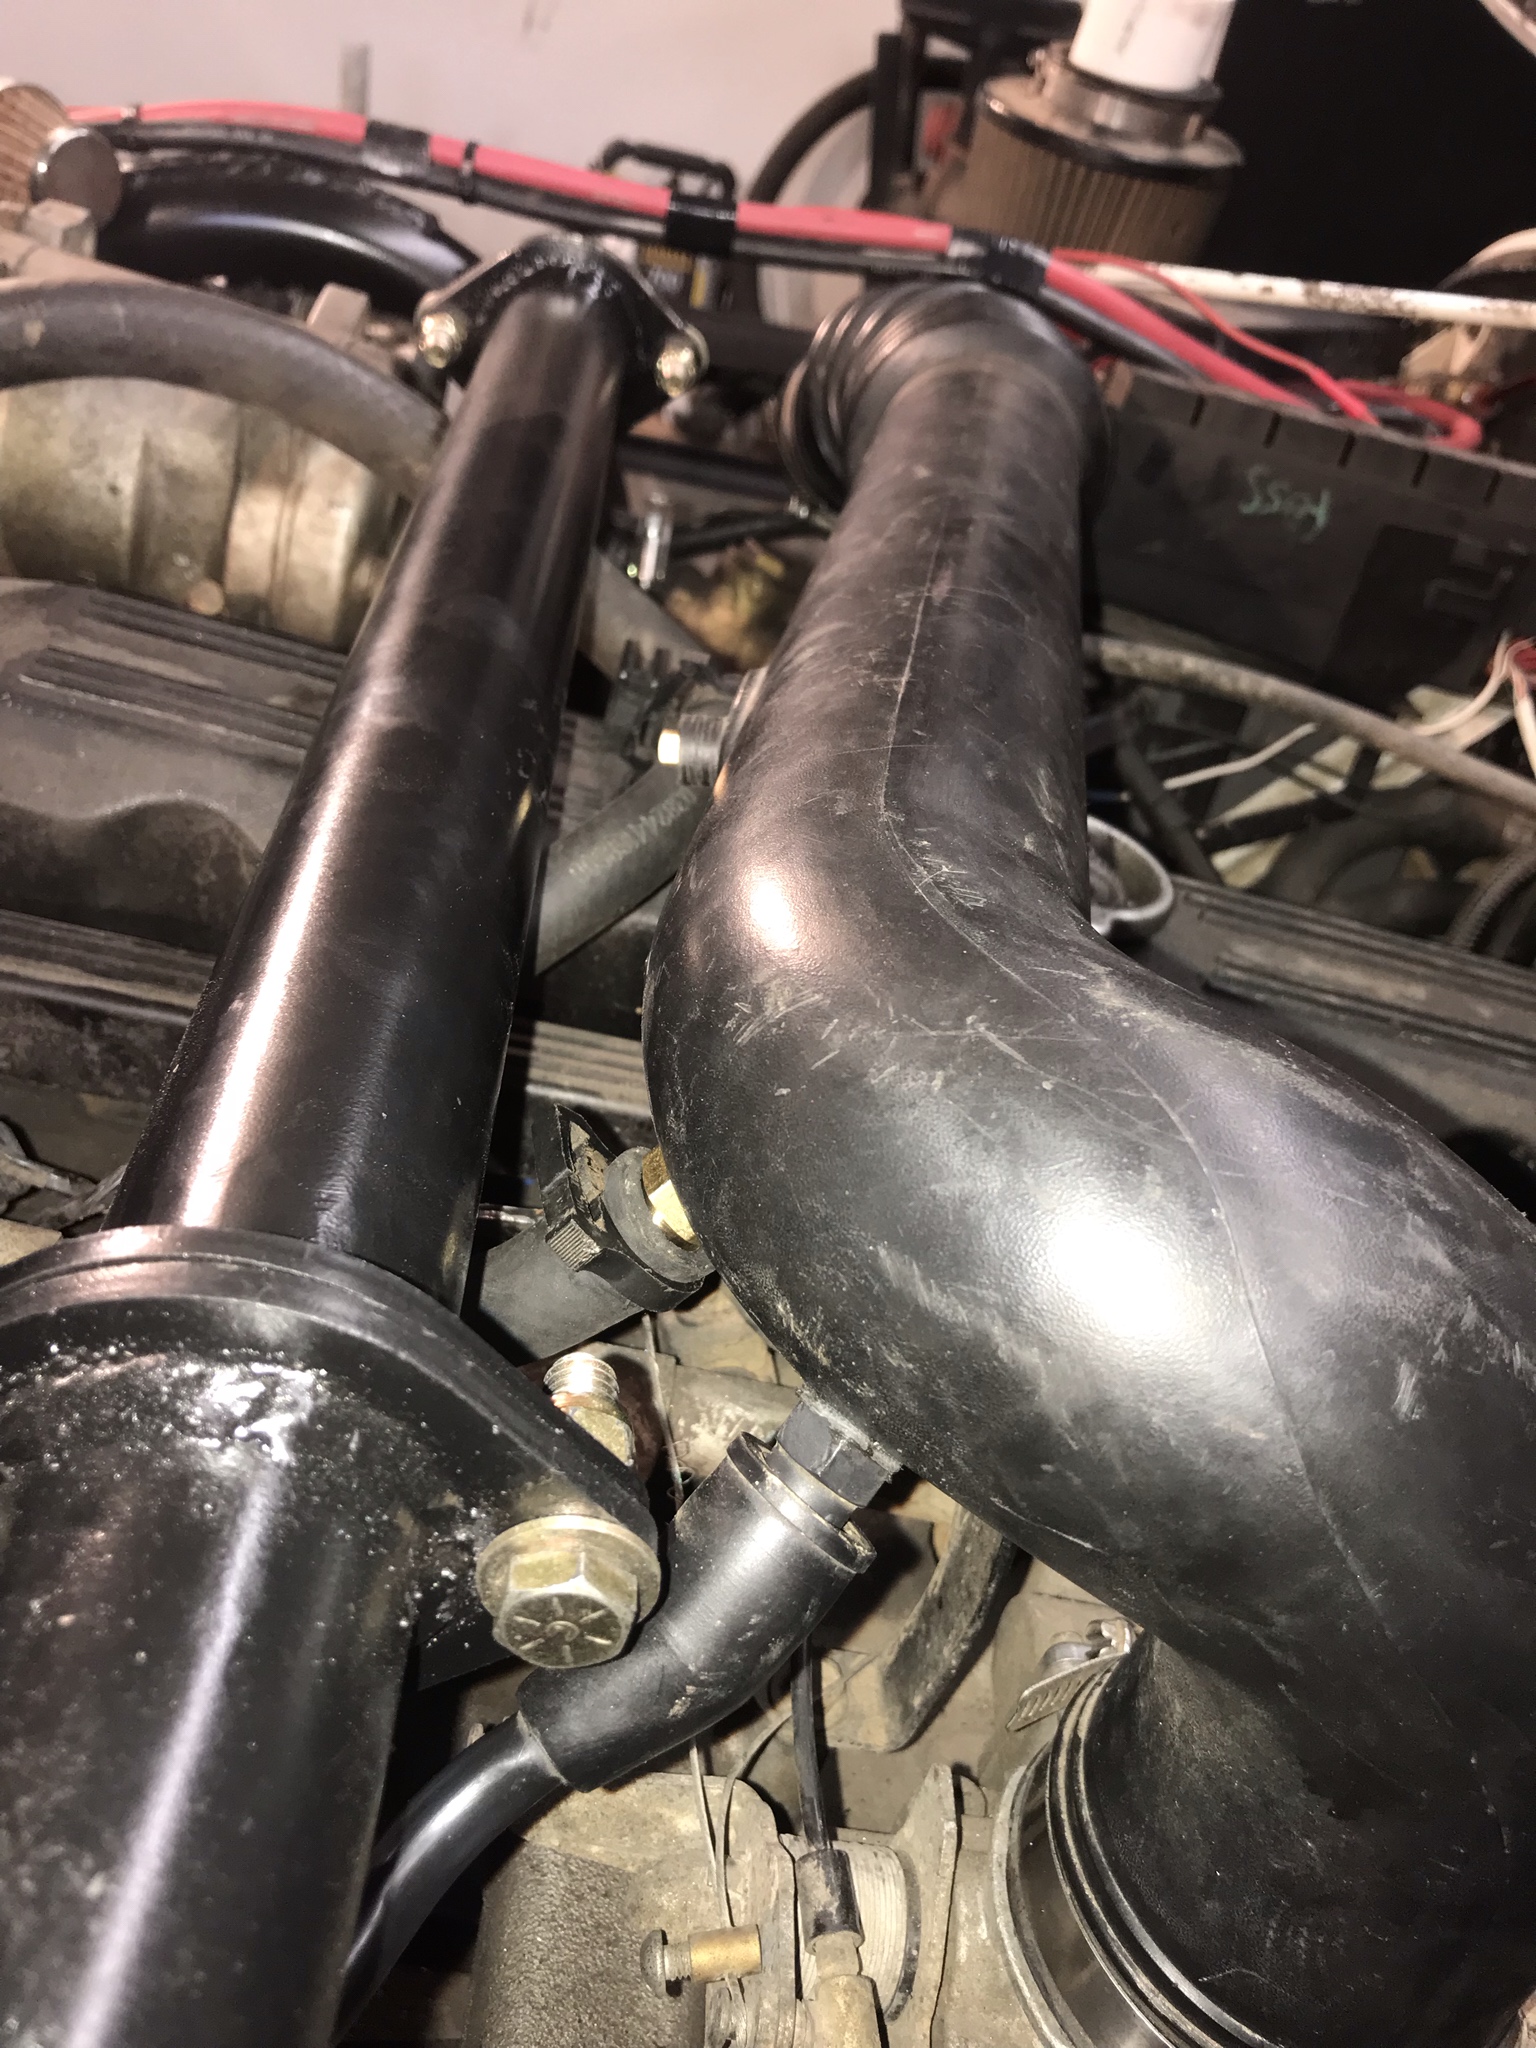
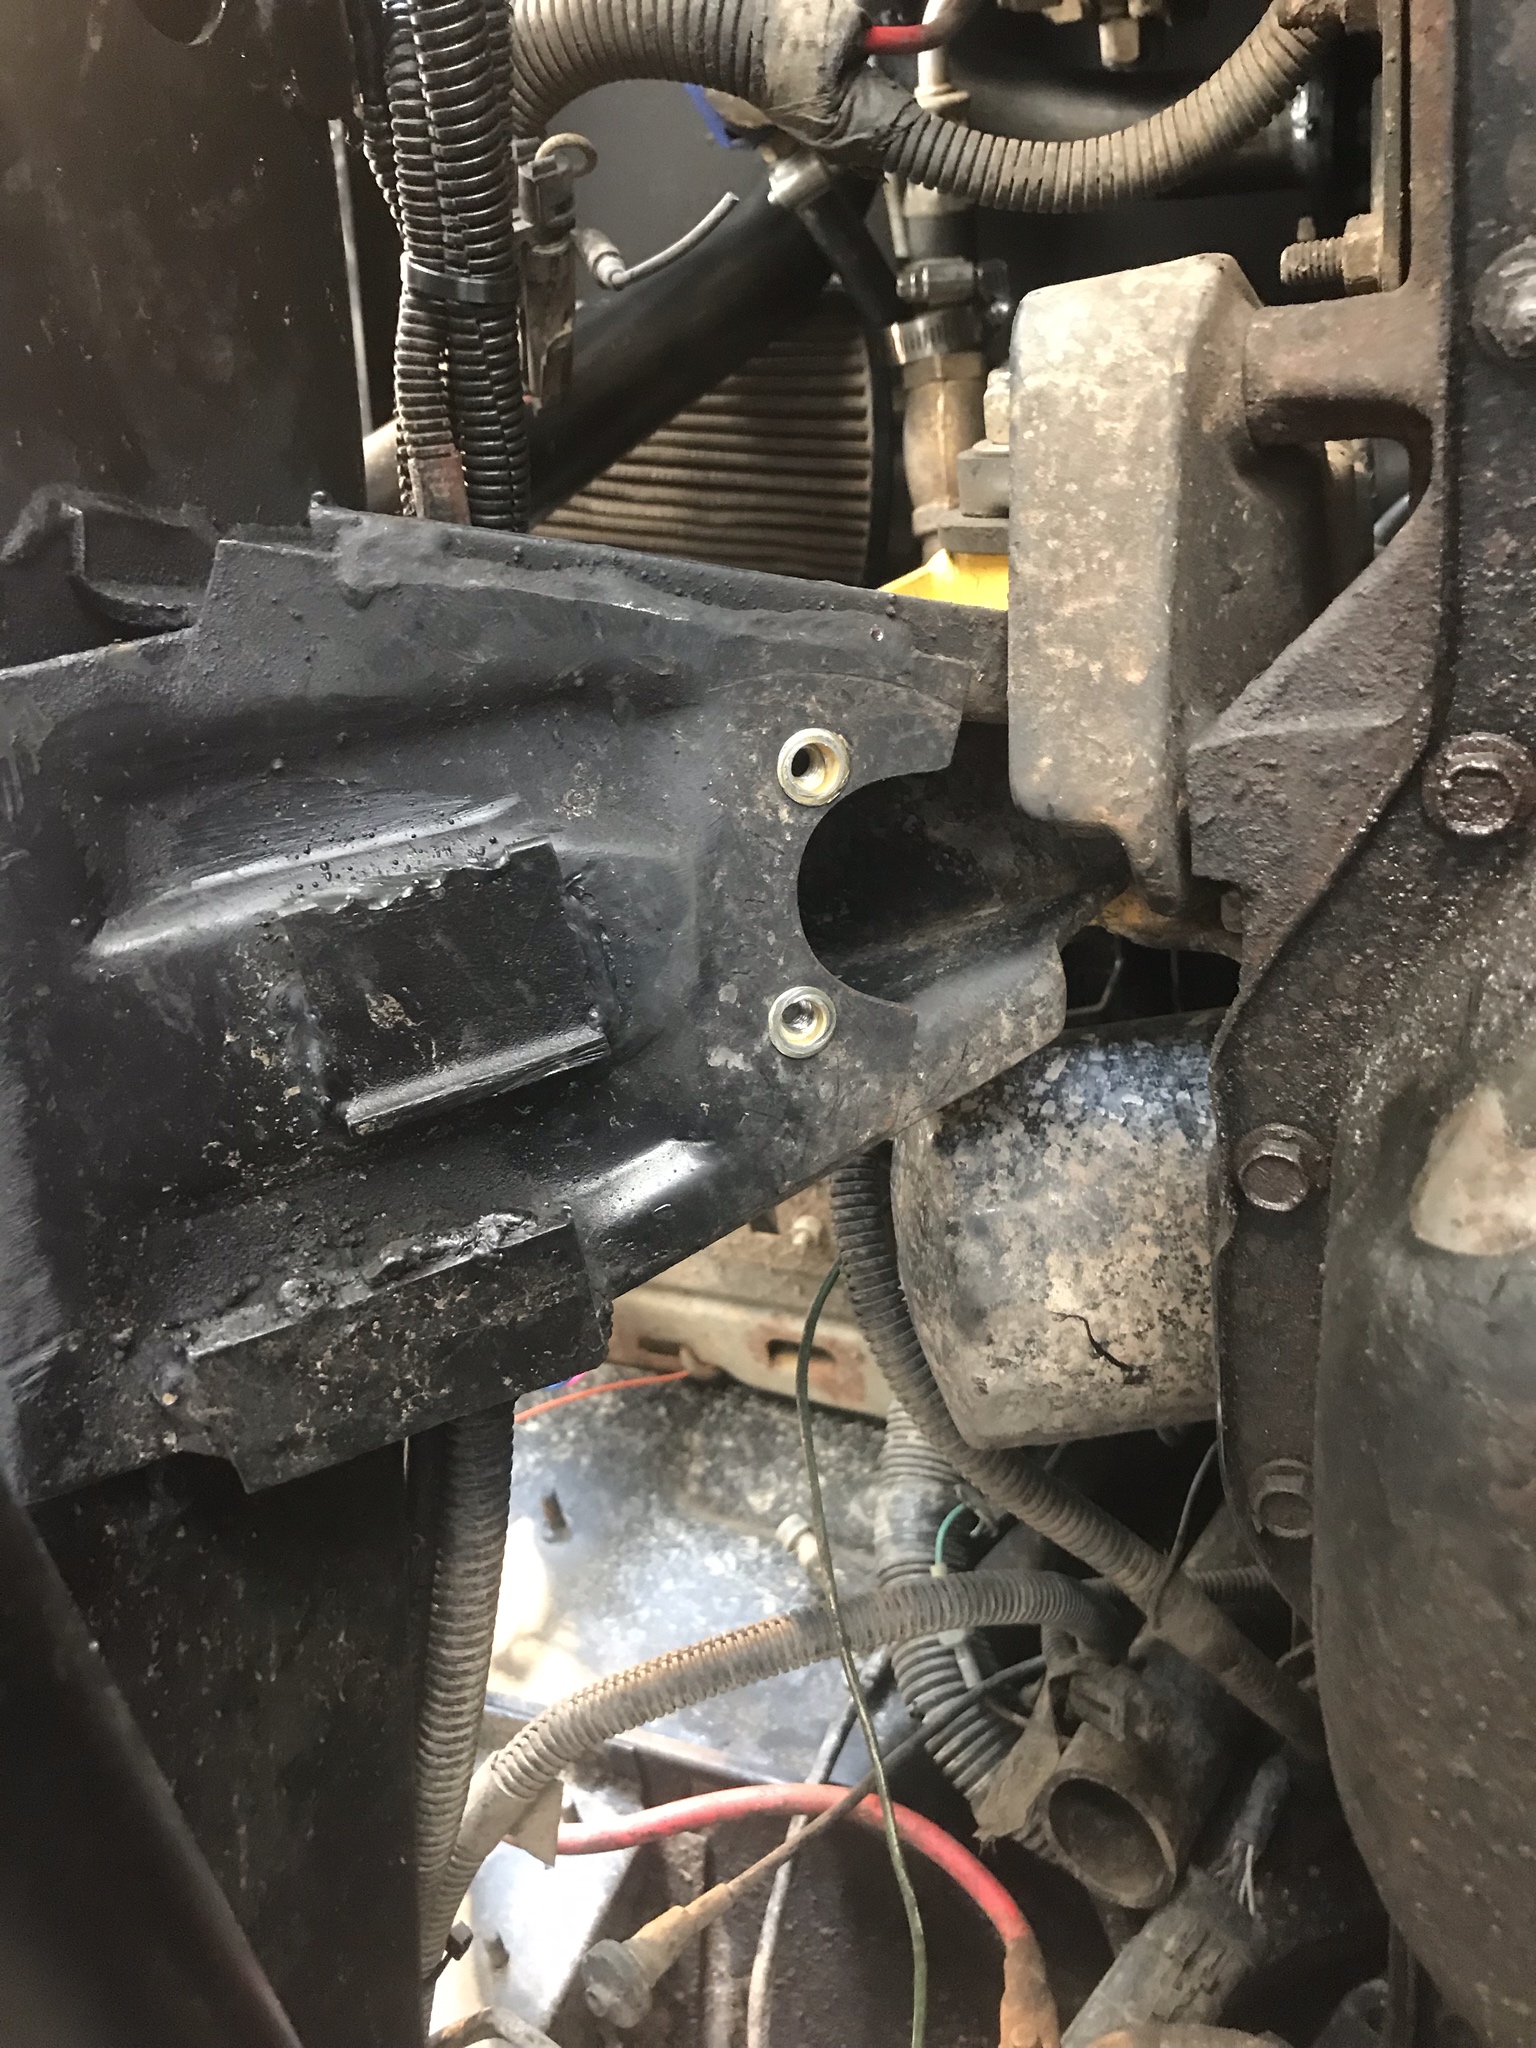
One problem with the new shock hoops and brace is that my Airaid intake tube and filter no longer fits.

Can't fit here

xx49u93.jpg


Can't fit under

KOazJaG.jpg


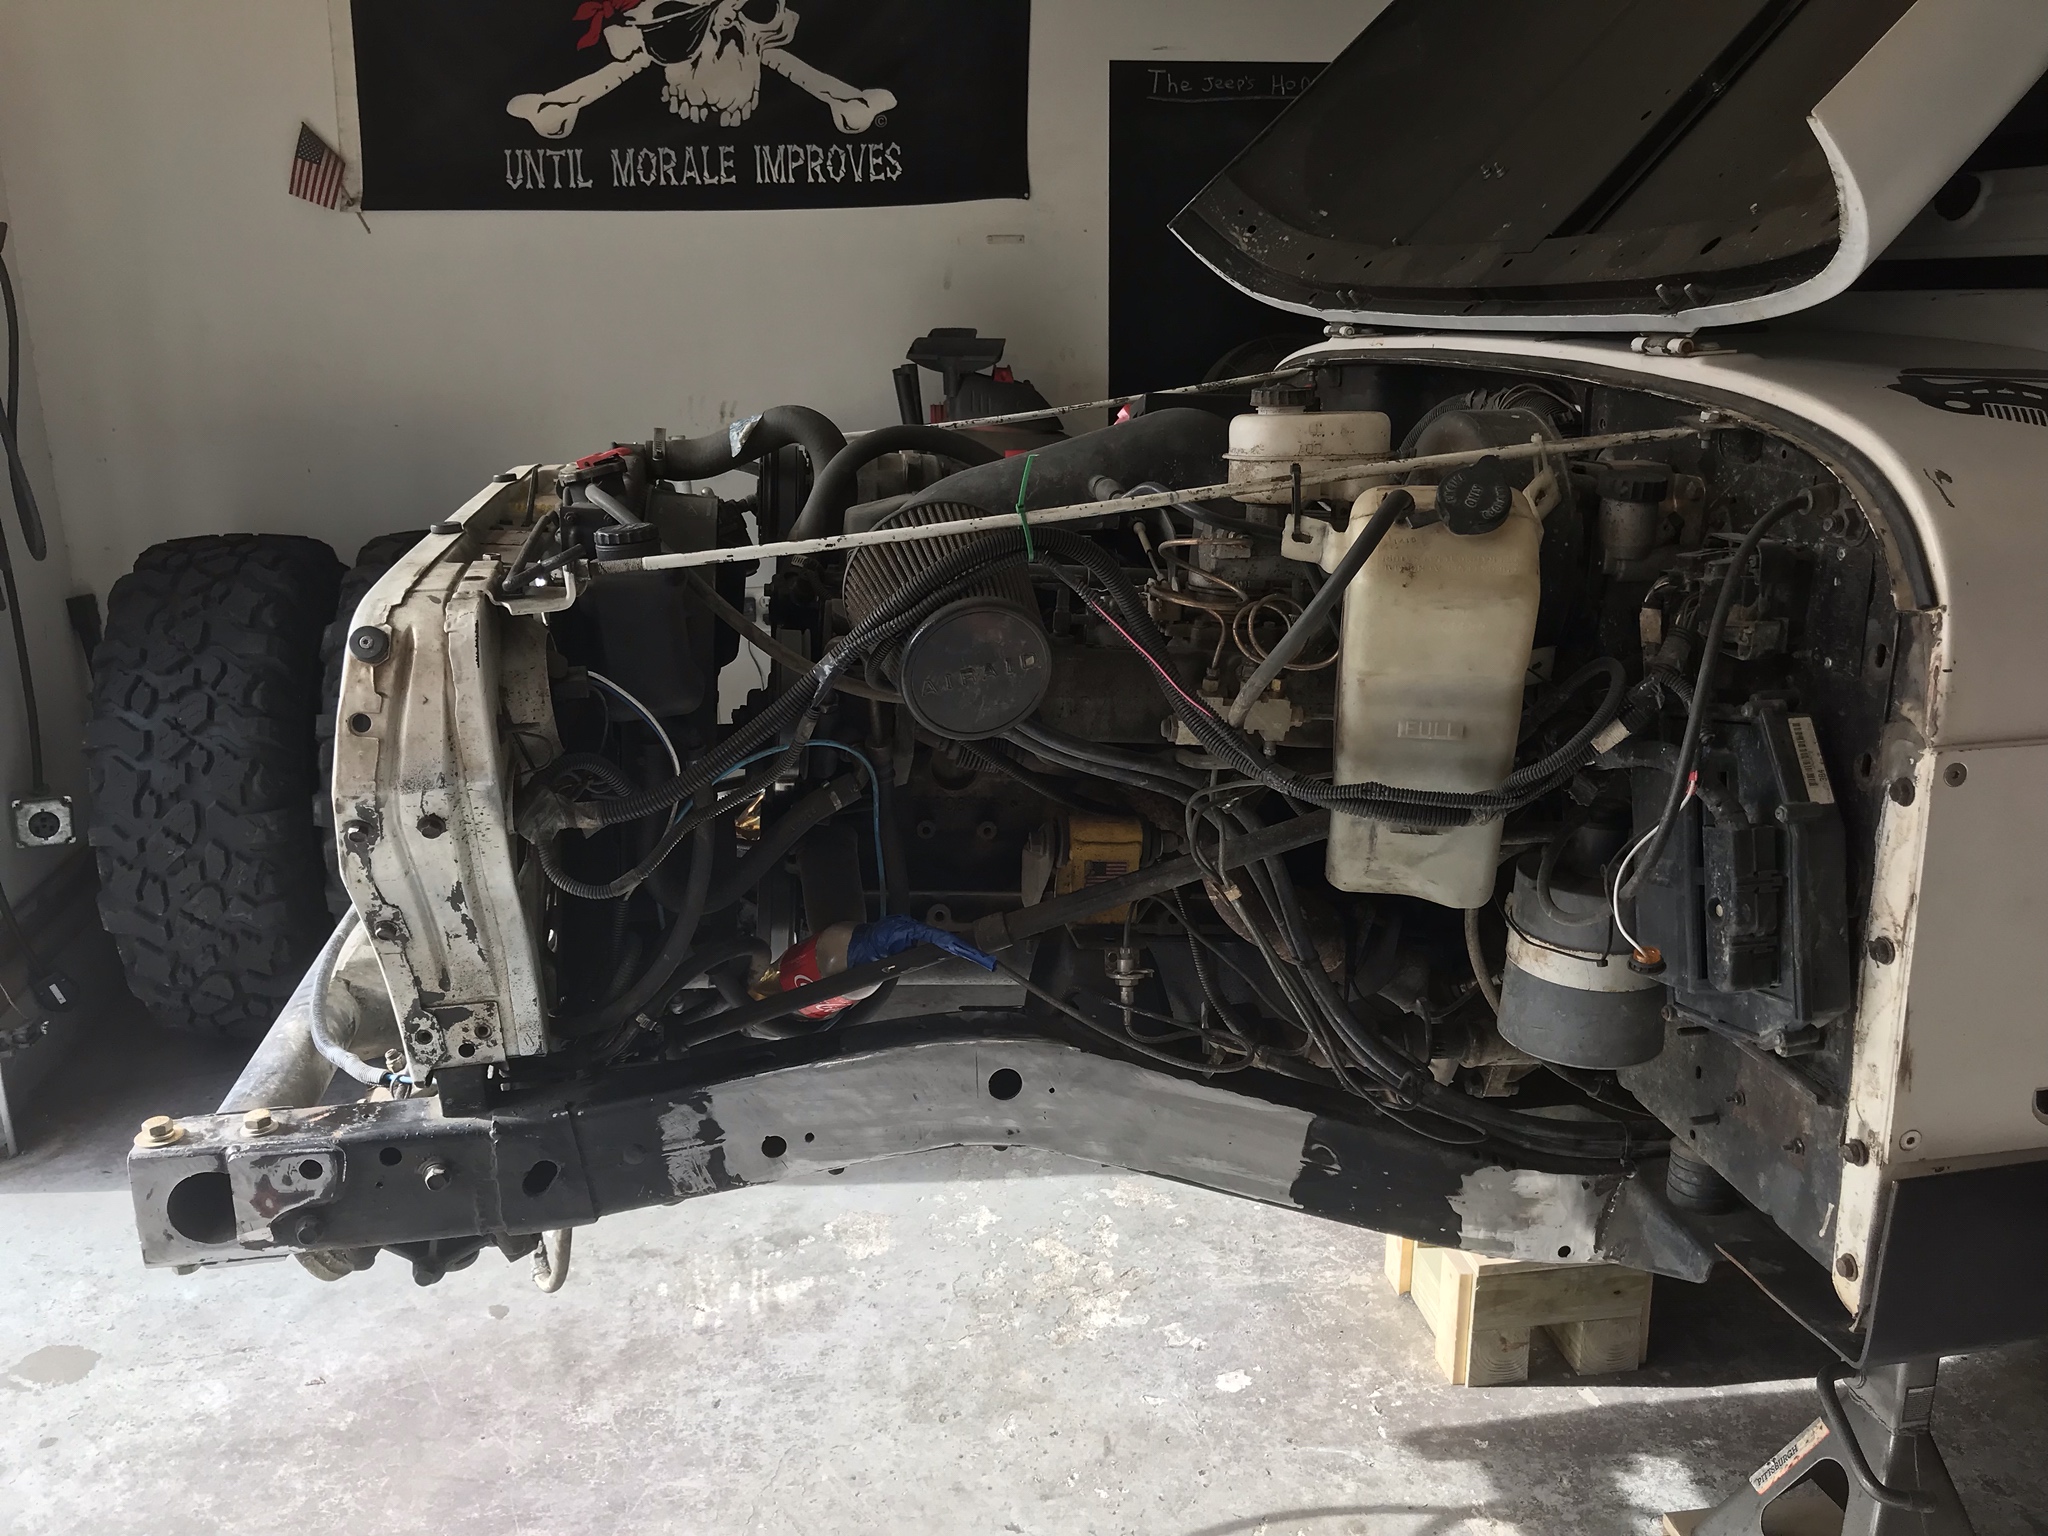
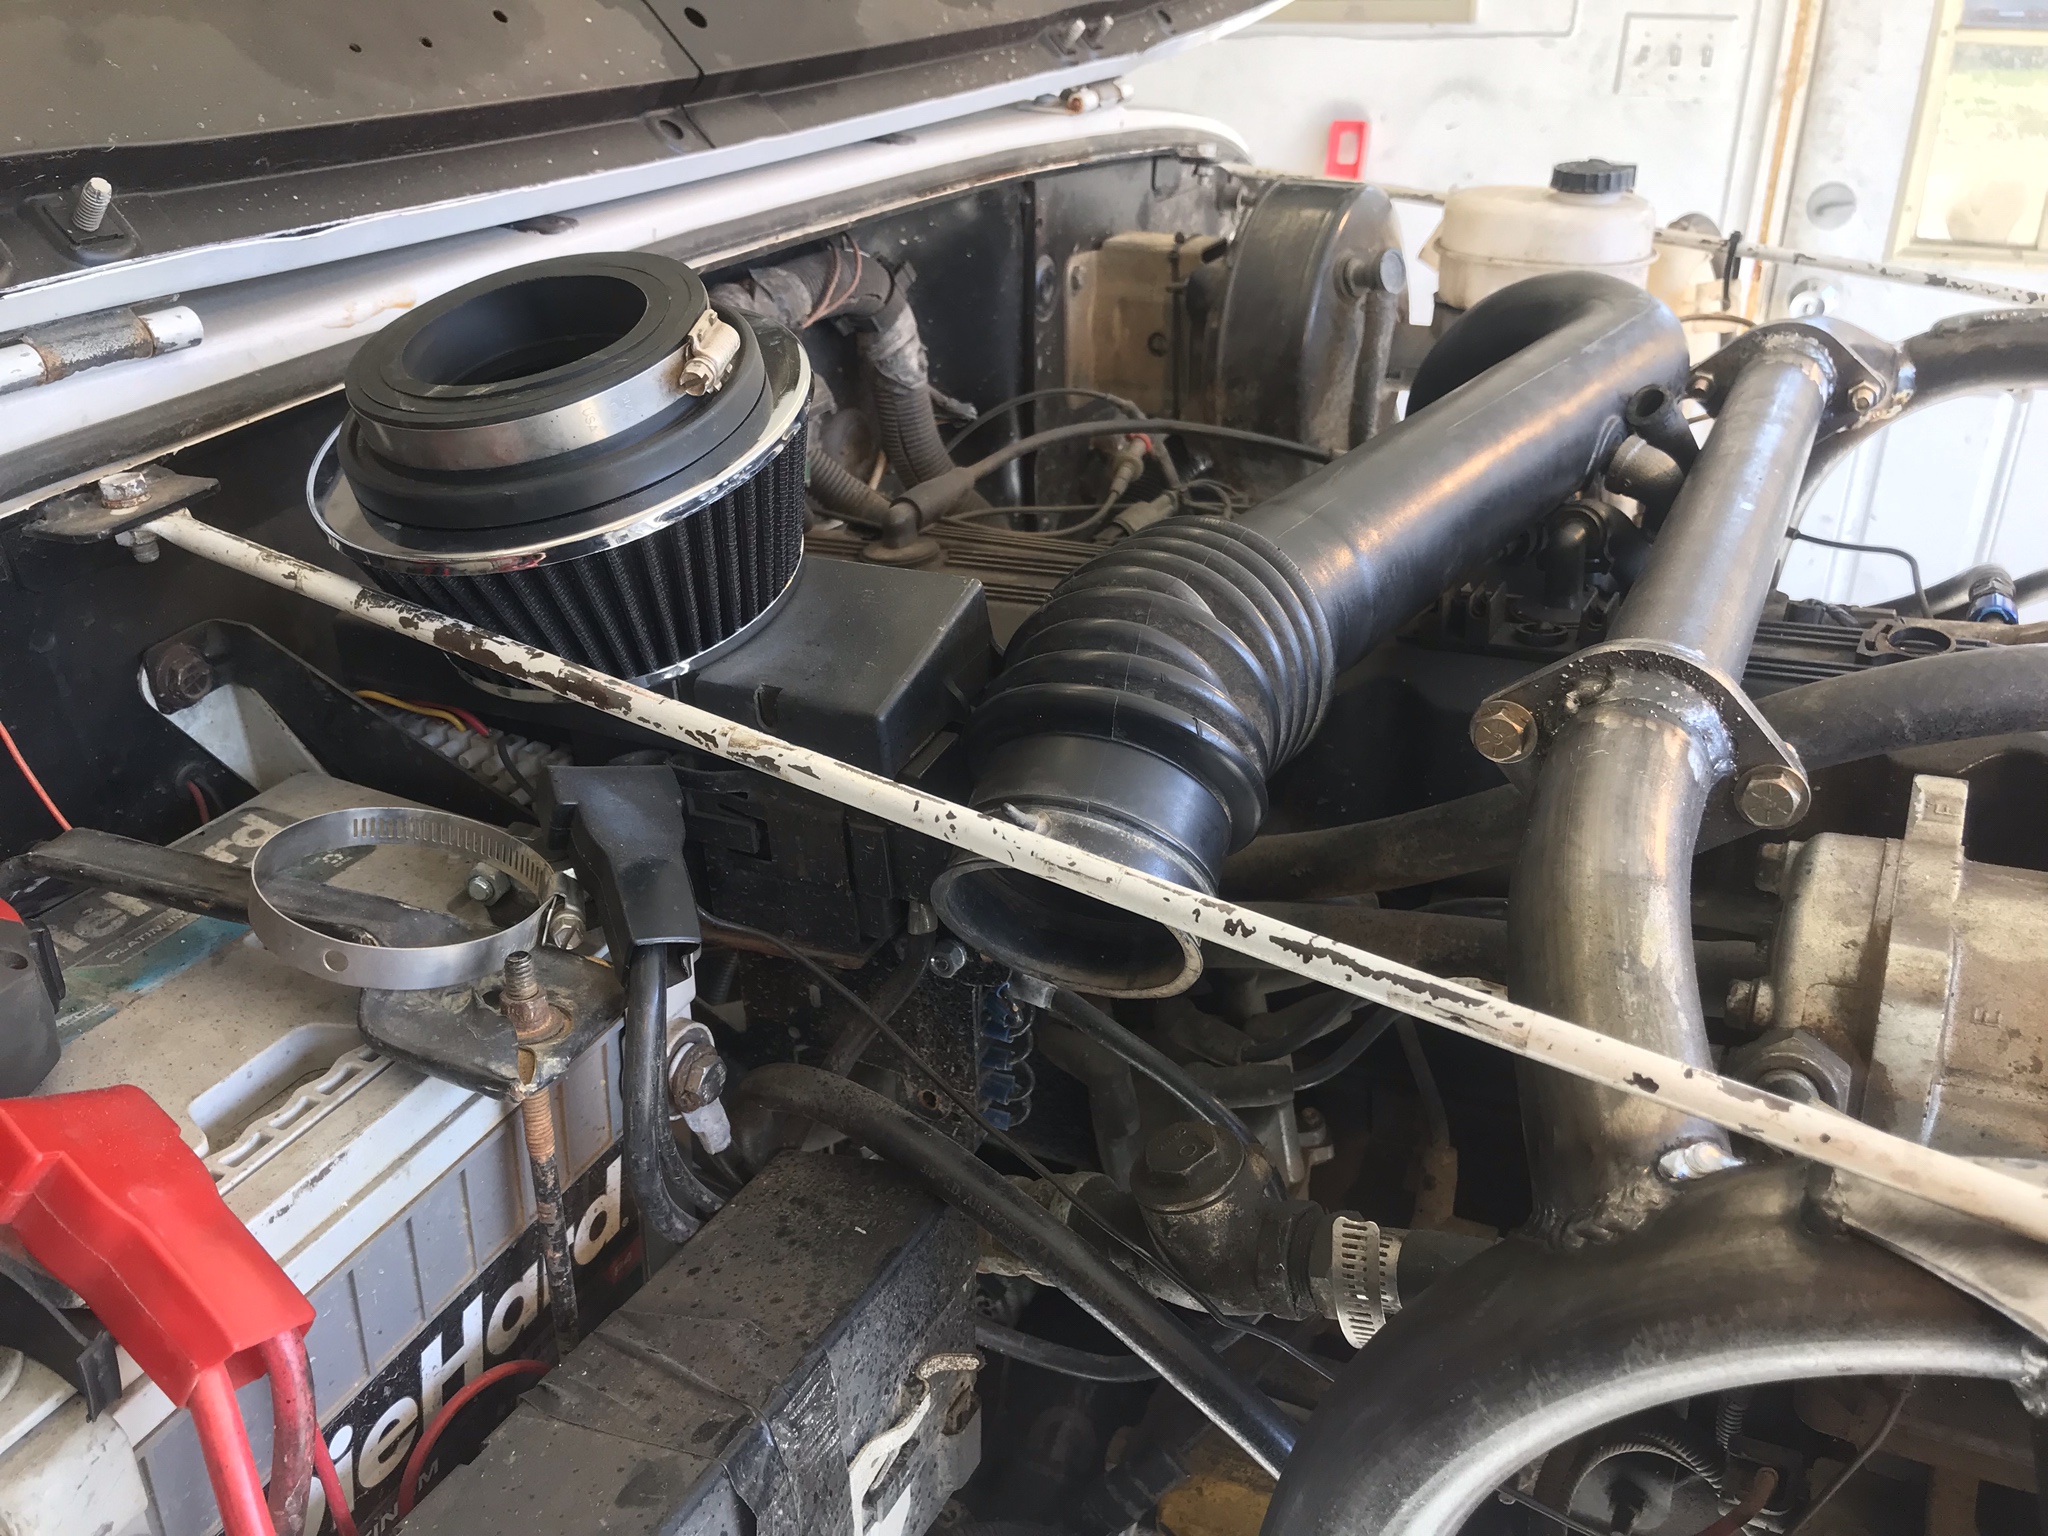
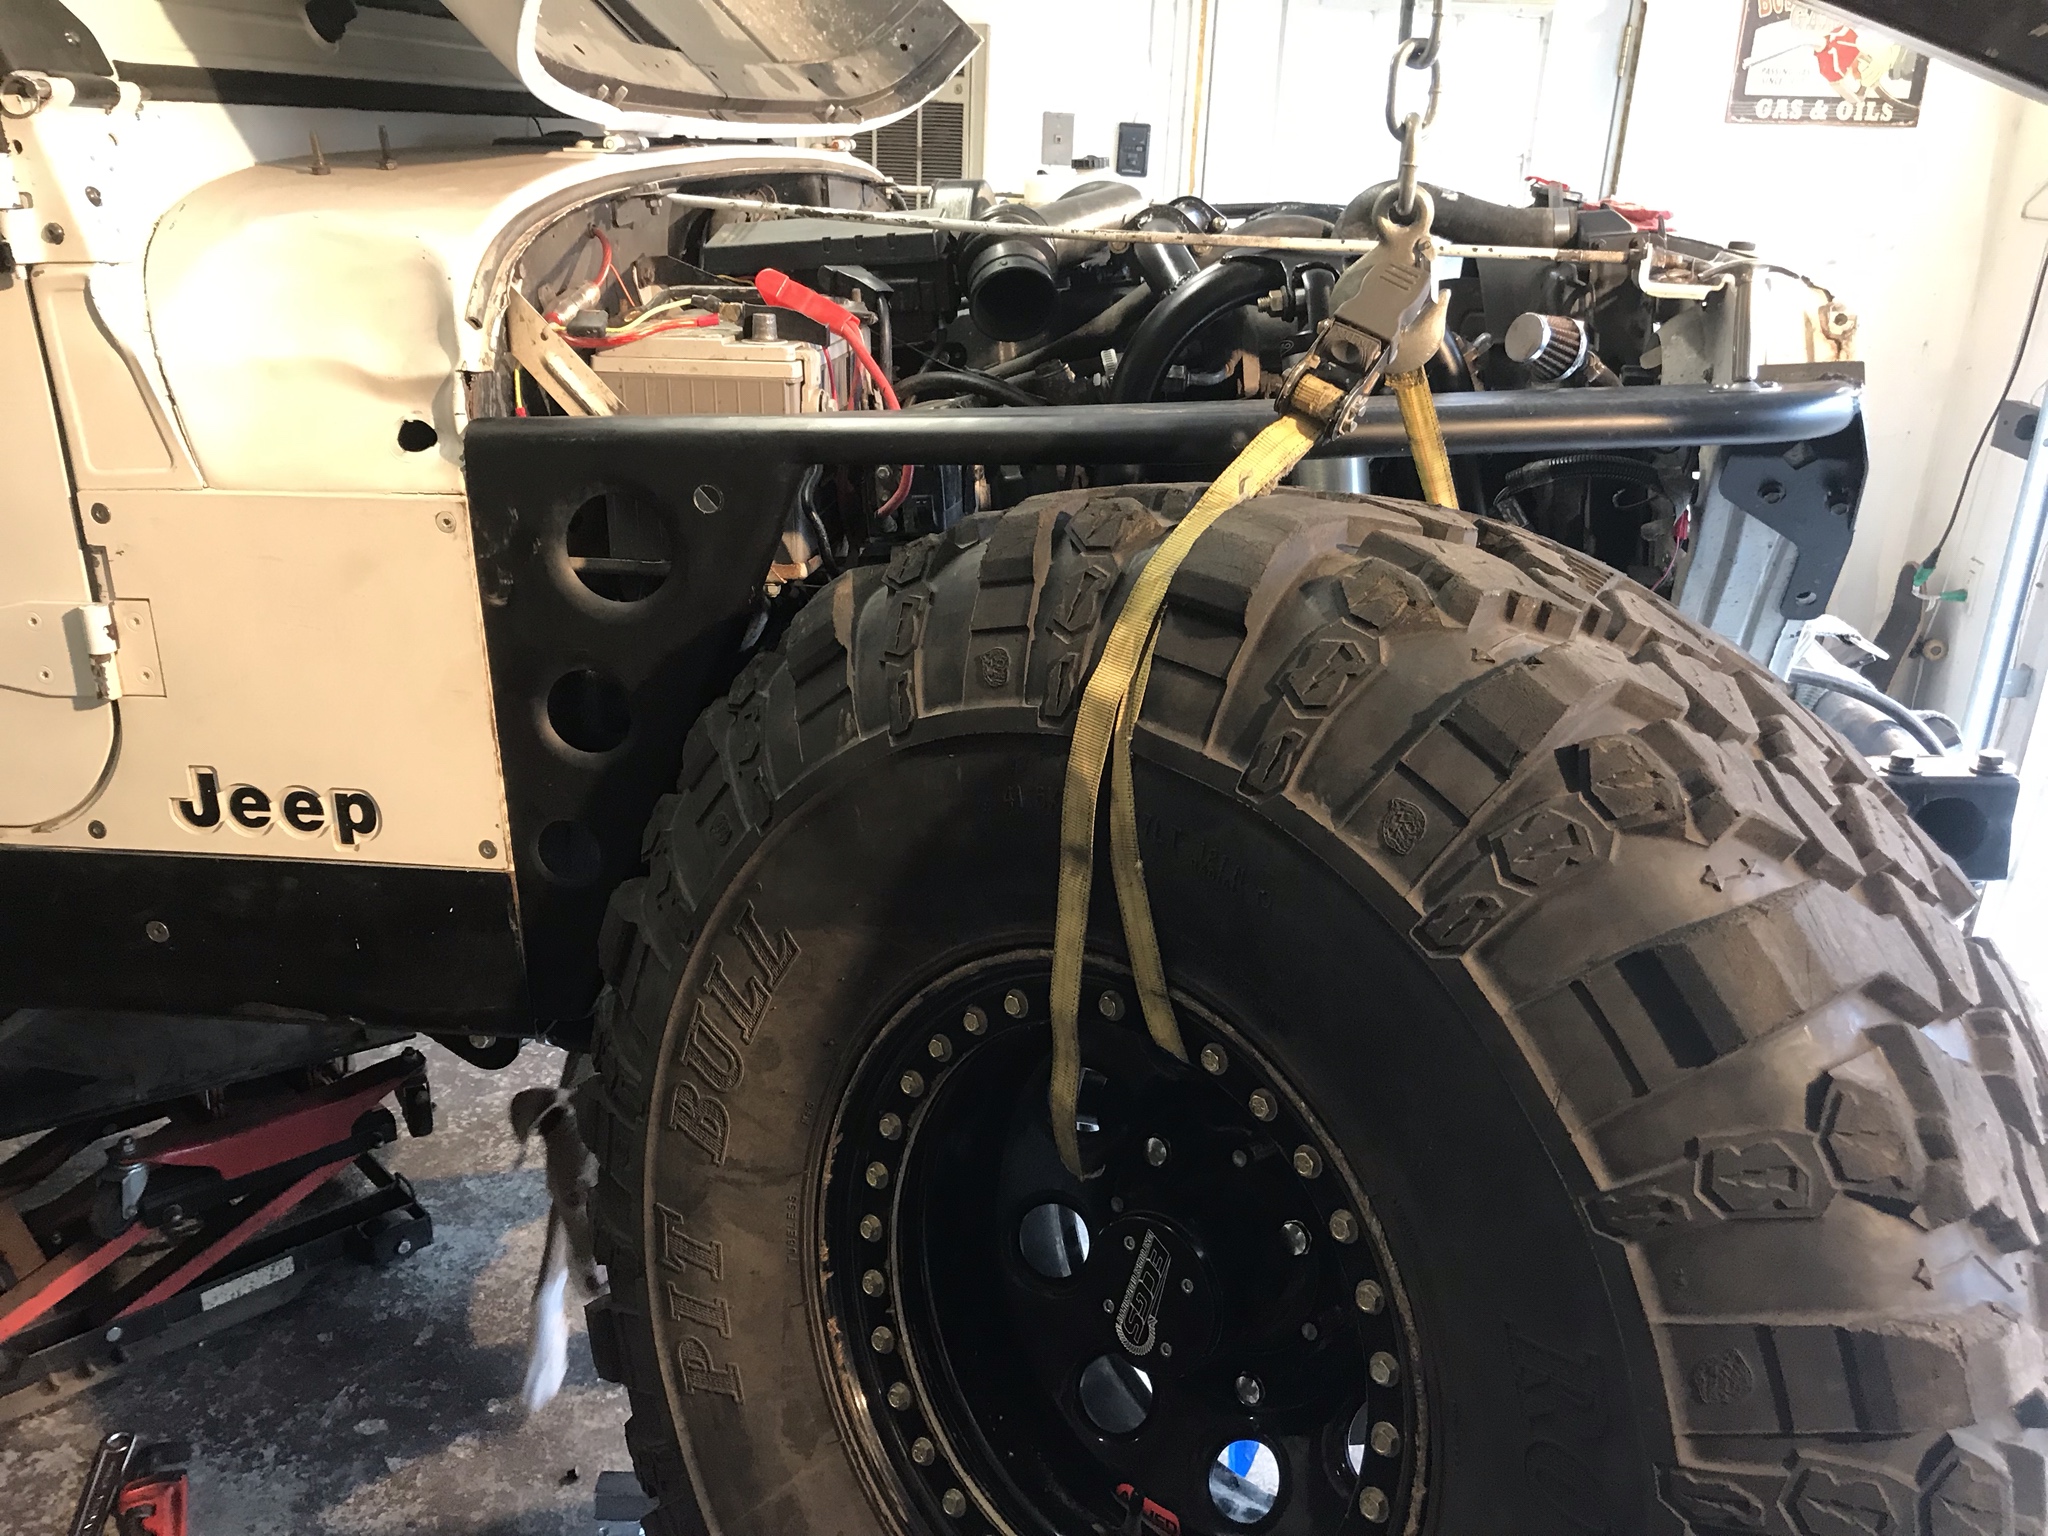
After a little online searching it looked like a TJ intake tube might work. So I promptly drove by my buddies house and stole the intake tube off his TJ sitting in his driveway while he was at work


This should work

1kcNyWX.jpg


uXCczDL.jpg


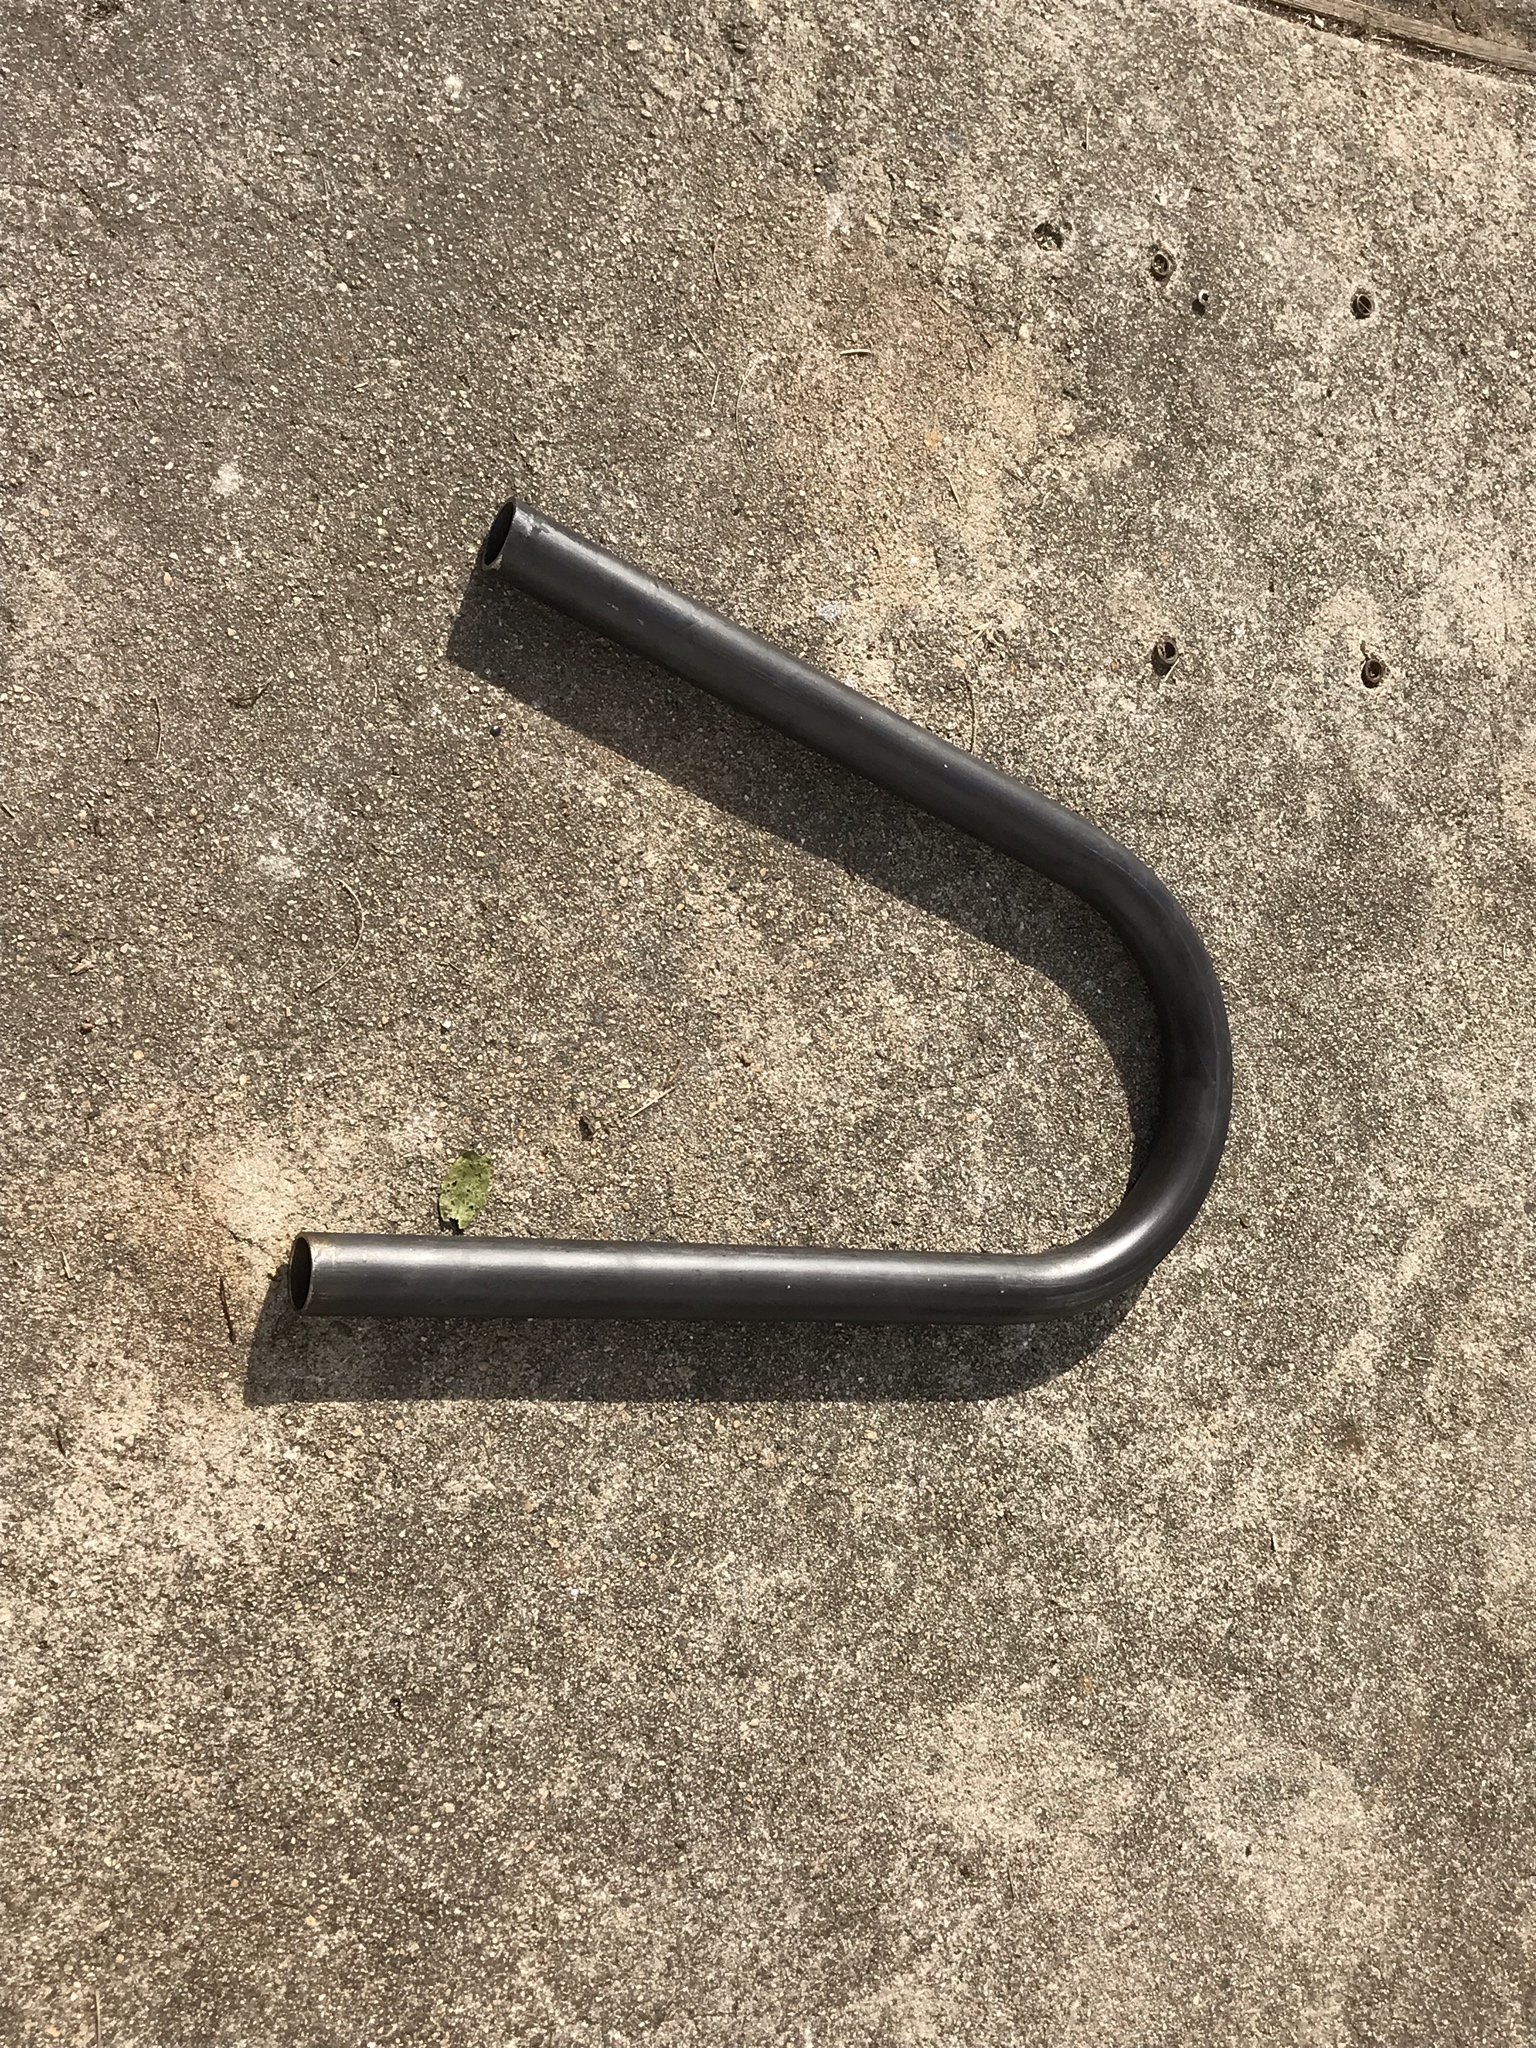
And with a little PVC as an extension it fits perfect. I will need to add a 90 degree elbow to the PCV nipple and drill and insert my vacuum tube going to the charcoal canister but overall I think this will fit my needs. I am going to hop on Ebay when Im done writing this and snag one for myself and return Tyler's.

W5MKfGG.jpg


97rSpuB.jpg


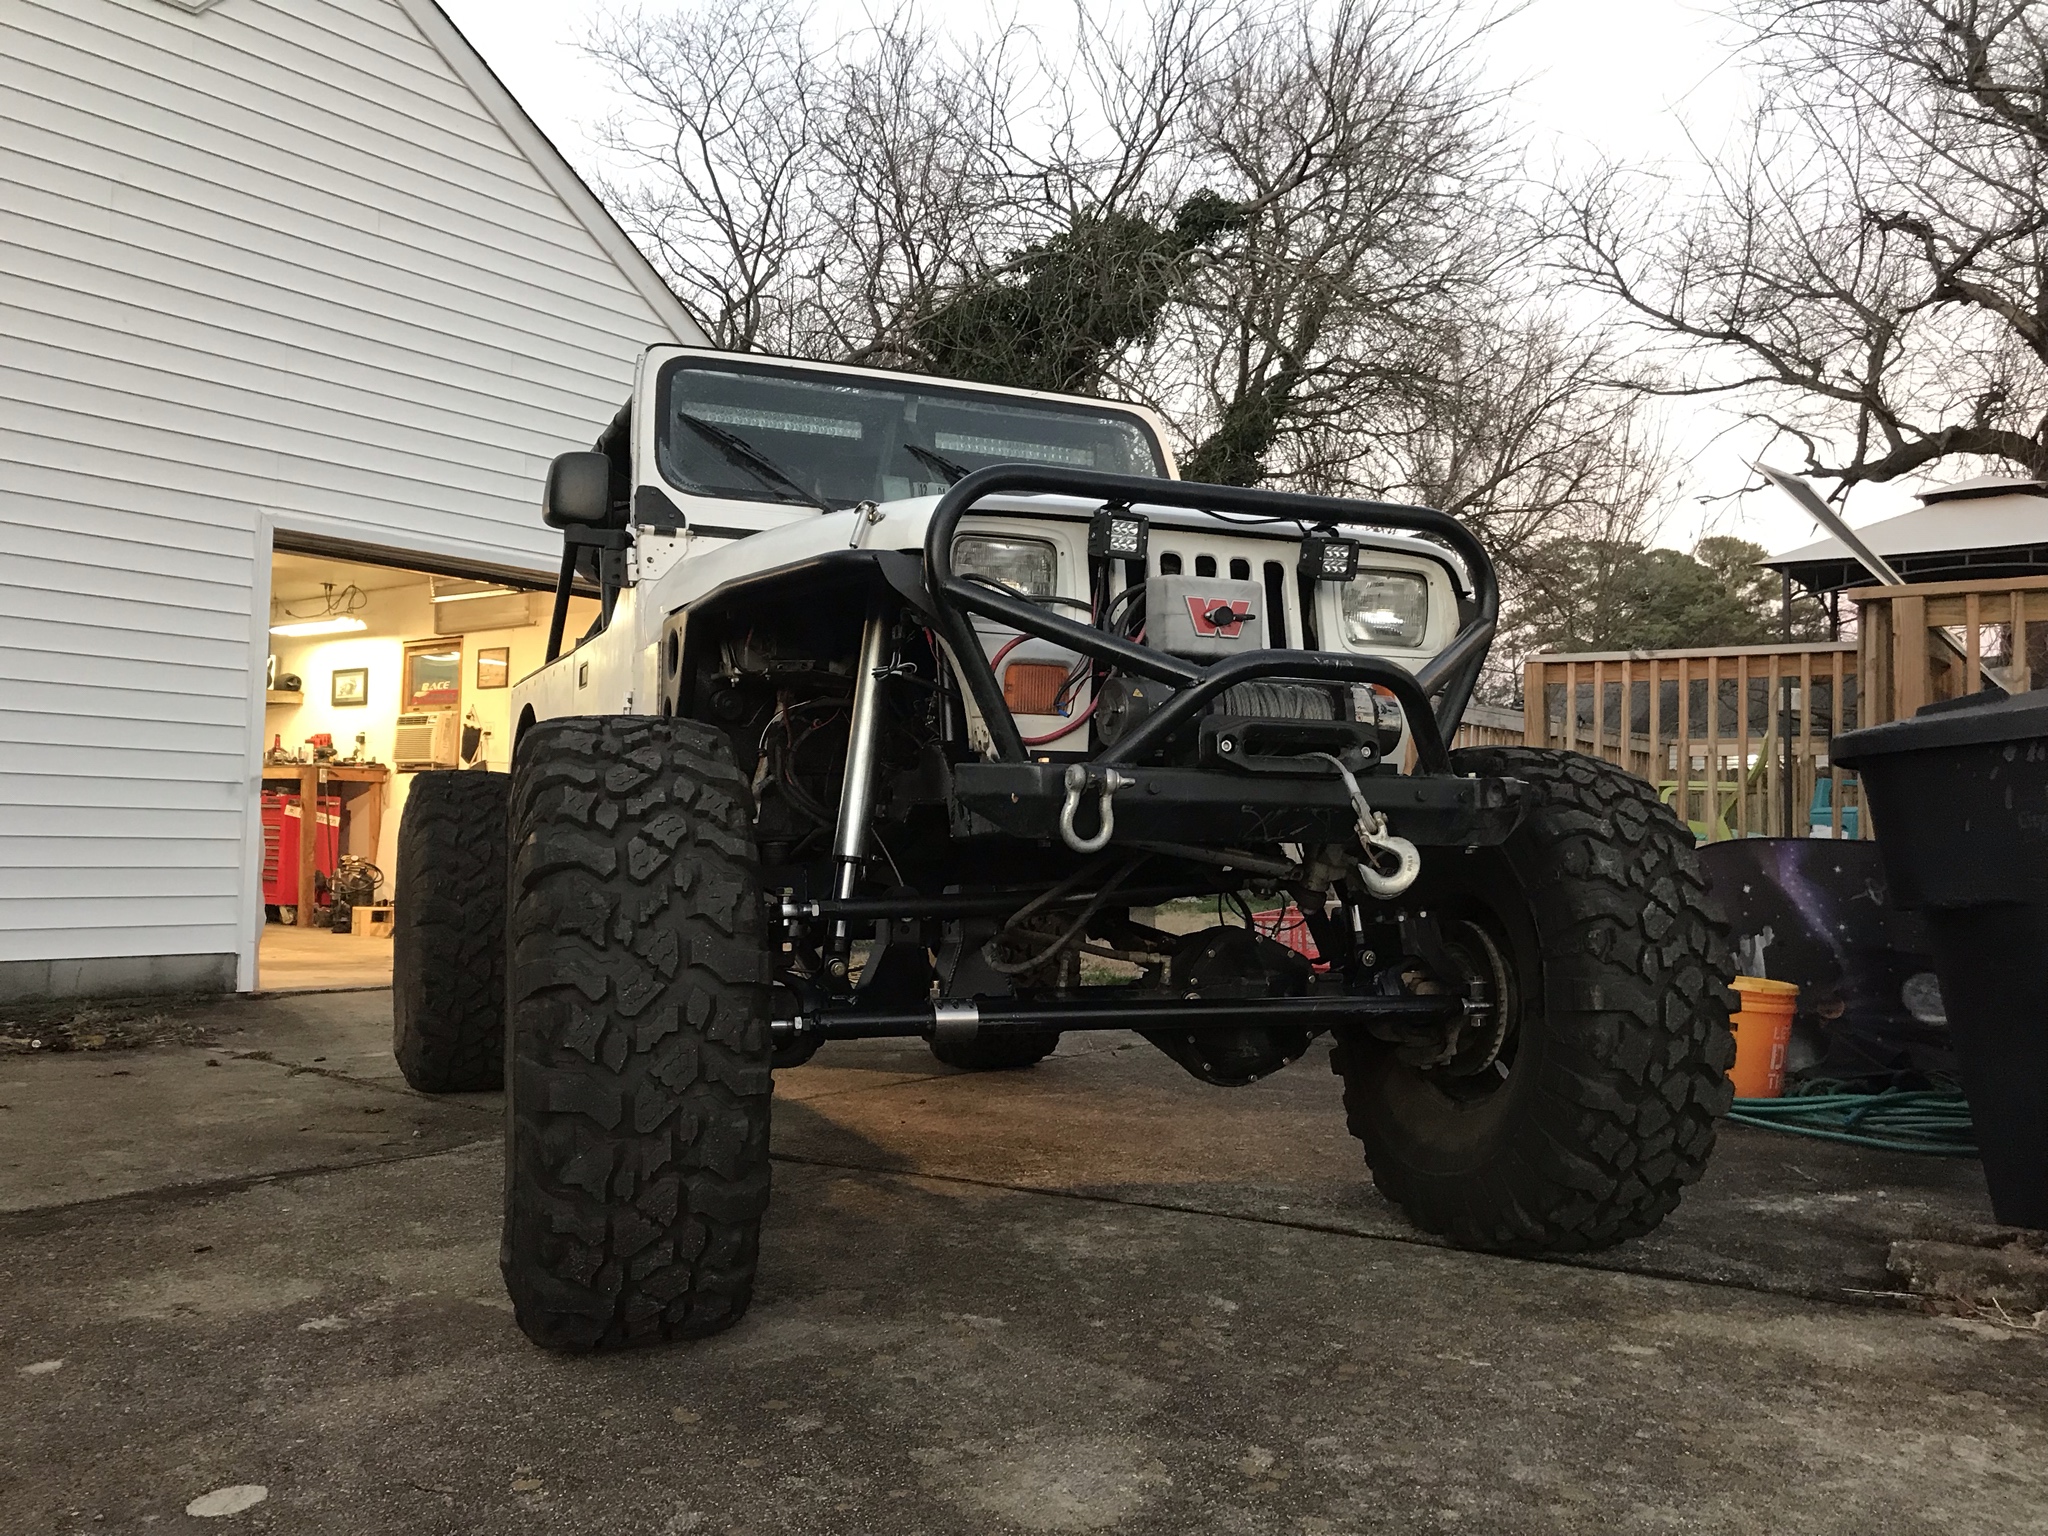
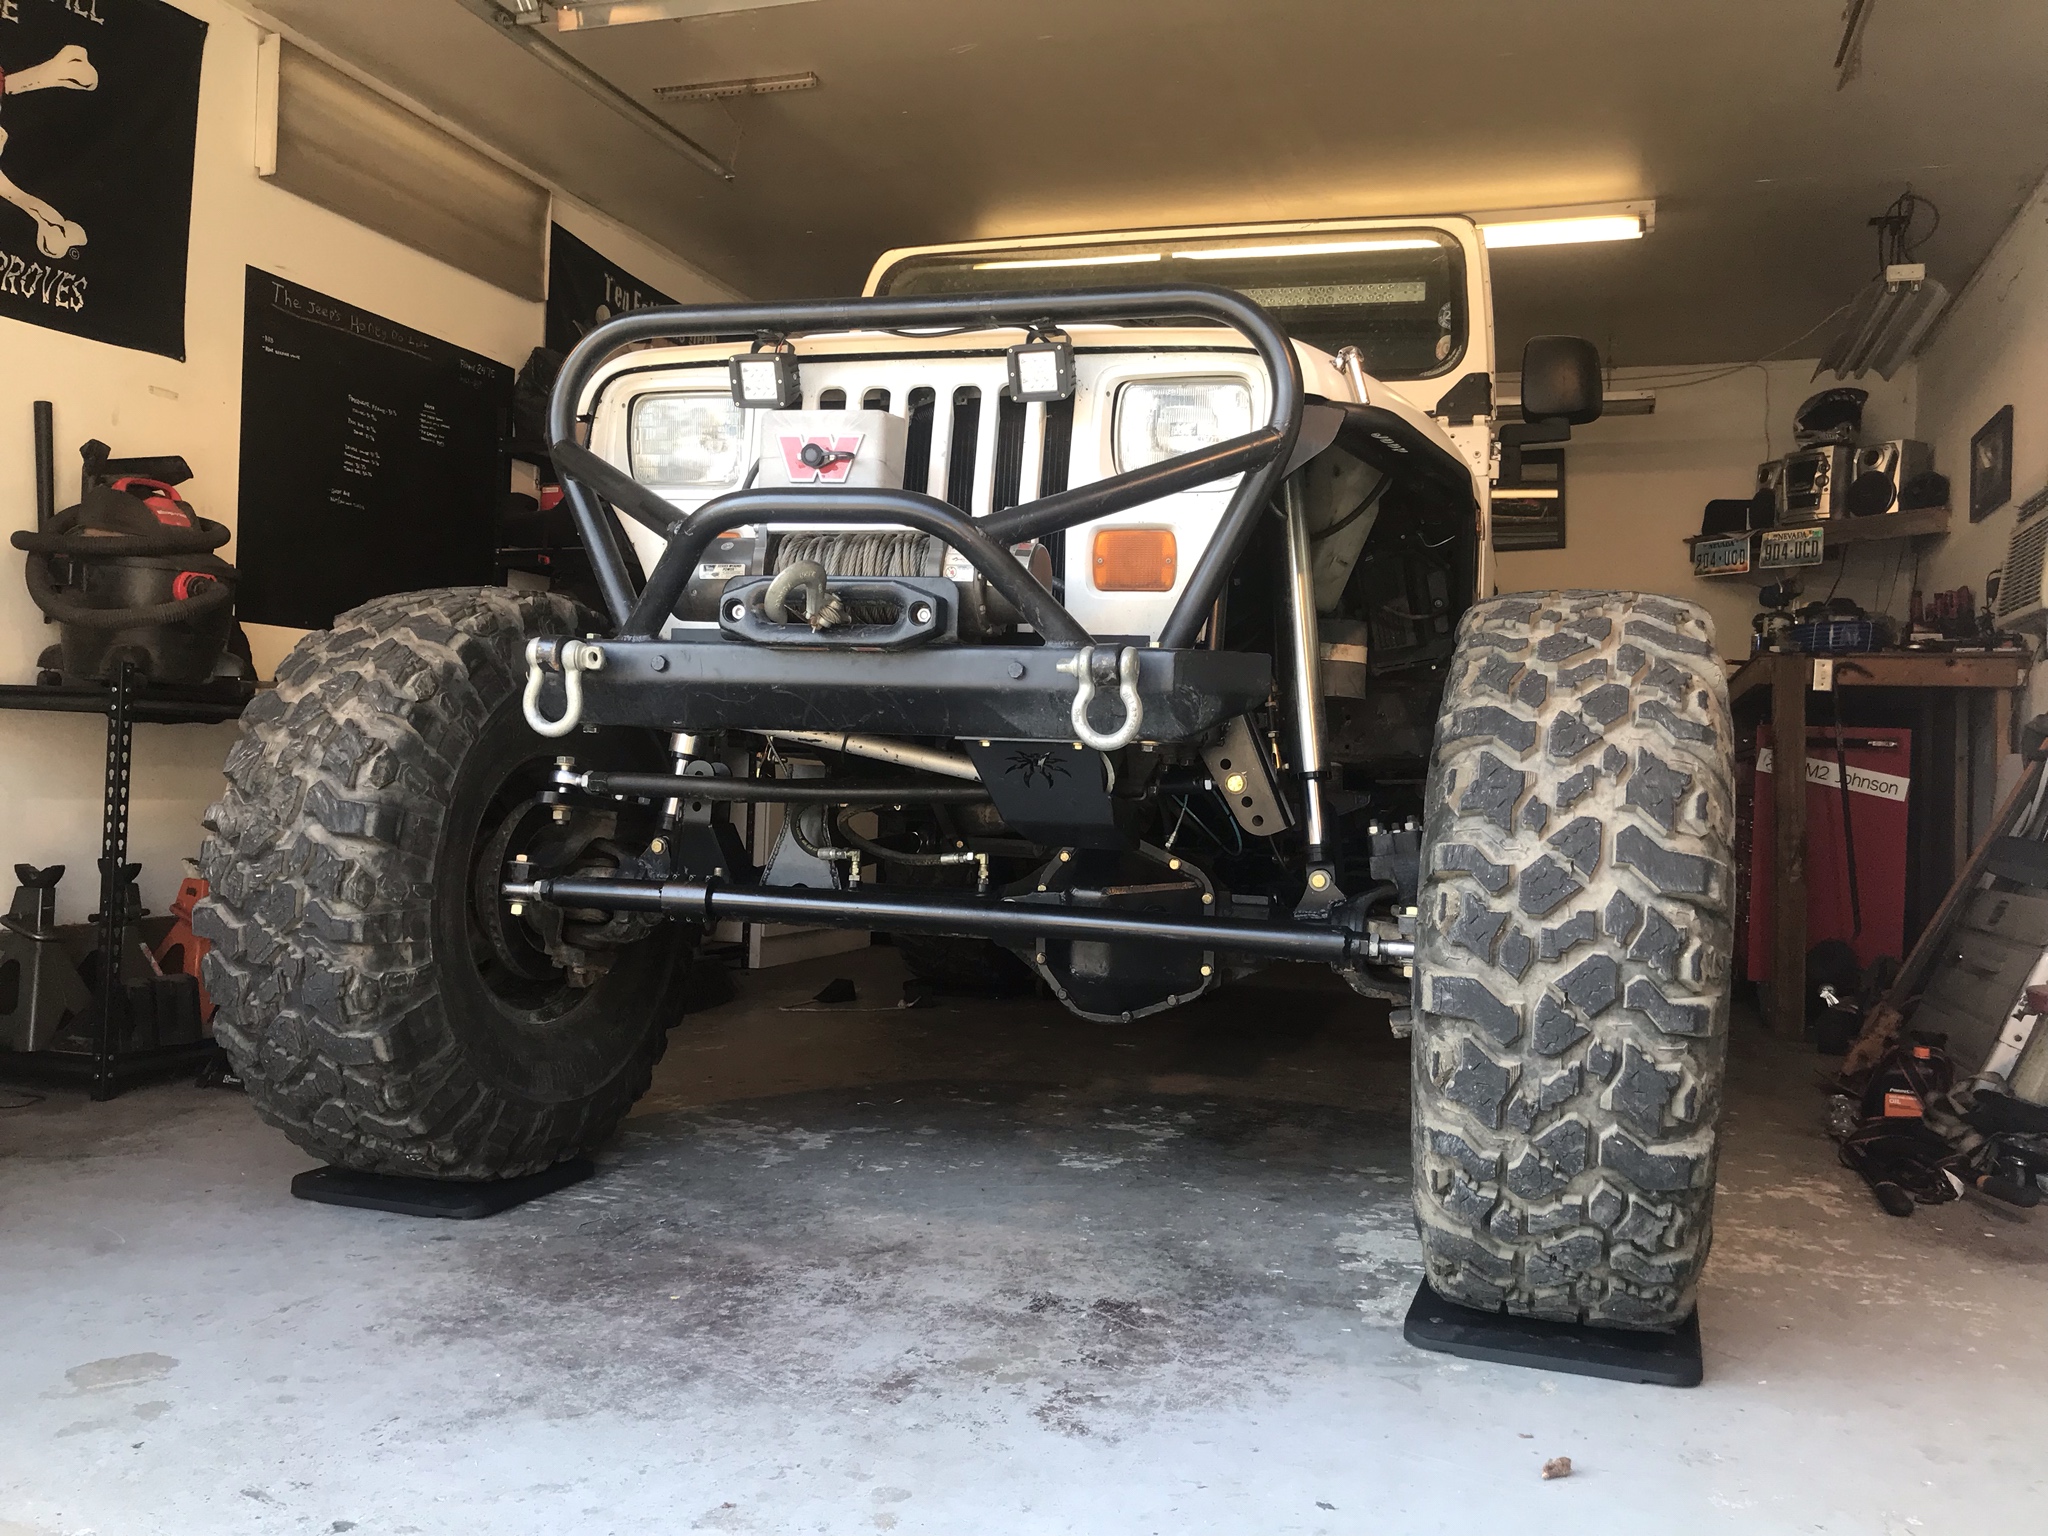
Now it was time to get everything finish welded and painted.


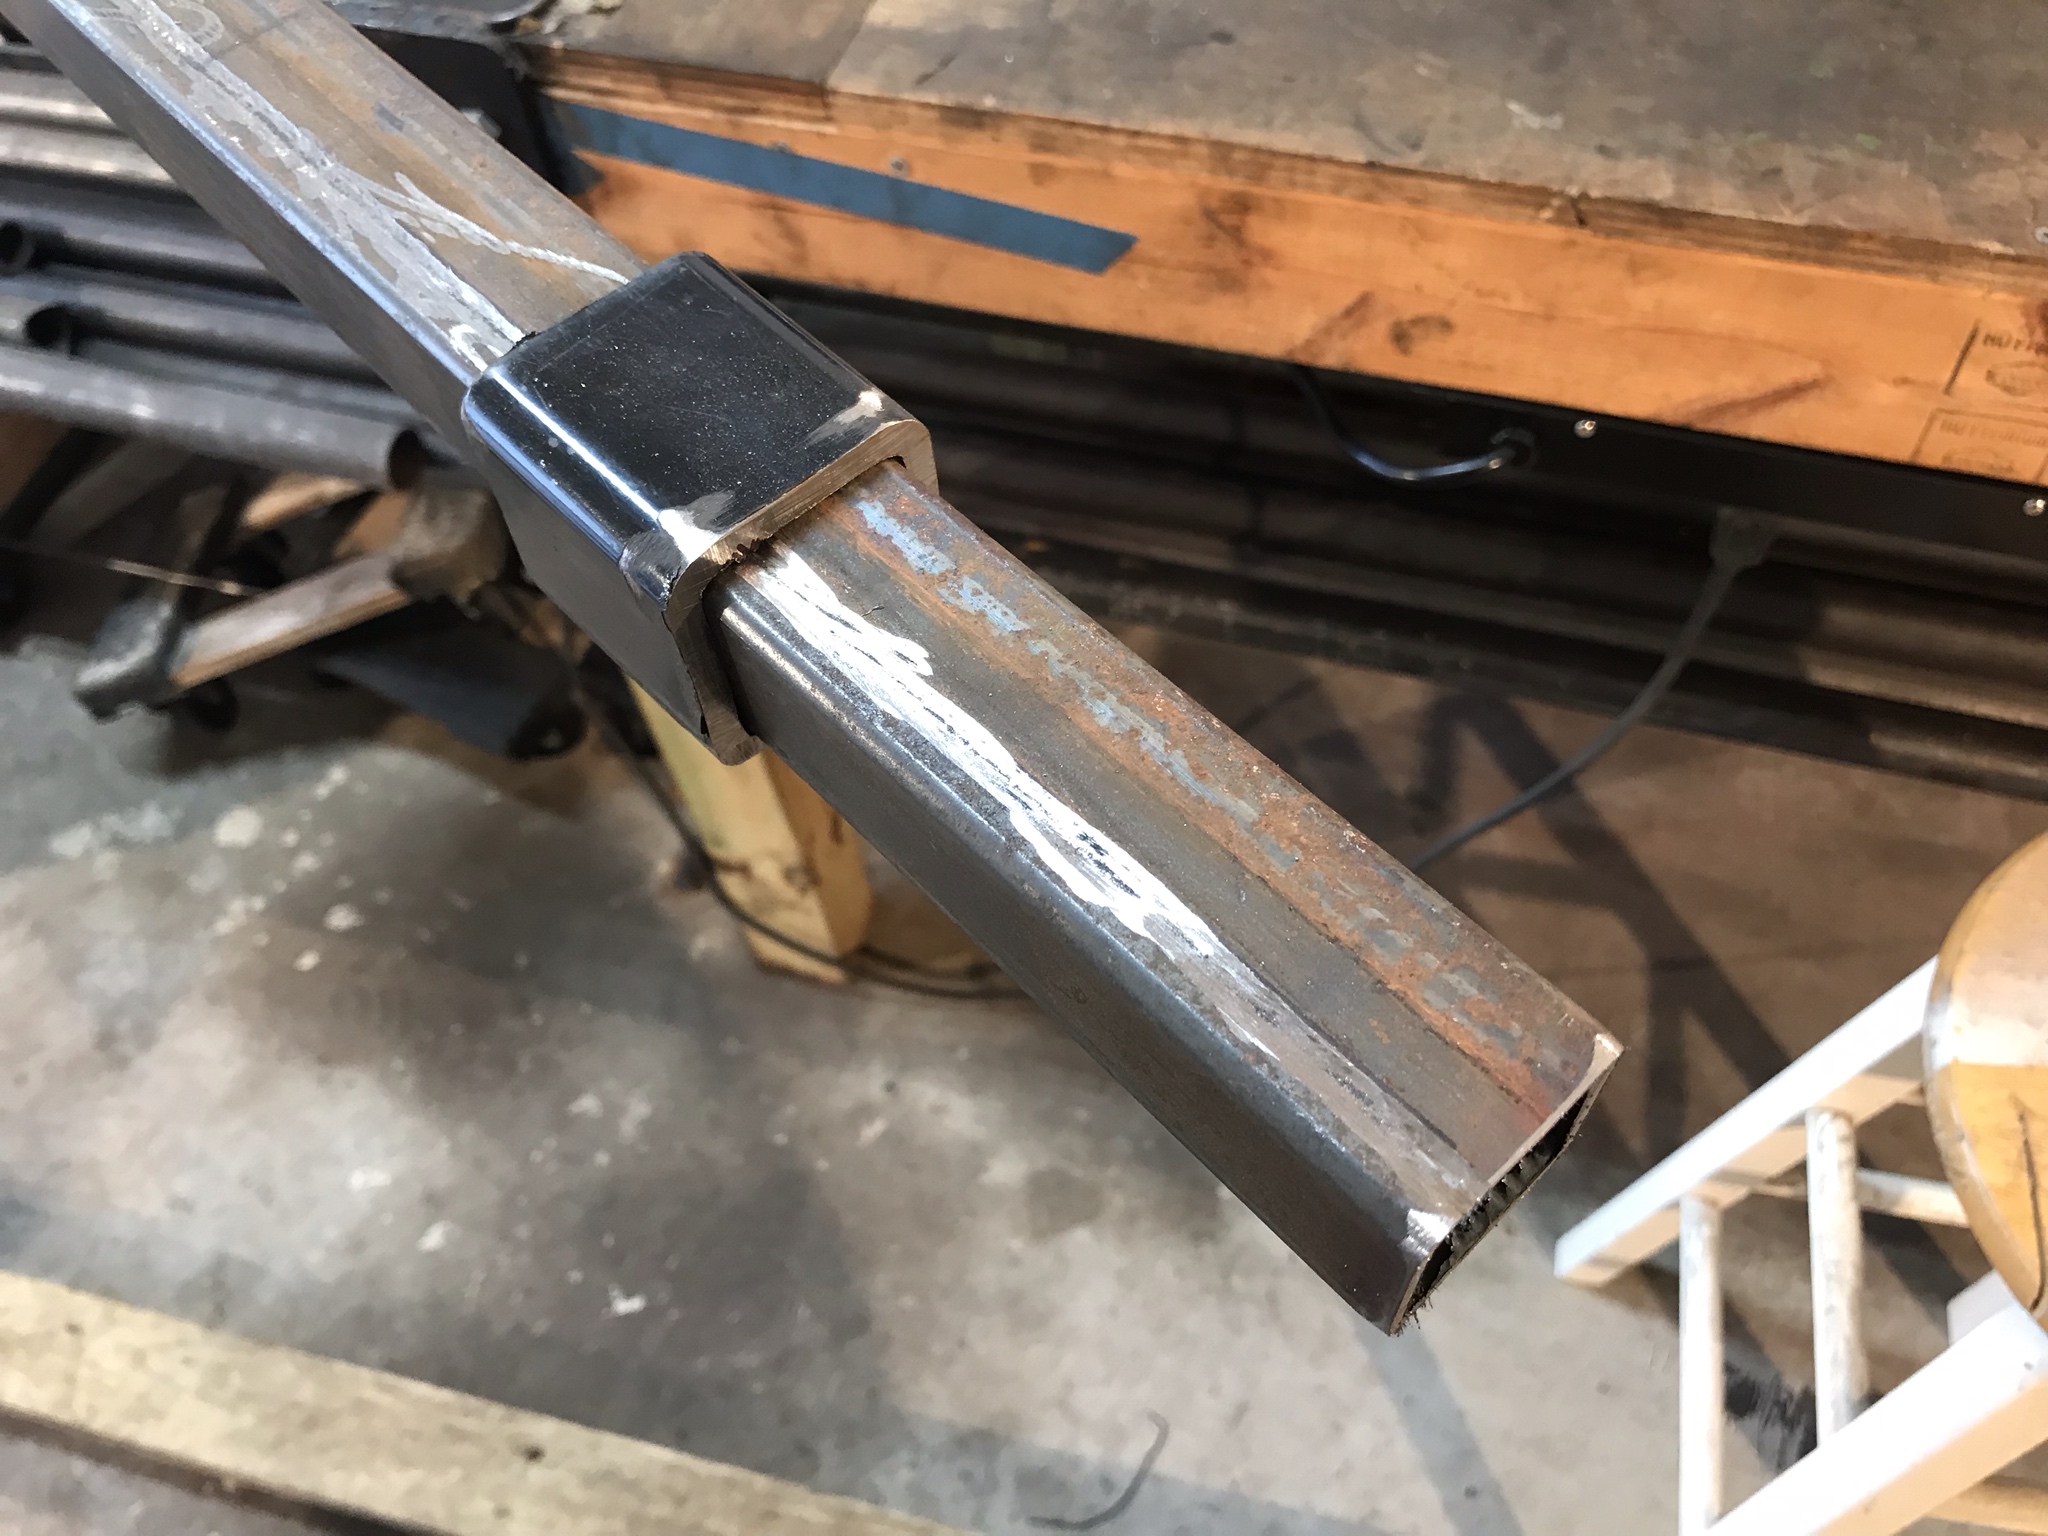
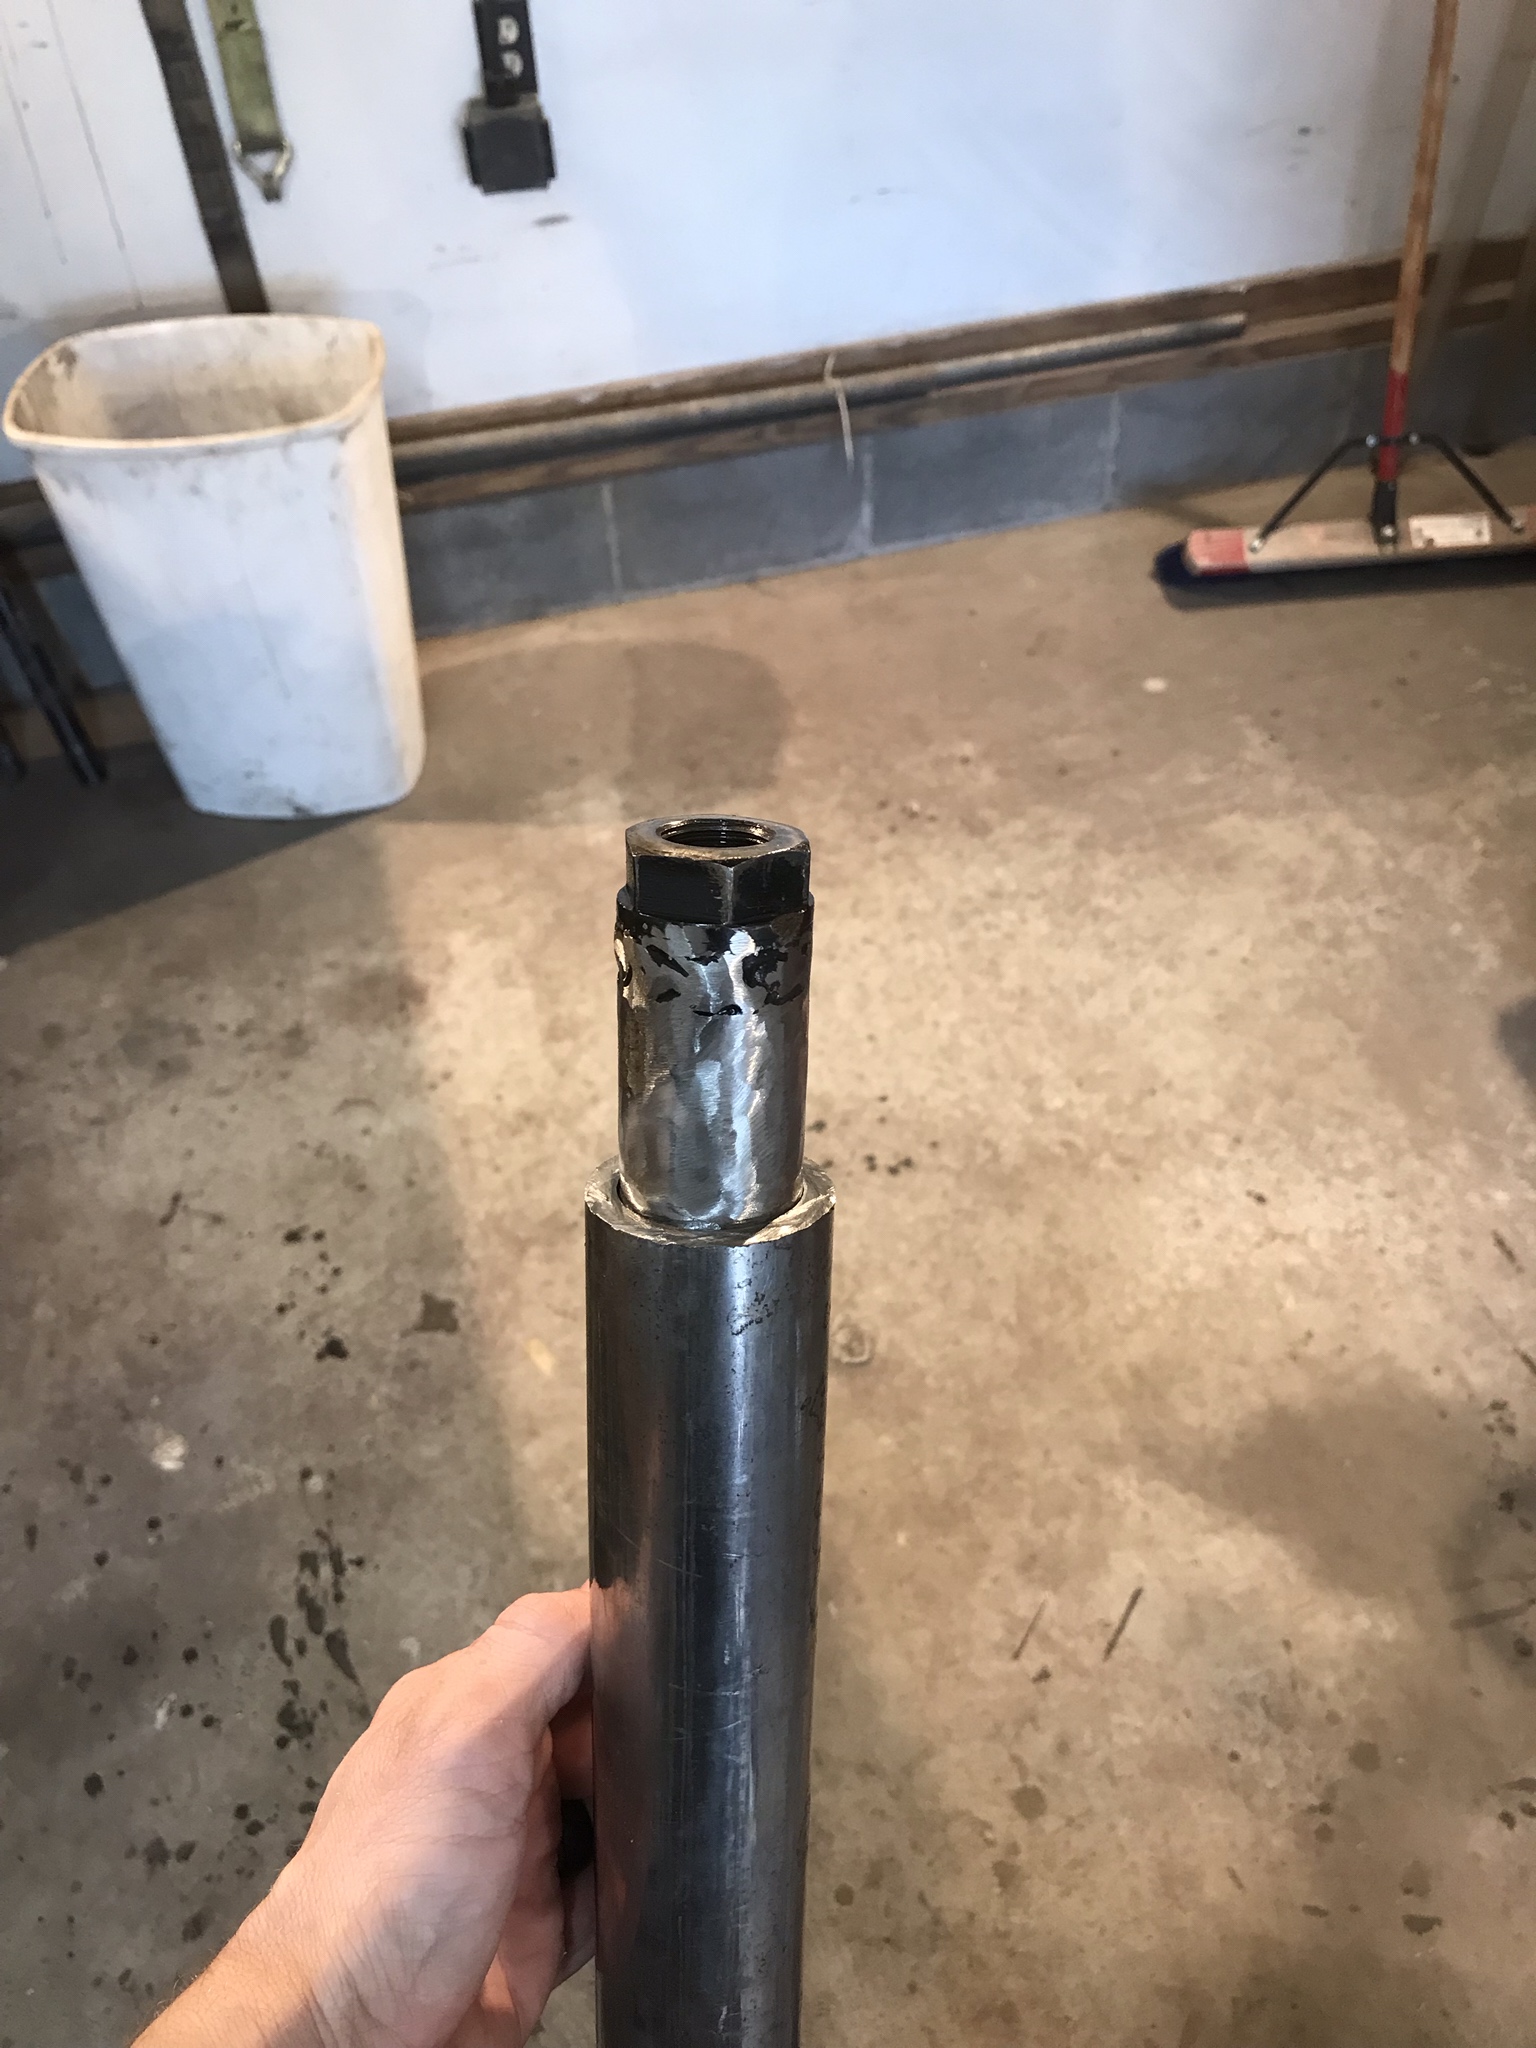
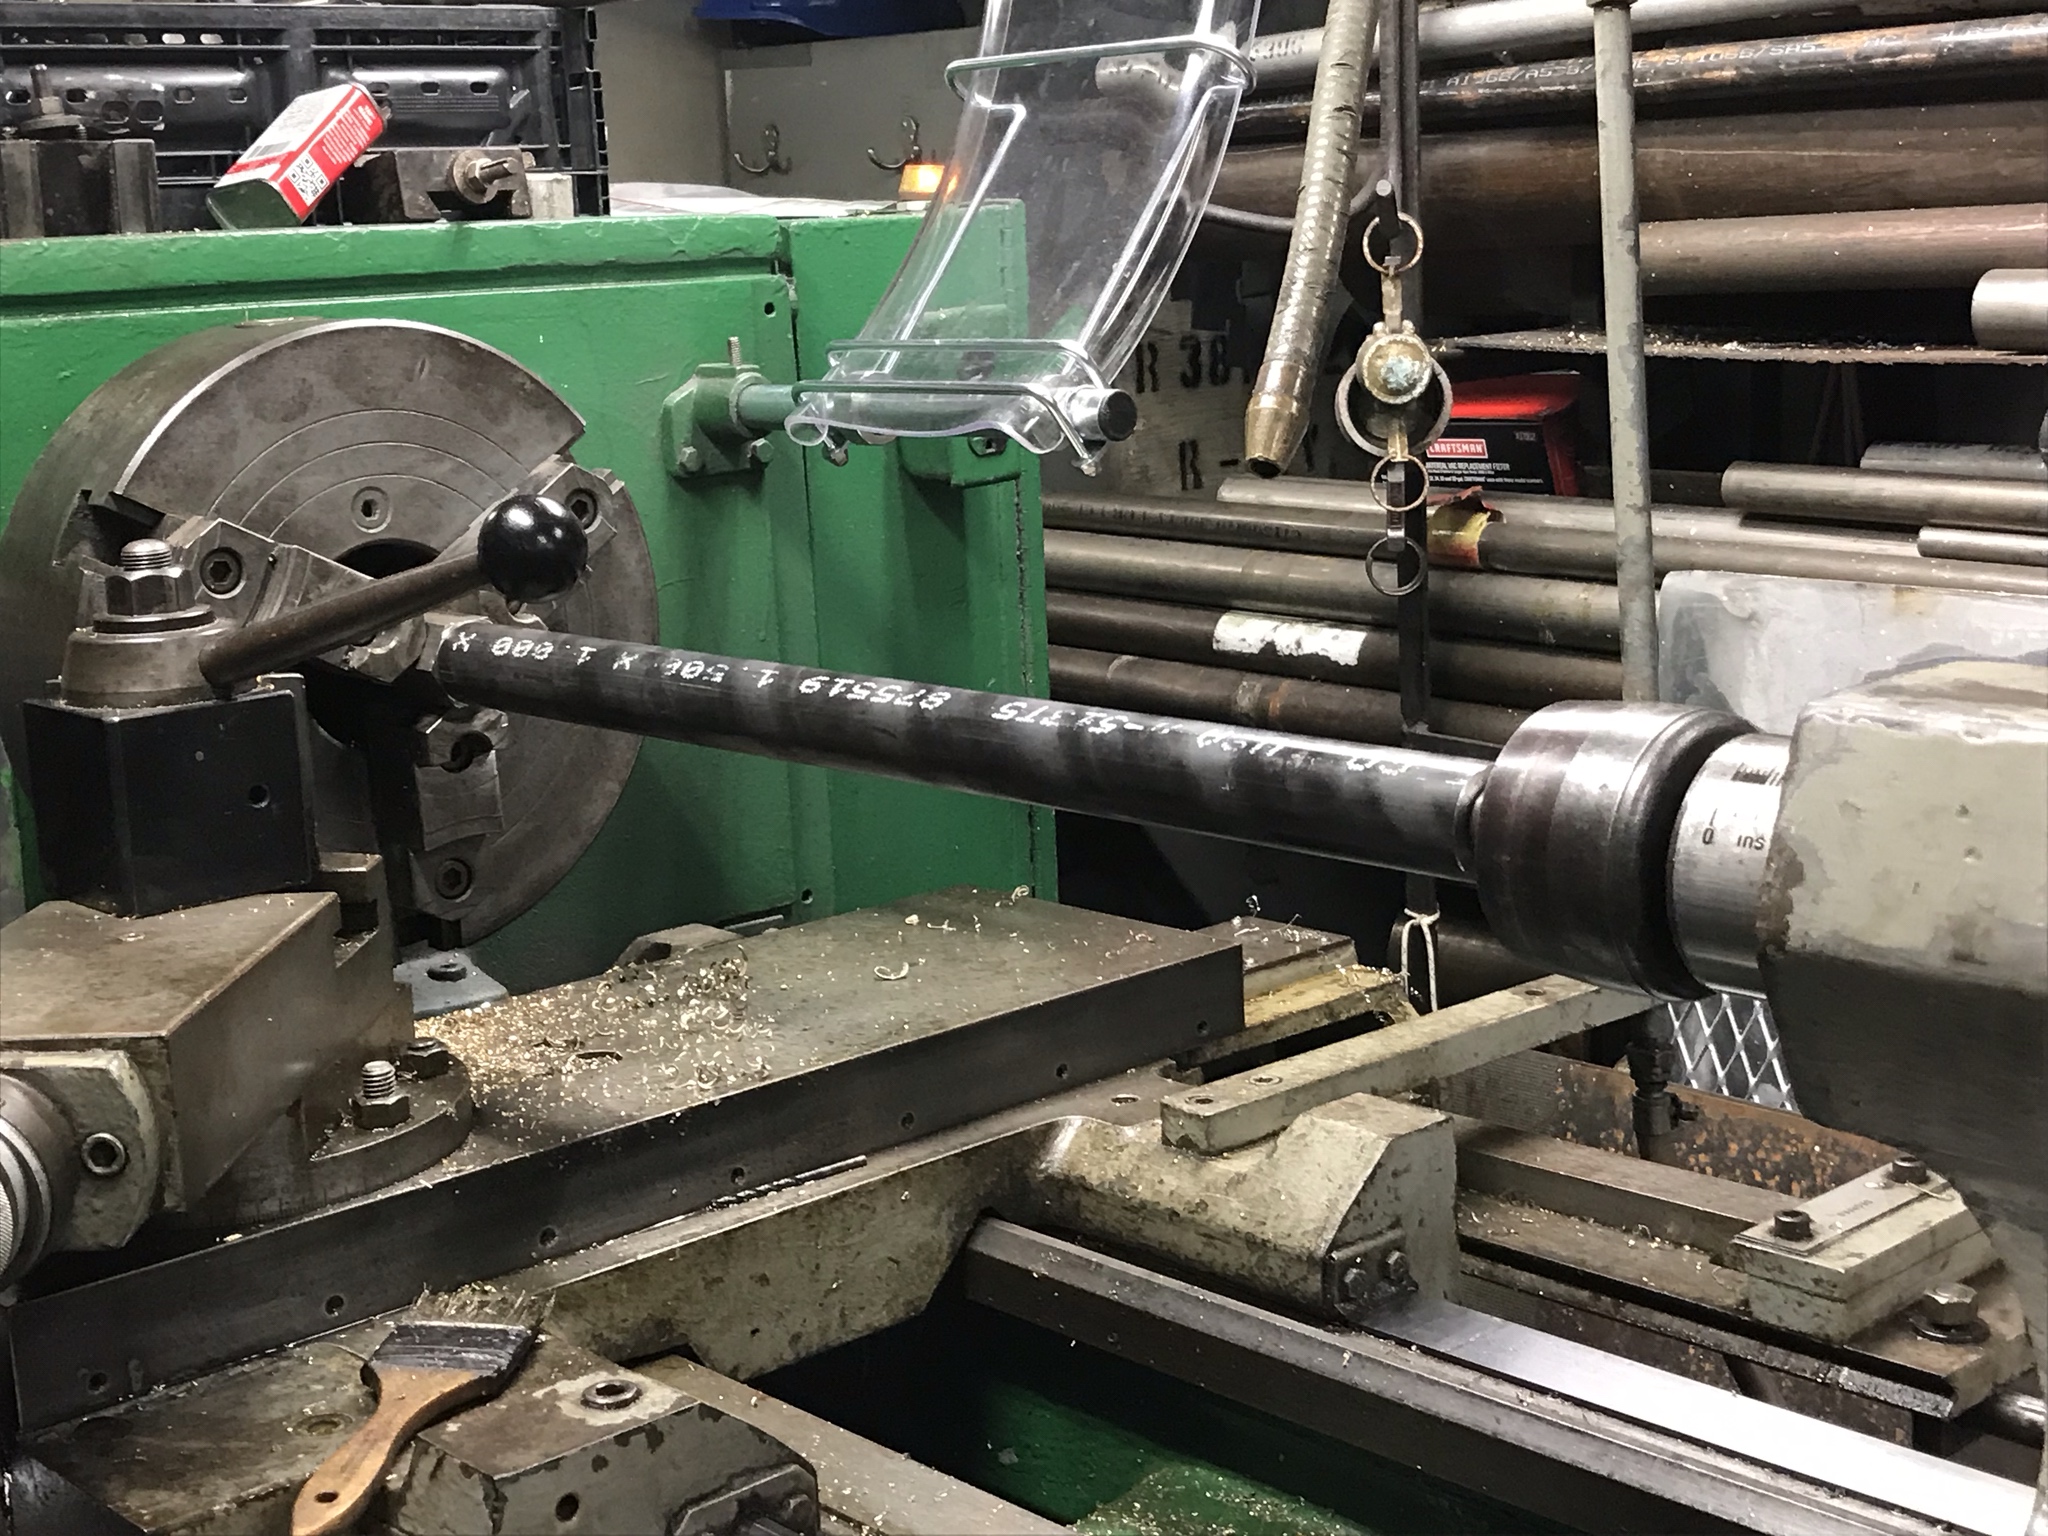
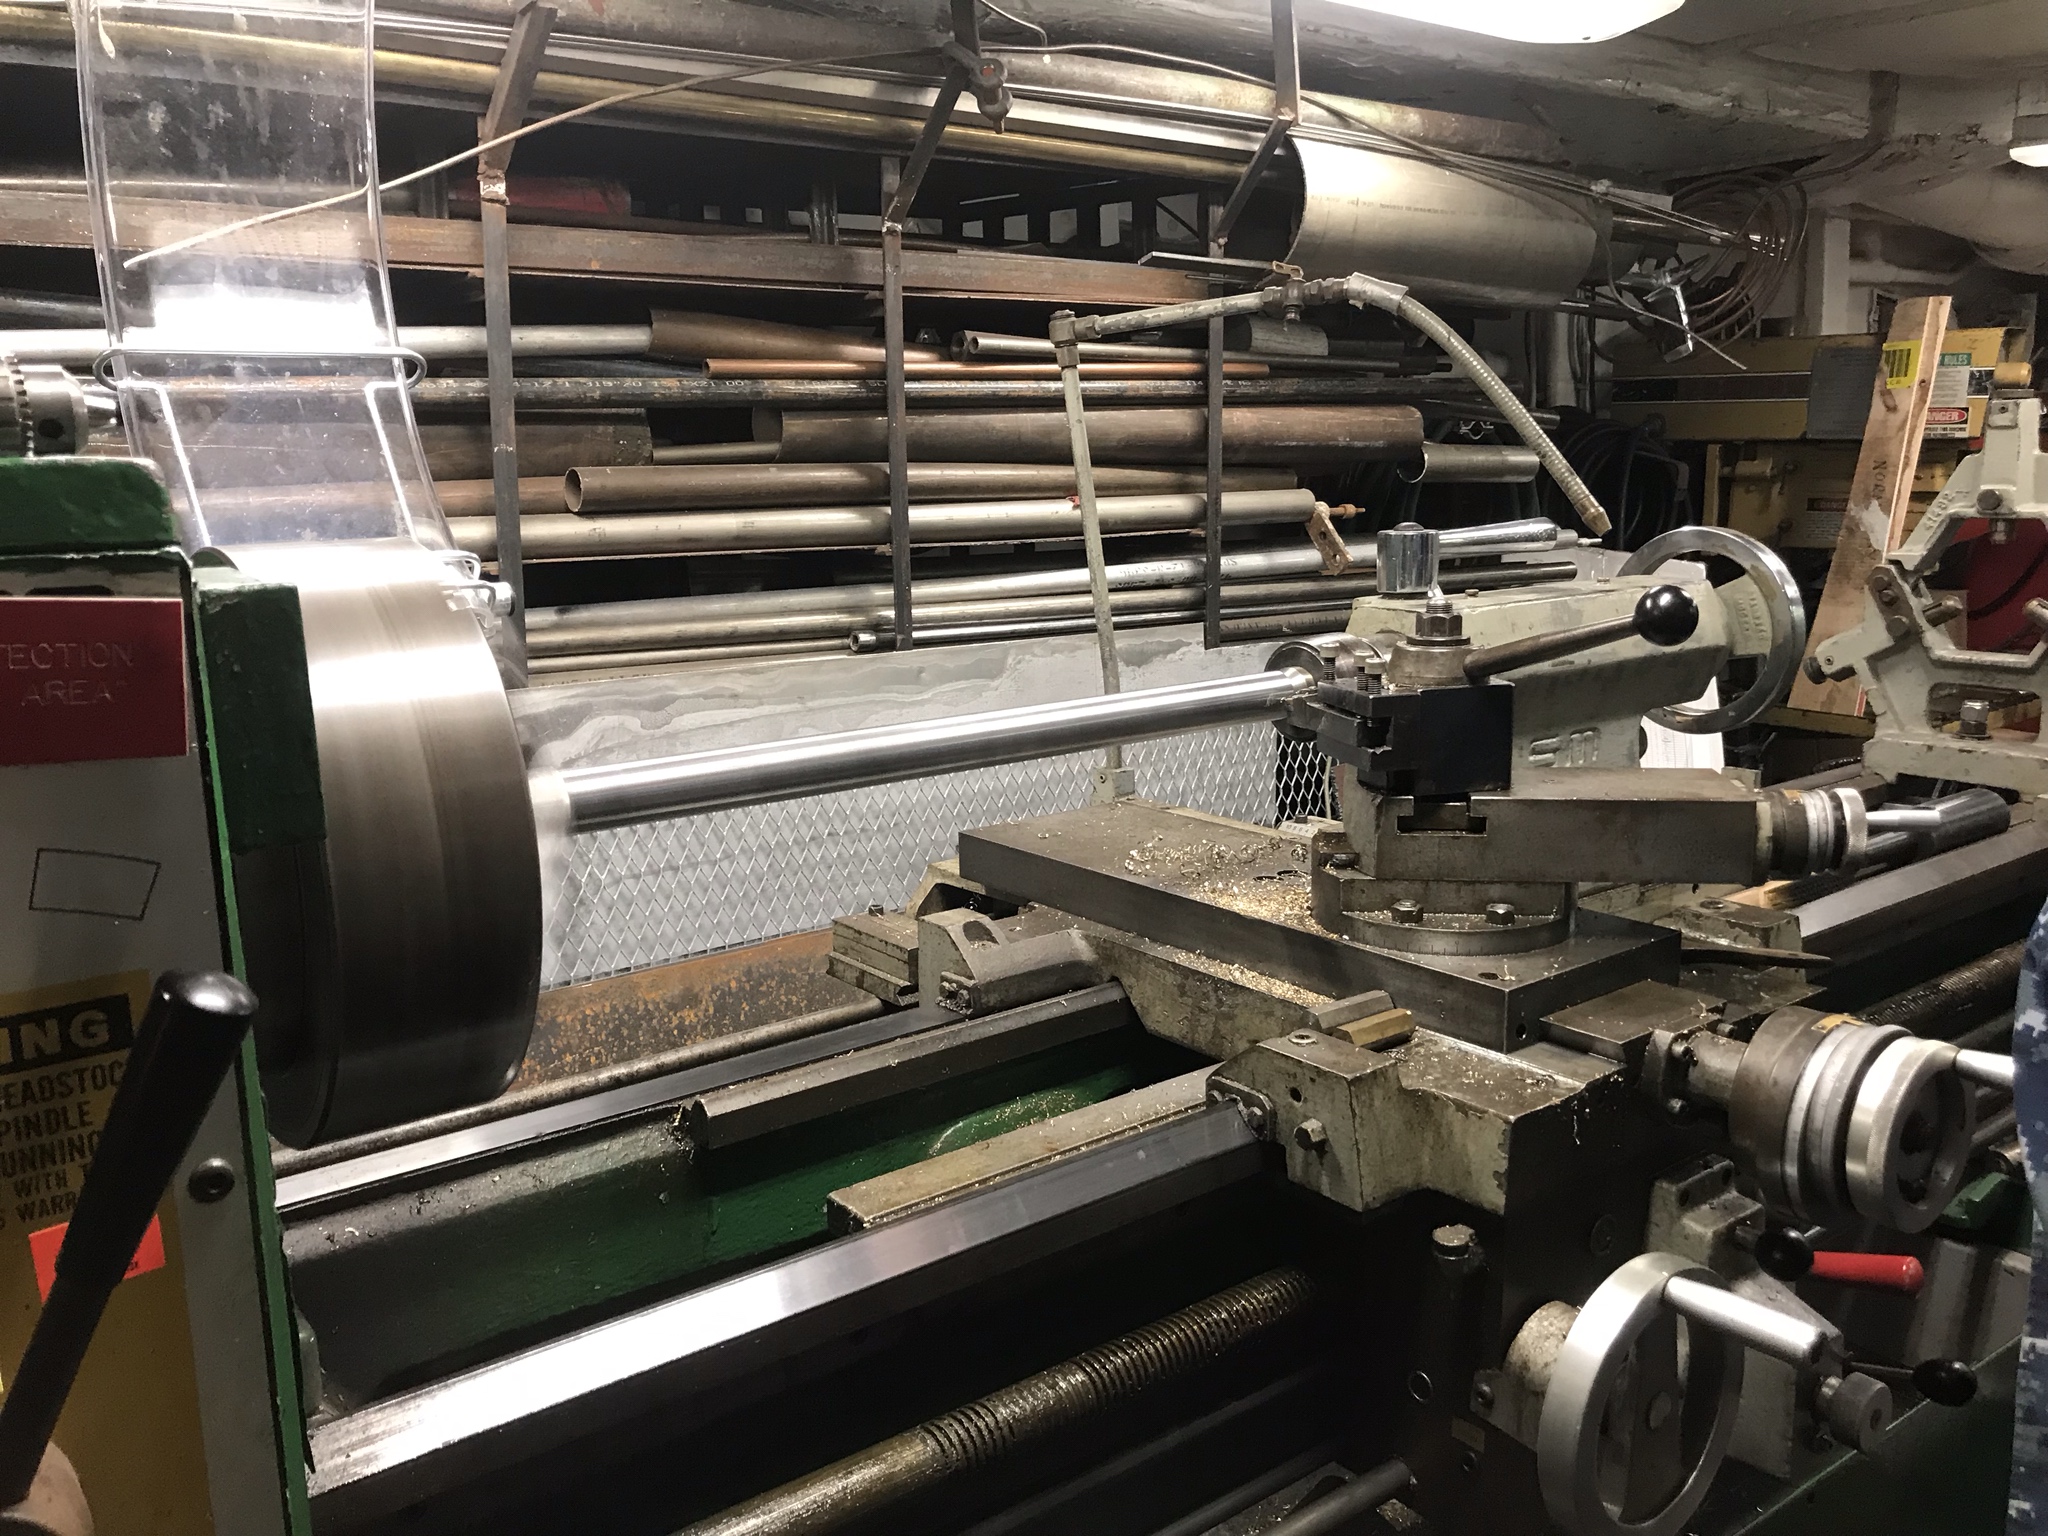
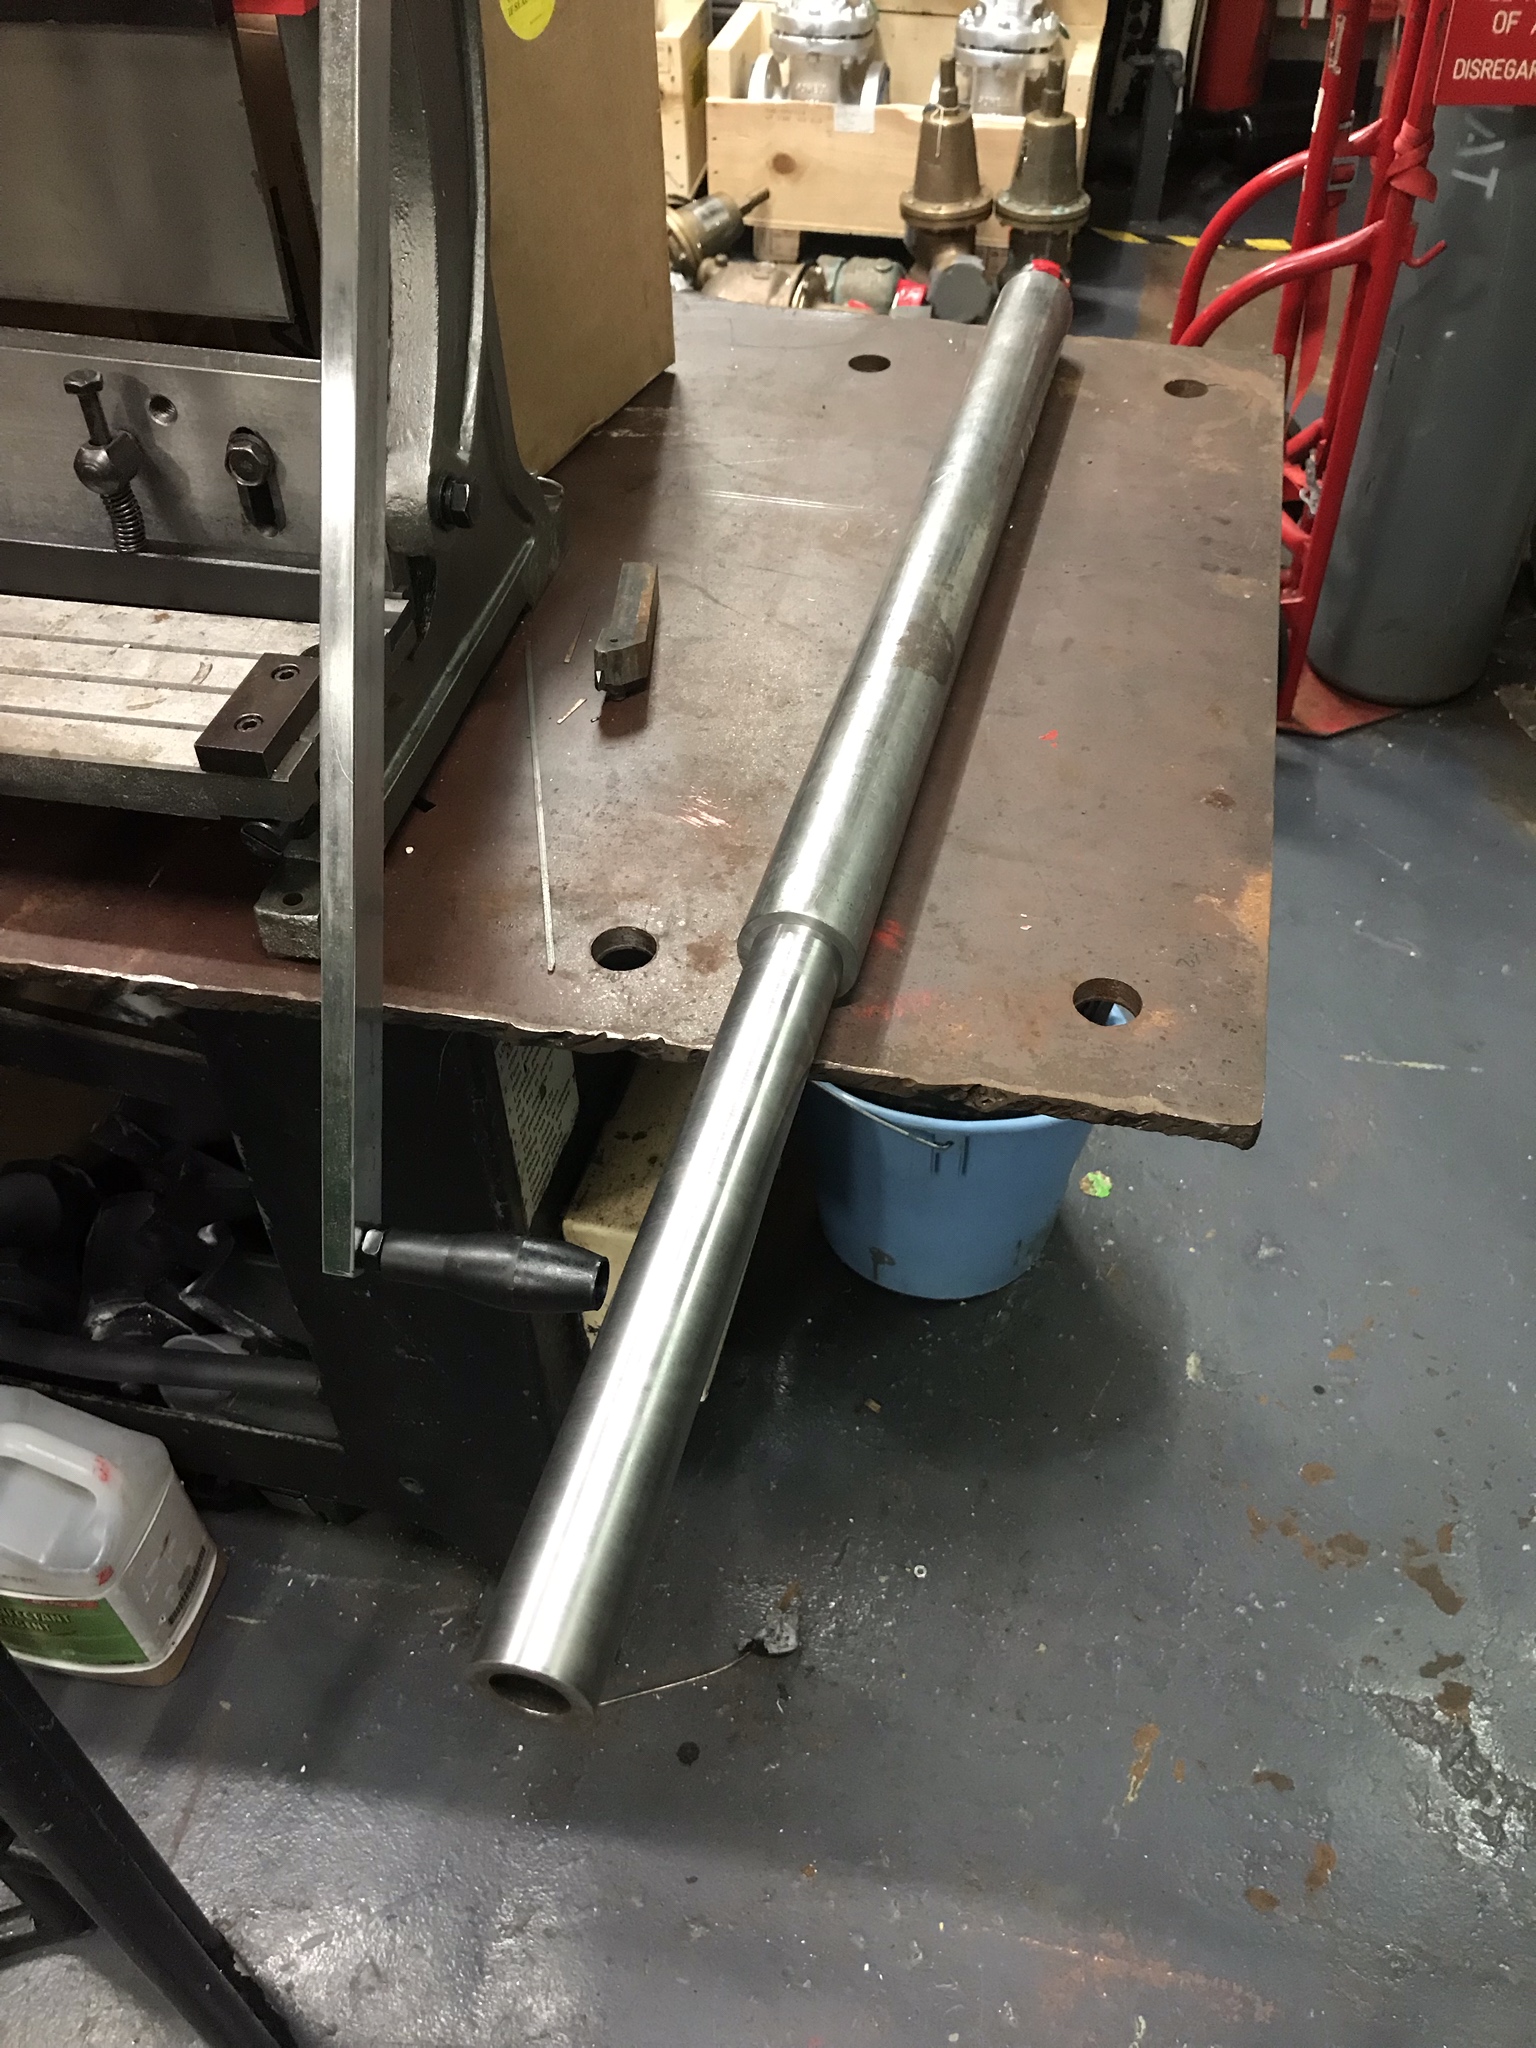
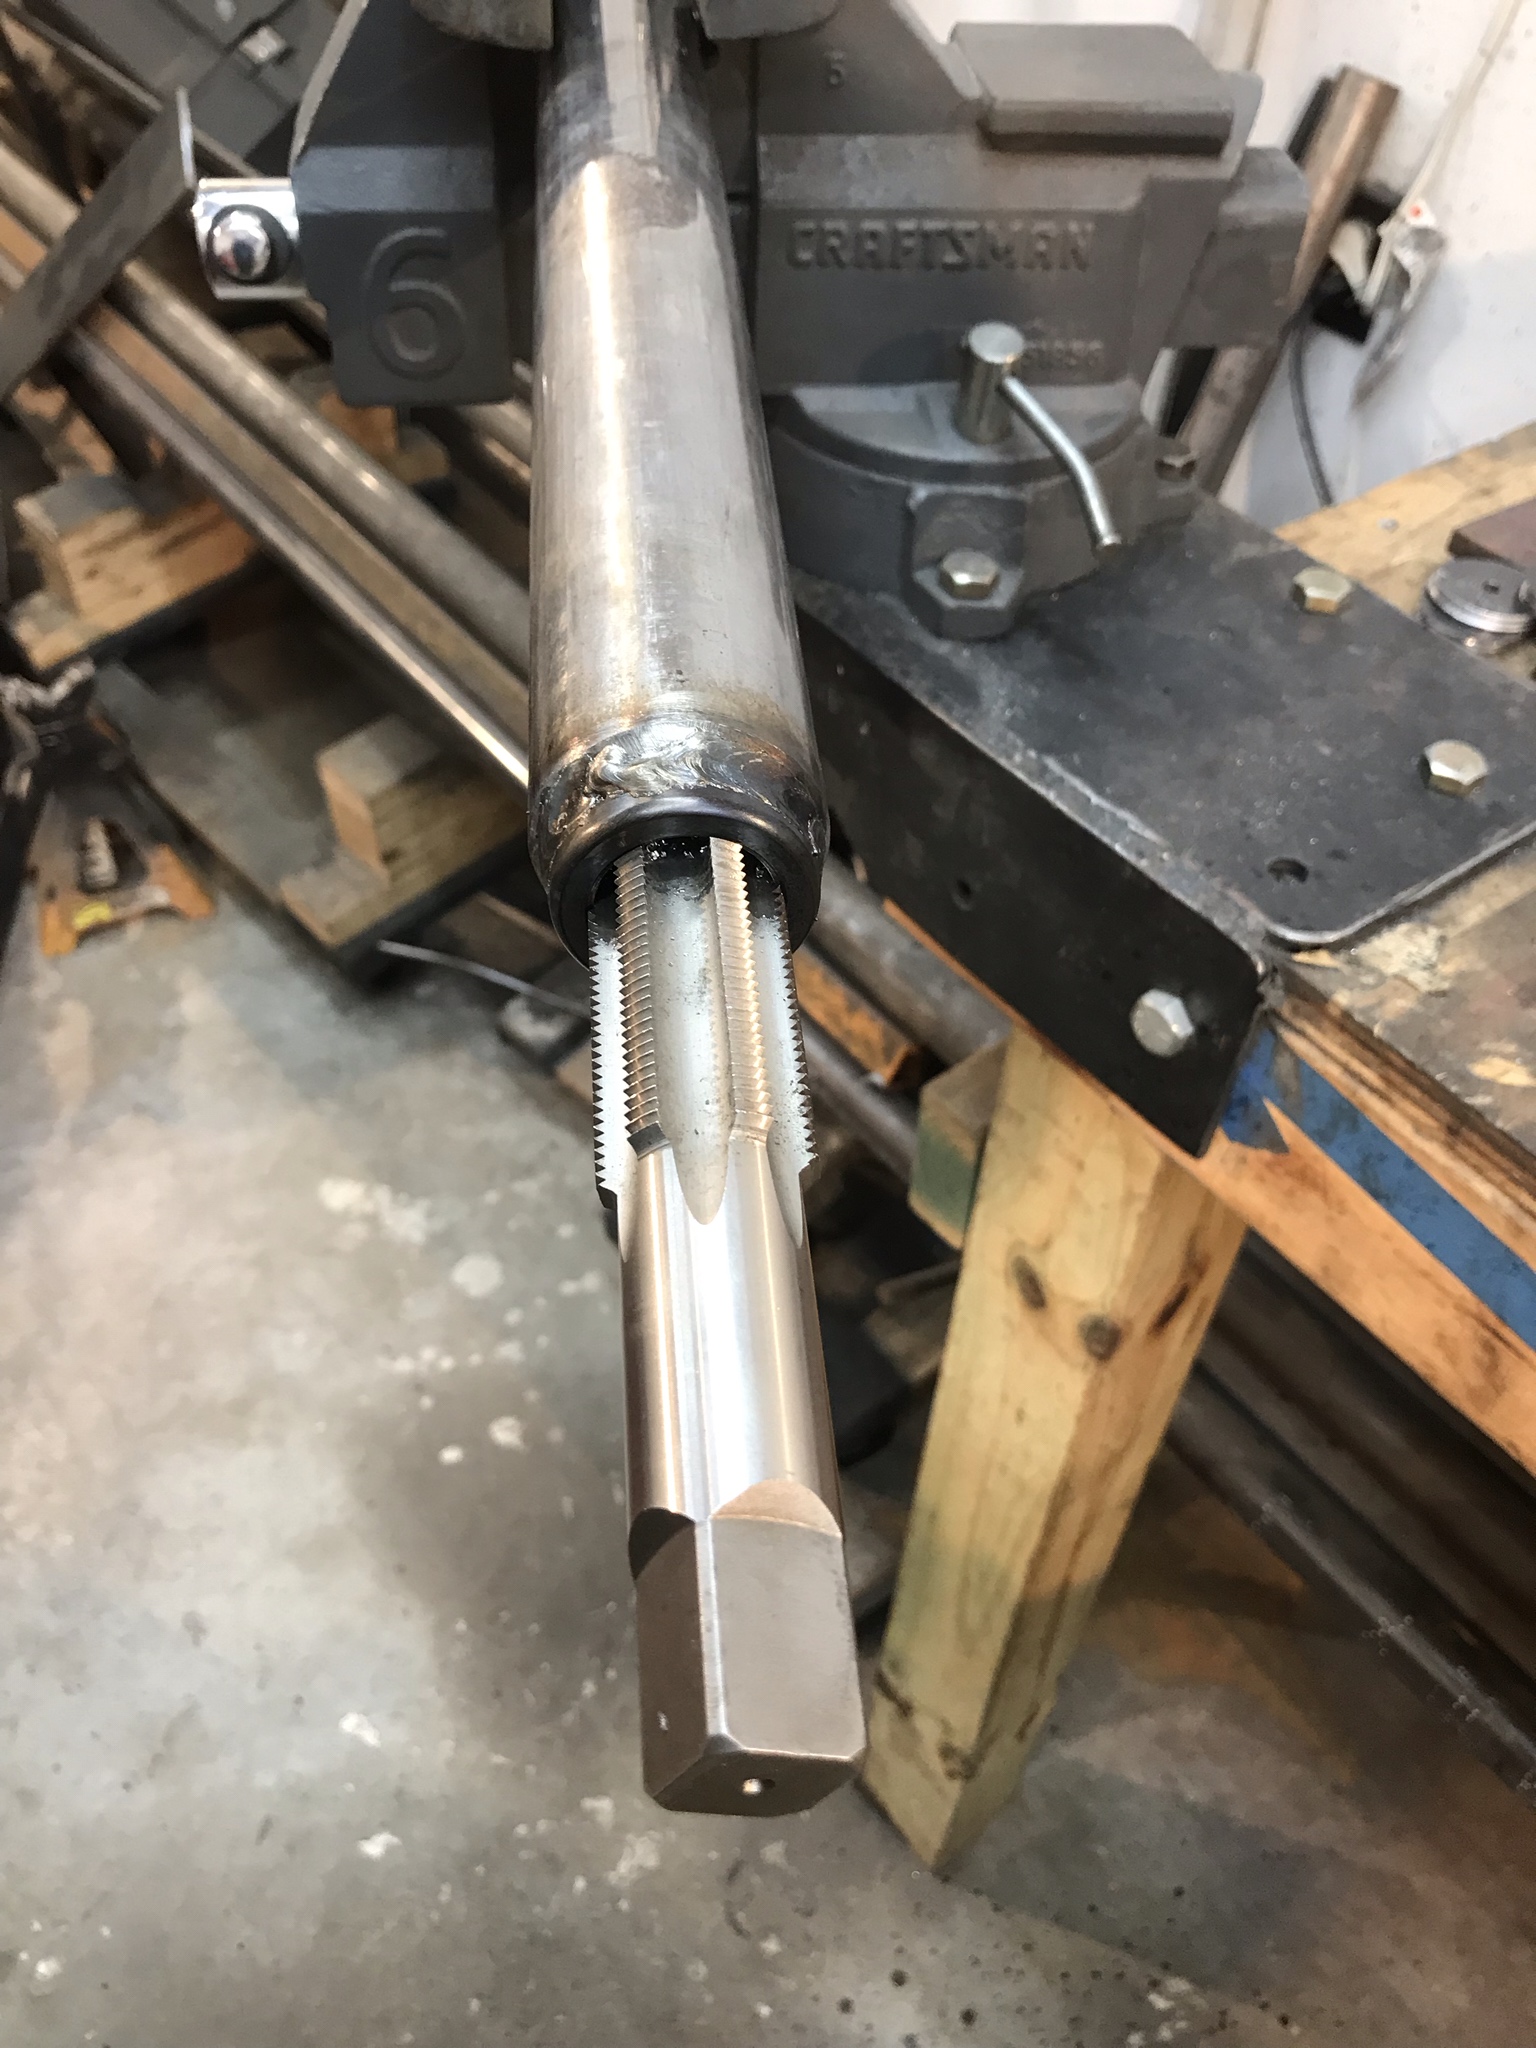
I love having taps in every size I need. I burned in all of my links and track bar in about 20 minutes. Cranked the welder all the way up and burned it in nice and hot without worrying about distorting the threads. Taps really aren't as expensive as everyone says. I have 1.25, 7/8 and 3/4 in both left and right thread for all my links, steering and track bar. I picked up the 1.25 for about $40 a piece on Ebay and the 7/8 were like $25 a piece.

ZN8i1Yh.jpg


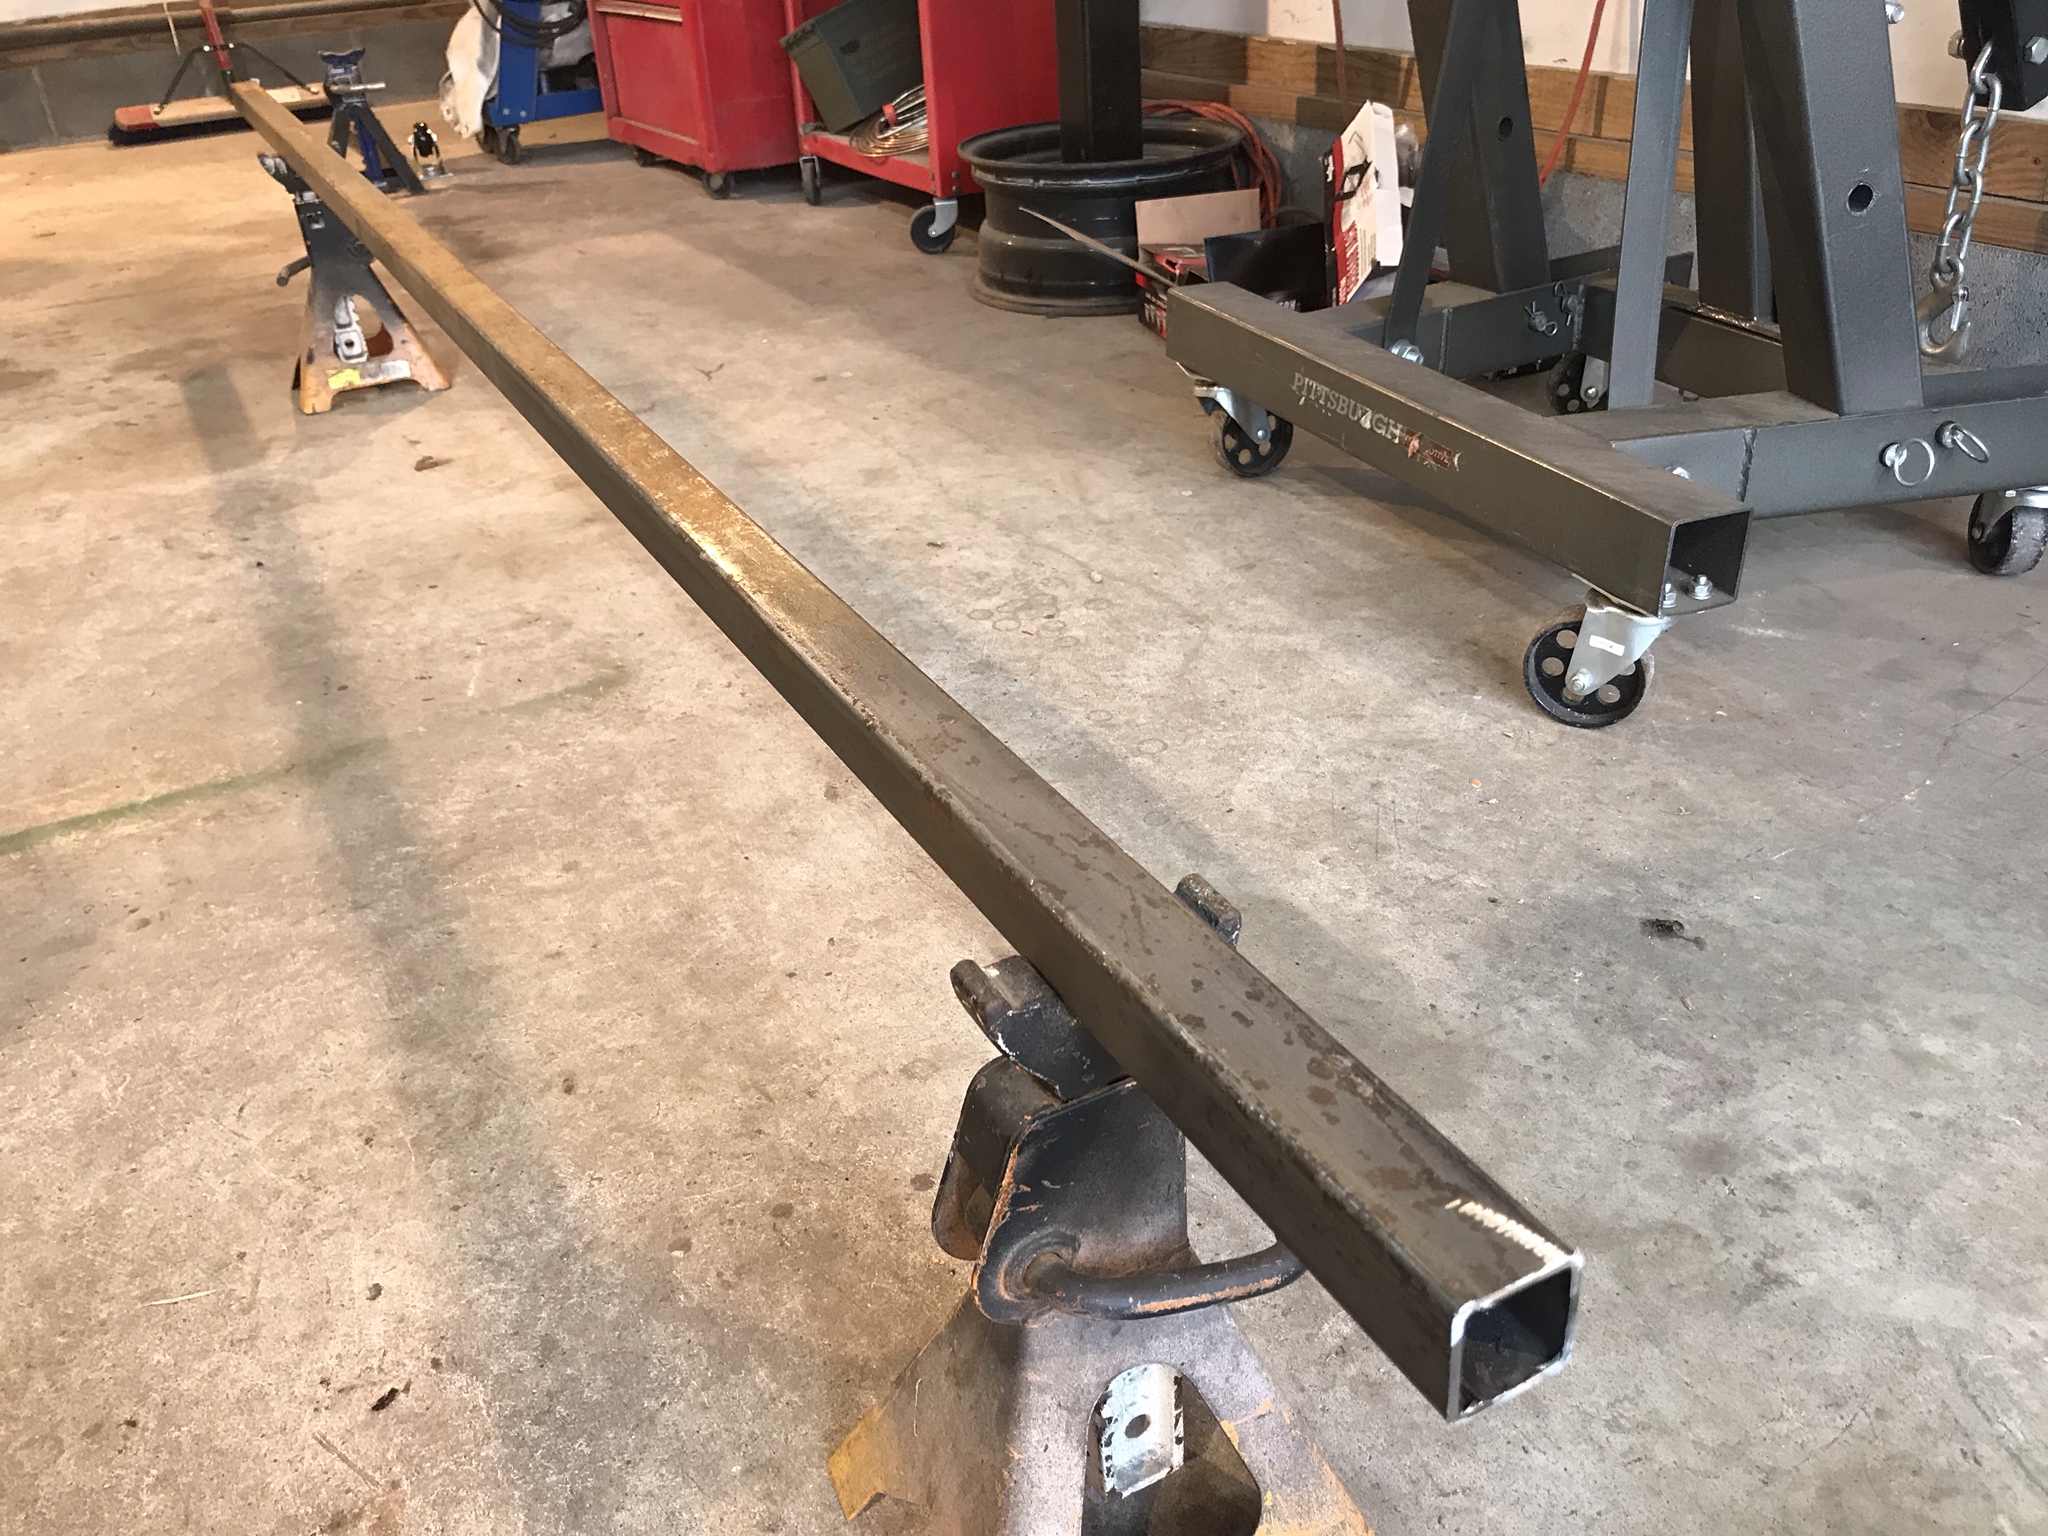
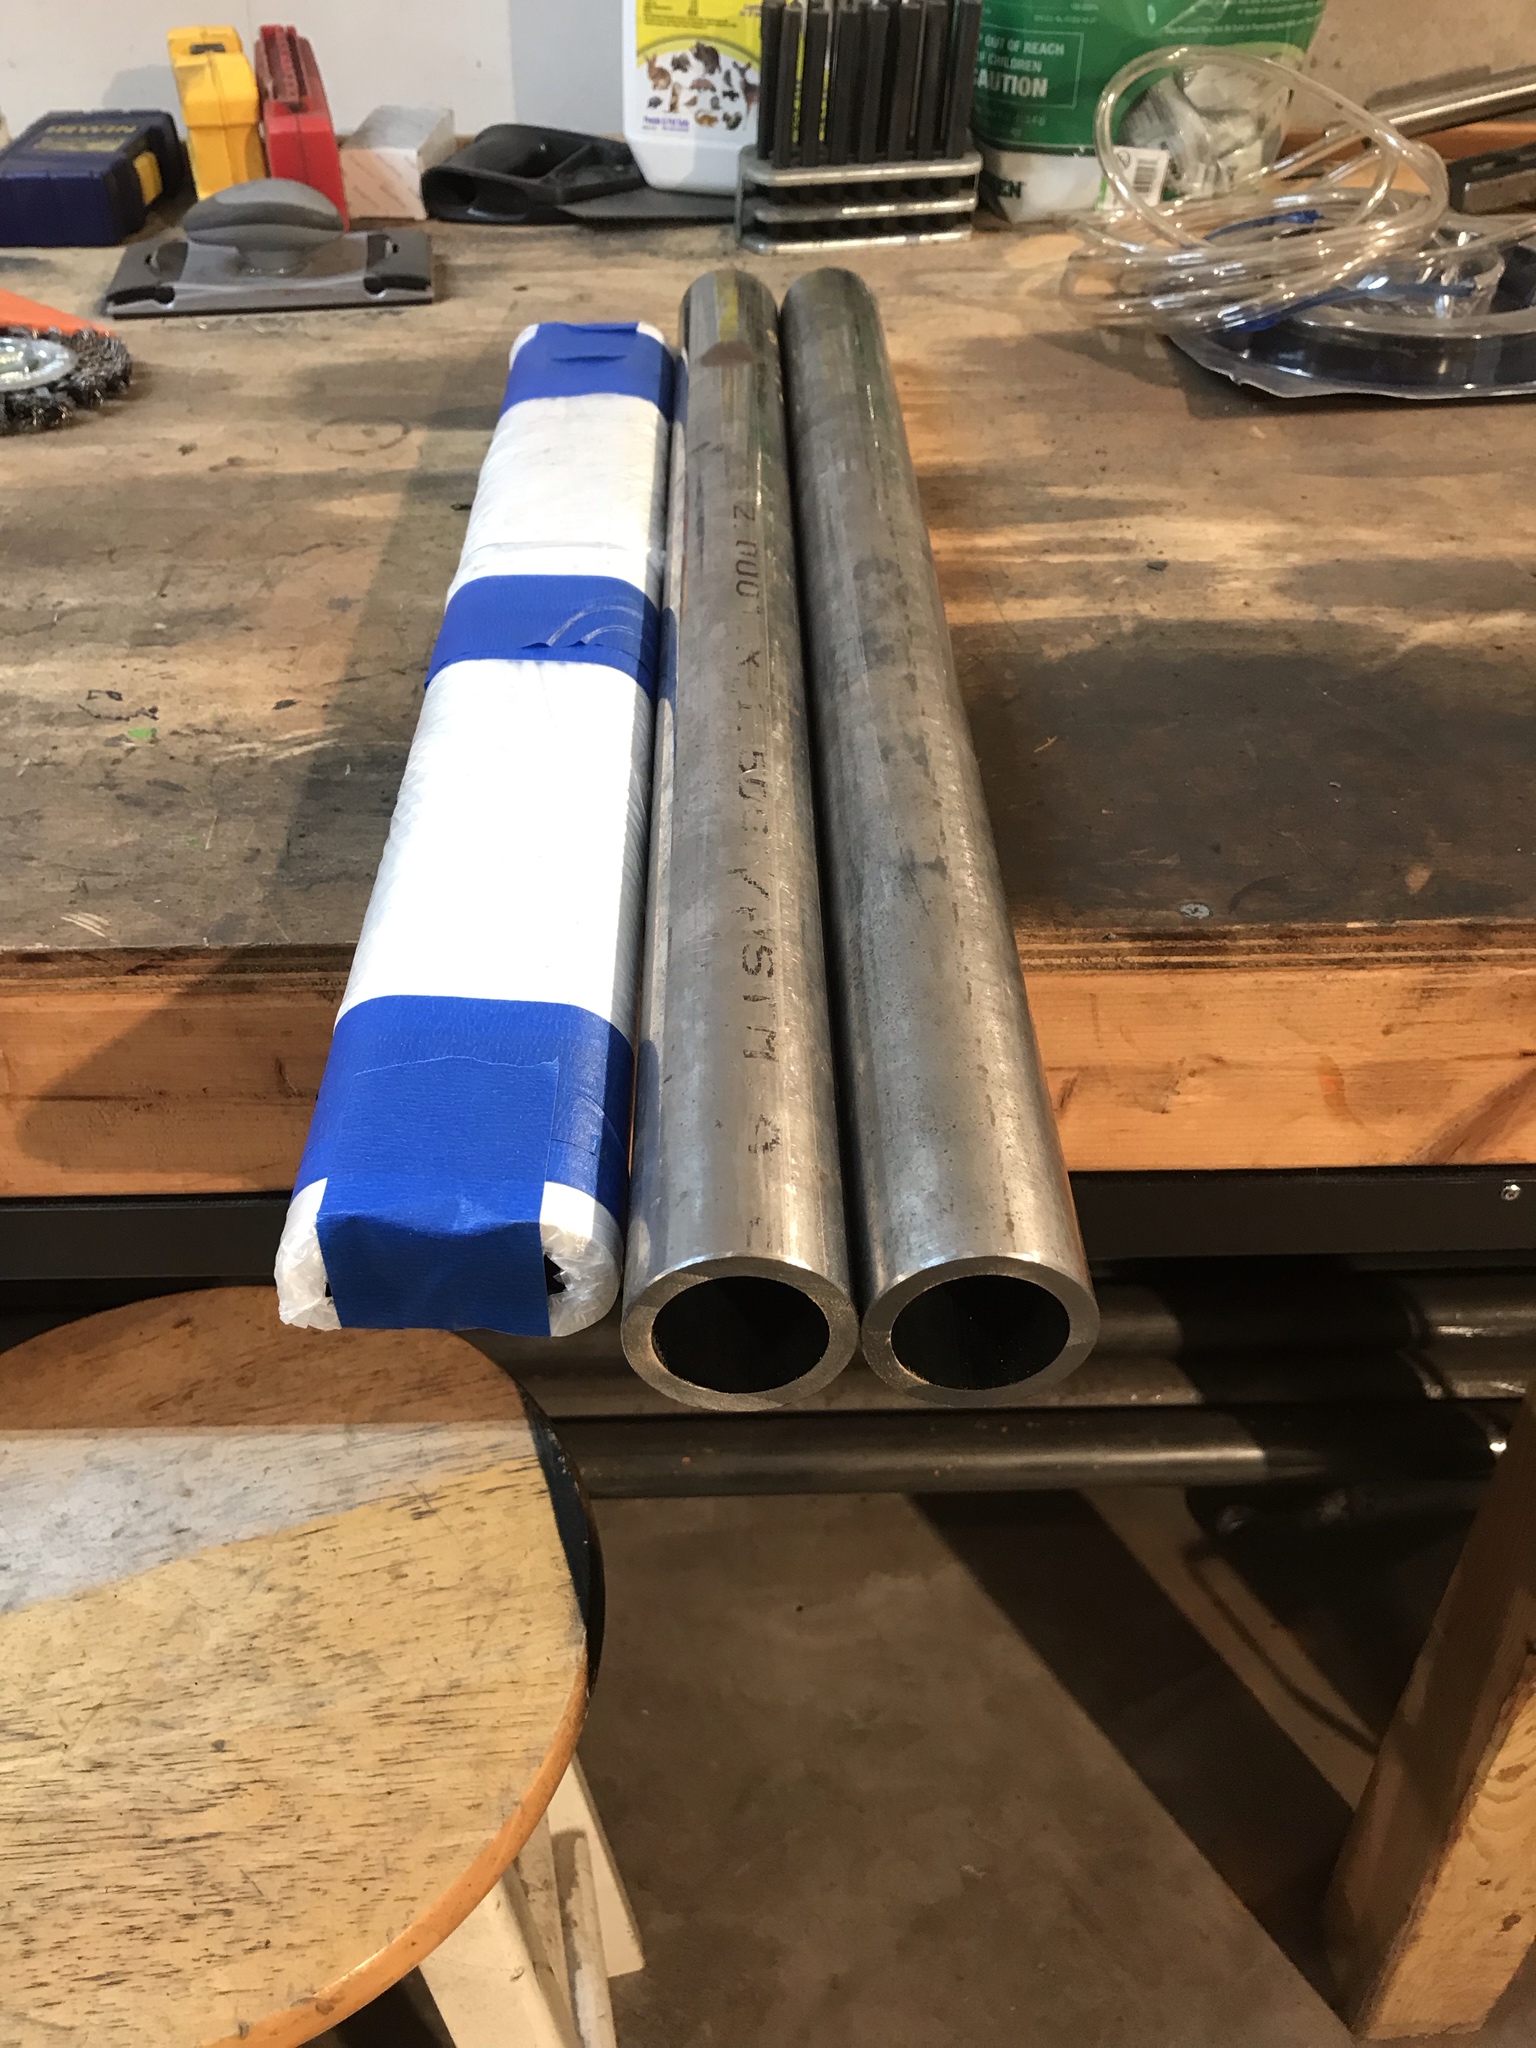
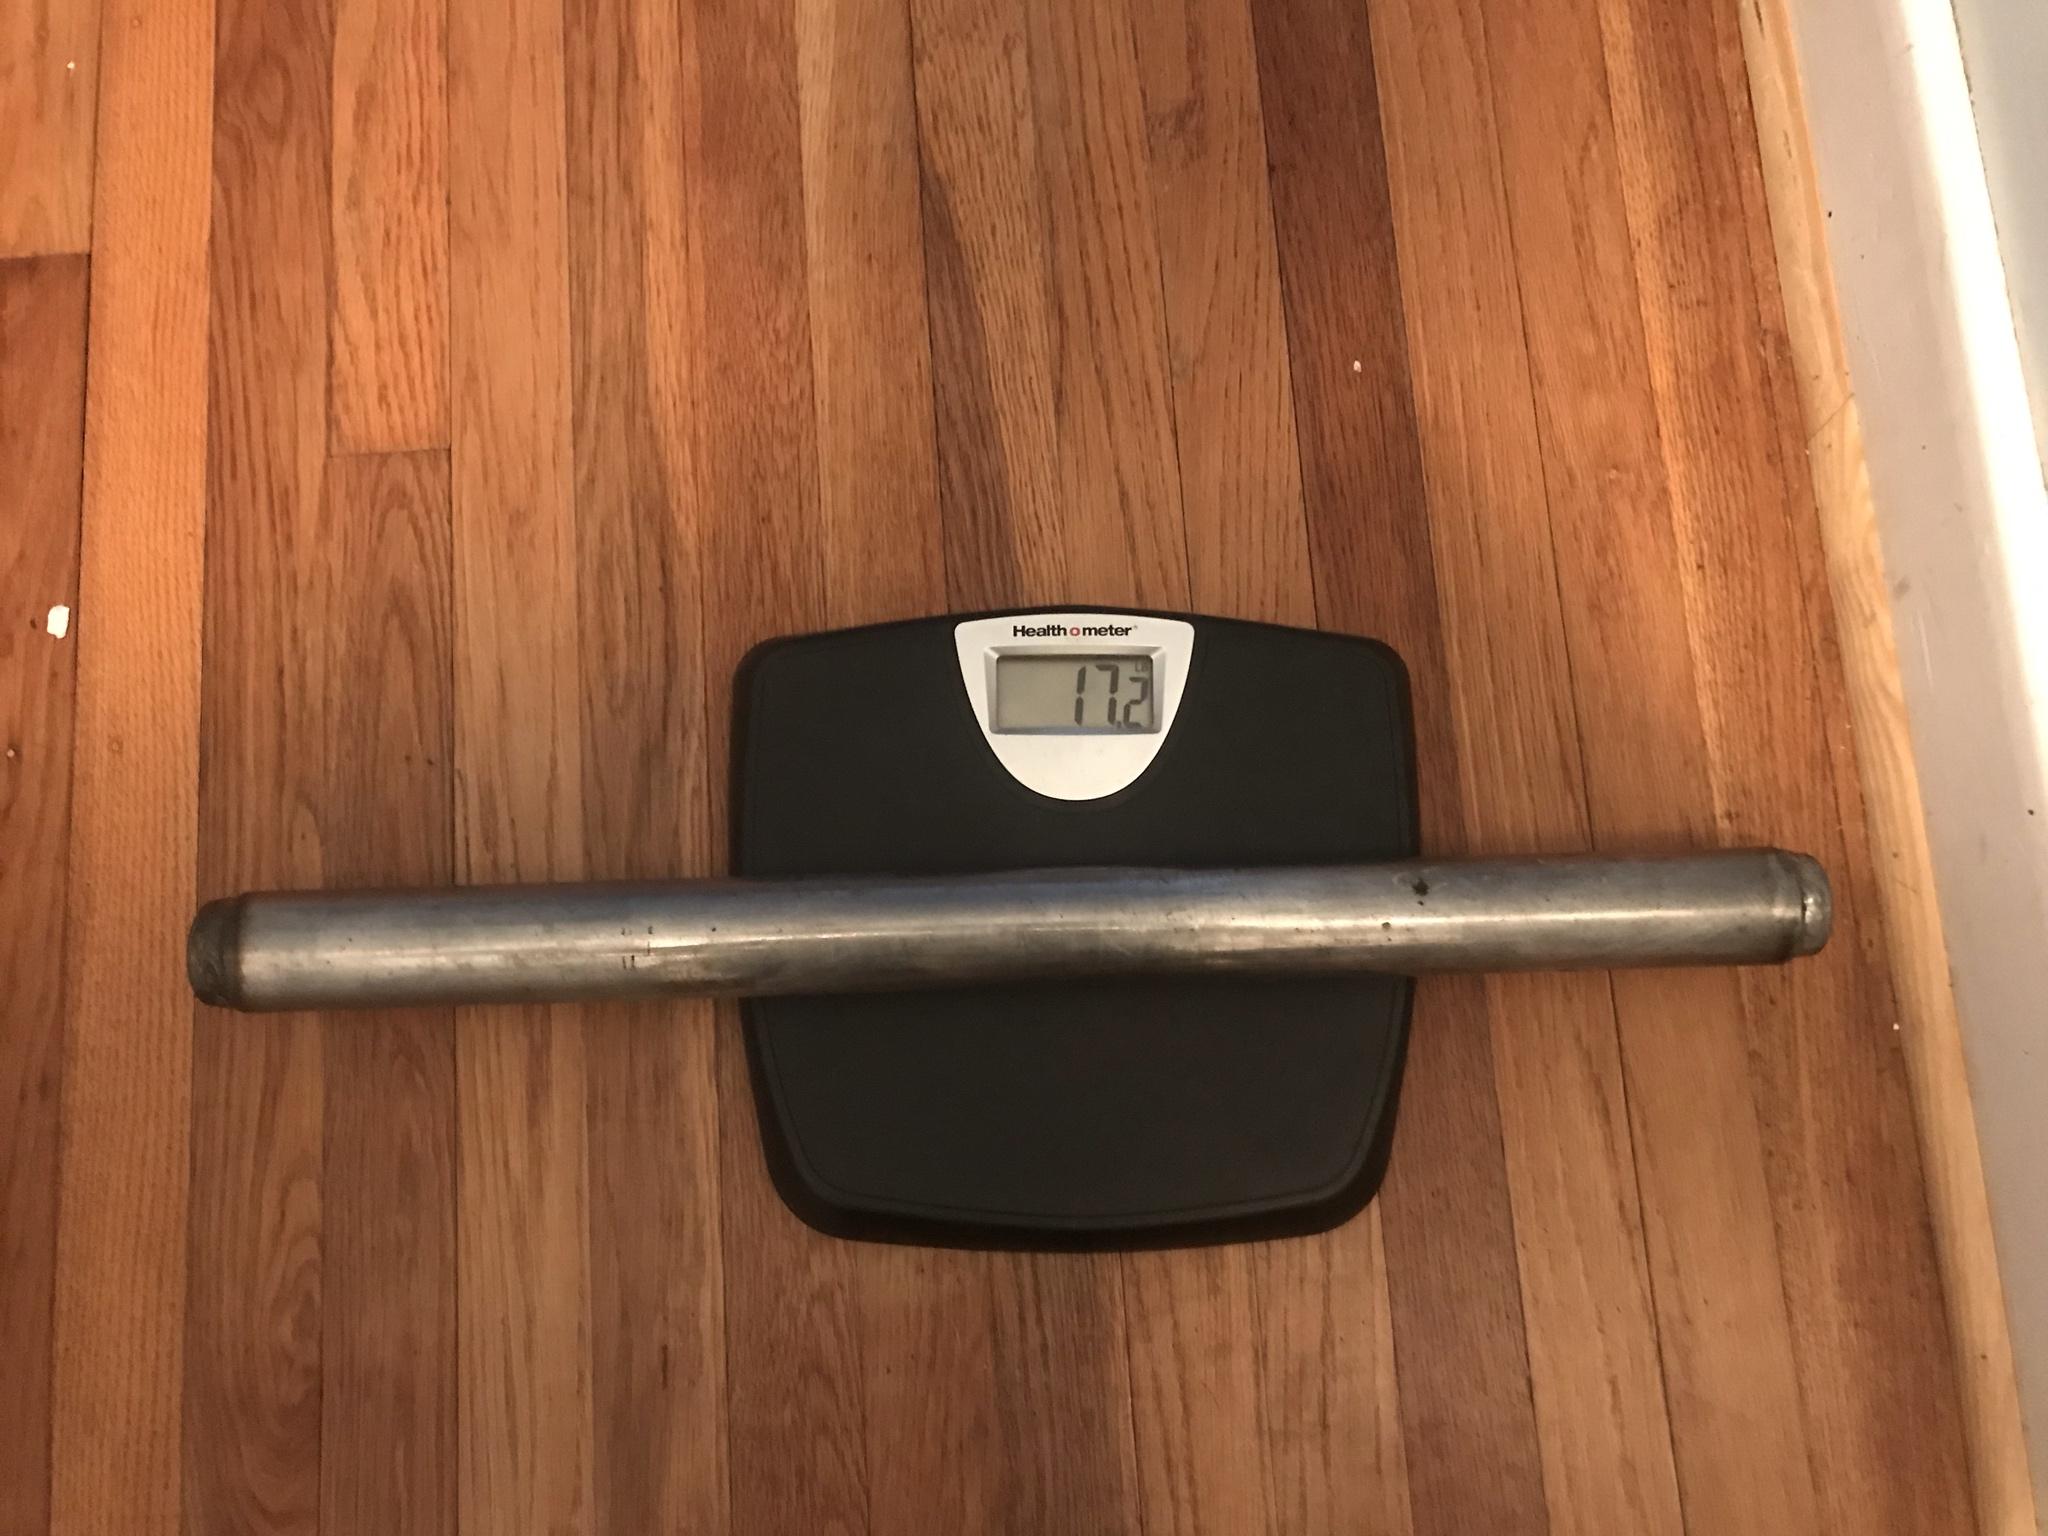
I wanted to see what the difference in weight was between my lower link with the internal sleeve and the upper link which is 1.75x.120. I can tell you my upper link feels like a feather compared to the lower. All of my links are the same length so it's a pretty apple to apple comparison. To get the weight I did what any sensible person would do..... I brought them inside and put them on my wife's bathroom scale


The lower link weighed in at 17.2lbs

ElfqqLm.jpg


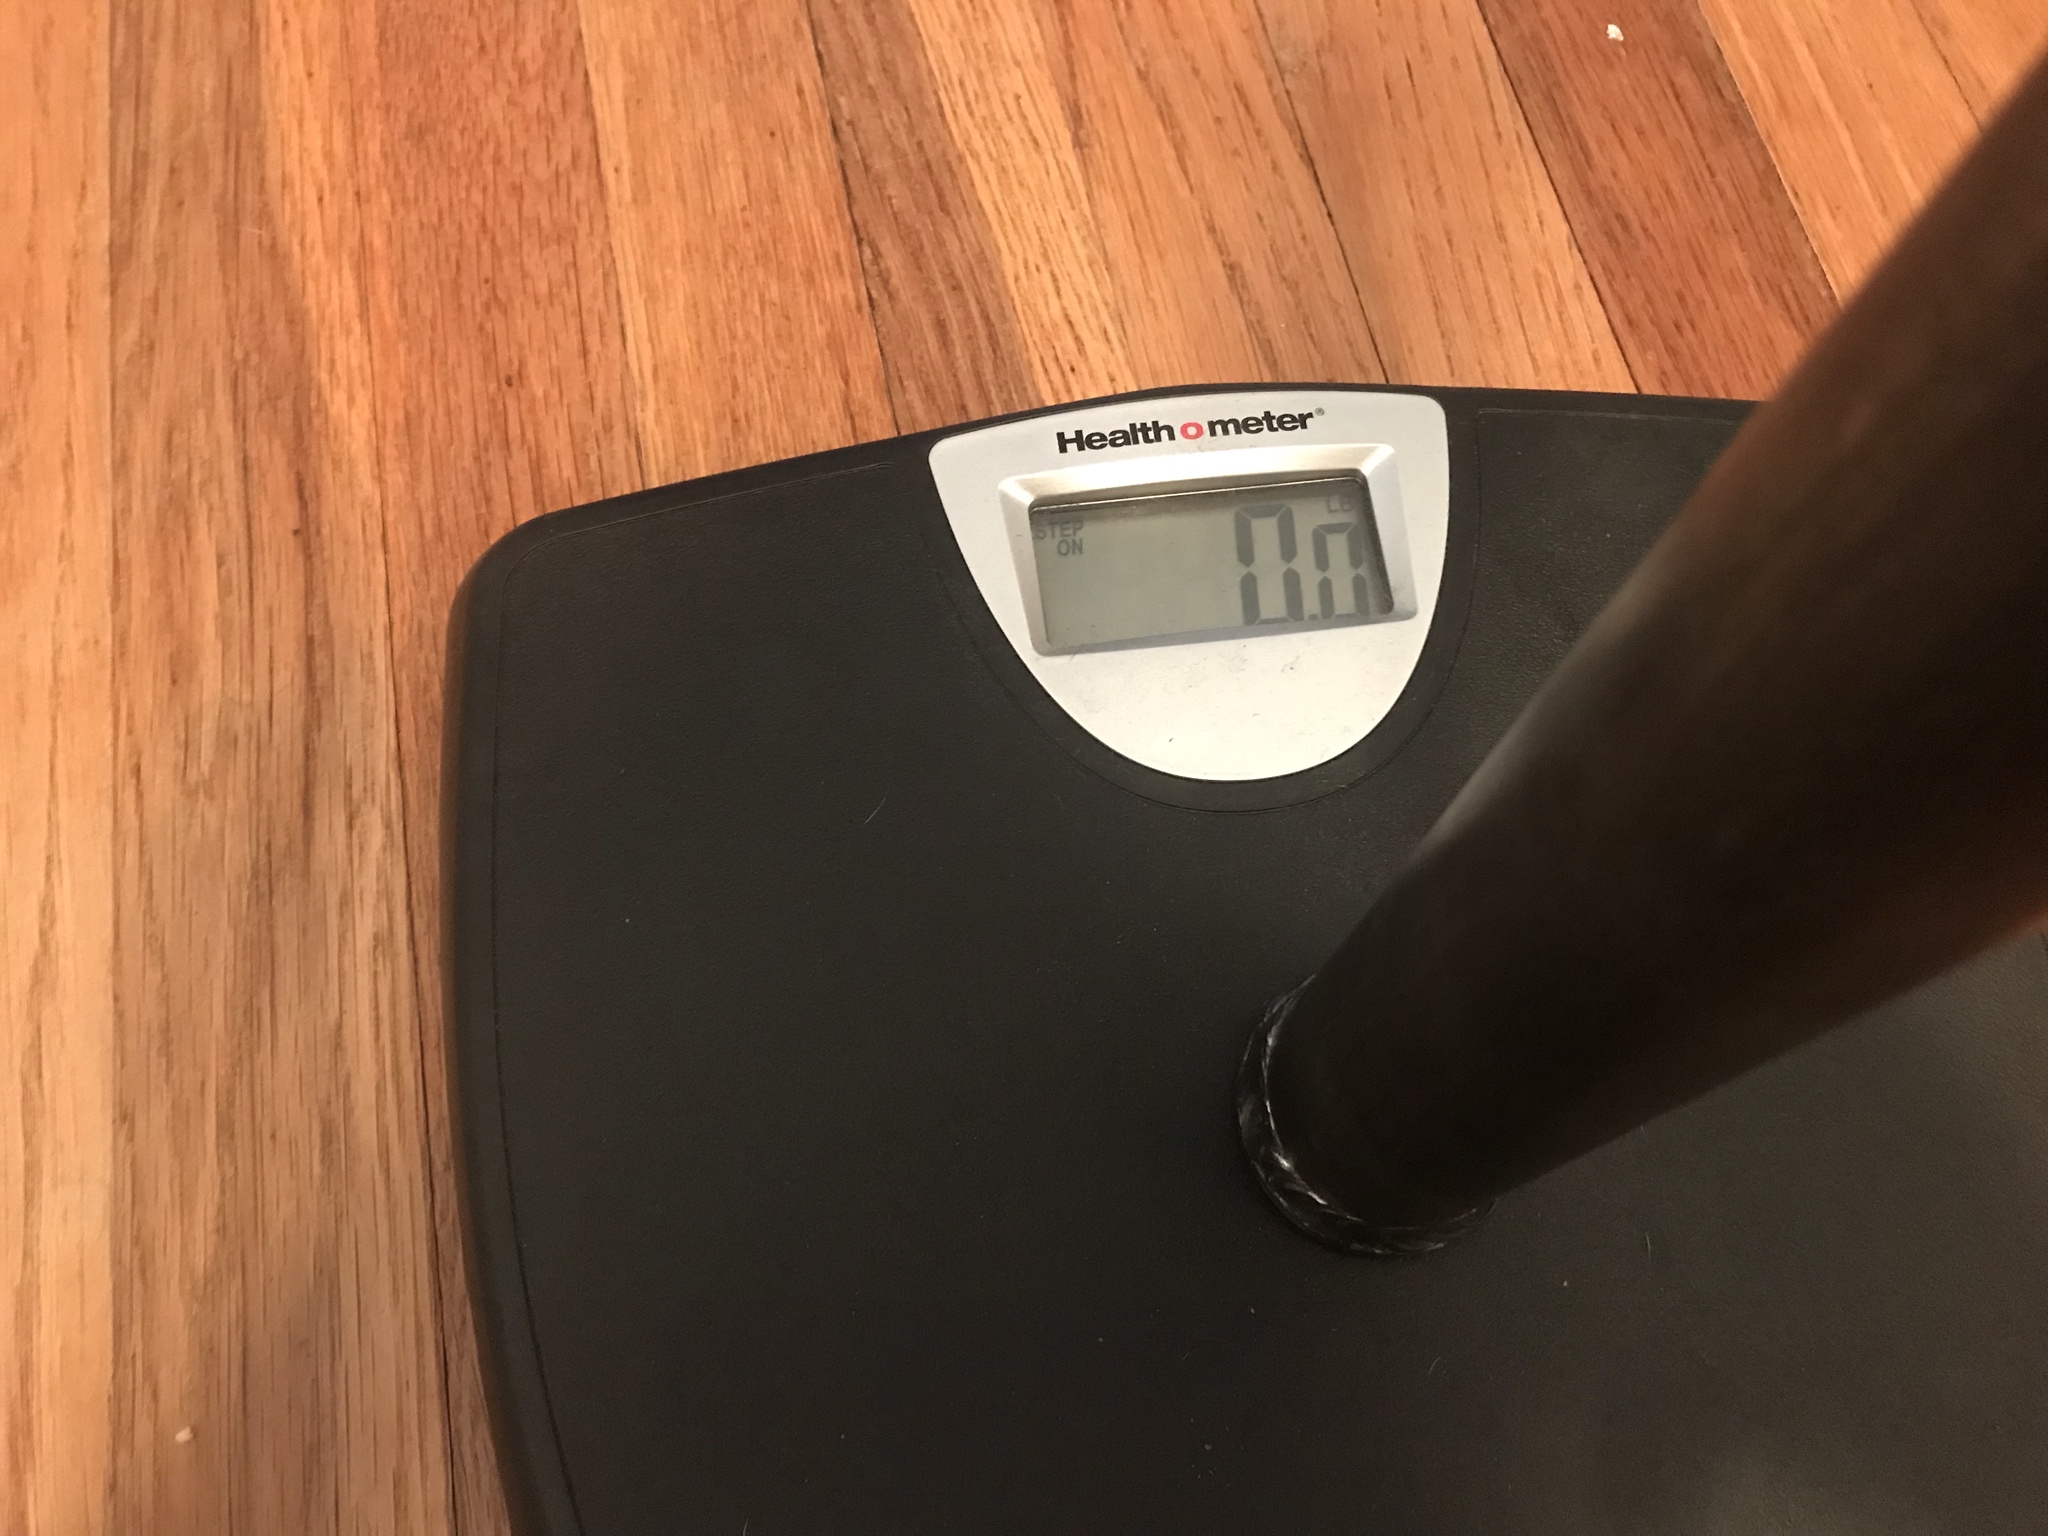
The upper link was too light for the scale to measure it.

i9POsZl.jpg


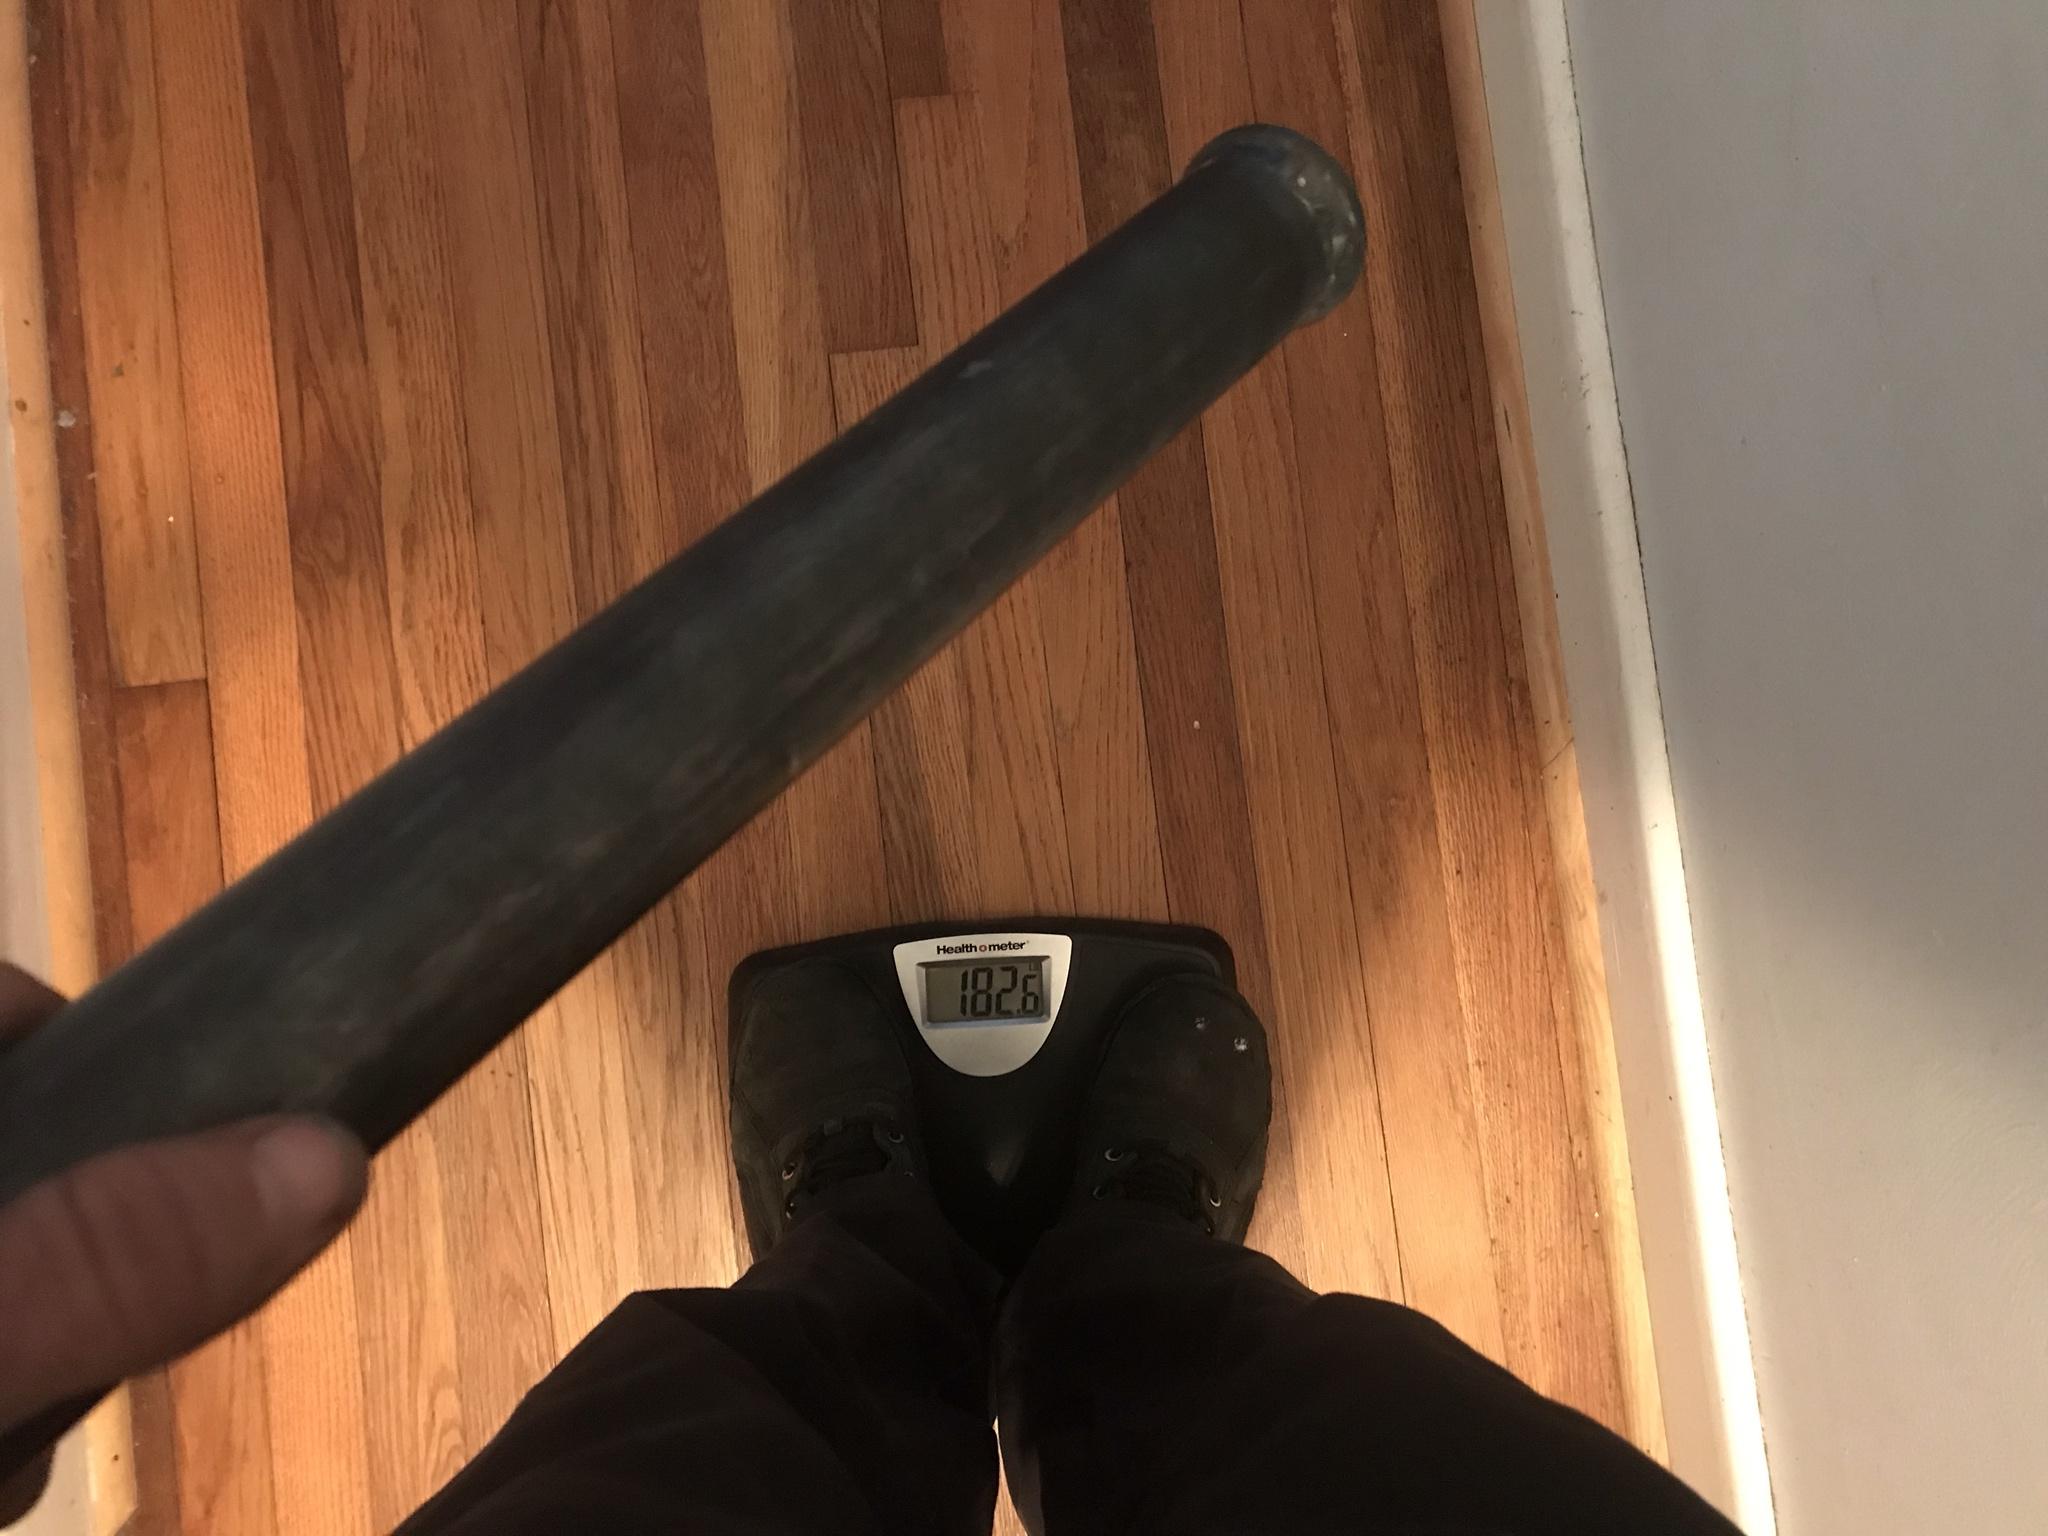
So I took a before and after of my weight first not holding the link then holding the link. looks to be about 5.4lbs. A little less than 1/3 the weight of my lowers.

Zrs9t9B.jpg


drUuDh9.jpg


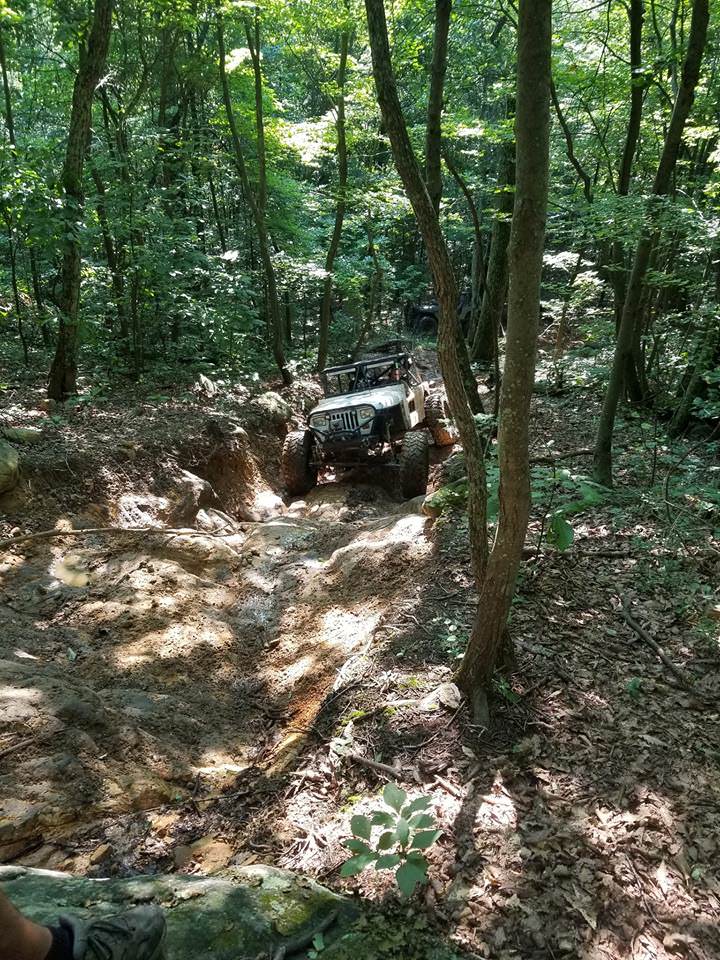
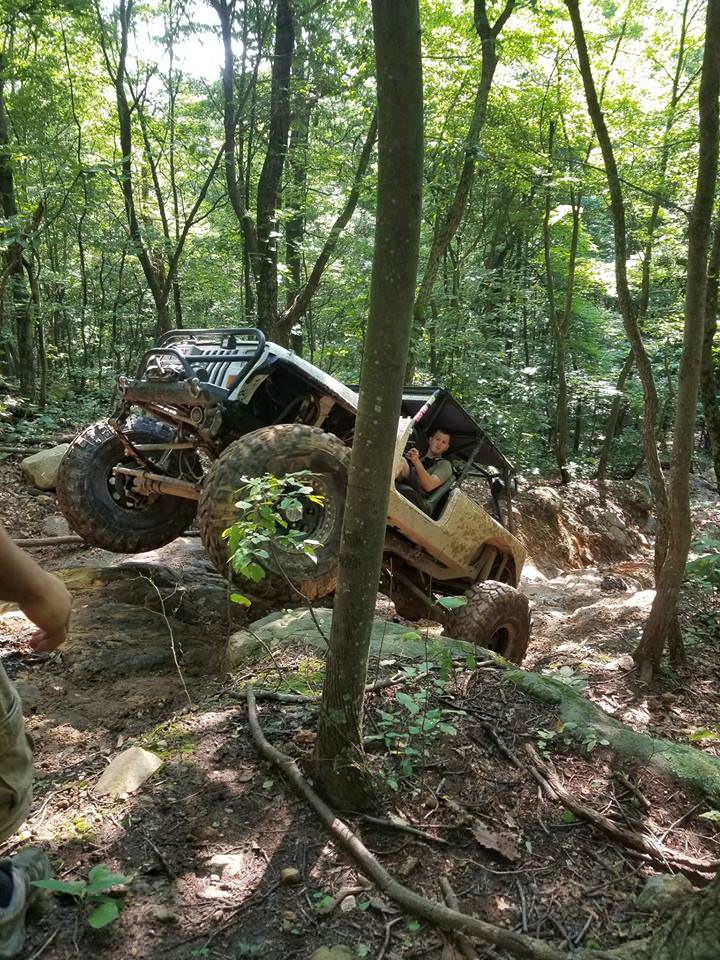
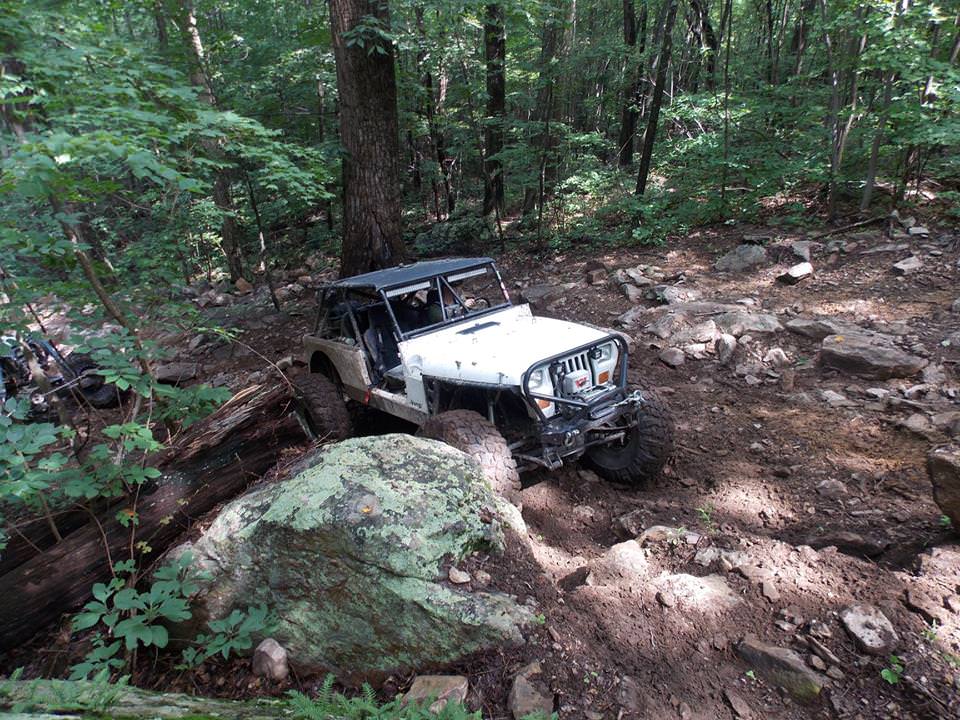
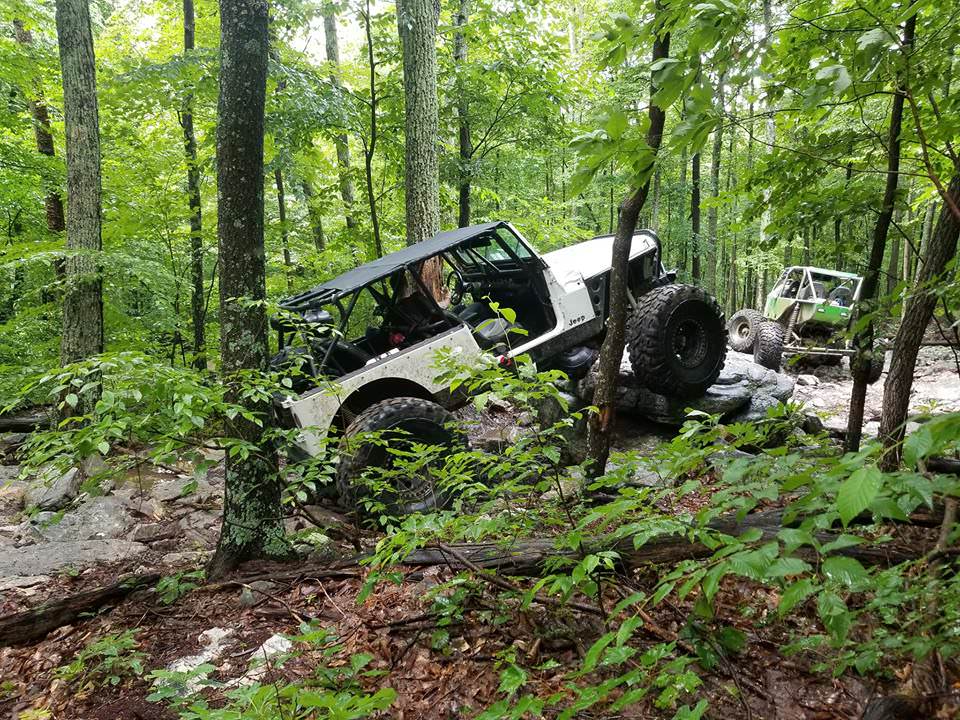
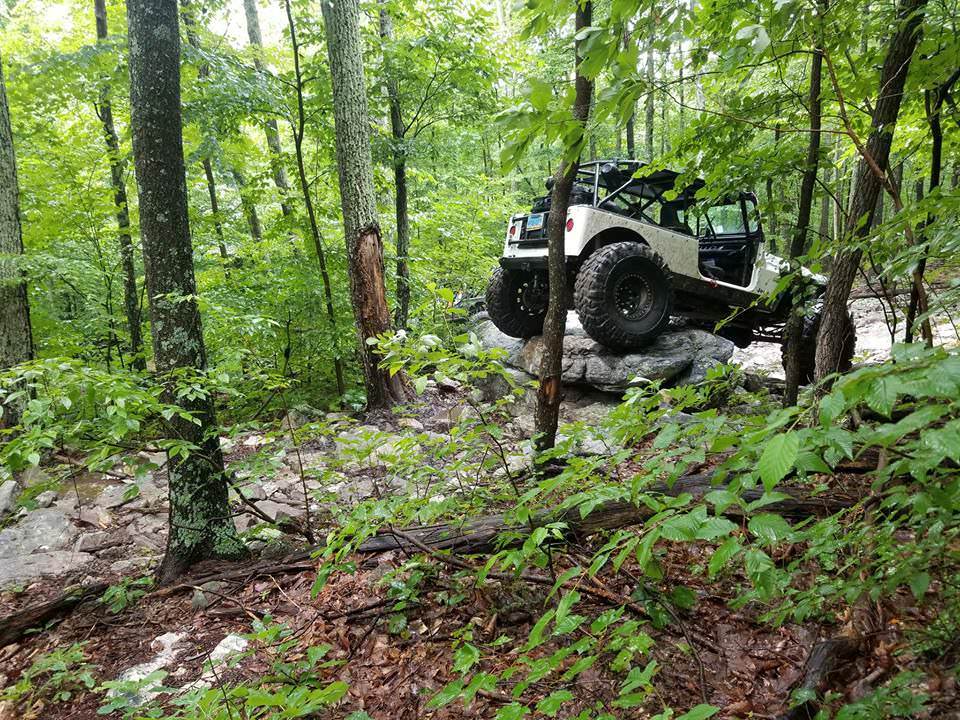
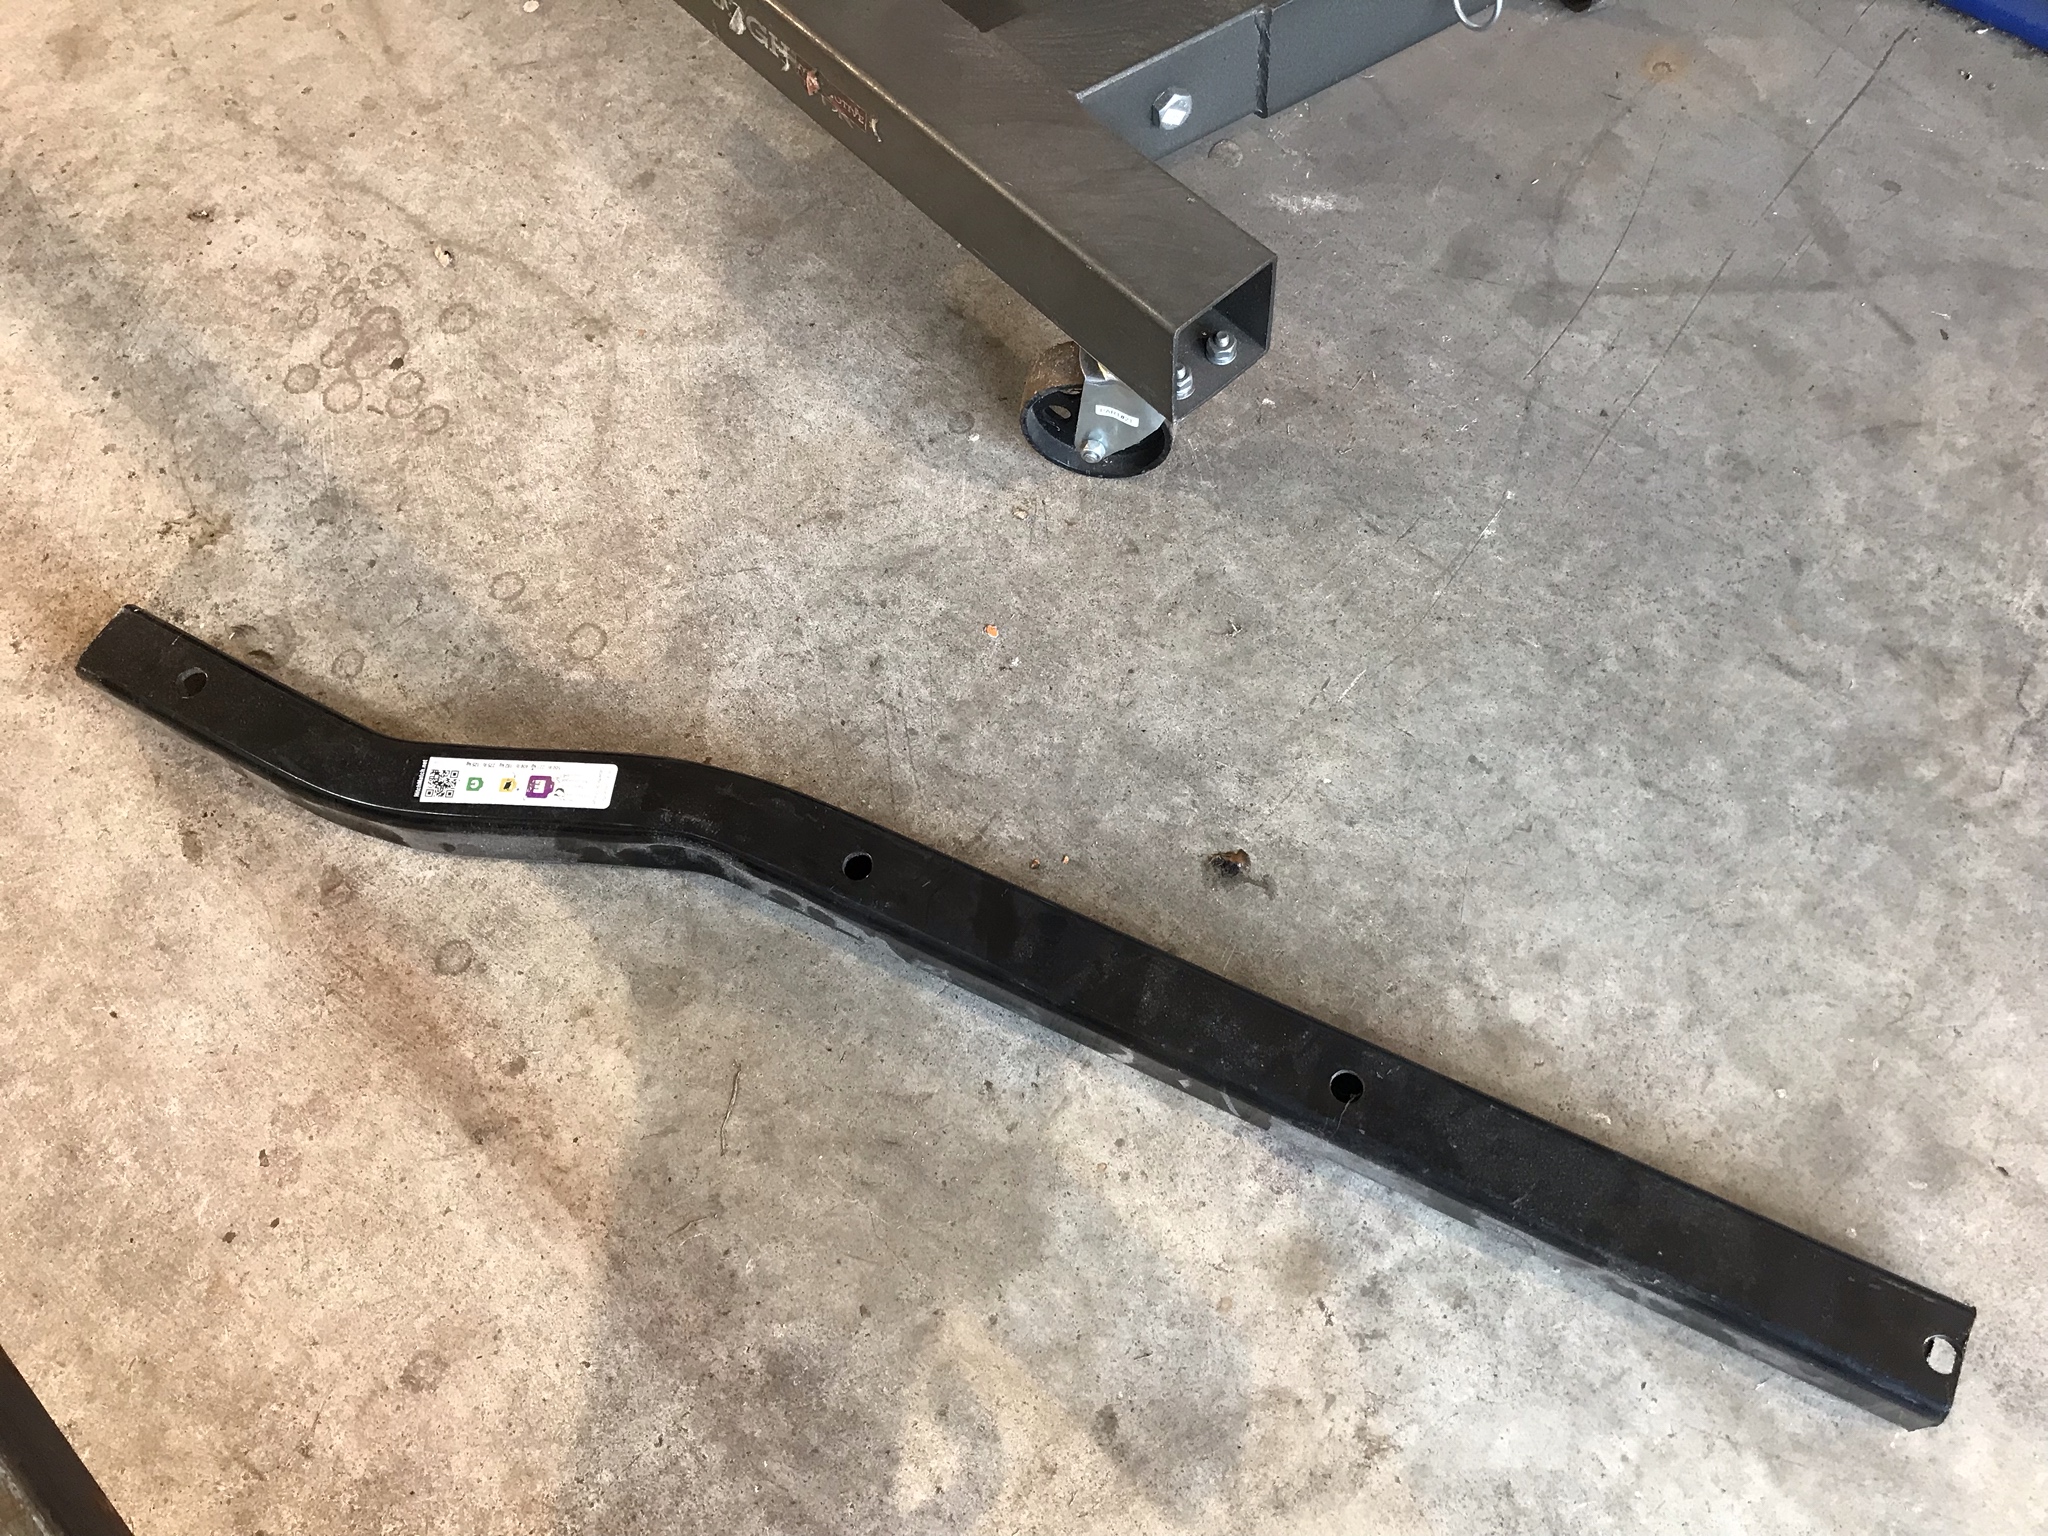
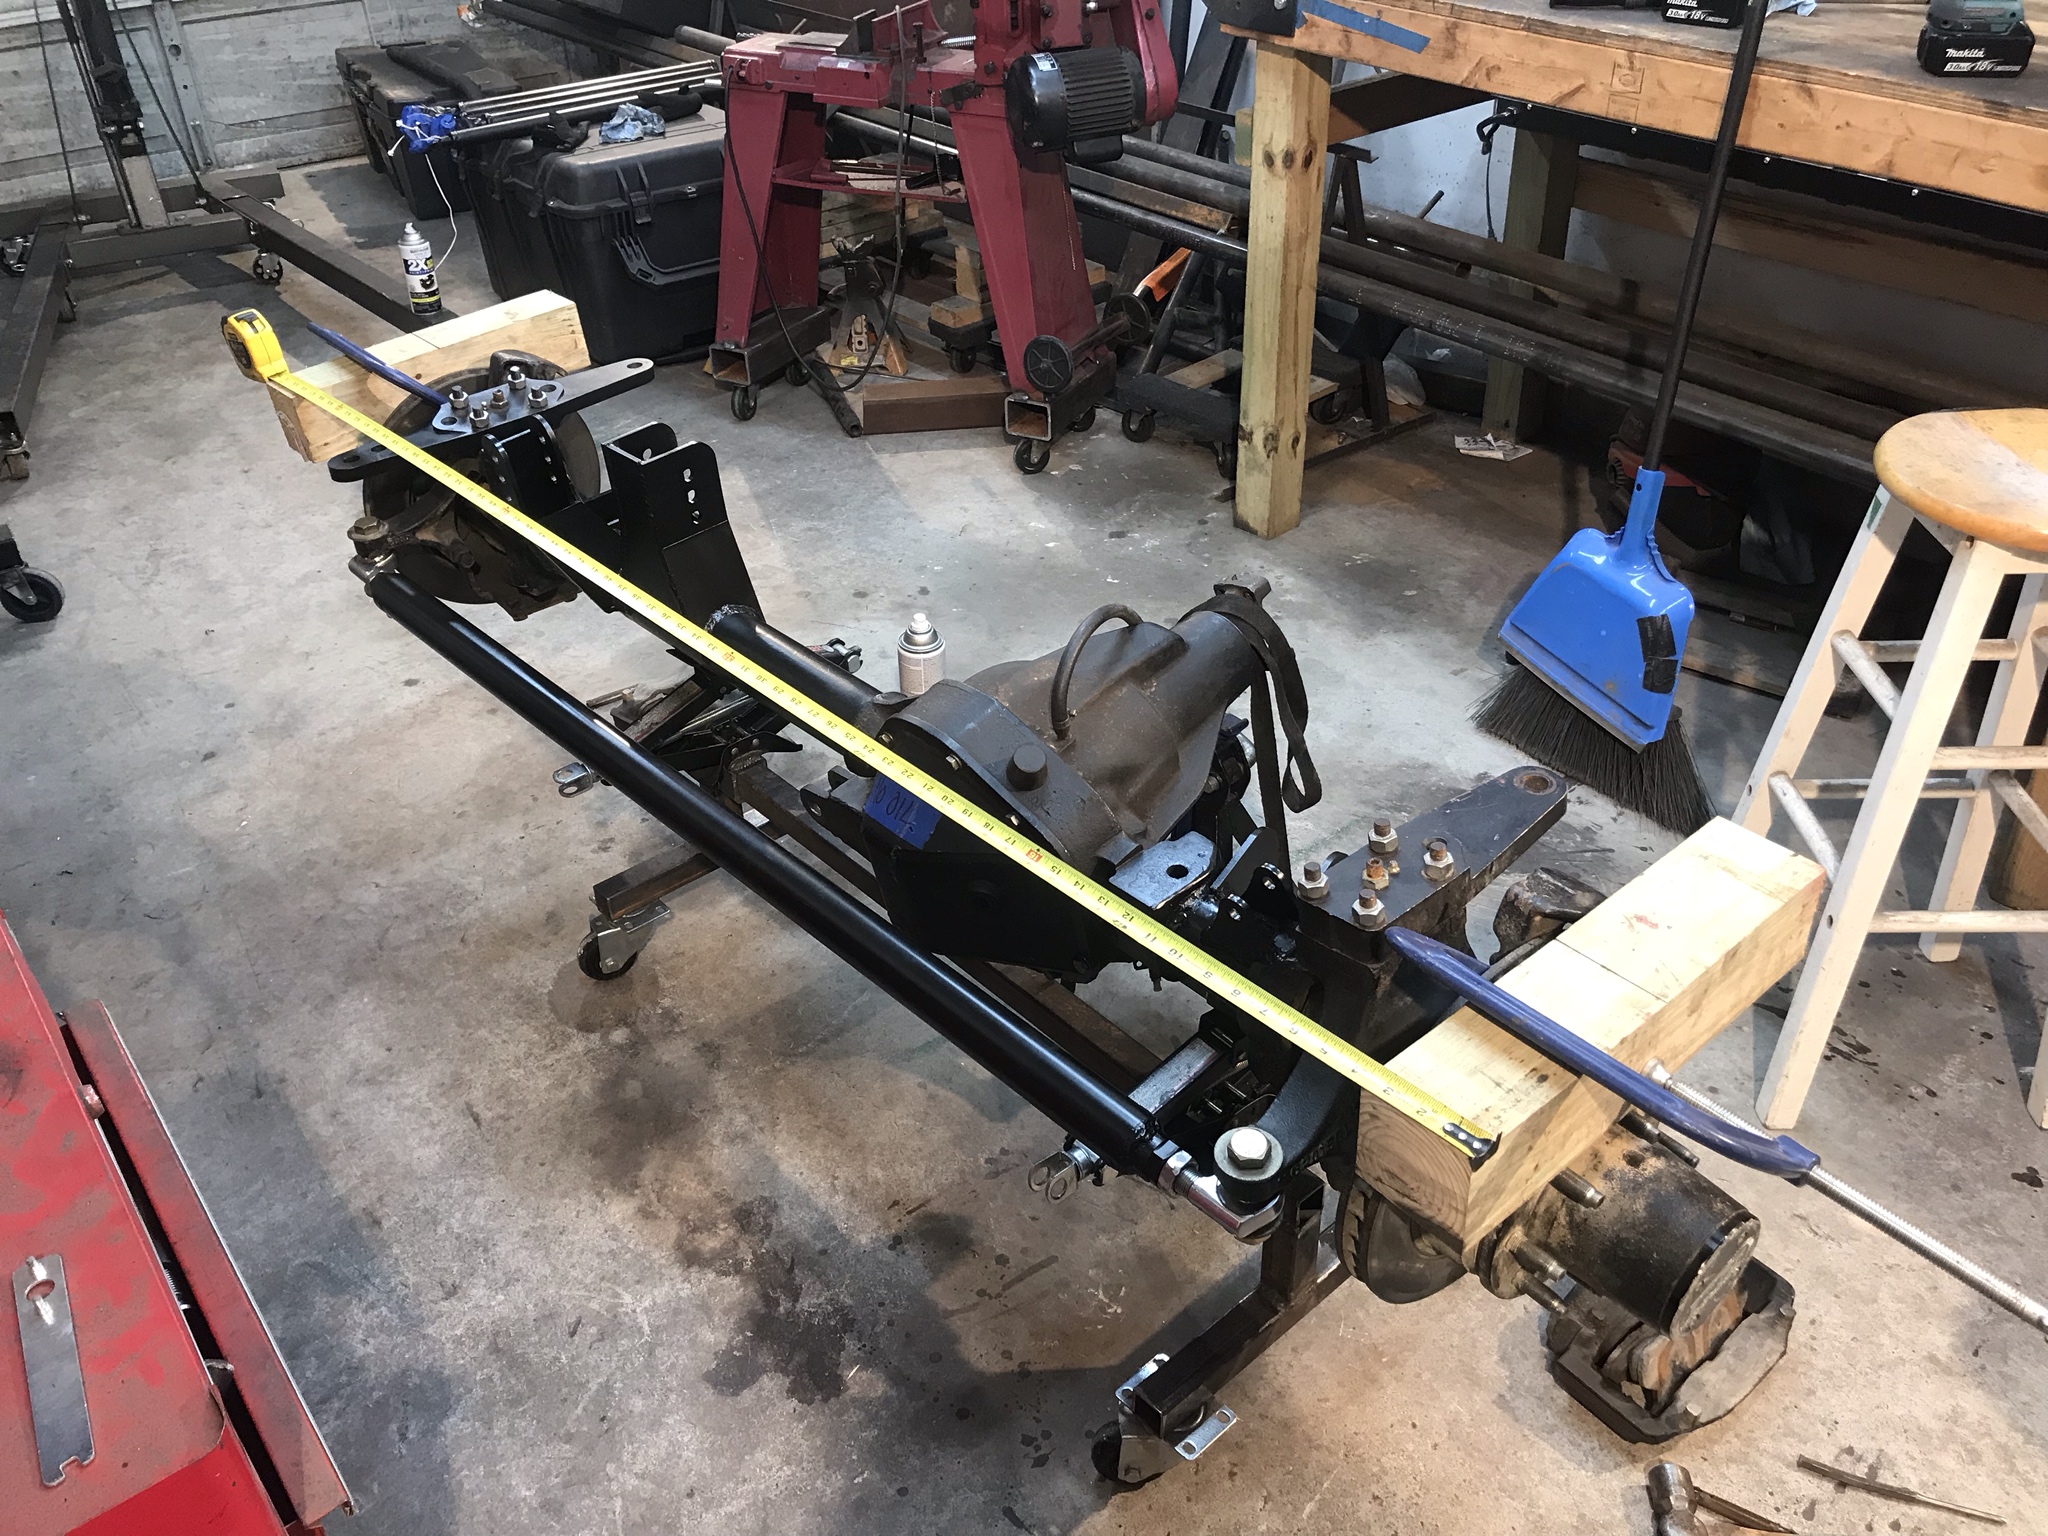
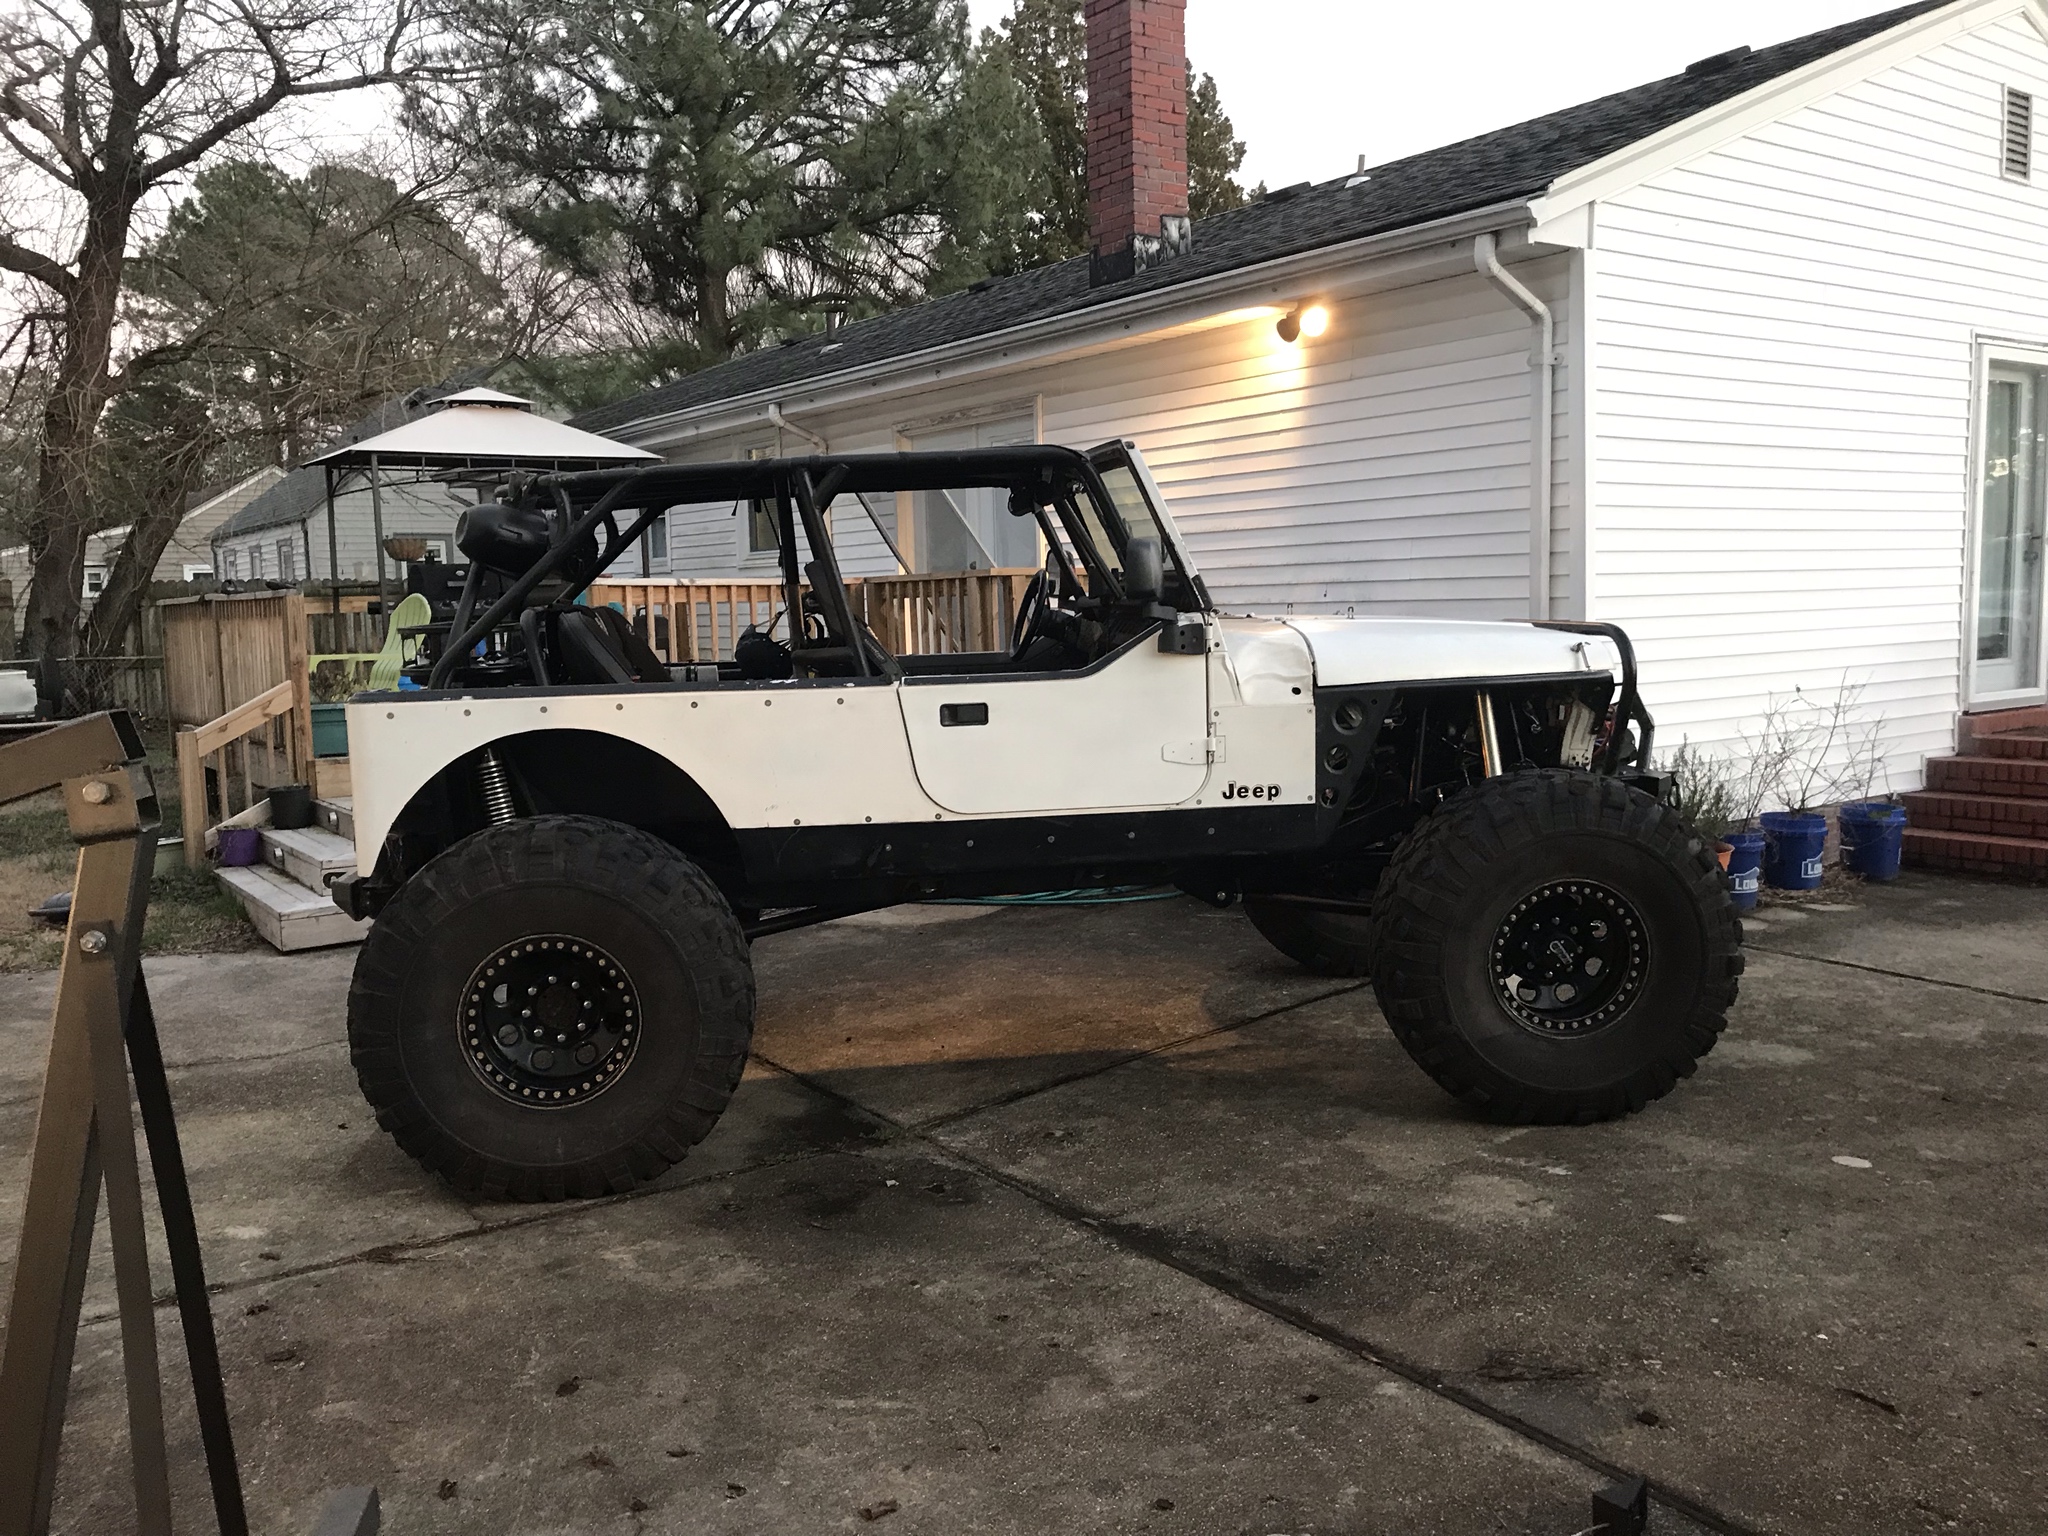
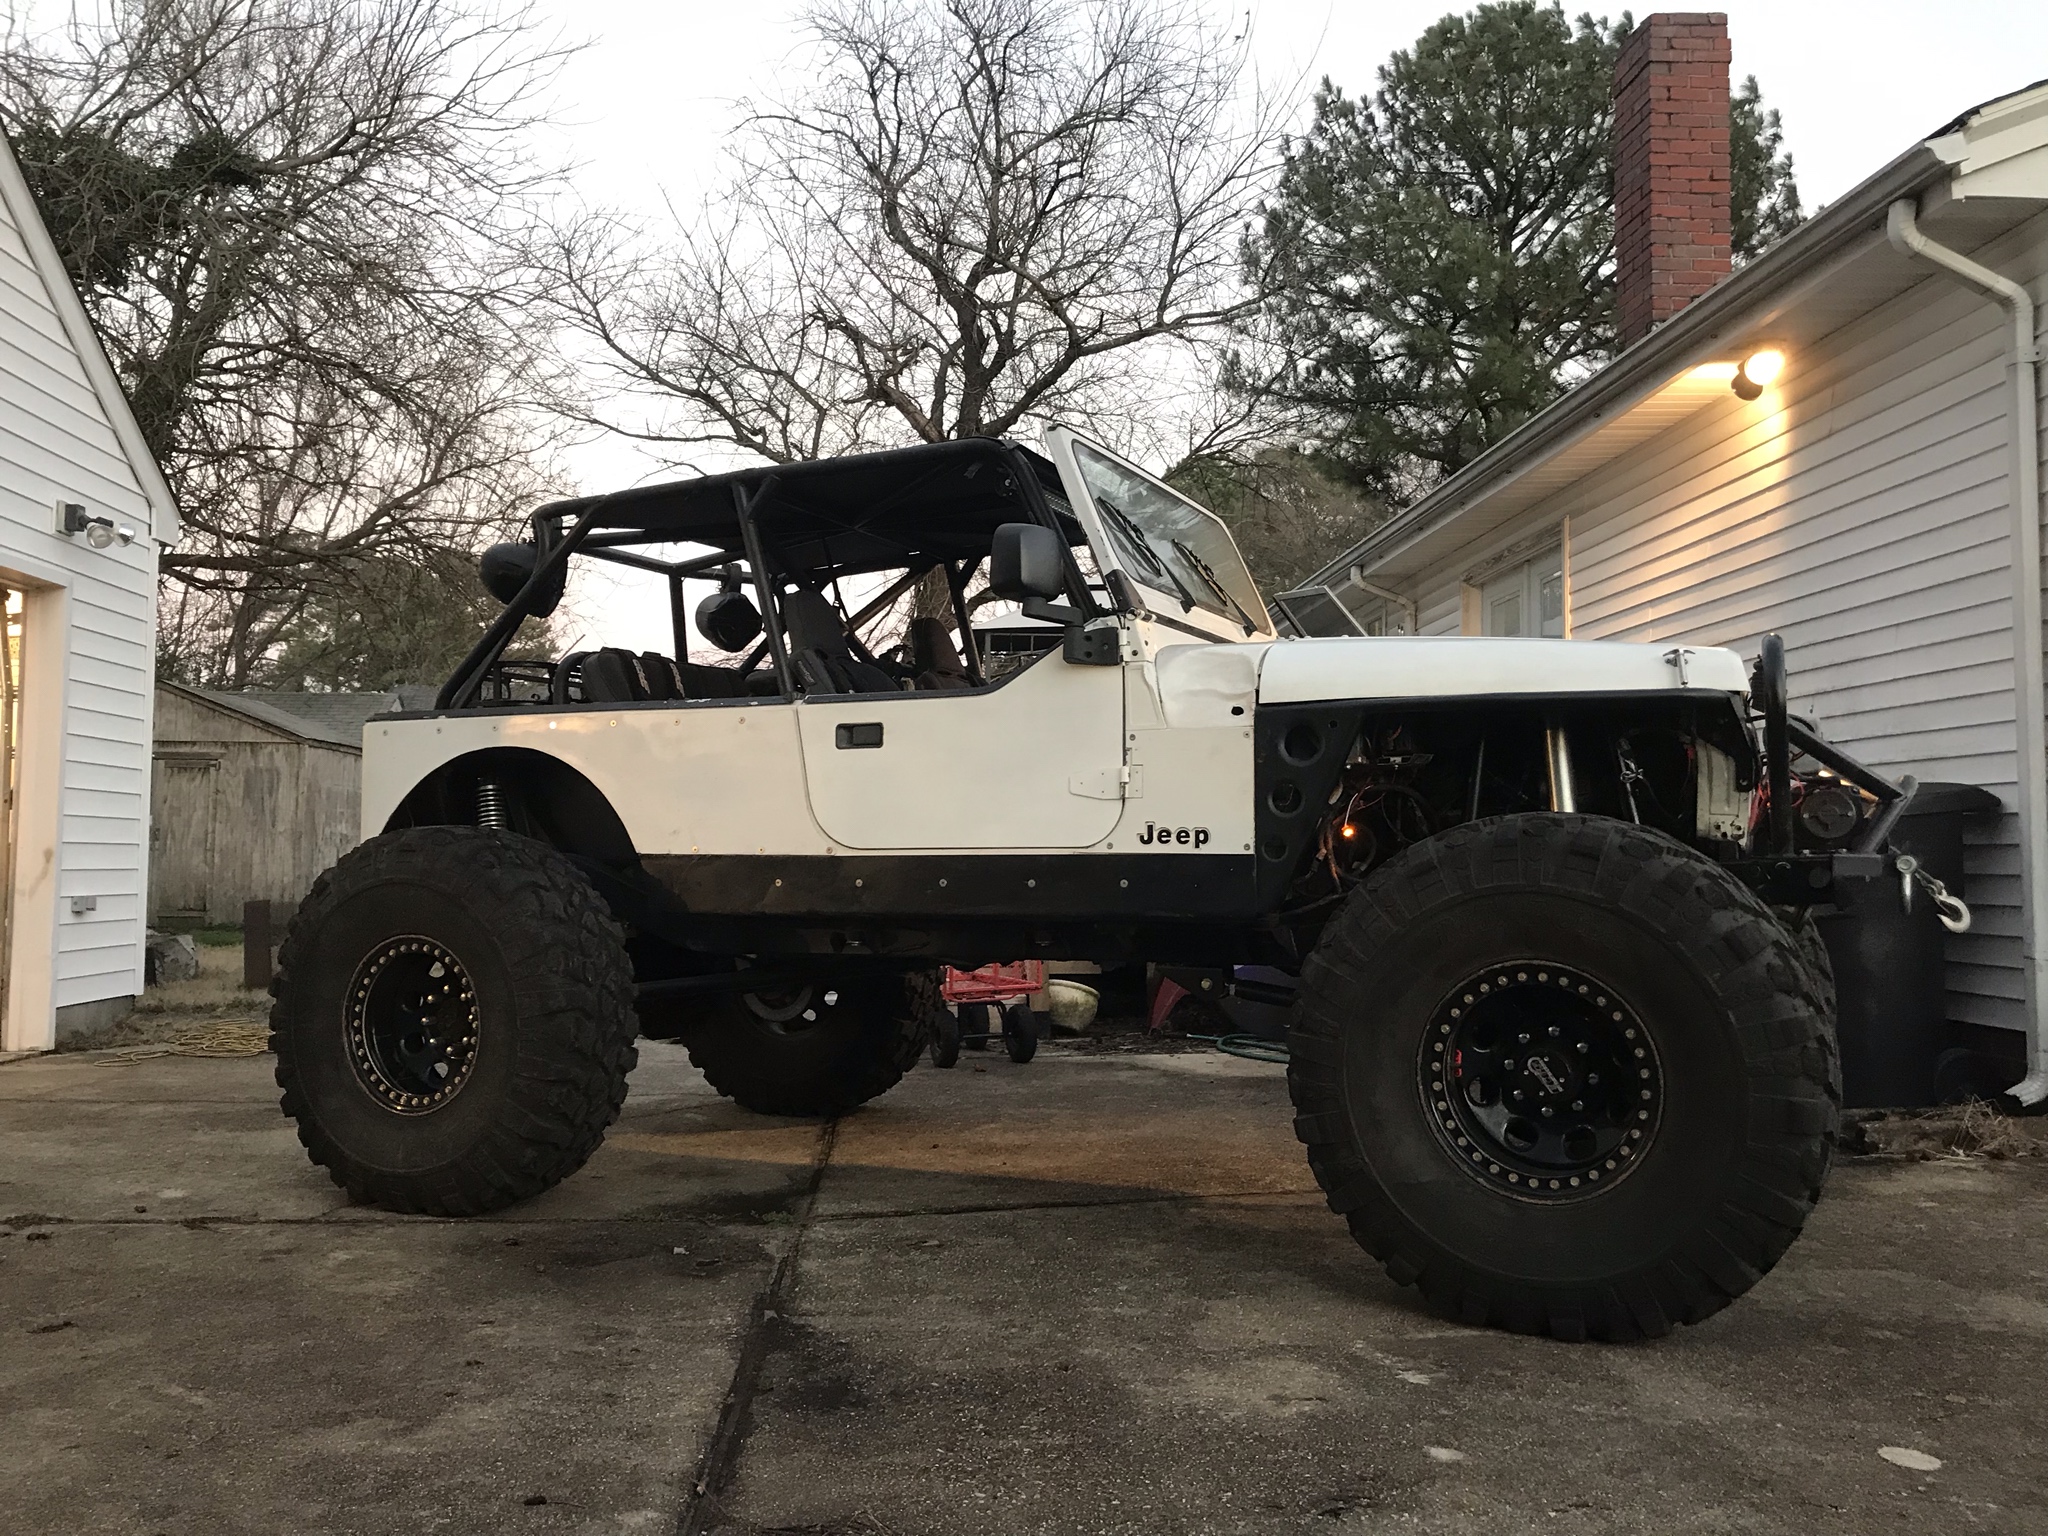
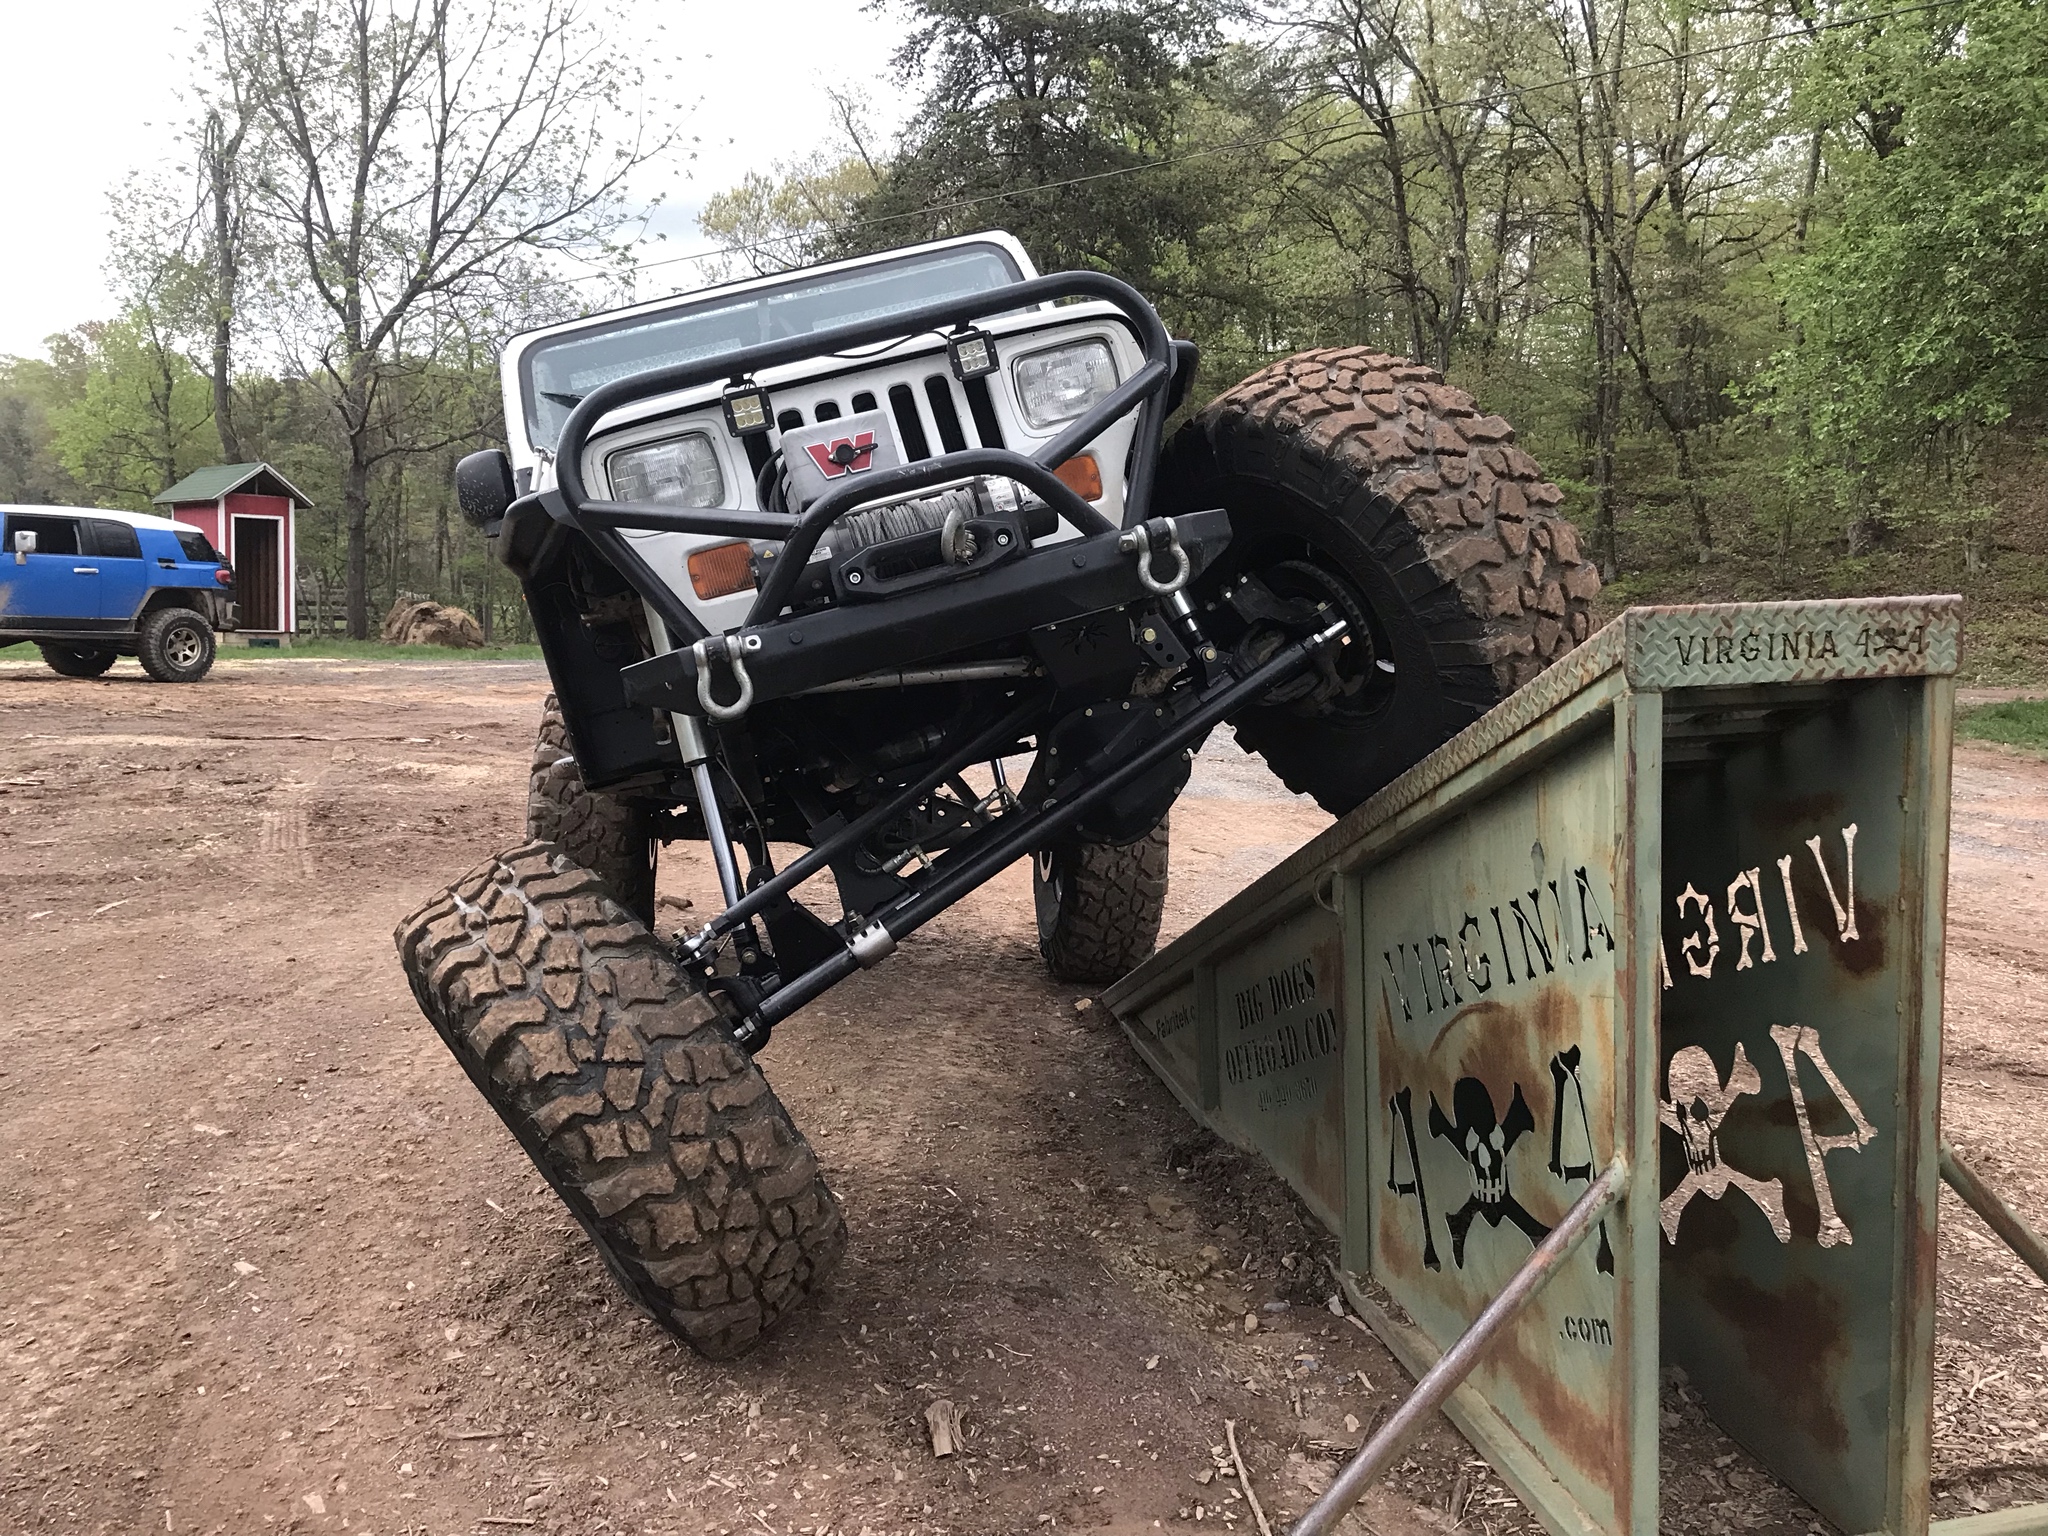
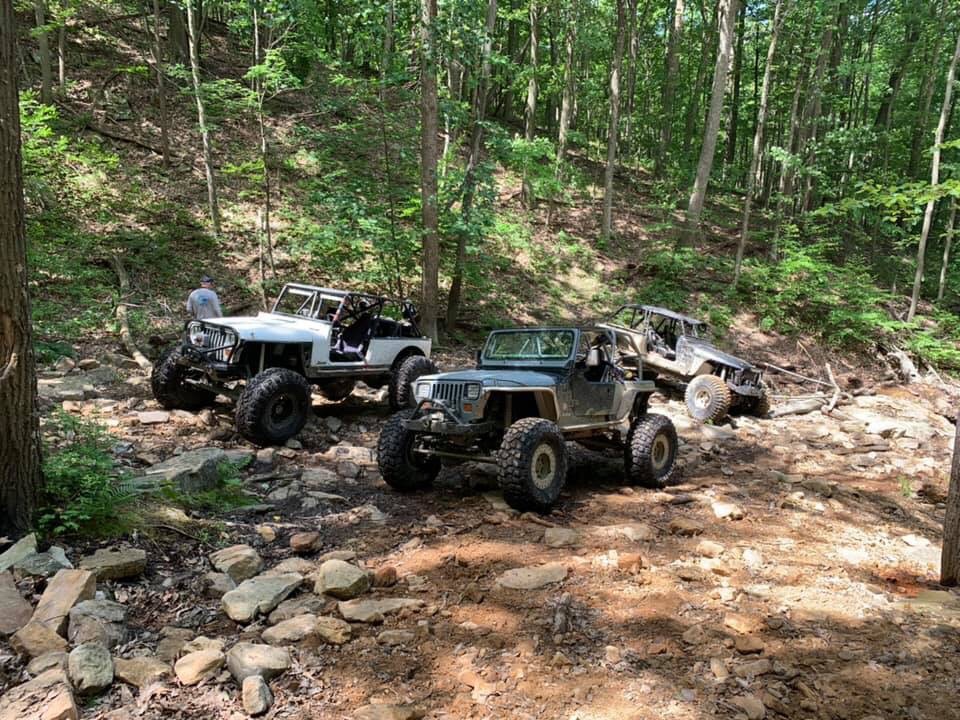
And then I finally started painting. You can also see in the backround the reason for the 3 link. All of those leaf springs have been bent during my 4 offroad trips since switching to tons.

Dzpzewc.jpg


wwVeKgk.jpg
 
Wanted to start the weekend off by fabricating a new tool part. I have the HF 4x6 horizontal/vertical band saw that I got off craigslist. I can't use the vertical function of it because I don't have the table that it comes with, so I decided to fab up a table that way when I start reworking my exhaust I can use this. Also one of the biggest gripes about the HF band saw is the flimsy stand and how short it is. Well I solved that by welding some 3x4 .250 tube with casters on the bottom. It really stiffened the frame and made it more sturdy with some weight down below. I can also easily roll it around the shop without it constantly falling over unlike every time I tried to move it before.

8vqzAyL.jpg


2KsYHcL.jpg


Then I switched back to the Jeep and decided to drill out my steering arm and pitman arm. Pitman arm took about 45 seconds and the steering arm took about 2 hours because my pilot bit broke off inside the hole and I had to drill through it and hammer at it with a punch. I bent about 4 of my punches and broke 6 drill bits but I finally got it.

unyEo1J.jpg


jz0yqkD.jpg


VtKlIfX.jpg


Hole looks oval in the picture but it's not

iO2CQW3.jpg


And now lets get a quick rough alignment

munqLPY.jpg


Now its time to throw the axle back under the Jeep and start reassembly. Didn't get too many pictures but it also wasn't anything exciting. Once I got everything re-installed I drooped it out again to setup my limit straps I got from Ruffstuff. I figure they'll stretch about 1-1.5" so I set them up at 12.5" of droop.

EAvoIWv.jpg


Then I threw a tire on and stuffed one side to see if I can run my current fenders or if Id need new ones again. With my old setup I would hit the back of the fender with my tire when I was stuffed and turned on one side. Because I didn't really stretch the front at all during the 3 link I figured I'd have to build new ones and even bought a stick of tube so do so.

Once I stuffed it up it looked like If I was able to get the axle forward by about 1/4" I'd be able to clear everything. So I did just that. I brought the axle to full stuff on both sides and moved it forward 1/4". Now my track bar clears my diff cover top bolt by about 1/8". Perfect. So now with the axle pushed forward I drooped one side again and left passenger stuffed. Now the tire just starts to hit right as the steering stop touches. Good enough for government work!!!

Q0HqIbQ.jpg


2WDPCKM.jpg


MPKrAy1.jpg


All I had to do now was hook up my hydro assist, fill my diff with fluid, bleed the brakes, get my front bumper back on and then it was time to charge the shocks.


Axle fully drooped out and tires are barely pulled off the ground

i14SAac.jpg


And BOOOM!!!!

XDJmlxj.jpg


39mSr9h.jpg


WcvFqMP.jpg


V1UorZF.jpg


currently the shocks are charged at 200 psi of NO2 and I have about 5 3/8" of up travel. I may lower it about an inch. Took it for a test drive and everything checks out. Felt great and have ZERO negative side effects. I didn't drive it too much because it's getting late and I have no exhaust right now, only a down pipe.

JdUH2QK.jpg
 
Rebuilt my exhaust yesterday to clear my links but didn't get any pictures.

Today I started the day off by checking the fitment of my oil pan skid. After looking it over it looks like I would need to do some minor modifications to get it to work with the new links and exhaust. I decided that my current skid has seen better days and I might as well start off just building a new one.

Whipped out some random 1/4" plate I picked up for cheap a couple years ago. I measured the width and its only about 1/2 wider than my current skid and will fit perfect. Hit it up with a wire wheel and cut it to length.

7NFgQlO.jpg


kfYxwj9.jpg


Then I drilled the mounting holes to mount it to my belly skid and mocked it up

p2fb972.jpg


It was right at this time that I decided I don't want to spend my only day off fabricating a skid. I have work tomorrow and most of next weekend then I go underway on my ship for a week. I decided I'd just finish up the things that need to be done to drive it and work on the trail rated stuff later.


So the only thing I needed to do to get it road worthy again was to finish up my air intake. All I needed to do was plug the TJ PCV inlet because it was in a bad spot then drill and install a fitting in a better place for my PCV and vacuum hose.

YLiIh3f.jpg


9RZVqKS.jpg


Now it was time to take it on a long cruise. I drove it around on the highway and surface streets to see if I have any negative characteristics. She drives like a one ton rig on 42" Pitbulls

Good news is I can't induce any bump steer or death wobble at all so that's good.

After about an hour of driving I stopped to take these pictures and do another bolt check. I noticed I did have a jam nut come loose on my track bar. I will verify the axle is still center and re-torque it.


UurVo28.jpg


BEDmBZi.jpg


2NWBGmh.jpg


nroBnJa.jpg
 
Got a few things done on the Jeep last weekend and today.

Got the engine skid finished up and mounted. I was able to re-use my old mount on the drivers side but had to build a new mount on the passenger side to clear the upper link. I threw a couple nutserts in the bottom of my engine mount and used some 1x1 square tubing.


Old skid next to the new

w1X7NO9.jpg


nutsert in engine mount

tFNlG2Z.jpg


and mounted

cpchpg4.jpg


9NzFF0f.jpg


I wanted some protection for the steering box since I no longer have leafs but was not really in the mood to build one from scratch so I ordered a PS YJ box skid.


Of course it didn't fit and I had to modify it to sit correctly. Isn't supposed to sit all wonky like this I don't believe.

ldxryso.jpg


DZ3duN1.jpg


I was able to get it modified and mounted

4M67HIh.jpg


I don't understand why it sits offset though? I wish it actually covered the whole box and was centered. You can see how far off center it is. Oh well just annoying to look at.

14qX069.jpg


One other thing I needed to knock out was to brace my rear truss. I am using an Artec truss built for a ford 9" that I had to modify to fit my Eaton. The top is ony 1/4" and the side pieces are 10G. I noticed that the top where my upper link mounts are had started to twist so I cut out a piece of 3/16" and tied it into the rest of the housing for more strength.


Not sure if you can see the top plate starting to warp/twist

BB6EnGo.jpg


Made a cardboard template and cut out some 3/16" plate.

S2G6cg7.jpg


Quick weld job and some paint.

Sq81Vjy.jpg


4l2quYB.jpg


And now some humor. Last weekend I went to rotate the tires on my truck and was curious what the Jeep drives like with normal tires. So I pulled the Pitbulls and mounted up my 32" Cooper ATPs. Went for a cruise and I was extremely surprised at how she handled. Drove straight, no shimmies or vibrations and I hit 74mph in 5th gear and still had some left to give. Drove like a regular Jeep

gojyph3.jpg


kWFR9uZ.jpg


S7f7WBC.jpg
 
Been knocking out some small things. I have a trip planned for the weekend of the 26th.

I got tired of bending my tub and rockers when things get rough in the rocks. I have bent in both sides so far so I decided to add some tube to the rockers to stiffen them up. I used 1.75x.188 DOM. I chose a little thicker wall thickness to hopefully make them last a little longer.

Bent them up then cut the to size and got them welded in. Having the air/hydraulic conversion on the bender is a lifesaver when it comes to thicker tube, in fact I guarantee I wouldn't even be able to bend the .188 wall by hand.


few pics

2qjxatt.jpg


By33Wd5.jpg


s8CIz5Z.jpg


YAU6Wwy.jpg
 
Just got back from Icebreakers. Had a problem with my ARB so I was 3 wheeling it all weekend. I think when I had the axle removed for the 3 link something maybe when into the hole in the top of the housing and is causing a clog in the copper ail line inside. I get air all the way to the axle bulkhead fitting but I cant get it to lock. I need to tear open the axle and trouble shoot.

Besides 3 wheeling the Jeep performed great. The front 3 link was flawless and had no ill side effects. It didn't bounce at all or cause any unloading that I can see or feel yet. Even though I didn't have a front locker I still ran all the hard trails with my one ton buddies and only needed to pull cable twice to get past a section that kept denying me. Everyone including myself was surprised I kept up all weekend and didn't break anything in the process.

As always I only got a couple pictures to prove I actually took it out. Threw it on the ramp real quick to check clearances.

ksr6ve3.jpg


INYd4Xe.jpg


ssNdCBm.jpg


CqYcgb9.jpg


NtMChY5.jpg
 
Found my problem with the ARB


This isn't supposed to look like this...

gdvjYJh.jpg


And this sure isn't supposed to fall out when I remove the diff cover.

zzcB2Yh.jpg


I believe what happened was when I removed the ARB air line from the bulkhead fitting that the copper tube fell into hole a little further which caused the copper line on the inside to come into contact with the ring gear. I never pulled the cover during the build so I never saw this before I drove it. Obviously driving it around chewed threw the copper tube. I will call ECGS tomorrow and order another seal housing. Only crummy thing is I have to pull my carrier to replace it, which means tearing my axle all the way down... ugh.
 
Have a trip coming up soon so I wanted to knock a few things out real quick.


First thing I did was install some rock lights. These are the All4offroad lights. http://all4offroad.com/index.html

B39Ef9C.jpg


Then I built a spare rear driveshaft. After my 1st trip out where I busted a driveshaft yoke I've always been a little worried about my driveshafts.


Went to the JY and picked up a ZJ front driveshaft for $30

M6pgsGe.jpg


Cut out the stock 1.75x.120 tubing and replaced it with some 2x.250" DOM cut to the length I needed which was 19.5" for a overall static driveshaft lenth of 34.75"

here's a picture of the stock tube cut out and the slip yoke already pressed into the new shaft tubing

13lHpl3.jpg


And then I welded it up and installed a brand new axle side 1350 Ujoint. Also in this picture is a new 1350 yoke with new 1350 Ujoint as a spare for my front driveshaft and 2 spare 1310 ujoints for my Tcase side.

WrBX1mg.jpg


Sorry I didn't take more pictures of the whole build process but it really wasn't that hard and only took about 2 hours from start to finish. The driveshaft is now painted and hanging up to dry.
 
Used the Jeep the other day to help cut some trees down at my house.

qGQaTPR.jpg


Then today I threw the Jeep on some scales to see how thick she is. My guess was 5,000#. Looks like I was pretty spot on as she ended up at 5,011 pounds. That is with a full tank of gas and all of my trail tools loaded up. Pretty decent front/rear and left/right in my opinion. Again pretty much what I thought it'd be.

4A9Mu8T.jpg


total without me inside

efg1fZL.jpg


and 5,189# with me inside

CdJy2qx.jpg


53/47% front/rear

xttJ6yv.jpg


and pretty much 50/50 left to right

l8lFft9.jpg
 
Had a great weekend at Big Dogs again. Jeep is performing awesome and I really have nothing to complain about so far. I am straight mashing this rig offroad and she keeps giving me everything she has. I did have a problem with my clutch master cylinder that ended my weekend early but stuff happens. There was plenty of wheeling this weekend and plenty of carnage for the guys in my group.


Onto some pics

aJyCwsW.jpg


xIeAzWt.jpg


FFxPc2I.jpg


uf9NW1T.jpg


fDTQiQc.jpg


MFkpZzz.jpg


JUpGxQ4.jpg


VdMJ5q7.jpg


r1Iwf8q.jpg


B6o4F8T.jpg
 
xUkznwm.jpg


7RS8Sv4.jpg


0KDUfgp.jpg


w8XBGQA.jpg


DF3jRfd.jpg


KMUisyj.jpg


s4UCQ55.jpg


o3Y8wLG.jpg


Jeff coming through Bunny Crack

7lTtM8j.jpg


n8whmFm.jpg


Tyler almost flopping his rig

yqnNwFT.jpg


And Scott did flop his rig

3fk8l3v.jpg


Tyler replacing a red label

vXDPQ7u.jpg


And loaded up after some clutch master cylinder issues

lOrel5Q.jpg


Total carnage for the weekend was a 35 spline SD D60 stub shaft, 35 spline Yukon hardcore hub, (1) 39" red label with sidewall puncture, (1) front driveshaft, (1) PSC steering pump, (1) ARB locker air line, (1) subwoofer and amp, (1) clutch, (1) clutch master cylinder and a trailer tire. The only 2 things that were weekend show stoppers that we didn't have spare parts for were the clutch on Scott's Jeep and the master on mine.
 
Checking in to let everyone know I'm alive. I've had an extremely busy last couple of months and am currently on deployment again. I'm writing this from Souda Bay, Greece.
 
Guess its time for an update as I've been MIA for a little bit. As I said earlier I am currently on deployment again. We have been all over the world the last couple months. Anywhere from the Arctic to the Arabian gulf. I've transited almost every choke point in the worlds waters recently, most more than once. As I write this I am sitting in my hotel room in Rota, Spain. I will be flying out of here on Friday to head back to the States and pack up my house in Virginia to report to my next duty station in Millington, TN.

Brief recap


Spent a lot of time doing small boat operations

AadBLIo.jpg


Transited through the Suez Canal twice

PwVLMLR.jpg


Spent to time in Chania, Greece.

18WlT4P.jpg


Oh and I was promoted the day before I left for deployment as well. My parents were able to fly in from Vegas to attend the ceremony.

yQzCdxG.jpg
 
Haven't been on here lately. Last time I updated this I was sitting in Spain waiting to fly home. I have since returned home and spent the last month getting my house ready to rent. It was a lot of long hard days. With me being gone all the time there were definitely a lot of areas around the house that I neglected that needed some serious attention. As of yesterday though I am officially in TN. Right now we're staying at a friends house right outside of Memphis until I find a house.

The house was packed up into the moving truck and we left Va headed west on New Years Eve.


Moving company loading up the house

tG5v1y2.jpg


Garage empty waiting for the next car enthusiast to move in

fjRDvfJ.jpg


And the last few seconds at the house before we left. Ready to hit the road.

WzYH5i9.jpg


It was a long drive but here's to our next adventure for 3 years.

XKZH5Wf.jpg


And of course it's raining all day on the first day here. Now its time to start looking at houses.

zh8U5Cs.jpg
 
Figured I'd stop in an update this after almost 2 months. We finally found a house and moved in a couple days ago. I bough a house on a little over 2 acres in the country about 45 north of Memphis.


cIPBIM8.jpg


g8lksGP.jpg


And the 'ol girl finally has a dry place to stay

ECqNzTf.jpg
 
Top Back Refresh