Sandy Johnson
Harry Member
This look on your face is not conducive to getting anything finished this week.
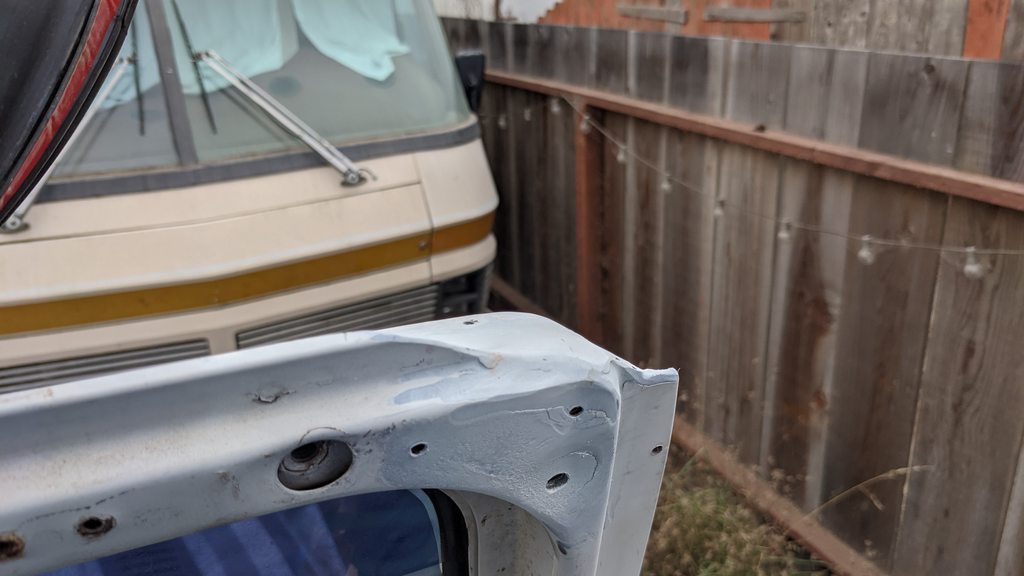
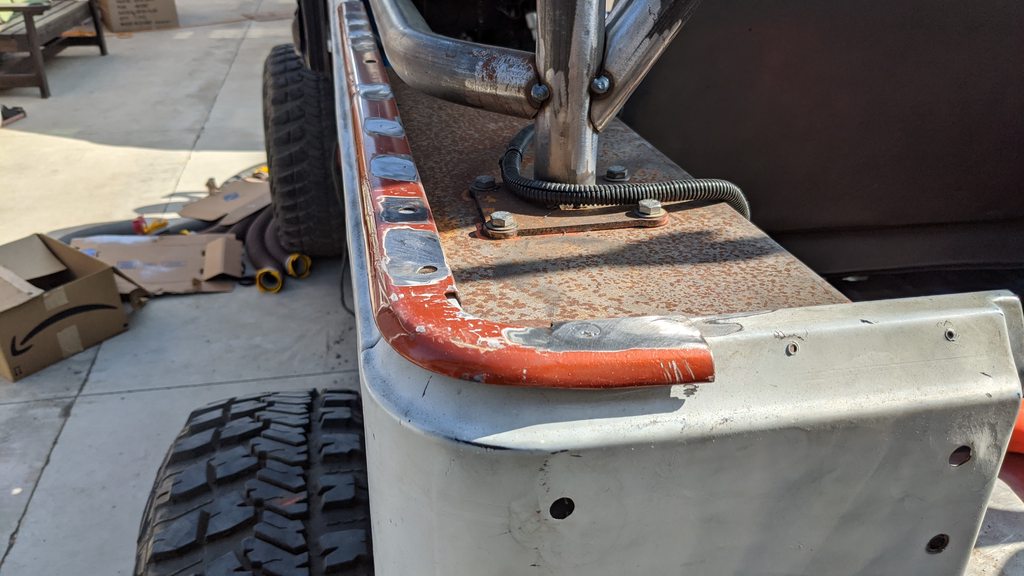
That's the part where I was thinking to myself that I probably should have just left the damn thing alone.
Follow along with the video below to see how to install our site as a web app on your home screen.
Note: This feature may not be available in some browsers.
This look on your face is not conducive to getting anything finished this week.
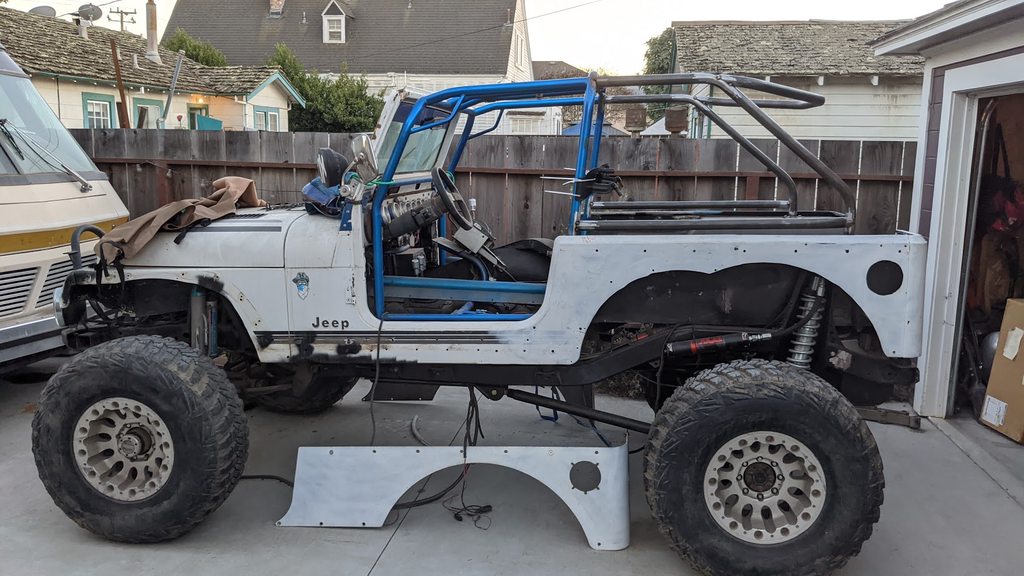
Just about buttoned up the motorhome this weekend, which means I'm just about back to this thing.
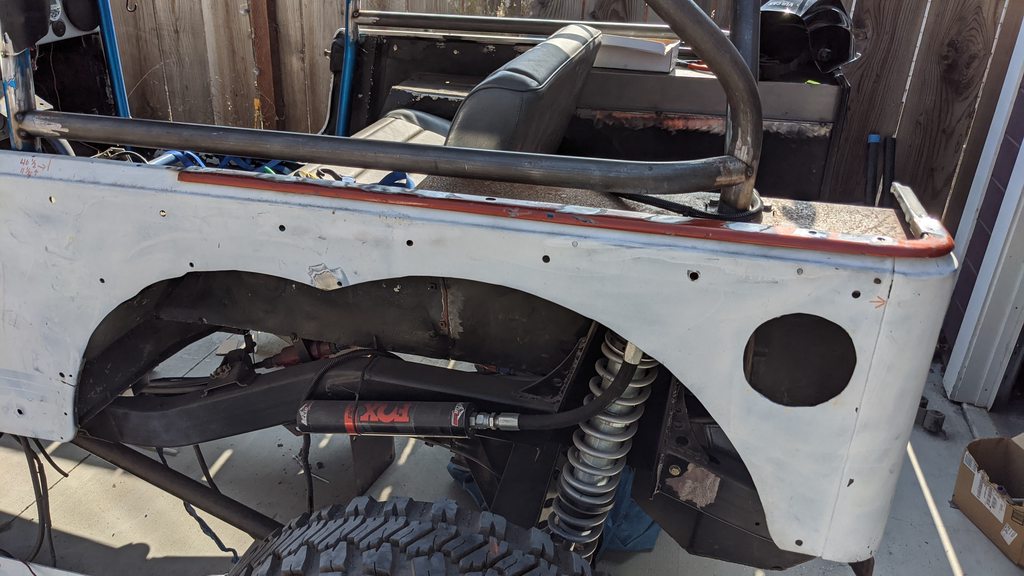
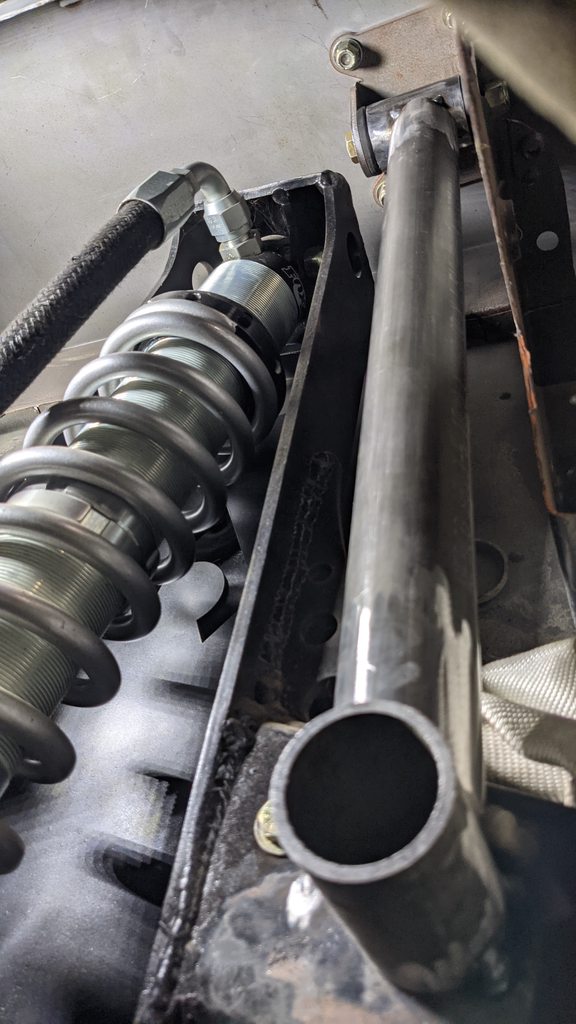
Also these showed up. Nothing like some new parts to add motivation:

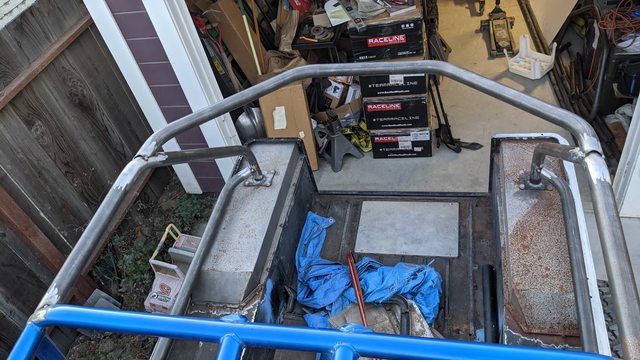
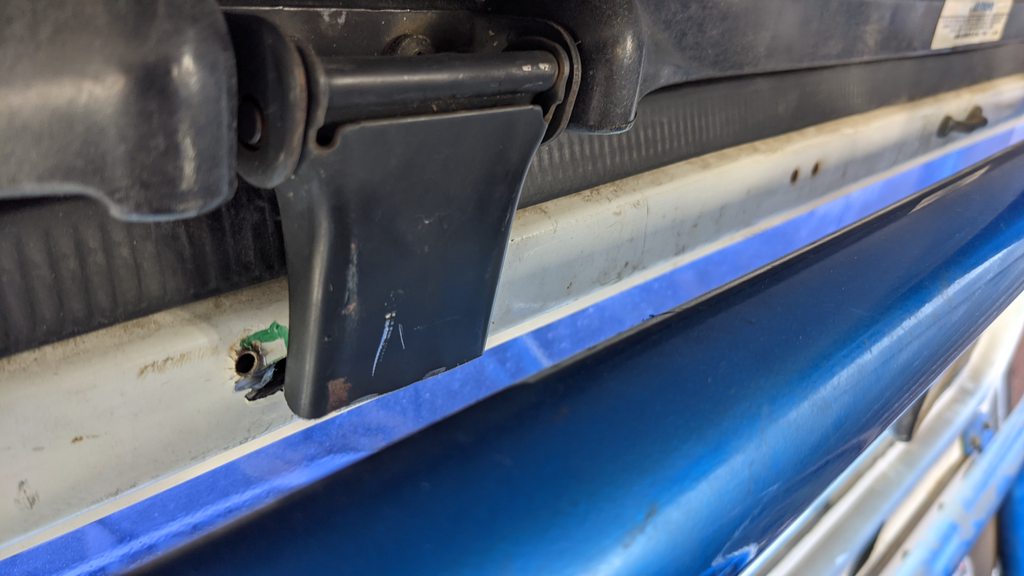
If you're worried about rattles just throw a big toggle latch on the two plates that go where the upper hinge used to be.
If you want it to latch on both sides like a proper tailgate then you're gonna need to fab something.
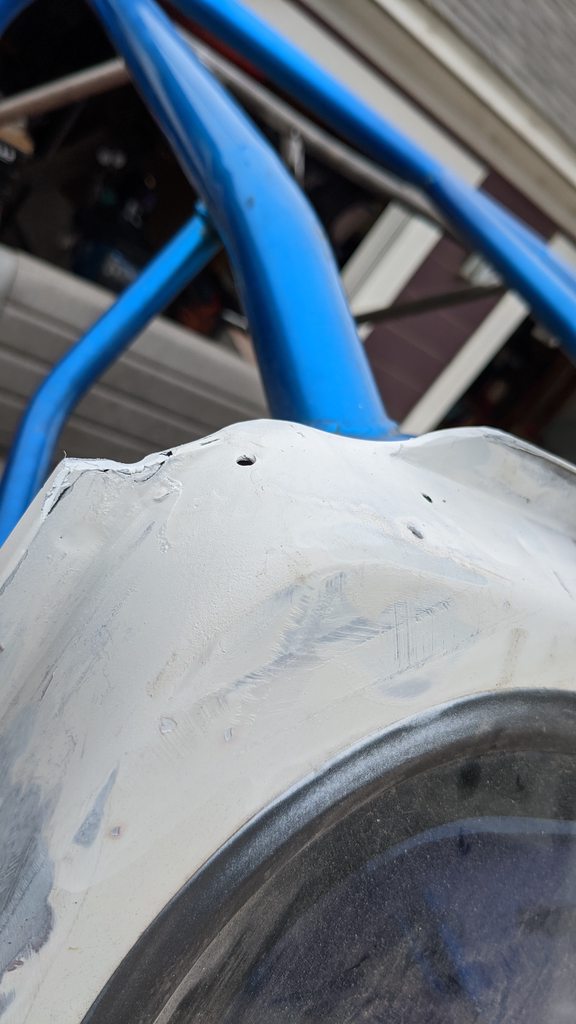
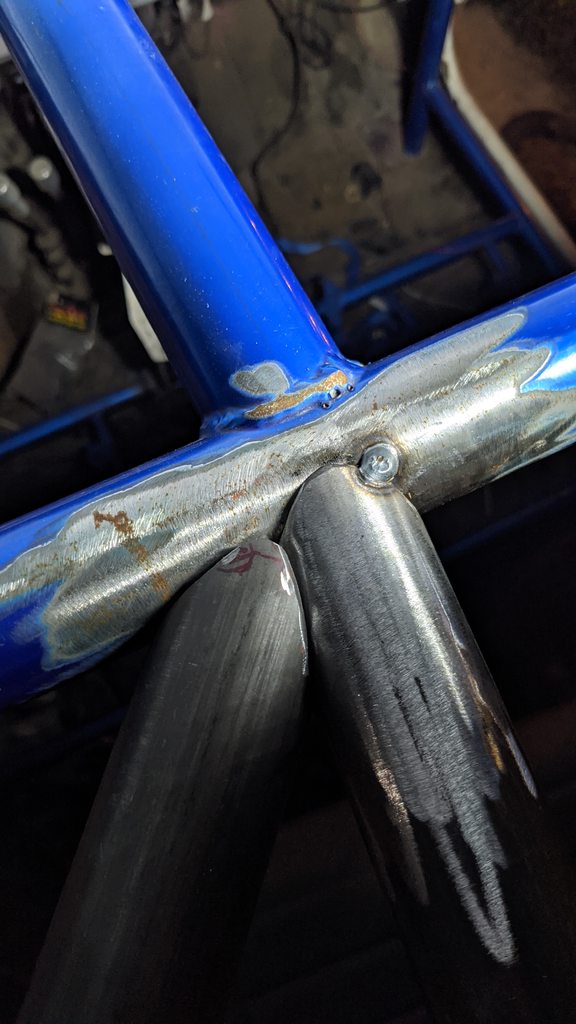
There's nothing really wrong with your welds themselves. Looks more like you went a little slow and got extra buildup that's making them convex. Still a sound weld, just not as pretty as it could be.
Now your technique to welding around the tacks sucks. Tacks are always a cold weld, just not enough time to properly heat up the base metal. You can see it in the HAZ. Always weld over the tacks (I'm lazy and just run over them, but it's probably best to grind them way down before running over them). What you there is a cold tack with welds that stop on either side of it creating a weak spot.
I'd fix it cause it's a cage and it's important.
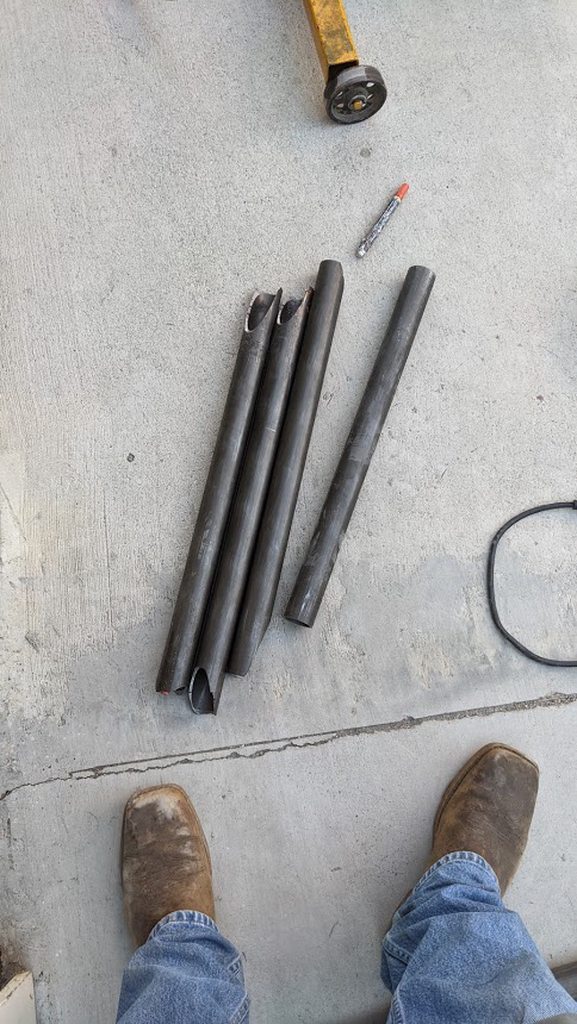
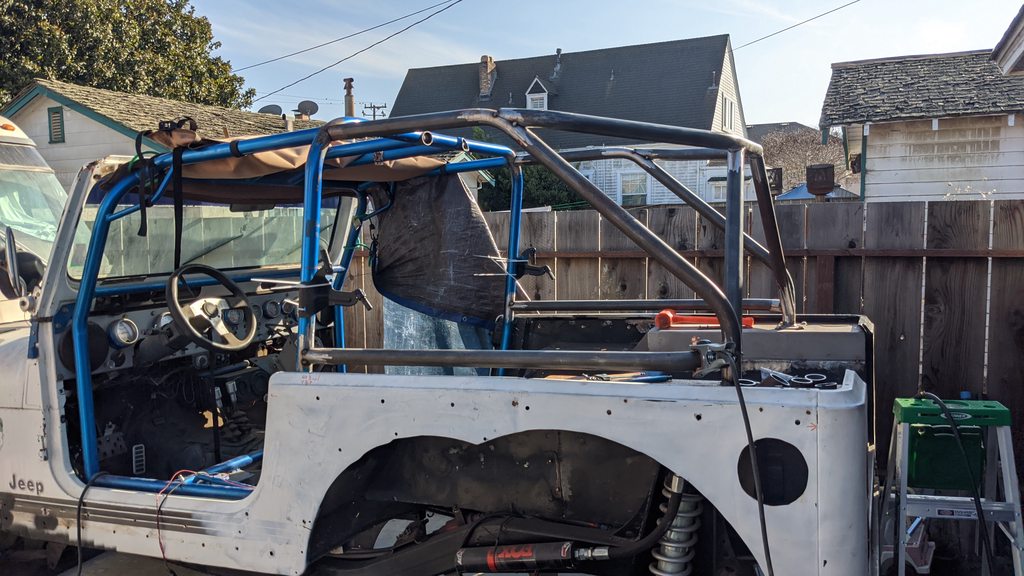
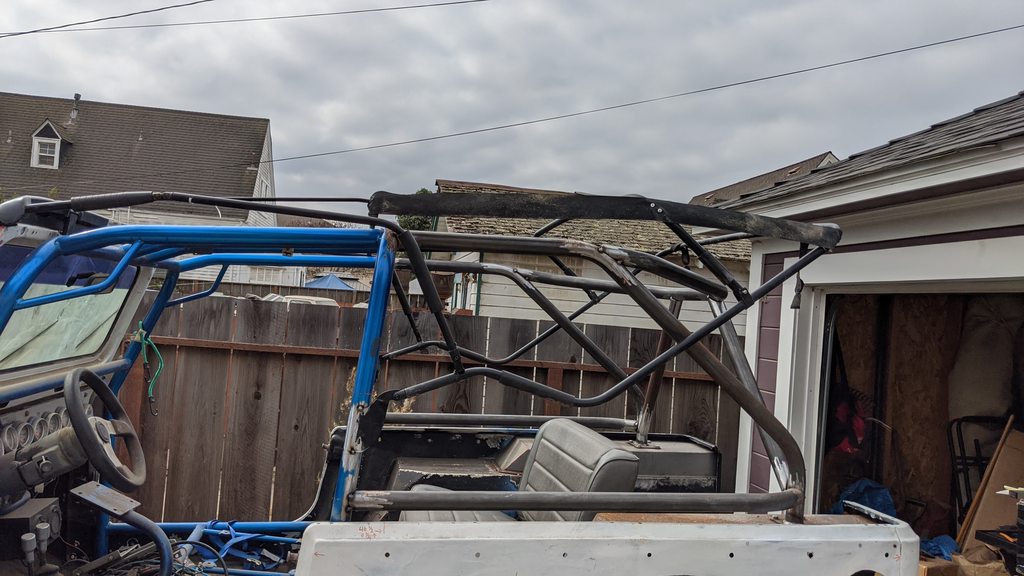
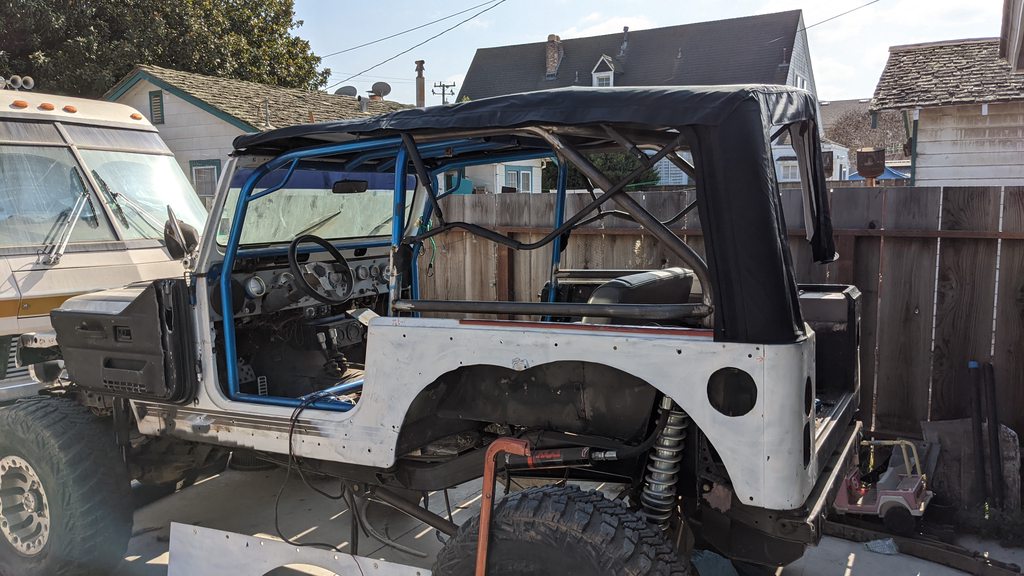
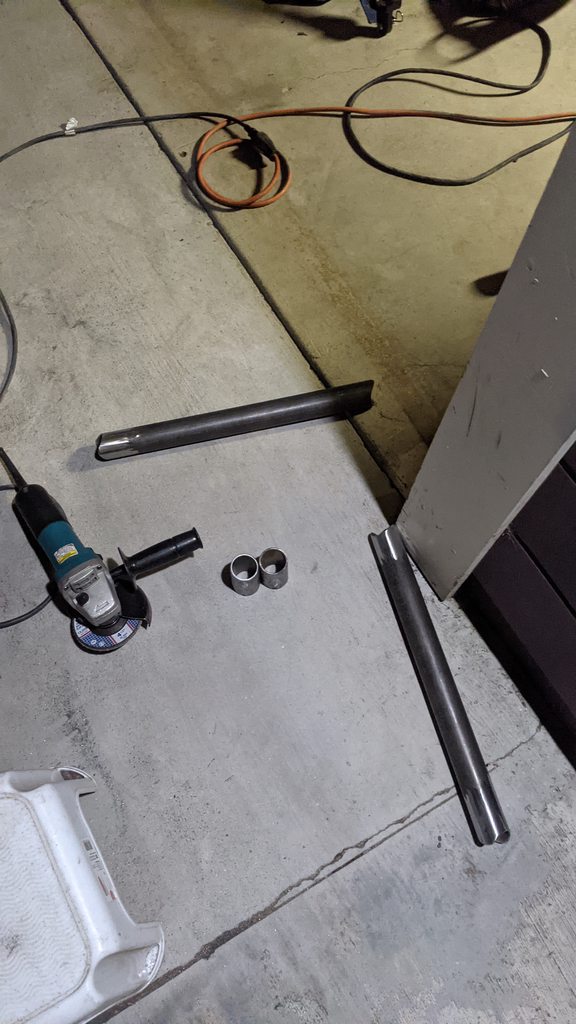
Tried bending up a rear hoop for my cage. Failed just enough that I have to do it again.
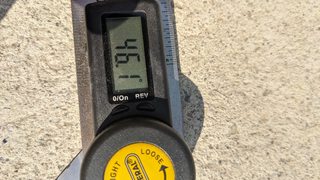
Each of these bends was supposed to be 45*. I swear I had everything locked in and set the little gauge on the bender to zero when I got all the slack out before starting the bends, but for some reason:
Anybody got any pro tips on how to make sure you're consistently getting the correct angle out of your bender? Or even better, any pro tips on how to salvage what I have already bent?
I'm using a JD2 model 3 with swag air ram setup.
How much too narrow are the ends now? If it's only off by an inch or so.........and doesn't look goofy........you might be able to spread the ends enough to tack it in place.
I assume you've already measured the amount of spring back you get for that size tube on that die? And I assume you already know at what point (degree mark) it begins to make the bend? Start point degrees + spring back degrees + the degrees you want to bend = what you want. Maybe the Model 3 is different, I have a Model 4.
I'll say this much. You give me inspiration to be able to link my XJ in the near future. I too have no idea what I'm doing and you seem to be making all the right mistakes decisions and it's helpful to see you continuing to move forward with a positive attitude.
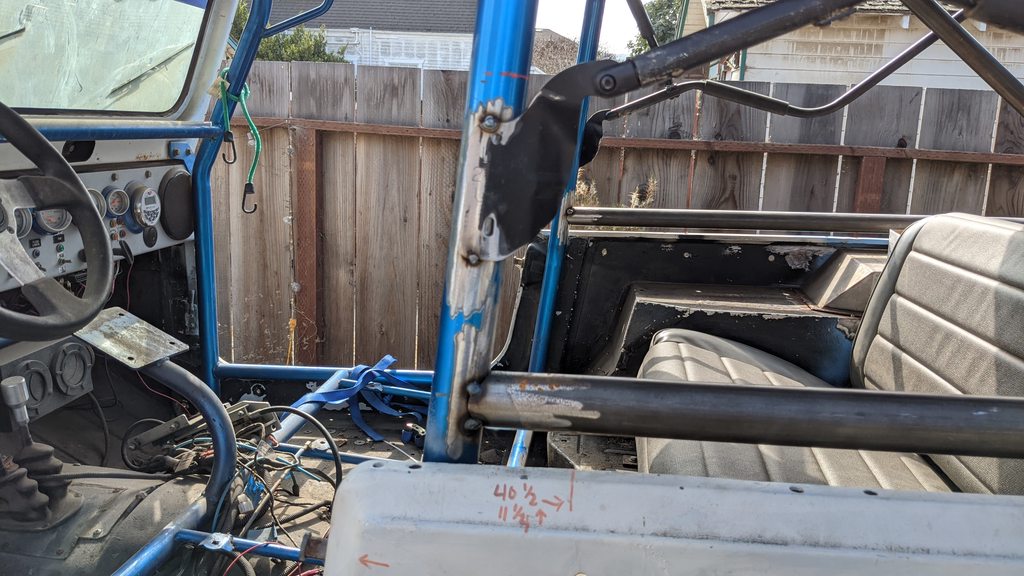
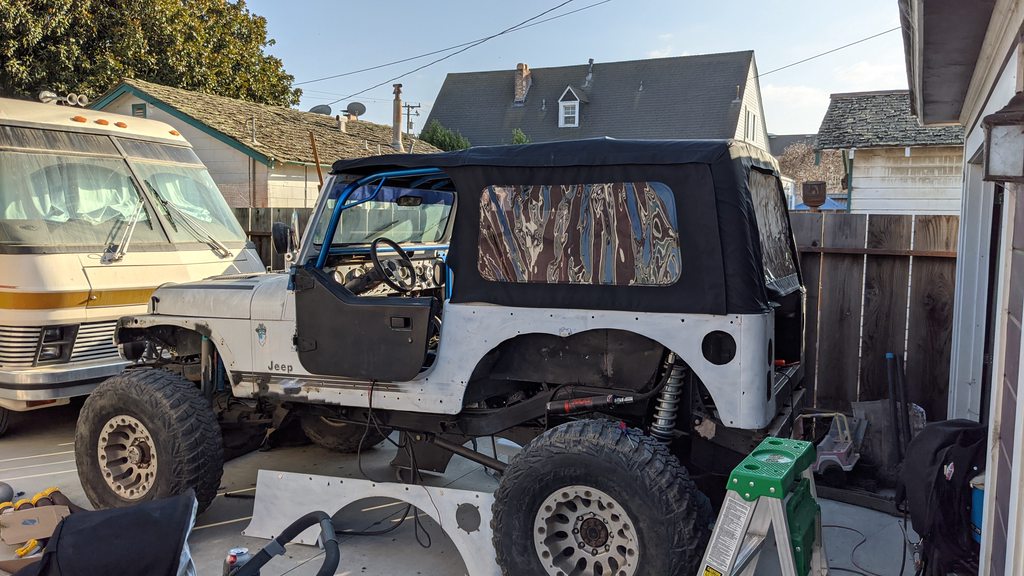
 I was measuring up 1/2 the diameter of my tubing from the baseline rather than 1/3. So yeah, once I figured that out, things went much better:
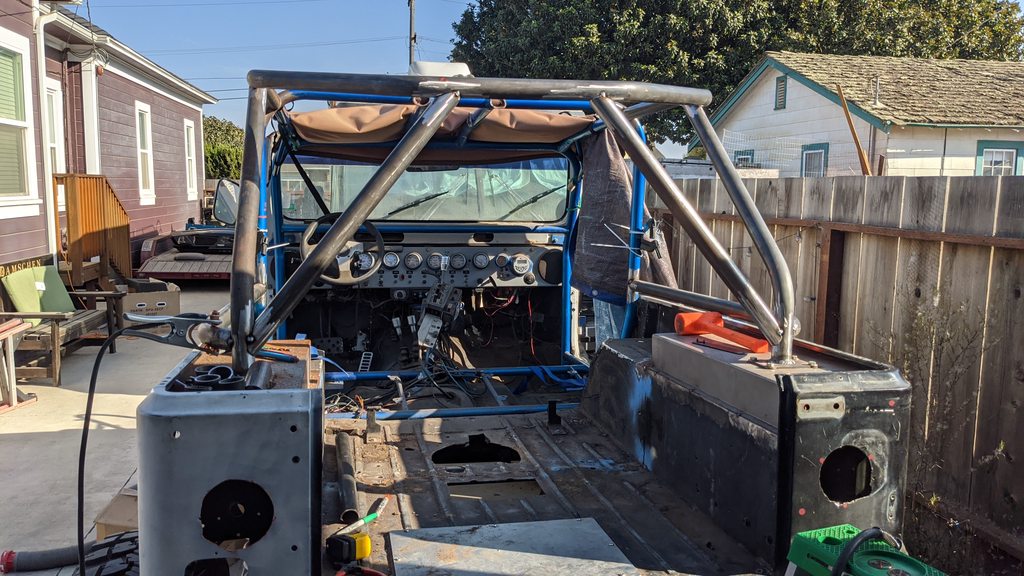

Would you hurry up and finish this already!
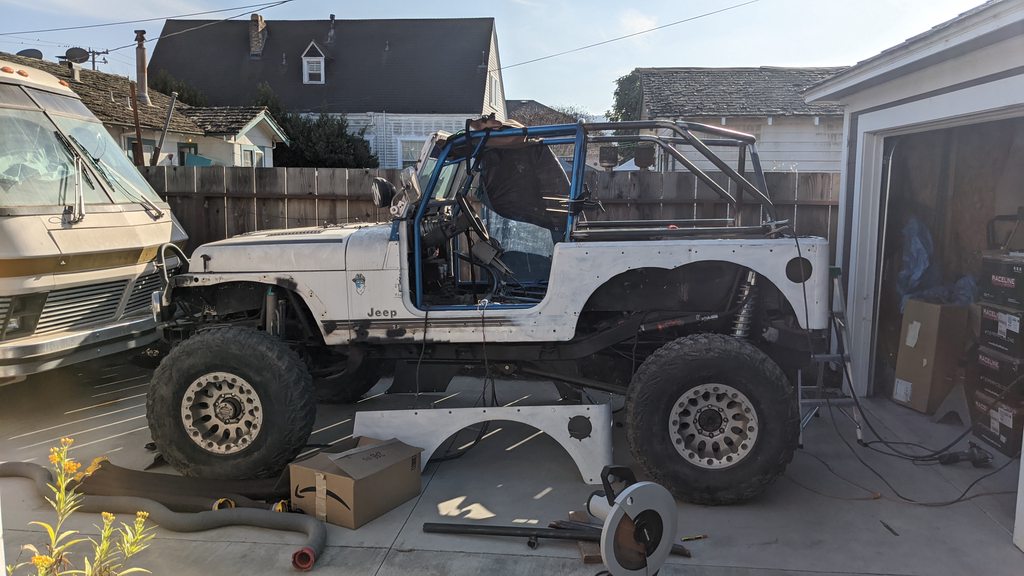
Looks good with the top even. Nice work.
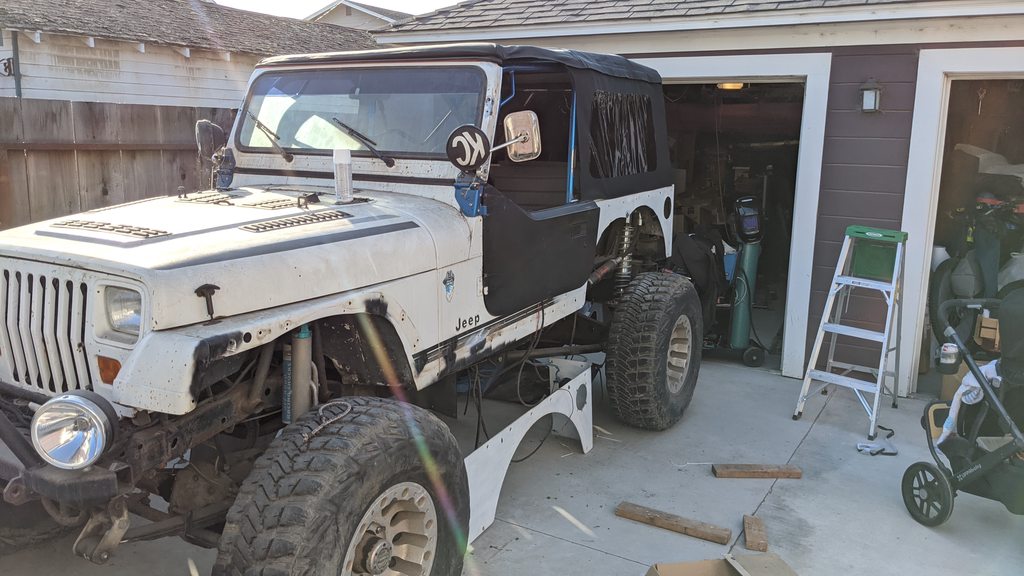
5 weekends until KOH. Getting close now. Pretty much just need to weld cage and frame tie-ins and figure out my exhaust and that's all the fabrication I have left on this thing. Then I bolt some some on and run electrical/lines and it's shakedown time.
