JNHEscher
Red Skull Member
Been scouting for some more breaker box and breaker options for the PV array-charge controller disconnects because the Blue Sea (Carling) breakers I started with aren't up to the task. The Blue Sea box I have is rather overpriced and is made by Fibox, although it does come with some nifty labeling and lighting options. Solutions Direct sells Fibox and several others at much better prices, though most are DIN rail. Can't figure out where to get the plastic panel-mount panels that fit the boxes.
I have to call Midnite Solar on Tuesday to make sure that I can use their double-pole breakers as needed. If I can, they have a DIN rail breaker that should fit right into an 8x6x4 poly box. MidNite Solar Inc. Renewable Energy System Electrical Components and E-Panels
Picked out a few options.
 www.solutionsdirectonline.com
 www.solutionsdirectonline.com
 www.solutionsdirectonline.com
 www.solutionsdirectonline.com
I have to call Midnite Solar on Tuesday to make sure that I can use their double-pole breakers as needed. If I can, they have a DIN rail breaker that should fit right into an 8x6x4 poly box. MidNite Solar Inc. Renewable Energy System Electrical Components and E-Panels
Picked out a few options.
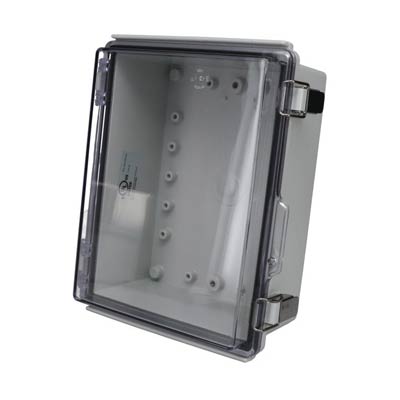
8x6x4" Polycarbonate Wall Mount Electrical Enclosure with Clear Cover | PTQ-11048-C
8x6x4" Polycarbonate Wall Mount Electrical Enclosure with Clear Cover | PTQ-11048-C
www.solutionsdirectonline.com
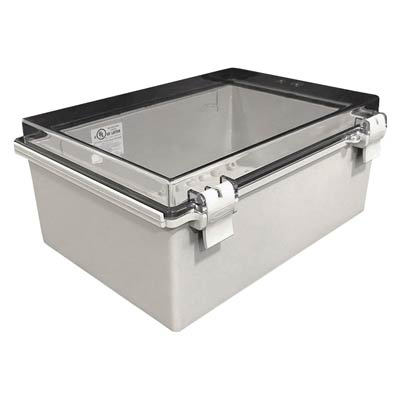
8x6x4" Polycarbonate Wall Mount Electrical Enclosure with Clear Cover | NBF-32412
8x6x4" Polycarbonate Wall Mount Electrical Enclosure with Clear Cover | NBF-32412
www.solutionsdirectonline.com
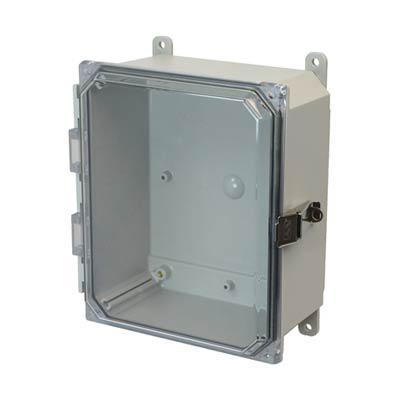
8x6x4" Polycarbonate Wall Mount Electrical Enclosure with Clear Cover | AMP864CCL
8x6x4" Polycarbonate Wall Mount Electrical Enclosure with Clear Cover | AMP864CCL
www.solutionsdirectonline.com
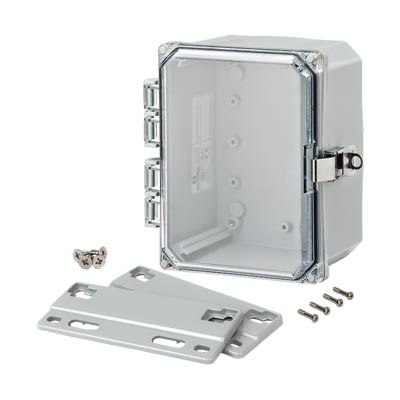
8x6x4" Polycarbonate Wall Mount Electrical Enclosure with Clear Cover | H8064HCFLL
8x6x4" Polycarbonate Wall Mount Electrical Enclosure with Clear Cover | H8064HCFLL
www.solutionsdirectonline.com