What's new

Java's F450 RV

Maybe I figured it out.
2" thick Polyiso foil faced insulation 2' wide by 2' tall will pass 10.3 BTU through it per hour.
That's not the entire surface area of your box I know but that is 3 watts of power for 4 sq ft @ R13.6
Maybe you could add up your box sq ft and R value and see what you come up with.

https://rimstar.org/renewnrg/heat_tr...lculations.htm
 
Last edited:
Maybe I figured it out.
2" thick Polyiso foil faced insulation 2' wide by 2' tall will pass 10.3 BTU through it per hour.
That's not the entire surface area of your box I know but that is 3 watts of power for 4 sq ft @ r30.
Maybe you could add up your box sq ft and R value and see what you come up with.

https://rimstar.org/renewnrg/heat_transfer_loss_calculations.htm

My batteries are backed up to the outside wall on one side, the bench on the opposite side and open to the area under the bed on the other two. Plus the top. I could insulate those three, but would still be a PITA. Maybe I will go poke around and see if I could even get a mat between them, they are tight.....
 
My batteries are backed up to the outside wall on one side, the bench on the opposite side and open to the area under the bed on the other two. Plus the top. I could insulate those three, but would still be a PITA. Maybe I will go poke around and see if I could even get a mat between them, they are tight.....

If you can't insulate them heating them becomes less practical I'd think, better off to heat the space instead.
 
If you can't insulate them heating them becomes less practical I'd think, better off to heat the space instead.

Well the wall is insulated, and they are on foam, and the floor is kinda insulated.....
 
Well the wall is insulated, and they are on foam, and the floor is kinda insulated.....
What what if you just put in a small muffin fan and a vent running off of a thermostat and powered by a relay that turns on when your main heater is on so that if the temperature is below X degrees and the main heater is on it will turn on the muffin fan and push air from your living quarters into the battery area?

Aaron Z

That would warm my beer up :flipoff2:maybe.... Not sure I want to heat that space tho
 
A little bit smaller than this is what I\'m thinking. Sticking it between the batteries would be ideal, as you heat both batteries while the pad is on. This pad is a bit big, but it comes with an integral thermostat. 4.8a is a lot, but with your partially insulated compartment, I\'m not sure how often it\'ll run.\n\nhttps://smile.amazon.com/Upgrade-Ve...-Thermostat/dp/B077VLB1KK/?tag=91812054244-20\n\n^^ 4.8a when on.\n\n120v heaters (since you have your inverter running anyway) only take up about half an amp while running:\n\nhttps://smile.amazon.com/Zerostart-...ery-Blanket/dp/B0076DTCBW/?tag=91812054244-20
 
A little bit smaller than this is what I\'m thinking. Sticking it between the batteries would be ideal, as you heat both batteries while the pad is on. This pad is a bit big, but it comes with an integral thermostat. 4.8a is a lot, but with your partially insulated compartment, I\'m not sure how often it\'ll run.\n\nhttps://smile.amazon.com/Upgrade-Ver...91812054244-20\n\n^^ 4.8a when on.\n\n120v heaters (since you have your inverter running anyway) only take up about half an amp while running:\n\nhttps://smile.amazon.com/Zerostart-2...91812054244-20

4.8 amps isn't a ton. The 120v would have Inveter loss too, and draws about the same power. 50w vs 65. I like that the 12v is lower temp tho
 
Yup. Again, not sure if this will increase your usable capacity, but 36* is pretty low for batteries under load, and these heater pads are cheap. Worth a try imo, you've got "before" graphs to say whether or not they help.
 
Yup. Again, not sure if this will increase your usable capacity, but 36* is pretty low for batteries under load, and these heater pads are cheap. Worth a try imo, you've got "before" graphs to say whether or not they help.

I will see if I can get a prey bar between the batteries and make some room.... Even If I just grab a 120V pad for when I have shore power (ski lots are all getting set up for power and charging RV ppl..... Might as well burn as much as I can!) I have a spare set of leads to my driver side tool box I could run it on.
 
Going back and picking up the "build" part of this again


Blew another boost coupler off, I think the hose clamp broke?? They are usually on the coupler, this one was MIA.

Stole a couple house clamps off the water tank to make one big one. Ghetto, but it worked! (note: zip ties will not hold boost
yH5BAEAAAAALAAAAAABAAEAAAIBRAA7
)

47951838083_759f703b43_b.jpg


Rain, and Dutch Oven pizzas, we peaced out and headed north to get away from the rain....

47951836458_b94a816051_b.jpg


Quite little CG off Highway 20.

47952313278_92ce904ecc_b.jpg


Beautiful area!

47951824992_abfc686105_b.jpg


Now.... Rear tires are chunking, thoughts? Sharp rocks or bad pressure? Only the outside edge on the rears. I was thinking maybe it was wheel spin on sharp stuff?

47951864136_f72f11f06a_b.jpg

47951838423_3a591673ec_b.jpg


Ive replaced the rears, that will get posted in a bit.... New ones chunk too. think its just the hard rubber compound.

Another lovely weekend in the desert! It was HOT though, 95. and sunny....

47995557856_f7ec6eff2e_b.jpg

47995519787_1e5d8ac1df_b.jpg


A view from the top. Damn cool rocks.
47995562226_435a763e23_b.jpg


And I think I need some new blocks.... These dont like heavy trucks and soft surfaces....
47995565991_a5db18bce7_b.jpg


Also, Sika 252 DOES NOT bond to ABS well at all. I thought it was going to be ok for my panel, but it let go on two feet, and was loosing grip on the others also. Sadly screws were added to my roof, as I saw this from my second story window about 5 minutes before I was supposed to be driving away. I did use the primer and adhesion promoter they wanted, but was warned by the tech guy it didn't bond that well to ABS. The aluminum mounts I used in the middle are rock solid still. I squirted some 5200 in there and added screws before we left. If that fails I will try 3m panel bond...... But sadly there are 12 screw holes in my roof now.....

BOLDING THIS AGAIN SINCE ALL THE RV PEOPLKE SWEAR BY IT. DONT USE SIKA 252 FOR ABS SOLAR PANEL MOUNTS


Threw my back out so even little mundane jobs SUCK. But I got all the screws I added to the roof sealed since its supposed to rain.
48013760911_9dd203e1ff_b.jpg


And my Maxxfan over the bed quit going both directions, a quick email to their service department said it was most likely the board from my descriptions. Since I am a pack rat.... I still have the old Maxxfan I pulled out in the attic. Swapped guts around and its back to normal! No obvious component failures.
48013851032_7f2a9d7727_b.jpg
 
Maybe I should date these.... This is Jun 7th 2019

One more little project done. Light switch for the bathroom light. We never use it.... But its just been hanging wires for a couple years. At least I can turn it on and off if I want to now.

Start with a block, set up to route out the back for a wire pocket.

48019141741_0033cb0403_b.jpg


Remove unneeded material.
48019139926_91bff5411d_b.jpg


Screw to ceiling. It also get screwed to the wall panel to support that. Its been needed for a long time....
48019236962_1d97032e11_b.jpg


And its volcano season! Skis going back in
yH5BAEAAAAALAAAAAABAAEAAAIBRAA7

48019159078_43ba11ef9e_b.jpg


June 10th
Quiet CG, big mountains, nice weekend.
48037169386_c1ee40545b_b.jpg


Poured rain Friday which kept the people at bay. Rolled in late and still found a NICE spot. New awning is so much better. The additional 2' of stick out is AMAZING.

48037282767_696dbfa7dc_b.jpg


Rain meant snow up high!
48037371153_ae86a3b330_b.jpg


Snowing when we left in the morning but cleared right up. It was HOT. Skinned up 3k feet.

48037176791_e1ec474ce4_b.jpg

48037279257_037b0ed942_b.jpg

48037216763_b3c56f1412_b.jpg

48037171526_cb245194a4_b.jpg


Nice little trip back down
48037212093_a1c8259539_b.jpg

48037274522_bbe68deaff_b.jpg


Been wanting to do this for awhile now, so I kicked myself in the butt to get it put together before the NW Overland Rally.

The Ultimate ARB Fridge Mod. Kegerator.

Kegs are awesome, you can get beer that is not bottled or canned, good for large groups etc. But a big trash can, lots of ice etc to cool it is a pain in the butt. So I got to thinking.

Not wanting to drill holes in my fridge (and have a completely reversible mod) lead me to this. Space the lid up. Some maple 1x3 was used.
48061715302_12371ff75d_b.jpg


Trying to figure out the hing brought me to a "oh duh" moment. Make it a wedge! We only need a spot for the faucet and a beer line in. Two minutes with the table saw and boom.
48061661938_433a8974a8_b.jpg


This is going to work great.
48061663583_a8b384ed58_b.jpg

48061663228_546557d499_b.jpg


Next up is the latch.
Aluminum plate was cut to the size of the cutout for the latch. Bent and screwed in place. No additional holes in the fridge. A little sloppy, I have been doing this 10 minutes at a time as I can sneak it in....
48061712572_79674d733d_b.jpg

48061611636_8f8f945a1d_b.jpg


Take it all back apart, make a ghetto rig and grab the router!
48061661208_fc01947929_b.jpg


Slot cut top and bottom.
48061613146_0204d9e9fc_b.jpg


And a neoprene seal is added to the groove.
48061711037_9322a1aa3c_b.jpg

48061612121_b3f7311086_b.jpg


And the magic that makes it work! A giant block of aluminum. This is a two pass cooler, but I have the beer run through both, as I expect the keg to be pretty warm (70+ most likely). You can see the jumper tube between 1 out and 2 in.
48061708292_550c6384fb_b.jpg


Decent forward seal faucet in place, these are so much better than the "standard" faucet. Much less funk growth.
48061701102_ff2144bbcd_b.jpg


All plumbed.
48061705827_de89211c40_b.jpg


Garage is a disaster, but its all set up, I left about 12' of beer line thinking I can stash the keg under the truck out of the sun.
48061652668_d66ea39f27_b.jpg


Need to play with pressures a little, but 15PSI seems about right with that much line and it being 3/16" ID.

But great success!!!
48061656553_80892ddf83_b.jpg
 
June 17th 2019

Another fun weekend in the woods!


48079958376_ebe7354498_b.jpg


48079899633_28c24690ab_b.jpg


Electric chainsaw is pretty slick so far. Quiet and no stink.

48080050607_088d5a9bb8_b.jpg


Went and climbed some rocks. There is a little child in the pic
yH5BAEAAAAALAAAAAABAAEAAAIBRAA7


48079866006_9408d574ab_b.jpg


It will fit.....

48079861526_df46b92b03_b.jpg


48079847696_f3560cd072_b.jpg


Cameras sure flatten everything out....

48079950457_dfa3391b3a_b.jpg


Made it

48079874638_651ecc1eb2_b.jpg


Not sure that's going to wash off...... Lots of branches....

48079843566_11bbb417f4_b.jpg


More little project trying to get wrapped up before the NWOR.

Old water pump, LOUD, from a 20 year old RV, free from my garage during the initial build.
48086587621_7fe239598c_b.jpg


New water pump, sold as "quiet" still a diaphragm pump, I was worried it would be similar loud. It was not free, it IS QUIET! But the water pulses a bit, may look into an accumulator tank eventually, but my god its so much QUIETER! (yes its crooked, no I dont care right now.... I was not making new flex lines.)
48086587616_499fd9c0e9_b.jpg


Tidied up the wiring that has been flopping since forever?
48086624428_43ce1c27c1_b.jpg


The water pump crapped out earlier this year.... IDK if it froze or what. But bummer.

Misadventures in upholstery.... Oy. Not my forte.

Cut and pack in a bunch more insulation
48090262692_825ca30c7b_b.jpg

48091948818_1bcb7c9f0b_b.jpg


definitely the correct stapler?
48091948358_98697af6ef_b.jpg


What am I doing?!
48090168091_327ae7672e_b.jpg


Spray glue?
48090201428_3f6c0b2592_b.jpg


Getting somewhere.....
48091949003_1dd8b450ac_b.jpg


Now the hard part..... Cant be tight as the truck moves, looks worse in the pics....More staples.
Those ribs on the back wall didnt help at all with no stretch fabric....
48090200618_b1967e8733_b.jpg


I DINT LEAVE ENOUGH SLACK IN THE FABRIC IT COMES UNTUCKED FROM THE HEADLINER AT TIMES

Switch panel and power by the bed came out ok though, no more wires hanging out of the wall.
48090200768_de1bde3108_b.jpg


Passthrough trim done!
48098245447_b78580d6aa_b.jpg


Attempted to bathe truck. Its marginally cleaner....
48098192728_642b64a7f7_b.jpg


Good times as always at the NWOR! Weather was great, got to see lots of old friends I don't get to see to often. Lots of drool worthy trucks and thanks to all the vendors!

48126714771_ea974b374f_b.jpg


Nightly raffle is always fun!
48126749023_623fdcfabf_b.jpg


Snuck out and climbed Peshastin one morning.
48126715101_e48ae90321_b.jpg


Entered the cooking competition and won!
yH5BAEAAAAALAAAAAABAAEAAAIBRAA7

48126803462_828cfd9607_b.jpg
 
AUG 12th 2019


Lots of leg powered excursions lately, so we haven't used the truck in forever, but with thunderstorms predicted all weekend that sounds like a perfect reason to take the truck.

Spent Friday night up in the mountains. It rained so hard it sounded like golf balls being poured on the roof! Yep, glad I took the truck.
48520770771_2b2bb1387d_b.jpg

48515607581_e4de95a09d_b.jpg


It cleared up in the AM and we did a quick hike. Then headed South Ish.

Had a lazy afternoon, climbed a few easy routes and just hung out. Made some skottle pizza's and watched thunderstorms in the distance. Its finally getting cold enough to break out the propane fire pit too.
48515778647_4aa2e4787d_b.jpg

48520807736_236658aaa0_b.jpg

48515601491_da8a28b5b7_b.jpg


Also saw one of these! Glad it was a ways away!
48515602866_bc30e45f18_b.jpg


Big truck little roads!
48575161031_30e5df93c8_b.jpg


As stiff as the M608's are they still deform at street pressure under a heavy ass truck.
48575311972_fce9500104_b.jpg


Not bad at all.
48575310992_0f0a1eded1_b.jpg


Climbed til it was too damn hot and went and jumped in the river for the rest of the afternoon. Beware of nude beach
yH5BAEAAAAALAAAAAABAAEAAAIBRAA7

48575157041_3e819af600_b.jpg


Stopped for lunch at a lake, its SUPER low, we are literally parked 1/2 mile into the lake. Its good and solid where its dry.... Muddy areas not so much, I avoided those like the plague.
48575153261_693f5fc391_b.jpg

48575305812_eb9e99ba01_b.jpg


Now onto a serious topic. Coilovers (or other options....). I need to do something to get this thing to ride better on FS roads. If you may or may not remember I have kelderman air ride leveling kit. Its honestly marginally better than the OE coils. I have to run ~80psi in the bags to keep their suggest ride height. I think this is likely very close to the OE spring rate. Its at 6200lbs on the front axle.

Airing down helps, but honestly its a bitch for say 10 miles of gravel.

Running Bilstien 5100's in the front, perhaps a better shock would help? Not really sure, it doesn't seem bouncy, but harsh on any impacts.

Thoughts or suggestions?

SPENT THE MONEY OF FOX RESI SHOCKS.... NO DIFFERENCE REALLY. I THINK THE BAGS ARE JUST TOO SHORT.

Data on the bags. In theory i should be over 90 psi with 3100lbs/side on them. assuming I am reading that right.

48577462086_d0d61d58be_b.jpg


Well this happened! Only highway driving so far.

48669281491_b24a11fc2d_b.jpg


Fit well and the resi's tucked in nicely. Im at 4 clicks (12 total) up from full soft on the high speed compression, and full soft on the low speed.
48668935913_a54a01eba4_b.jpg


Only done freeway for the most part. So far its a big "Meh" A little improvement, but not a ton.... FS roads this weekend I think. Pretty sure they are way long too
yH5BAEAAAAALAAAAAABAAEAAAIBRAA7
Gotta take some more measurements....
 
SEPT 10TH 2019


Just thinking to myself and out loud I guess.

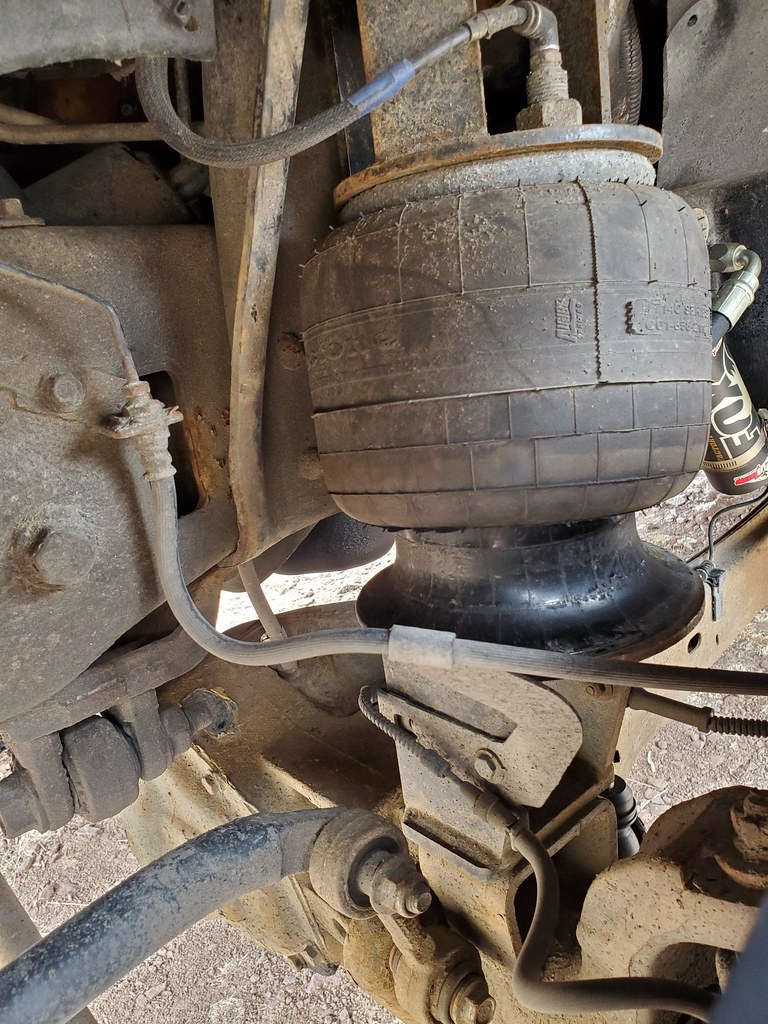
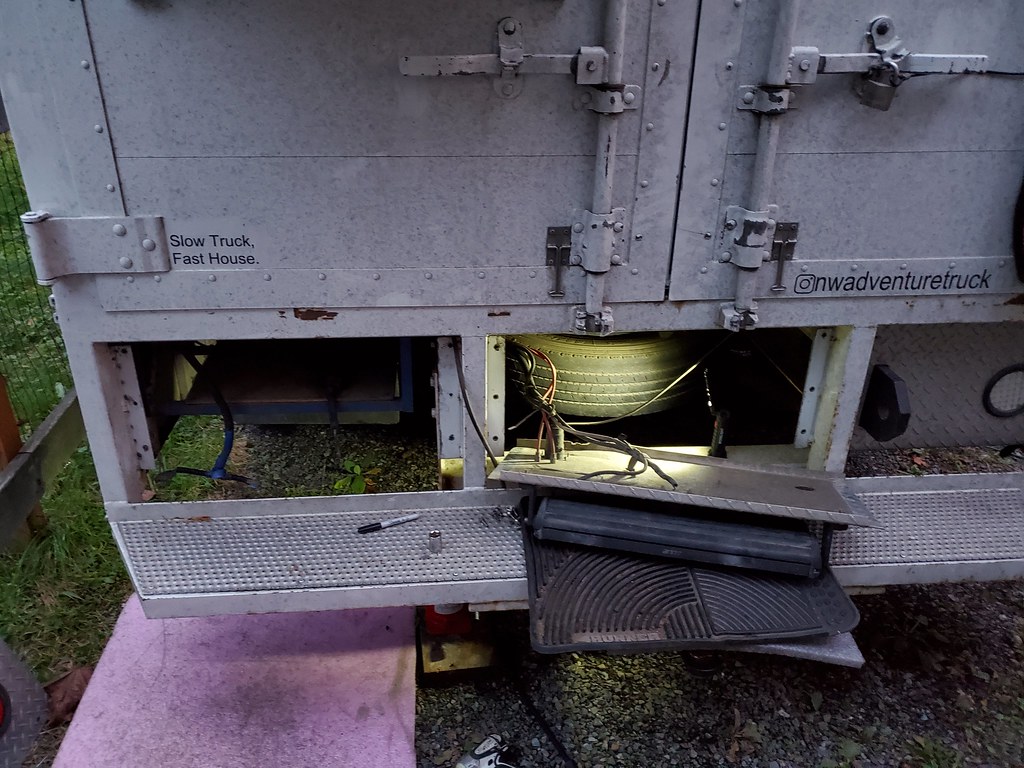
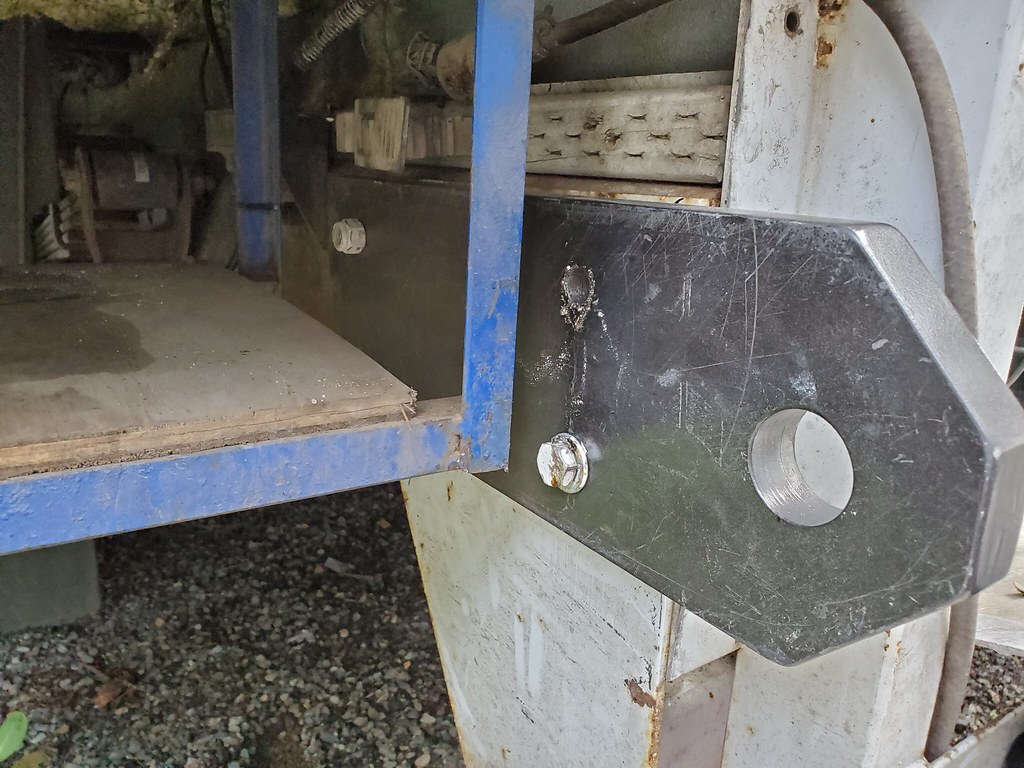
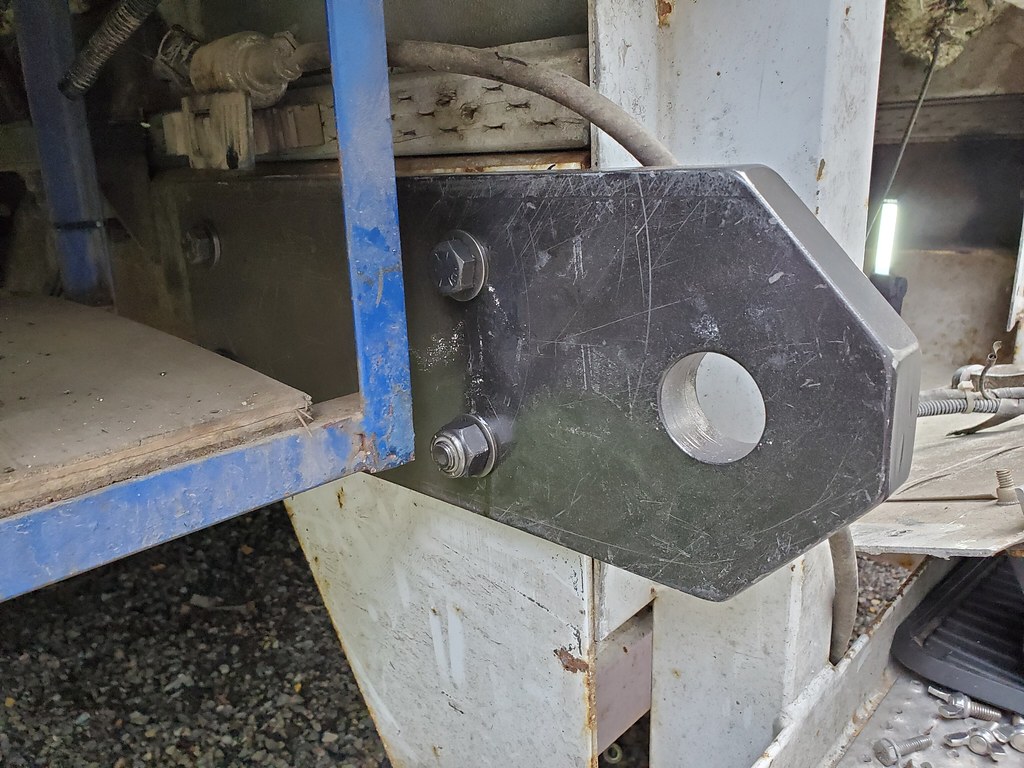
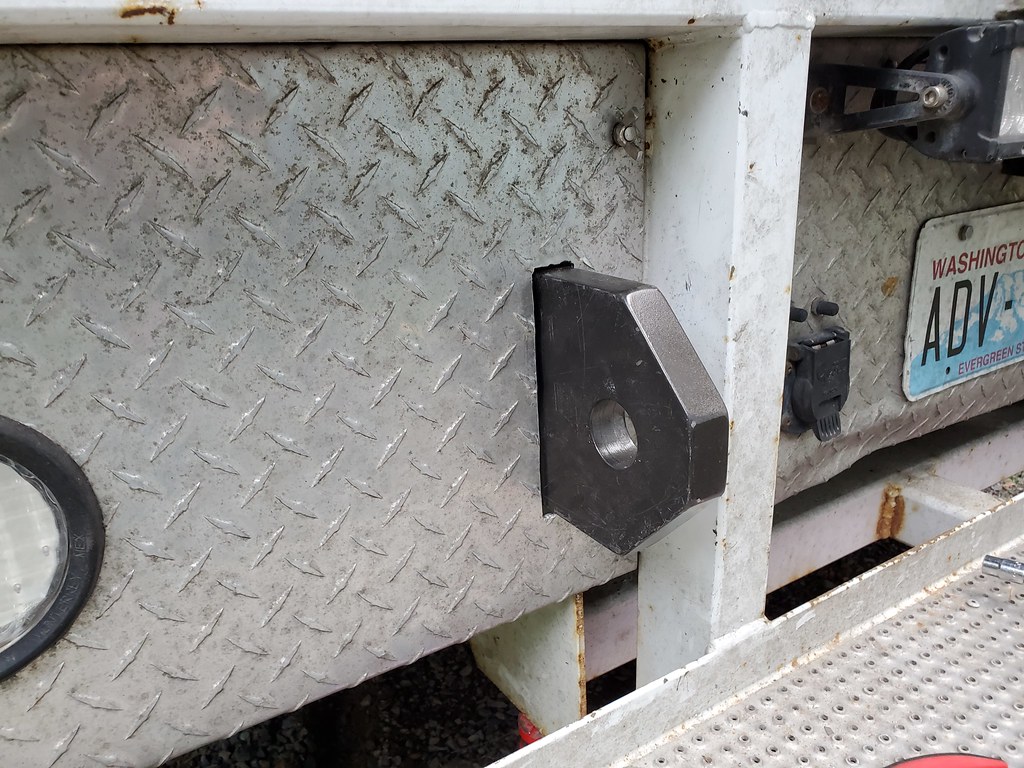
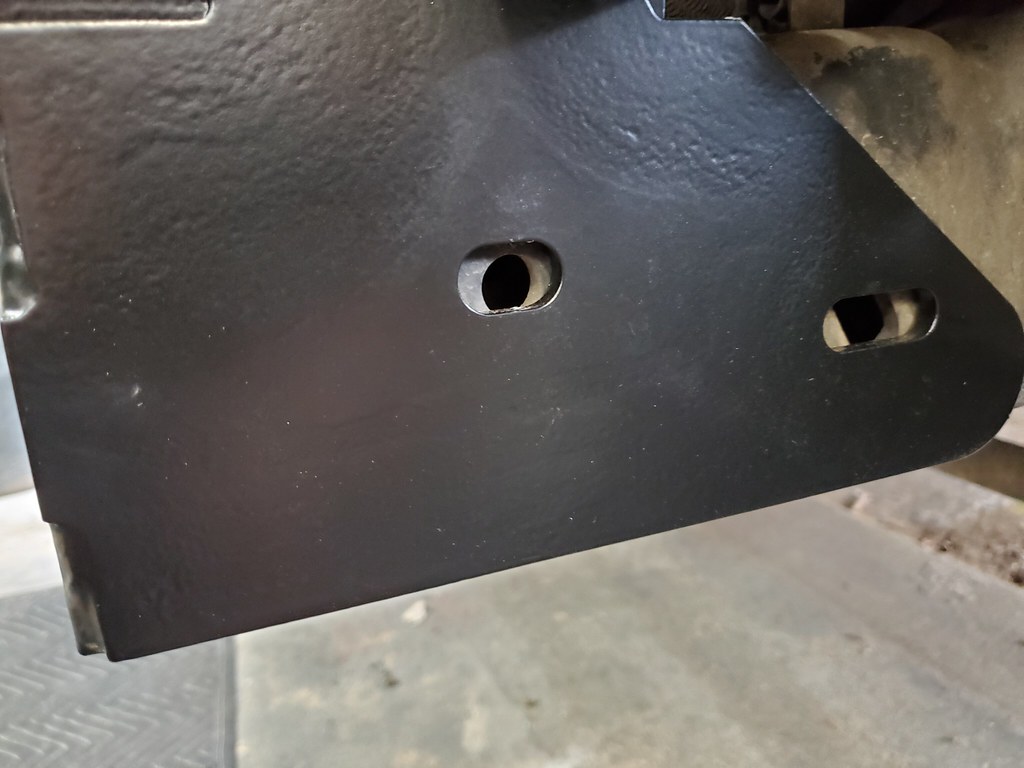
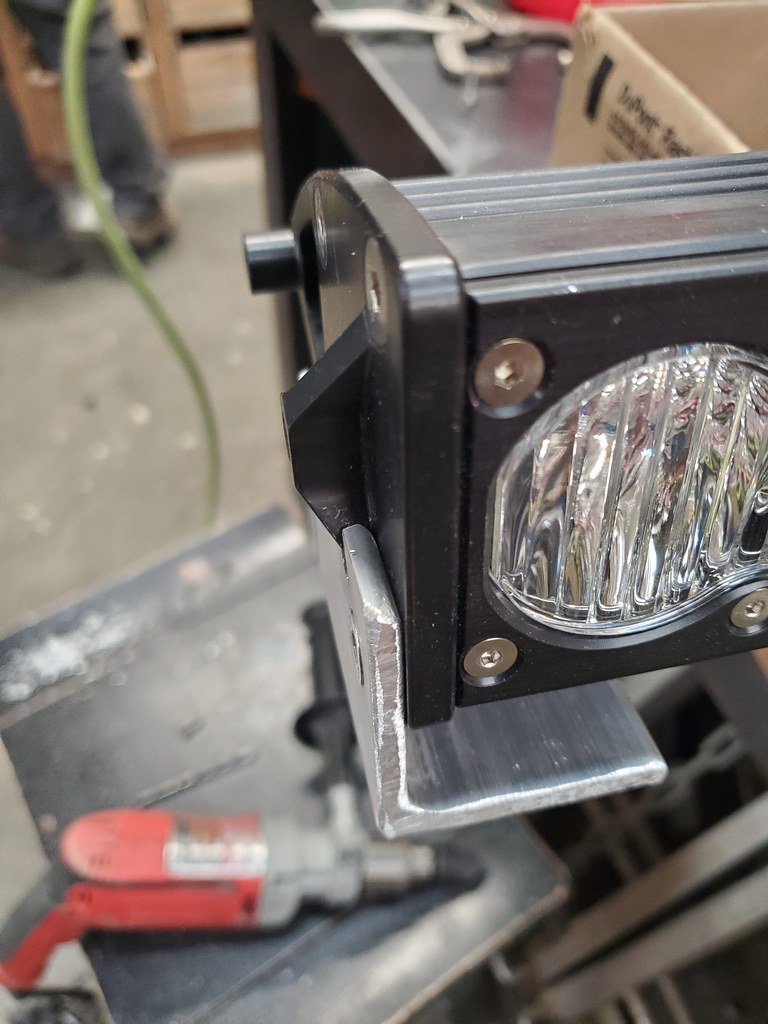
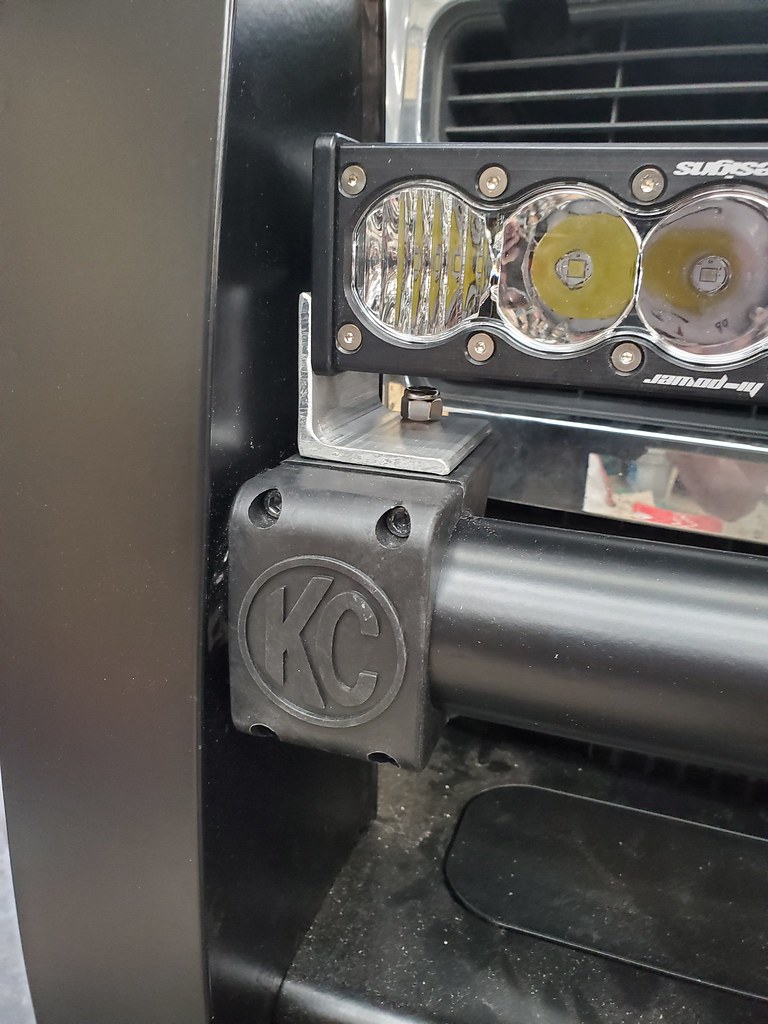
If I need more height in the bags, and don't want lift why not just trim the lower bag mount down an inch? I'm assuming the bags will be Ok higher.

Probably not all that hard to unbolt them, cut them down and reweld. They are the ones with the angled plate.


3adea61289fa1e1f46cbf57f4d142e58.jpg


I STILL THINK THIS IS THE BEST SOLUTION. RUN A SHORTER BRACKET AND 2" TALLER BAG

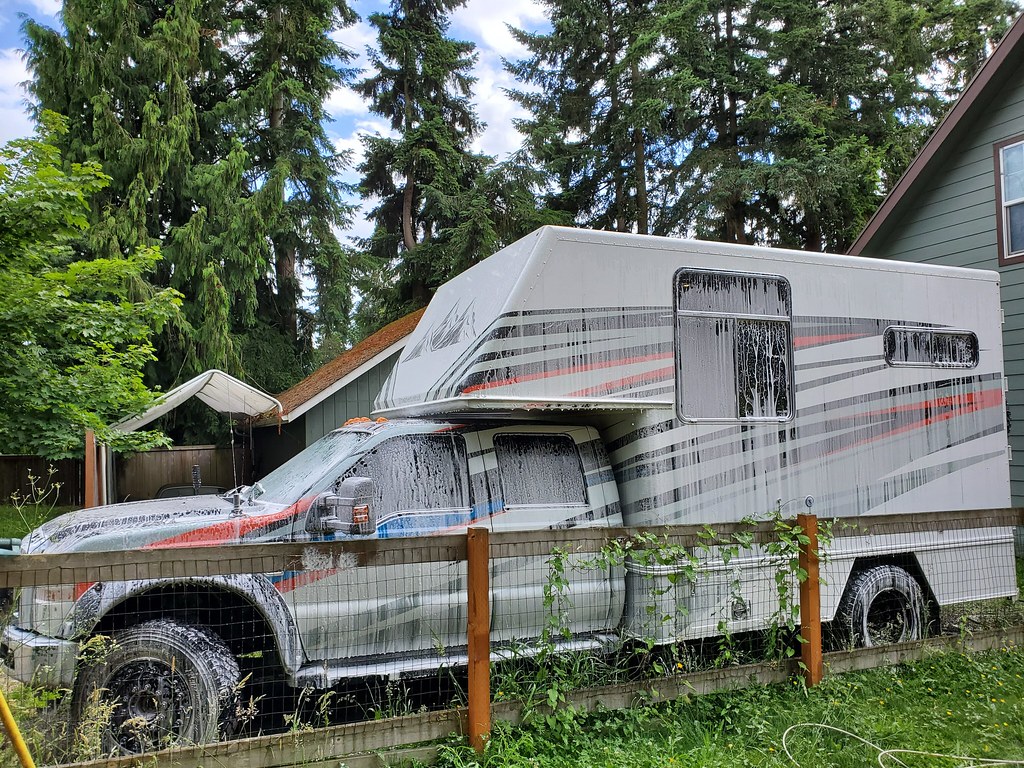
And.... My oil leak is getting worse! Grrrr no idea where it's coming from now. Looks like rear main ish as the most of it is around the back of the oil pan and the bellhousing.

Upper pan doesn't look like it's leaking.

Underside is well oiled now...
c14ca1638ac66f159358900acdc3aa60.jpg

f7be1c67f955e944c7197ac649ae554a.jpg

fbf7077b4a91f6733c8476f7bd5e2f41.jpg


Begin ramble...

Spring rates. you need a minimum to hold the weight up. No two ways around that. BUT with the air bags, you have to add pressure to get the height. A spring can be made taller at the same spring rate correct? Where in the air bag the spring rate is increased with air pressure. However in theory the spring rate is as low as it can be to hold the weight at X height?

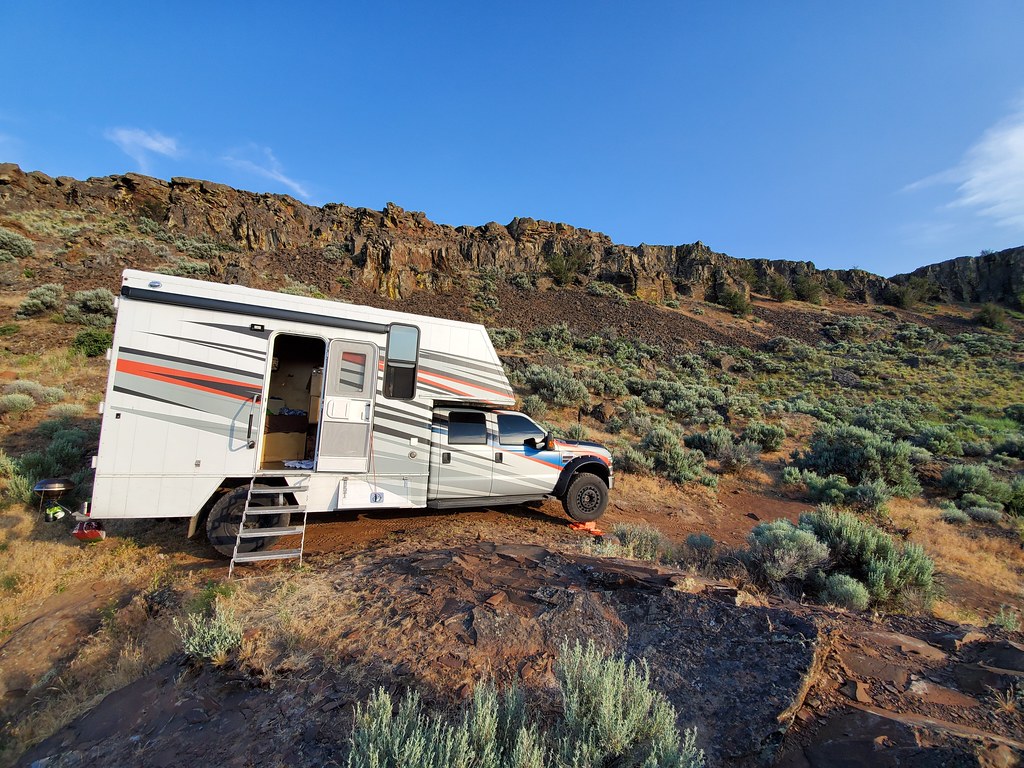
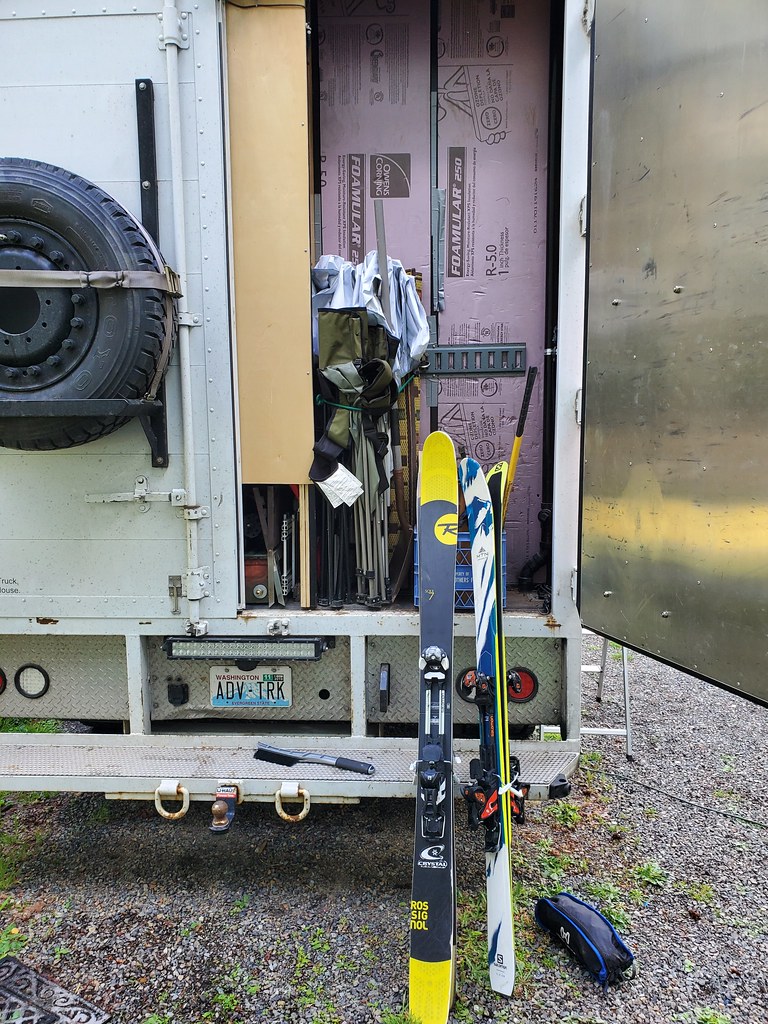
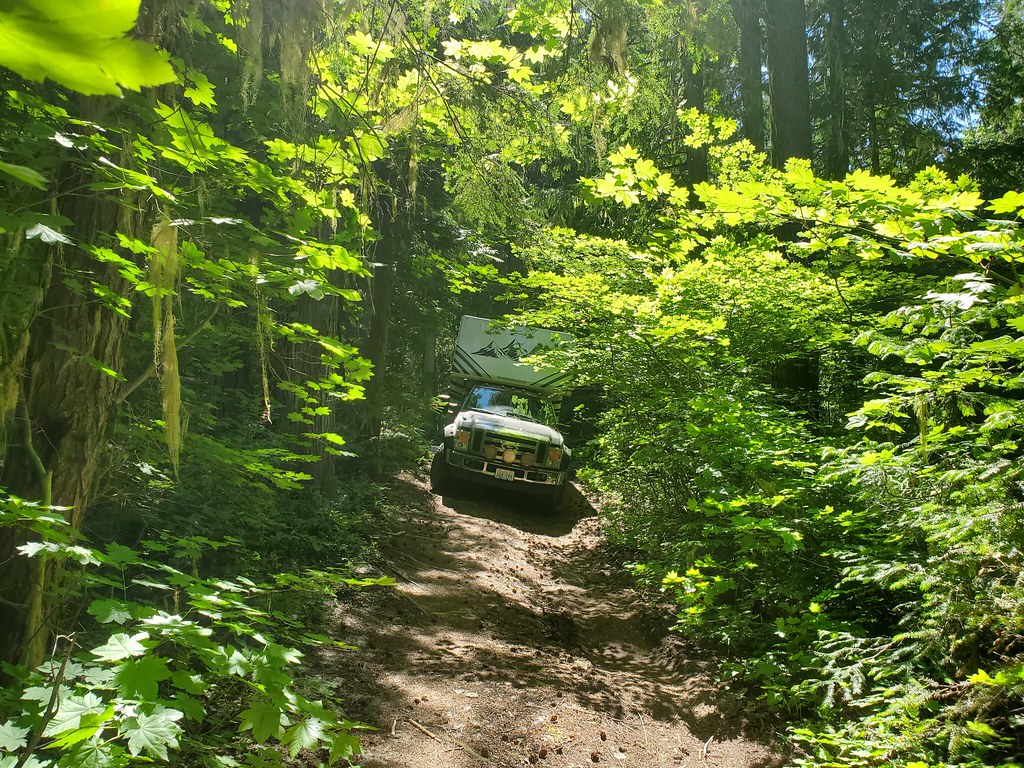
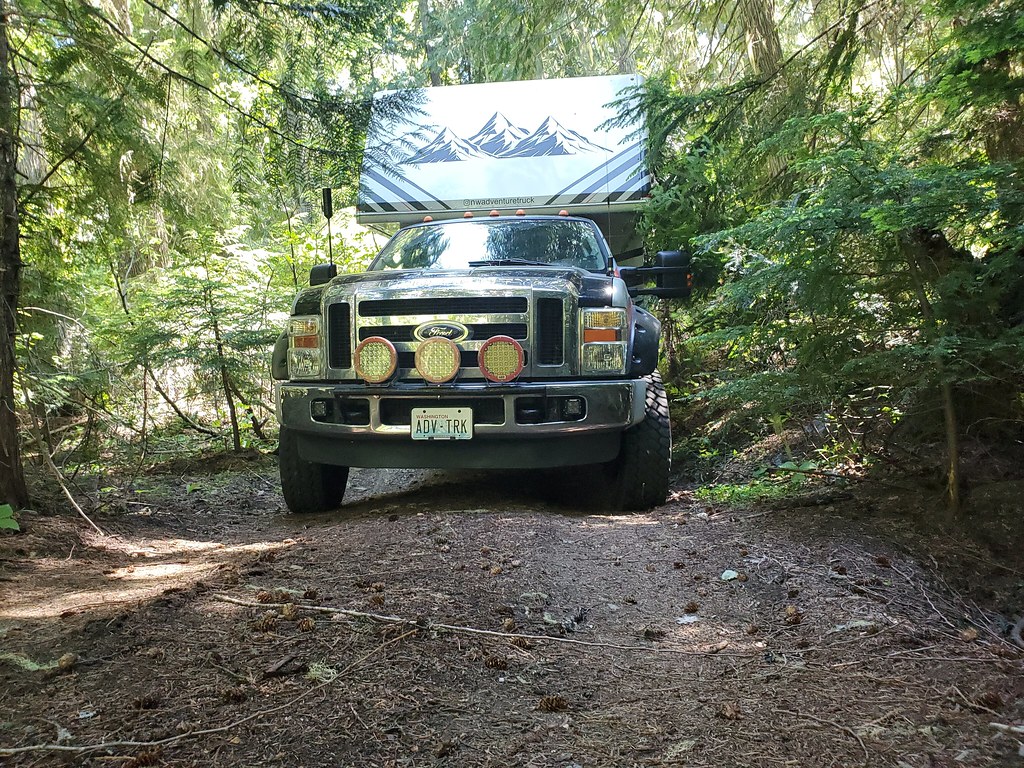
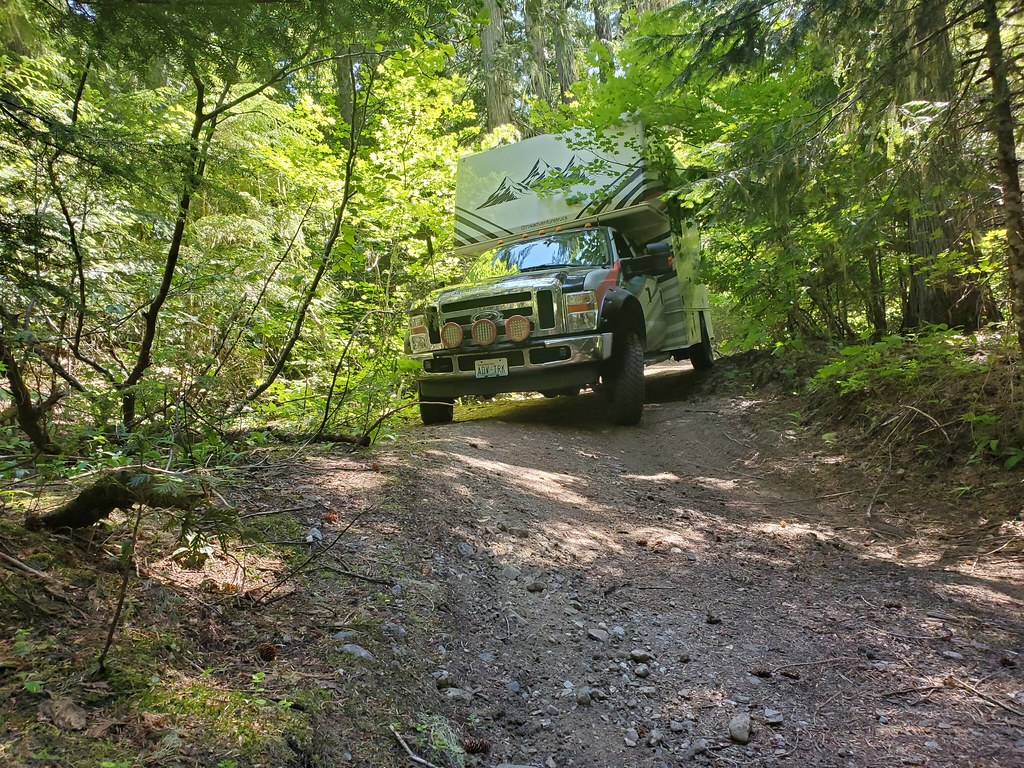
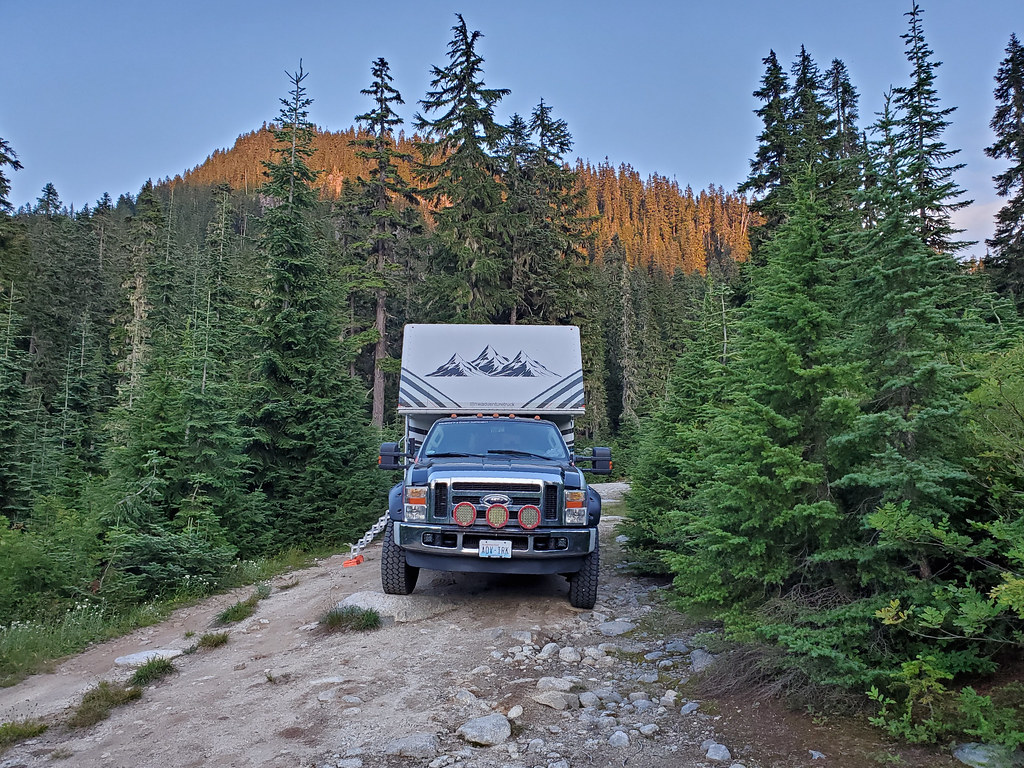
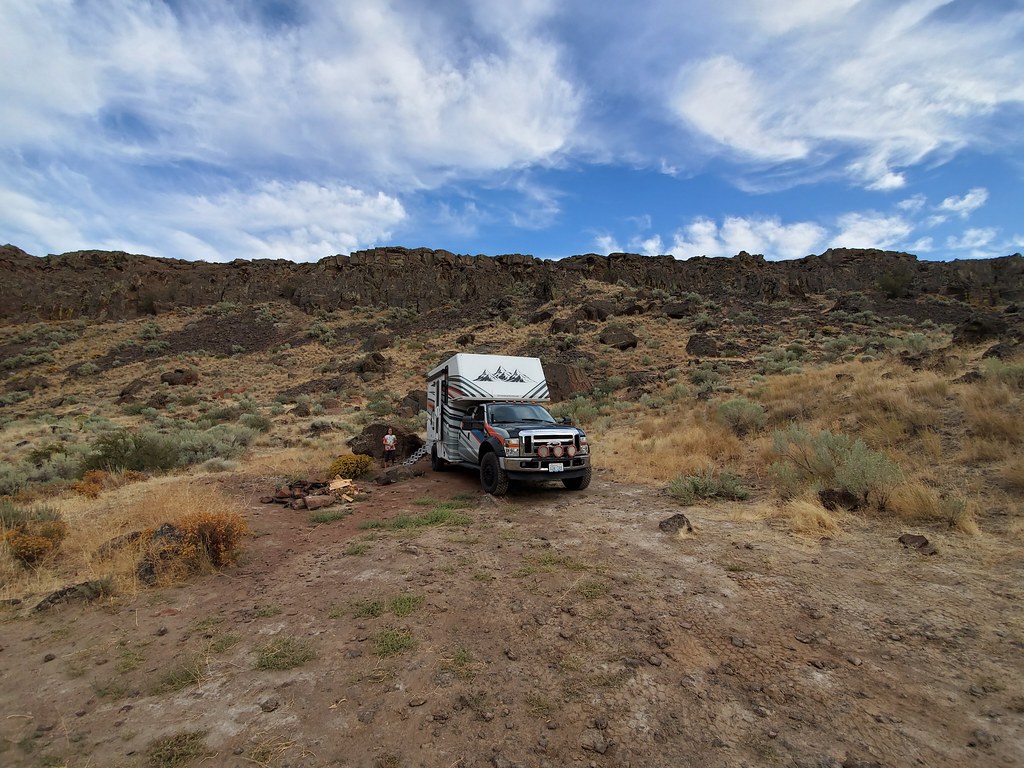
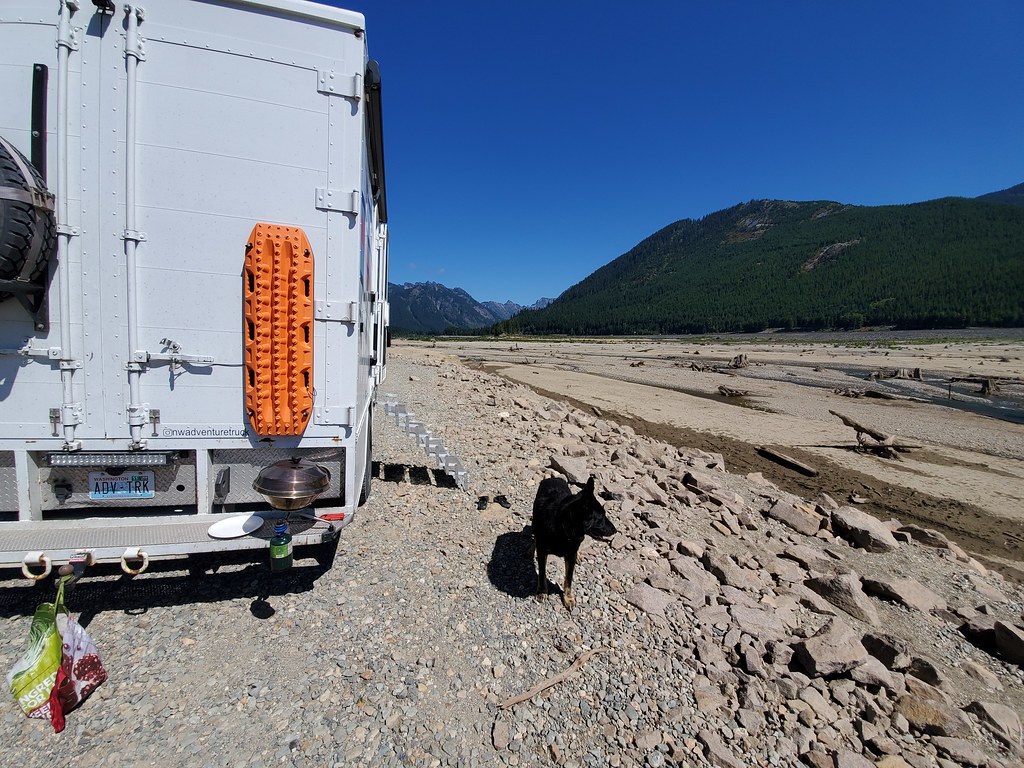
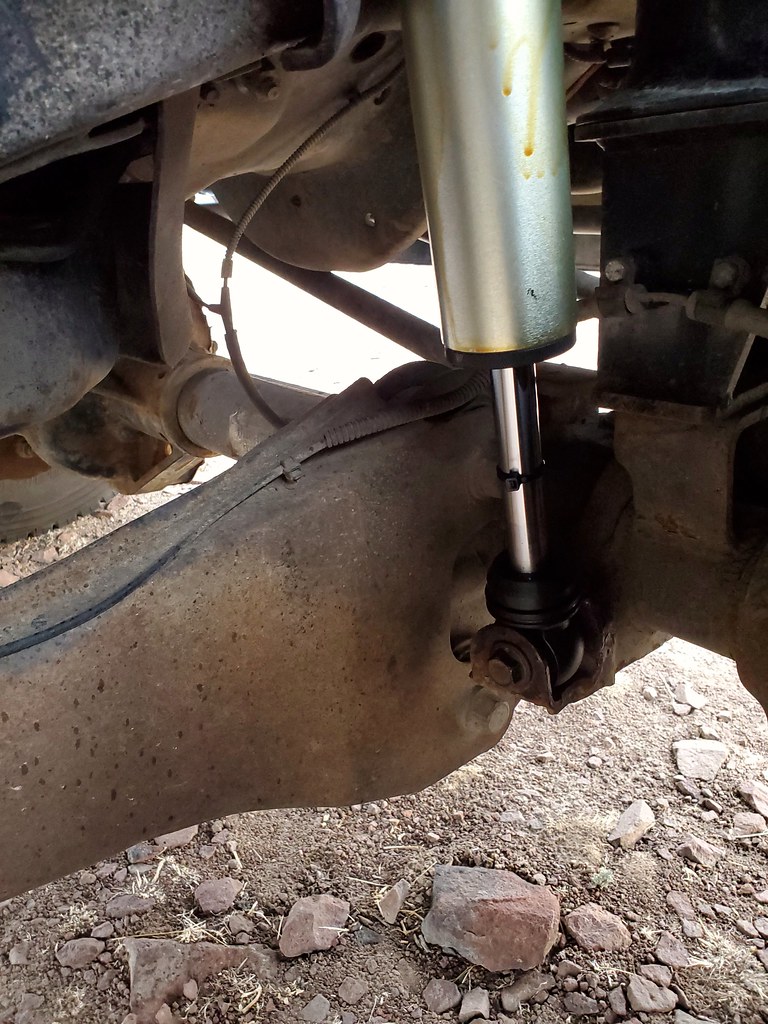
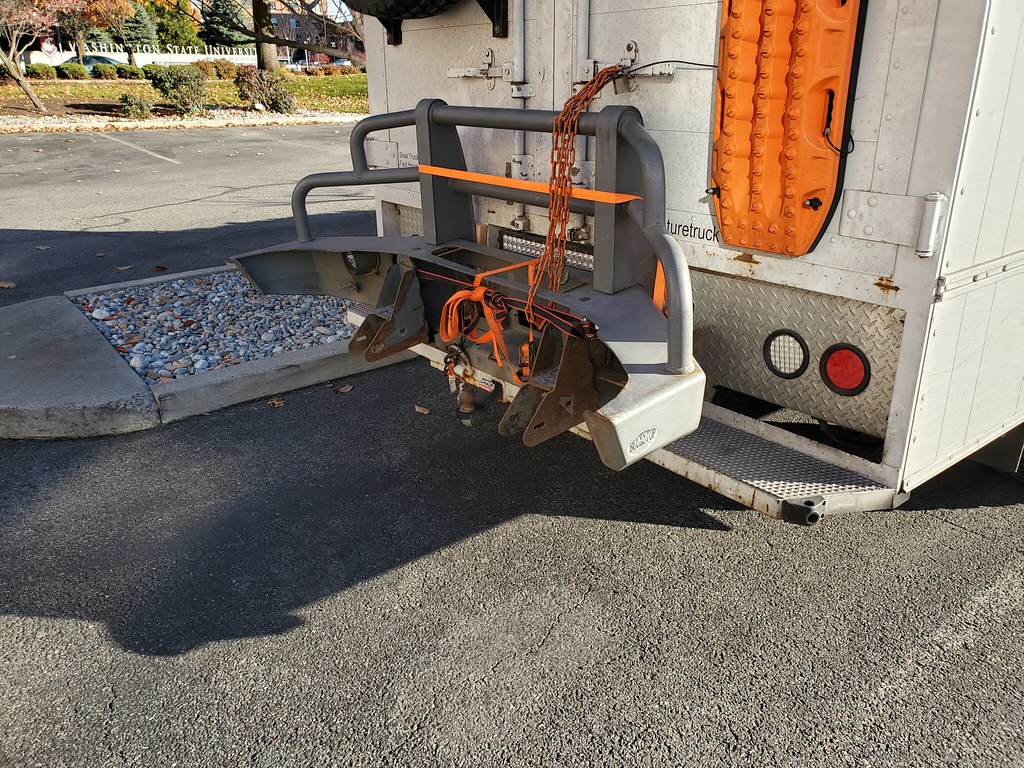
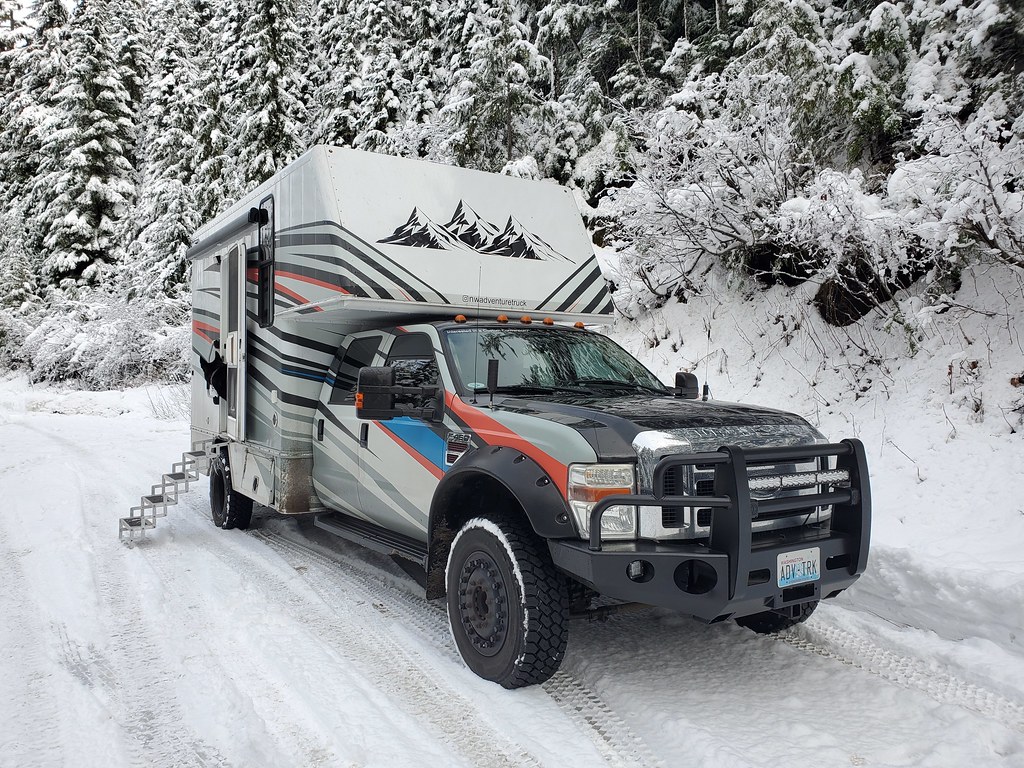
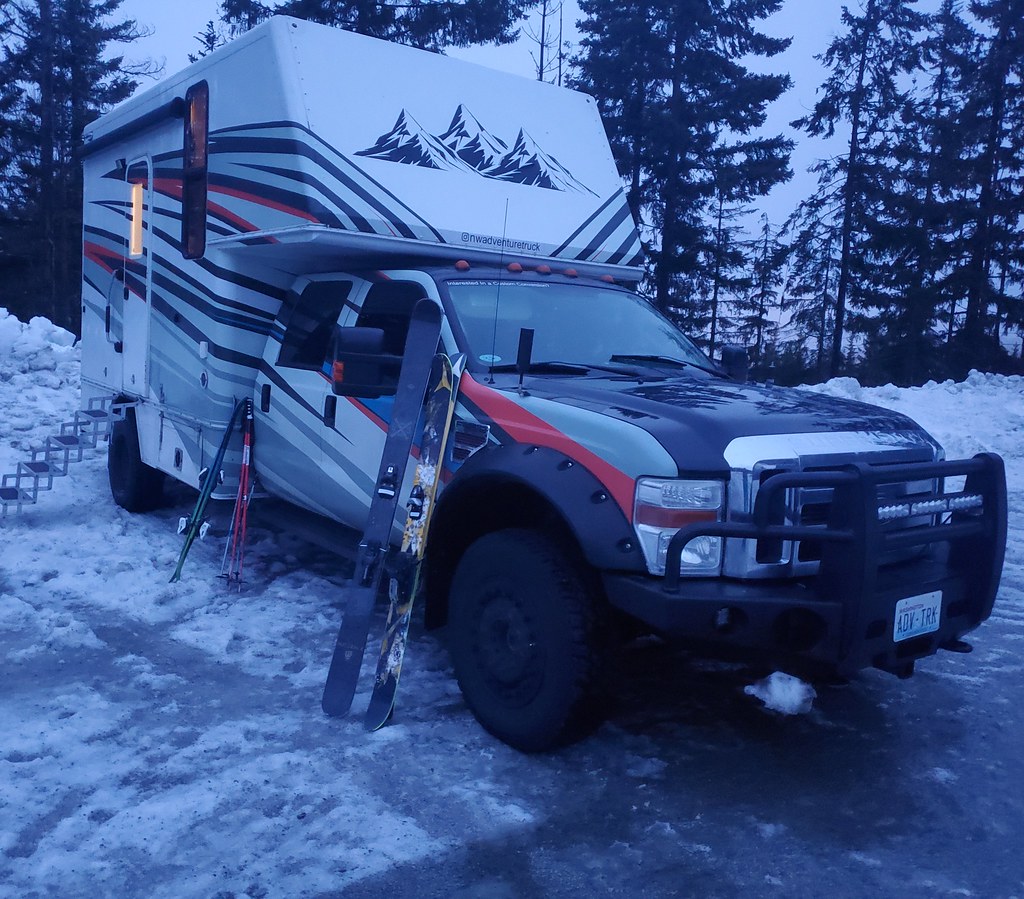
Zip ties on the shock shafts show I am not using the front suspension. Nearly NOT AT ALL. When I got to the start of gravel, I hopped out, three fingers of movement on the shaft, ~2.5" uptravel.... Thats not much (and not bottoming out on the bags)

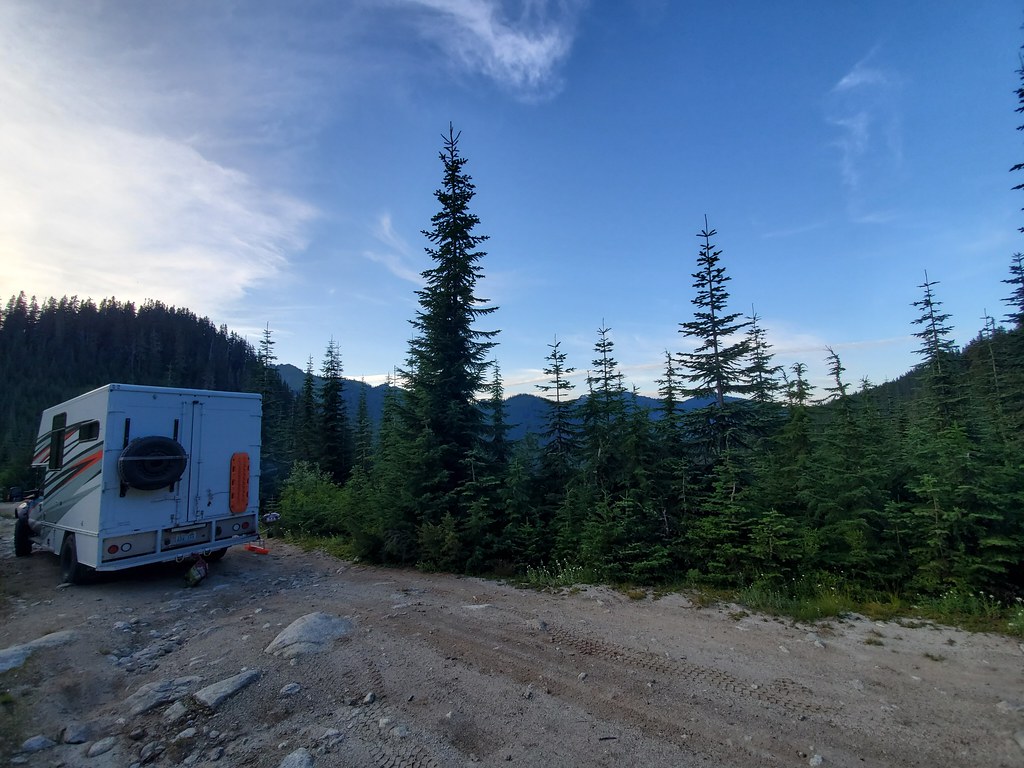
Here is after a pretty decently rough section. A bit more movement, but still not much...
48744155202_058c12f120_b.jpg


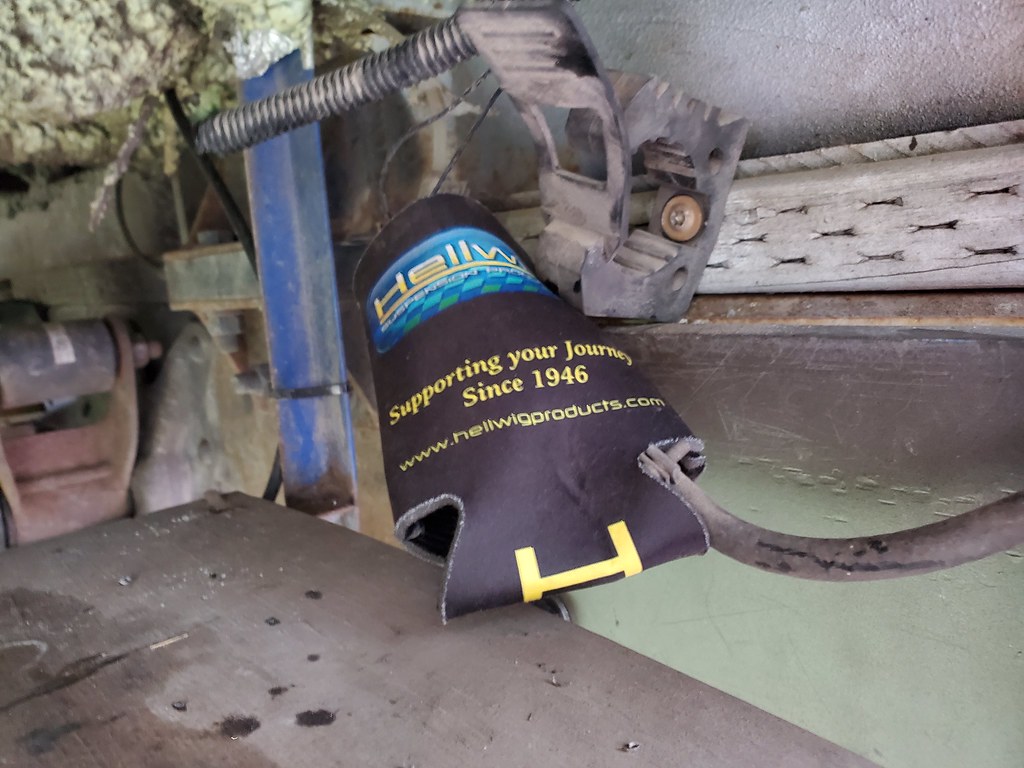
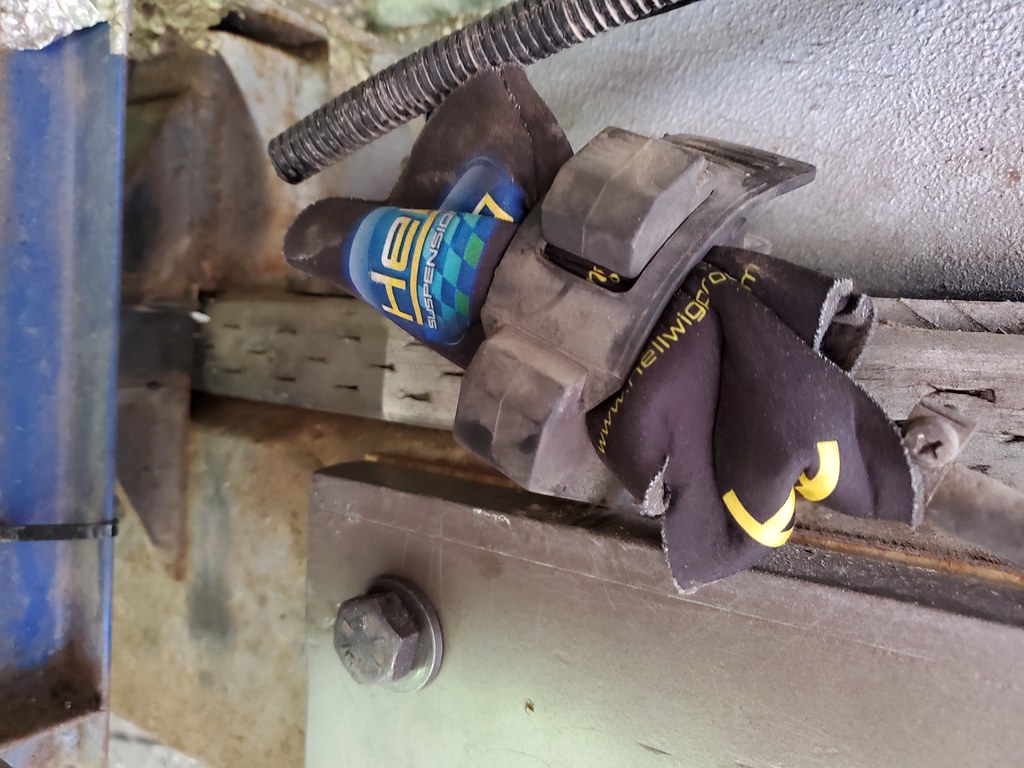
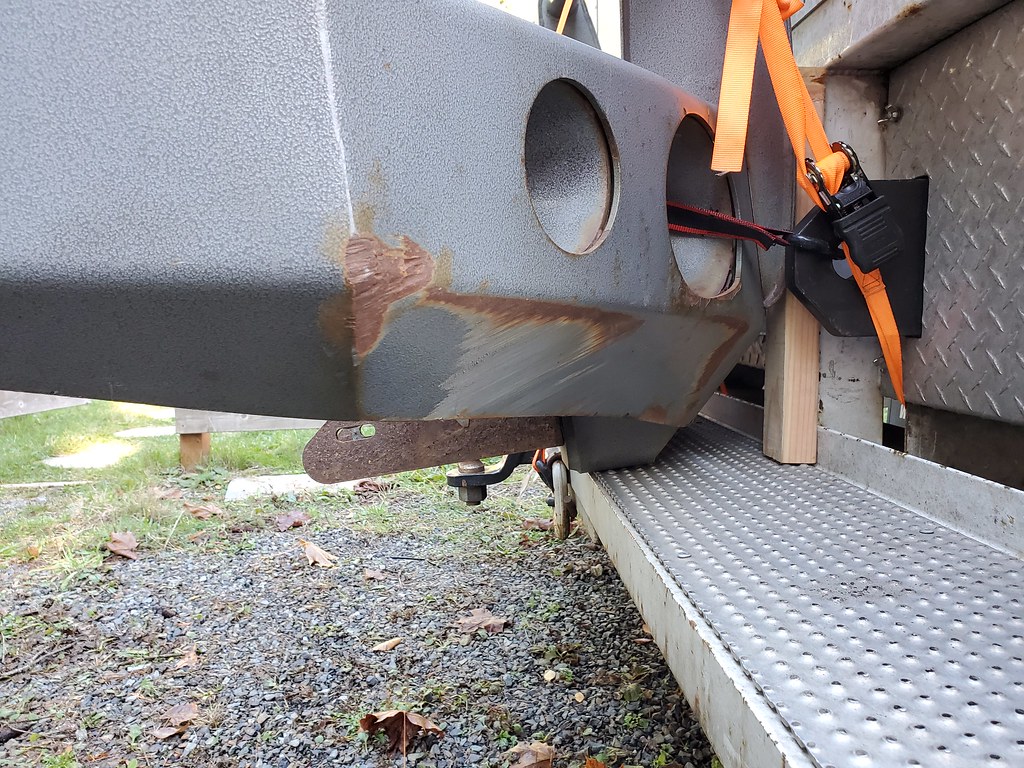
I did try inflating the bags to 9" tall. No difference, a bit worse even perhaps (more spring rate...). And they sit funky on the bases like that, not happy looking.
48744086692_fbf1b5f150_b.jpg


Frustrated.

Should I go back to coils? Just try to find taller softer ones?! Anyone have an idea of spring rate needed? 6200lbs on the front axle.


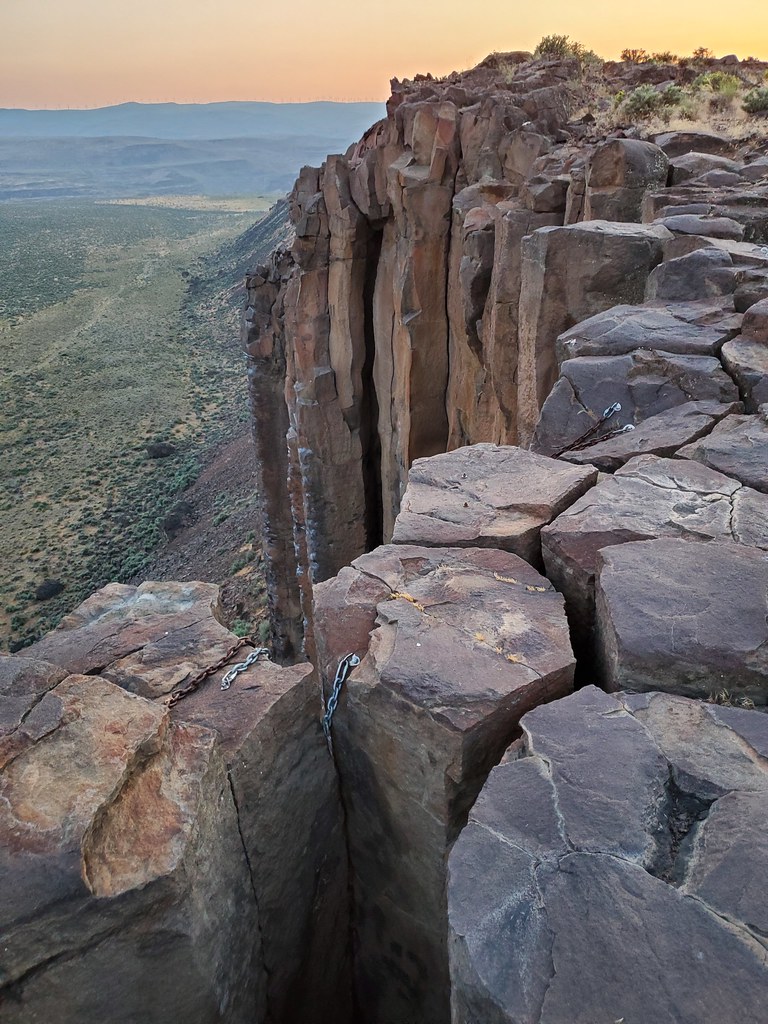
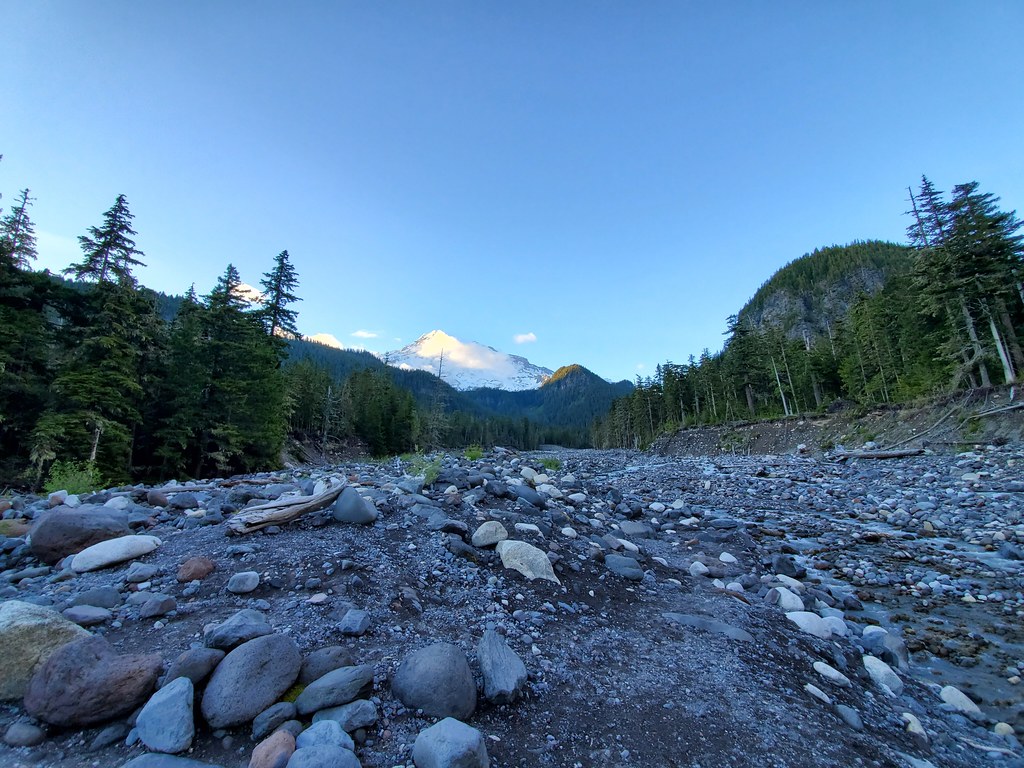
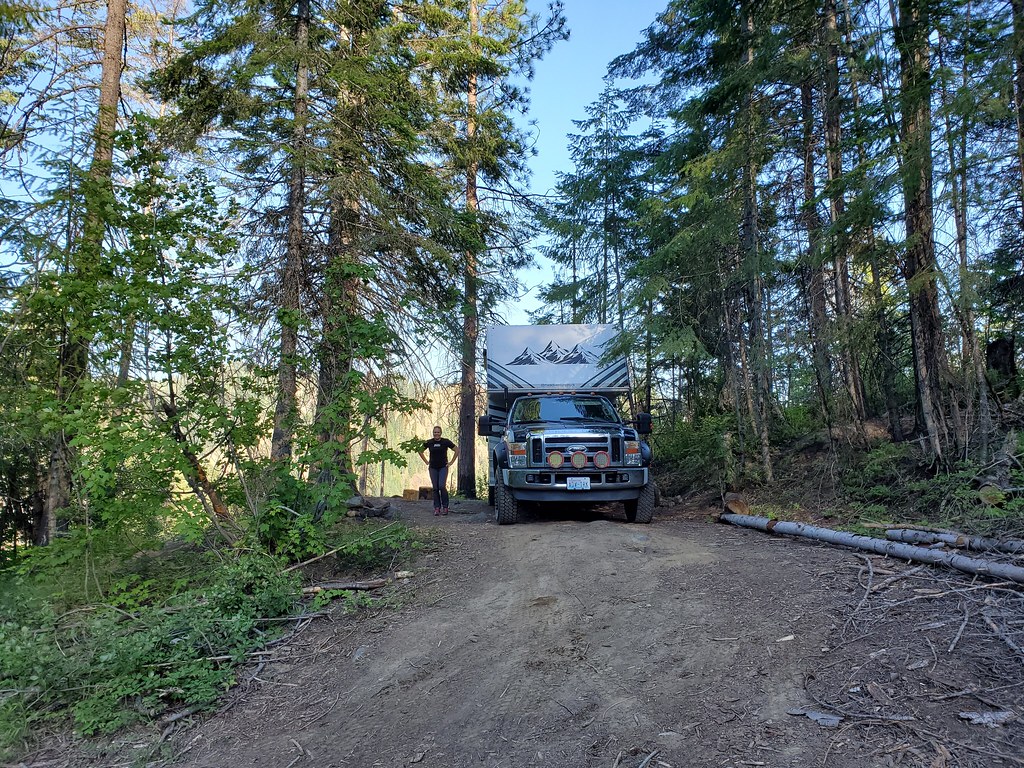
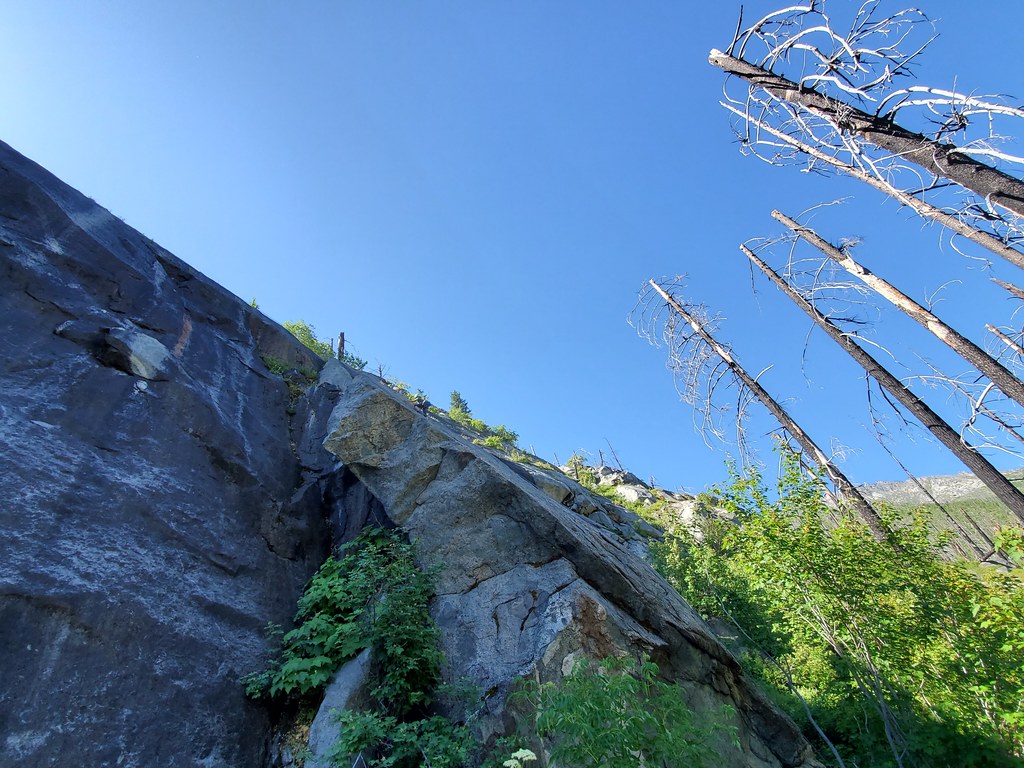
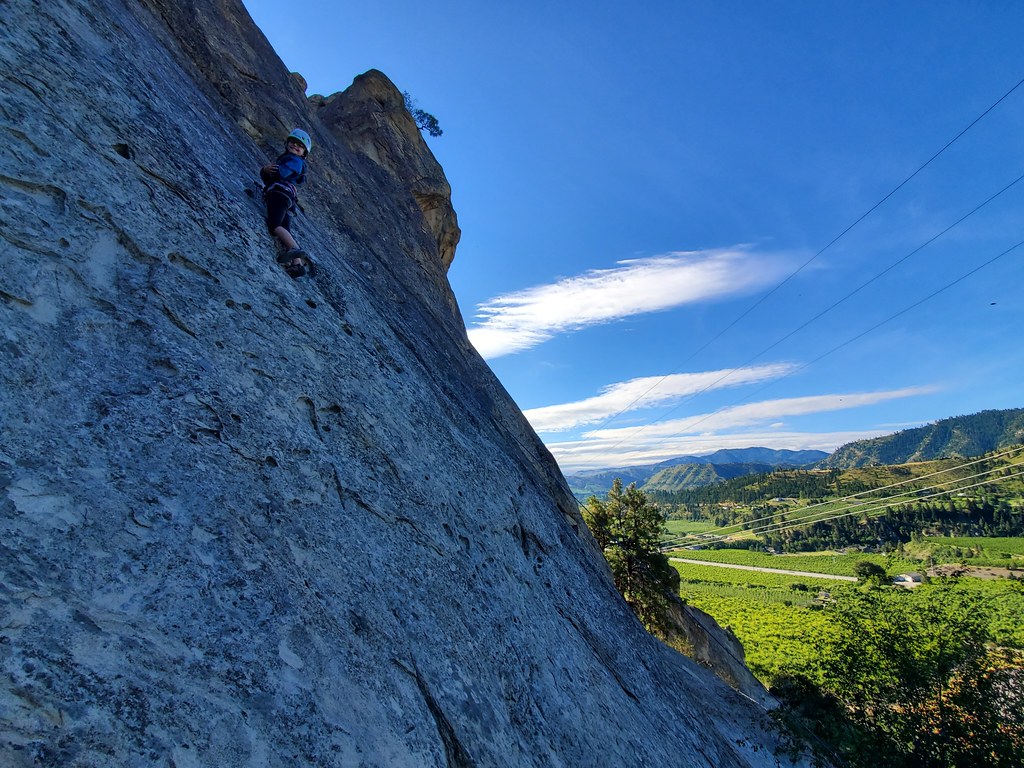
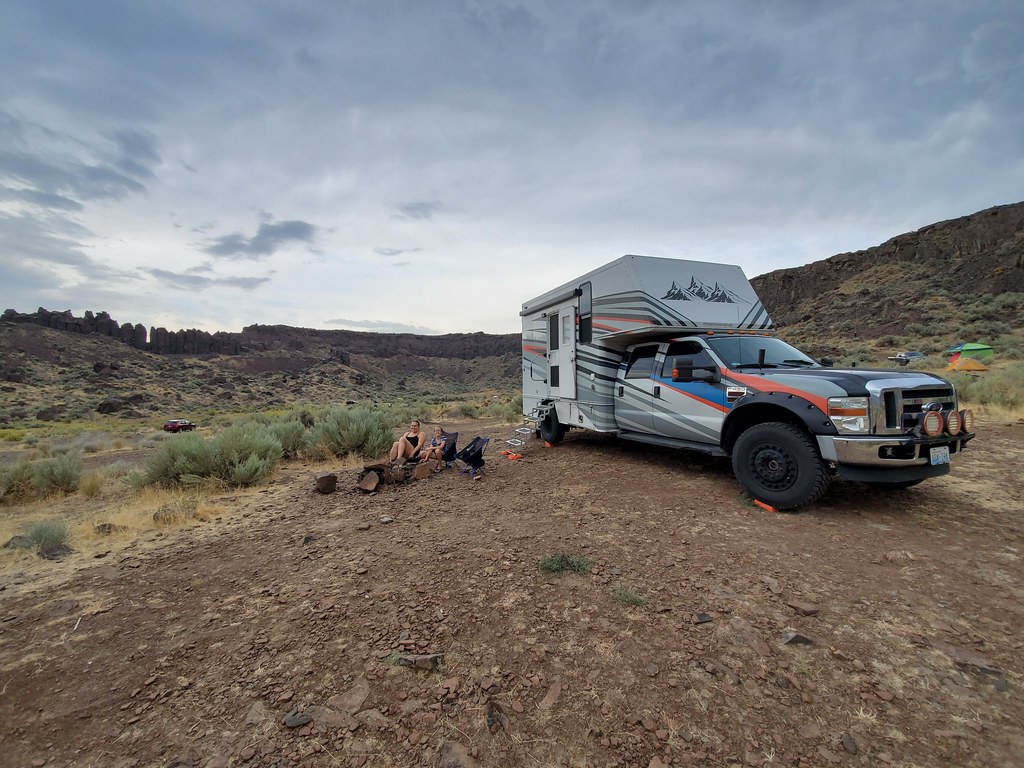
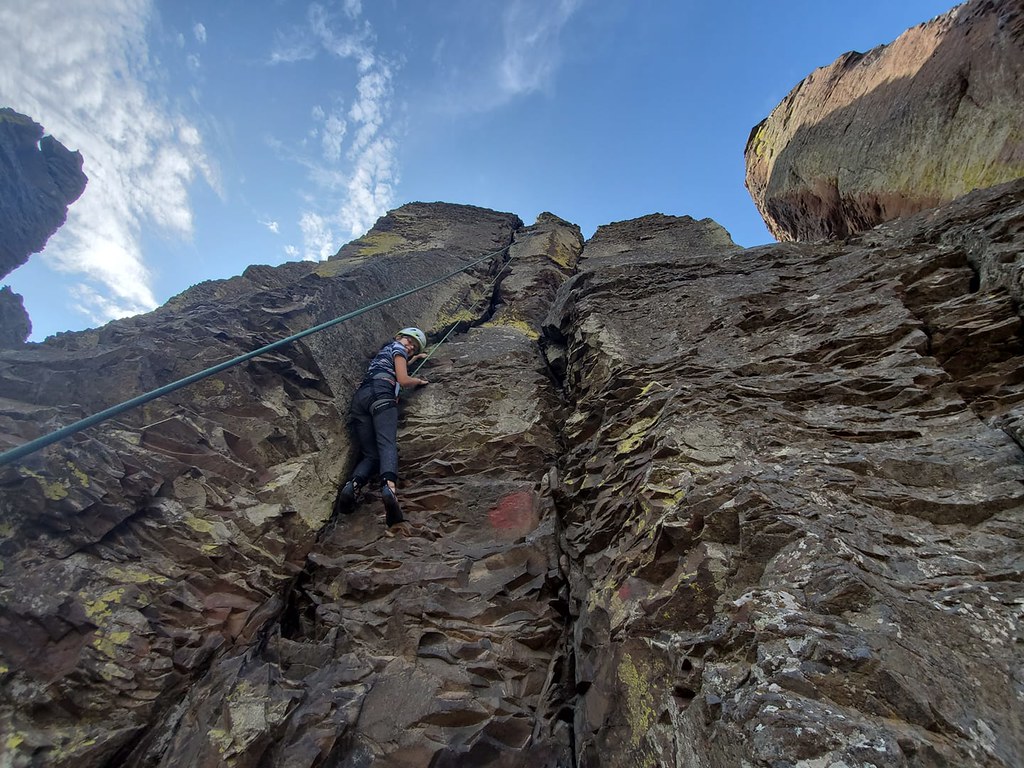
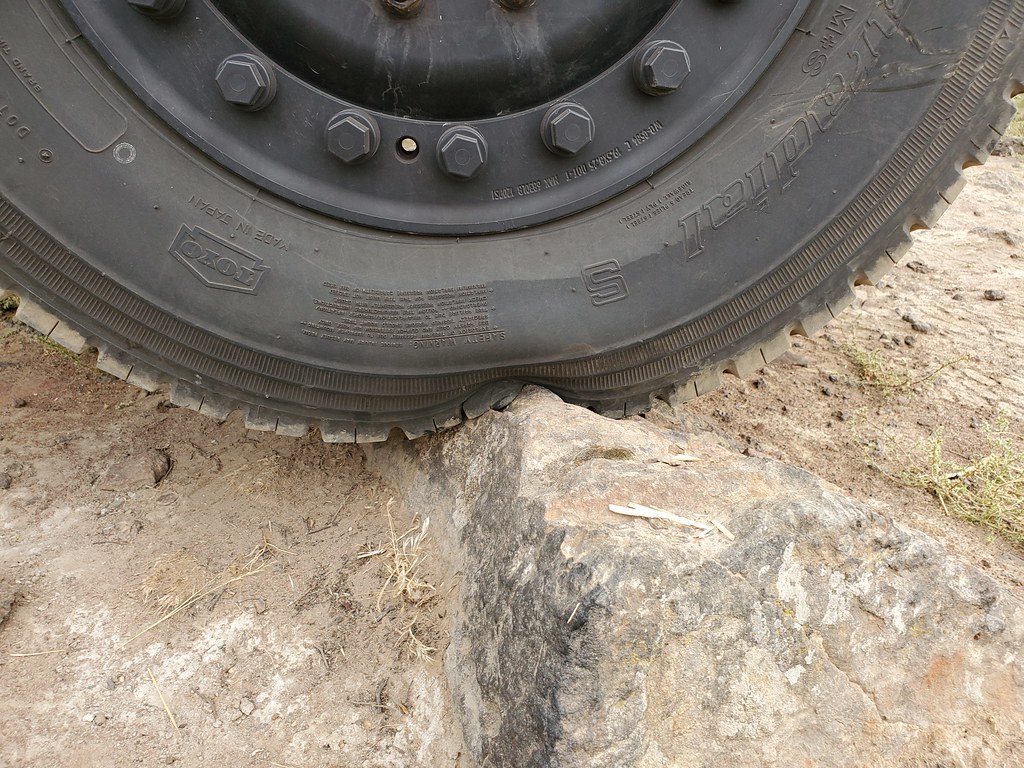
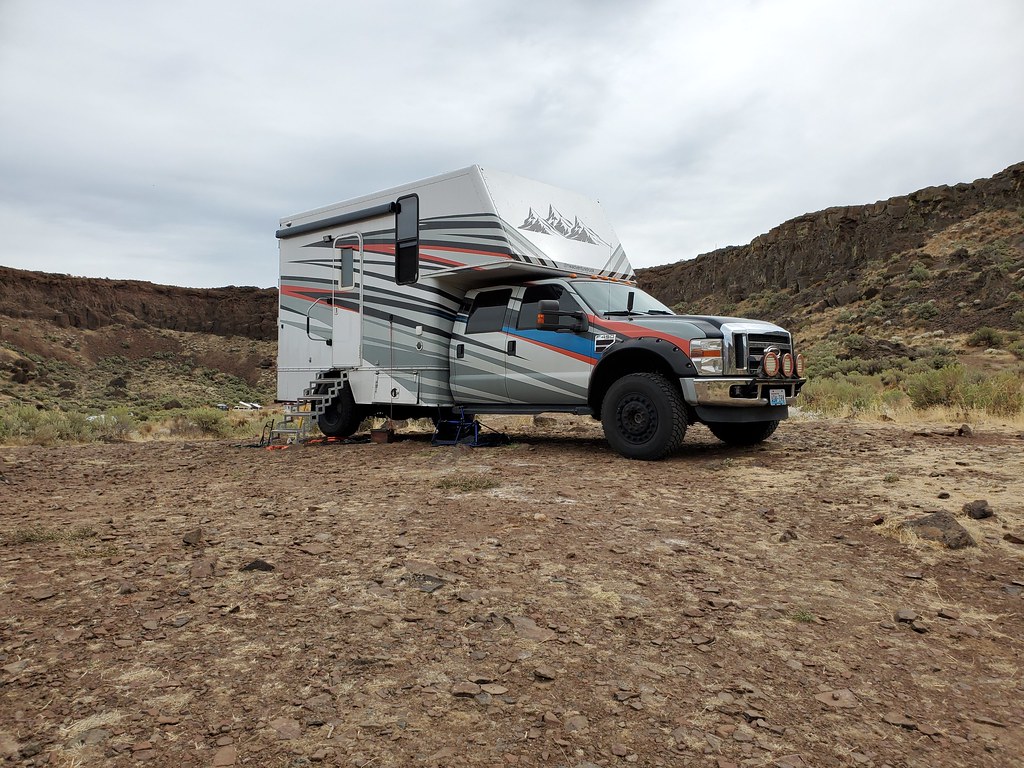
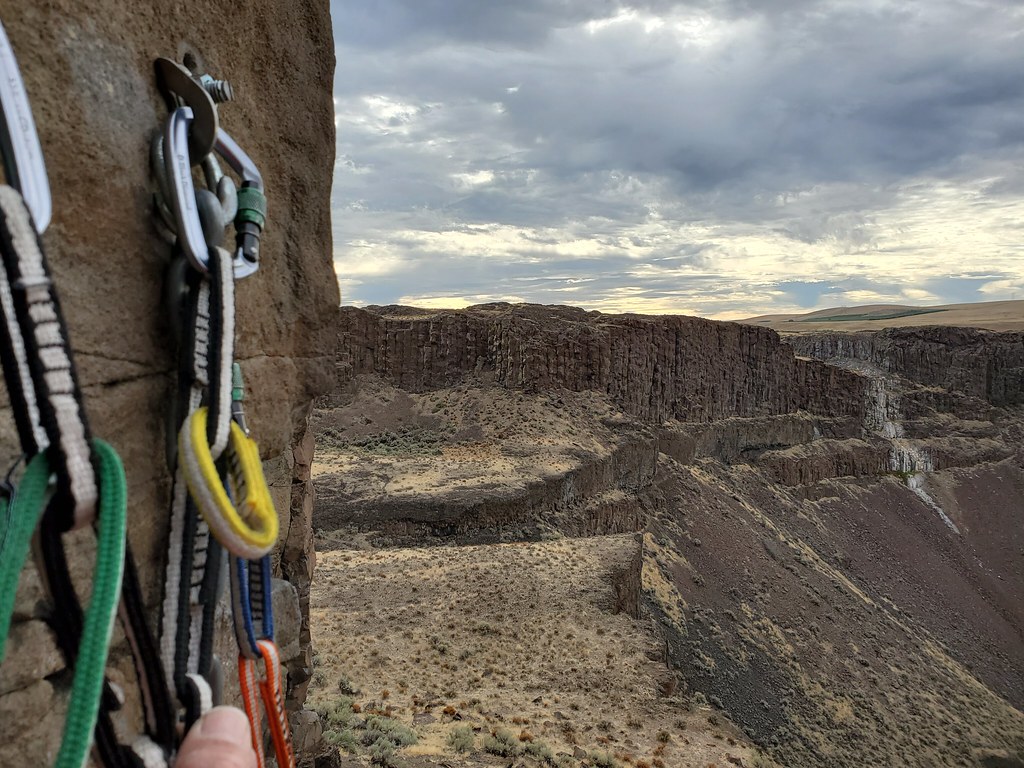
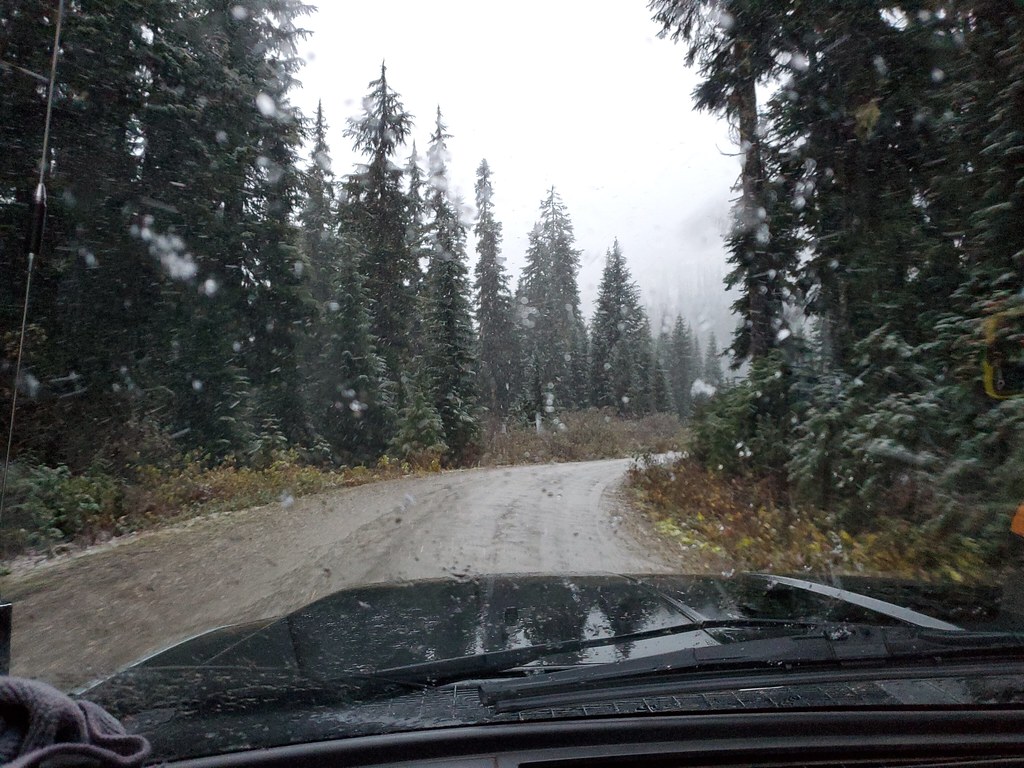
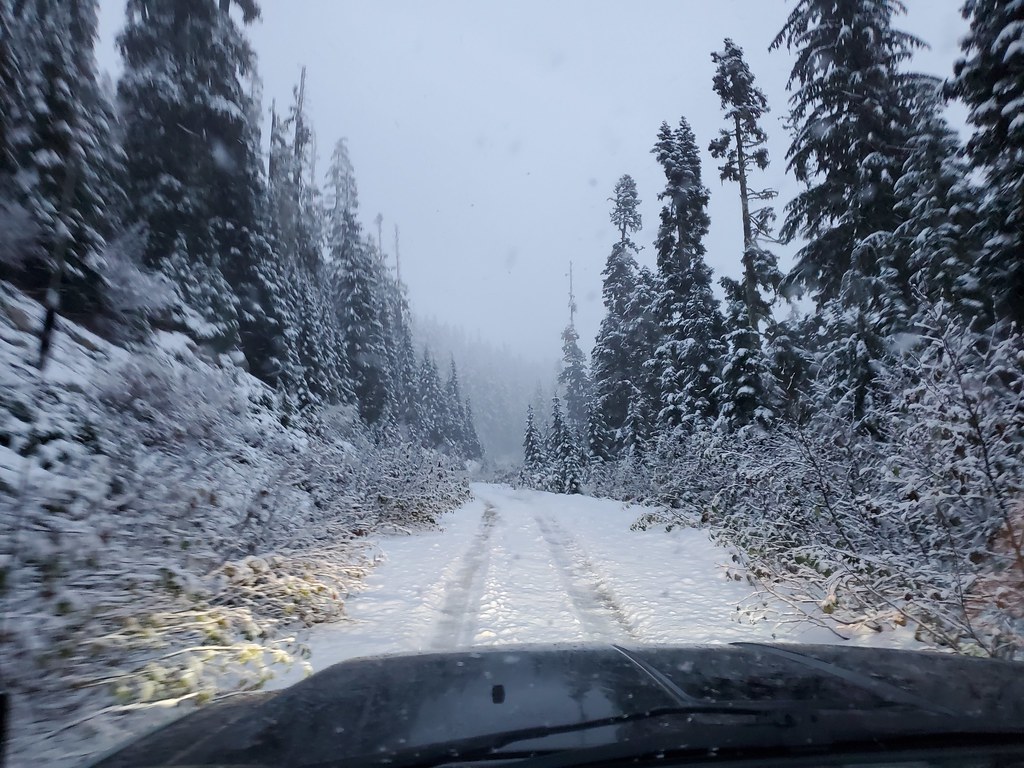
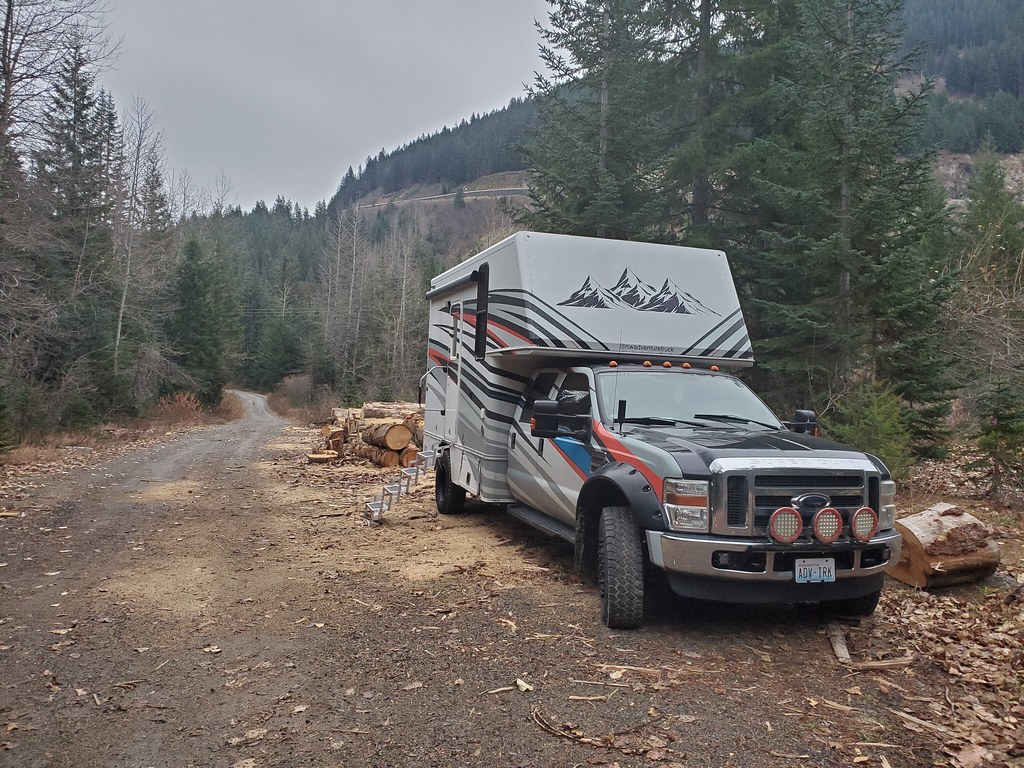
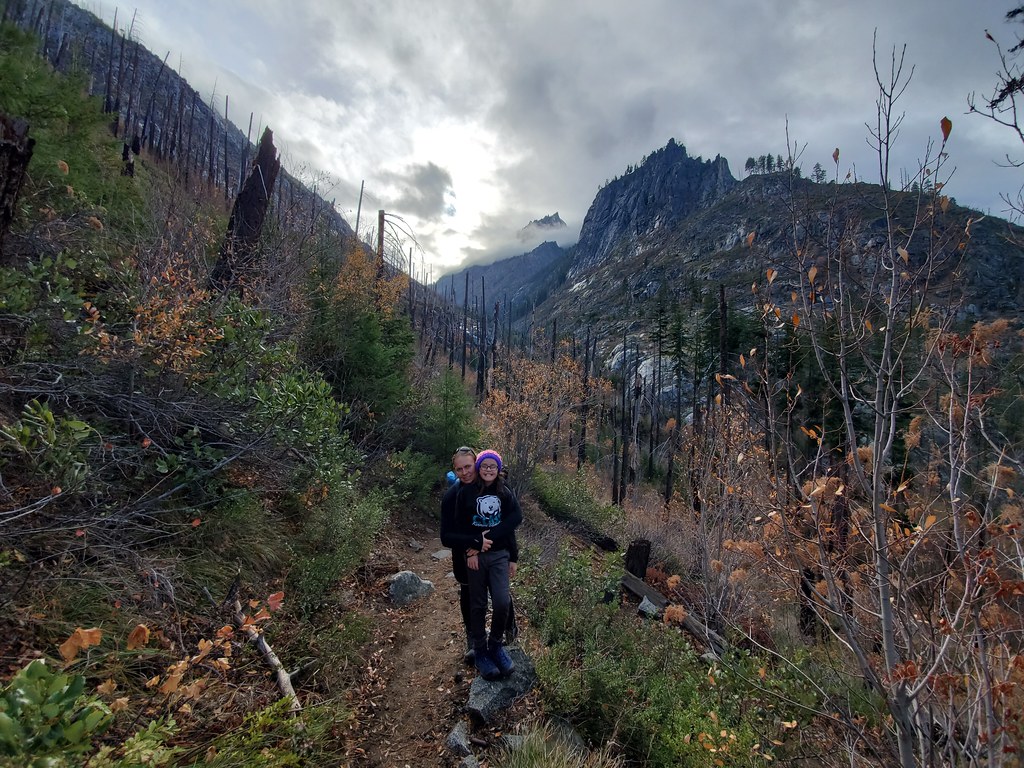
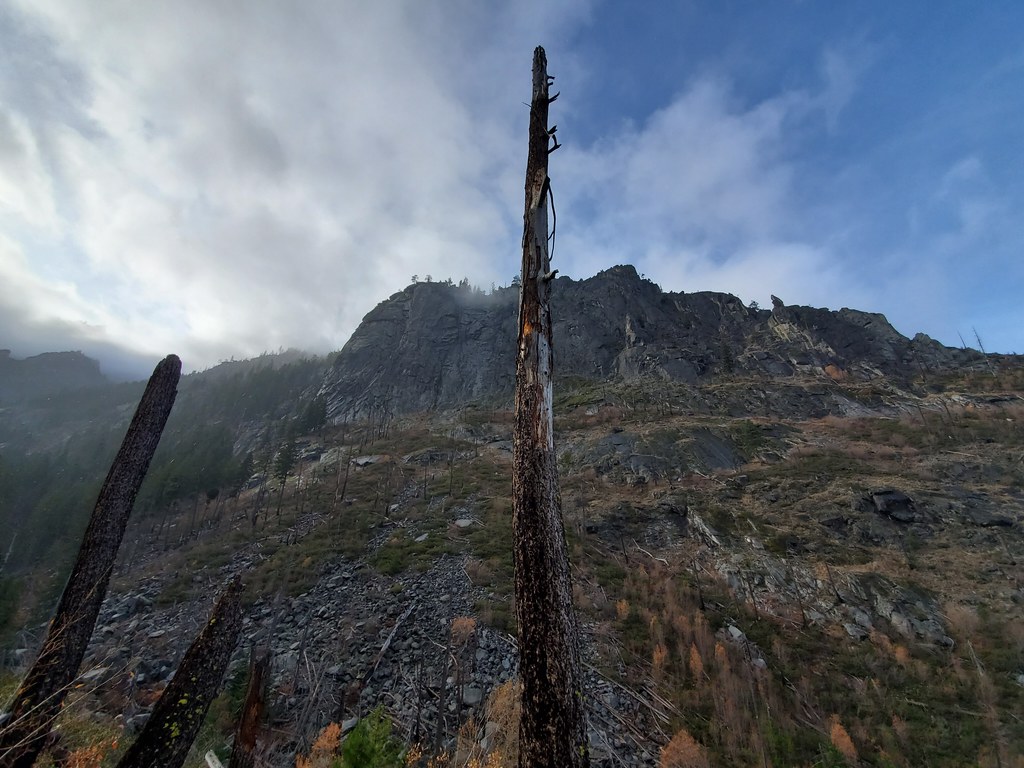
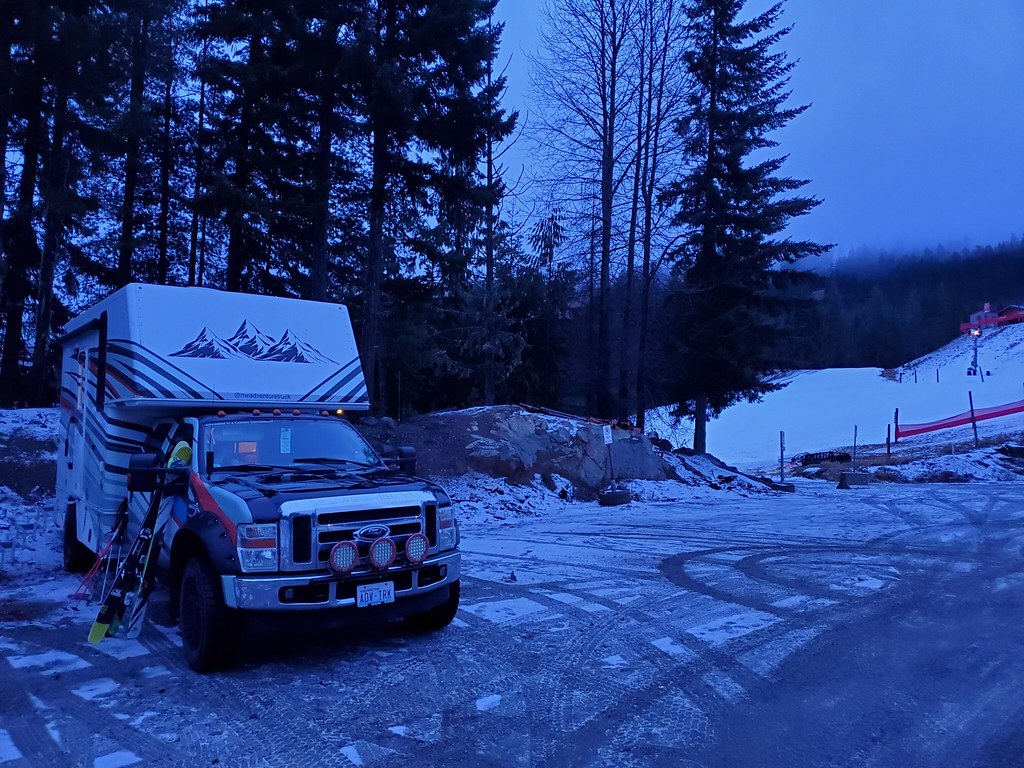
Went and played on the rocks.
48743913841_8170fb8a24_b.jpg


48744090147_ffa6493f46_b.jpg


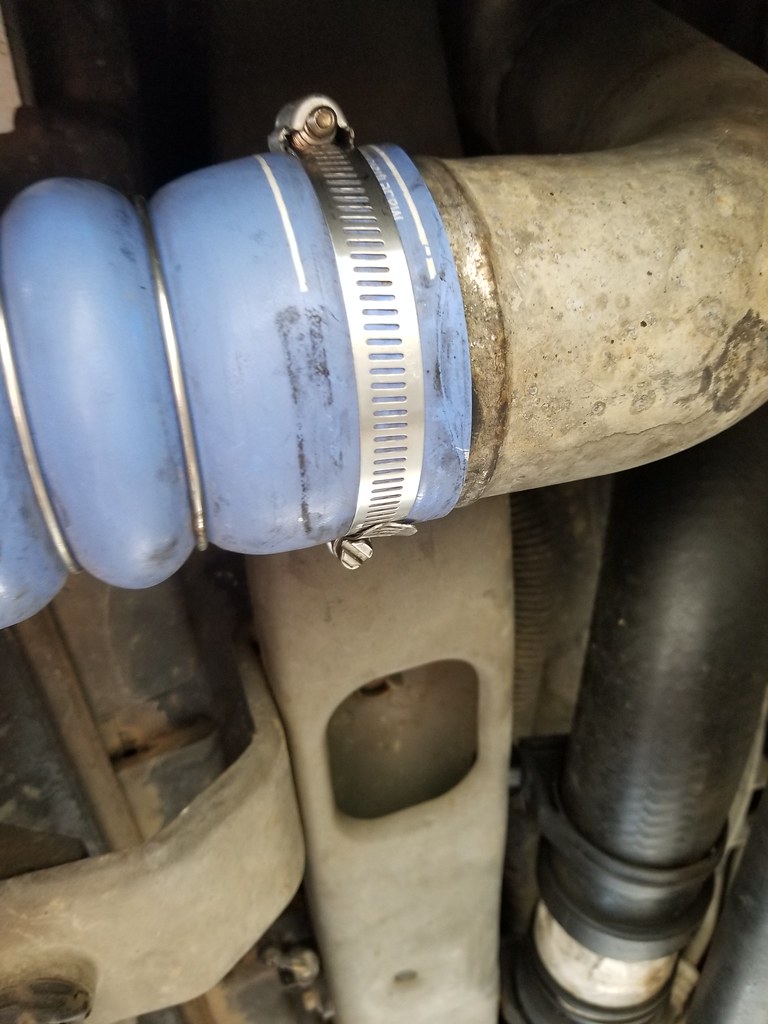
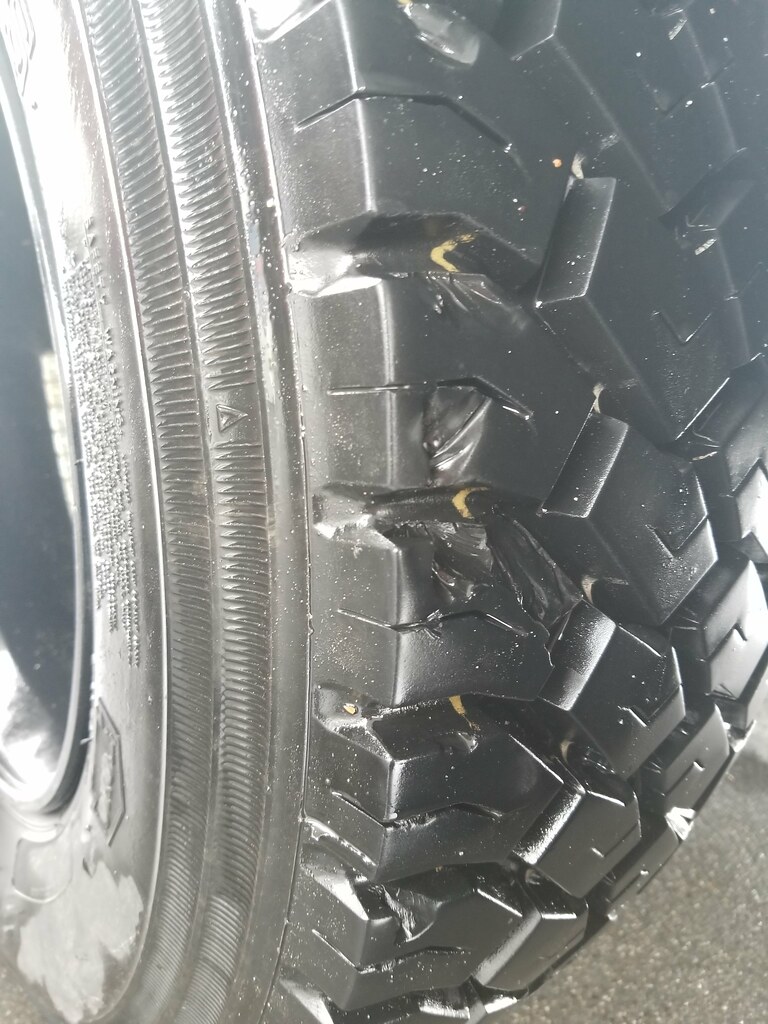
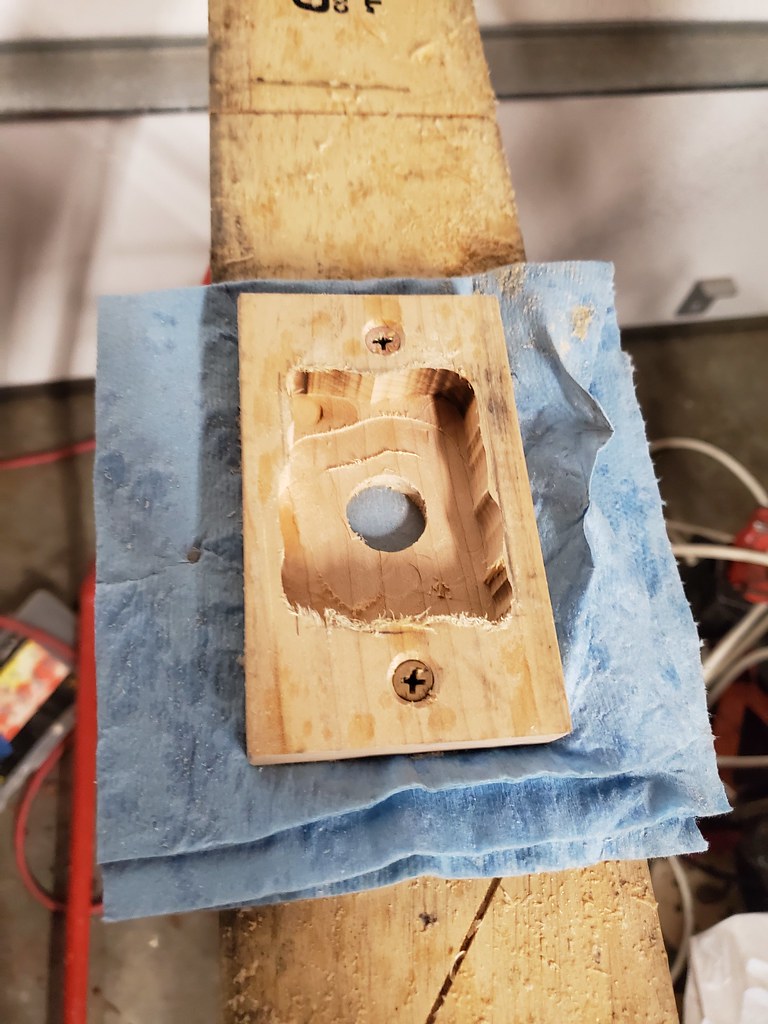
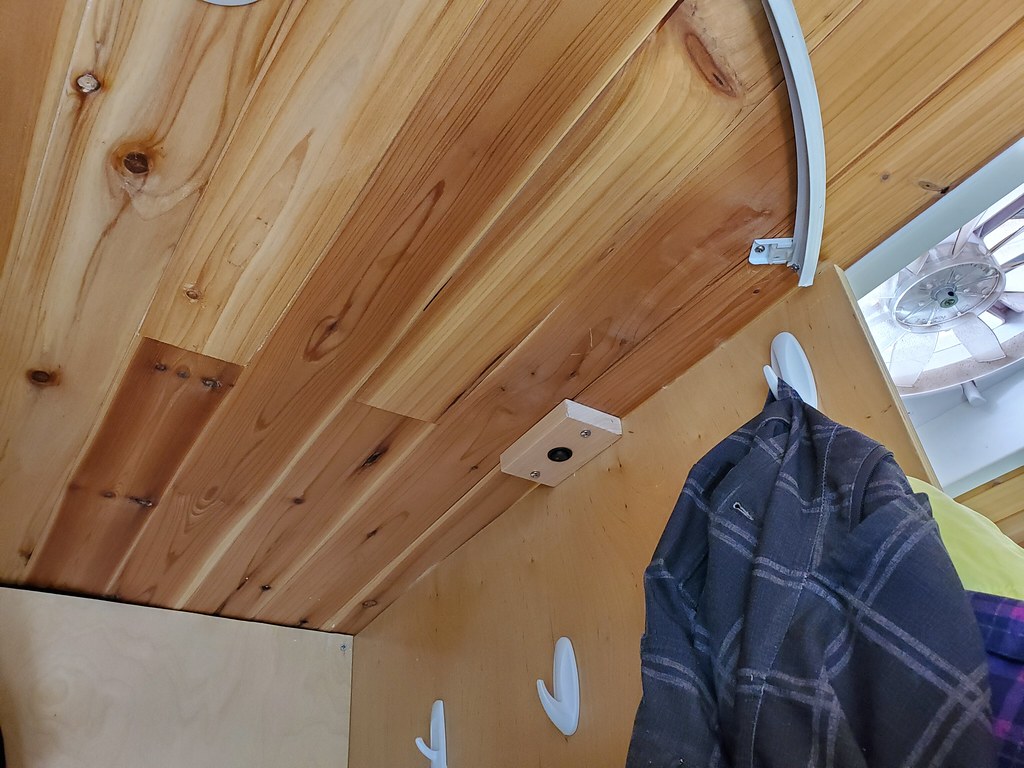
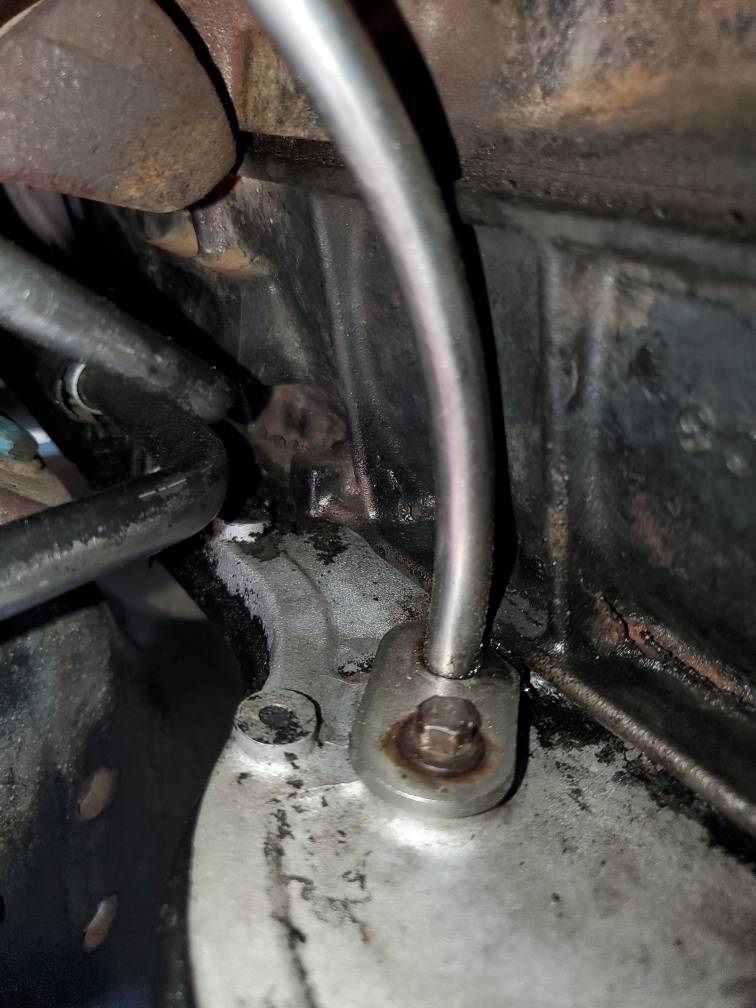
Shoved my phone in and took a bunch of pictures.... This one caught my eye once it was on the computer. Looks like possibly the dipstick (or whatever that tube is..)? There is no "gunk" stuck there, high flow spot?
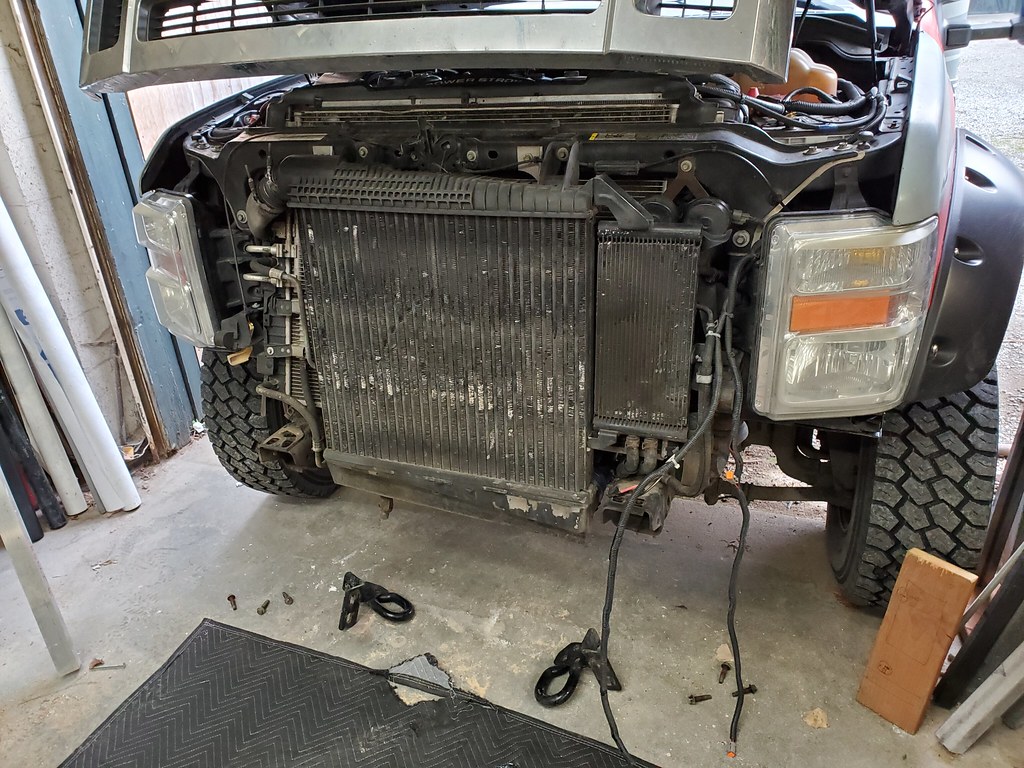
48744099451_e0af6b6315_b.jpg


Ok some progress!

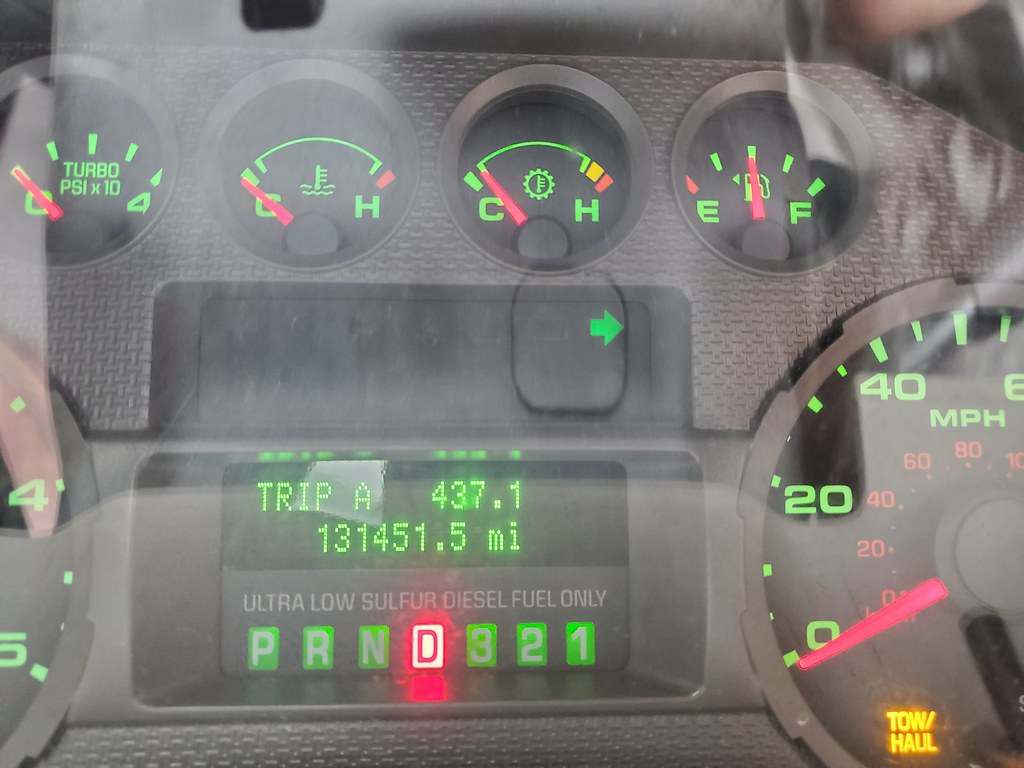
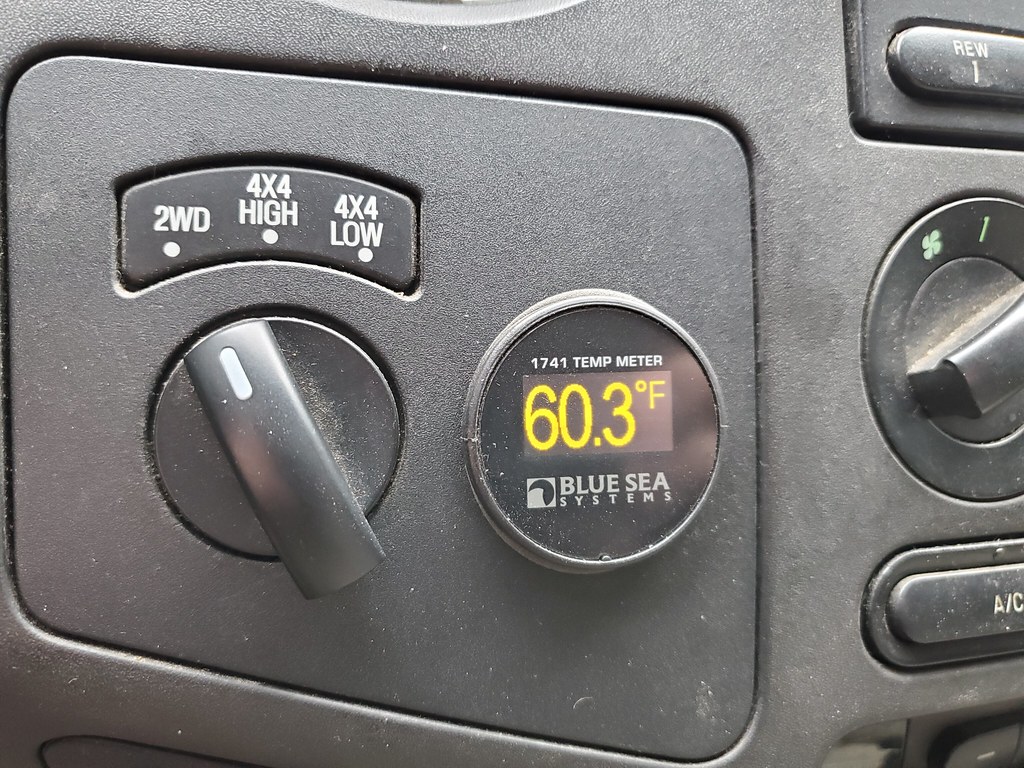
Took the truck to the store, hit a couple big hills and got oil to 200 degrees.

Half a roll of paper towels and a can of brake clean later we have this. Clean ish.

12cb22ed567fa54732c47ec78366b29e.jpg


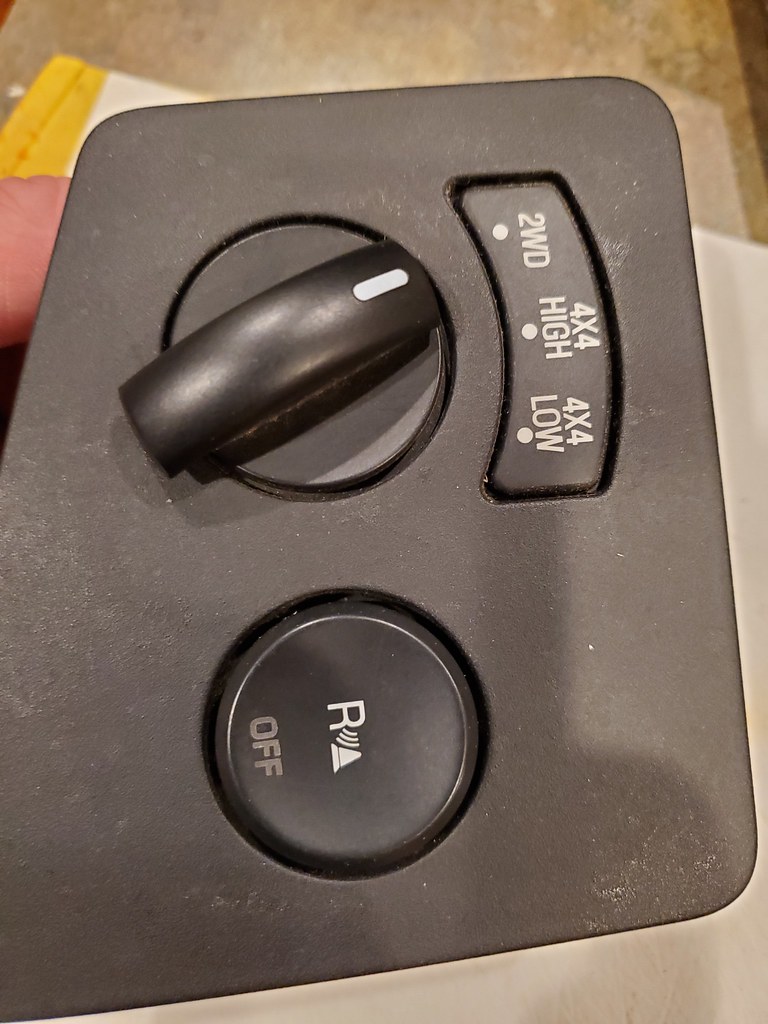
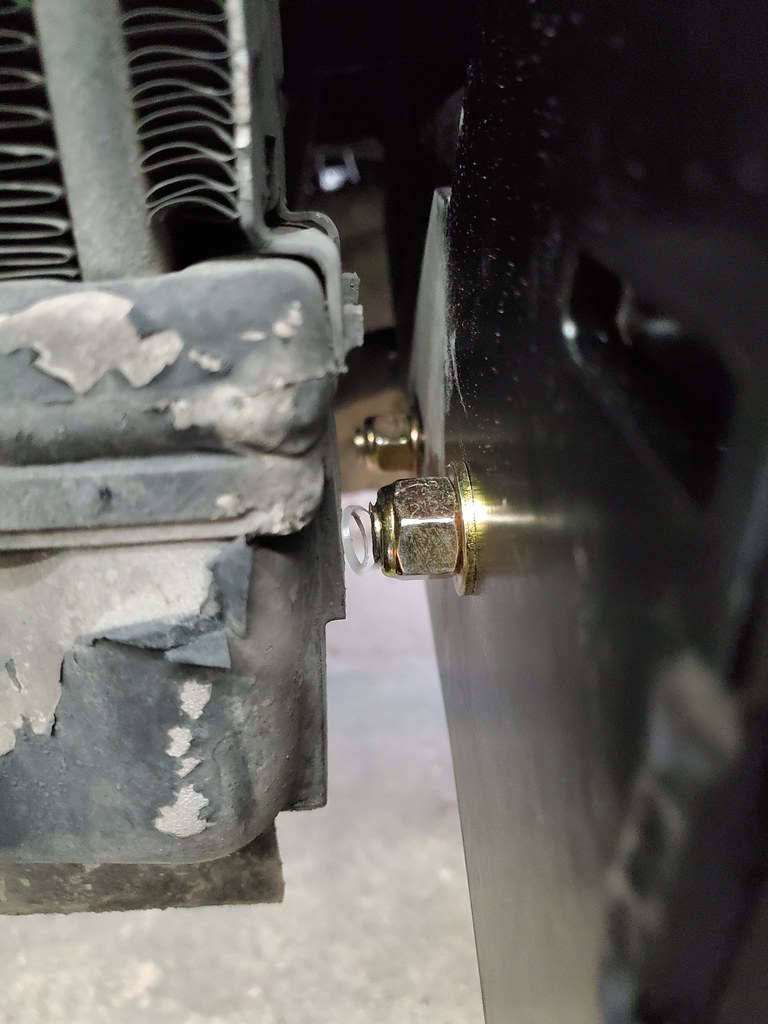
Idled in the driveway for 10 mins, now look at the bolt holding the dipstick! Should I replace the whole thing or just try to do the Oring?

b63869828e03923f5a8c1b21209e65e5.jpg


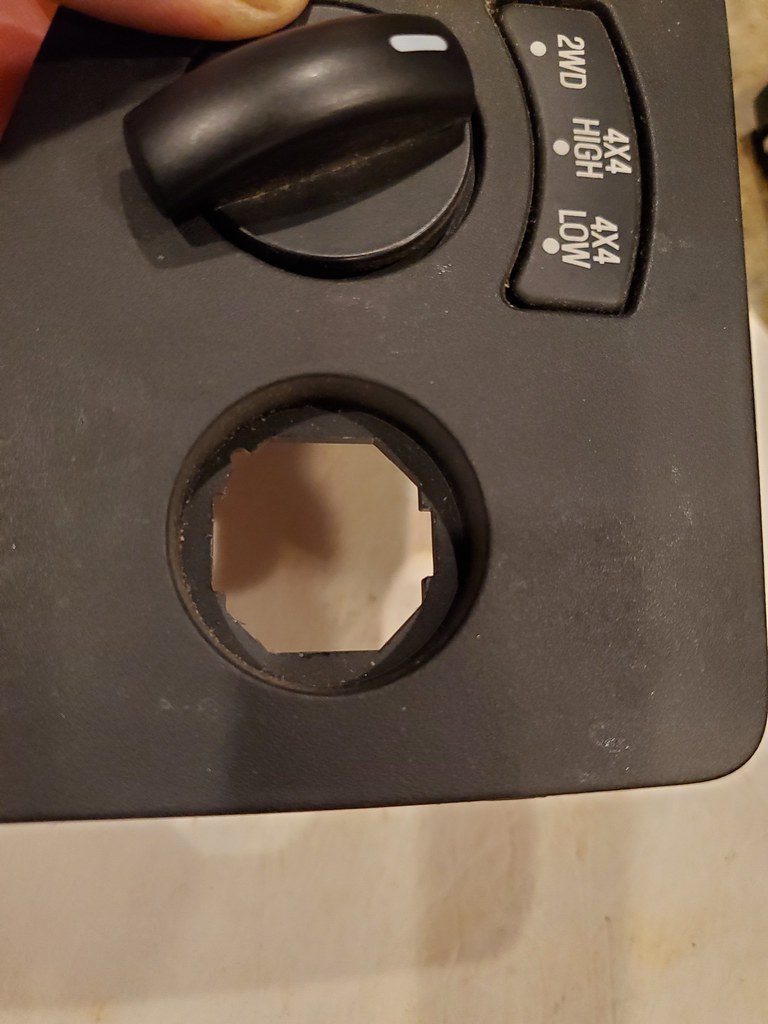
our fucking shitting me. That's all that's left of the Oring, if there was ever one....
f4955efcf9a3a95c01b72c03cdd4ac58.jpg


Gonna put this one down as a win (so far!) a couple hundred miles and a couple passes and it's leak free! Going hose down the Underside with degreaser, I really hope this was the oil leak all along!
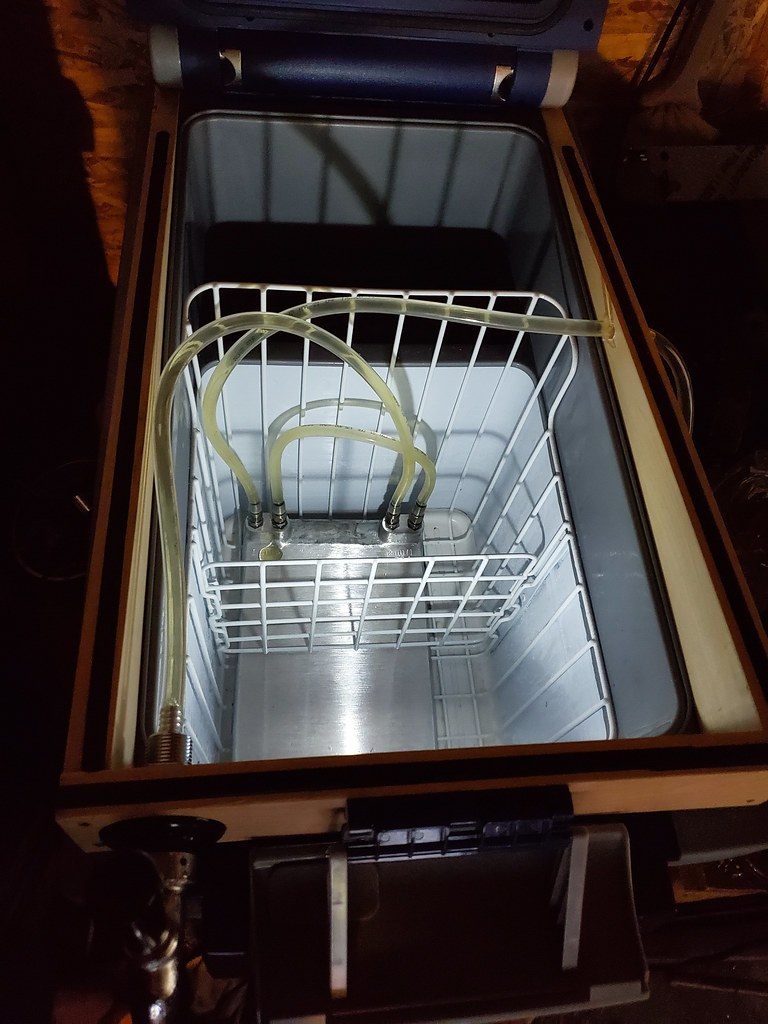
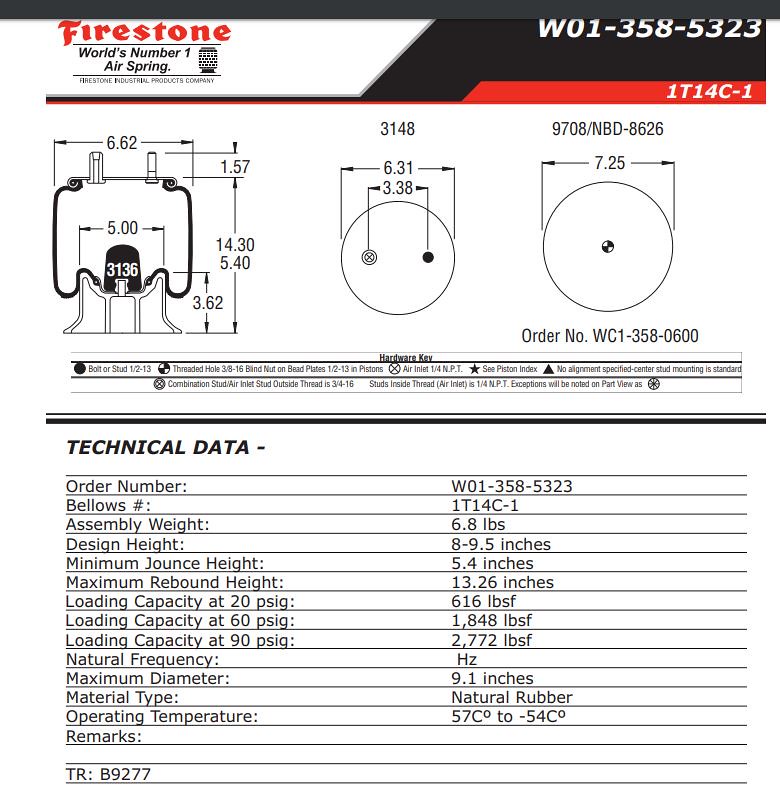
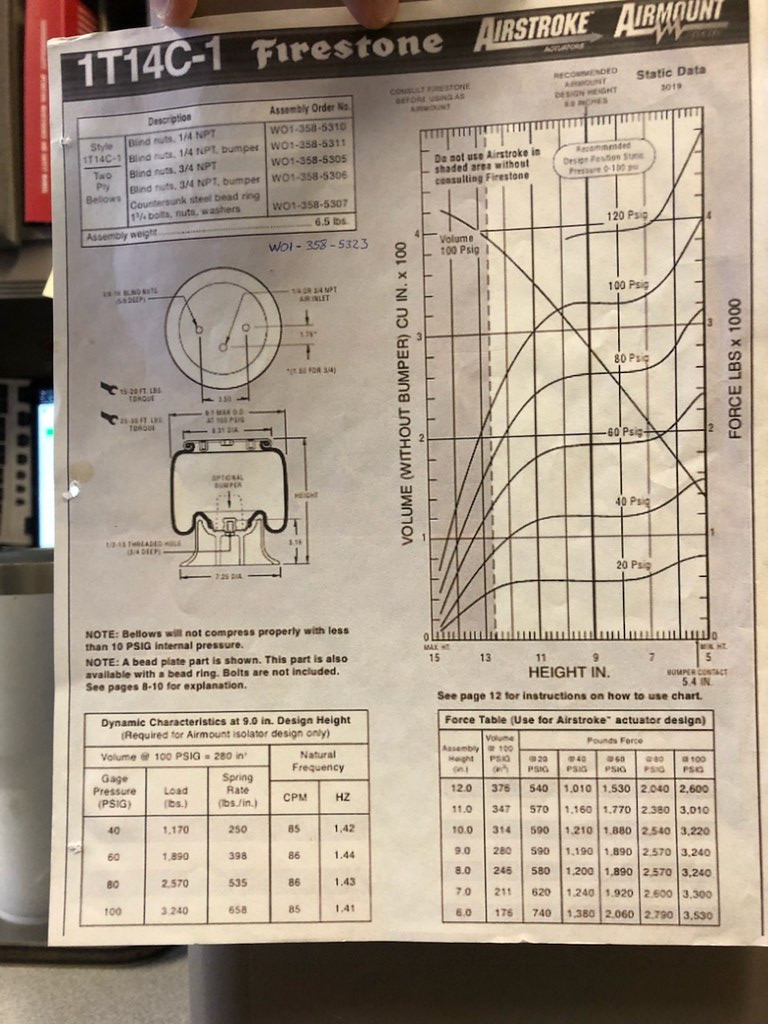
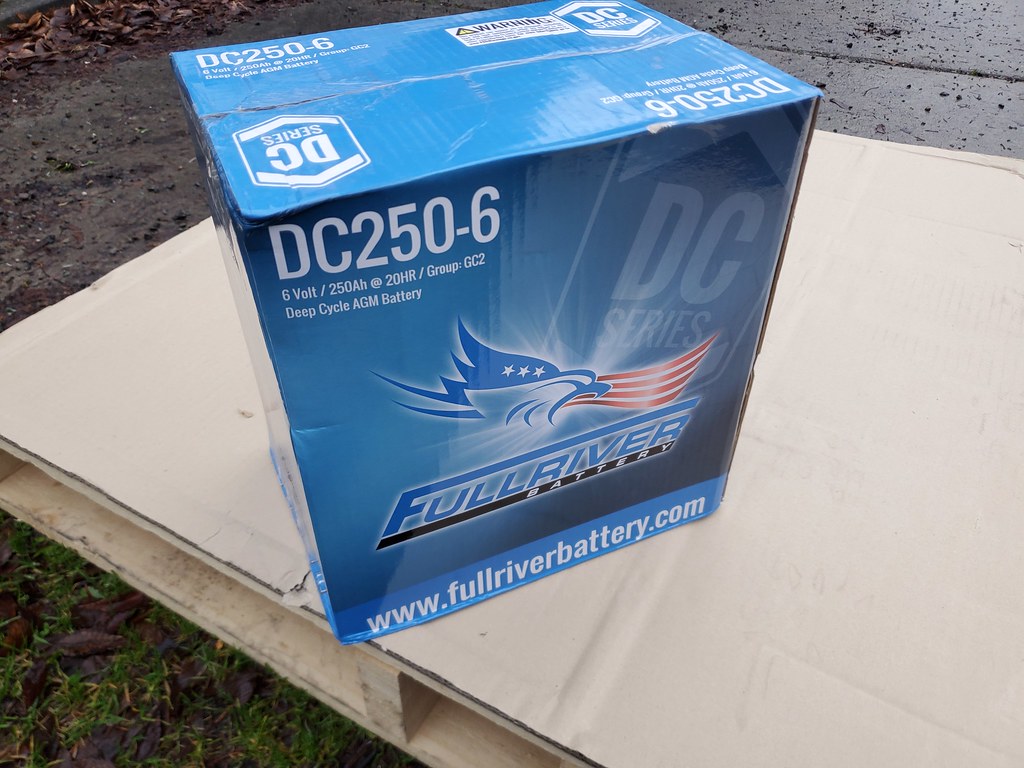
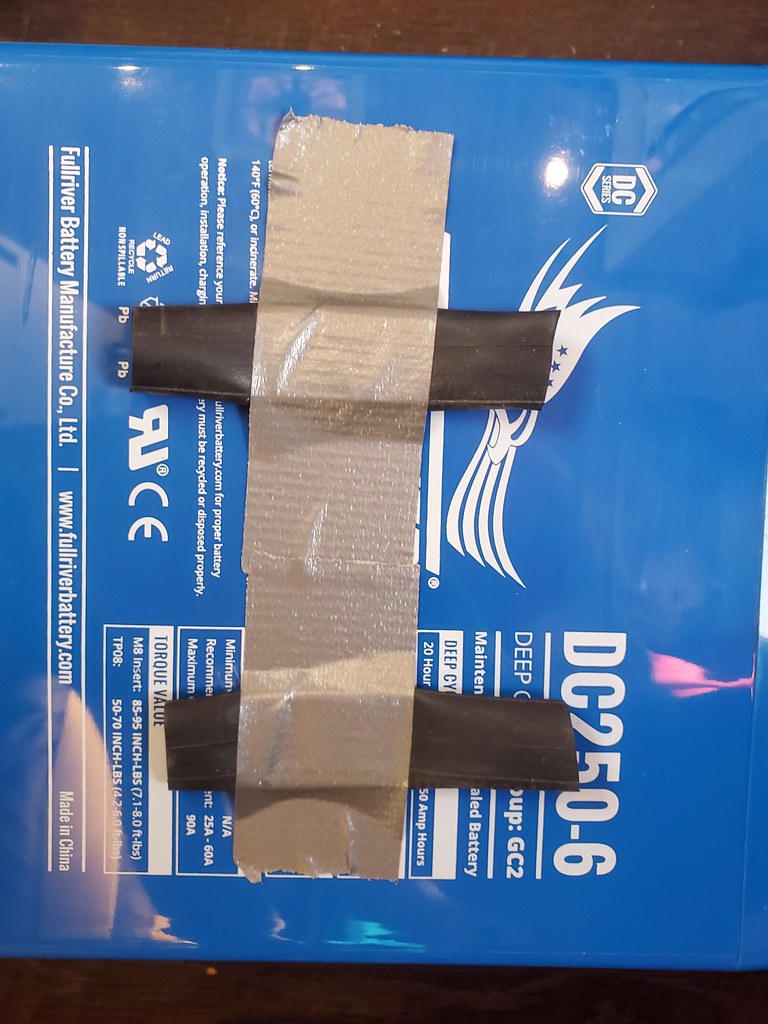
f70cbe4e605ea8e12aa16398355afe46.jpg


Bag data!!!

A little hard to read, But shows the curves and spring rates. spring rates @ 80psi 535, @100psi 658 (at 9")

48755636321_0f0c725a1b_b.jpg


Played with air pressures this weekend.

Tires at 58.

Air bags at 70 which is just under 8" tall, its a bit better, BUT it does bottom out at this pressure.

At 60 its not any different feeling than 70 really. at 80 its harsher.

The Kelderman guys think I am feeling the rear end.... Maybe my expectations are just too much for this heavy of a truck?

48782829512_f0944eff3b_b.jpg
 
Front still sucks. Haven't had time for ping tanks yet.

But we got the first snow of the season! (which apparently does not show up in night pics
yH5BAEAAAAALAAAAAABAAEAAAIBRAA7
)
48821898212_c349f2980c_b.jpg


48821740261_13d2ba161e_b.jpg


Nearly no one around, nice morning hike.
48821901422_6a32fc4323_b.jpg


Remember the random stereo static I get? Welllll the electrical gremlins are coming out..... My turn signal indicator on the dash dimly lights up (not flashing) randomly....
48822717268_107fc340b0_b.jpg


TURN SIGNAL STILL DOES THIS IF ANYONE HAS IDEAS......

Some hiking, some climbing.
48859229913_2db8941201_b.jpg


Old counterweight house for a removed chairlift. Wont be standing much longer.
48859783092_8e3a76aec0_b.jpg


Sign was tucked in the bushes, chair was last in service in 1994 it appears.
48859584281_c18dbf2fe2_b.jpg


Maxxfan started making all kinds of floppy noises on the freeway..... Ugh.
48859586076_62e9103bdd_b.jpg


MAXXFAN HAS DONE THIS AGAIN.... THE ROOF MAKES A SUPER LOW PRESSURE ZONE THAT IS ALWAYS TRYING TO LIFT THE LID. i REPLACED IT AGAIN AS THEY ARE THE BEST DAMN FANS OUT THERE. I TRY REALLY HARD TO REMEMBER TO CLOSE IT BEFORE DRIVING NOW TOO....

And a quick little project. Uhhhh yeah my truck does not have reverse sensors any more. Goodbye button.
48859786252_d0c0fe77ab_b.jpg


Perfect little hole....
48859786022_b57f35b16f_b.jpg


A little file action and wala. It fits a standard 1 1/8" gauge. Temp gauge coming soon! I have wanted an outdoor temp forever.... Handy for knowing ice etc in the winter. This is a little Blue Sea Gauge, ill probably throw the prob in the door jamb. Need to get it wired up now. Hoping I can steal power from that switch I pulled out. That is TBD...
48859786502_638c3a205c_b.jpg


I MOVED THE SENSOR ALL THE WAY TO INSIDE THE FRONT BUMPER. IT STILL PIKC UP ENGINE HEAT..... SUPER ANNOYING.


Been wanting an outdoor temp gauge for awhile. Ford had one in the rear view in some pickup models, but it appeared from my google research that it was not a standard part included in the wire harness/build in the 450's. I also dont have a rear view any longer.

Finally got the Blue Sea one wired up last night and its a nice little unit! Oled screen and daylight readable. The docs says it has a "snowflake" that appears under freezing too.

Tied to the light leads for the old switch. This way it turns on any time running or headlights are on (I always have running on....).
48908611298_78119703c9_b.jpg


48909347497_ca591d16ff_b.jpg


Sensor is in the drivers door jamb, should get good reading, be protected form wind and not get much engine heat there.
 
Headed up, just starting to snow
48932585161_2186299ba4_b.jpg


Getting better
48932585351_f1d8016e4f_b.jpg


Parked! Right at the top of the ridge.
48932771197_20174f9b2a_b.jpg


It started dumping!
48932047528_2e32582b6c_b.jpg


Pretty spot.
48932583611_dbda2f4b3c_b.jpg


A couple wheelers went by in the morning
48932583696_7034bf6c3f_b.jpg


Forecast was calling for up to another 12", we decided to bail out to a bit lower elevation. Glad we did, got another few inches, and it was about half the snow where we stopped as up above.

I did get a little project that I have put off forever done. As with anything deadlines seem to get things done. Picking up the new bumper this weekend and need something to strap it on to. So the second tow point is on the list.

Exact repeat of the pass side. Take everything apart.
48954165422_83b13956ae_b.jpg


Hold it in place with two of the bolt bolts. This just lines everything up. I then reamed the holes an 1/8" larger. I wanted to do it in place so there was minimum slop in the bores.
48957447728_ed89ef17d0_b.jpg


Fun spot to drill through 1 1/2" of steel.... Add proper grade 8's and torque. I am debating adding another bolt..... The shear on those is about 14k each. With puts me right about 4x GVW. I think I want a little more. One 3/4" down the center might happen....
48957999136_84a8fd7b9c_b.jpg


While I was there, I used one of the many Helwig coozies from the NWOR to wrap the heater fuel pump in. I dont know that it will do much, but I have wanted to try.
48958184192_3671f0a333_b.jpg

48957447103_aecb9c0418_b.jpg


COOZIE MAKES ALMOST ZERO DIFFERENCE.....

Buttoned back up. Should make strapping a front bumper to the back bumper much easier
yH5BAEAAAAALAAAAAABAAEAAAIBRAA7

48957998476_86223d05f2_b.jpg


Its not ghetto if it works?

48976644681_e5925f7f73_b.jpg


Powdercoat is gone, and it took a good whack at some point, buts its still pretty straight and the price was right. 9 hours of driving later (4.5 with the bumper) and it didn't fall off
yH5BAEAAAAALAAAAAABAAEAAAIBRAA7


48976088638_b1defdda89_b.jpg
 
just one quick thought as to your suspension issue. The main issue is spring rate not air bag pressure. If you added more volume to the air bag the spring rate would go down. As in add a bigger pressure line or possibly a tank. then in theory you would get less psi increase per inch of compression.
 
just one quick thought as to your suspension issue. The main issue is spring rate not air bag pressure. If you added more volume to the air bag the spring rate would go down. As in add a bigger pressure line or possibly a tank. then in theory you would get less psi increase per inch of compression.

Yes, I think that is the idea behind the Ping tanks or using taller bags. More air volume.....
 
Well another great PNW weekend done. Drove a few different road Friday night, and settle in here so we had enough phne service to stream the football game. Sometimes its nice
yH5BAEAAAAALAAAAAABAAEAAAIBRAA7
No other people, no cars, will put it on the quick stop with service camp list.


49050235027_a782e61926_b.jpg


Did a pretty good hike, almost 10 miles. Dodging some rain, but the weather held out pretty well. Snow wall behind the ladies..... Need to climb it next summer.

49049525358_fb07f0143d_b.jpg


49049523128_76a251a730_b.jpg


Back to out normal spot for this area for Saturday evening. Why people have to move fire pits I don't know.... But it got moved. Been coming here for 16 years now! Just a great night in the woods.


49050242457_6f07c8e40a_b.jpg


49049526288_4ed5a2c531_b.jpg


49050029136_1da7d526dc_b.jpg


Bumper is at the powder coaters. Trying to find a winch to throw in it before it goes on..... May just do it later, but I hate to have to take it back off to get one in.

Christmas time!

49085531327_3293e0135a_b.jpg


Bumper back from powdercoat. It was rusty enough in places you can still see the pitting, but get it dirty and it will be fine.

All new hardware, and reassembled.

49085317636_ef5581fe0d_b.jpg


Grrrr Moisture inside. Cant find the leak..... Maybe windshield. Pulled headliner as the marker lights seem to be a common one, all good there.

49122208647_005f19930f_b.jpg


STILL NEED TO FOLLOW UP ON THIS ONE AARON Z SUGGESTED PULLING THE PILLAR COVERS.... i DID NOTICE THAT MY WIRES ENTERING THE CAB WERE DRIPPING A LITTLE. LAZY ME JUST RAN THEM TRHU THE DOOR SEAL. ADDED DRIP LOOP. BUT WILL PULL THEM SOON.
 
New light arrived. I knew it was going to be close, 30" bar, but I couldn't find and good specs on the bar with brackets. Buuuut its REALLY tight. Light I cant bolt the brackets on tight. I may be able to mount it behind the uprights, but I need to get the bumper on and check grill clearance.

If anyone has any good ideas LMK.

That is with it tight to the other side.
49123820358_3db72361f7_b.jpg


49124316116_7fa2f8606a_b.jpg


End of summer mode. Clean everything out of the back.
49179106842_7e73f89815_b.jpg


Holds lots of goodies. 7 pairs of skis, a full size shovel, all the dump equipment, axe, chairs and carpet.
49179106987_74f96b52ab_b.jpg


Engage mobile ski cabin.
49193766178_84e38e690d_b.jpg


Not much snow, but the weather was good.
49193767008_6681f3c65f_b.jpg


Finally a day without meetings. Bumper time. Took the truck to work this morning and nosed into the shop. Unfortunately the door isn't big enough and neither is the shop....

49201214867_fa78b06051_b.jpg


Installation is the reverse of removal?

49201215467_d638ea50cb_b.jpg


Brackets where close.... Reamed the holes to fit. Also the back one was single sided, they used a carriage bolt there. I drilled through the other frame rail to through bolt it.

49201013856_36200cdcdb_b.jpg


Also had to cut the bolts down as they hit the intercooler.....

49201014391_8c4fc911e5_b.jpg


Swapped the Rigid fogs over to the outer holes.

49200520903_6c11c0e3d8_b.jpg


Bumper mounted up!

49200521898_1d1f05a33f_b.jpg


Now onto the BD light bar. No way it fit period. I tired and tried no dice.

So A little CAD later, and I made new mounts that used the body holes. Adjustment will come from the clamps that hold it to the bar.

49200522443_622e48ef21_b.jpg

49201015186_5e19313ba7_b.jpg

49201217517_7cfa32ae95_b.jpg


And on the KC tube clamps, only thing I could find that fit 2 3/8" tube nicely.

49201015746_035e1604ee_b.jpg


Couldn't get much tighter!

49201015746_035e1604ee_b.jpg

49200523573_23f7ab22fb_b.jpg
 
Finally some decent snow in the PNW! Baker got 38" in 48 hours. Go time.

Stopped and did some snowshoeing on the way up.
49225932851_37ed9f6364_b.jpg


Pretty damn decent snow!
49225931401_ce7bebf548_b.jpg


Hung out with friends by the fire until way too late....
49225451998_34363290ef_b.jpg


Nearly no lines, great opening day.
49226154832_3374cd3782_b.jpg


ade it up to Baker to find an absolute disaster of a parking lot. 12-14" of new snow meant cars stuck everywhere, 3 loaders, a D8 dozer and two snow cats trying to clear things.... It was entertaining.

49264879251_0dfae4f5da_b.jpg


Woke up to another 8" overnight. Still nuking.

49265071807_e83d51fcc3_b.jpg


Light was a little flat, but the snow was decent!
49264414833_f8a7a89838_b.jpg


49264877871_83d5427a0c_b.jpg


Shoveled the roof....
49264413898_9b9d04ec58_b.jpg


Sunday cleared up and was pretty damn fantastic!
49264413853_4947637113_b.jpg


What a nutty weekend. Headed out late on Friday, with a big storm coming in.

Did not make it very far.... Highway closed. Tree fell and a car hit it. But they cleared in about an hour.
49385006366_4b915ddd92_b.jpg


Made it to the pass as it was nuking snow. Parked finally.
49385007276_7f9804d109_b.jpg


Get up early! We got 4th chair Sat and 6th Sunday. Line gets big!
49385202447_75a0194031_b.jpg


It didn't stop snowing..... This was Sunday 7am
49385201967_70882581cb_b.jpg


So much snow!!
49385005441_8c4b83ba8c_b.jpg

49385004106_9e2726b2c2_b.jpg


And then this..... Pass closed in all directions. I guess we are spending another night..... At least we have a nice spot to sleep, unlike the employees.... WSDOT did take a group down Eastbound, but quite a few slept in the lodge.
49385004051_18c60b7b31_b.jpg


We moved to a different spot, and got a bunch more snow. This was Monday morning now. Luckily I just had to shovel the windshield and hood, and was able to pull right out of that spot. 4x4 low FTW! Waited for a couple hours in the morning, hoping they would open the road, but after talking to a truck that had run the West side it wasn't happening. Trees down, lots more threatening to fall. A car hit by a tree. Semi truck out of gas, no power, no gas. They did open East, so we started the long trip home.... Big loop with two more passes, but it was the only real option. Pass is still closed.
49385200622_cbeb6f4454_b.jpg


Stopped to shovel the roof off. The truck felt REALLY heavy with that up there.
49385200387_0a79b9a711_b.jpg

49384536558_9e59b2c64d_b.jpg


Made it home finally. Truck is filthy from all the road grime.... Long trip, but great skiing!
 
I need to move out there... I also need to make <Jim> 6wd.
 
Electrical upgrades inbound.

New inverter charger. Had to go with the 3kw as the 2kw that I wanted is the "compact" model and 6" taller.... New control panel for all the Victron stuff to talk to each other.
49420540217_e27a315363_b.jpg


Since I was planning 2kw not 3kw, all my connections are undersized..... All new connection goodies for 400A. The inverter is set up to run dual 1/0 cables for pos and neg. Not quite sure how its all going to fit..... Fingers Crossed.
49420013213_1e493bcff5_b.jpg


Another great weekend done!

Skied with these two awesome ladies.

49451948803_34a3d9144a_b.jpg

49452428011_6a1a80dbfd_b.jpg

49452428016_6a009072aa_b.jpg


I love this truck.

49451948933_029425132f_b.jpg


361lbs of batteries are scheduled for delivery Wednesday.

itting the bigger inverter is going to be a project..... Someone didn't exactly leave room...

5c981f2da9af2976cd5662114c418482.jpg


This just happened.
49461784687_3bd26a8dc8_b.jpg

49461554706_bd000acce2_b.jpg


As the saying goes, 10lbs of **it in a 5lb bucket...
Old vs new
0e9a8a55462133e4d87fbf98b072f44a.jpg


Out with the old
6583d6a4a78e697afe1bebdd49db0cee.jpg


New in place
cd7882fc5e23e7bb025d84898f34e974.jpg

High and negative low volt done ish
2c4ba4a569357c2c86694a9b517a9d1c.jpg


Too much **** to connect to the negative stud of the shunt....
e1d5b8608c3974e5cb10e4d6142f4cff.jpg


Old ones coming out

49482379748_cc1ed6a2cc_b.jpg


New insulation, I had a piece under the old ones, but it was thin and crushed over time. 1" of XPS used this time.

49482380683_1d15a42d19_b.jpg


The old cases showed a little rub wear between them, nothing really to worry about, but I added a little protection anyway. Old inner tubes, should give just a hint of space/cushion

49482380968_77e92b387b_b.jpg


And all in place!
49483078707_4899008792_b.jpg


And wired up. Need a bit more wire, and one USB to VE Direct for the victron stuff. I didn't realize you have to leave the head of the BMV in place, I was going to pull it and use the color control only.

49483094477_bbc6015dfc_b.jpg
 
OK one more time..... Is a "custom" tune that much better than a canned tune? No I wont have my truck on a dyno etc. Its just a what I would call tailored more than a "canned" tune?

I am fine with what I have now (delete and +70hp), I do wish it held 5th longer on steeper grades (lower rpms=more boost and more egt), but otherwise it drives fine.

Thoughts? Worth 1k??

My buddy gave me his Livewire tuner. I haven't done anything but use it for reading codes and checking operations, but I helped put it on his 6.0 a few years ago. It works on the 7.3 as well. Made his truck go from 0 to 100mph in about ten seconds with not a single puff of smoke. Not sure if that help you any, but I was rather impressed by it because every other diesel with a tuner I've seen rolls enough coal at stoplights to make a charcoal briquette.
 
My buddy gave me his Livewire tuner. I haven't done anything but use it for reading codes and checking operations, but I helped put it on his 6.0 a few years ago. It works on the 7.3 as well. Made his truck go from 0 to 100mph in about ten seconds with not a single puff of smoke. Not sure if that help you any, but I was rather impressed by it because every other diesel with a tuner I've seen rolls enough coal at stoplights to make a charcoal briquette.

SCT is just the computer that talks to the truck. Do you know who's tune was on it? Quite a few people write tunes for the SCT

Edit maybe I should add I am not looking for a rocket. I little more HP sure? But I want Mpg and longevity first.
 
Last edited:
Top Back Refresh