Ghetto Fab.
No idea what I'm doing
- Joined
- May 19, 2020
- Member Number
- 208
- Messages
- 554
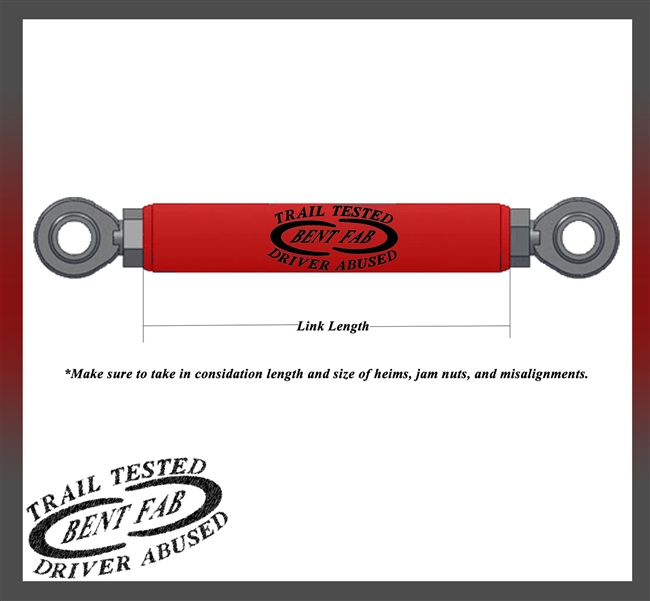
Why not go chromo heat treated? I know Hendrix was making some tie rods from weight lifting bars, the ones where you stack all the 50lb weights on them. Apparently he got them from a friend who would sell that stuff. They were already heat treated chromoly tubing. He would cut them to length and welded bungs on. You could still see the knurling on the bars. I know the Synergy heat treated tie rods take a ton of abuse also.
Aluminum is neat, but has a fatigue life I wouldn't want to deal with.
Kevin
Aluminum is neat, but has a fatigue life I wouldn't want to deal with.
Kevin


 so I’ll have to address that soon