JediBubba
Member
- Joined
- May 24, 2022
- Member Number
- 5216
- Messages
- 7
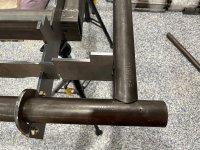
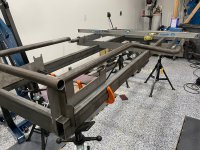
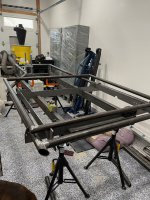
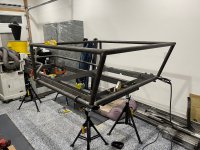
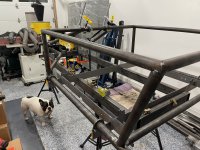
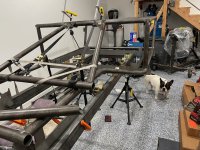
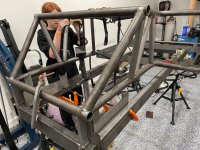
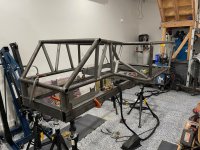
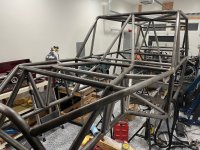
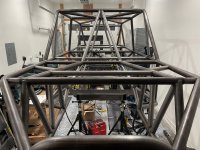
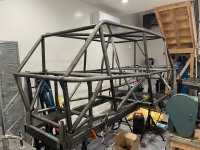
This will be a build progress thread where I share progress on my first buggy project. This is a GoatBuilt IBEX 4 seat that has an updated rear design to be slightly longer than the previous XL version and has a little bit of a different aesthetic than previous versions. The team at GoatBuilt was extremely generous in taking on the design changes for this and I couldn't be more grateful. I hope you all have fun pointing out my mistakes along the way and offering constructive criticism :-) I usually am the reader and benefactor of these sorts of threads, the person who learns from other people taking the chance and putting themselves out there, so I figured I ought to return the favor for someone else maybe.
This will be powered by a (gasp) LS through a 4L80 that splits through a Midnight Metalworks Rockbox transfer case. It will be running Dynatrac Pro Rock HD 60 and Pro Rock 80 axles. Tires will be 42" treps on 17" TR beadlocks.
Here are a couple drawings of the design changes that are featured on this IBEX. First is the standard design.
![2022-05-06 07_02_55-SOLIDWORKS 2021 SP3.0 - [1004 TUBE ASSY _].jpeg 2022-05-06 07_02_55-SOLIDWORKS 2021 SP3.0 - [1004 TUBE ASSY _].jpeg](https://data.irate4x4.com/attachments/177/177201-d271d1d12db50e9444abc60094fe3cec.jpg)
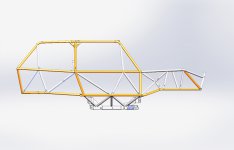
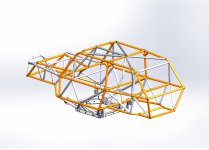
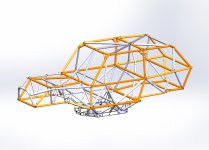
Now, here is the updated design that the team created.
![2022-05-06 07_04_15-SOLIDWORKS 2021 SP3.0 - [1000 ASSY _].jpeg 2022-05-06 07_04_15-SOLIDWORKS 2021 SP3.0 - [1000 ASSY _].jpeg](https://data.irate4x4.com/attachments/177/177200-17d0c27d5388d81e37088b4d383c1466.jpg)
![2022-05-06 07_04_25-SOLIDWORKS 2021 SP3.0 - [1000 ASSY _].jpeg 2022-05-06 07_04_25-SOLIDWORKS 2021 SP3.0 - [1000 ASSY _].jpeg](https://data.irate4x4.com/attachments/177/177199-baa6446d0da08dab6441cf49bb38eb30.jpg)
![2022-05-06 07_04_41-SOLIDWORKS 2021 SP3.0 - [1000 ASSY _].jpeg 2022-05-06 07_04_41-SOLIDWORKS 2021 SP3.0 - [1000 ASSY _].jpeg](https://data.irate4x4.com/attachments/177/177198-4d79652b245a5233eec7fd1c0b62cc5e.jpg)
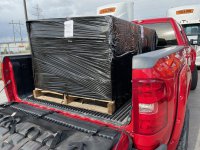
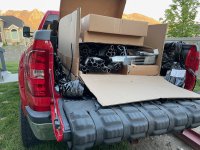
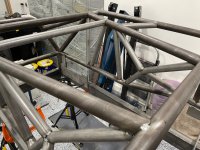
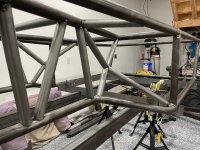
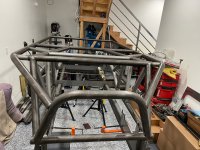
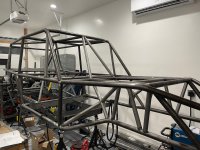
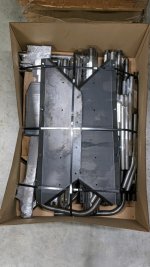
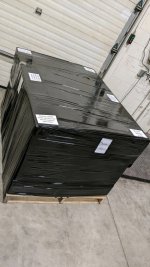
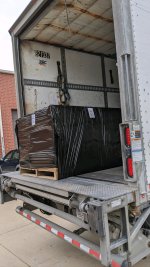
I was really excited when Josh at GoatBuilt sent me these pictures of my fully rendered kit being shipped to me a few weeks ago!
This will be powered by a (gasp) LS through a 4L80 that splits through a Midnight Metalworks Rockbox transfer case. It will be running Dynatrac Pro Rock HD 60 and Pro Rock 80 axles. Tires will be 42" treps on 17" TR beadlocks.
Here are a couple drawings of the design changes that are featured on this IBEX. First is the standard design.
![2022-05-06 07_02_55-SOLIDWORKS 2021 SP3.0 - [1004 TUBE ASSY _].jpeg 2022-05-06 07_02_55-SOLIDWORKS 2021 SP3.0 - [1004 TUBE ASSY _].jpeg](https://data.irate4x4.com/attachments/177/177201-d271d1d12db50e9444abc60094fe3cec.jpg)


Now, here is the updated design that the team created.
![2022-05-06 07_04_15-SOLIDWORKS 2021 SP3.0 - [1000 ASSY _].jpeg 2022-05-06 07_04_15-SOLIDWORKS 2021 SP3.0 - [1000 ASSY _].jpeg](https://data.irate4x4.com/attachments/177/177200-17d0c27d5388d81e37088b4d383c1466.jpg)
![2022-05-06 07_04_25-SOLIDWORKS 2021 SP3.0 - [1000 ASSY _].jpeg 2022-05-06 07_04_25-SOLIDWORKS 2021 SP3.0 - [1000 ASSY _].jpeg](https://data.irate4x4.com/attachments/177/177199-baa6446d0da08dab6441cf49bb38eb30.jpg)
![2022-05-06 07_04_41-SOLIDWORKS 2021 SP3.0 - [1000 ASSY _].jpeg 2022-05-06 07_04_41-SOLIDWORKS 2021 SP3.0 - [1000 ASSY _].jpeg](https://data.irate4x4.com/attachments/177/177198-4d79652b245a5233eec7fd1c0b62cc5e.jpg)
I was really excited when Josh at GoatBuilt sent me these pictures of my fully rendered kit being shipped to me a few weeks ago!


