boardbysled
Well-known member
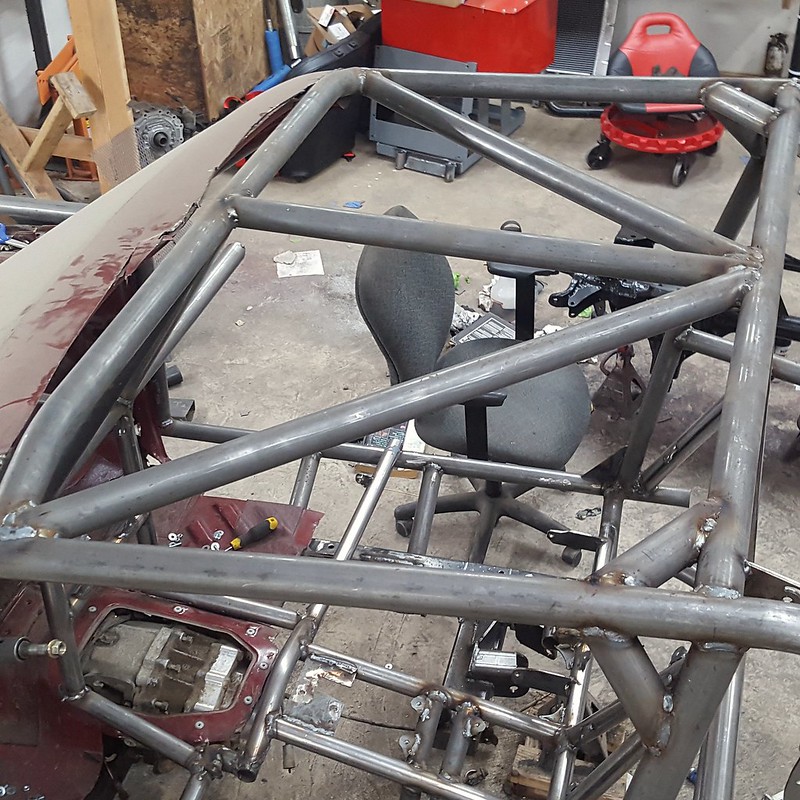
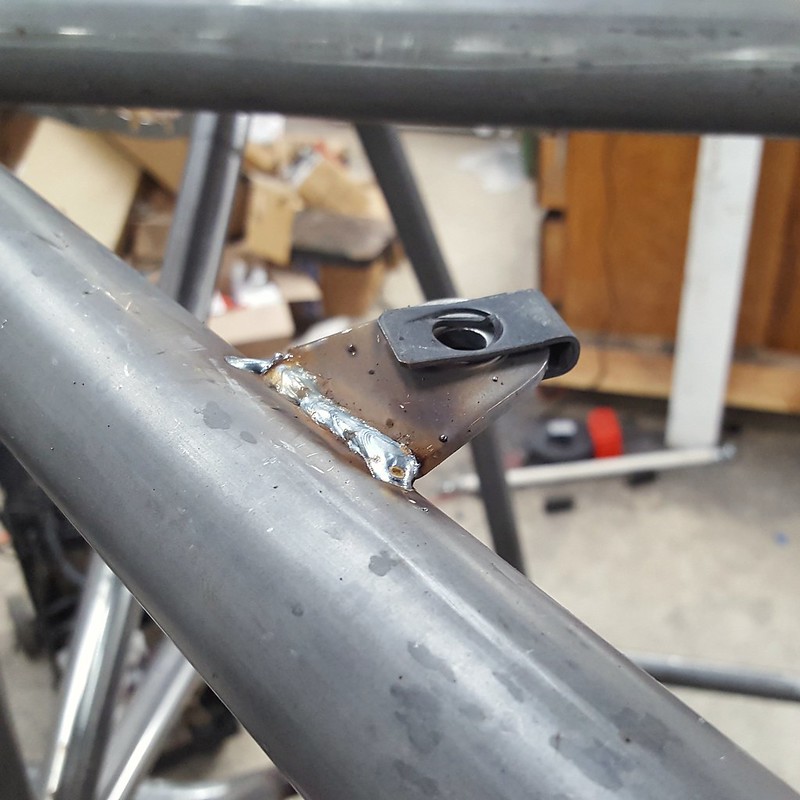
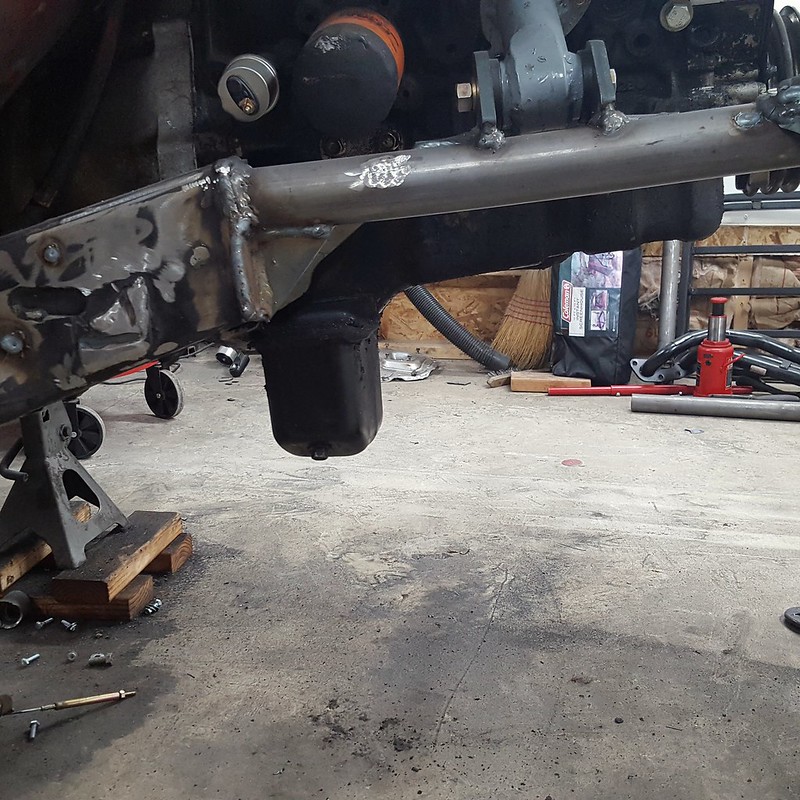
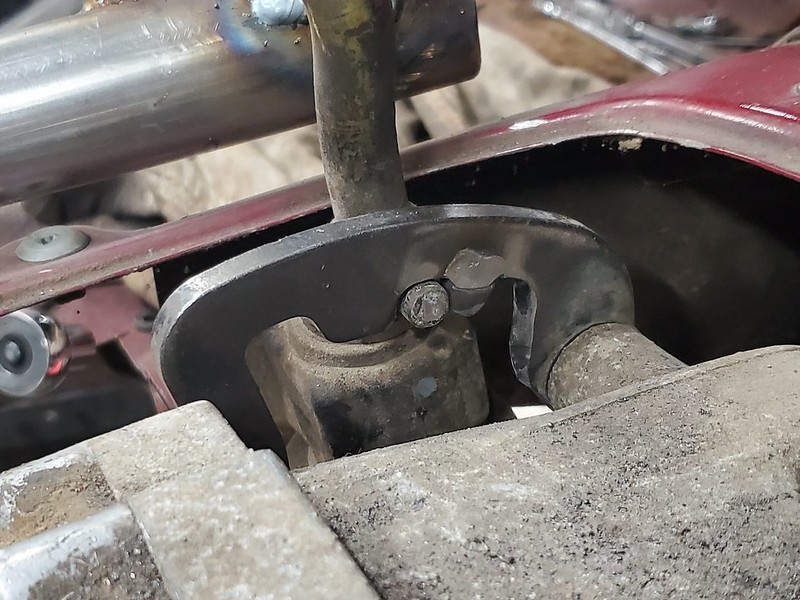
Time to bring this thread back up to speed.
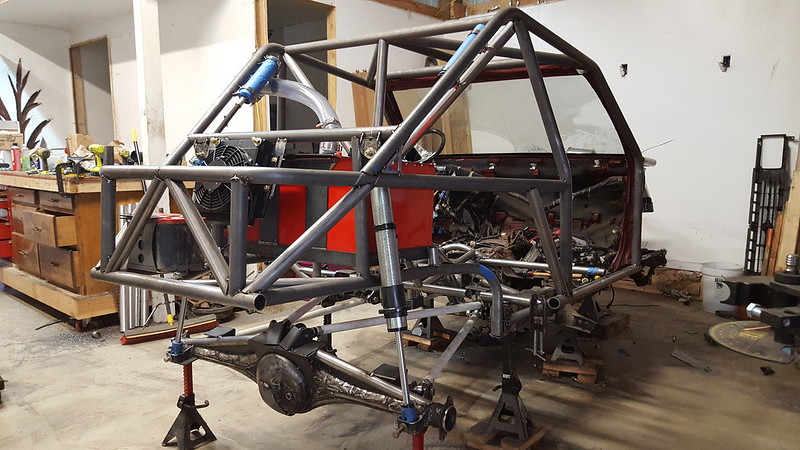
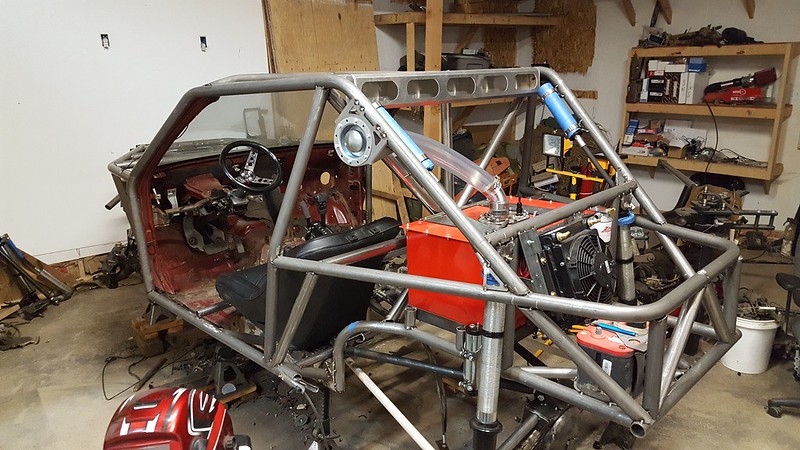
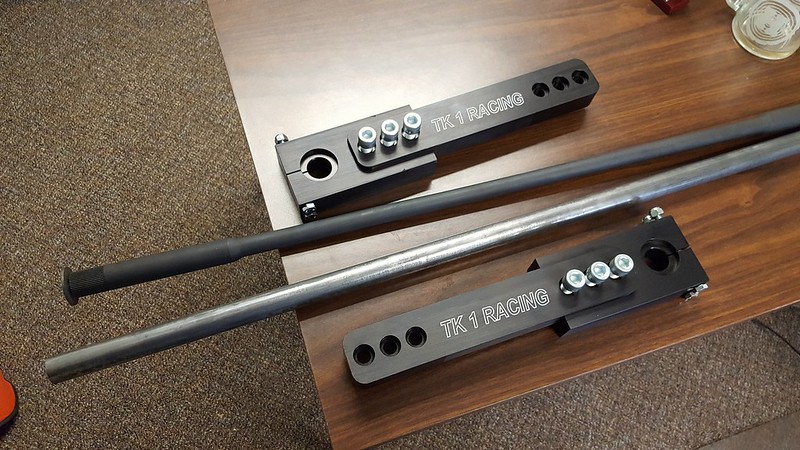
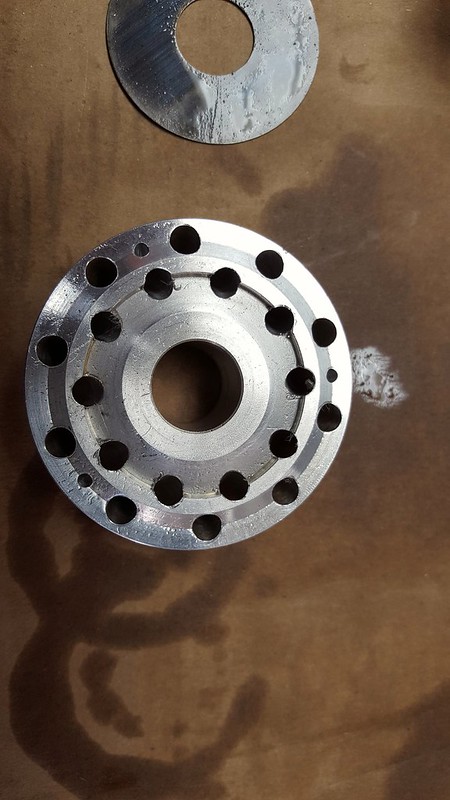
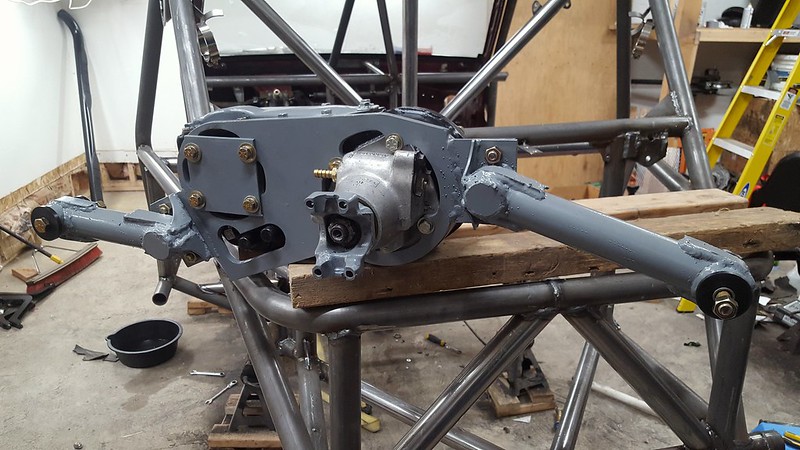
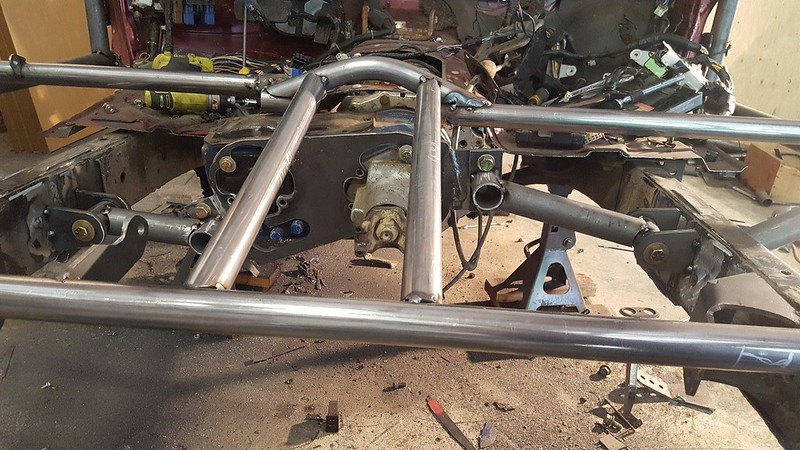
Got the transfer case mount mocked up. Had the D300 mounting plate cut locally. Plan on making a plate over the front output cover plate to stiffen it up.
 IMG_20180722_163242_969_zpscnpojok5 by boardbysled, on Flickr
Got the transfer case mount mocked up. Had the D300 mounting plate cut locally. Plan on making a plate over the front output cover plate to stiffen it up.
IMG_20180722_163242_969_zpscnpojok5 by boardbysled, on Flickr