WaterH
Well-known member
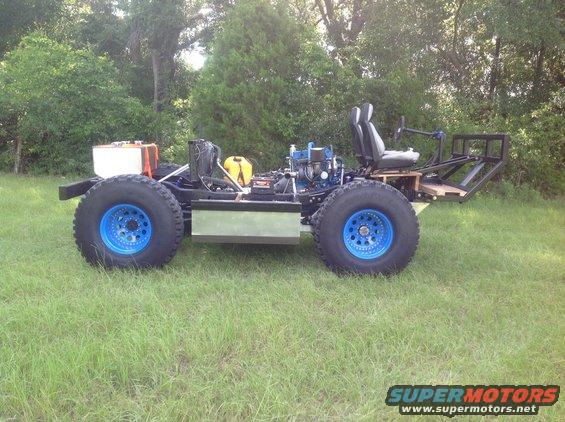
Ok guys, everybody hates me on Pirate, but they don't hate my build. (Well maybe they don't) Anyways I figured I bring it over here. I think mine is the longest active build thread ever. This first post is from 2011.
Well I’m finally starting my build thread. Of course, the name is indicative of the speed of my work. In any case I started over a year ago, so it thread will move a little faster until I catch up. After that, no guarantees. I expect this to take me at least two years to finish. When I was younger, I had lots of time and no money. Now money is not the problem, but finding time is.
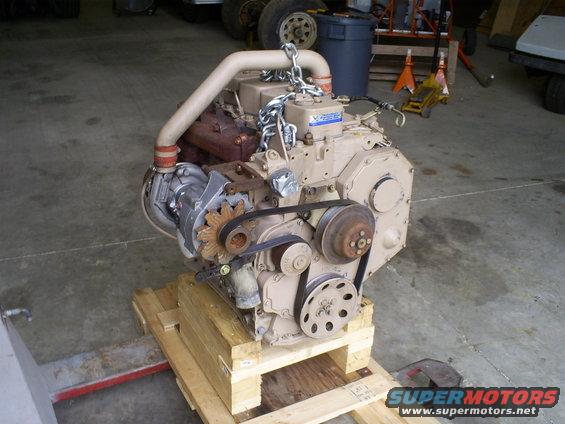
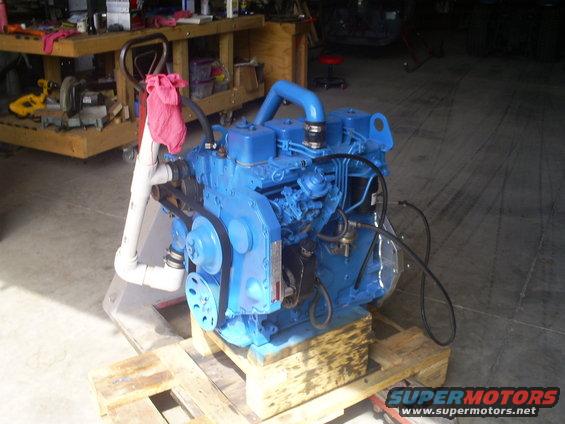
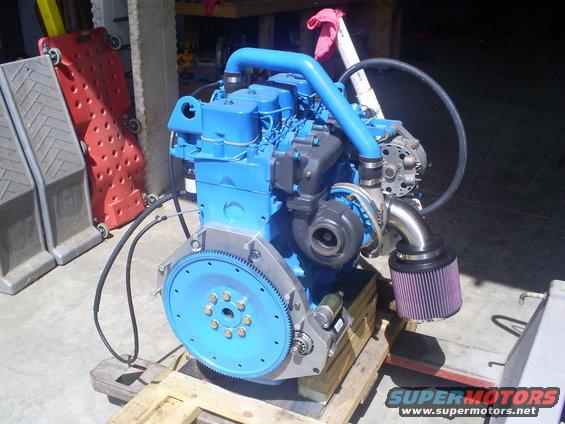
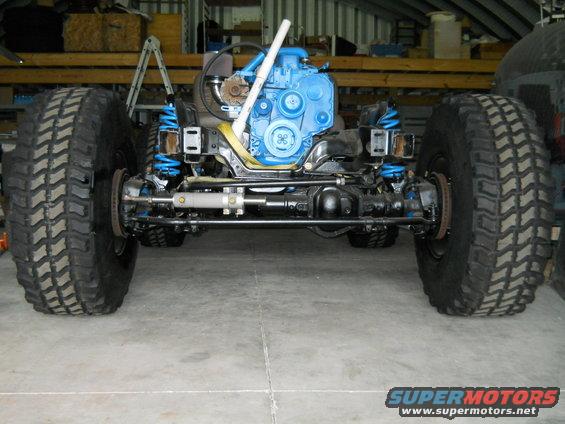
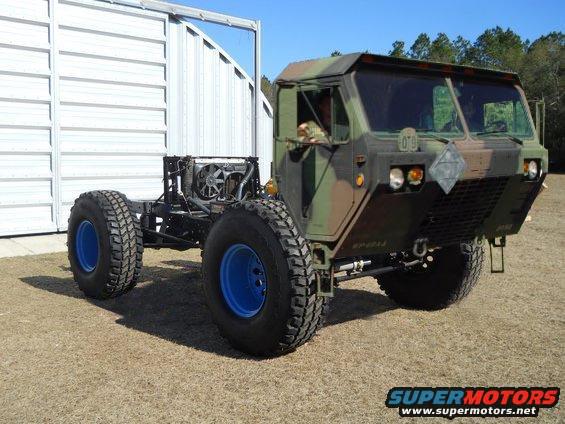
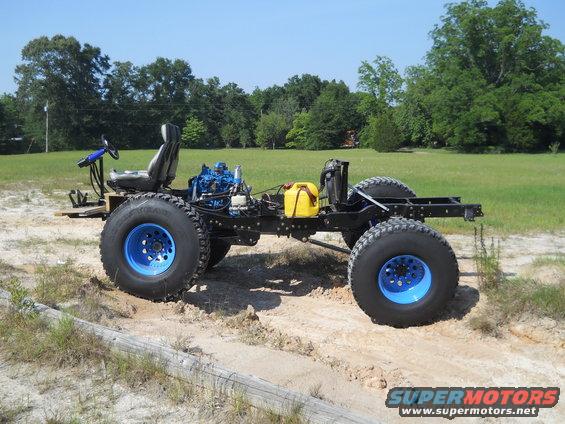
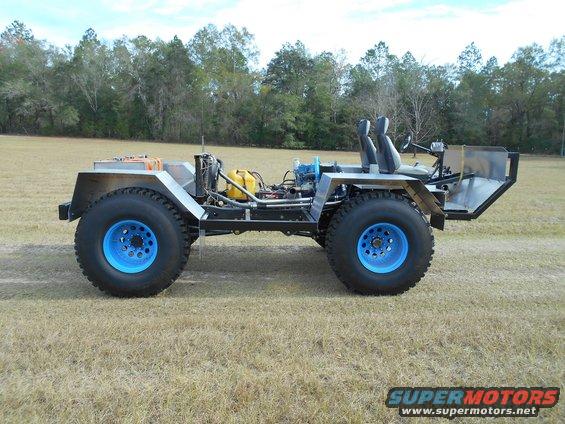
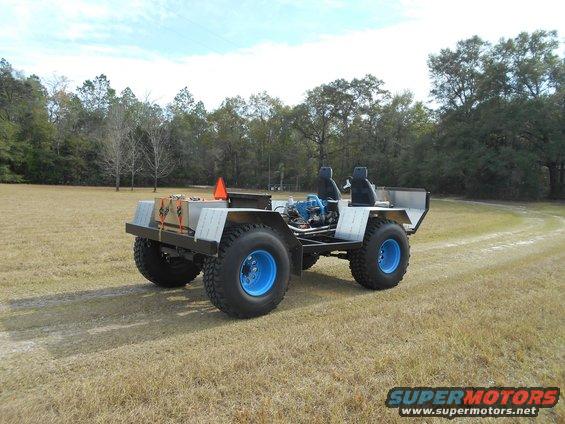
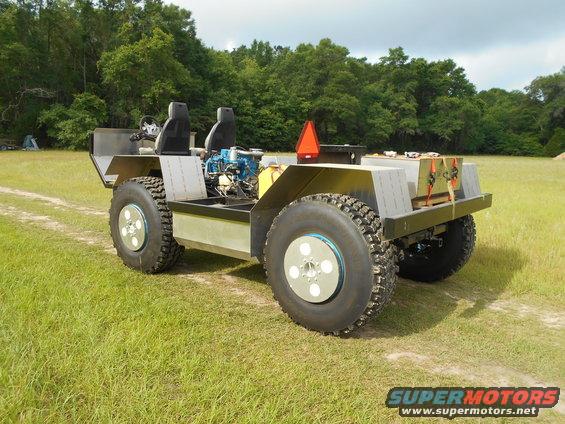
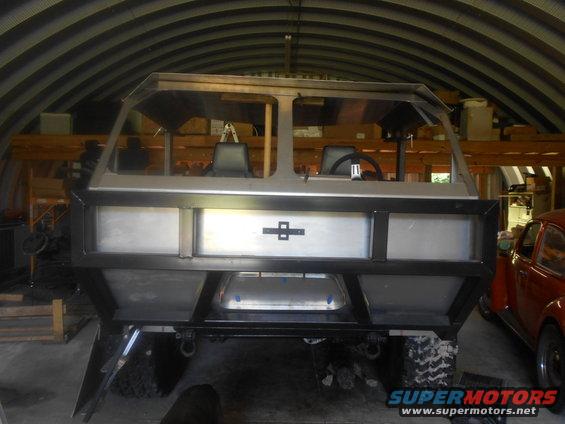
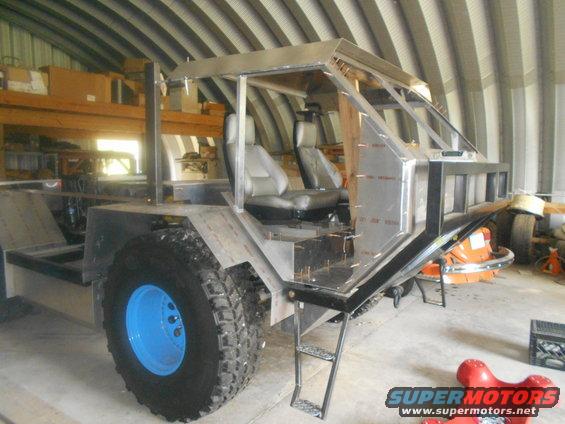
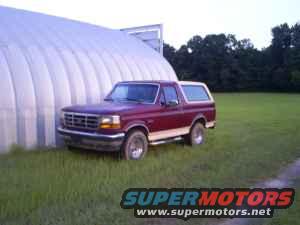
This is going to be a major build with one ton SAS and a diesel engine. Not even sure what the final truck will look like, but it started out like this. I got this 92’ for $1100. I had been looking for a Bronco all over and this one turned up less then two miles from my house. It has the same driveline as my DD. It runs great and is fairly rust free.

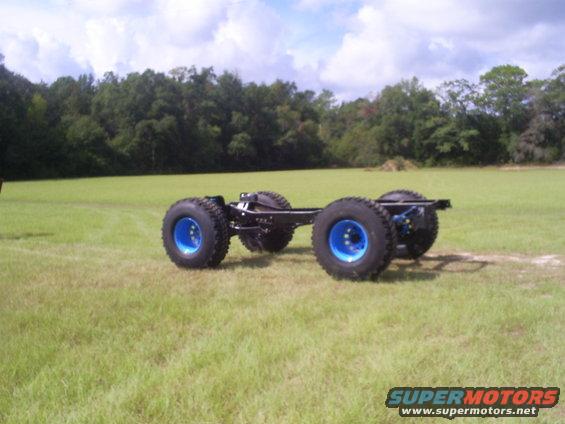
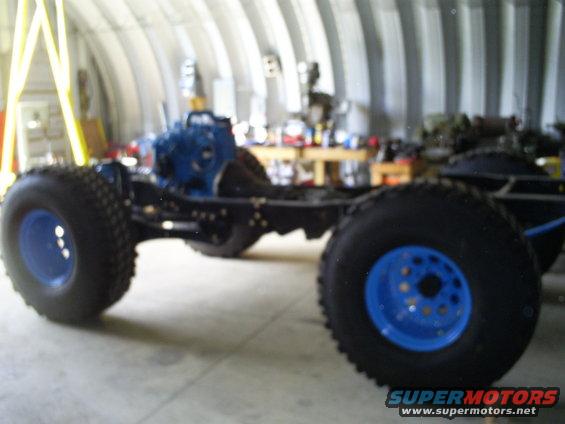
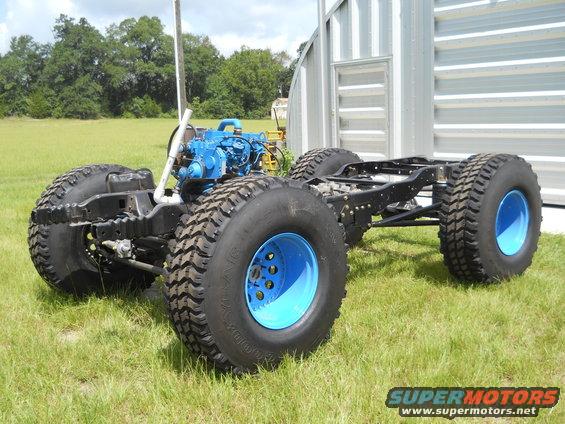
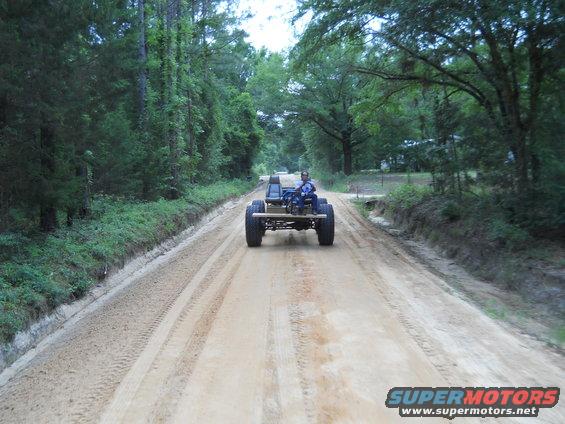
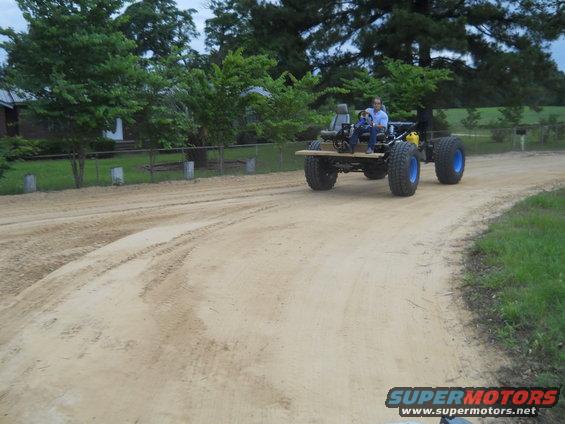
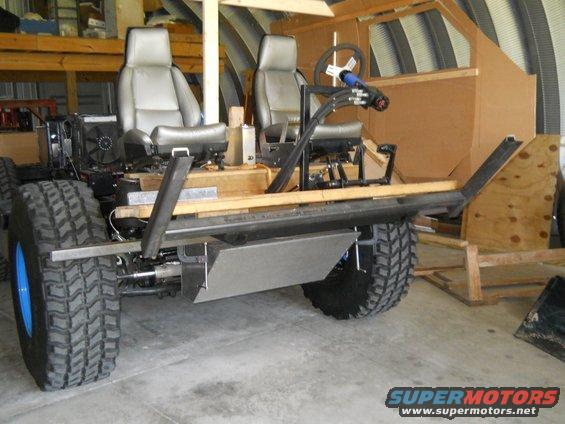
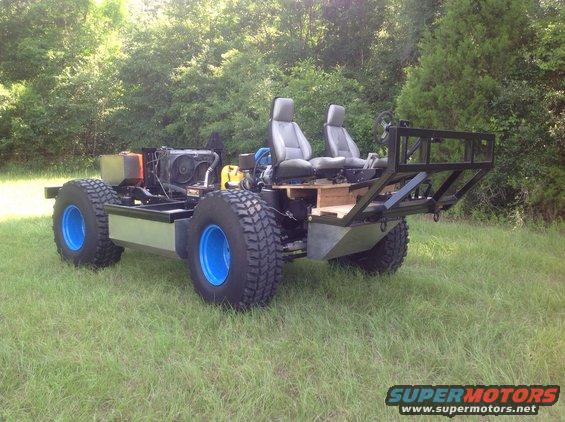
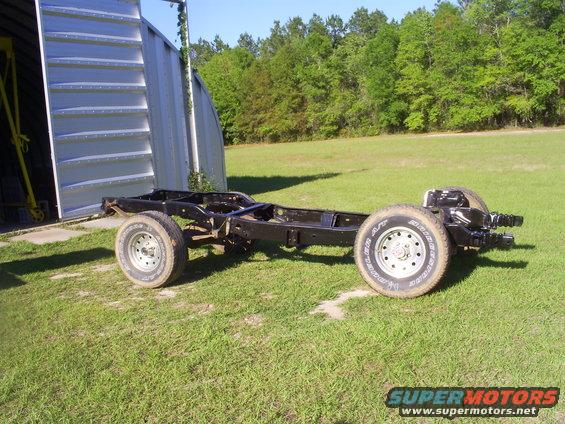
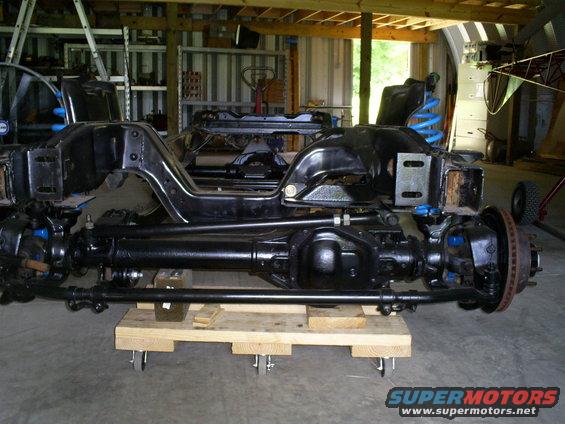
This is the same truck stripped to the frame after a lot of work with a high speed wire wheel and a few cans of rustolium. I also removed the body mounts because if I install the stock body it will be moved back. I have several ideas concerning the body, but for now I concentrating on the driveline.
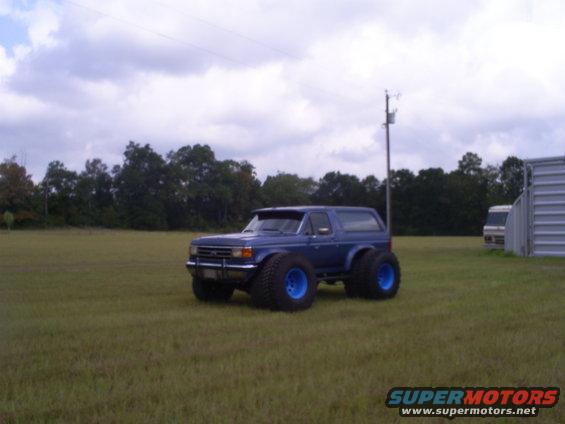
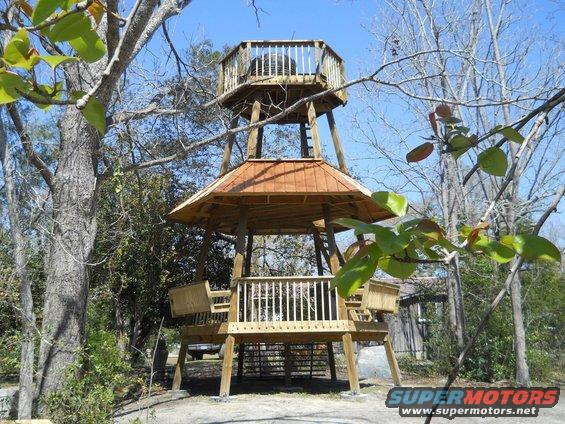
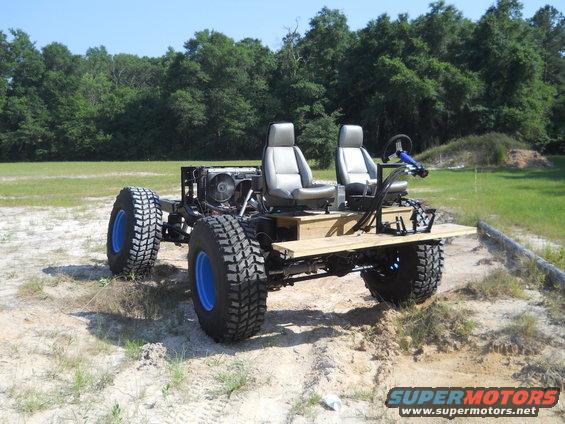
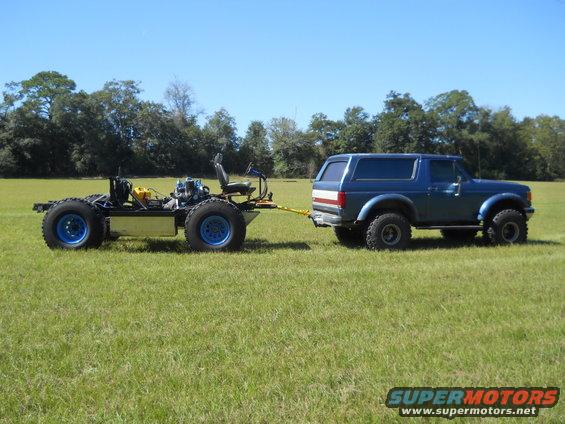
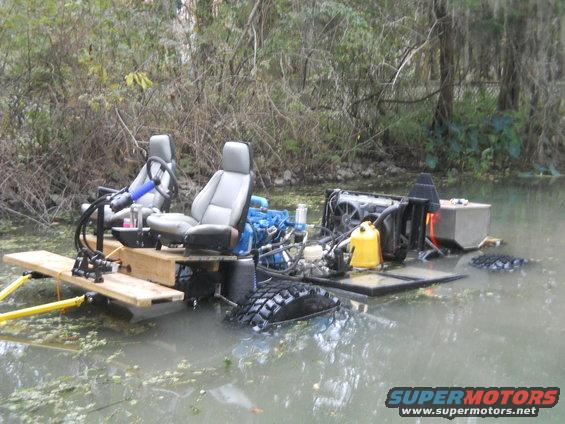
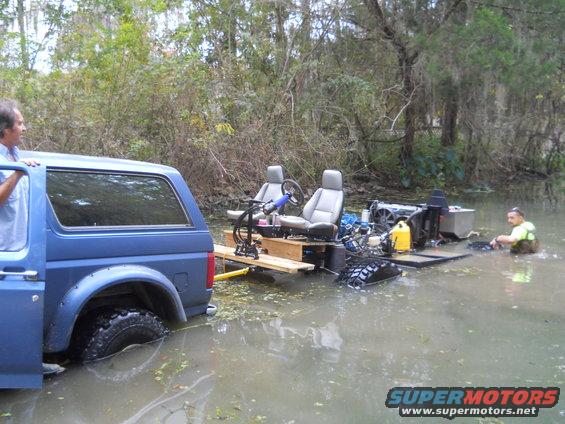
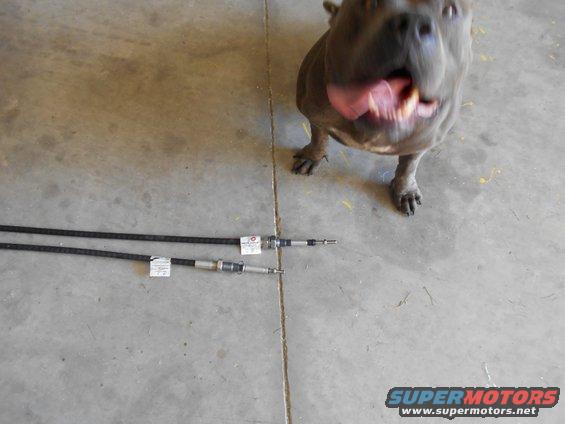
The obglatory photo. I wish this was from my DD. (Maybe later)
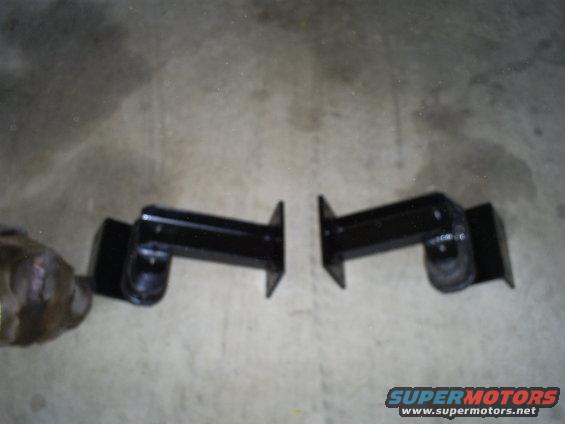
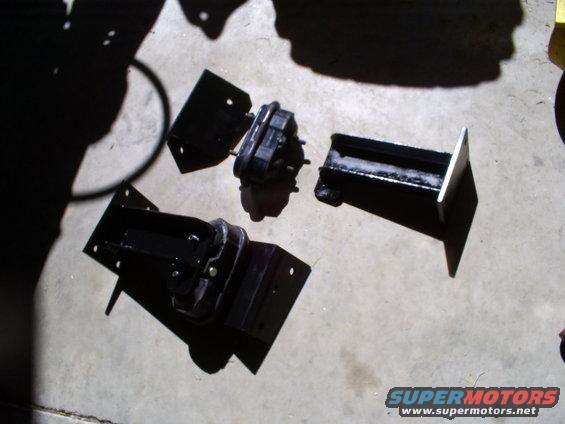
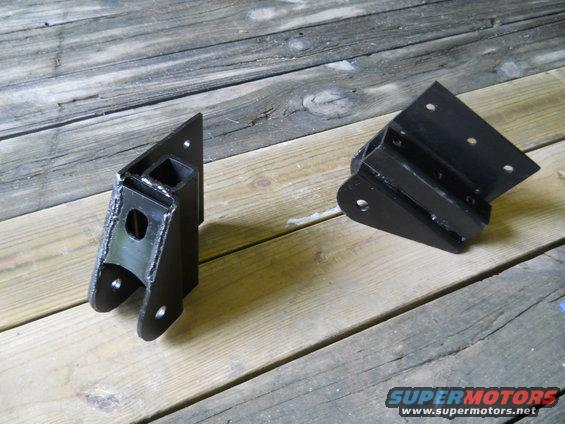
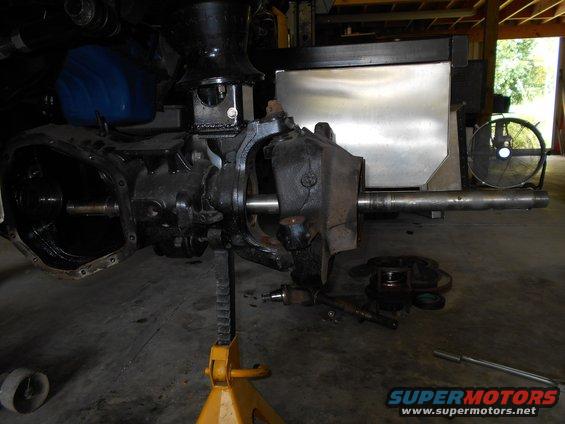
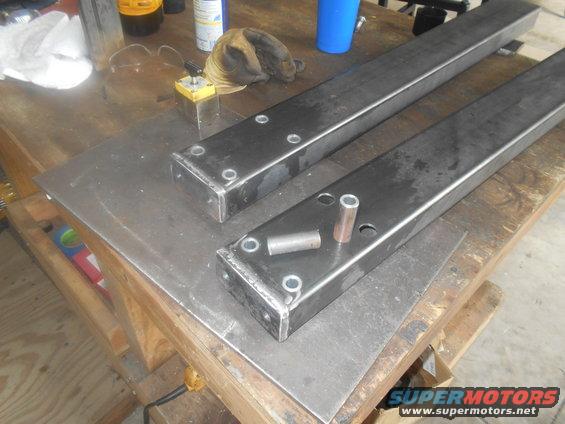
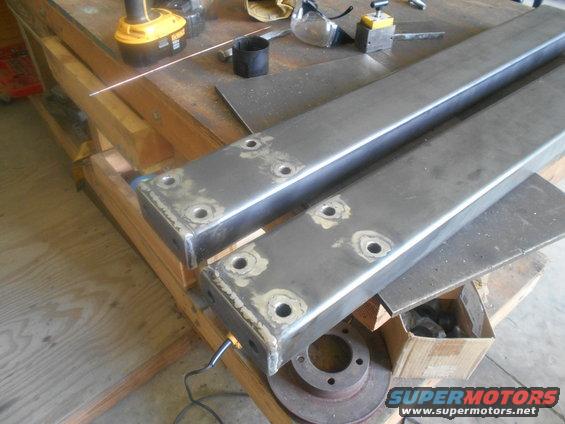
I got a some axles from a 2007’ F250 Superduty. At least, that’s what the yard told me. I started with the front axle. I told the yard to get the radius arm mounts off the SD without ruining them. They torched the frame about 3” in front and back of the mounts. So I had to drill out the rivets. One thing I noticed was the SD frame is .270” thick. This Bronco frame is .210” thick.
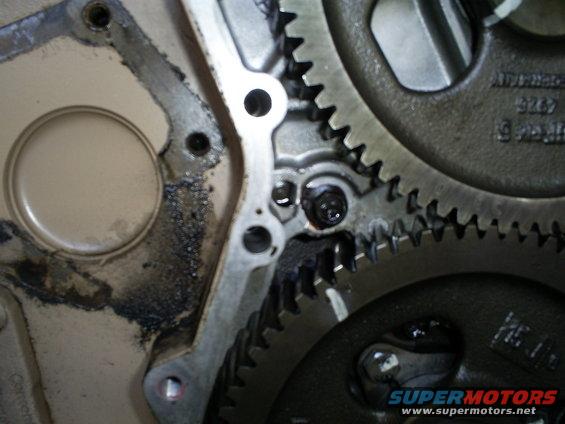
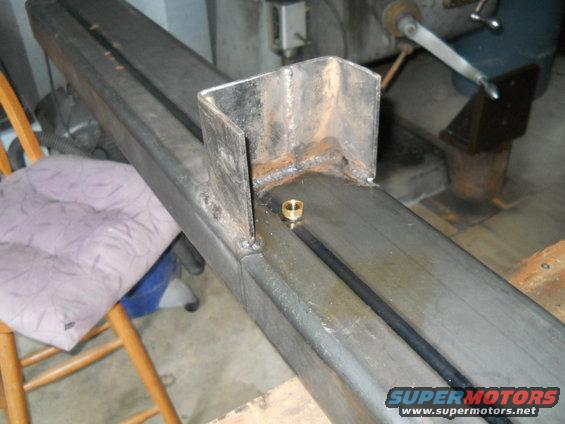
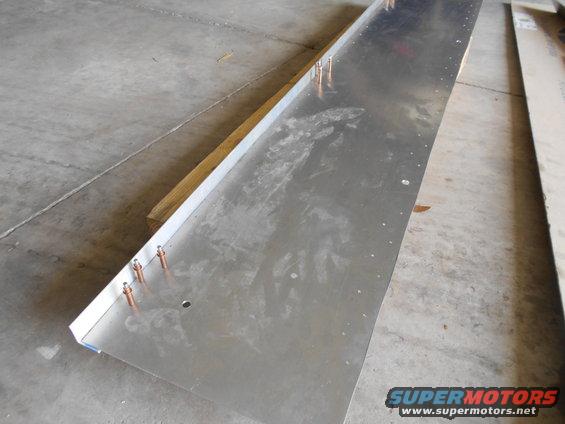
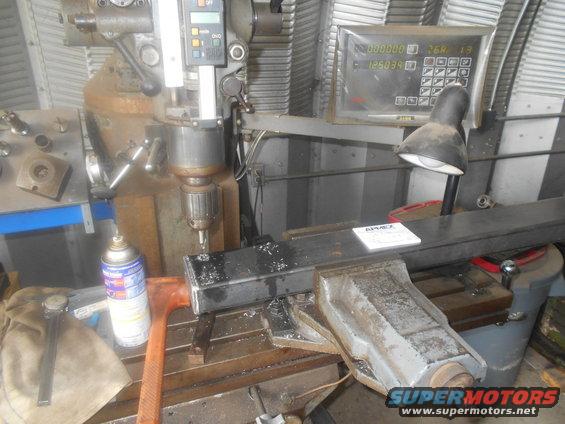
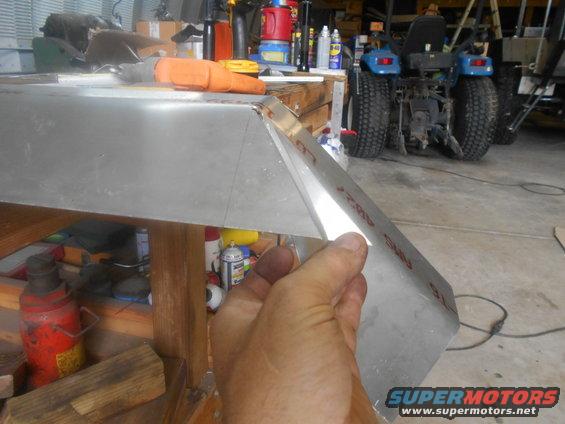
I started by measuring several times and then drilling one ¼” hole. Bolted that and then measured again. LOL
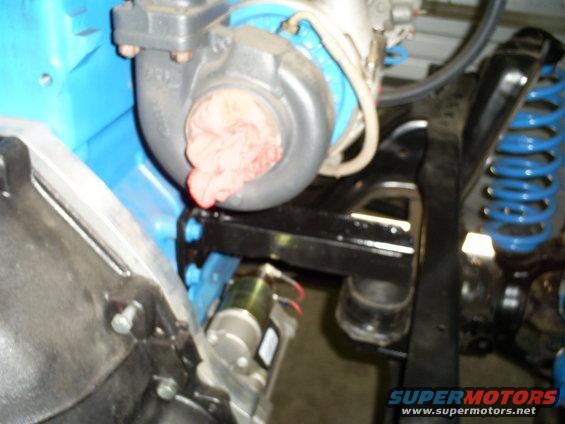
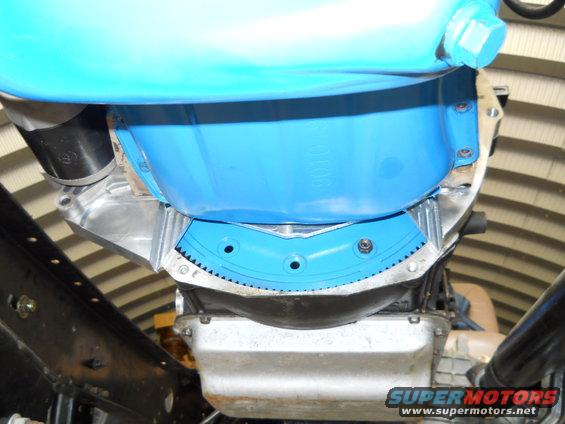
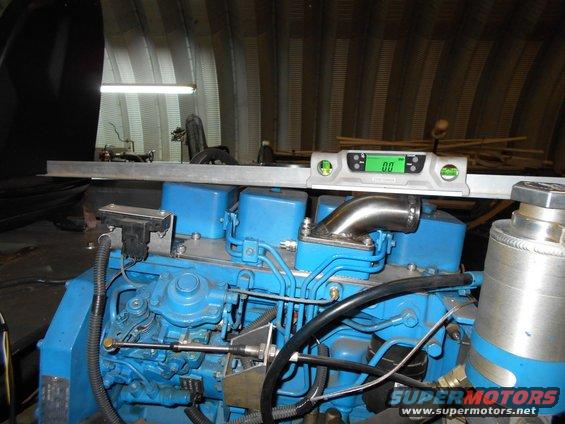
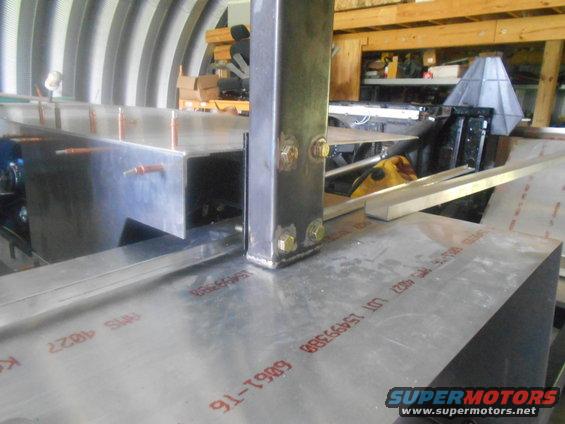
Note the angle on top of the frame. I didnt weld this on. The rest of the truck was stock except exhaust. I dont know why this is there. I couldnt see any damage anywhere.
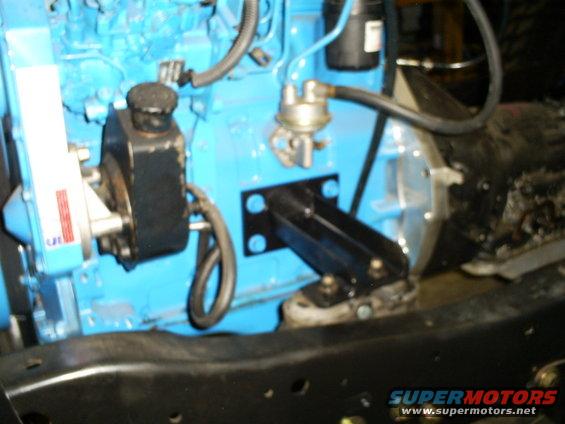
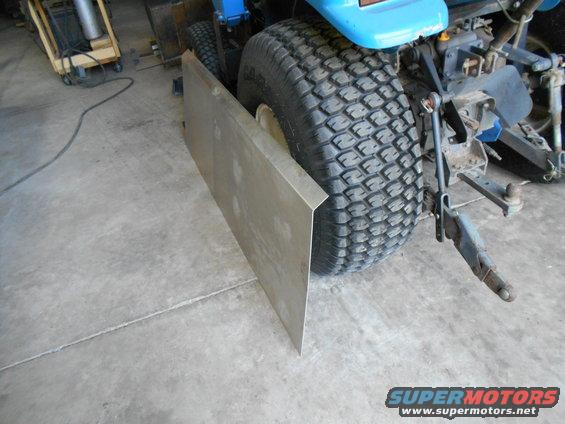
With the back bolted solid (1/2” grade 8’s) you can see that the frame seems to be a little narrower. Some other guys put spacers in here. I decided to just bolt it to the frame and let the rubber bushing take the misalignment. If it gives me problems, I can space it out later.
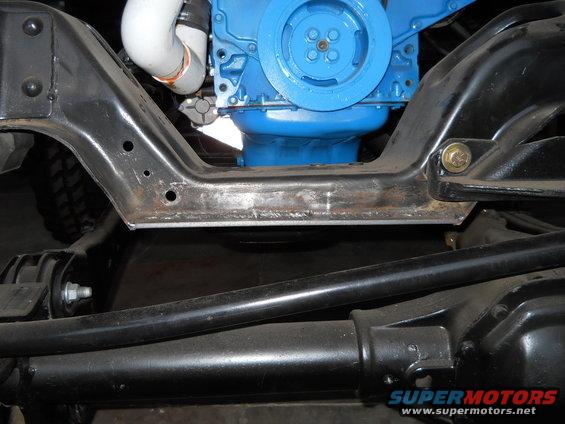
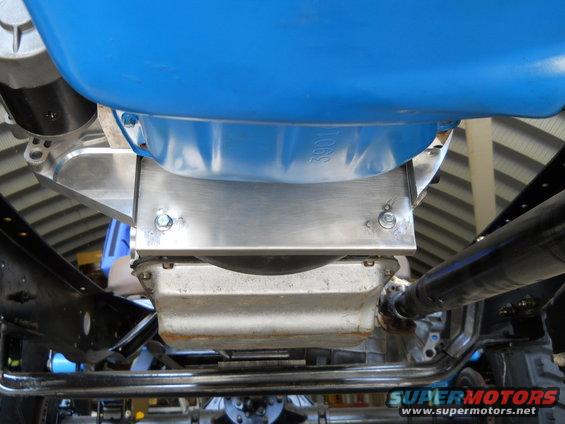
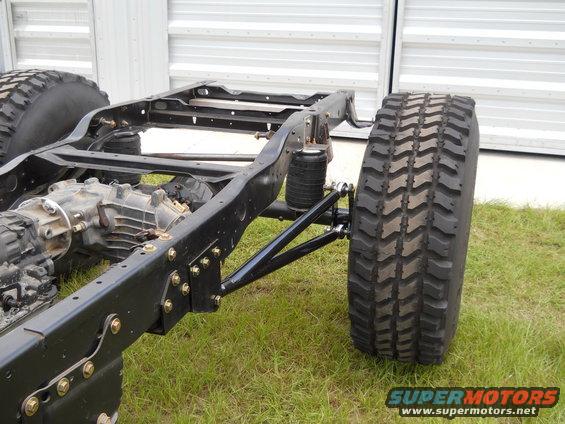
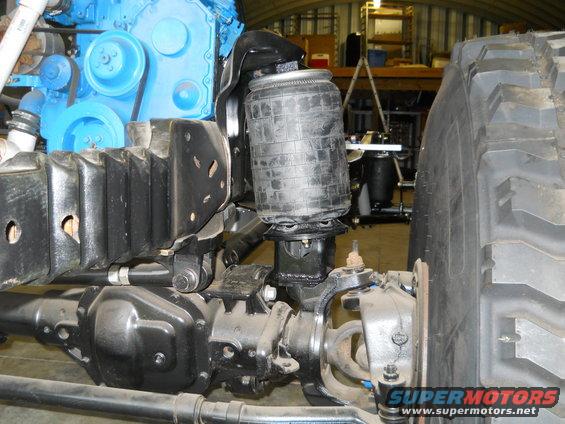
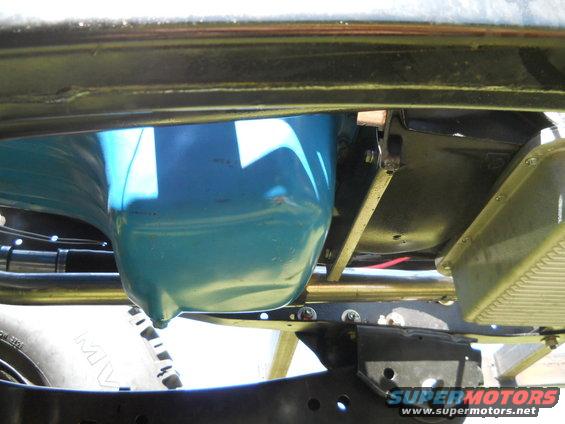
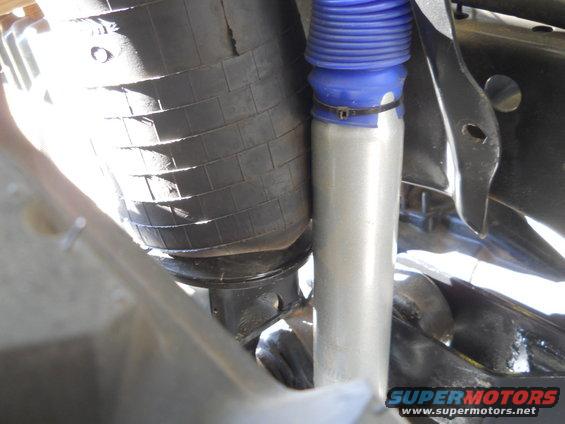
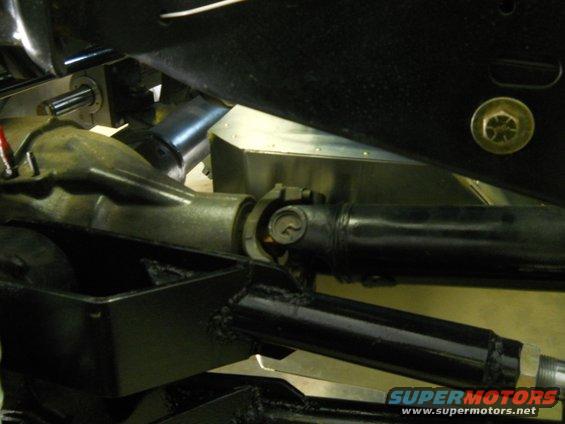
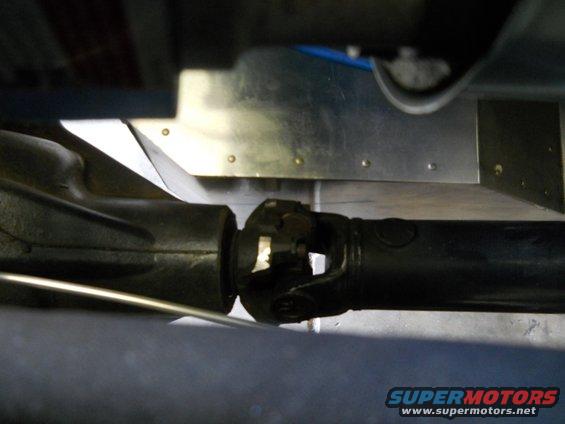
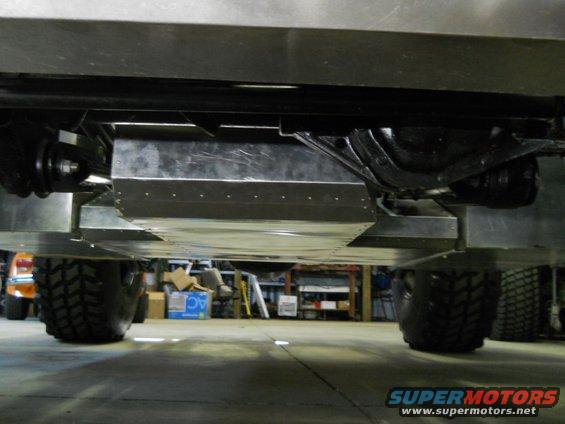
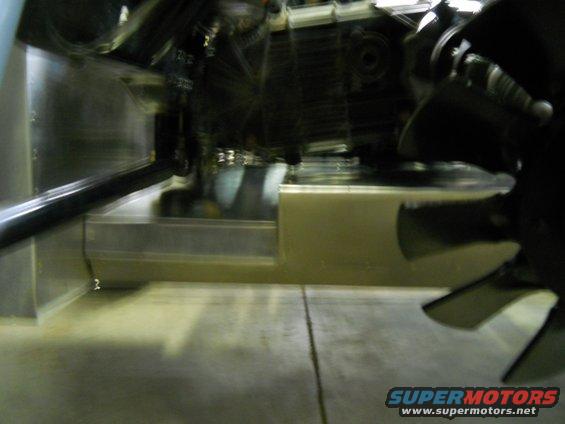
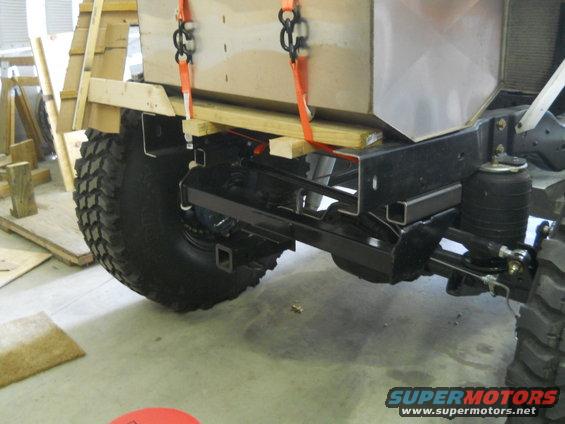
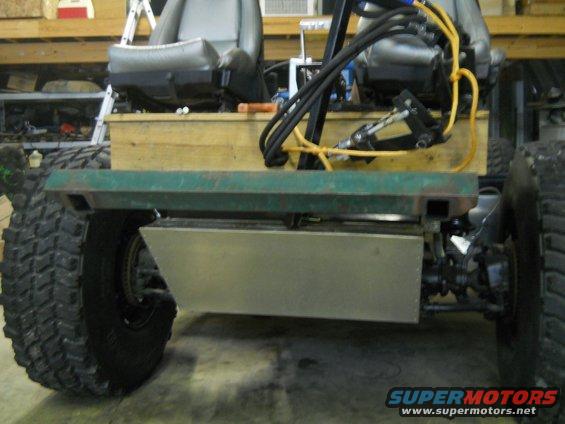
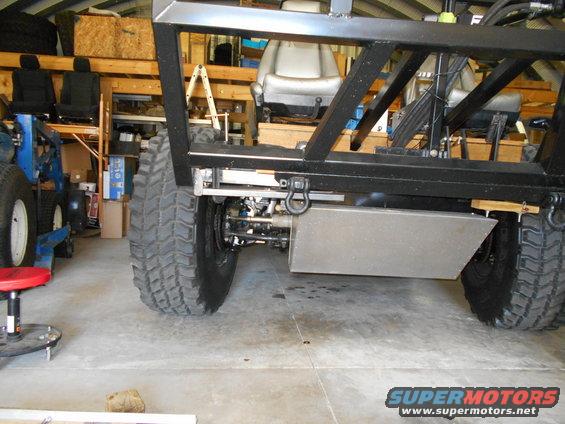
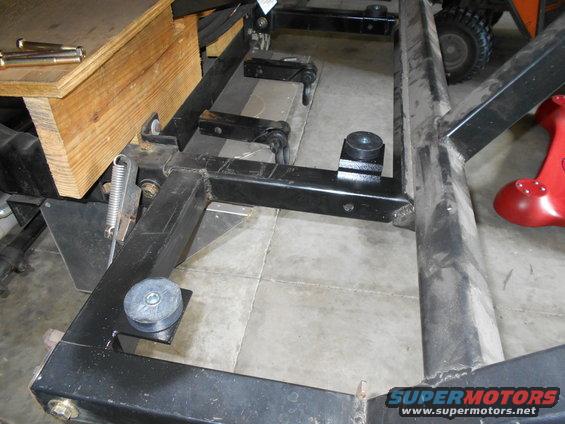
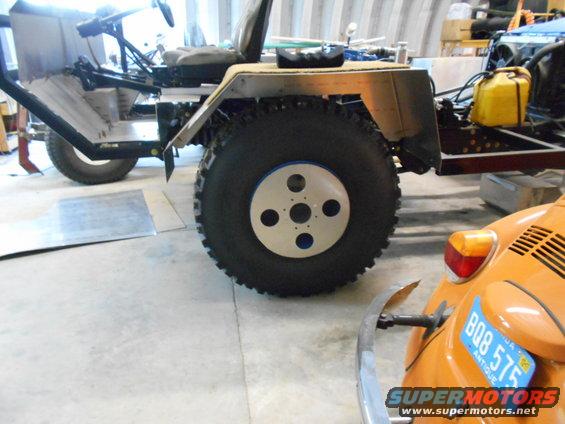
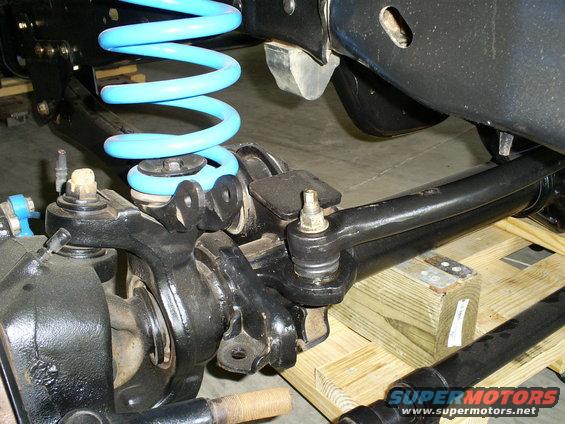
I lowered it down to the bump stops and nothing hits the crossmember.
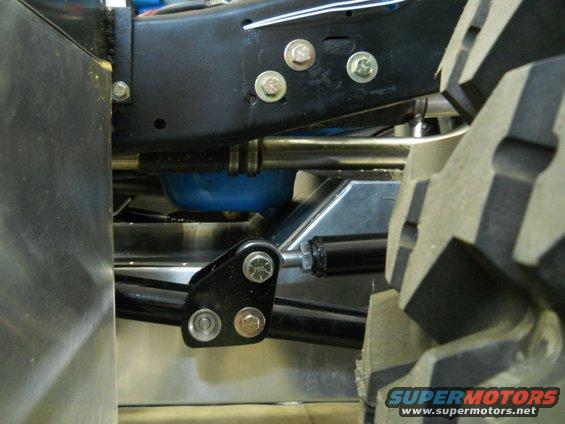
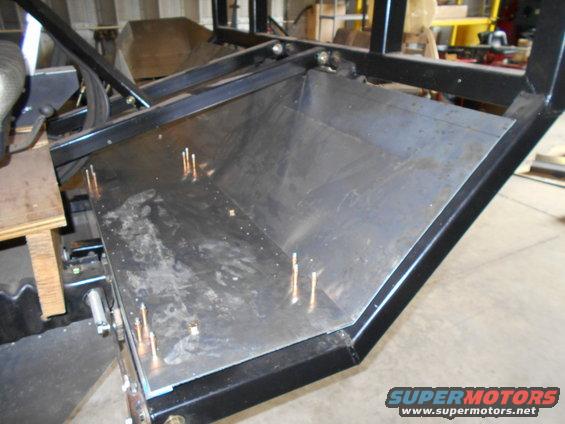
These are the stock springs. The perches are off the TTB. It’s funny the stock bolts were not long enough to hold the perch. But the TTB axle pivot bolts were exactly the right size. In any case, I might be changing the sprigs/perches in the future. (maybe even the buckets) But for now, it’s OK.


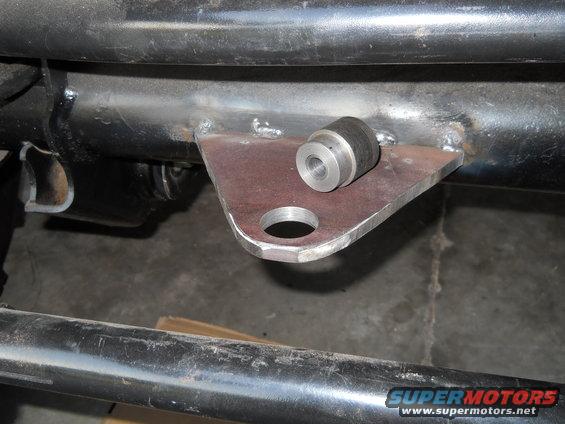
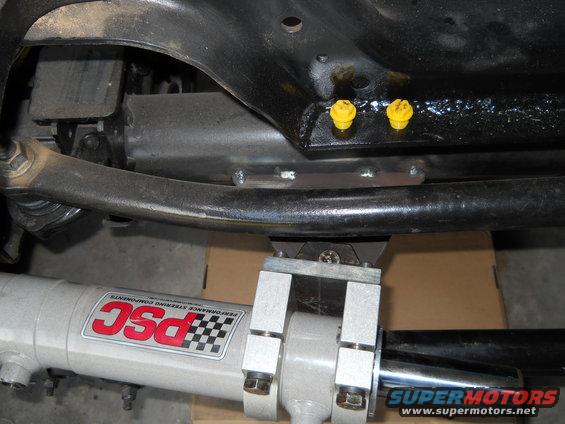
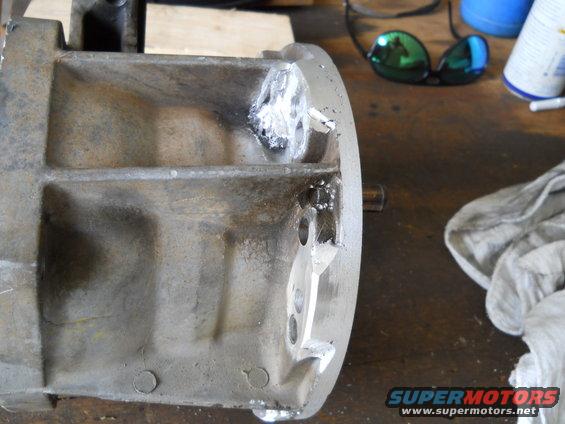
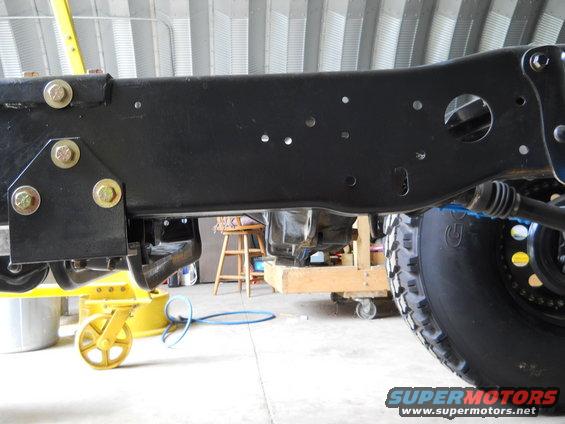
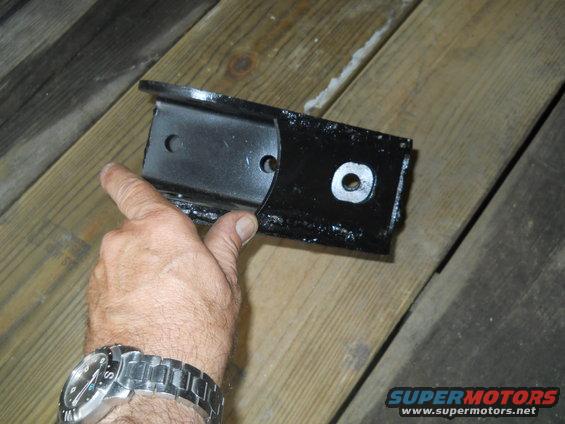
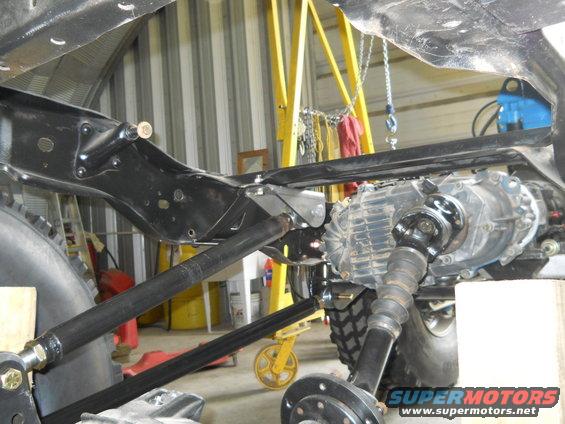
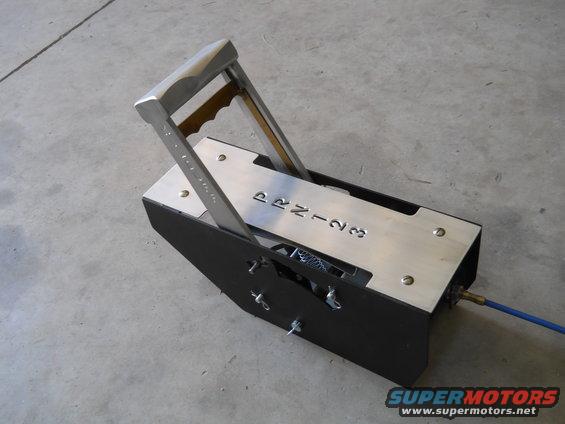
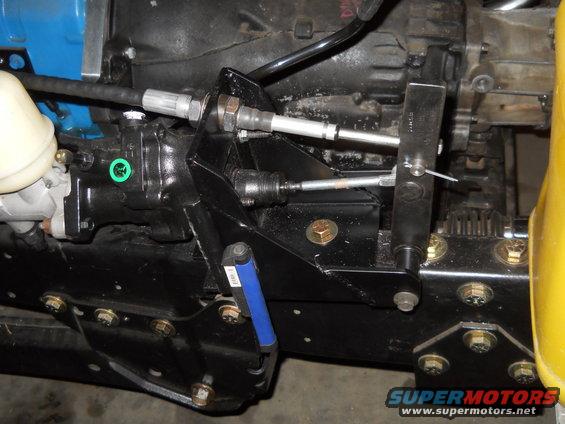
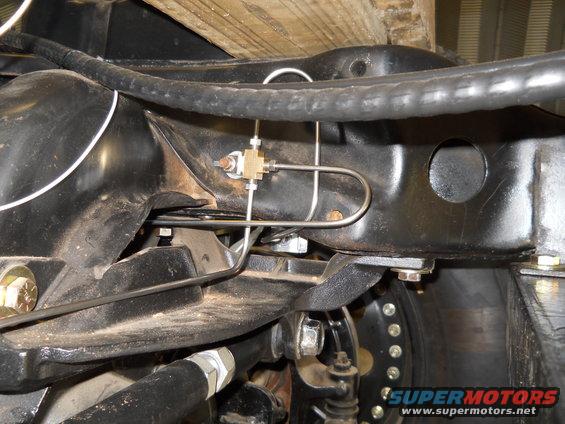
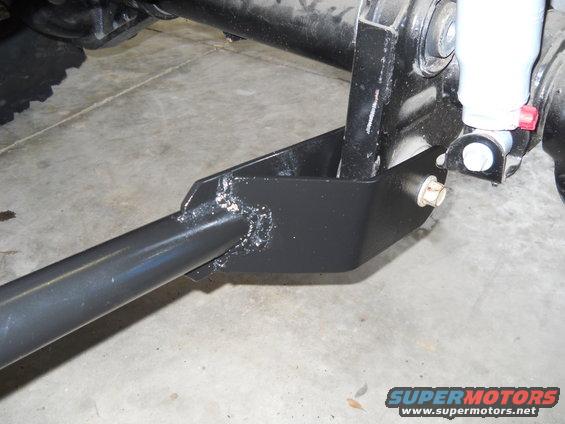
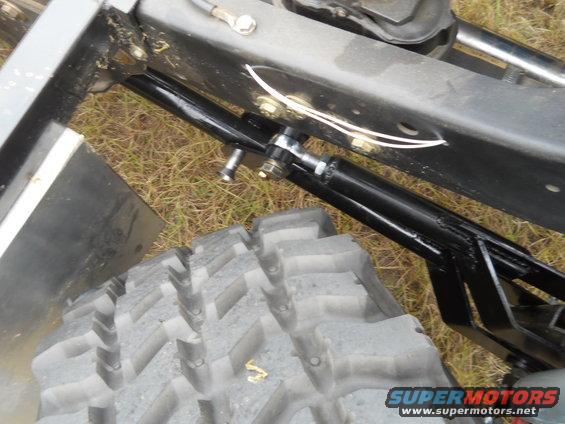
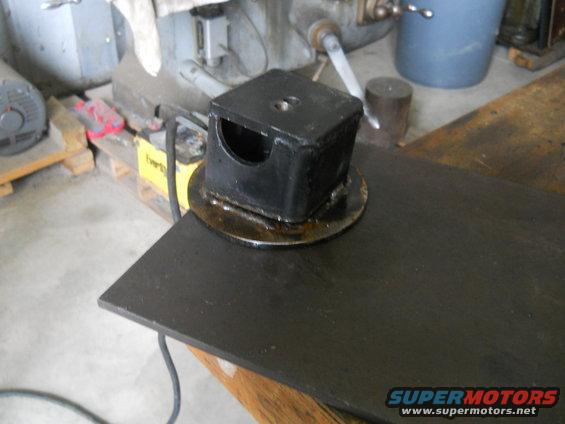
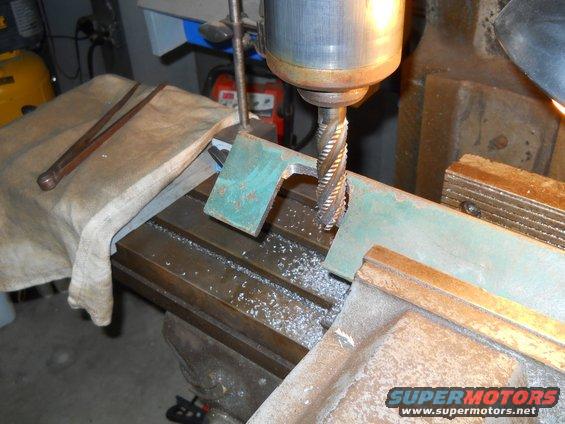
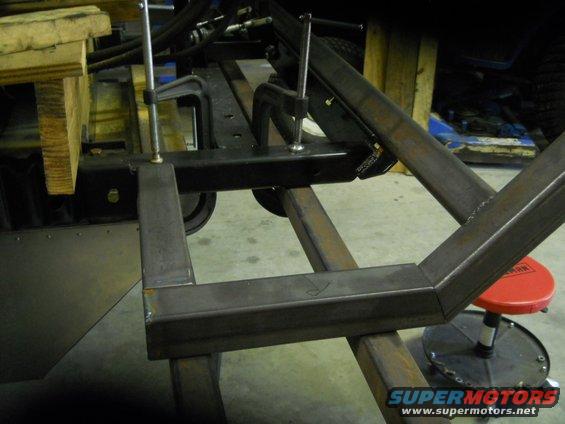
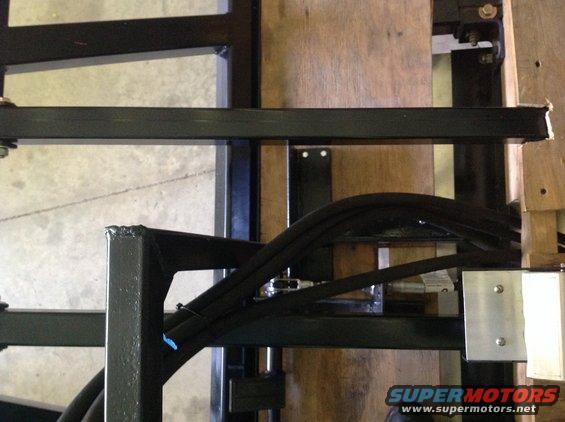
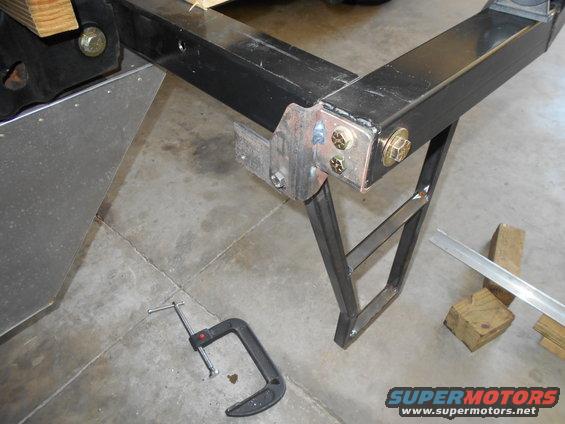
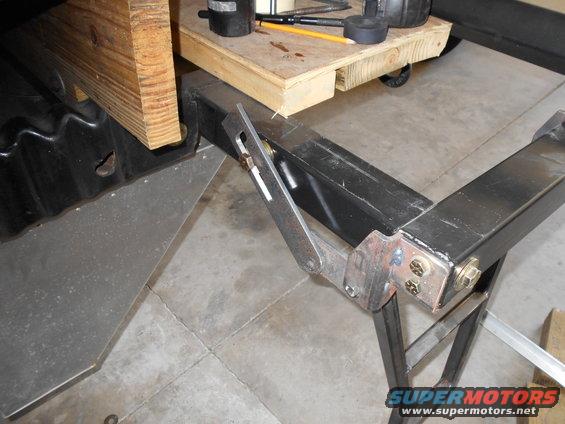
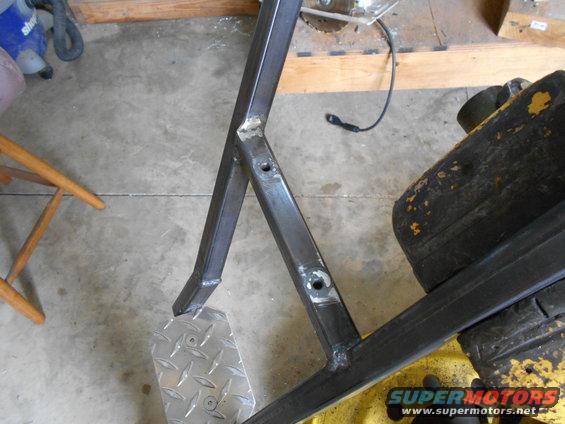
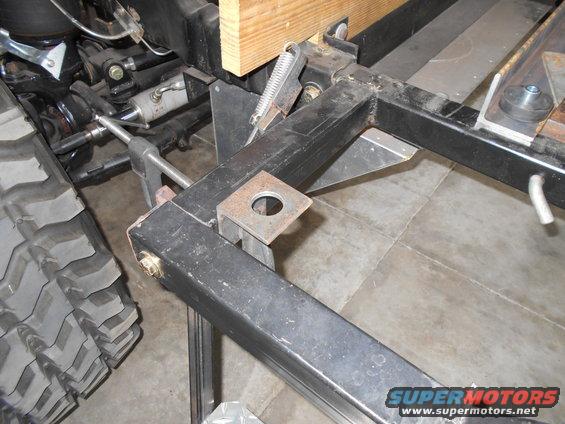
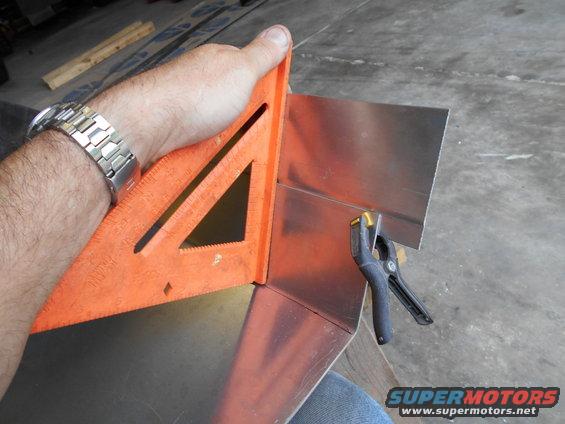
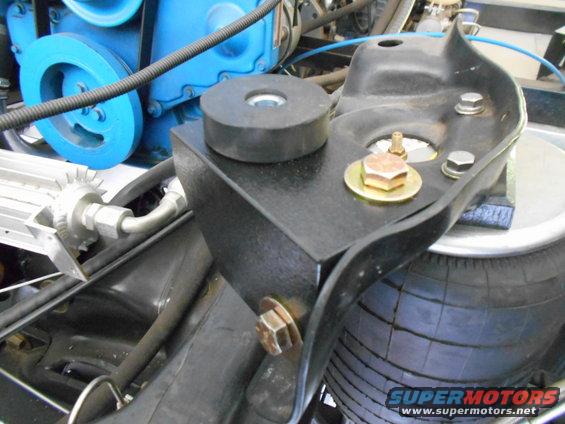
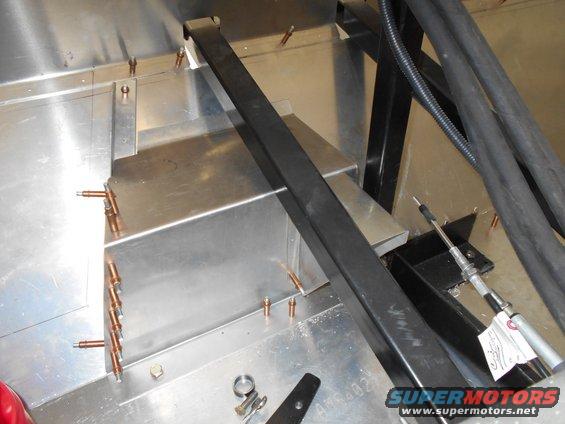
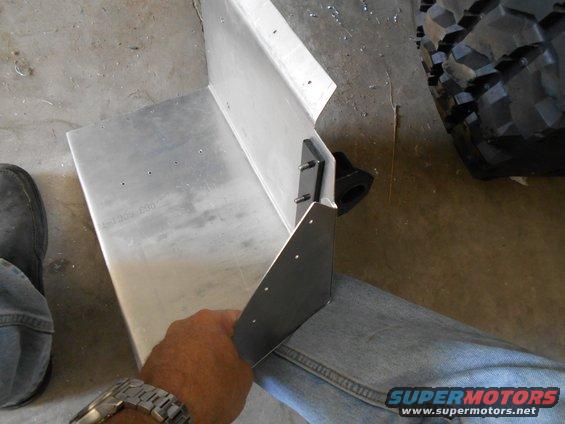
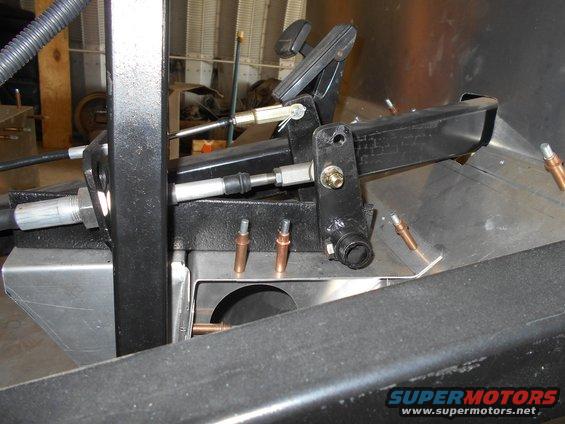
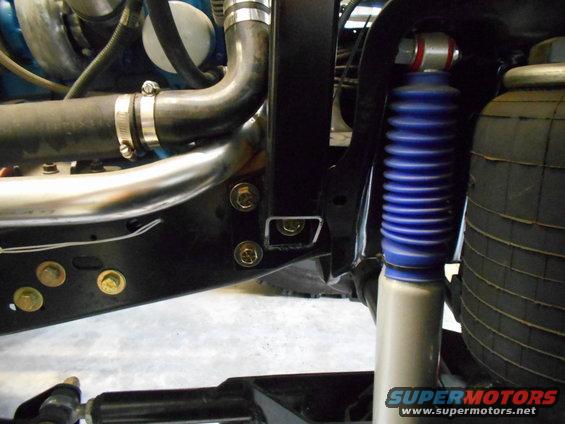
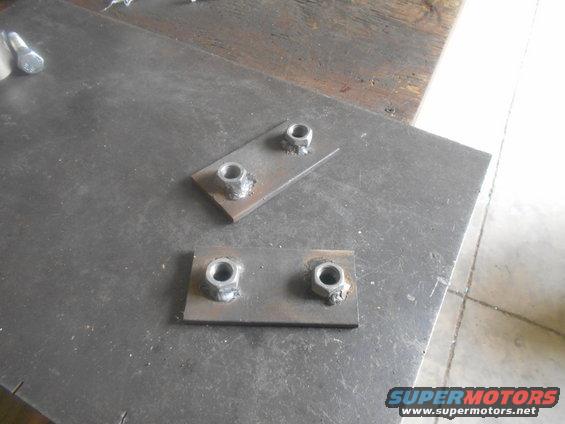
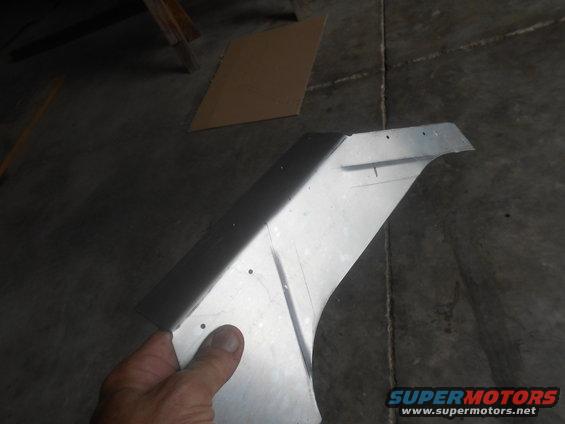
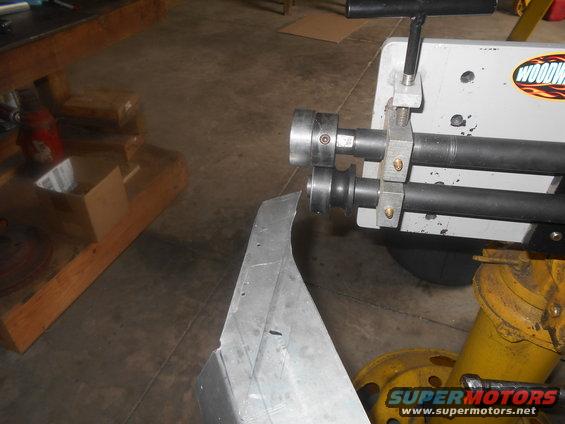
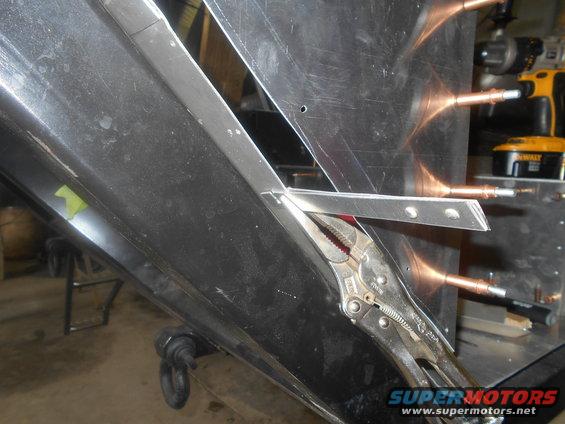
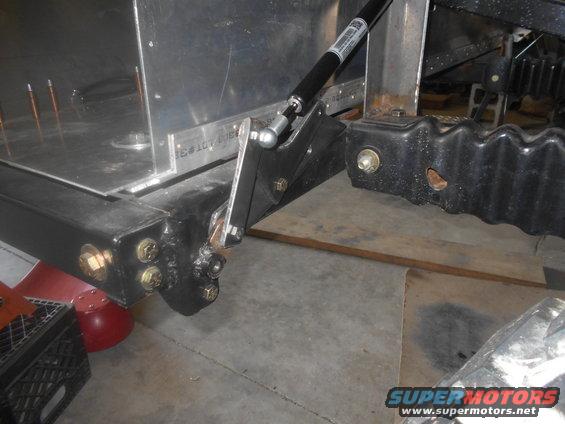
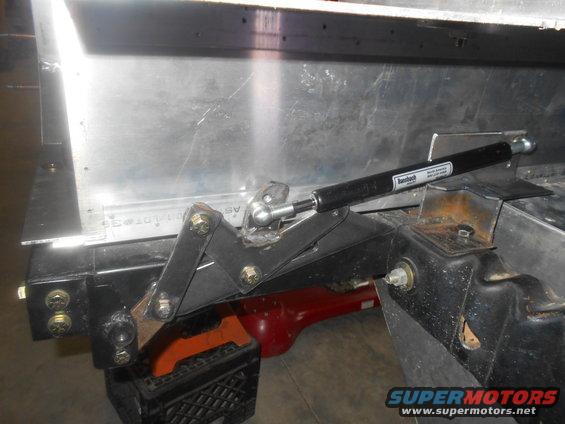
I had to modify the frame side trac bar mount. (off the superduty)
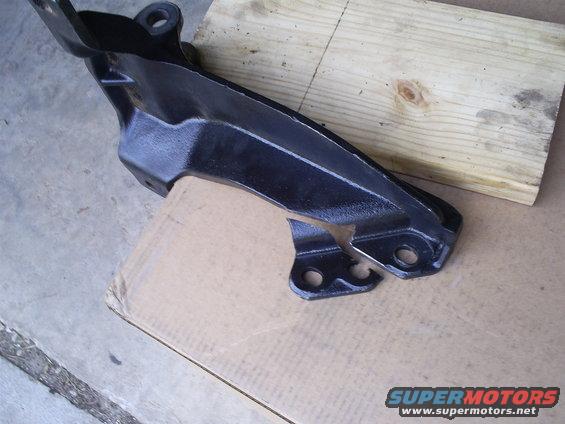
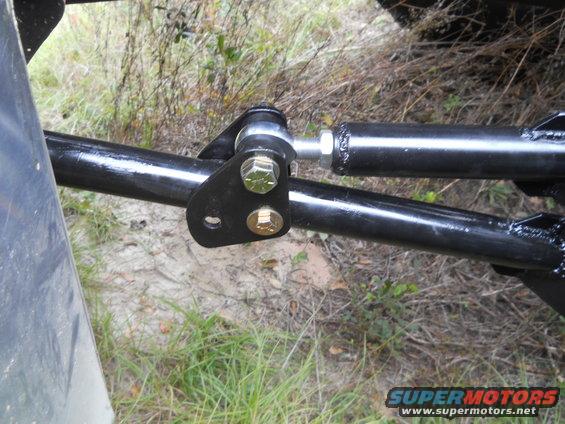
The ear on the left was just hitting a frame rivet. The hole next to it lined up with another frame rivet. (drilled it out and bolted with a grade 8) After that I had to elongate the right hole to make room for a bolt inside the frame rail.

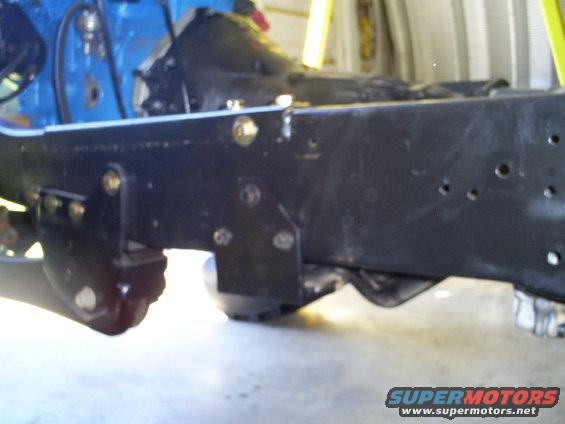
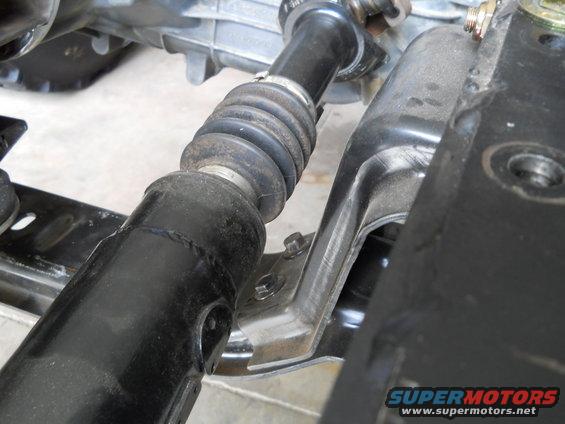
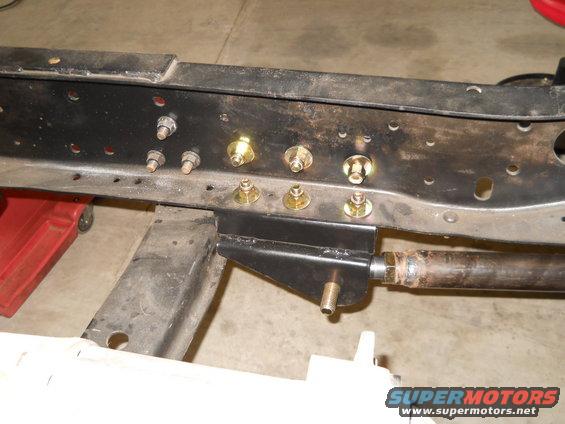
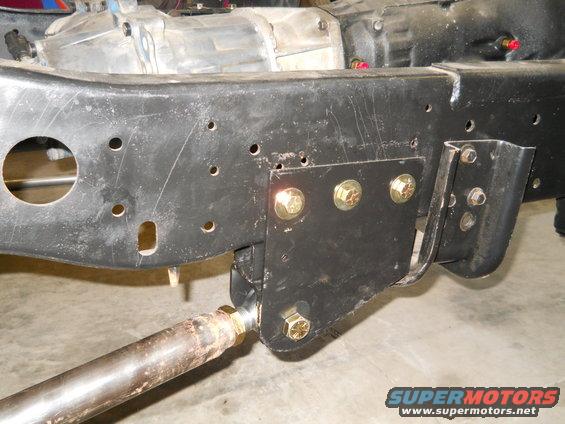
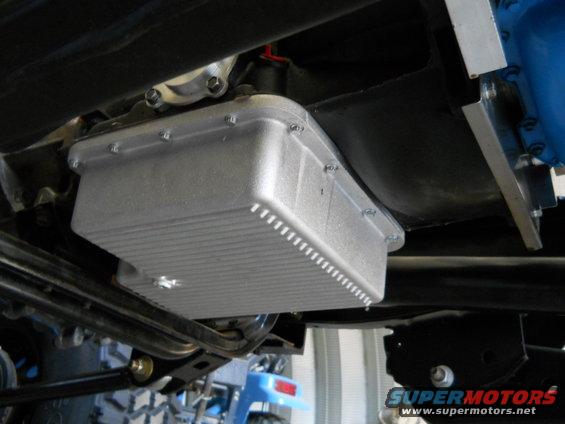
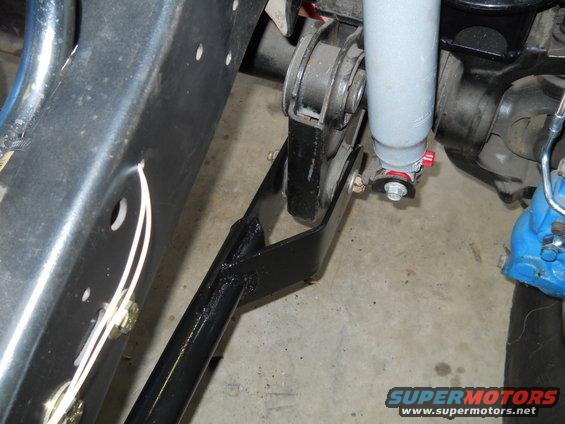
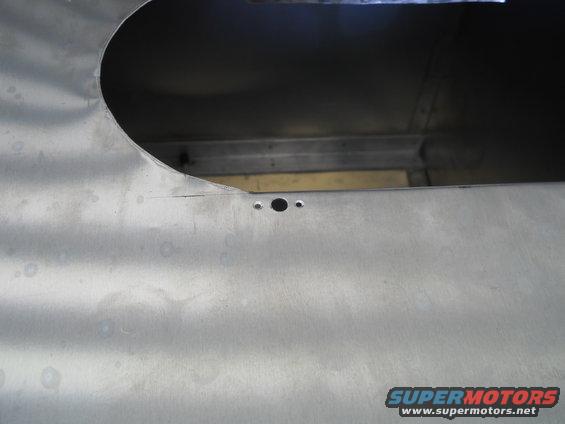
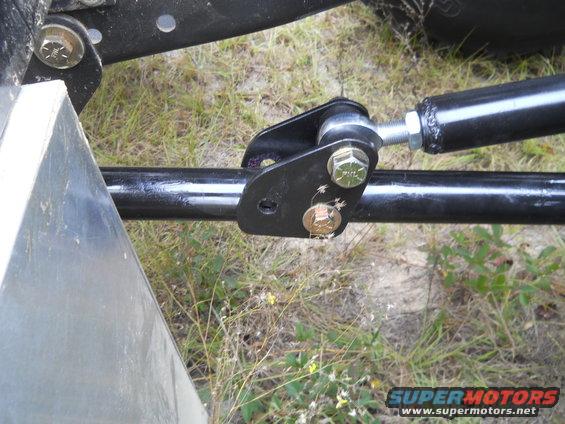
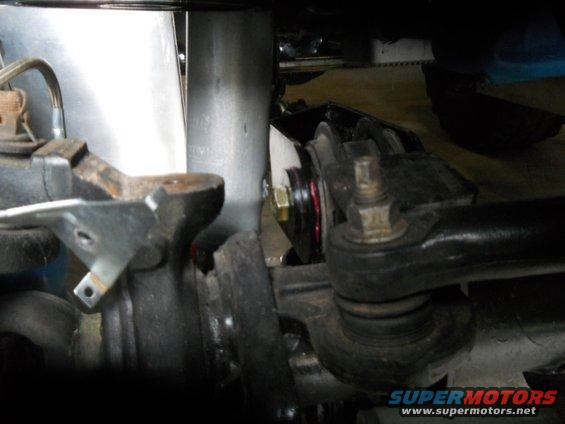
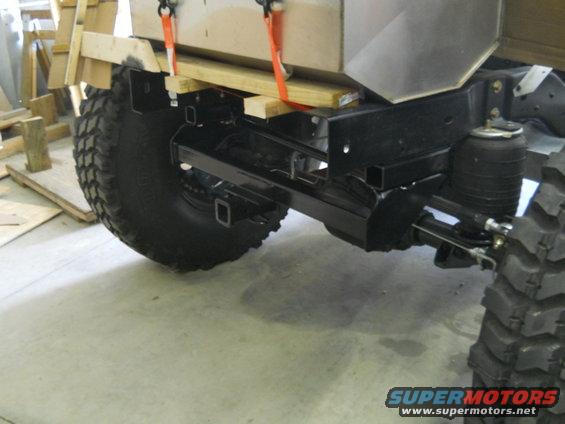
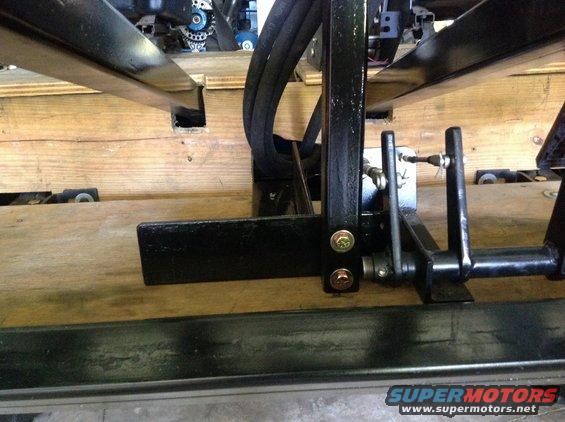
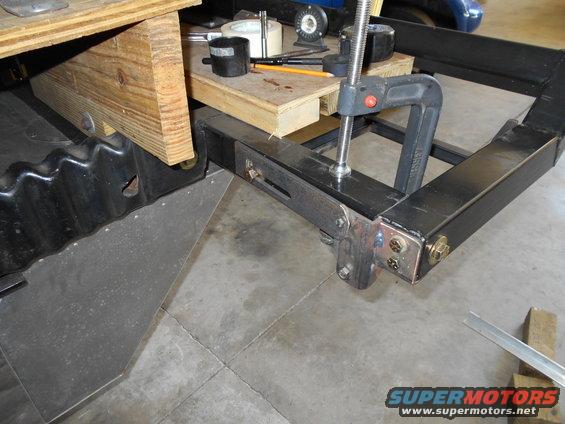
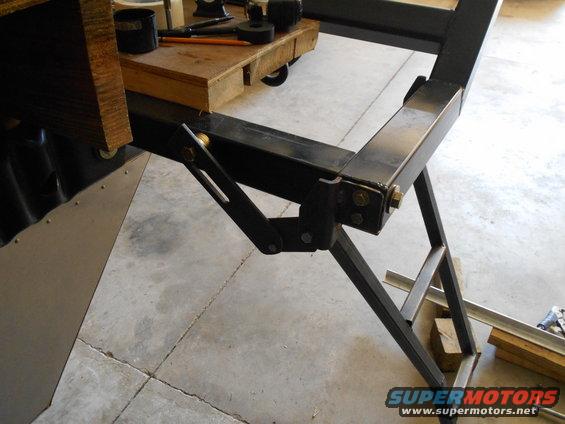
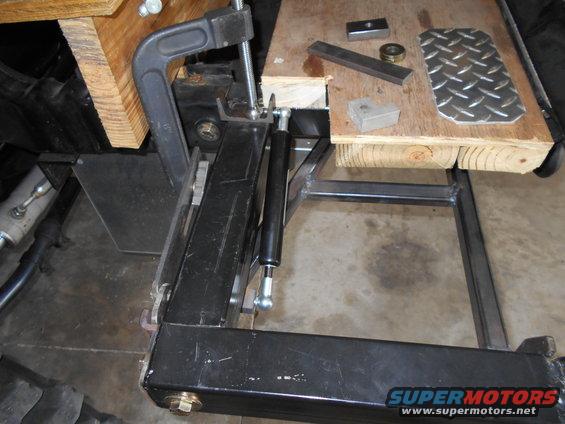
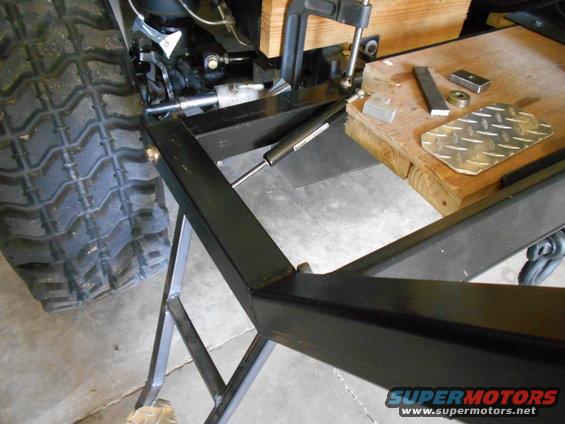
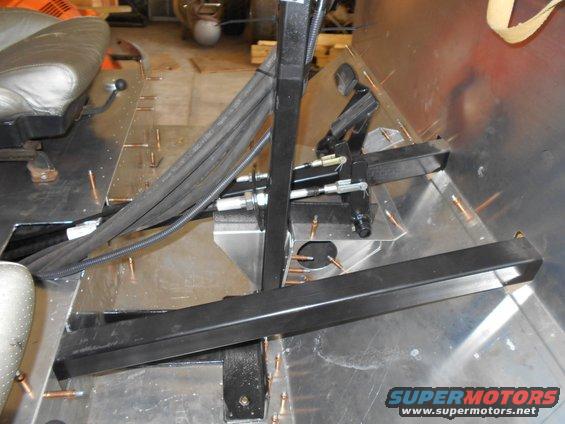
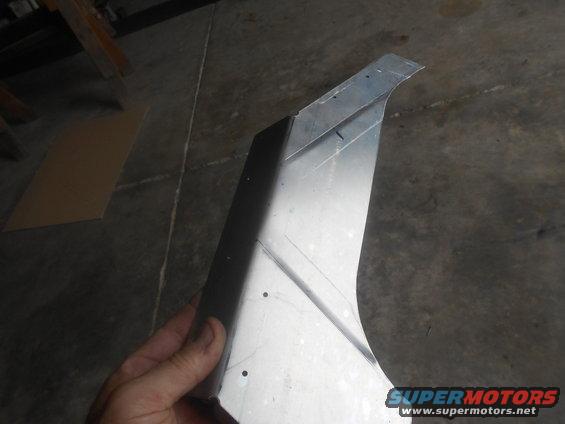
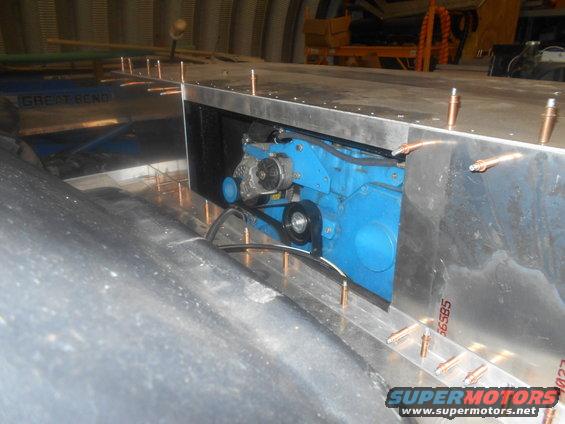
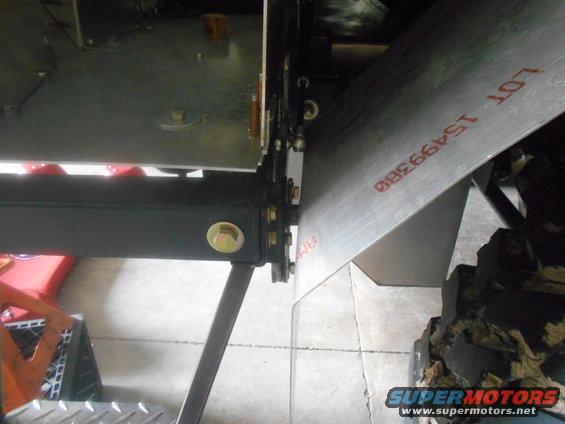
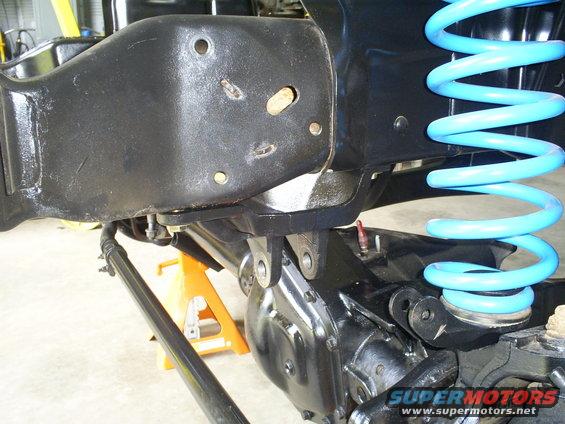
Here it is installed. Note access hole in frame rail. I know it looks like I didnt have to cut off the other two bolt holes. I've seen it done, but then you have to cut the crossmember alot. The mount is alot stronger then the crossmember, so I cut it.

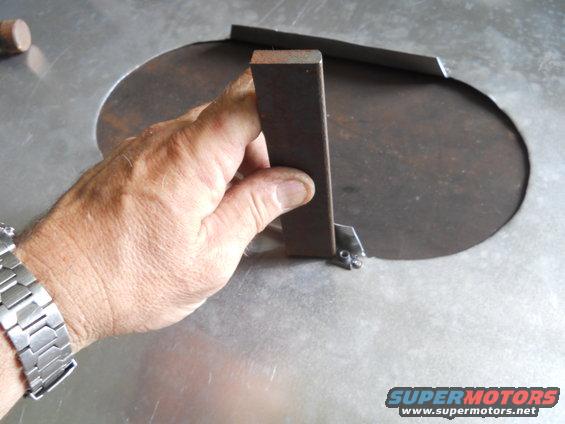
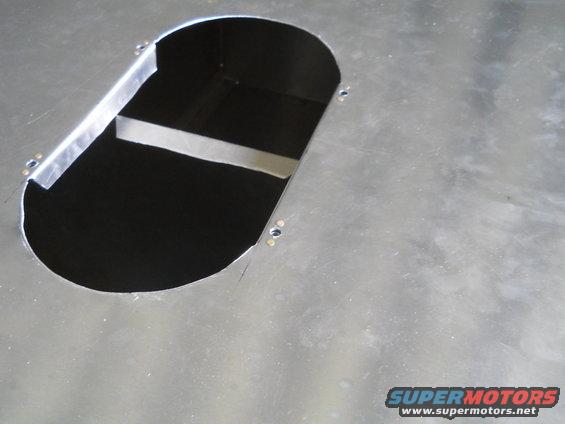
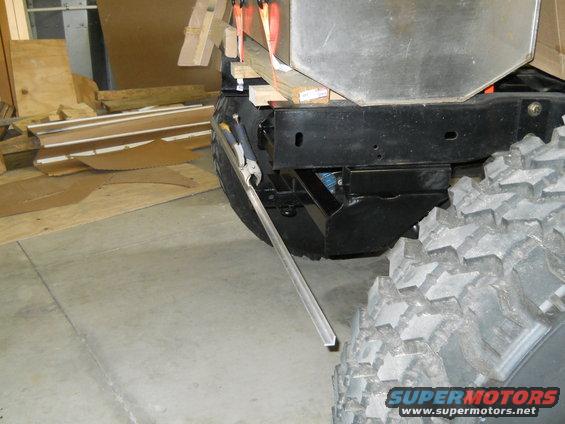
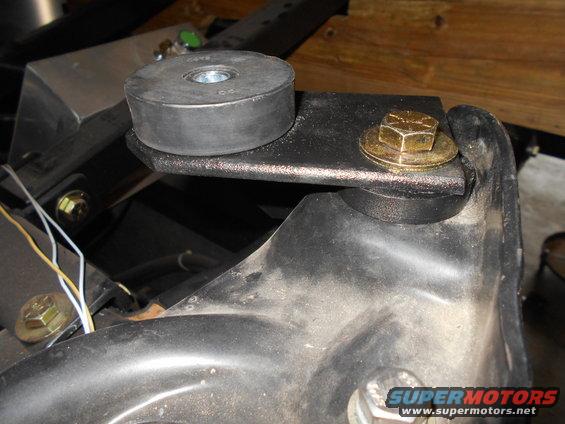
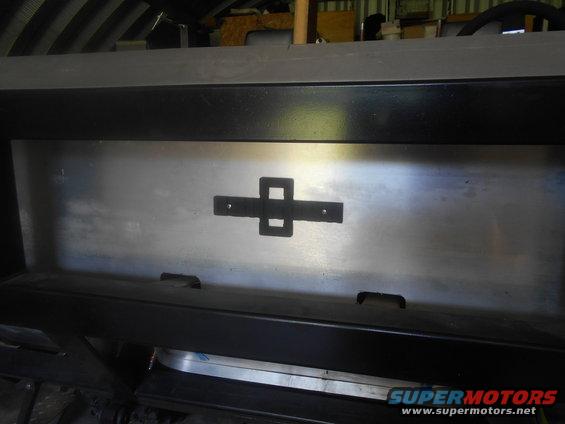
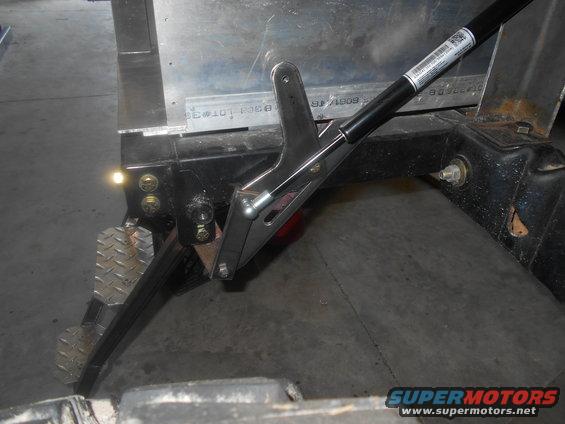
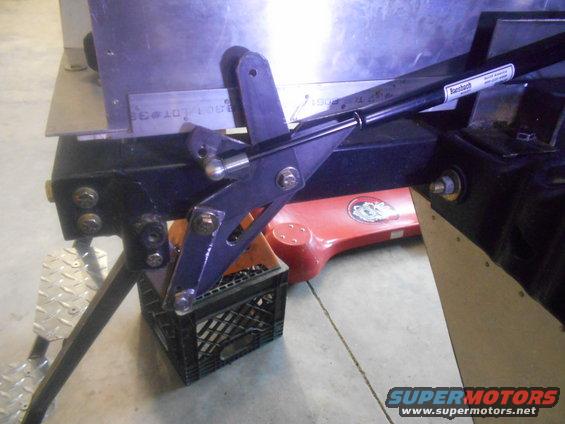
Another angle.
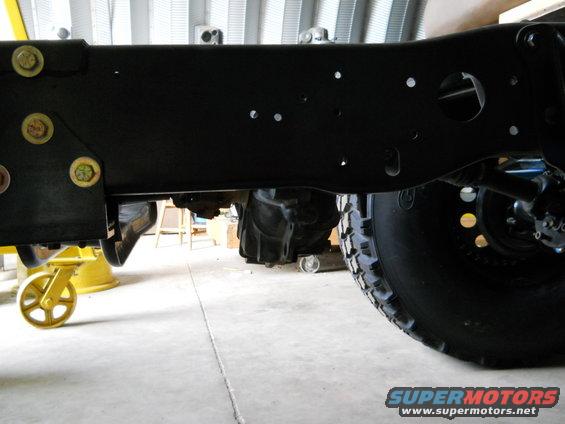
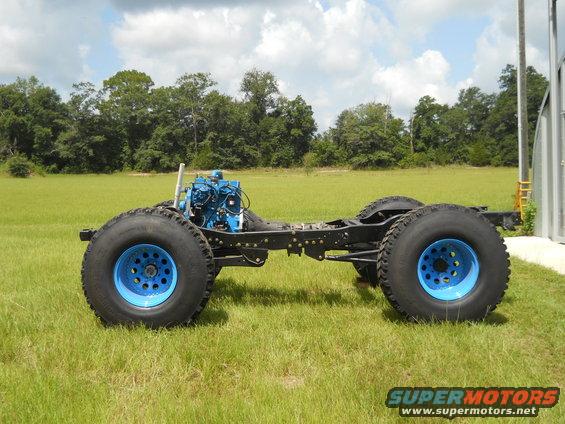
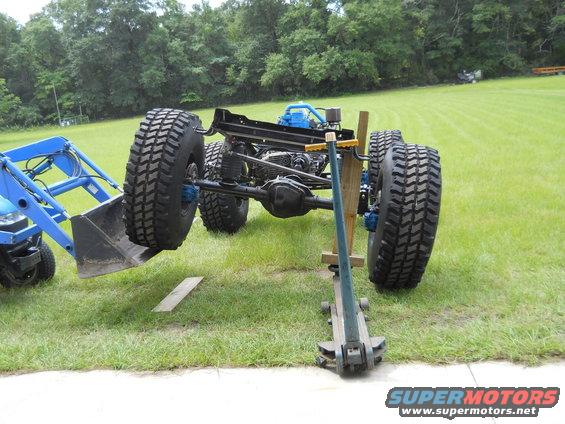
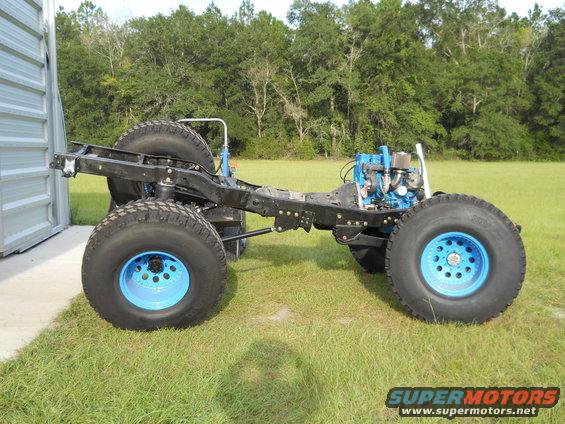
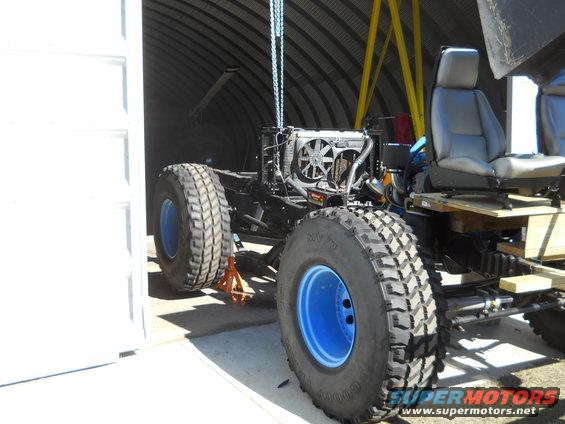
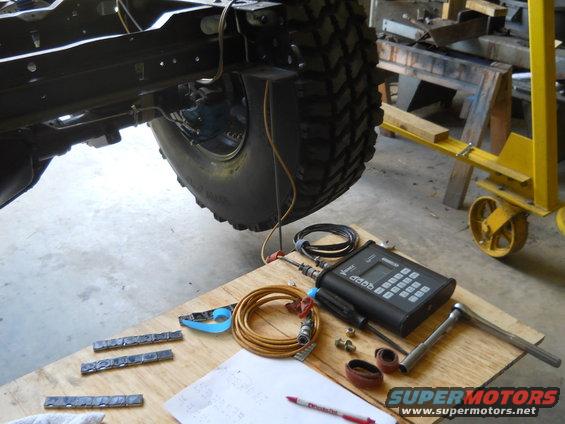
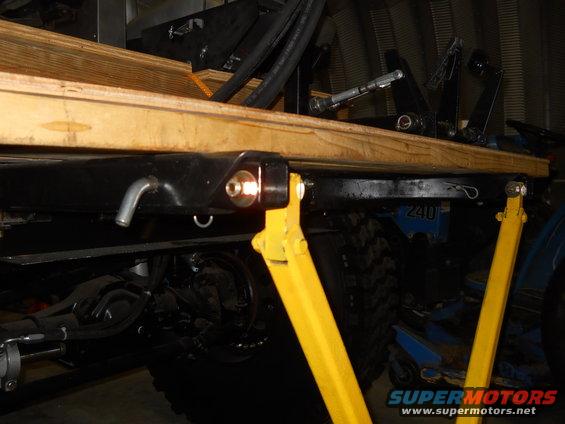
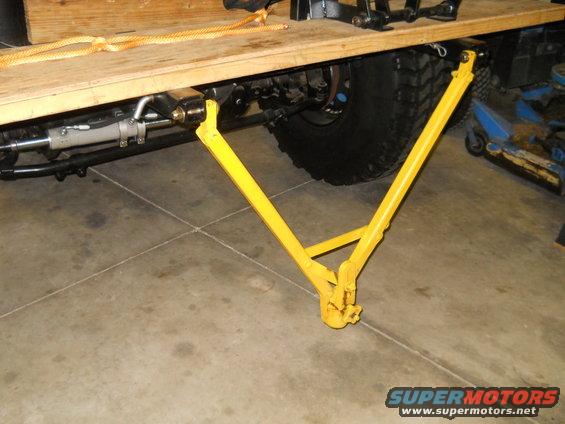
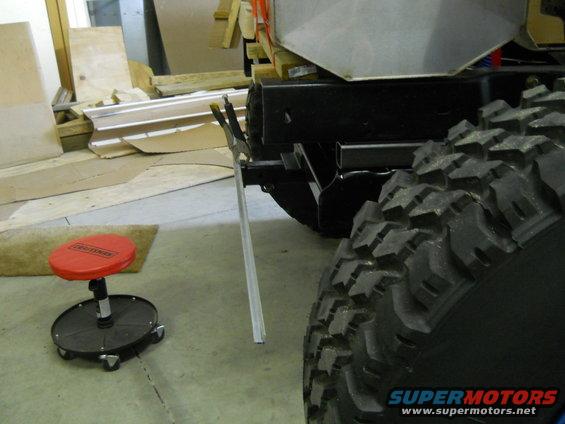
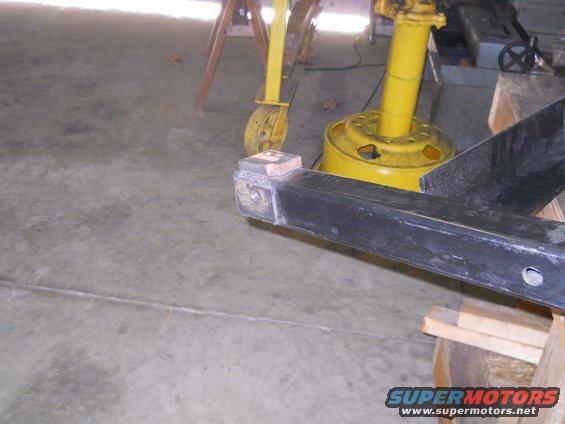
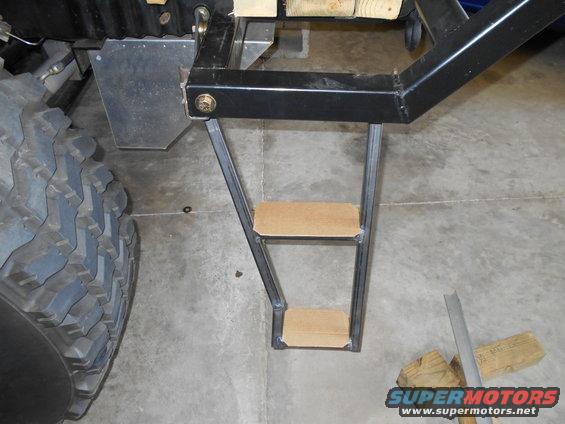
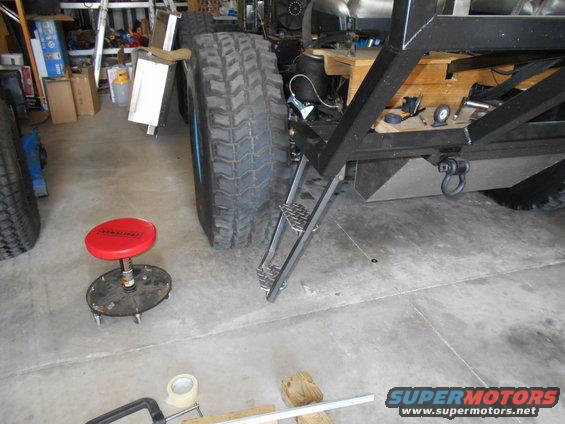
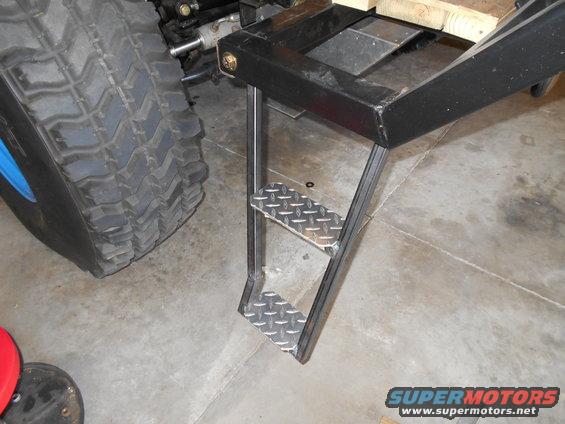
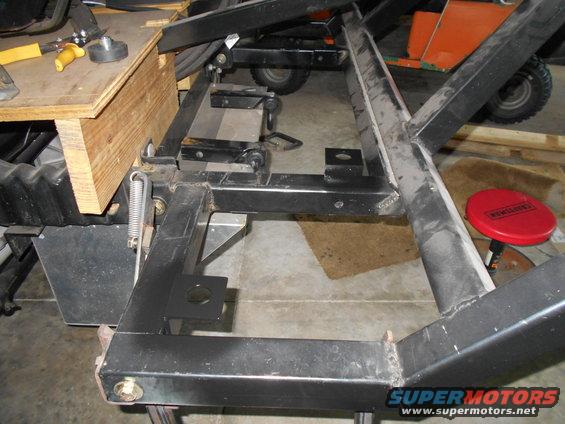
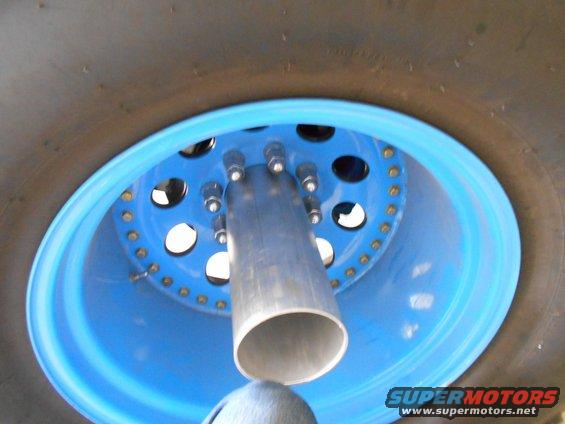
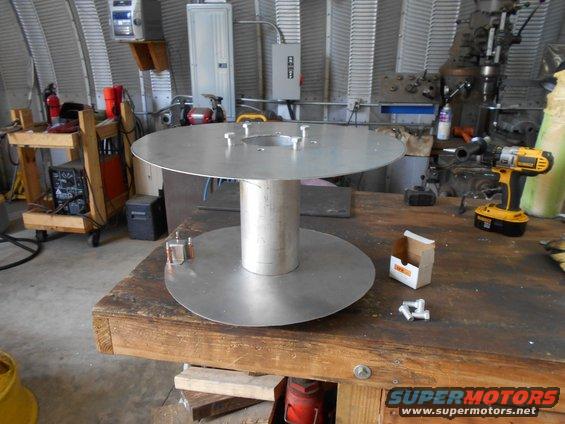
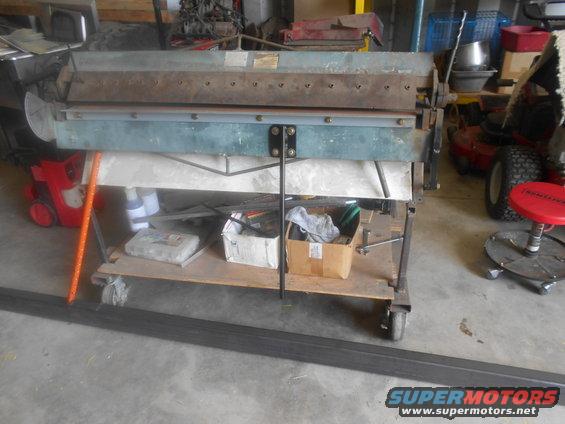
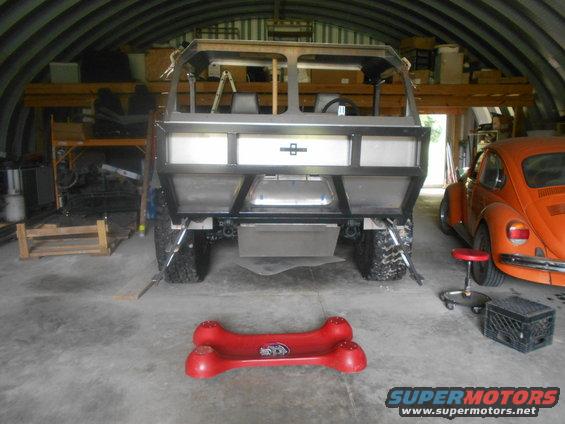
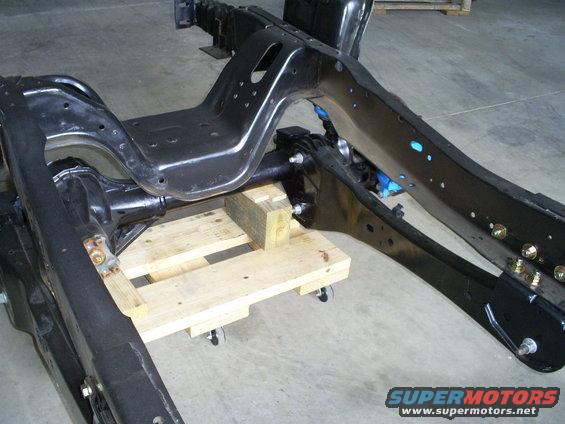
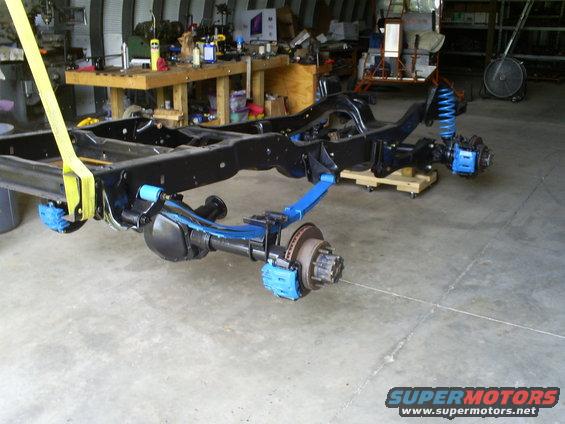
I made this dolly to roll the frame around. Even though the wheels are rated for the weight, It's hard as h*ll to roll it around. I may have to buy some 8 lug take off's just to make it eazy to work on the frame.
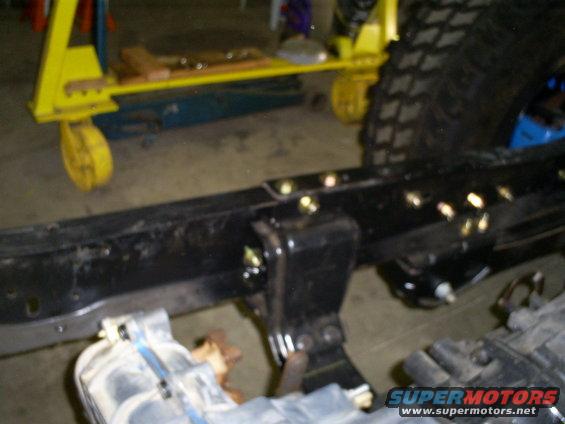
Note the grade 8's in the rad-arm mounts.
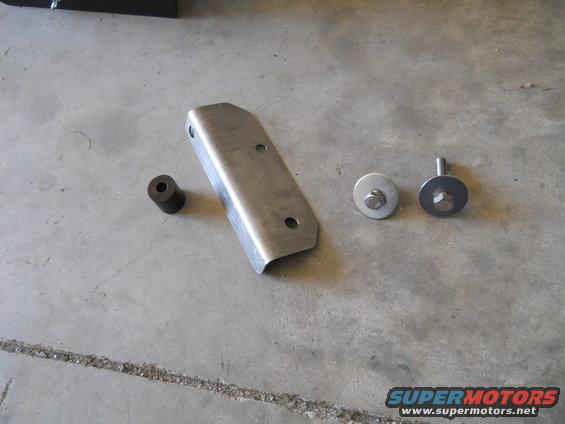
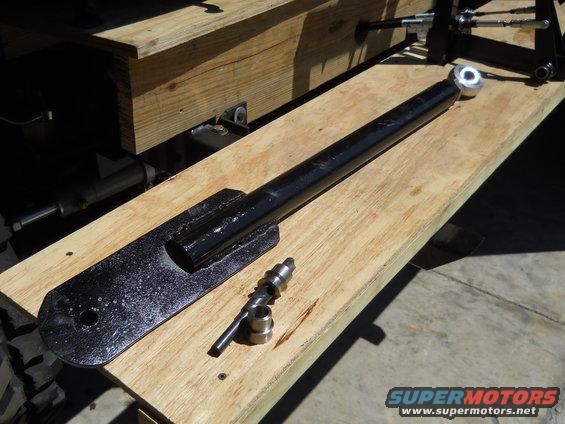
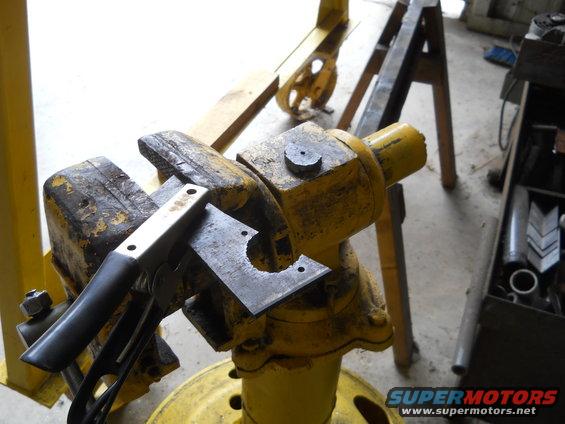
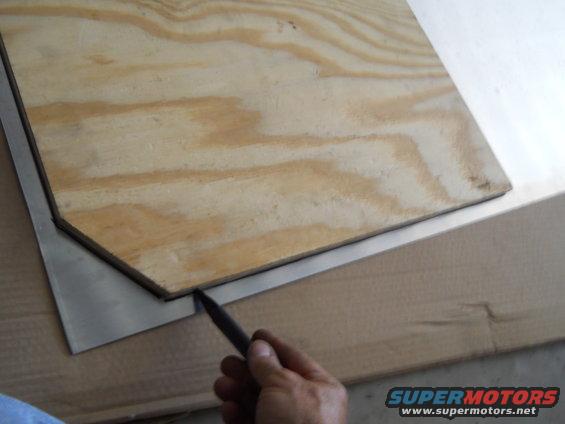
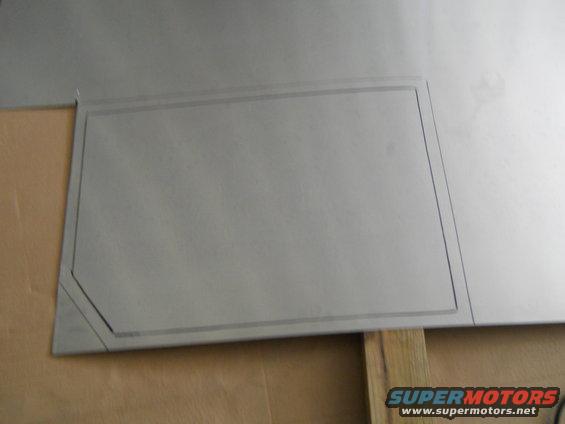
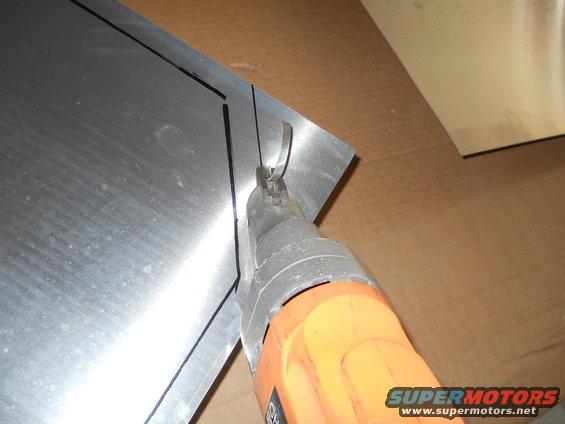
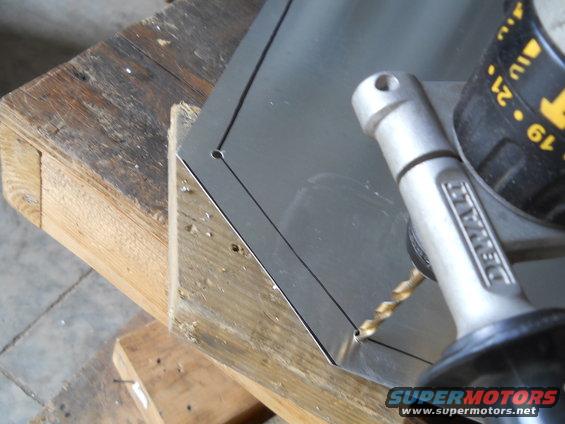
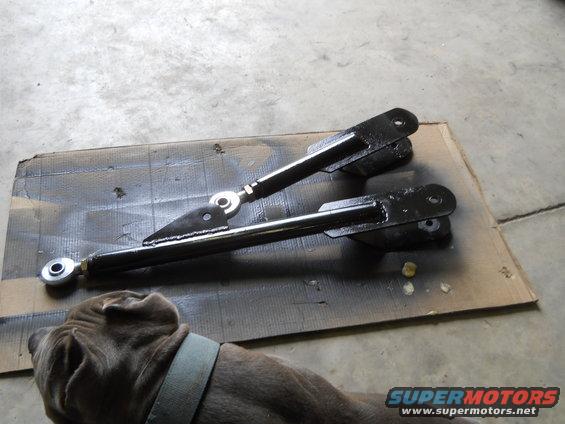
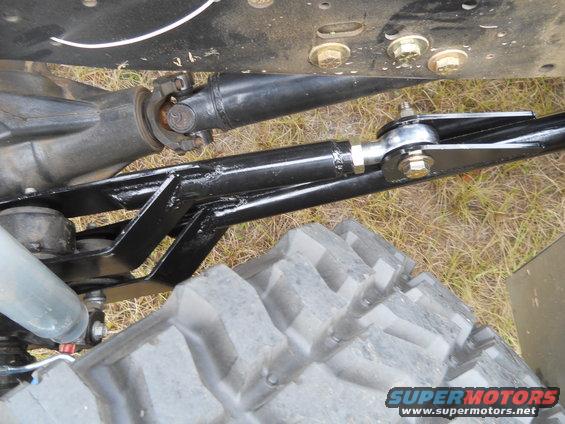
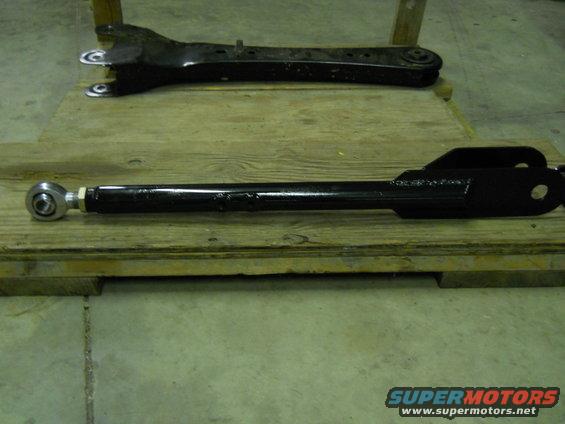
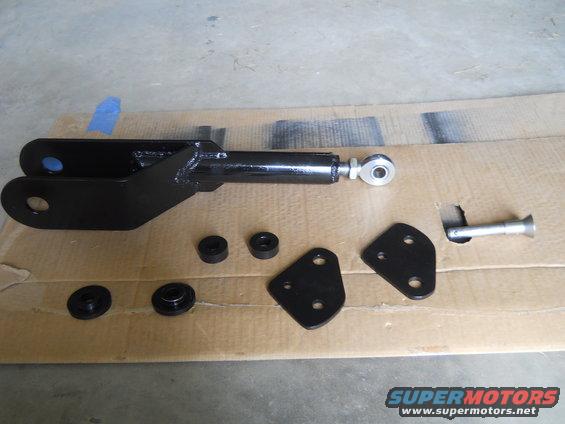
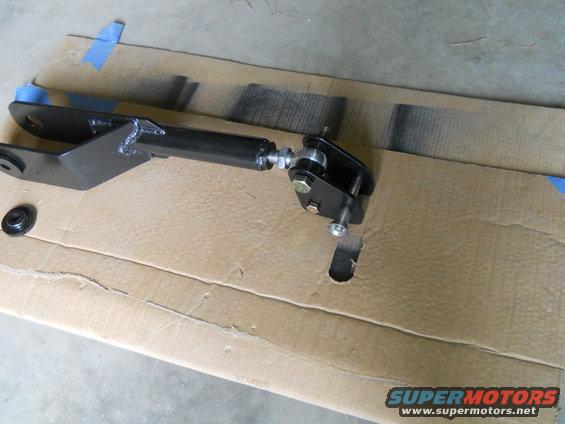
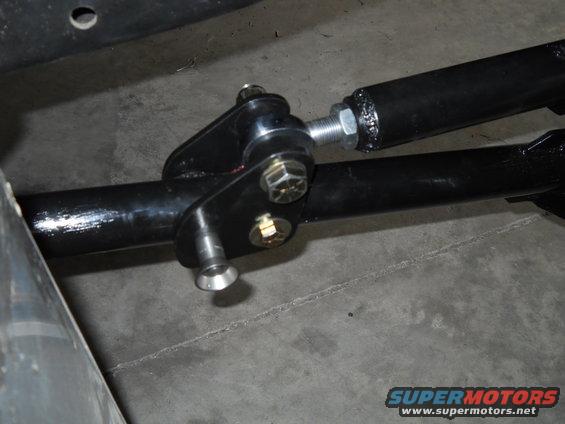
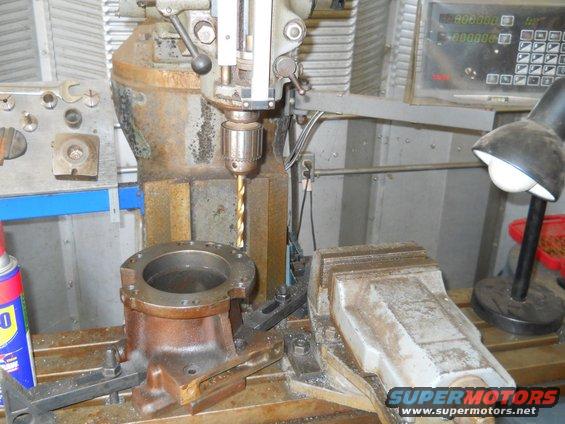
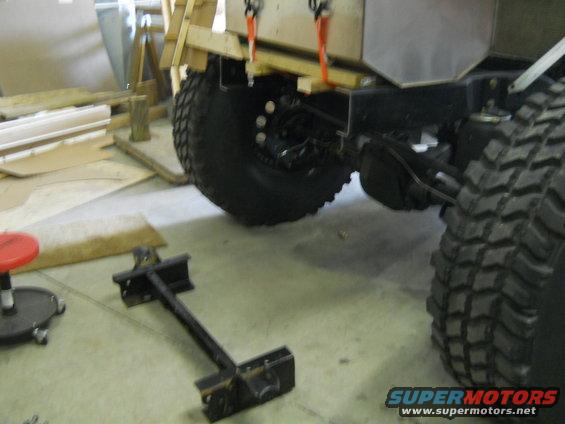
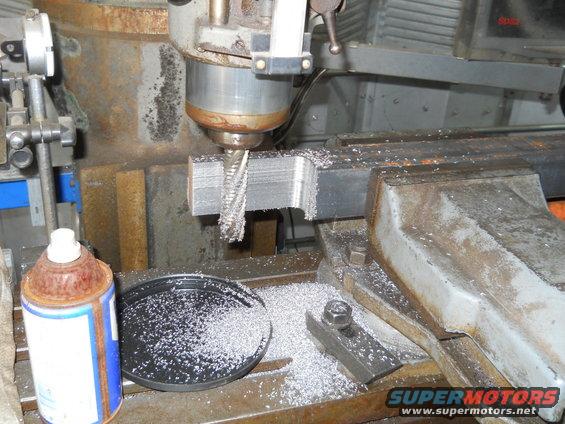
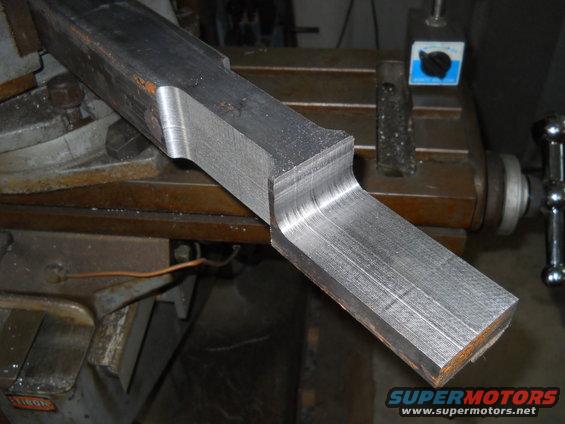
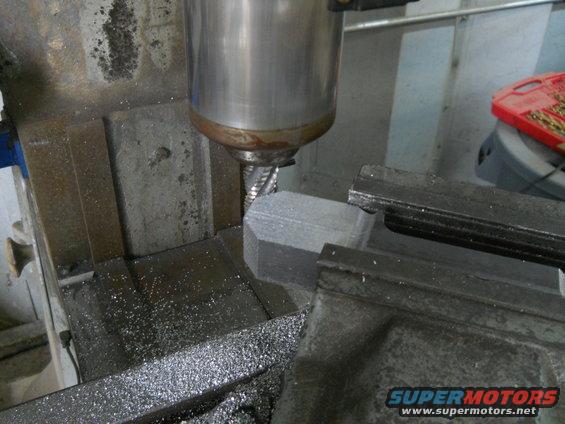
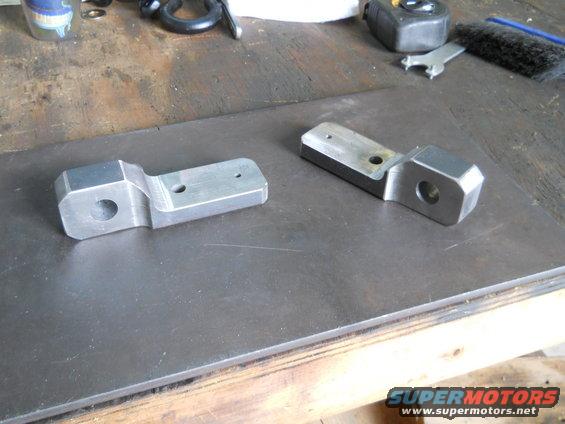
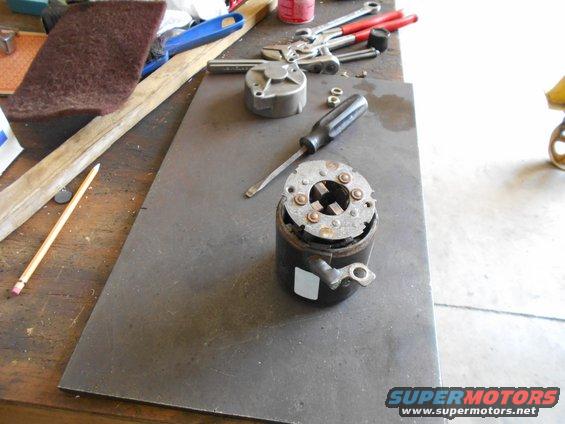
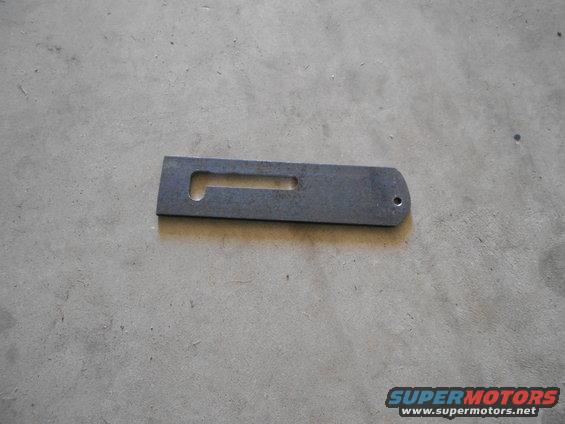
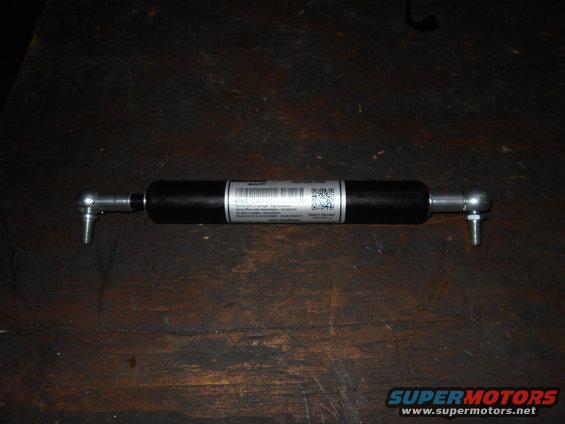
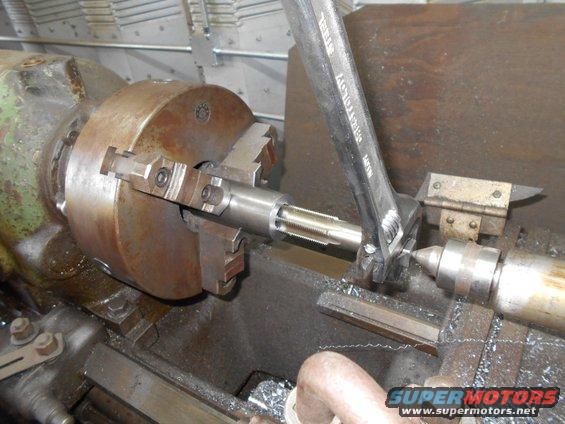
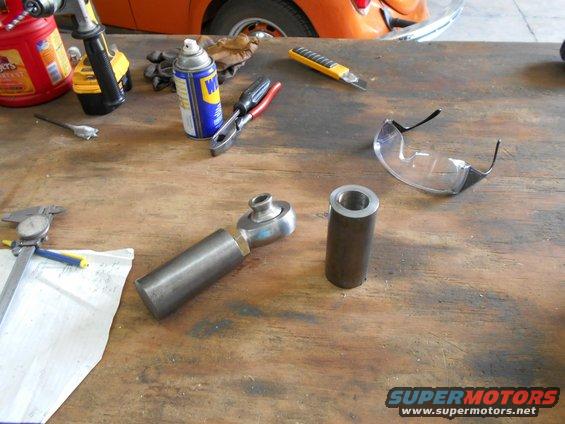
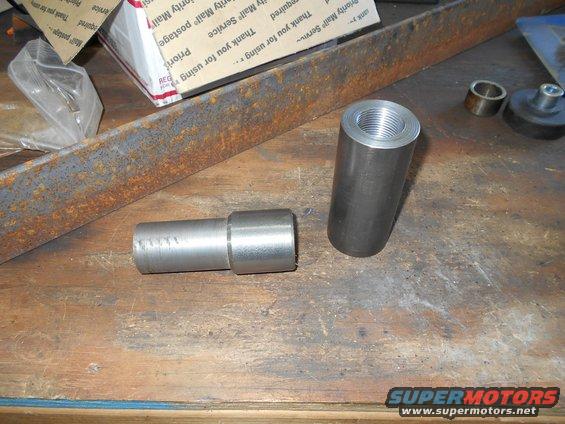
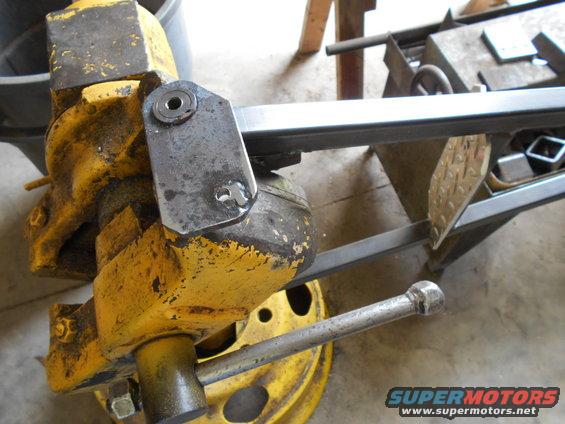
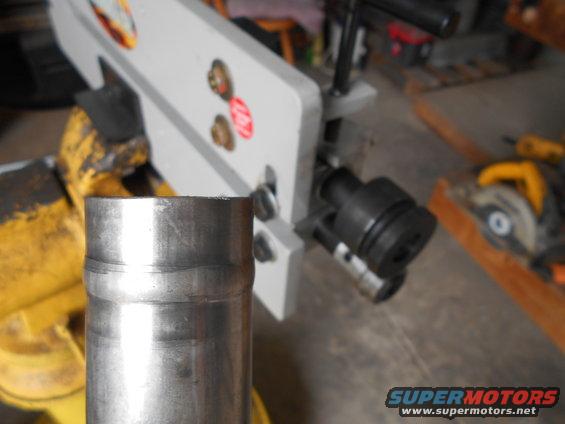
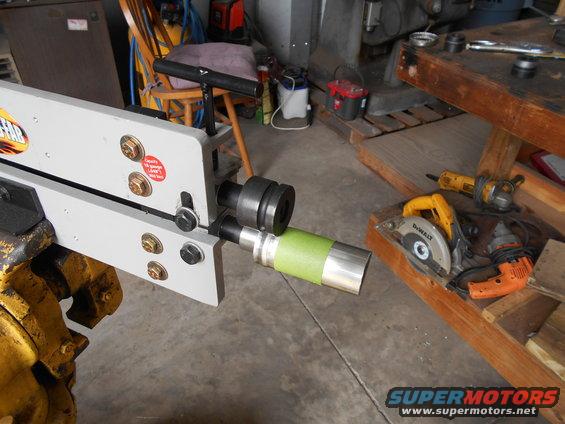
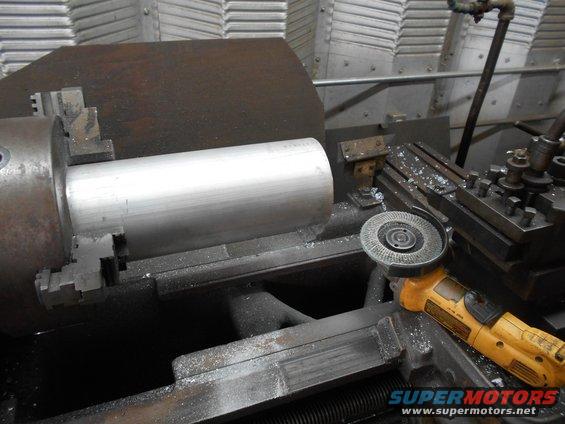
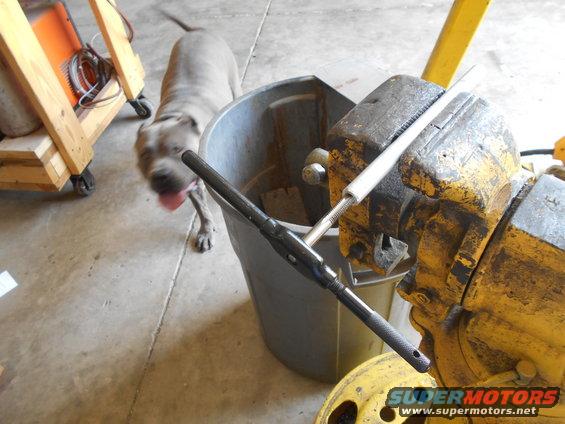
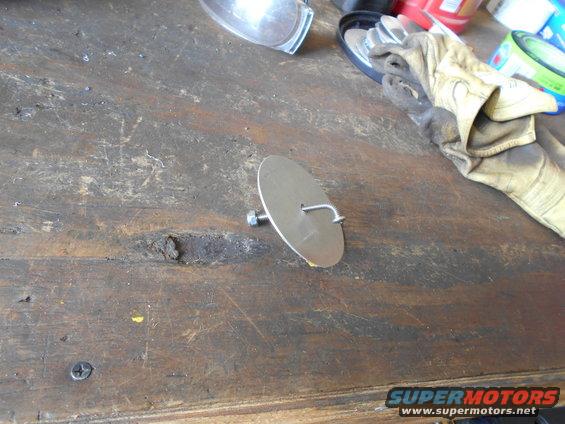
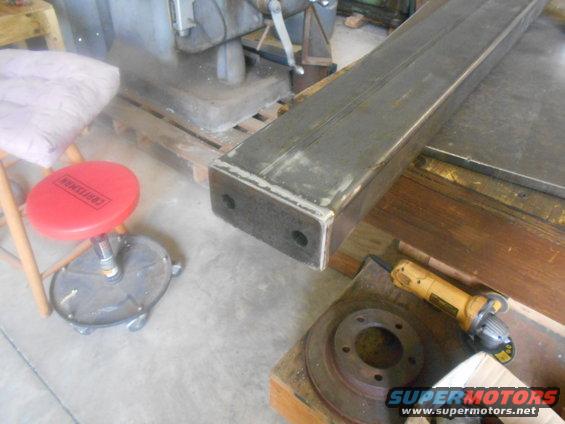
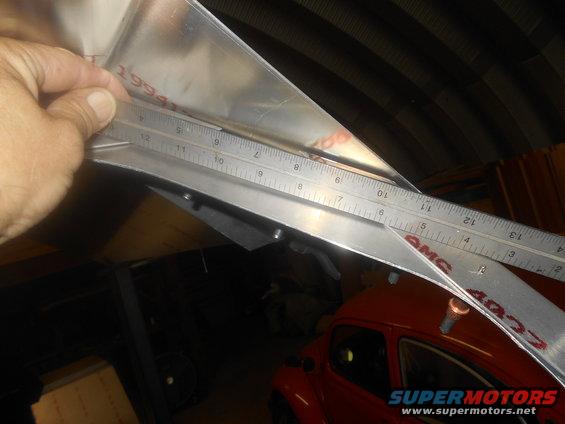
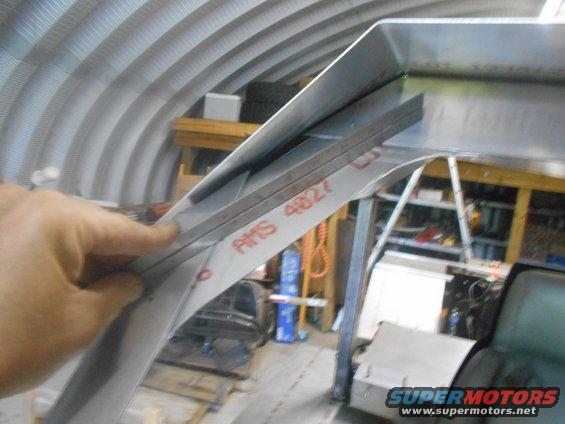
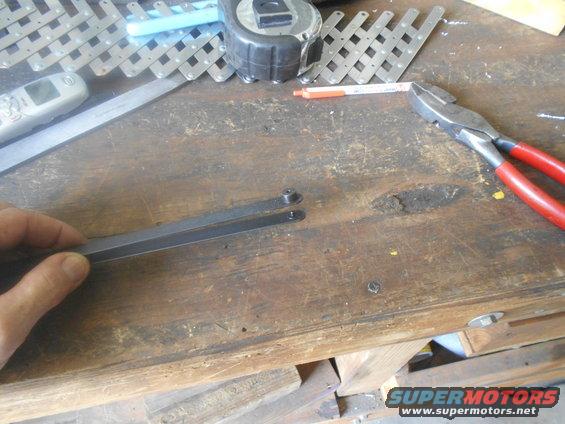
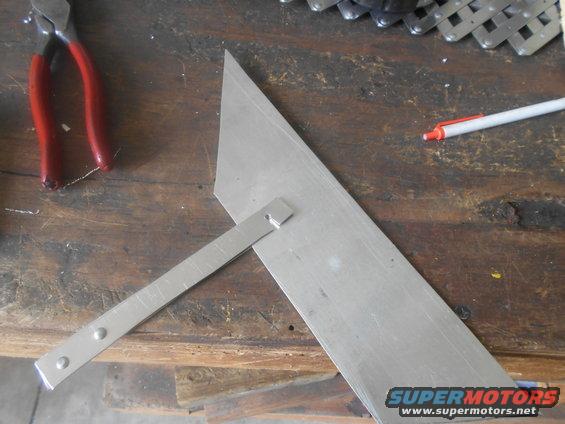
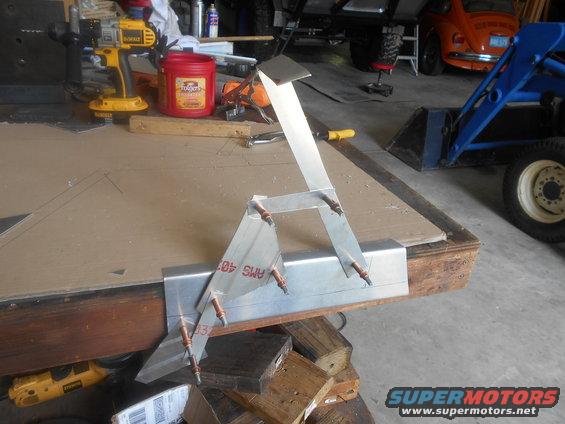
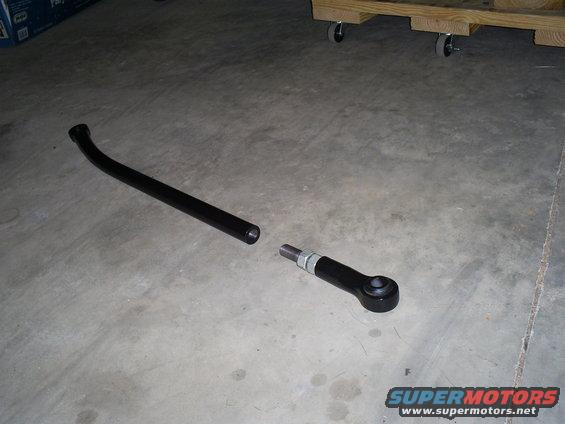
This is what I ended up doing to the stock (one piece) trac bar to make it adjustable. I did some searching and found that the superduty has some problems with the axle not being centered on stock springs. They sell bars like this, but they want too much.
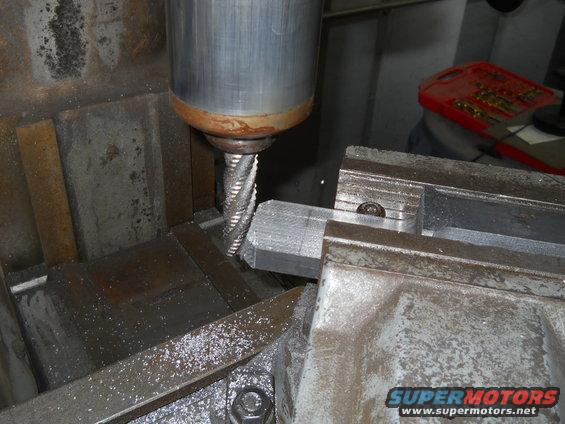
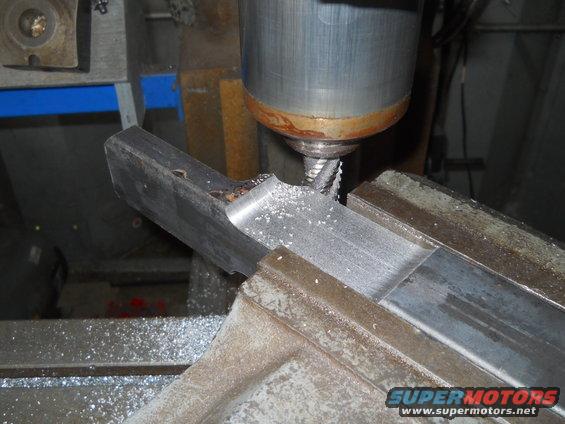
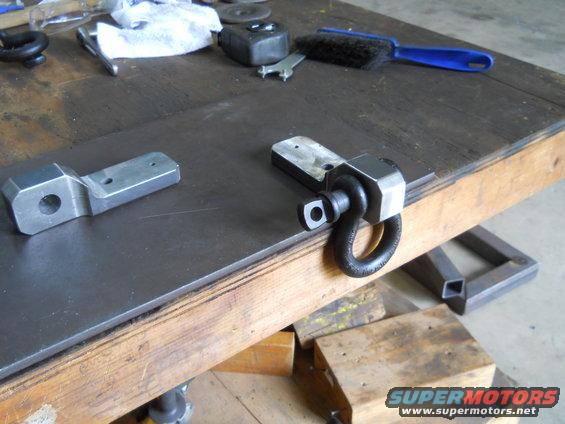
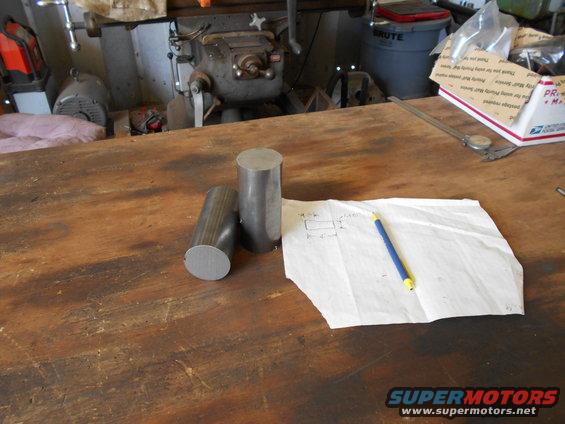
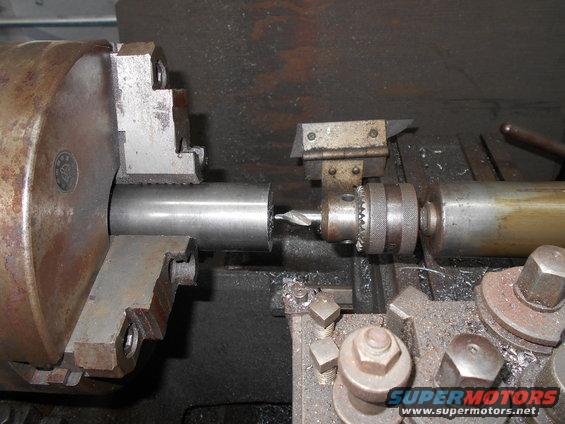
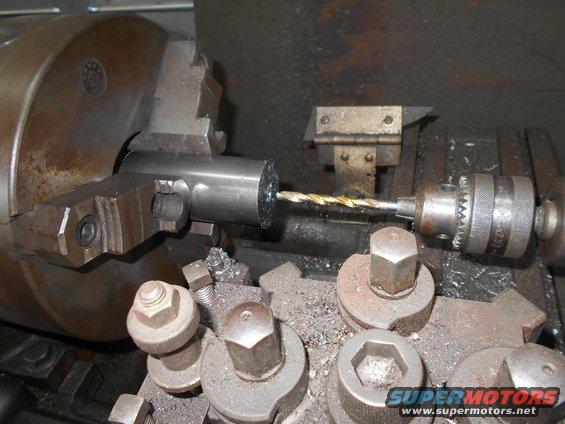
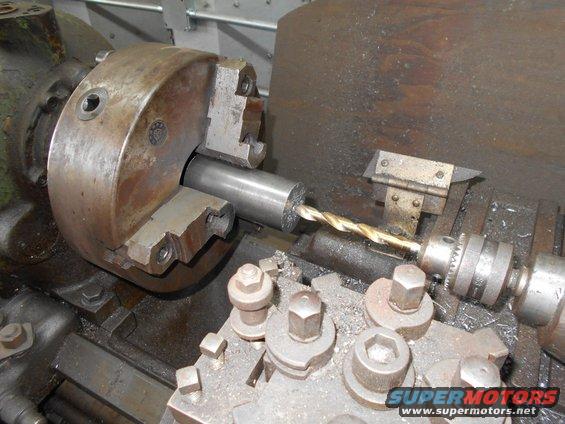
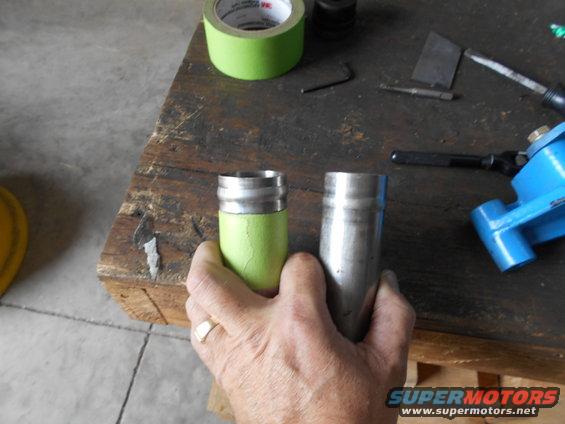
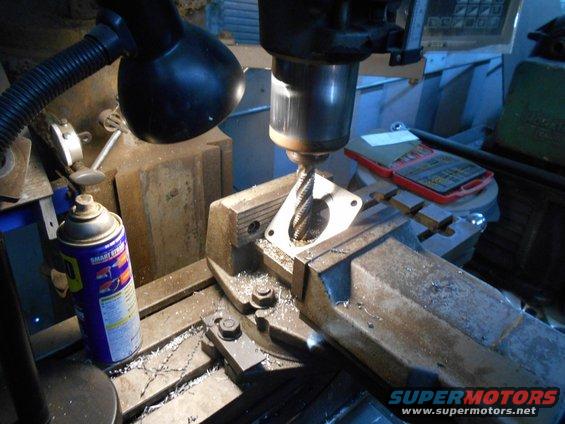
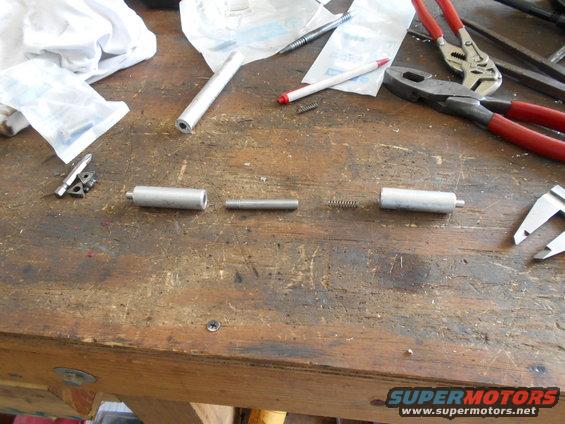
The bar is fordged and not eazy to work with. But I was able to drill and tap for 7/8". I chose that thred because they make rodends in that size. So I might be able to use the tools for my three link in the back. Also, I might put a rodend in that end.
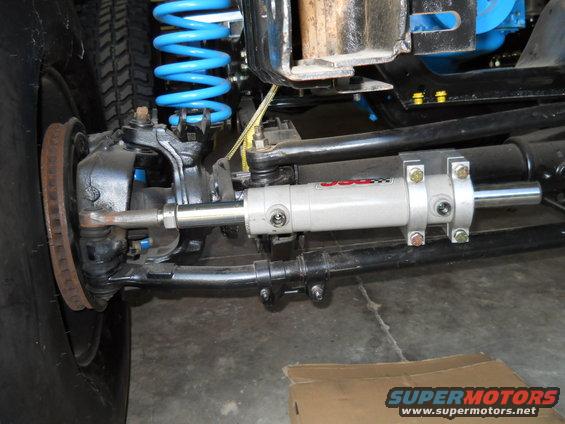
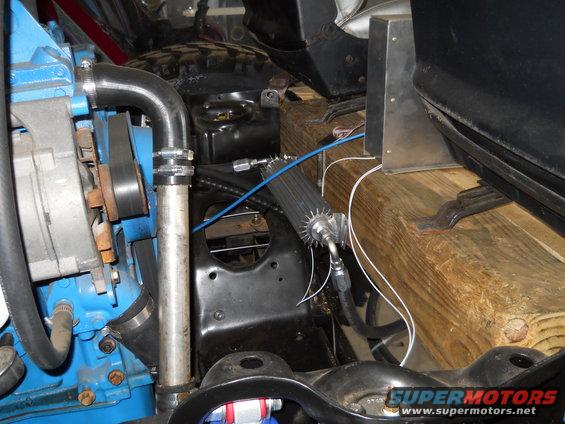
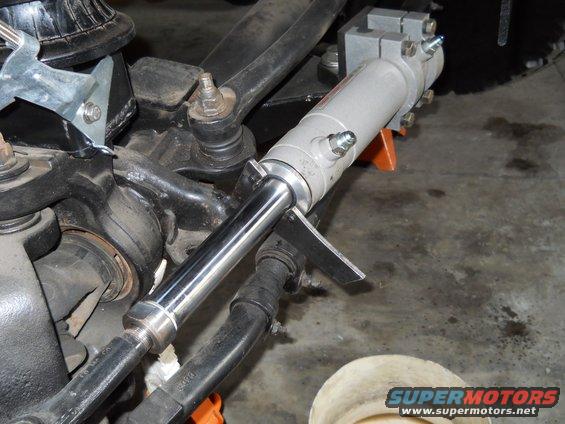
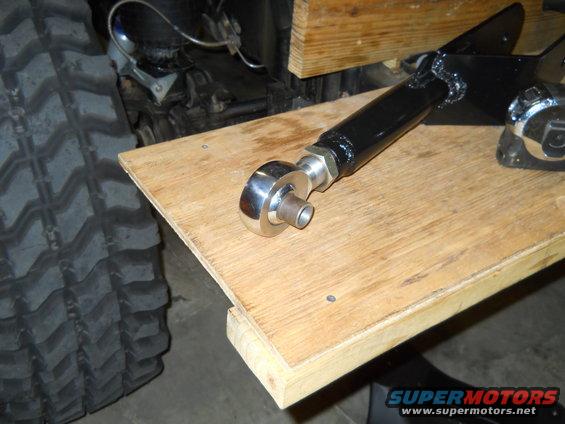
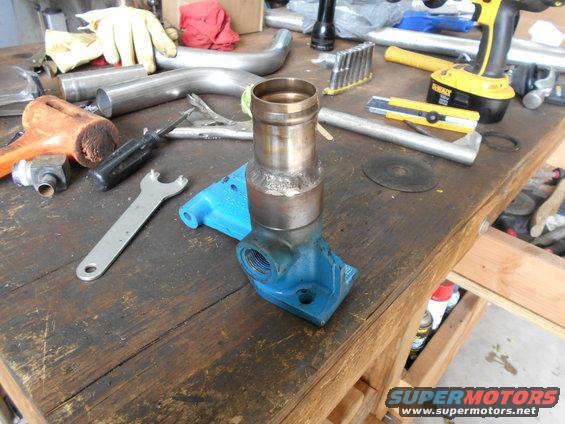
The stock trac bar goes to a balljoint on the axle. The ball joint is installed down with the bar on the bottom. This creates quite an angle which is not paralell to the draglink. Even the simpleminded people on this site understand that the tracbar and steering draglink shopuld be paralell and close to the same length. I wish someone would tell the Ford engineers.
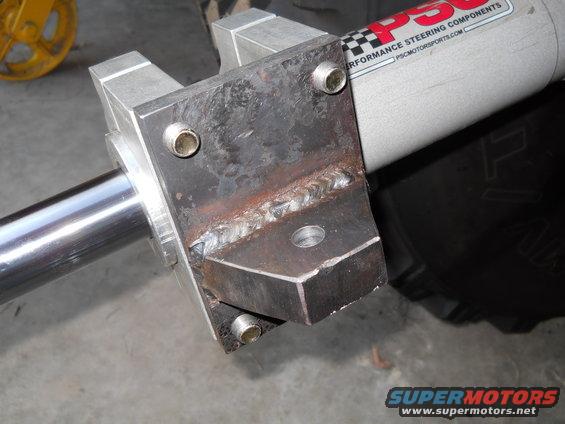
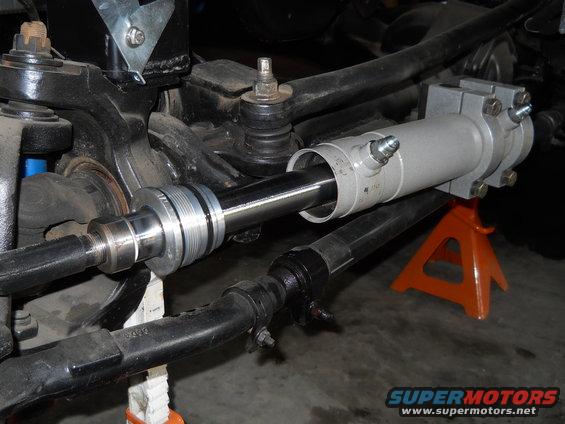
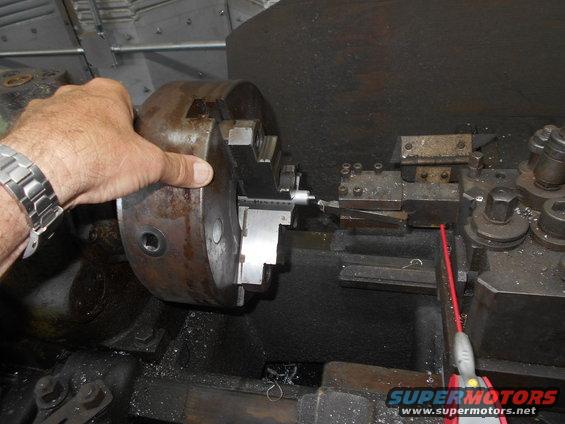
I'm probubly going "full hydro" on the steering, so paralell doesnt matter. But also it is advisable to make the tracbar as horizontal as possible. So I installed the ball joint up. Of course this ment I had to buy a reamer to ream the trac bar. It also gives me the dreaded "hourglass" hole. I have the same thing in my DD tierod ends. It hasnt caused a problem yet. (Of course the reamer for the tierods was not big enough for the tracbar)
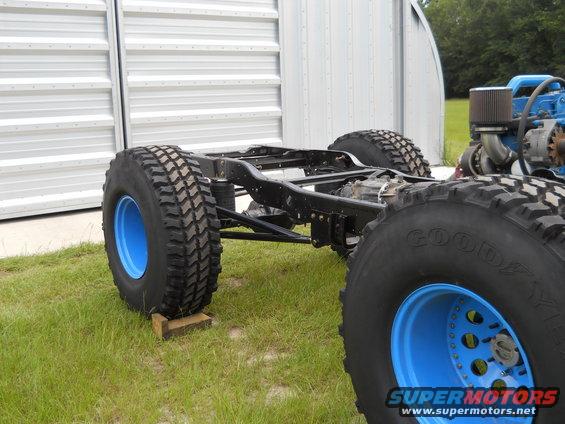
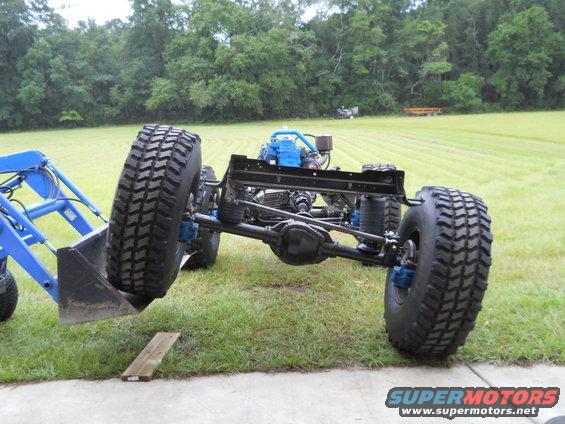
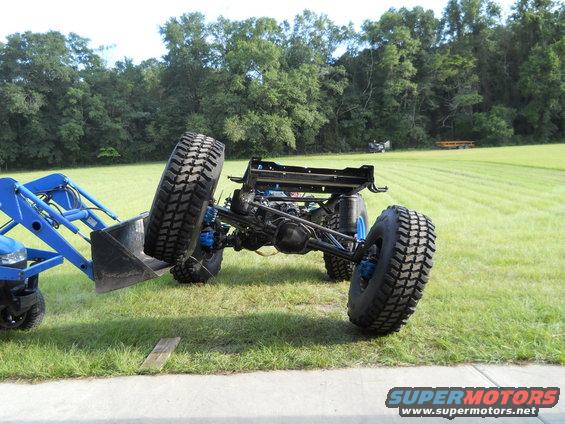
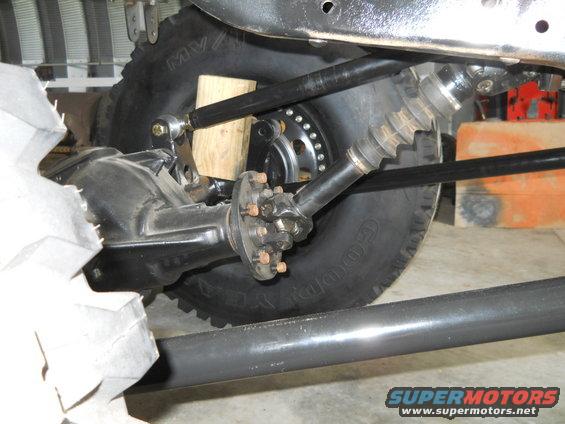
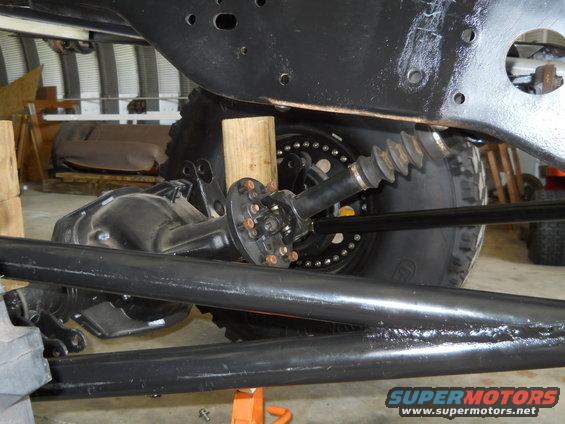
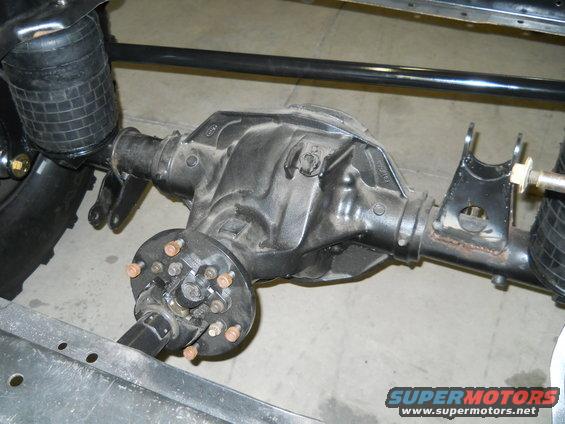
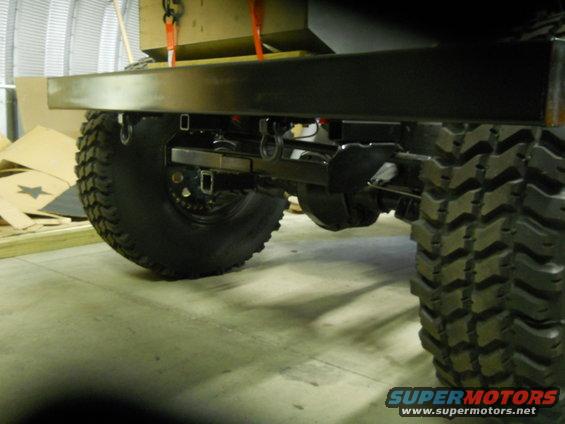
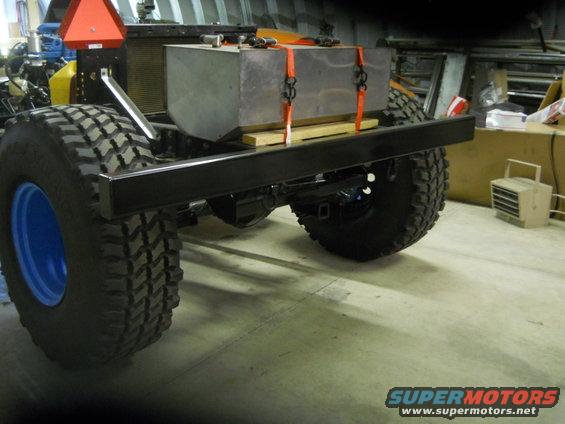
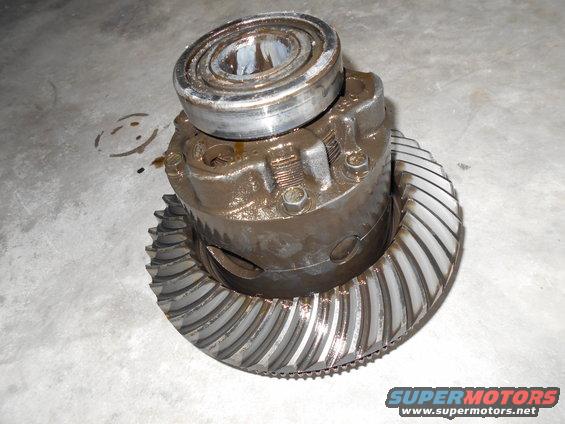
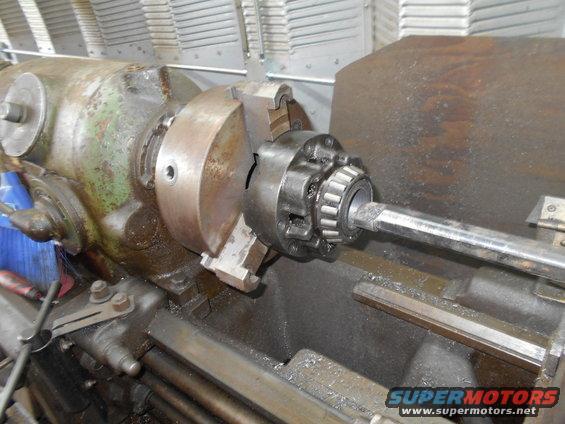
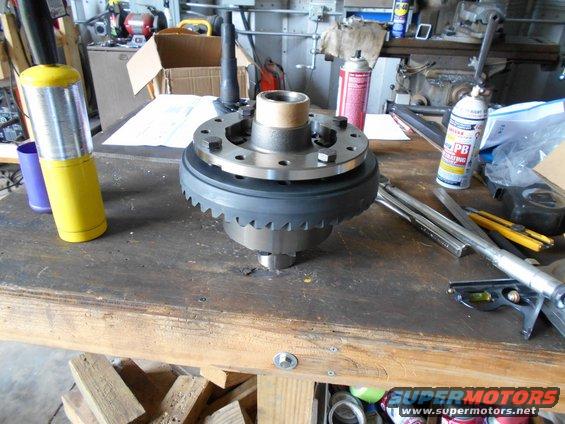
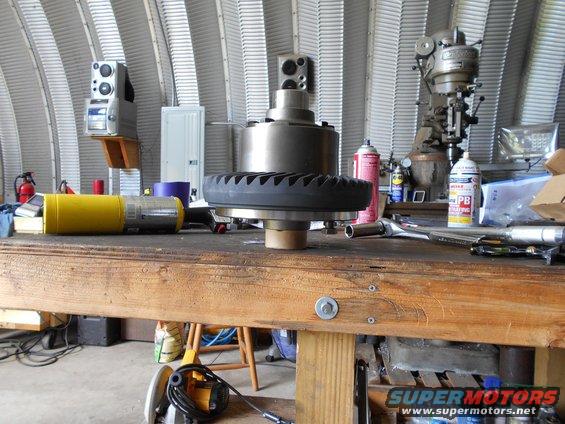
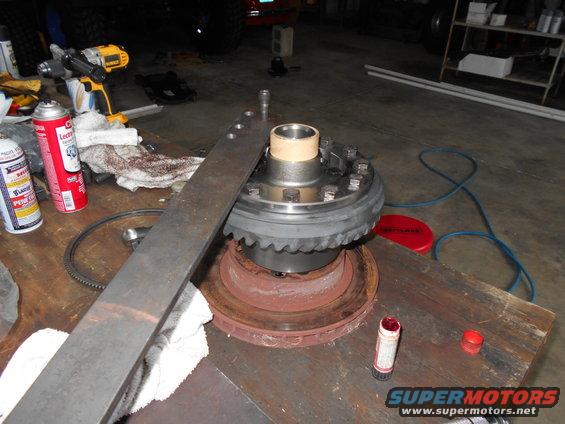
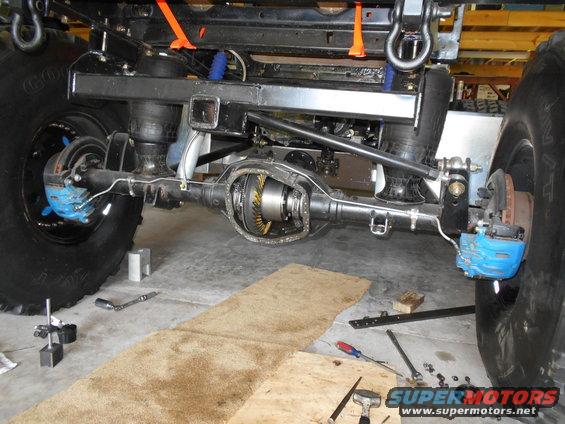
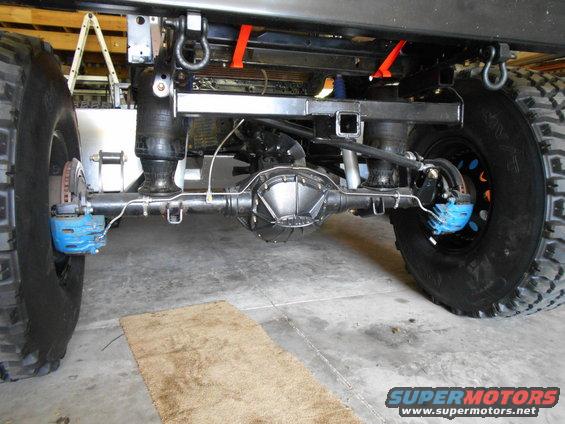
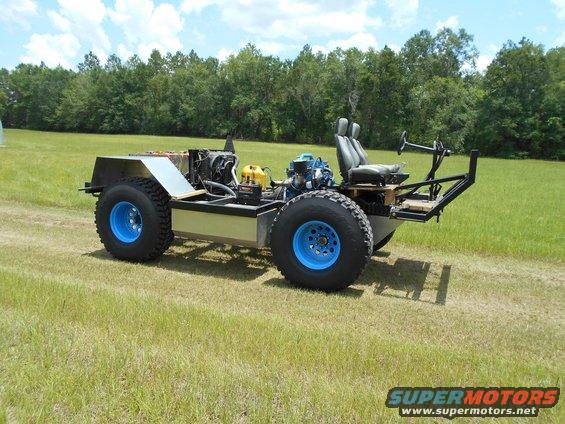
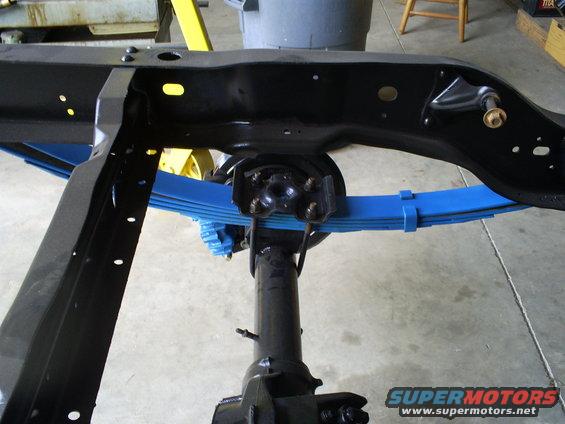
On the rear I got a 10.5 Sterling. My plan is to go three link eventually. But I would like to get this thing rolling as fast as possible, so I figured i would bolt it in with the stock leaf springs.
The spring plates are from the Superduty. The U-bolts and nuts are from the Bronco. The axle is a little bigger in diameter so I had to spread the u-bolts.
http://
Well I’m finally starting my build thread. Of course, the name is indicative of the speed of my work. In any case I started over a year ago, so it thread will move a little faster until I catch up. After that, no guarantees. I expect this to take me at least two years to finish. When I was younger, I had lots of time and no money. Now money is not the problem, but finding time is.
This is going to be a major build with one ton SAS and a diesel engine. Not even sure what the final truck will look like, but it started out like this. I got this 92’ for $1100. I had been looking for a Bronco all over and this one turned up less then two miles from my house. It has the same driveline as my DD. It runs great and is fairly rust free.
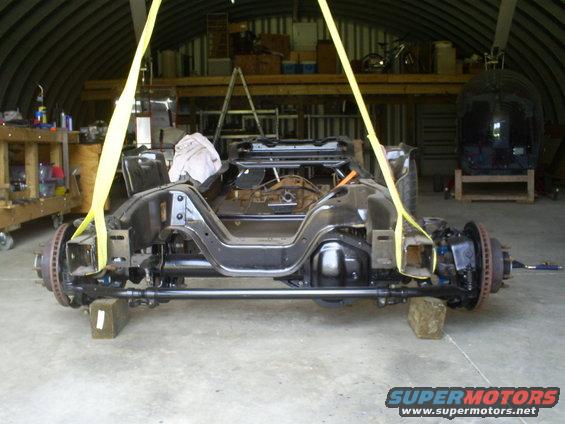
This is the same truck stripped to the frame after a lot of work with a high speed wire wheel and a few cans of rustolium. I also removed the body mounts because if I install the stock body it will be moved back. I have several ideas concerning the body, but for now I concentrating on the driveline.
The obglatory photo. I wish this was from my DD. (Maybe later)
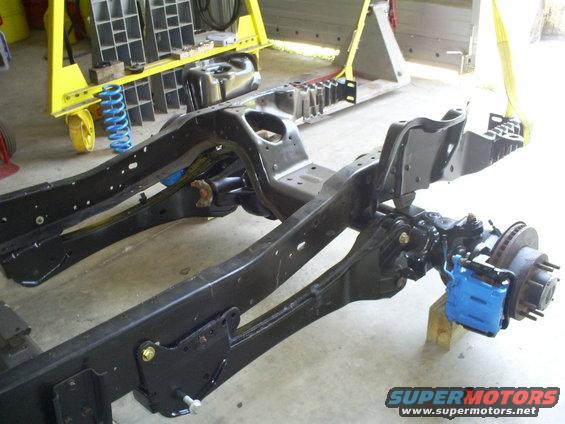
I got a some axles from a 2007’ F250 Superduty. At least, that’s what the yard told me. I started with the front axle. I told the yard to get the radius arm mounts off the SD without ruining them. They torched the frame about 3” in front and back of the mounts. So I had to drill out the rivets. One thing I noticed was the SD frame is .270” thick. This Bronco frame is .210” thick.
I started by measuring several times and then drilling one ¼” hole. Bolted that and then measured again. LOL
Note the angle on top of the frame. I didnt weld this on. The rest of the truck was stock except exhaust. I dont know why this is there. I couldnt see any damage anywhere.
With the back bolted solid (1/2” grade 8’s) you can see that the frame seems to be a little narrower. Some other guys put spacers in here. I decided to just bolt it to the frame and let the rubber bushing take the misalignment. If it gives me problems, I can space it out later.
I lowered it down to the bump stops and nothing hits the crossmember.
These are the stock springs. The perches are off the TTB. It’s funny the stock bolts were not long enough to hold the perch. But the TTB axle pivot bolts were exactly the right size. In any case, I might be changing the sprigs/perches in the future. (maybe even the buckets) But for now, it’s OK.
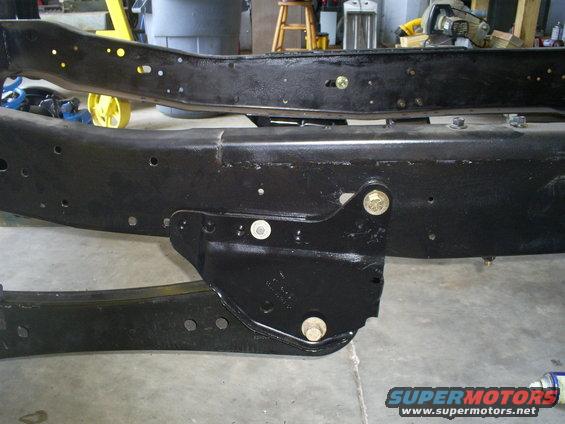
I had to modify the frame side trac bar mount. (off the superduty)
The ear on the left was just hitting a frame rivet. The hole next to it lined up with another frame rivet. (drilled it out and bolted with a grade 8) After that I had to elongate the right hole to make room for a bolt inside the frame rail.
Here it is installed. Note access hole in frame rail. I know it looks like I didnt have to cut off the other two bolt holes. I've seen it done, but then you have to cut the crossmember alot. The mount is alot stronger then the crossmember, so I cut it.
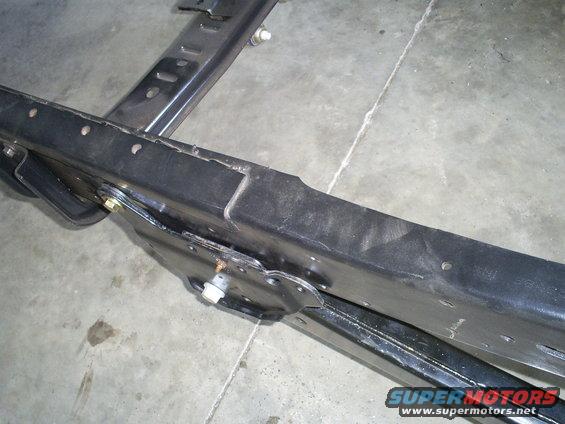
Another angle.
I made this dolly to roll the frame around. Even though the wheels are rated for the weight, It's hard as h*ll to roll it around. I may have to buy some 8 lug take off's just to make it eazy to work on the frame.
Note the grade 8's in the rad-arm mounts.
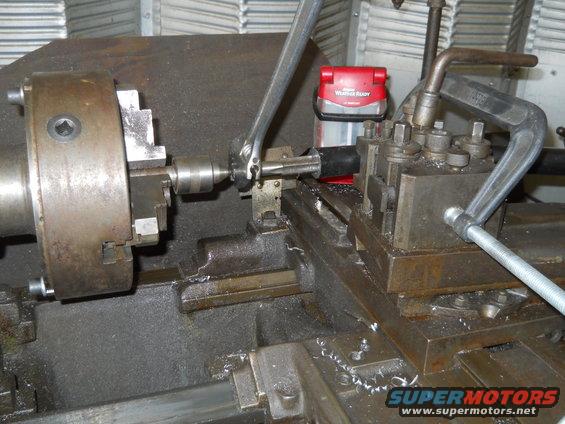
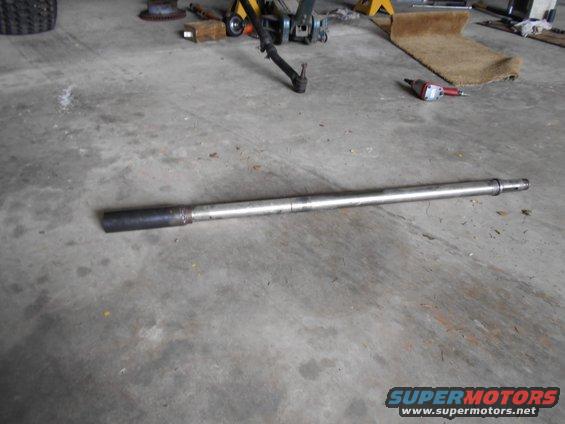
This is what I ended up doing to the stock (one piece) trac bar to make it adjustable. I did some searching and found that the superduty has some problems with the axle not being centered on stock springs. They sell bars like this, but they want too much.
The bar is fordged and not eazy to work with. But I was able to drill and tap for 7/8". I chose that thred because they make rodends in that size. So I might be able to use the tools for my three link in the back. Also, I might put a rodend in that end.
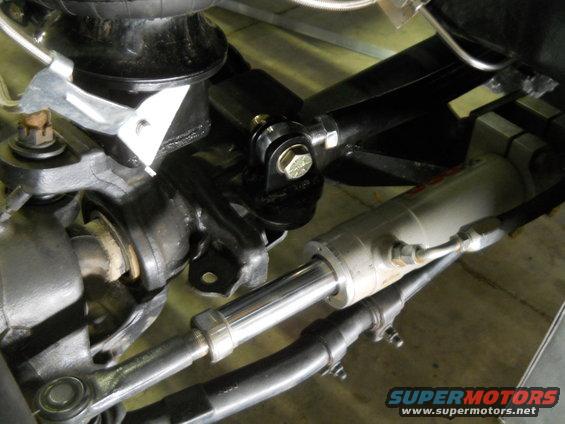
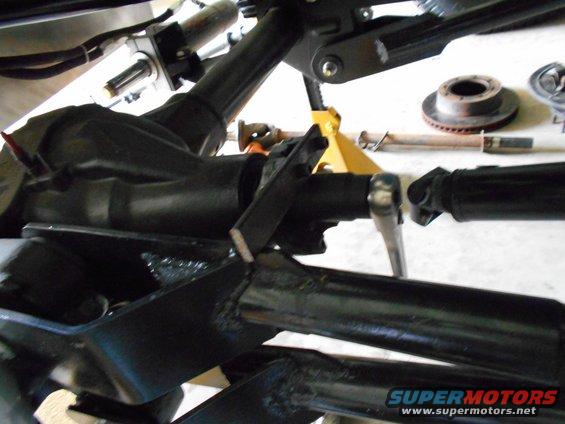
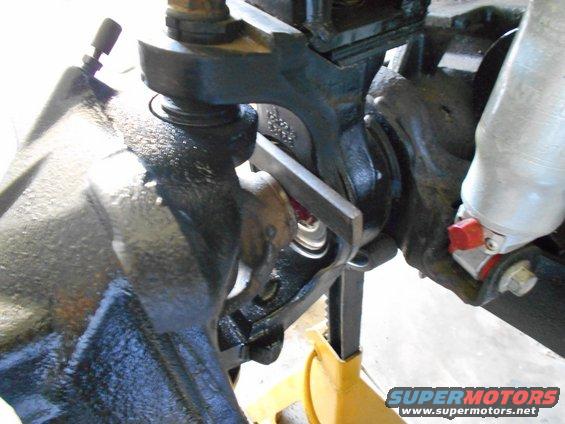
The stock trac bar goes to a balljoint on the axle. The ball joint is installed down with the bar on the bottom. This creates quite an angle which is not paralell to the draglink. Even the simpleminded people on this site understand that the tracbar and steering draglink shopuld be paralell and close to the same length. I wish someone would tell the Ford engineers.
I'm probubly going "full hydro" on the steering, so paralell doesnt matter. But also it is advisable to make the tracbar as horizontal as possible. So I installed the ball joint up. Of course this ment I had to buy a reamer to ream the trac bar. It also gives me the dreaded "hourglass" hole. I have the same thing in my DD tierod ends. It hasnt caused a problem yet. (Of course the reamer for the tierods was not big enough for the tracbar)
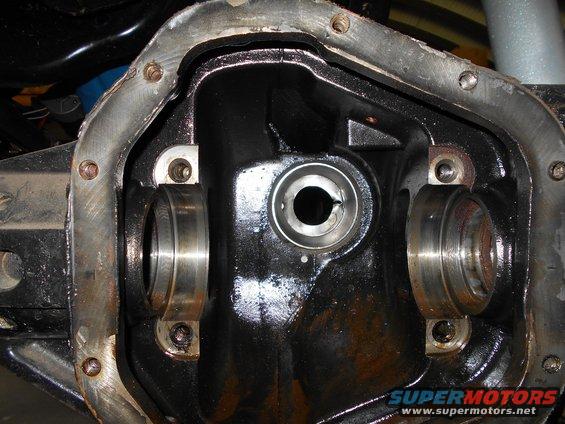
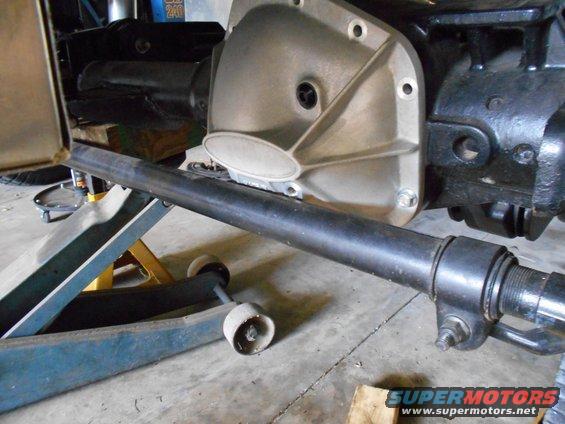
On the rear I got a 10.5 Sterling. My plan is to go three link eventually. But I would like to get this thing rolling as fast as possible, so I figured i would bolt it in with the stock leaf springs.
The spring plates are from the Superduty. The U-bolts and nuts are from the Bronco. The axle is a little bigger in diameter so I had to spread the u-bolts.
http://
Last edited: