What's new

1978 F250 400 Dual Fuel

haha I could be your wife
years of vehicle inspections have inured a sense of pessimism to my outlook
 
haha I could be your wife
years of vehicle inspections have inured a sense of pessimism to my outlook
it's great, until i mis-diagnose something and get to hear "See?! I knew it was [whatever she said originally that was actually broke]" :laughing:

now if i could just get her back to changing her own parts again :laughing:
 
she certainly knows enough to find all the issues :laughing:

getting her to see any positive is the hard part :rasta:
my gf has only asked one thing

How much is it going to cost to paint it...i told her 10 grand. its not...not true.
 
my gf has only asked one thing

How much is it going to cost to paint it...i told her 10 grand. its not...not true.

this is going to be my first attempt at painting a whole car that isn't spray cans, i'd love to pay somebody, but yeah, $10k is basically a decent starting point these days
 
s-l1000.jpg


3a81135d30035150ce295ec79d9bf9d0.jpg


9948830416c32ebf145f5922d21963e0.jpg


5479aa170235c8fe518c65961259c9df.jpg


smooth leather seat.jpg


ordered up a super cheap $40 amazon special saddle blanket (apparently they aren't called mexican blankets anymore :rasta: heaven forbid we remember weaving styles by location :flipoff2: ) to replace the likely couple decades old cheap black cover, which is hiding the taped together actual seat cover.

so cruising the internet for images for a plain and basic upholstery style. need to be comfortable 3 wide with it and i'll likely keep a blanket floating on the base. leaning towards the bottom one or the second from the top currently, future plans. figure dark brown goes with everything

 
Last edited:
You can buy a new upholstery kit for for that for 250-300 and hog ring it yourself, that's my plan.


IIRC MT4Runner or something had a pretty nice cheap paint thread on the dark side

I used a $130 gallon kit from Amazon and a $40 spray gun and did good enough for one of my trucks. I'll be doing it again. Where I lacked skill, technique, and expensive materials, my prep work carried me and came out halfway decent. The pros are right, prep is everything
 
on the flipside you can go non period correct and put a different era seat in it. You just need your tracks from your orginal seat and you can install a seat up to a 96 f series in it. (97 if a f250)
 
You can buy a new upholstery kit for for that for 250-300 and hog ring it yourself, that's my plan.


IIRC MT4Runner or something had a pretty nice cheap paint thread on the dark side

I used a $130 gallon kit from Amazon and a $40 spray gun and did good enough for one of my trucks. I'll be doing it again. Where I lacked skill, technique, and expensive materials, my prep work carried me and came out halfway decent. The pros are right, prep is everything
yeah i've seen the standard new kits that come with all the stuff.


and


are two examples, but they also are sticking with stock style stuff. it doesn't seem any more difficult than doing a slip on seat cover actually, so that's what got me thinking about changing the style. added bonus, it's a good excuse to go hang out at the bulk leather store and shop with a reason for a few trips before actually buying anything :laughing:

as for paint, looking at how far to go is the hard part :laughing: I was thinking today about doing it in sections, I dunno.
 
Finally got a chance to hook up the trailer today, turns out the guy was right, brake controller doesn't work. None of the lights work as well, fortunately the dump is close. Worked well getting down there, did need to flip the 2" drop reciever upside down so that the trailer would sit mostly flat.

IMG_2021-05-08_14-08-06.jpg


loaded with everything was just shy of 10k lbs


20210508_143241.jpg


and 8260 unloaded on the way out, watching the scale I was 5500 lbs before the trailer axles got on the scales. The guy ahead of me was a similar year ford but 4wd and he was 5800 lbs empty. puts my trailer about 2500 lbs, which is higher than i figured it for, but maybe that's about right. 20' wood deck.

20210508_145600.jpg


edit: https://www.etrailer.com/faq-wiring-7-way.aspx wiring diagrams and such for trailer plugs

faq311-7-way-trailer-diagram_2_1000.jpg


faq311-wiring-diagram-7-way-harness_2_800.jpg


edit: weight of 2x6x0.120 mild steel is about 5.9 lbs/ft, weight of 1-3/4x0.120 round is 2.09 lbs/ft.
 

Attachments

  • round tube weight chart.pdf
    12.3 KB · Views: 42
  • sq tube weight chart.pdf
    122.5 KB · Views: 48
Last edited:
Ford 3-Speed Auto - Gearvendors

Looks like it would net:

1st: 2.46
2nd: 1.46
3rd: 1:00
OD: 0.78

VS

E4OD/4R100

E4OD and 4R100 Control and Swap Info (usshift.com)

1st: 2.71
2nd: 1.54
3rd: 1:00
OD: 0.71
6R80 Ratios

1st: 4.17
2nd: 2.34
3rd: 1.52
4th: 1.14
5th: 0.87
6th: 0.69

the "granny gear" first gives the benefit of being more close to being able to drop the rear end ratio, say 4.1 to 3.5 for still easier takeoff under load from a stop and even lower cruise speeds.

alright, i need to put that out of my mind for a bit :laughing:
Adding these two to the list:

4R70W (AOD)


  • 1st gear: 2.84 (2.40)
  • 2nd gear: 1.55 (1.47)
  • 3rd gear: 1:1 (1:1)
  • 4th gear: 0.70 (0.67)


4L80E


First2.48
Second1.48
Third1.00
Fourth0.75


$850 adapter kit


$1700 adapt kit

still not close to wanting to do that anytime soon, gas is still too cheap


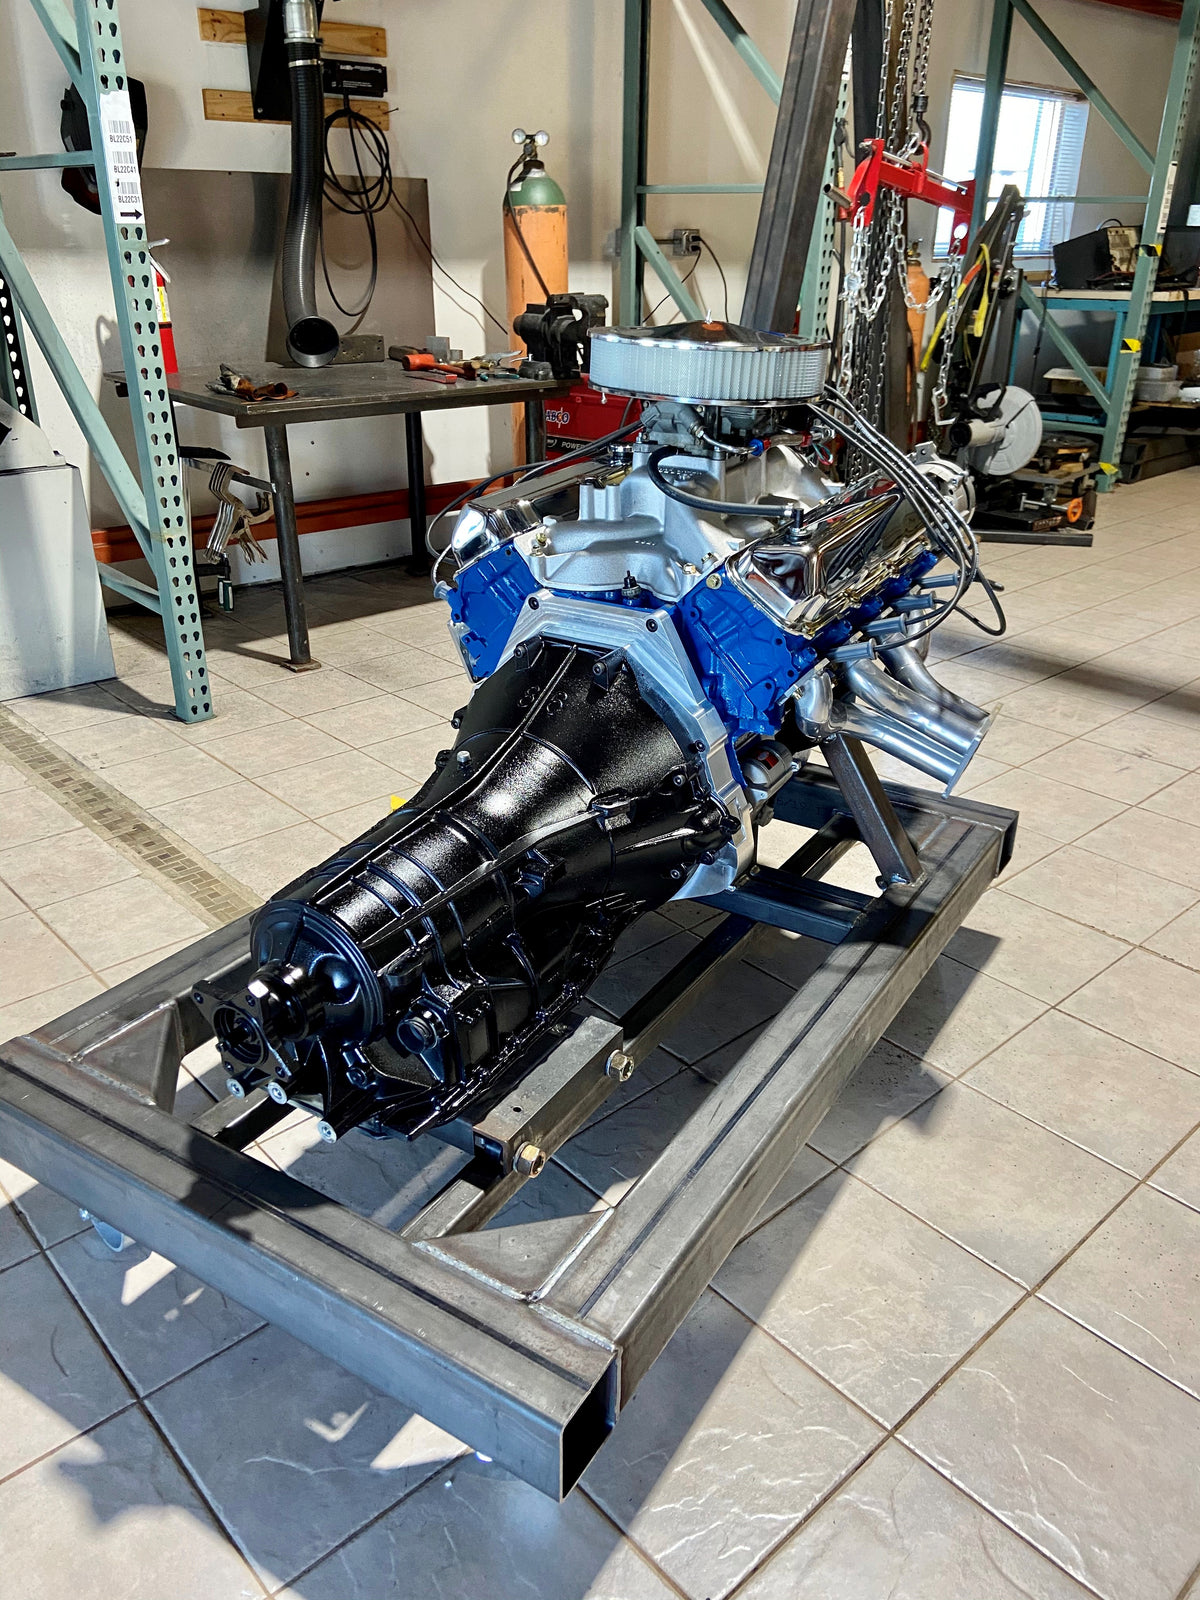
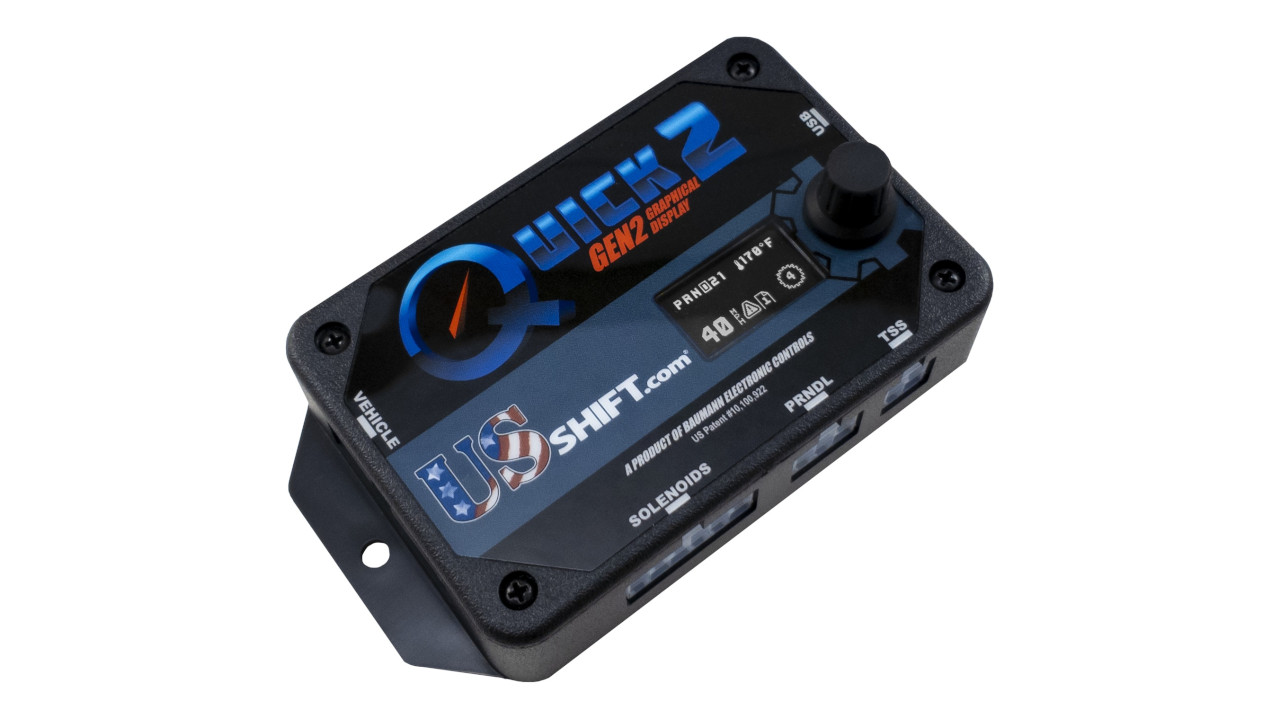
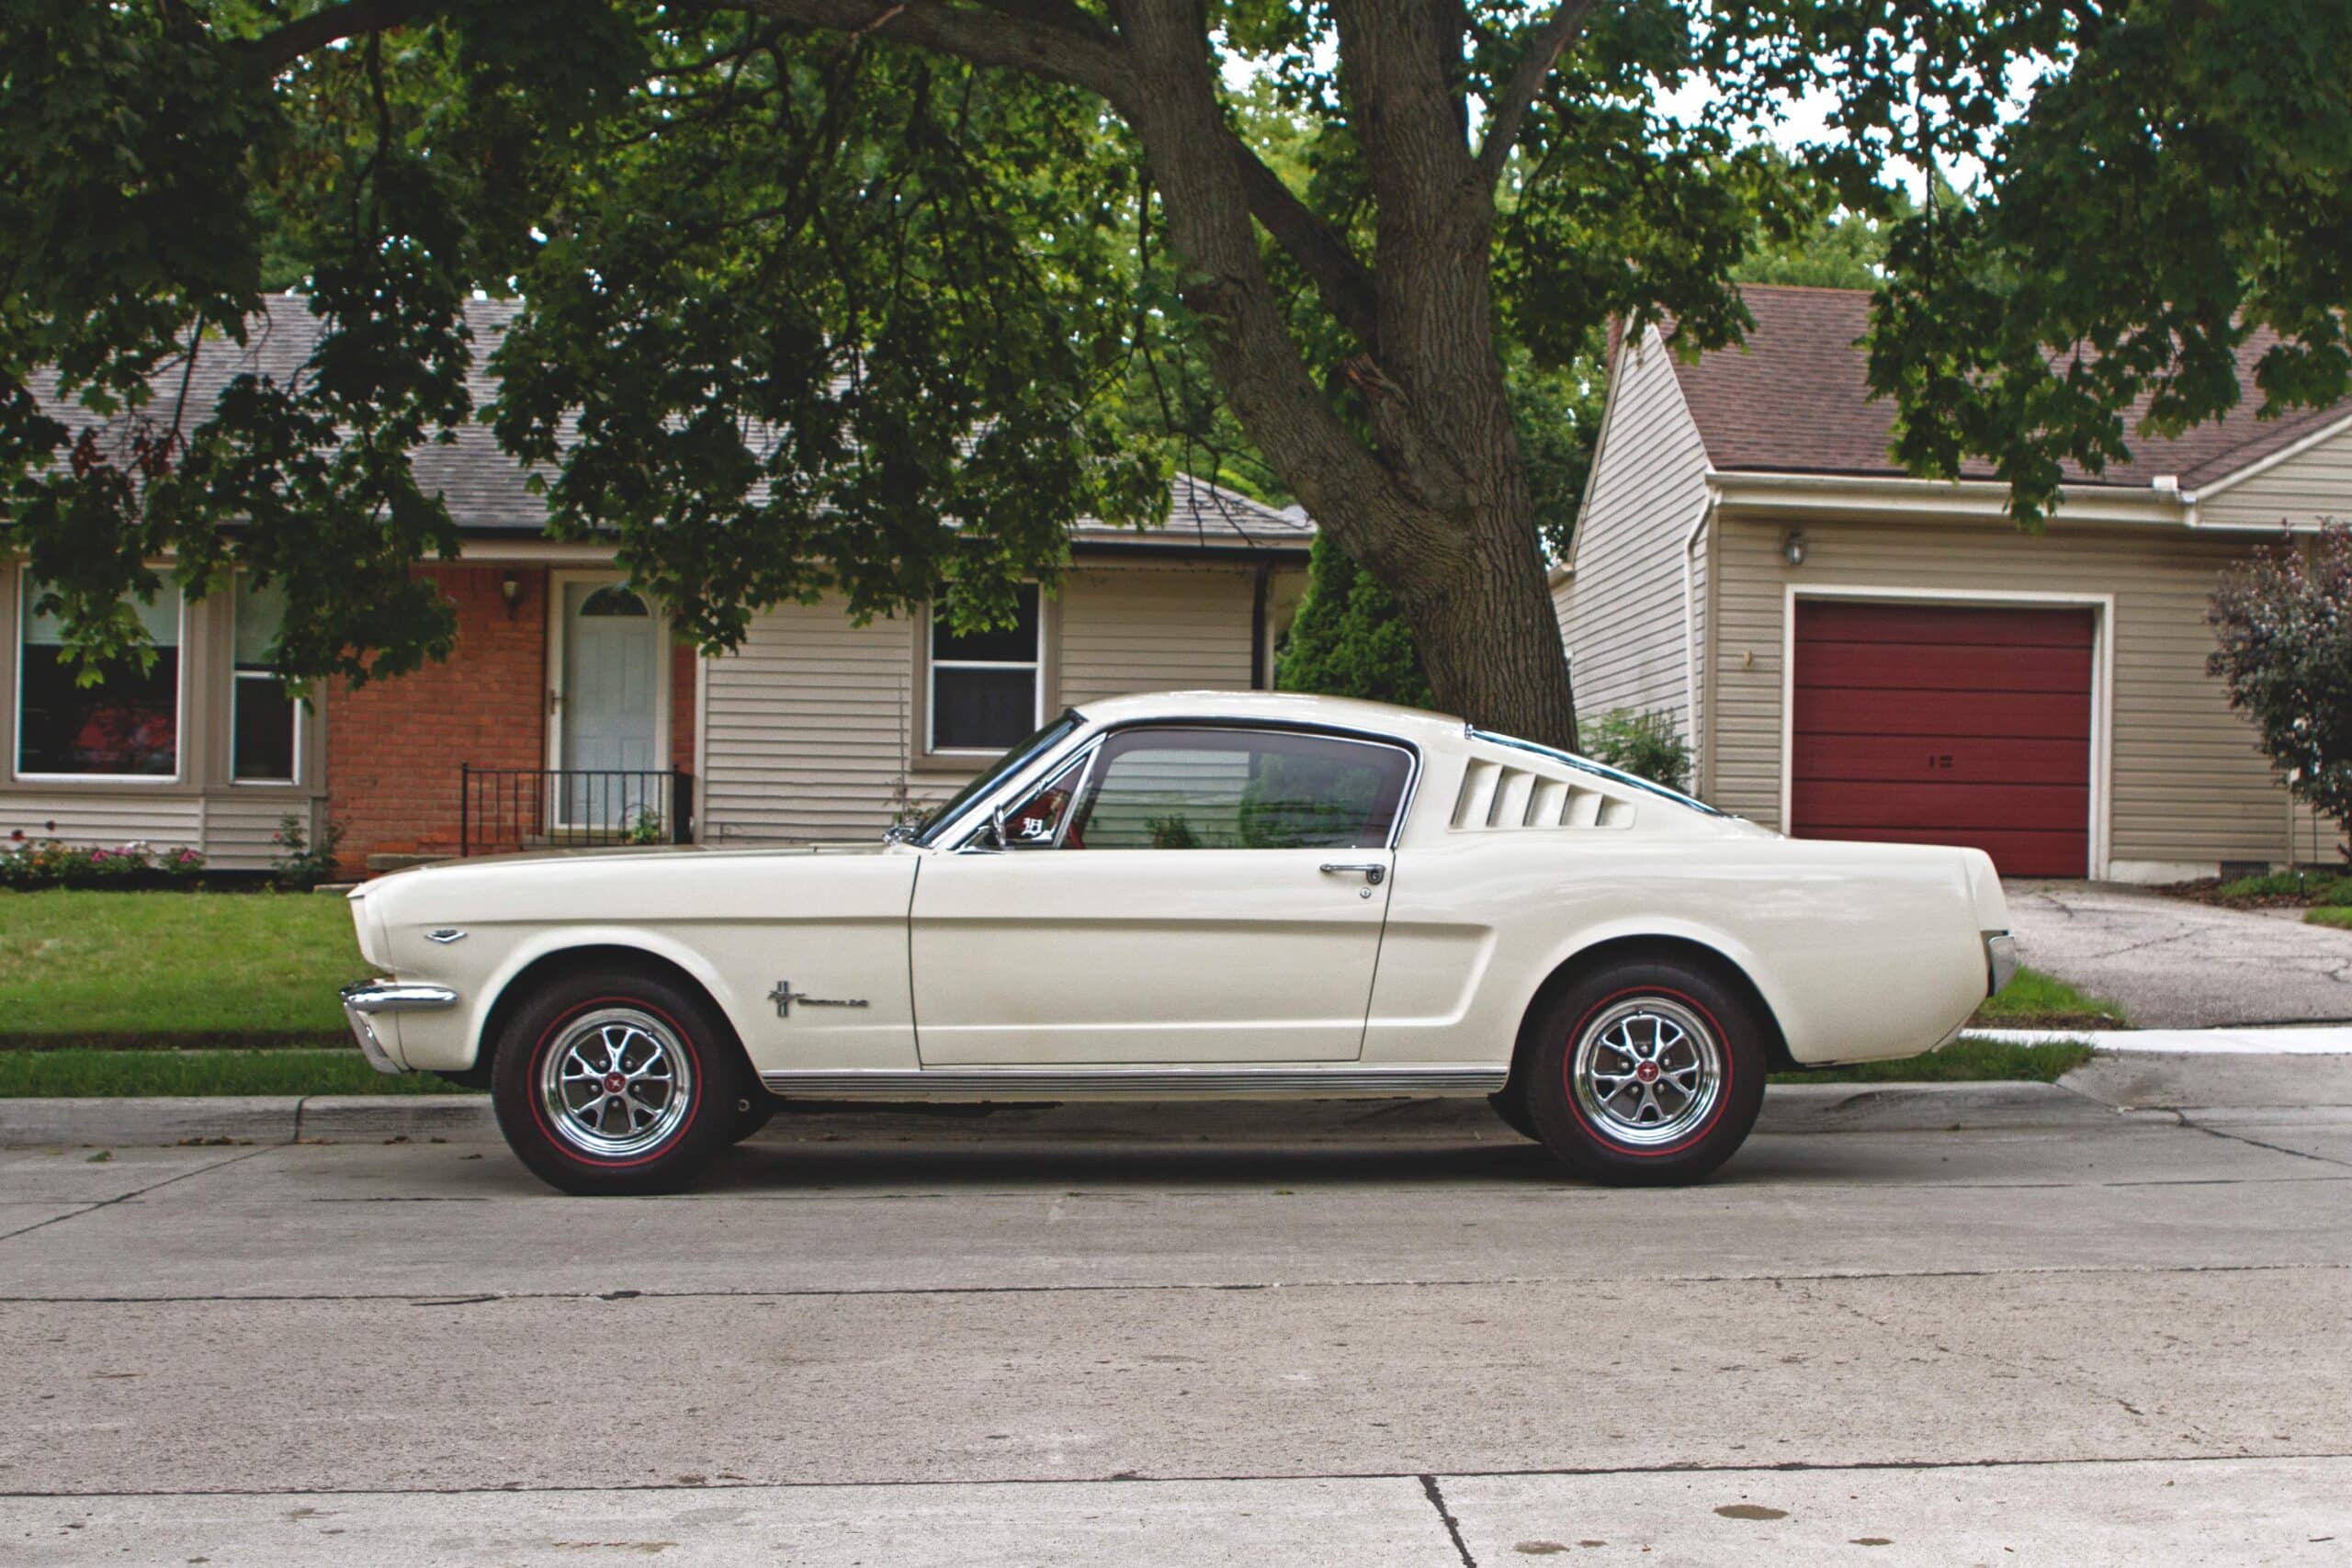
looking at the comparison pictures for the "quick 2" makes the 4R70W look like a good option with s smaller body than everything else, and apparently the same 500ish HP "stock rating"
 
Adding these two to the list:

4R70W (AOD)


looking at the comparison pictures for the "quick 2" makes the 4R70W look like a good option with s smaller body than everything else, and apparently the same 500ish HP "stock rating"
The AOD looks good on paper but there's a reason nobody runs it and its electronic derivative in any truck that isn't a hot rod. It's simply not durable enough for what you will be doing.

It might handle 500hp just fine in a mustang, it might tolerate life just fine behind a 302 in a Bronco. It has no place behind a 400 in a 3/4 ton truck that will probably tow shit from time to time.
damn.

just saved me a bunch of reading trying to figure out how much of a cooler it would need :laughing: and you're probably right that it would just shit shafts or something stupid.

The 46RE out of my van I didn't hardly tow in O/D with, probably similar to that in size from the pictures.

The only advantage to a GM 4L80E would be that it comes with a 14 bolt, but I already had that setup, so it's less fun.

4R100 and 6R80 still seem to be the best, with the used trans being about the same price from a junkyard, the adapter plates about the same cost, and the controllers being about $500 different, the novelty of "6 speed" just might be worth it.
 
i had a aode in a 96 f150 302 2wd. and i grenaded 6 of them in 6 years.

They are terrible. Dont.

My dads 97 f150 has a e4od and north of 500k miles and it had a hard life..very hard life.

ive broken 1 e4od, i liked to torque over my idi power stalling it, and i broke the piece that locks it into gear, unfortunately its like the first thing to go in the case during a rebuild.

ive had service trucks with 4r100 and a 6l90e and couldnt kill those.

ive never killed a manual though :idea:
 
Last edited:
i had a aode in a 96 f150 302 2wd. and i grenaded 6 of them in 6 years.

They are terrible. Dont.

My dads 97 f150 has a e4od and north of 500k miles and it had a hard life..very hard life.

ive broken 1 e4od, i liked to torque over my idi power stalling it, and i broke the piece that locks it into gear, unfortunately its like the first thing to go in the case during a rebuild.

ive had service trucks with 4r100 and a 6l90e and couldnt kill those.

ive never killed a manual though :idea:
i grenaded a couple manuals trans.....in my toyota :homer:

e4od, tons of rebuild options, tows in O/D just fine in the motorhome, pretty well a bolt in, simple enough to cheat and plug in trans first, force shift it for a bit, then "upgrade" to a standalone later on.

and it should still be better than a 4L80

edit: the dang cruisin USA shfit controllers are ~$100+, welp, easy button would be a RADesign gated rail controller http://www.radesignsproducts.com/rail-controller.html $120, i'd rather give $100 to rory than some rando arcade place :rasta:

other option would be to just make my own, but then there are too many options. Something compact like the rail controller and a small tach would be pretty easy to put somewhere like where the ash tray is currently and would be easy to remove later
 
Last edited:
welp, tried a little expiriment and i'm still not getting a reading on the fuel gauge for the rear tank (main on the switch) and it once again ran dry on startup, though i'm pretty sure there is still fuel in that tank. somewhere, something isn't too happy.

So I did more digging again into the 38 gal tank swap thing and the pictures make it look too easy.

38 gallon tank is 27x34.25x13.75 inches in shape (F26 tank)
19 gallon tank is 27x34.75x7.875 inches in shape (stock replacement, dimsensions from amazon resellers)

difference of about 5-7/8" in height only, the bottom profile looks the same, the top profile looks the same and the pickup/sending arm need to be modified for the larger tank regardless.

well hell, why not just cut a strip of 6" 16 gauge (or 18 gauge, whatever is easier to find) out about 11 feet worth, split the stock tank below the lip where they appear to be clamshelled together, and glue it in as a spacer?

27x34=918=6.375 square feet, by half a foot nets 3.19 cubic feet, by 7.48 gallons per cubic foot nets 23.8 extra gallons is pretty darn close to and just over the 38 gallon tank size.

That's a bunch of gas though, and at 6 lbs per gallon, would be about 250 lbs at the rear of the truck. So then I thought "what about 4" extra?". that's net me about 14 extra gallons, and only be about 200 lbs full.

I think i'm just going to do that, and then see about figuring out why it won't keep sending gas forward and mess with the float/sending unit.


edit: more random note taking and digging around, put in some good quality (well, as good as i own) music into the cheap wal-mart special stereo the otherday on the drive home, sounds horrendous. not sure if it is just the deck, the cheap speakers or the junk door cards, but let's assume it is all three.

So pooping around on crutchfield came up with this list:

Alpine S-S65C

S-Series 6-1/2" component speaker system - $130

6-1/2" speaker with 1" tweeter, 80w RMS 70-22kHZ response @4 Ohm

Infinity Primus 6002A​

Compact 2-channel car amplifier — 60 watts RMS x 2 - $105​

Pioneer MVH-S322BT - $80​

13 band equalizer, 2 sets of pre-amp outputs


puts me at ~$320 for deck and door speakers

Alpine S-W8D4​

S-Series 8" subwoofer with dual 4-ohm voice coils $120​

300w RMS 34-200 hz response 2ohm 0.3 cubic foot sealed box volume

Infinity Primus 3000A​

Mono subwoofer amplifier — 300 watts RMS x 1 at 2 ohms - $145​

  • 300 watts RMS x 1 at 2 ohms ( 4-ohm rating unavailable)
  • variable low-pass filter (32-320 Hz, 12 dB/octave)
$265 if i want to add a simple sub to it later on.

obviously this is all overkill and such, but what the heck. I've already got a bit of wood specifically to remake the door cards in the future, might as well plan on where to cut holes :rasta:
 
Last edited:
Saddle blanket seat cover came in today :bounce:

Before picture:

IMG_2021-05-12_16-37-10.jpeg


Covers off, the seat itself is in period correct condition :laughing:

IMG_2021-05-12_16-39-59.jpeg


when i bought it, the guys says "yeah, there was a hole in the cushion so i stuffed some foam in there to build it up" says the guy. What he had MEANT to say was "just shoved some packing peanuts in a sandwich back under the tape
IMG_2021-05-12_16-40-58.jpeg


Had a few options for foam, used the thicker piece of generic fabric store high density green stuff, traced it out by feel. you can see the tape along the outside edge that i opened up for access
IMG_2021-05-12_16-48-51.jpeg


and cut out with a razor blade and scissor combination. had to feather it pretty far toward the corners, about 2-1/2" deep in the middle though

IMG_2021-05-12_16-57-15.jpeg


and then put the perfect color, great pattern, decent enough chinese quality weave on there.....and it fit like a pile of shit "west coast auto universal full size bench seat truck cover" off of amazon, 4/10, do not recommend.


IMG_2021-05-12_17-11-06.jpeg


put that on return and trying out a $50 one from a different brand tomorrow instead of the $40 version.

So back on goes the blanket and here is how we are currently. This is better than the black cover, should have done it weeks ago.
IMG_2021-05-12_17-28-11.jpeg
 
so went to joanns to look at fabrics and patterns, found some that would make fun inserts, like this duck

IMG_2021-05-12_19-25-06.jpeg


generic "farm chic" I dunno, kind of fun in a "yeah, no shit, it's an old rusted ford" kind of way

IMG_2021-05-12_19-24-00.jpeg


and then there are the flowers, currently my first place winner. word on the street is they won't match anything and doing the whole top of the bench and front of the back would be "too much". not convinced yet, it'd make a great couch cover
IMG_2021-05-12_19-23-43.jpeg


and this one kind of matches our rug, but the colors are pretty neat. I dunno, kind of want something super over the top and also kind of want something very plain, just depends on the day i guess.


IMG_2021-05-12_19-22-49.jpeg
 
when you got the seat apart, toss some of those thin rubber '90s chevy floormats between the foam and the springs

the foam sinks through the wires over time otherwise

ETA: a lot of those fabrics look like they'd be a torn mess pretty quick
 
when you got the seat apart, toss some of those thin rubber '90s chevy floormats between the foam and the springs

the foam sinks through the wires over time otherwise

ETA: a lot of those fabrics look like they'd be a torn mess pretty quick
yeah trying to find a medium/heavy weight fabric that is woven is not easy at the store, found some interesting patterns on the internet and ordered some swatches because it is even more difficult to do online. There is apparently a standardized rating system called "double rub" for abrasion resistance, with these swatches i'll at least get an idea of what 9k - 15k double rubs look like. really i just need a loom of my own and a few years of experience so that i can make my own whatevers.


Leader Accessories full size bench seat cover is significantly better and actually how these are supposed to fit. heck, it's a little bit loose in a few areas, but at least it comes with mostly real straps to hold it down. I'm happier with the brown and the pattern in real life than i was in looking at pictures on the internet. it matches the walnut burl wood panel on the glove box :flipoff2:
IMG_2021-05-13_18-17-42.jpeg


and no, this won't be the last post about seats or fabrics :rasta:

edit:


also my AEM 30-0300 X wide band O2 sensor came in today :bounce:
 
don't run the wideband sensor in the exhaust without it being powered on
it'll die quick

they generally die quick anyways, so don't be shocked if you go through sensors fairly often
 
don't run the wideband sensor in the exhaust without it being powered on
it'll die quick

they generally die quick anyways, so don't be shocked if you go through sensors fairly often
good to know, I'm not planning on leaving it there fulltime. always wanted one, never had one, this thing smells toxic and could be many things so i'm curious what it is at currently, then I can use it to see what happens futzing with the replacement carb.

the old lady wasn't satisfied with the prospect of holding this gauge plus a vacuum gauge plus the big box tach while I try and drive around, so a simple diag panel or something will need to get trimmed out to mount things in a convineint handheld fashion
 
a couple short notes before i get stuck doing house stuff the rest of the day.

A_G hooked it up with manifold and a edelbrock 1406 (from 2005 ?)), and my neighbor sold me a carter AFB (from 2010 ?)

opened them both up and the 1406 looks pretty good inside, both have just a bit of debris from sitting.

Carter has:

70-47 rods (unless they are measured minus, then they'd be 70-47 rods) [edit: after cleaning everything up, they are labeled 70-47]
1-3/16" free length step up spring
120-401 primary jets (0.101")
120-395 secondary jets (0.095") [after running them through the ol' lady's jewelry ultrasonic, the number is 395 not 120-385]

1406 has

75-47 rods
1-3/16" free length step up spring
392-078 primary jet (not an eddy part number, but as close as I can figure a 0.092")
392-345 secondary jet (probably also a 0.092" ? I dunno, might have to take them in to work and actually measure with pins)

considering the 1406 came from a running ford 400, safe to assume that it has already been "tuned" and what appears to be leaned out far from stock. (3 stages lean cruise, 1-1/2 stafe lean power, 1 stage lean secondary). Interestingly, the carter has more similar jets/rods to the eddy 1405 charts even though supposedly the 1405 is simply a manual choke version of 1406 :rasta:

the edelbrock "carb tuning guide" is pretty excellent and gives part numbers and charts and such for primary/secondary jetting and metering rods.

thinking i'll start with the carter as it comes from the box and adjust with what i've got on hand to see what happens, then buy stuff from there within a range to see where it goes


also, this is the easiest to understand explanation of what the "step up spring" does that i've seen.

#7 · Mar 23, 2006

These springs are the last thing you should try and tune. In many cases you will not be able to tell a difference. Edelbrock only recommends changing them to address "driveability" issues.

I don't know where this idea comes from, but these springs have absolutely no relationship to idle vacuum anymore than a power valve in a Holley does. Idle runs entirely off of the idle circuit and these rods affect only the primary main circuit. The idle circuit may actually draw fuel from the same well as the primary circuit, but the fuel restrictions (read: jet sizes) are radically different with the main being much much larger than the idle no matter what rod step you are on.

If you hooked up a wide band O2 AFR meter what you would see is that as vacuum progressively drops so does the amount of fuel. Thus the engine goes leaner. At some point you hit the needle/spring threshold and you get an extra amount of fuel. Thus you might think of the AFR as a couple of sawtooth notches. You want to tune such that the bottom of the notches stay at 14.7 or above. For best economy you want to jet/rod to get as close to that 14.7 as you can. More fuel than that at cruise is just a waste.

Personally I have a theory that these springs actually compensate for the idle/transition circuit turning on/off. When the manifold vacuum drops to a point around 5-7" the Edelbrock idle/transition circuit shuts off. This is by design and controlled by the relative sizes of the fuel restriction and air bleeds. At this point you need extra fuel from the primary main circuit to compensate. Note that this has nothing to do with the motor and it's vacuum level, it is all about the Edelbrock idle circuit air bleed sizes.

Edelbrock technical documents claim the piston/rod compensates for load. Maybe, but if I really want to load the engine I am going to open the secondaries. So that is where I want to put my major extra load compensation fuel and drive the AFR towards 12.5.

Also it seems to me that if you idle at a fairly high RPM and at only 8" then either you have a serious cam in that motor or your ignition is not setup correctly at idle. Maybe a combination of both. My 402 with an HR296 used to idle at 850 with around that vacuum level, until I put in the right vacuum advance and hooked it up to manifold vacuum. Now it idles around 11" with 30* advance at idle, 18* basic initial plus 12* vacuum advance.

thanks Steve/vrooom3440
 

Attachments

  • carb-tuning-guide.pdf
    6.3 MB · Views: 43
Last edited:
considering the 1406 came from a running ford 400, safe to assume that it has already been "tuned" and what appears to be leaned out far from stock. (3 stages lean cruise, 1-1/2 stafe lean power, 1 \
Dont assume that. The carb i pulled off the engine had damage so i gave you the one from in the barn. That means last time it was used it was mounted to a turbo...so..with it ebing leaned out and then being mounted to a turbo as a suck through probably means 1 of 2 things.

The original turbo setup had so many boost leaks that it was over fueling to the amount of air going into the engine (highly likely) and thats why it was leaned out

or 2 lean makes more power but also more damage. and thats why it was leaned out.
sorry, what I had meant by tuned was "not stock" jets that they ship with. thanks for clarifying, which you probably did before. I'm not trying to pretend that it is going to be drop on correct. :dustin:

one of the secondary jets was so tight that it will need to be drilled out to remove, so it's staying there and i'm going to primarily mess with the carter, and use the edelbrock for messing with for future needs and knowledge.:beer::beer: edit: while robbing it of parts and such
your good.
I just read it as.
"its tuned for a running 400 and will work fine in this setup"

and i thought....
"the guy that owned this stuff before took a few turbos back from his deployment and slapped some shit on his old truck and it melted down i should say something":beer:

Edit: carter should be a good choice. Not that familiar with them other than in the 3x2 setups. But they seem pretty stable. and IIRC a edelbrock carb is based on a carter. not 100% on that but edelbrock didnt make their own carb they closely followed someone elses design.
yeah everything i've found out is that edelbrock bought or licensed or whatever the carter designs, so everything crosses over between them. I'd bet the only minor differences between these is due to the years they were made

and they are both stamped as actually made by Weber :laughing:
 
Welp, turns out door casings take longer to install than expected :laughing: so i didn't have time to actually get any numbers from the stock setup

before tearing it down

IMG_2021-05-16_15-01-36.jpeg


'nother shot of the front failure

IMG_2021-05-16_15-16-40.jpeg


I dunno if this pan is important, but i'm not planning on reusing it

IMG_2021-05-16_15-43-28.jpeg


here you can see the rear valley gasket had failed dramatically as well.

IMG_2021-05-16_15-45-30.jpeg


and generally cleaned up and ready to rock

IMG_2021-05-16_16-09-03.jpeg


in the interest of time, I didn't actually take any more pictures while it was going back together :laughing:

turns out my fuel line from the pump is 1/4" and the carter/edelbrock use 3/8" hose barbs on a 5/8-20 straight thread fitting...which is difficult to find on a sunday evening, so i've got a 3/8-1/4" brass adapter on the way and i'll hobgoblin it together. Additionally, all the vaccum lines on the carter are 3/16" hose barb variety and all my truckside lines are 1/4", so adapter abound there as well.

still need some 1/4-20 threaded rod so that i can secure the propane hats as the depths are all way wrong vs normal air cleaner stuff, and also o'reillys doesn't have fuckall for parts on hand anymore.
 
  • Like
Reactions: A_G
needed a keyed hot for the E-choke, trying not to get too spoiled by it :laughing: i'd still like to get a manual choke on there, but it is now very low priority. No idea what this plug was intented for, but if it's just going to dangle there, imma use it :rasta:

IMG_2021-05-17_17-18-33.jpeg


WTF is up with that yellow wire :confused: don't remember it in person, but hell, there it is in the picture. Wiring is so zany on this thing, even the wife was like "there is no way this truck is new or fancy enough to justify all these wires". I don't have time+desire for a while to tackle it, but damn will it be nice to redo all that stuff. Going to hack in whatever needs to happen to make the trailer lights work sooner rather than later

anyways, carb with a 1" spacer and everything up to the air cleaner all still clears the hood :laughing: what a damn mess of, just everything.

IMG_2021-05-17_17-18-41.jpeg


seems to idle well and is good to about half throttle, then hits a wall, and then sort of comes back at WOT. don't know where the vacuum gauge i want to use is and have the A/F gauge still on the couch, so tomorrow i'm going to put in the spark plugs and change out the wires cuz i already have all that stuff, then hopefully hoop up some gauges and see what's going on. :beer:
 
also, i don't have faith in the free boost/vacuum gauge i was given years ago as it seems a bit off and inconsistent playing with in on the bench. ordered up another cheap vac. gauge and also a cheap-ish tachometer as my current points/dwell/voltmeter/tach only goes up to about 2k rpm


neither of these are for permanent mounting, so hopefully i don't lose the damn things before i need them again :laughing:


edit: wow, this dude breaks down basically why my 2 carbs are set the way they are, with the carter being edelbrock 1405 stock tune and the edelbrock 1406 being tuned lean and lean :laughing: and how you can arrive at leaning it out all over while thinking it is rich :confused: pretty good read Trouble Tuning the Edelbrock Performer 1406 Carb? Read On...
 
Last edited:
Top Back Refresh